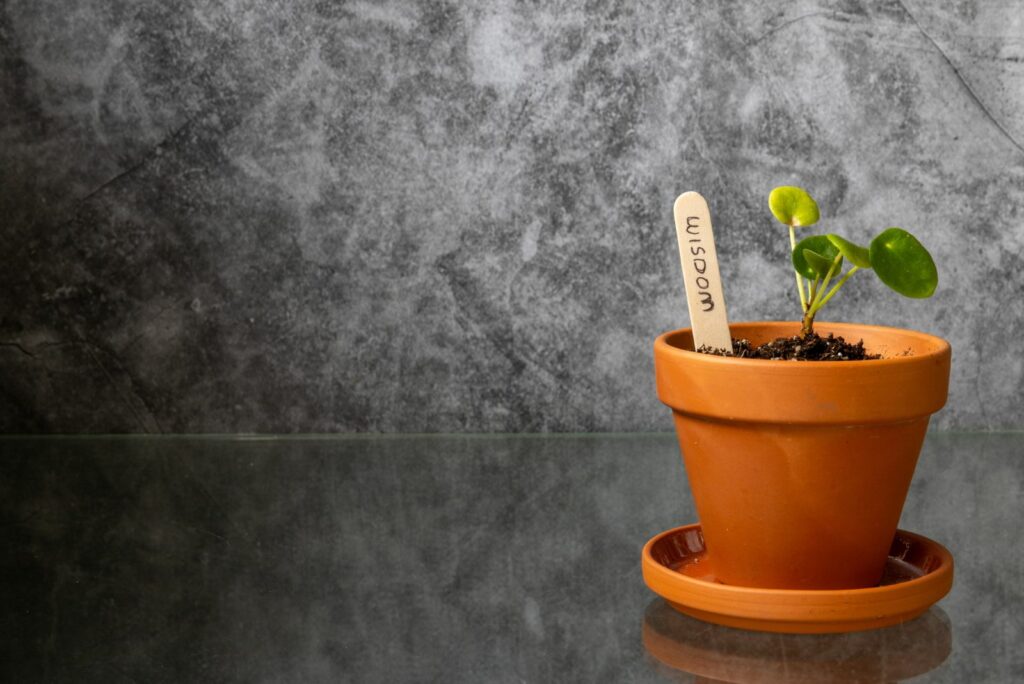
4 Signs Your Houseplant Soil Is Compacted And How To Fix It Easily
When I started my houseplant collection, one of my biggest struggles was figuring out the soil. Yes, you read that correctly. Everyone is worried about their plant’s appearance and, if something goes wrong, soil may be the last thing we check.
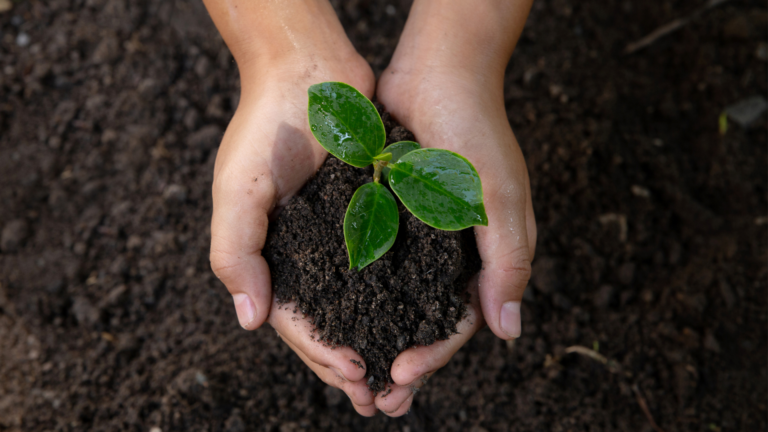
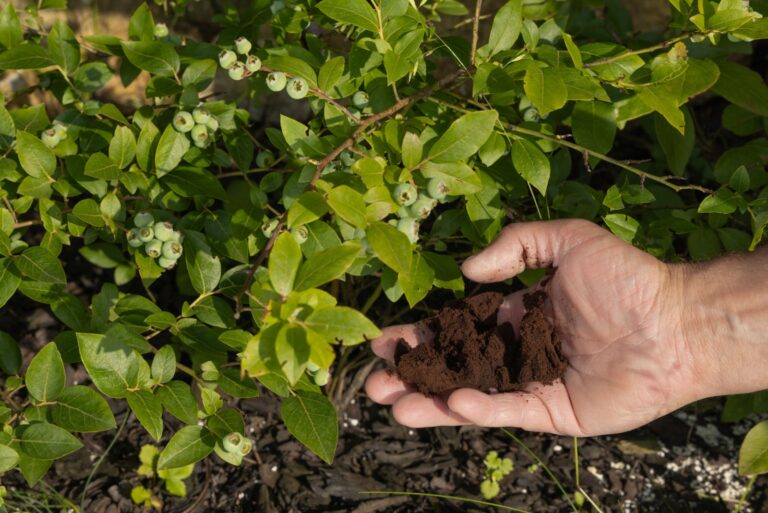
For plants, everything starts in the soil. It ensures nutrients and water, and if something is wrong with the soil, your plant will show you pretty quickly.
One of the common issues with soil is that it becomes compacted i.e., cement-like, and it can’t meet the plant’s requirements regarding moisture and food. Fixing this condition is only possible by implementing a technique known as soil aeration.
In this article, I’ll show you the signs your houseplant soil is compacted and how to fix it easily using the soil aeration method.
Let’s get started!
More About Soil Aeration
We all remember biology classes and the lesson about the importance of plants for humans regarding oxygen. What many forget is that plants also need oxygen in order to survive.
Tiny pockets in the soil enable air circulation, which enhances root growth.
It’s simple: if the airflow in the soil is poor, our plants are in danger. Leaves and stems won’t have access to the necessary resources and the roots can suffocate.
We often think our plants need more food or water if they display changes such as discoloration and deformation, but this will do more harm than good. This is where aeration steps in.
Aeration will help us create those air pockets so that our plants can uptake moisture and nutrients again.
This task isn’t optional and we should all perform it if we notice our plants are struggling to grow.
Let’s see how to recognize compacted soil before taking any further steps.
Sings Of Too Compacted Soil
Here are some signs that can help you determine if your soil needs aeration.
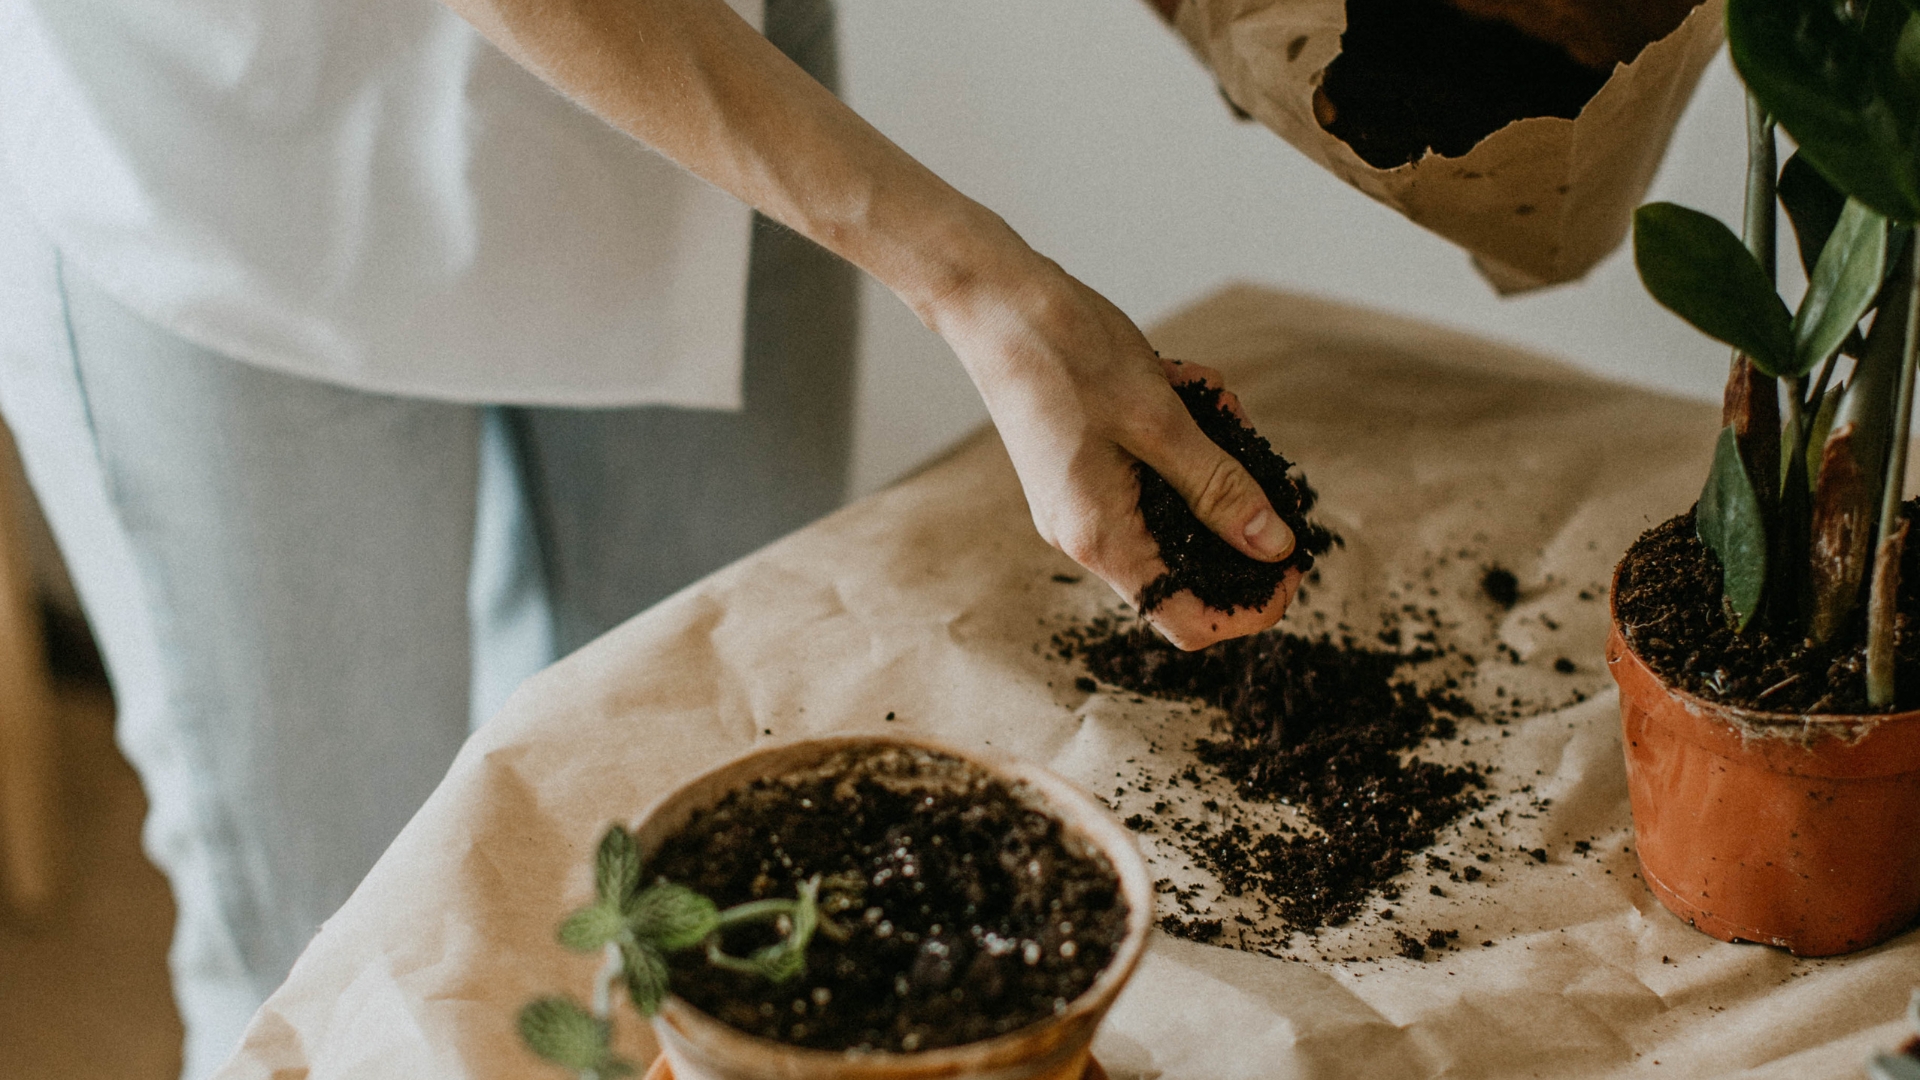
1. Cement-like appearance: If your soil reminds you of cement or hard clay, and your fingers can’t easily go through its surface, compaction is the culprit.
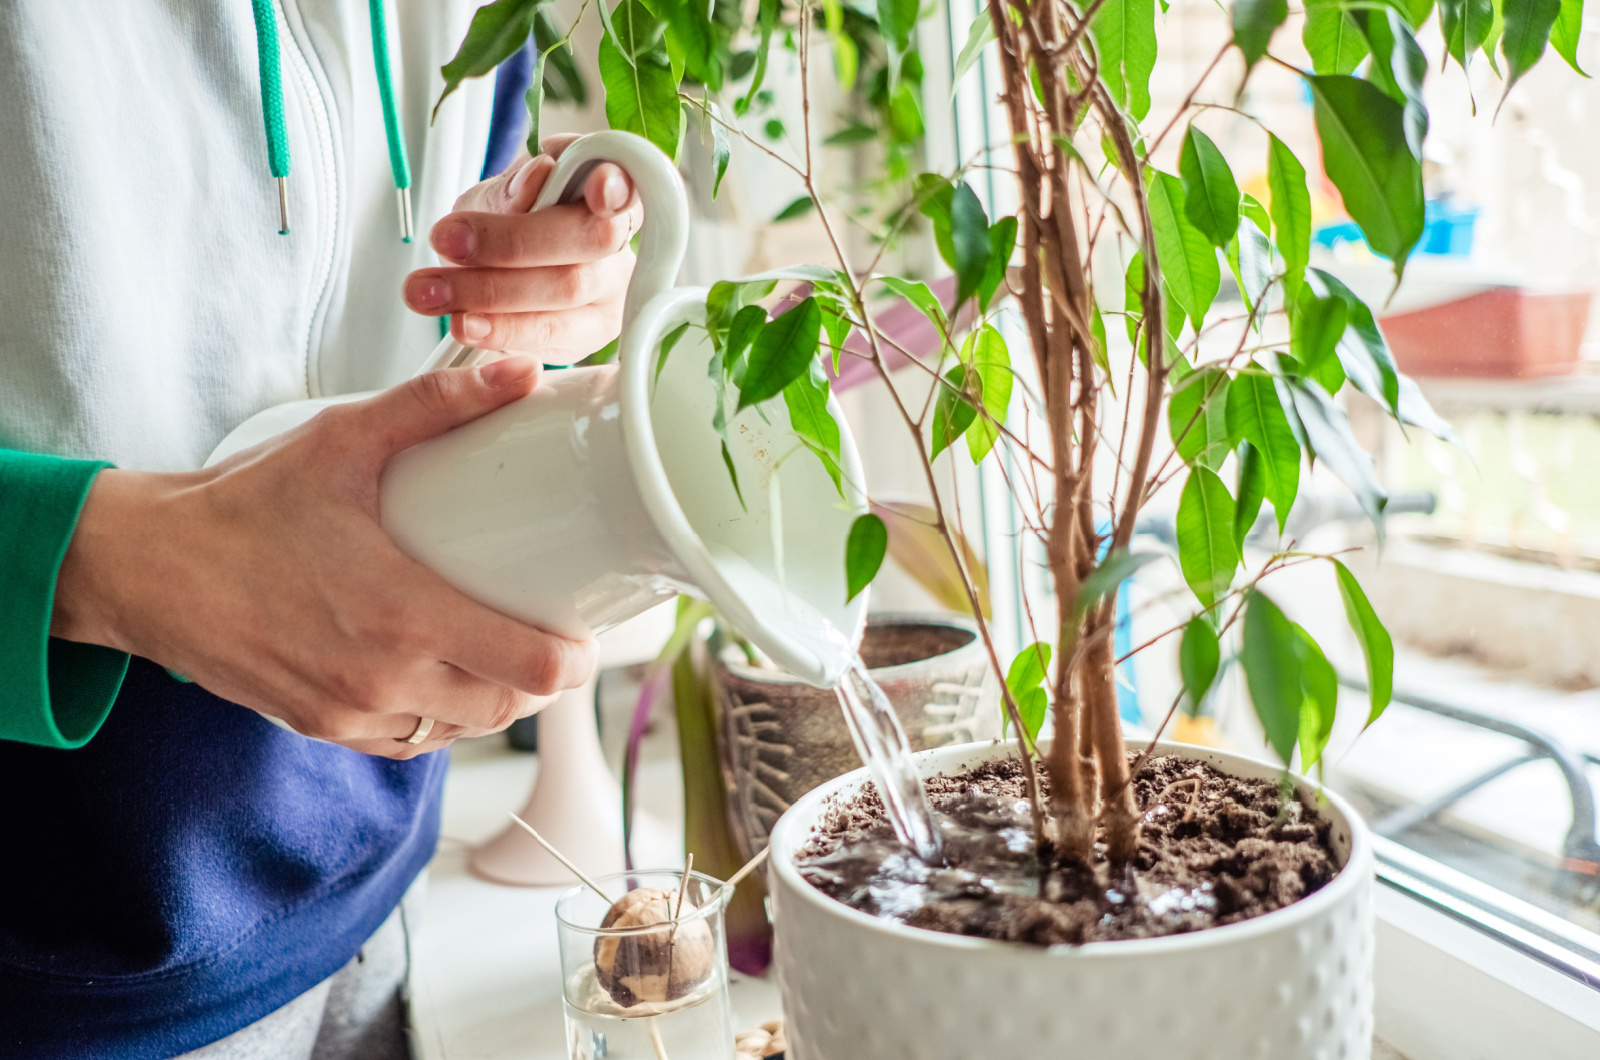
2. The soil uptakes water slower: Compacted soil takes more time to uptake water because the pockets are closed and water can’t drain properly.
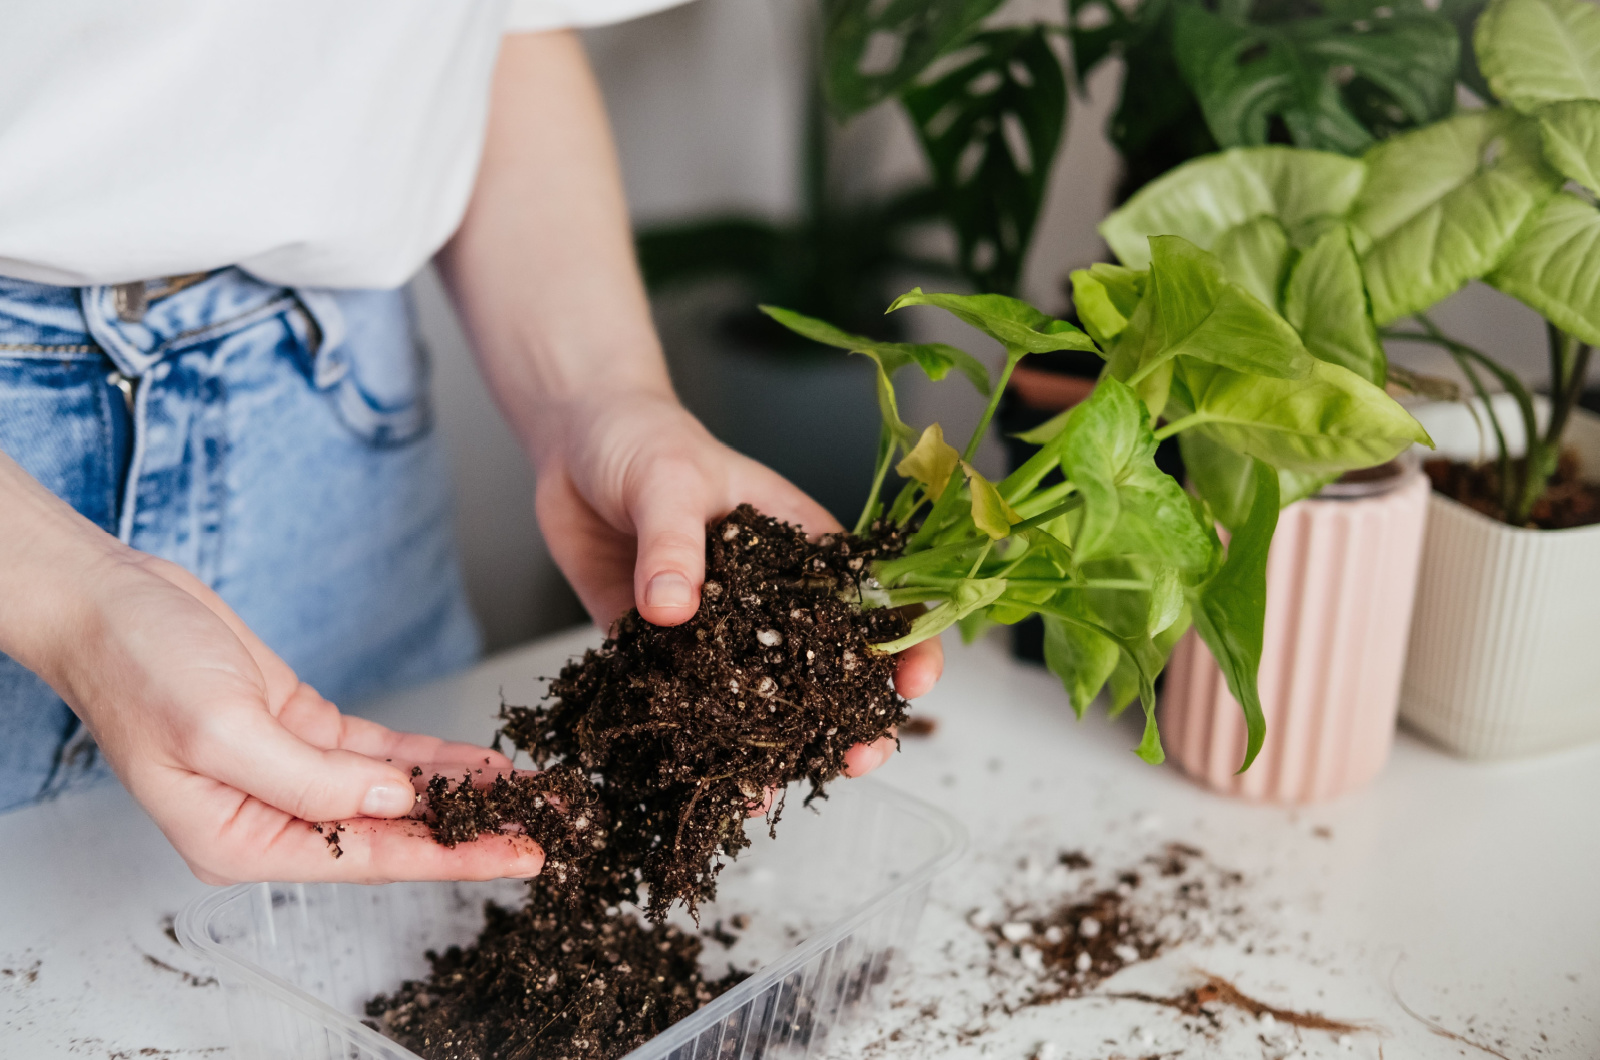
3. Contraction towards the center of the container: If you notice your growing substrate is contracting and there are gaps between the soil and container walls, it’s compacted.
4. The water is rapidly flowing through the abovementioned gaps.
How To Fix It
Just for clarification, it’s not hard to aerate the soil and you don’t need any special skills or tools to do it.
Here are the steps to follow.
Prepare The Aerator
There are various tools you can use as aerators for breaking compacted soil. If you have larger and deeper containers, chopsticks or bamboo straws are a perfect choice.
On the other hand, for smaller pots, a couple of popsicle sticks or pencils will suffice. Make sure that the tool you use isn’t too sharp for your safety. Knives or scissors aren’t really necessary, so why risk cutting yourself?
If you’re using the same aerator for more plants, make sure to sanitize it before putting it in the soil of other plants. The easiest method is to keep a paper towel sprayed with some rubbing alcohol so that you can wipe your tools.
Insert The Aerator Into The Soil Surface
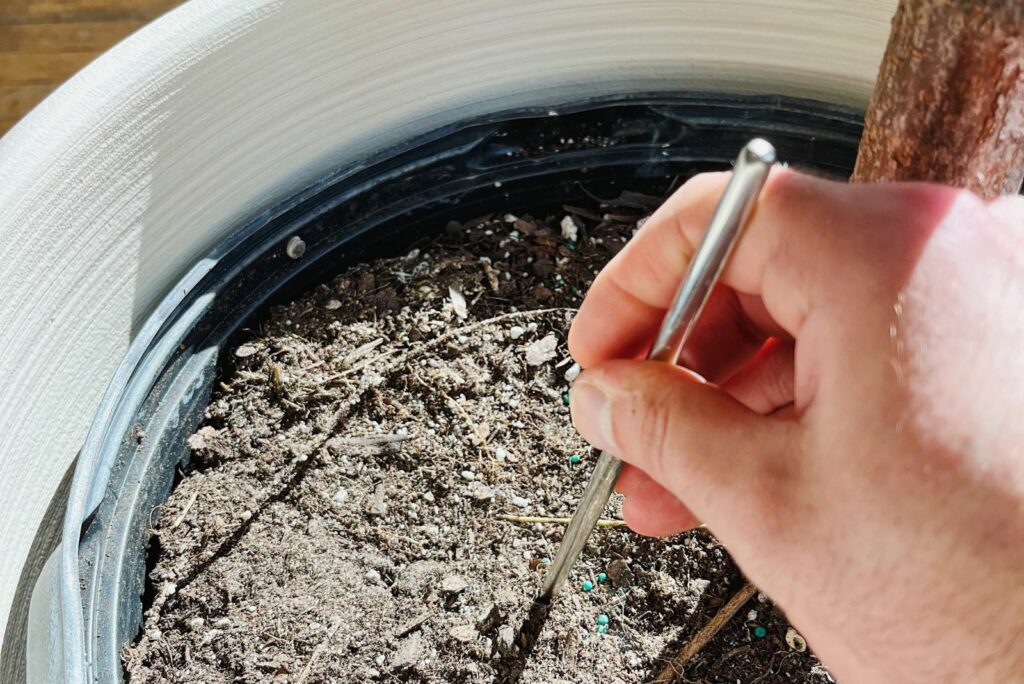
You can loosen the growing substrate with circular motions. Keep doing this every couple of inches until all the surface is covered.
Be careful when aerating, but don’t worry if you hear some roots breaking. Wipe your tools when you finish aeration if you’re planning to employ this technique on other plants.
Irrigate Your Houseplants
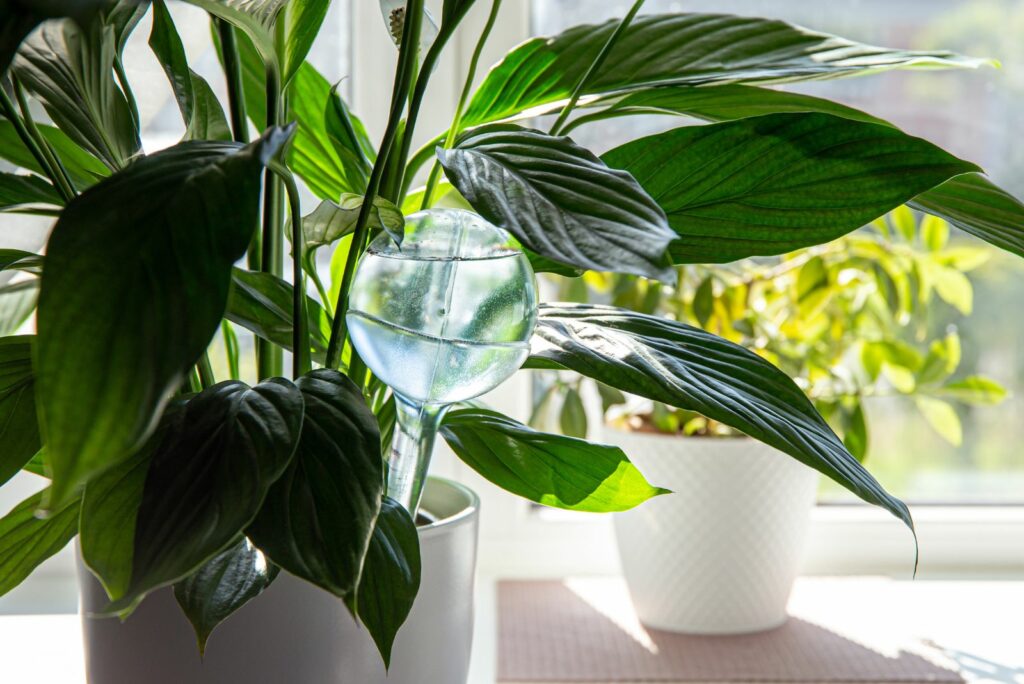
The final step is to irrigate the soil, and water can run through the pockets freely once you do. If you’ve dislodged a couple of soil clumps, water will quickly break it down.
You can put aeration on your monthly to-do list for your indoor green buddies.
More Tips For Soil Aeration Of Indoor Plants
Here are some other things you can do to maintain air pockets within the soil.
• Use a suitable potting mix: Choosing the perfect soil for Monsteras or other houseplants can be tricky, but a rule of thumb is to use free-draining growing substrates for most of these plants.
Perlite, pumice, and similar quick-draining ingredients can be added to standard potting soils to enhance drainage. Garden soil shouldn’t be an option because it’s too compact and can even carry some pests and diseases.
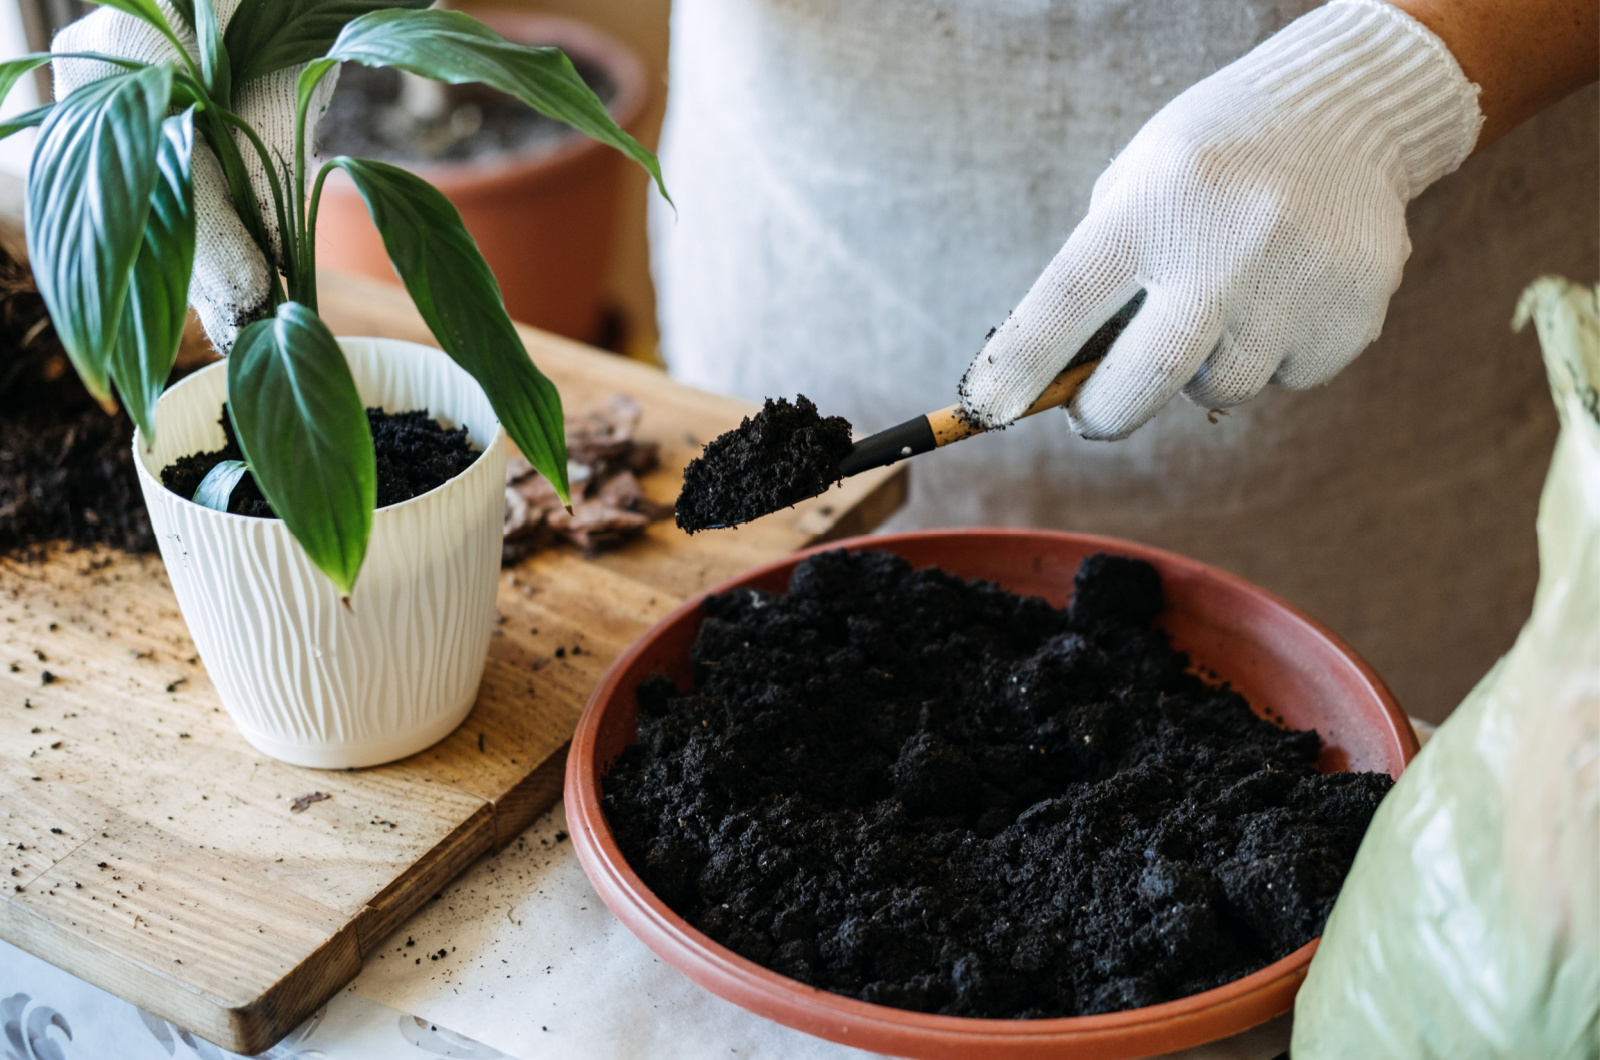
• Repot your green buddies: Soil aeration may not always be helpful because plants deplete nutrients and compaction occurs naturally.
One of the easiest ways to fix this is to repot your indoor plants regularly; take them out of their containers, loosen the soil, and add more new soil.
A common mistake when repotting plants is doing it during dormancy, so choose early spring for this task.
• Avoid putting large objects on the soil surface: It may be tempting to put some crystals or rocks on the soil surface to make everything prettier, but this isn’t a good method because it can close the air pockets within the soil.
And if your adorable cat loves spending time on the soil of your houseplants, you’ll need to take some steps to keep it away.
Soil porosity plays a major role in a plant’s development, so I highly recommend aerating your growing substrate regularly to keep your plants happy and healthy!