19 Simple Steps To Plant Amaryllis Like A Pro
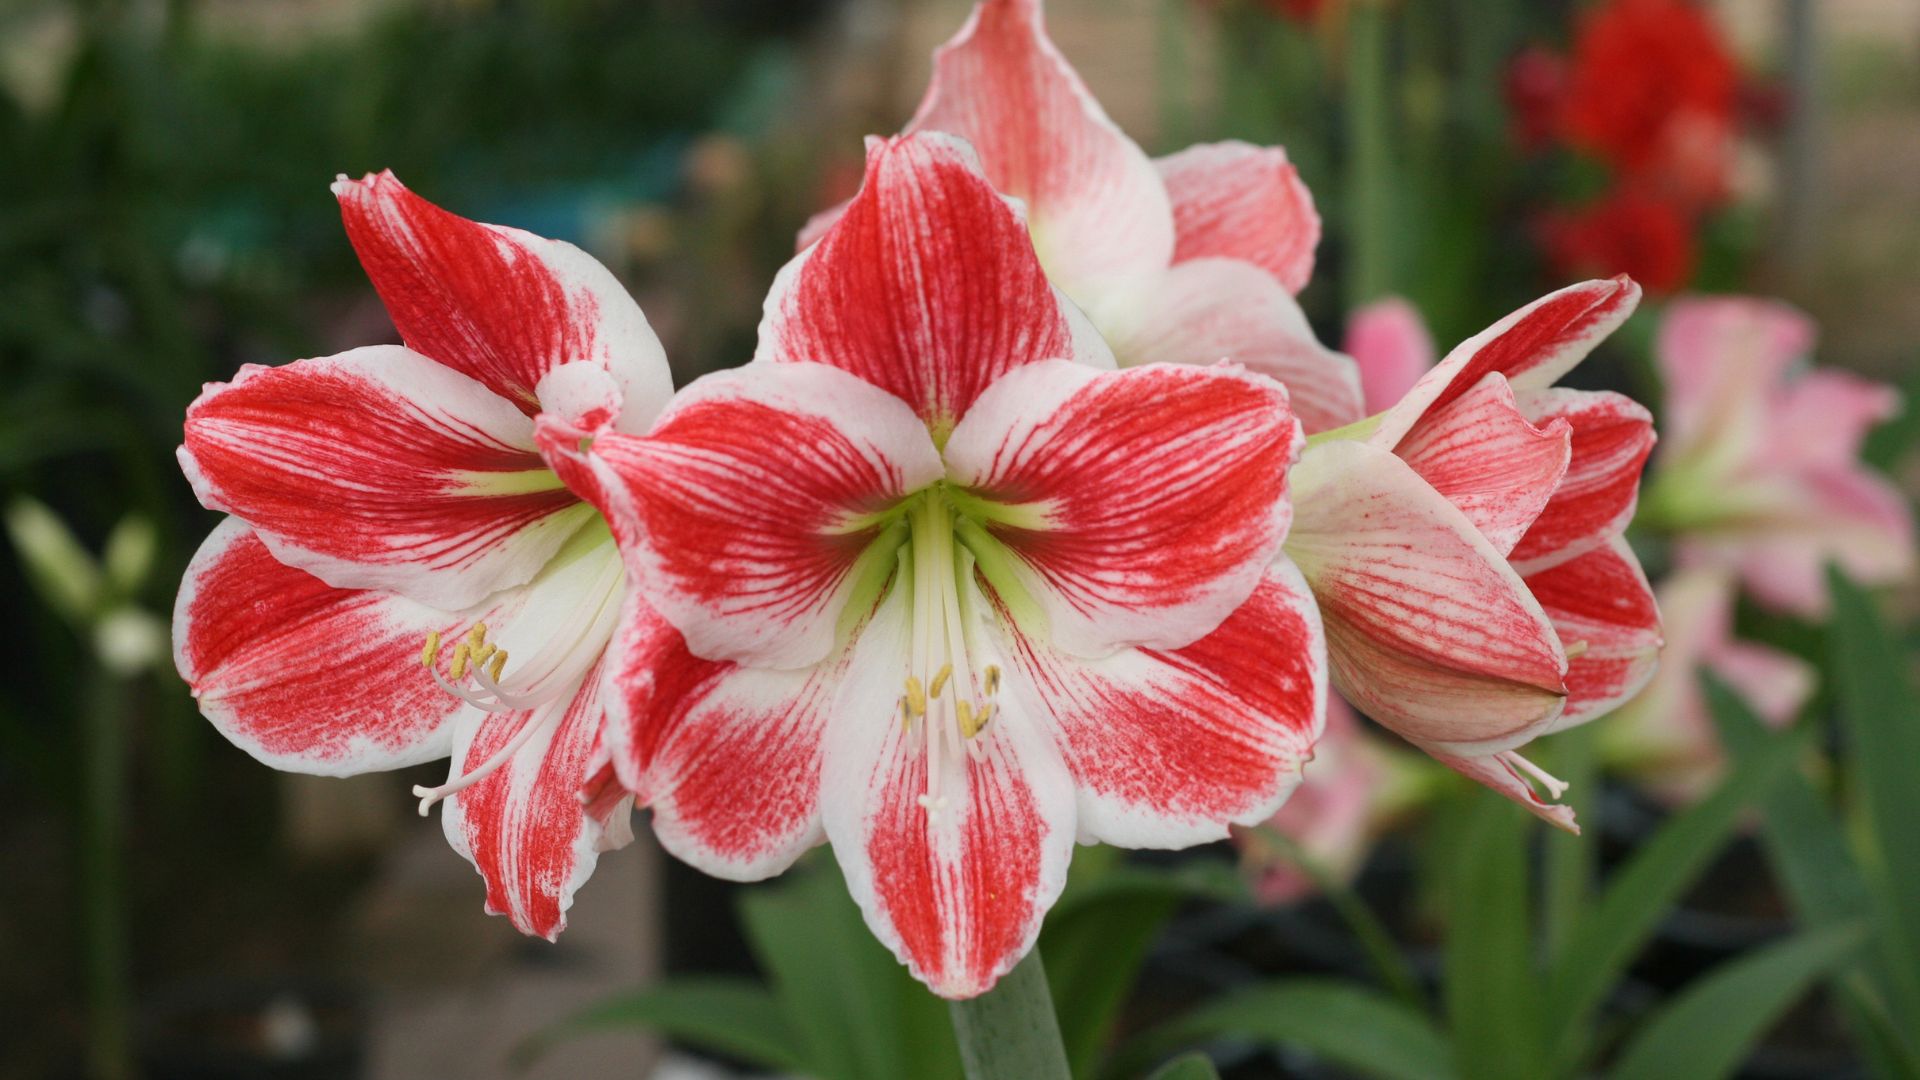
Planting amaryllis bulbs is one of those simple gardening joys that never gets old—whether you’re brand new to bulbs or have planted dozens before.
There’s something so satisfying about watching those thick green stalks shoot up and burst into big blooms, especially when you know you helped make it happen. Over the years, I’ve learned that success with amaryllis comes down to a few key steps—nothing complicated, just the right start and a little attention along the way.
And the best part? These flowers don’t ask for much, yet they give so much in return. So, here are some easy, straightforward steps to help you plant your amaryllis bulbs with confidence. Your future blooms are just a few steps away.
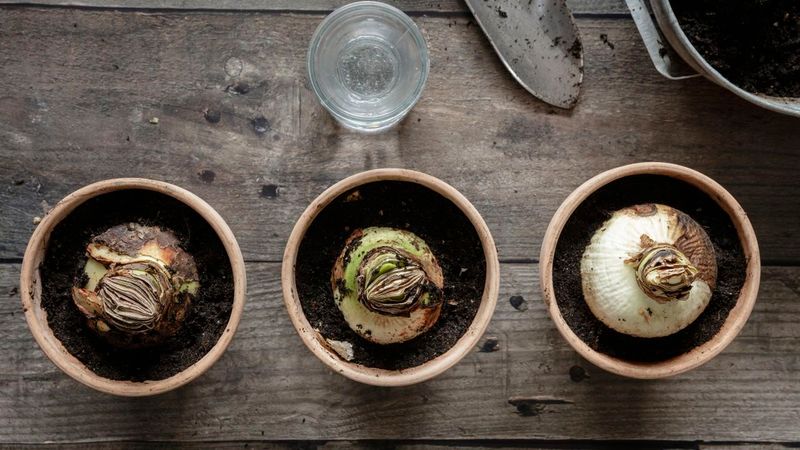
1. Choose The Right Bulb
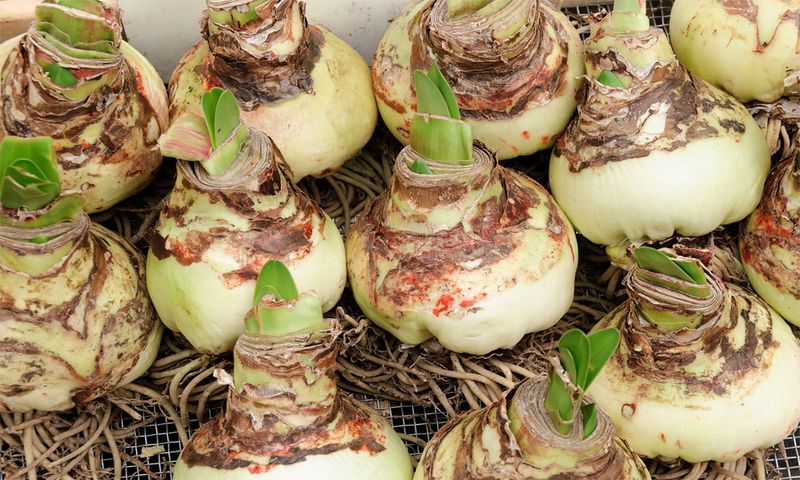
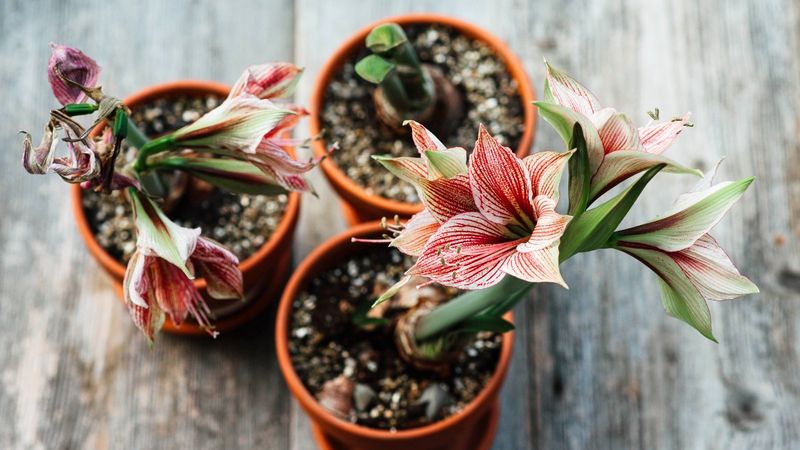
Selecting the right bulb is crucial for growing amaryllis successfully. Look for bulbs that are firm, smooth, and free from any signs of mold or damage. The size of the bulb often determines the number of flower stalks, so bigger is usually better. Once you have your bulb, handle it carefully to avoid bruising.
Avoid bulbs that are soft or have visible signs of decay. Healthy bulbs will feel heavy and have dry, papery skins. This initial choice sets the stage for a thriving plant, so take the time to select wisely.
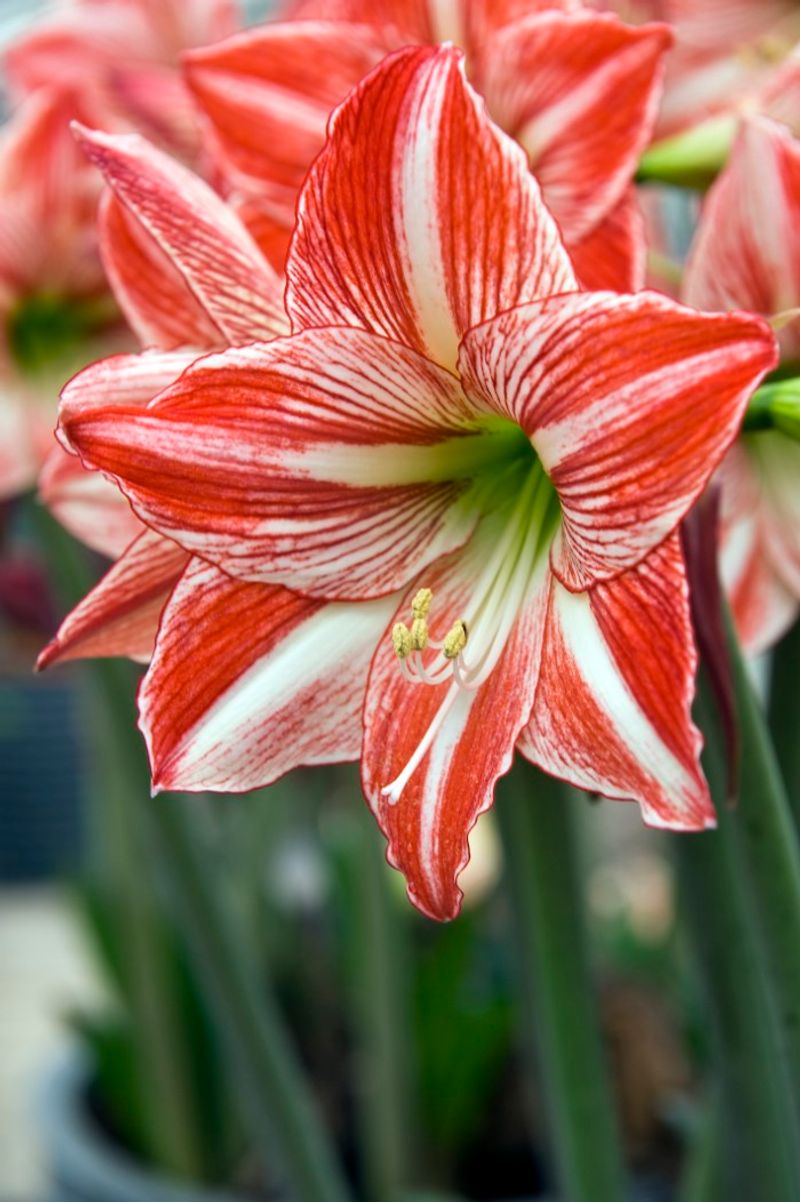
Consider the variety of amaryllis you wish to grow, as different types may have specific requirements or offer different blooms. This choice adds personality to your garden and starts your journey on the right foot.
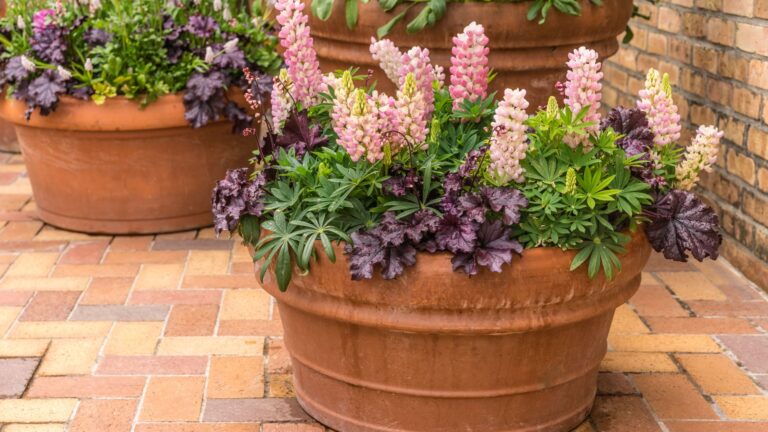
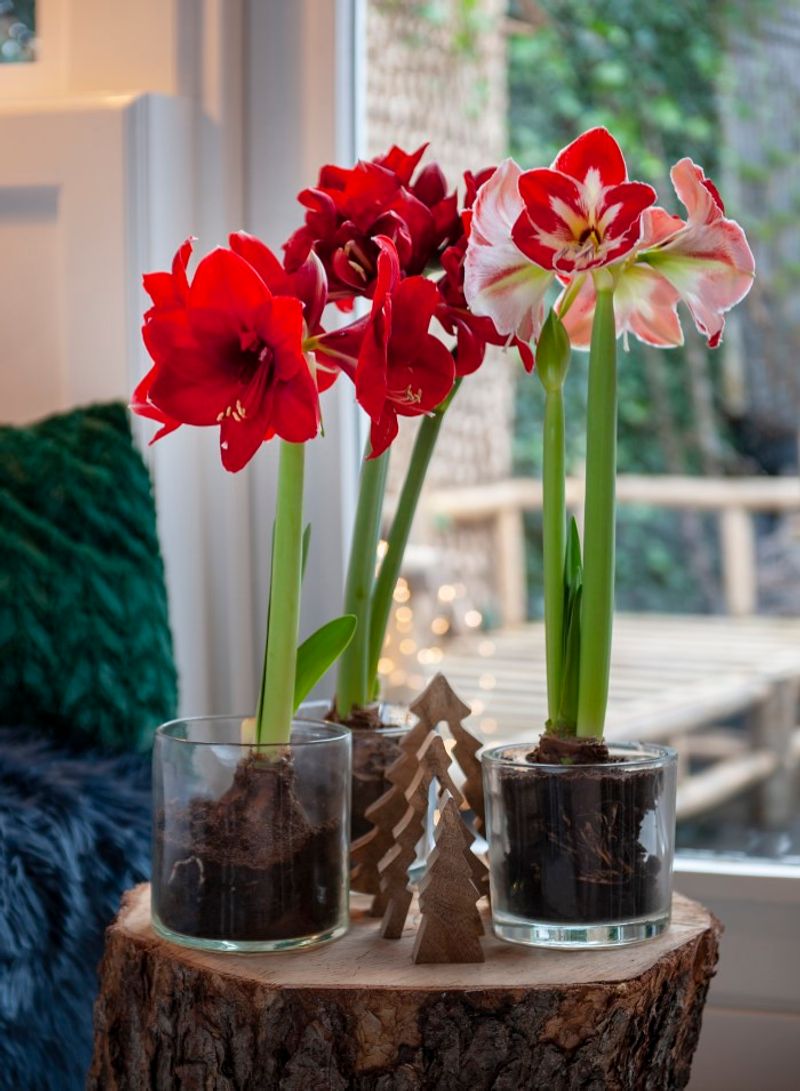
2. Select The Right Pot
Choosing the right pot is nearly as important as choosing the right bulb. Amaryllis bulbs thrive in containers that are just slightly larger than the bulb itself. Choose a pot with drainage holes to prevent waterlogging, which can lead to root rot.
Consider materials like ceramic, plastic, or terracotta, but ensure the pot is sturdy enough to hold the weight of a blooming plant. The pot should also complement your growing space aesthetically while providing enough room for root expansion.
When selecting a pot, balance functionality with style. A well-chosen container not only supports the plant’s growth but also enhances the visual appeal of your home or garden.
3. Prepare The Soil
This is key to healthy amaryllis growth. Use a well-draining potting mix, ideally one that’s rich in organic matter. This ensures the bulbs have access to necessary nutrients while preventing excess moisture retention.
Mixing in a bit of sand or perlite can improve drainage, helping the roots breathe and flourish. Avoid using heavy garden soil, as it can compact easily and suffocate the bulb.
Take the time to prepare the soil properly, as it forms the foundation of your plant’s health. A well-prepared soil mix supports vigorous growth and bountiful blooms.
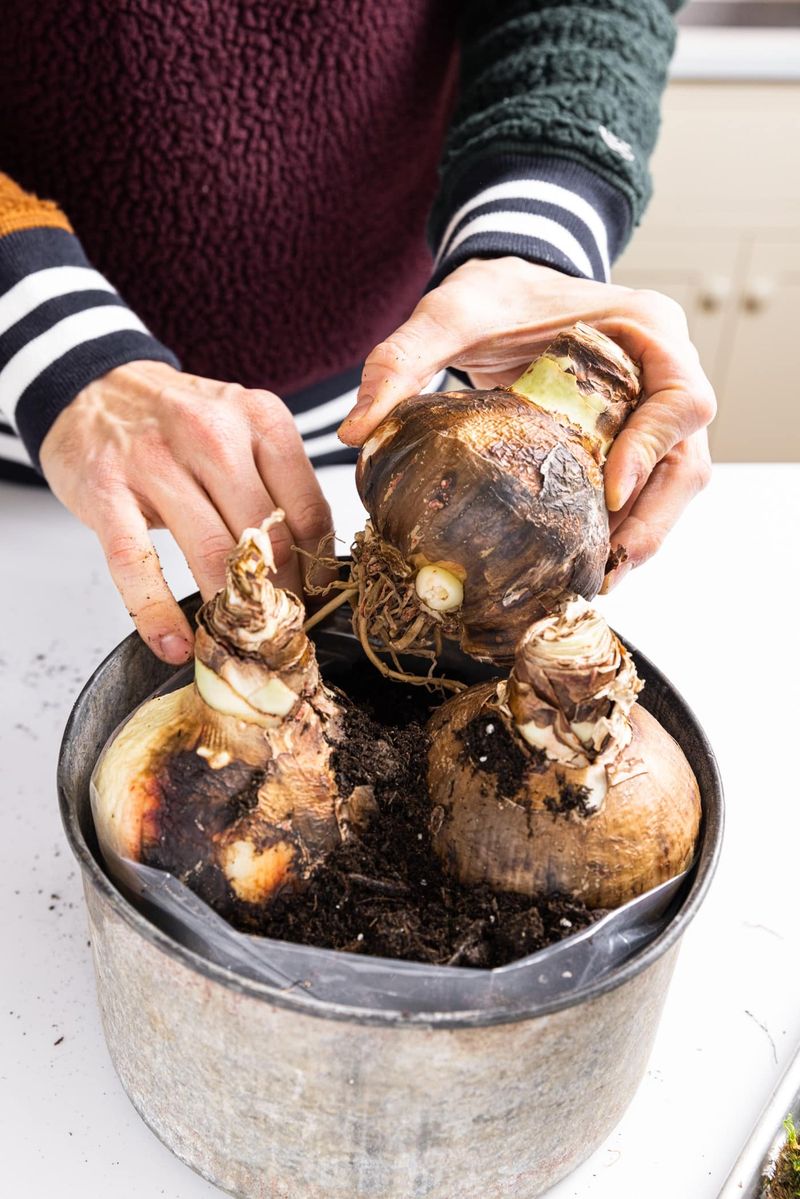
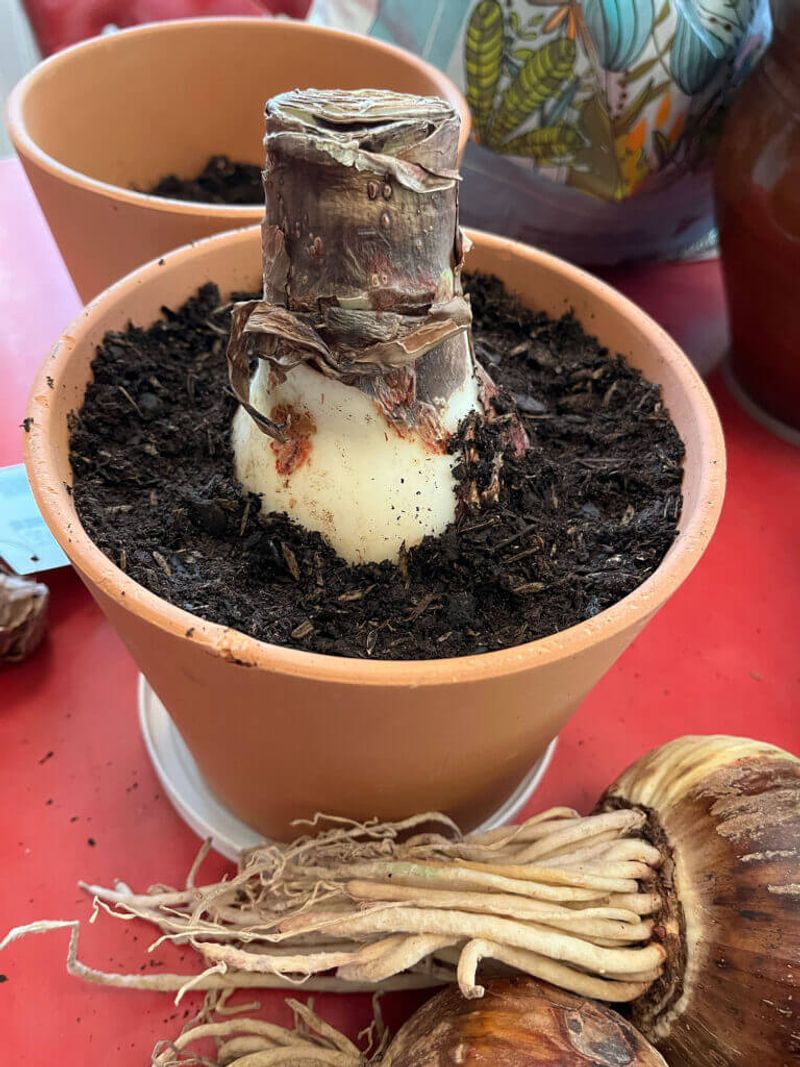
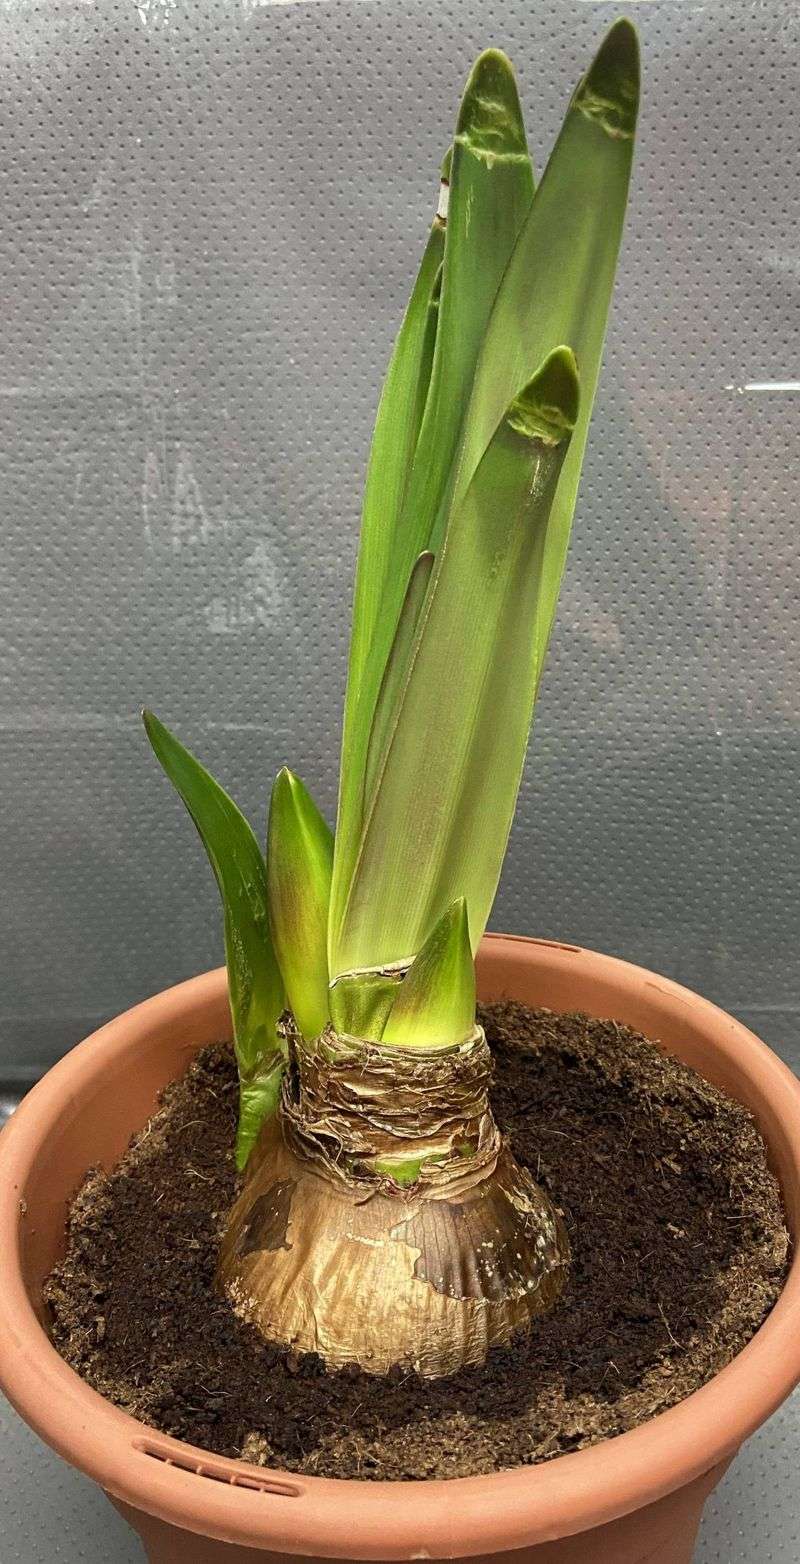
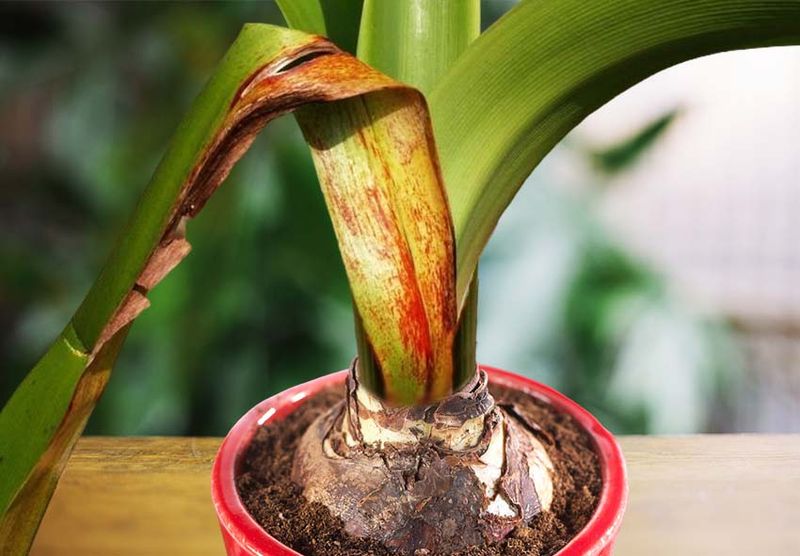
4. Plant The Bulb
Position the bulb with its pointed end up, burying only the bottom two-thirds in soil. This positioning helps support the flower stalks as they emerge.
Ensure the bulb sits upright and stable, as tilting can lead to uneven growth or falling stalks. Firm the soil gently around the bulb to secure it in place, leaving the top third exposed.
Correct planting is simple but critical. It allows the bulb to establish roots quickly, leading to a healthy, flowering plant.
5. Watering Wisely
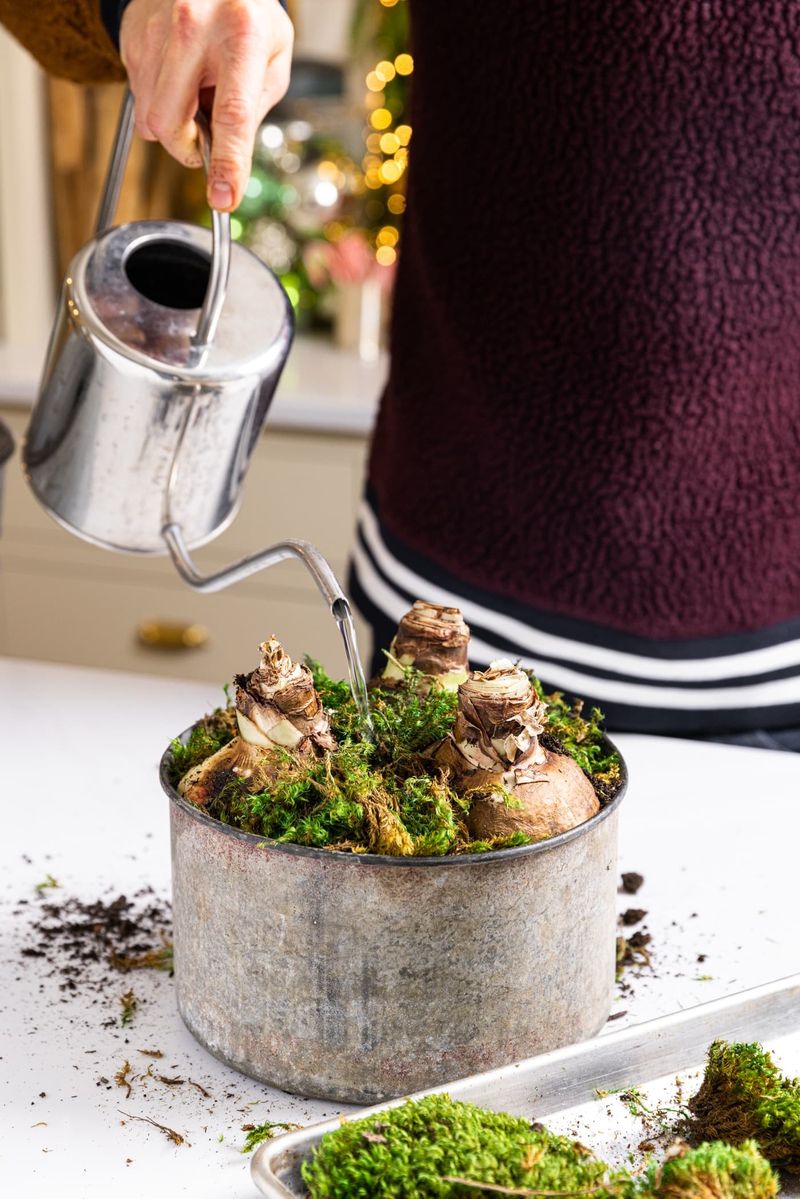
Watering amaryllis requires a balance between too much and too little. Initially, water the bulb lightly after planting. Once growth begins, increase watering gradually but avoid waterlogging.
Allow the top inch of soil to dry out between waterings to prevent root rot. Consistent moisture, not saturation, is the goal for a thriving plant.
Wise watering habits support healthy growth and prevent common issues like mold or decay. Pay attention to the plant’s needs, adjusting watering frequency based on your climate and season.
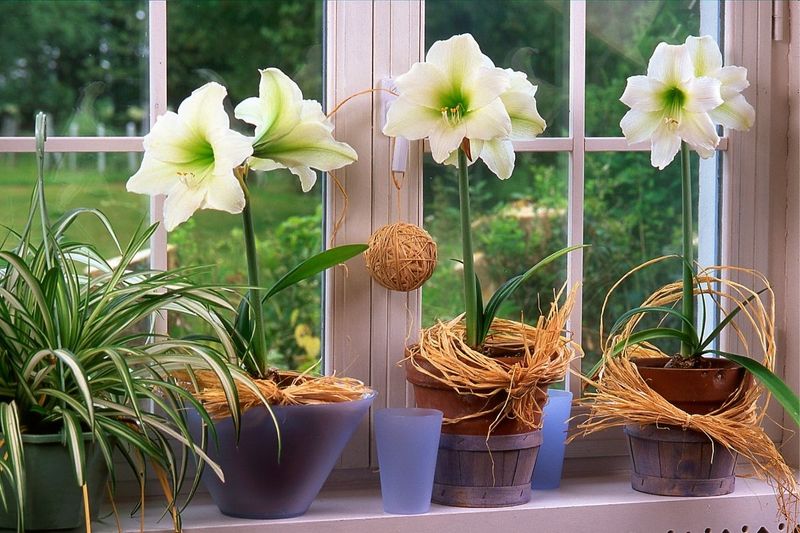
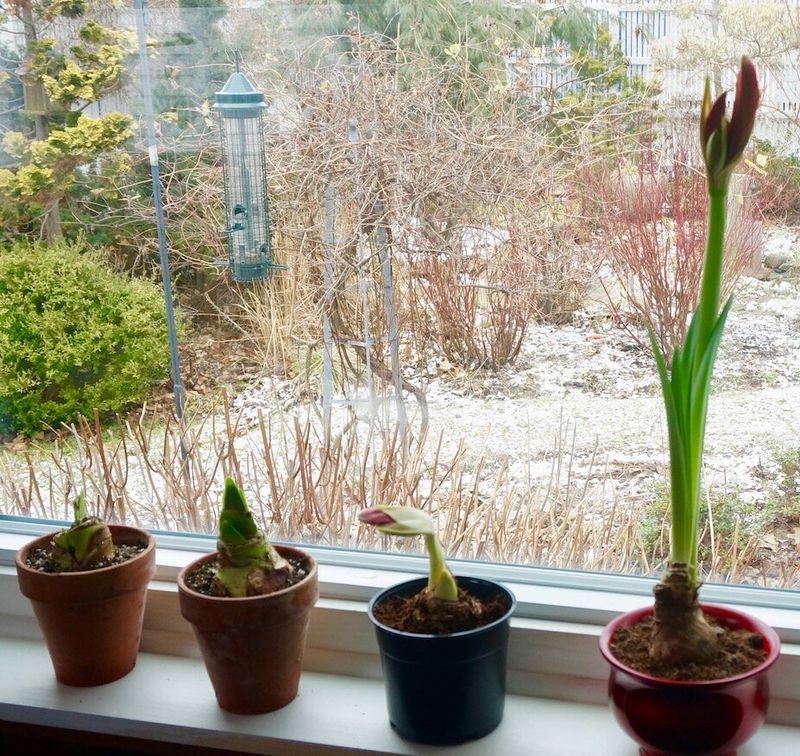
6. Provide Sufficient Light
Light plays a crucial role in the growth and flowering of amaryllis. Place your pot in a sunny location where it receives at least six hours of indirect sunlight daily.
Amaryllis thrives in well-lit areas, so consider moving it to follow the sun throughout the day if necessary. Avoid direct, harsh sunlight that can scorch the leaves.
Ample light encourages robust growth and pretty flowers. Adjust your plant’s position as needed to ensure it receives optimal lighting conditions.
7. Temperature Considerations
Maintaining the right temperature ensures healthy amaryllis growth. These plants prefer temperatures between 65-75°F during the day and slightly cooler at night.
Avoid exposing them to temperature extremes, such as drafts or heaters, which can stress the plant. Consistent, moderate temperatures promote strong blooms and overall vitality.
Monitor your indoor climate and adjust as needed. Keeping a stable temperature helps your amaryllis thrive and produce stunning flowers.
8. Fertilize Regularly

Fertilizing amaryllis is essential for robust growth and flowering. Use a balanced liquid fertilizer every 2-4 weeks during the growing season, following the package instructions.
Apply the fertilizer evenly to the soil, avoiding direct contact with the bulb to prevent burning. Regular feeding provides the nutrients necessary for vigorous flowering.
A consistent fertilizing schedule supports long-term health and encourages multiple blooms. Adjust the frequency according to your plant’s growth stage and needs.
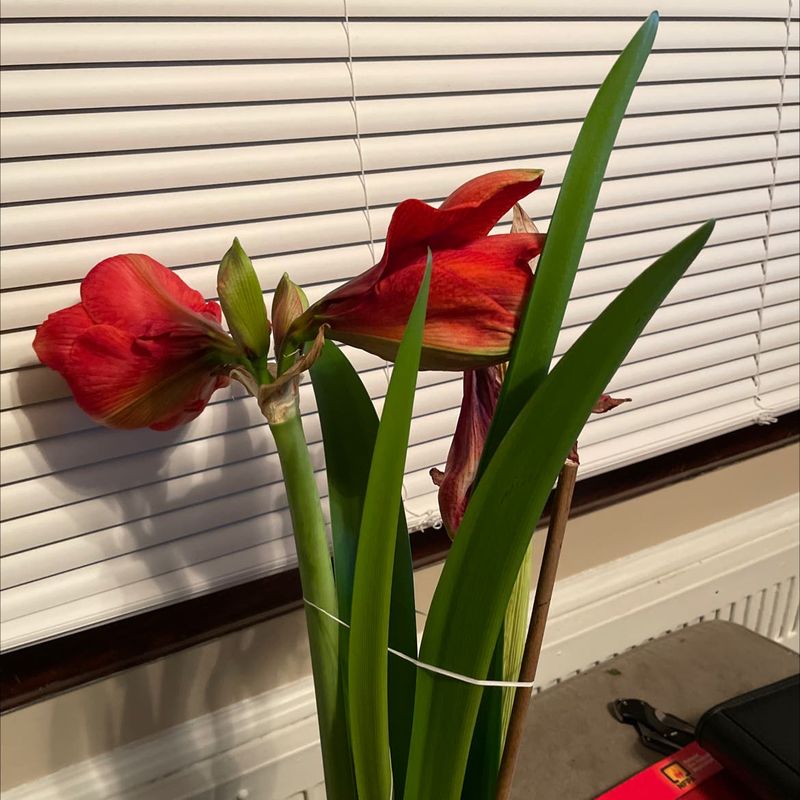
9. Support Stalk Growth
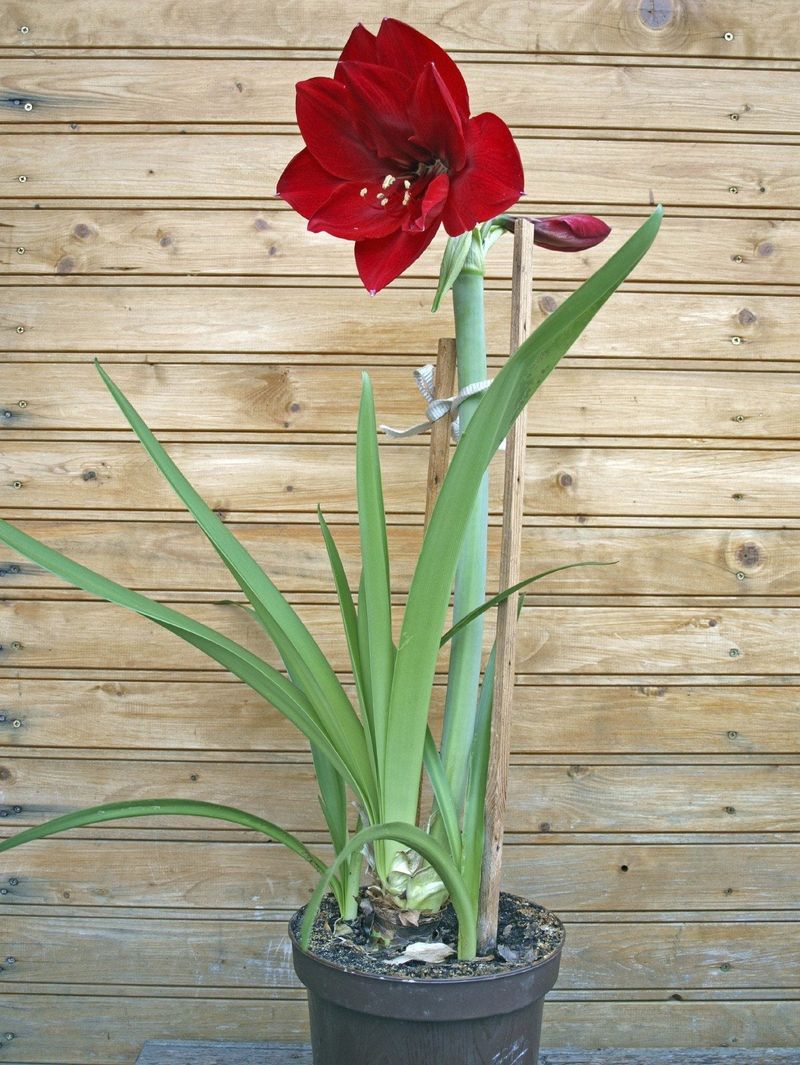
As amaryllis stalks grow, they may need support to remain upright. Use a stake or support ring to prevent bending or breakage, especially as the flowers start to bloom.
Place the support close to the stalk and secure it gently but firmly with ties or clips. This prevents damage while allowing the plant to sway naturally.
Supporting your plant encourages healthy, strong stalks that can bear the weight of multiple blooms. Proper support also enhances the plant’s overall appearance.
10. Rotate The Pot Regularly
Doing this helps ensure even growth by exposing all sides to sunlight. Turn the pot a quarter turn every few days to prevent leaning.
This simple action encourages symmetrical growth and a balanced plant. It also helps distribute light evenly, promoting uniform flowering across all stalks.
Regular rotation is an easy yet effective practice. It keeps your plant looking full and healthy while maximizing light exposure.
11. Prune After Flowering
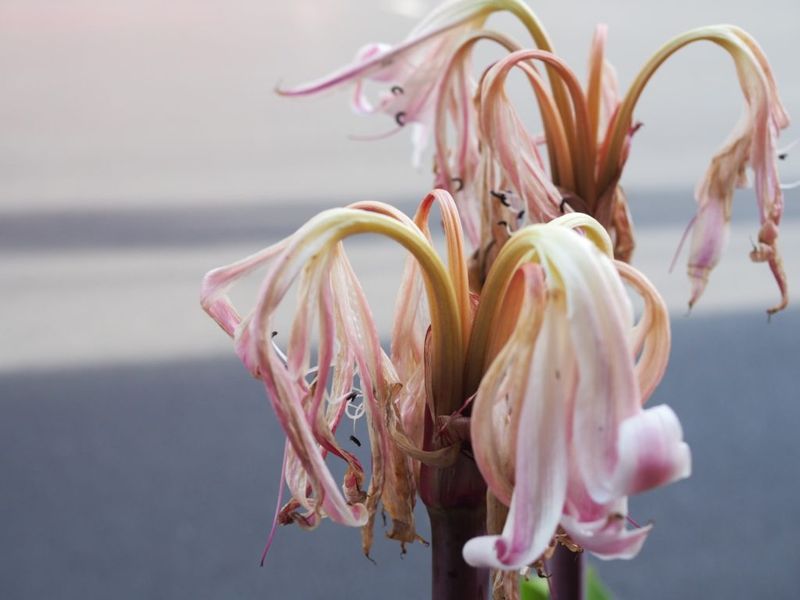
Pruning spent flowers encourages new growth and keeps your plant tidy. Use clean, sharp scissors to snip off dead blooms once they start to wilt.
Remove the flower stalks near the base, taking care not to damage the leaves. This ensures the plant’s energy is directed toward bulb nourishment and future growth.
Regular pruning promotes a neat appearance and prepares the plant for the next blooming cycle. It’s a simple task that enhances your amaryllis’s potential.
12. Manage Pests
Pest management is crucial to maintaining a healthy amaryllis. Check regularly for common pests like aphids or spider mites and act quickly to address them.
Use insecticidal soap or neem oil as a natural remedy, applying it evenly to affected areas. Consistent monitoring helps catch infestations early.
By managing pests proactively, you protect your plant’s health and ensure vigorous growth. A pest-free plant flourishes and produces stunning blooms.
13. Control Fungal Issues
Regular inspection is key. Look for signs like discolored spots or wilting leaves and address problems promptly.
Maintain good air circulation around the plant and avoid overhead watering to minimize fungal risks. Use fungicides as needed, following the instructions carefully.
Preventing and controlling fungi ensures your amaryllis remains healthy. Vigilance and proper care keep your plant thriving through each season.
14. Repot Every Few Years
Every 2-3 years, transplant your plant into a slightly larger pot with fresh soil to accommodate root growth.
This process rejuvenates the soil’s nutrient content and provides space for expansion. Handle the bulb gently during repotting to avoid damage.
Regular repotting supports continued growth and flowering. It refreshes the plant’s environment, ensuring a thriving, beautiful display year after year.
15. Encourage Dormancy
Amaryllis requires a dormancy period to bloom annually. After flowering, reduce watering gradually and allow the foliage to die back naturally.
Once the leaves have yellowed, move the pot to a cool, dark area for about 8-10 weeks. This rest period is crucial for bulb rejuvenation and future flowering.
Encouraging dormancy ensures your plant remains robust and ready to bloom again. It mimics natural cycles, promoting healthy, repeat flowering.
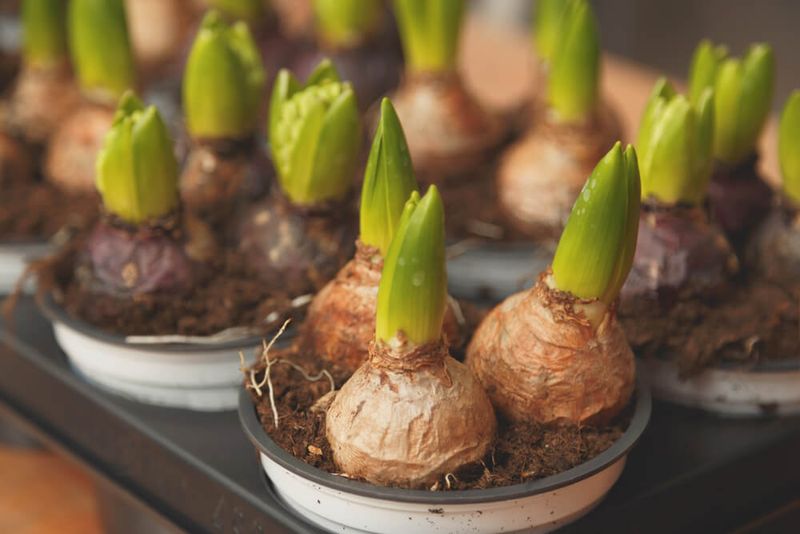
16. Revive After Dormancy
Doing this requires gradual reintroduction to light and water. Once the rest period is over, move the pot to a sunny location and resume watering.
Water sparingly until new growth appears, then increase gradually. This careful transition ensures the bulb wakes up healthy and ready to grow.
By reviving your plant thoughtfully, you set the stage for a new cycle of growth and flowering. It rewards patience with beautiful blooms.
17. Track Growth Progress
Keeping track of your amaryllis’s growth helps monitor its health and development. Use a journal to note key stages, such as sprouting and blooming.
Recording observations allows you to spot trends or issues early, enhancing care strategies. It also provides a record of successful practices and potential adjustments.
A growth journal adds depth to your gardening experience. It strengthens your connection to the plant and supports informed, responsive care.
18. Share And Enjoy
Sharing your amaryllis journey with others can be rewarding. Gift a bulb or a cutting to friends or simply enjoy the beauty of the flowers together.
Discussing techniques and experiences can deepen your understanding and appreciation of gardening. It fosters a sense of community and shared joy.
By sharing and enjoying your amaryllis, you celebrate the plant’s beauty and your growing journey. It enriches relationships and spreads happiness.
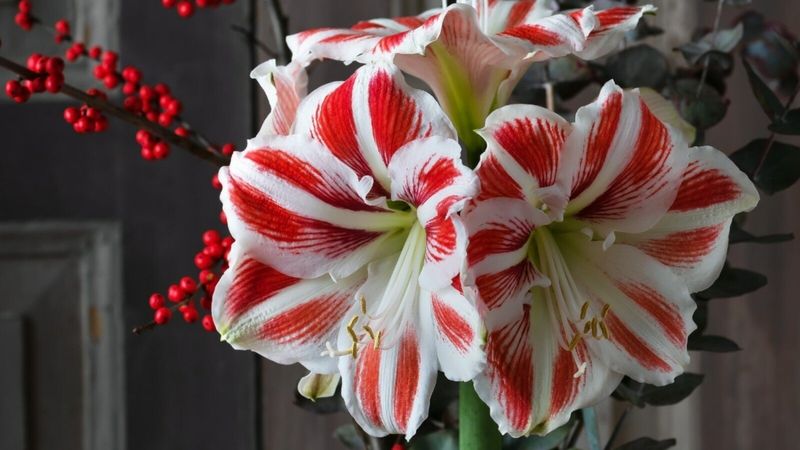
19. Celebrate Success
This marks the culmination of your efforts. Stand back and admire the blooms, recognizing the care and attention invested.
Take photos or invite others to appreciate your work. This celebration reinforces positive gardening habits and inspires future projects.
By celebrating, you acknowledge your role in creating beauty and nurturing life. It motivates continued exploration and enjoyment of gardening.