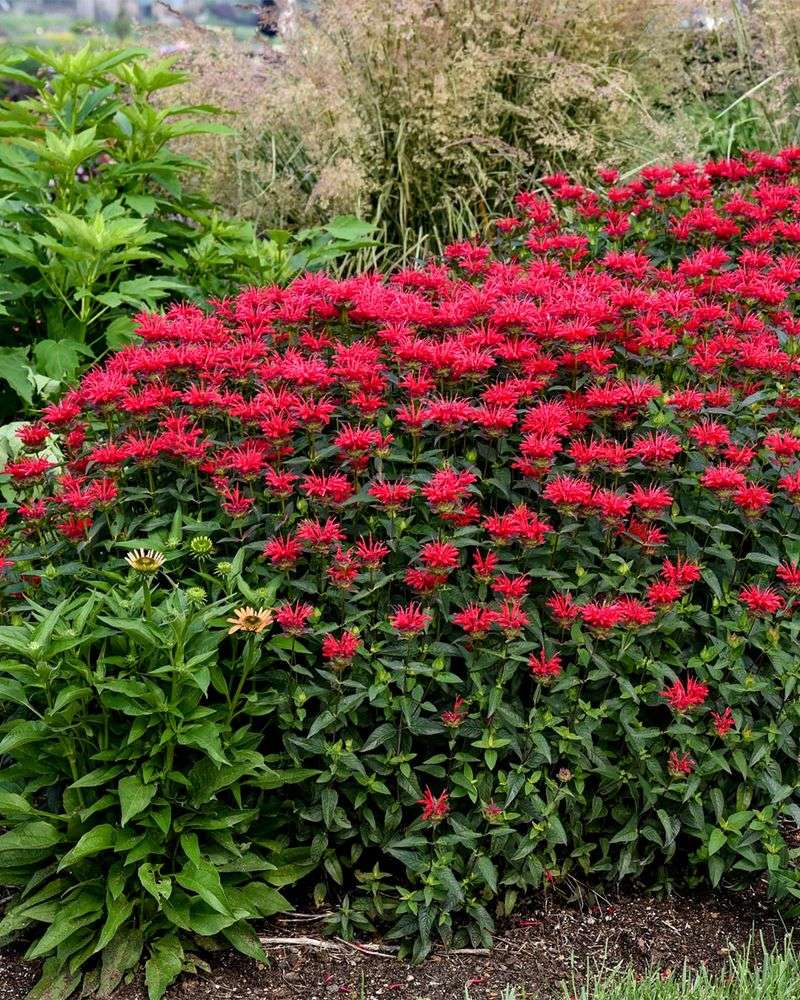
18 Simple Tips For Growing Full And Bushy Bee Balm (That Blooms All Season)
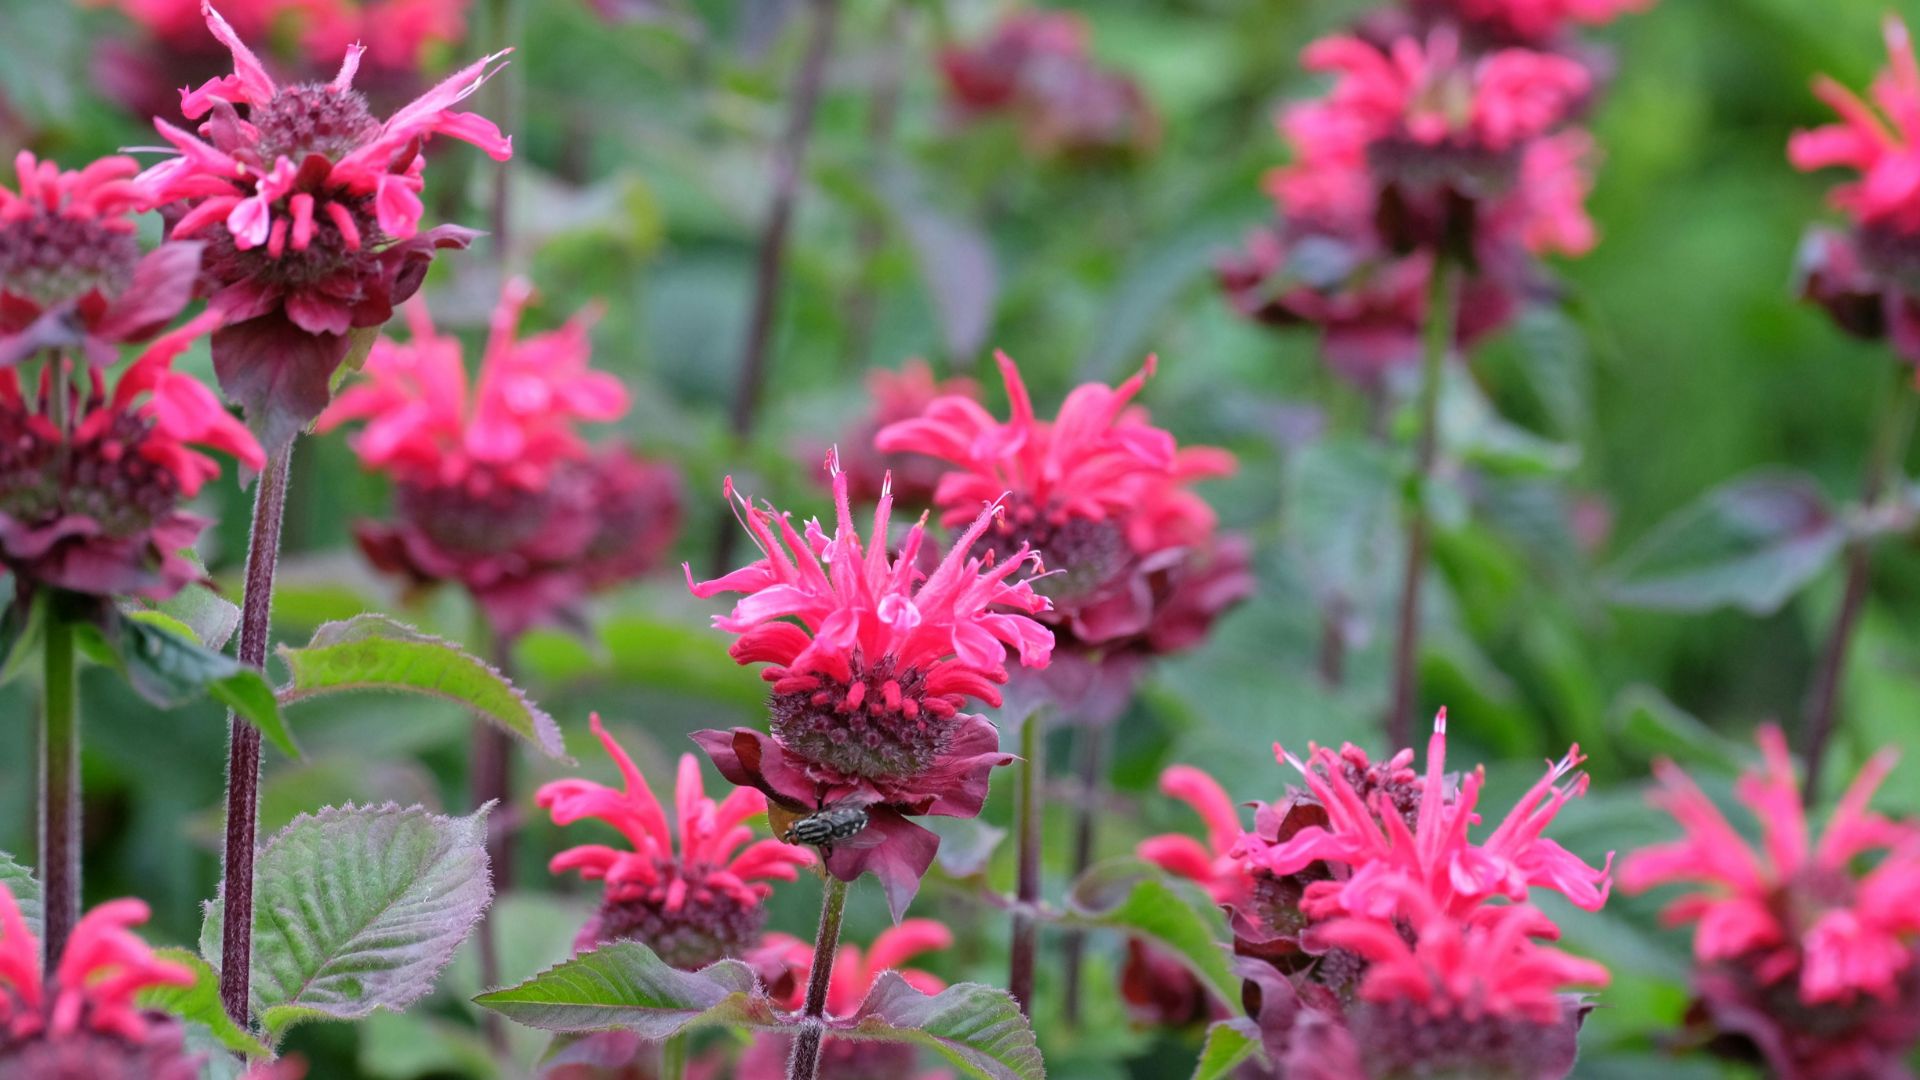
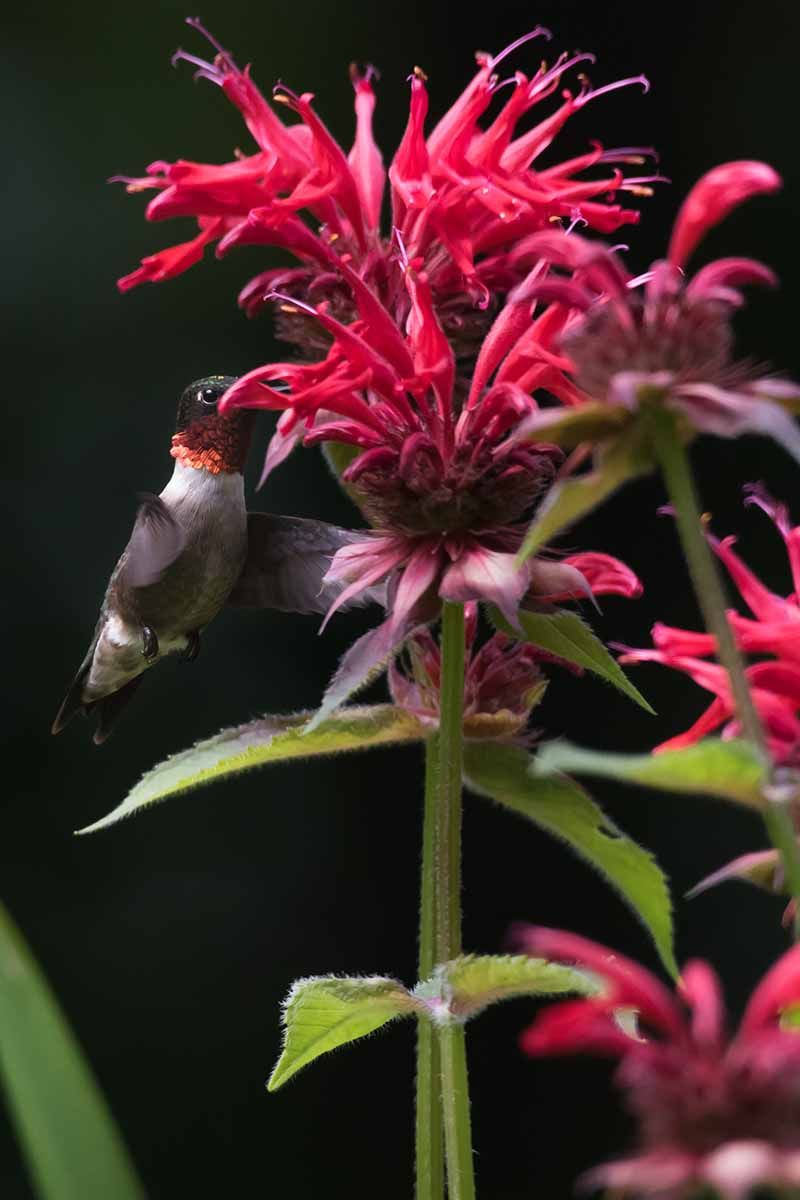
Bee balm isn’t just beautiful—it’s a magnet for hummingbirds, butterflies, and bees. Its vivid blooms and minty foliage light up the garden while bringing pollinators in droves. If you’re looking to make your summer landscape pop, Monarda is your go-to.
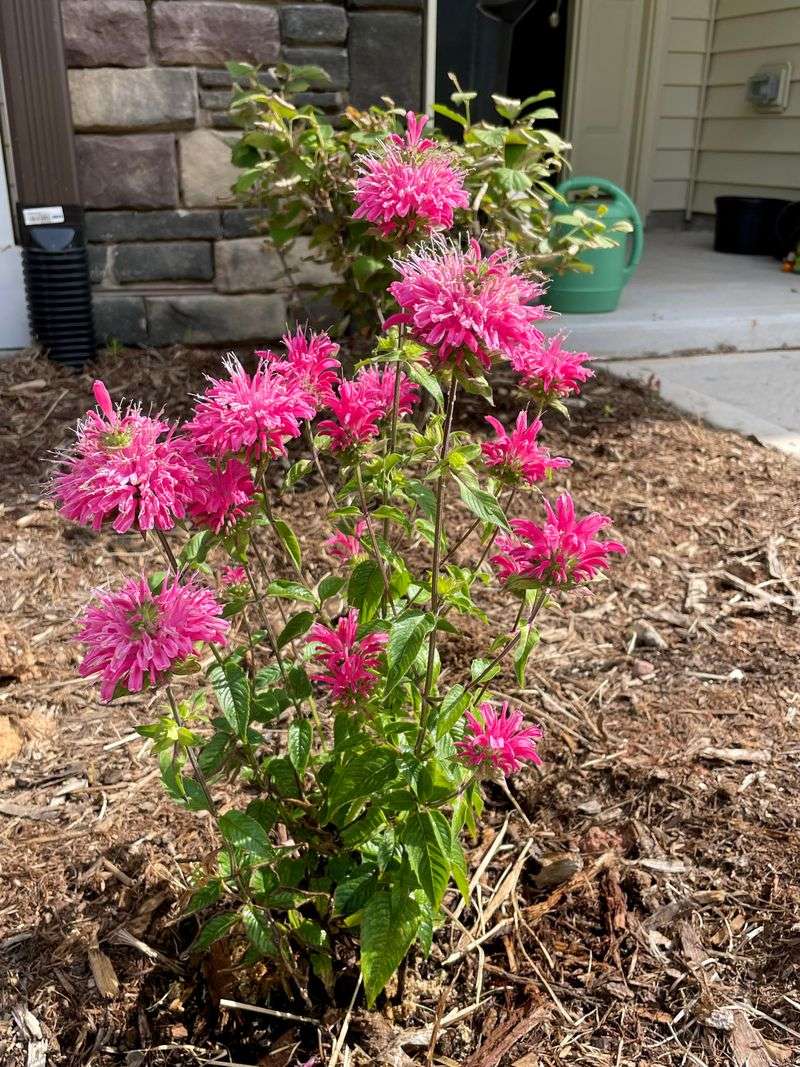
Give it full sun, rich soil, and good airflow to avoid mildew and encourage lush growth. Pinch back early stems to promote bushiness, and deadhead spent blooms to keep the flowers coming. With just a little attention, bee balm becomes the life of your garden party.
Want even more blooms next year? Divide crowded clumps in early spring or fall to keep plants vigorous. These easy tweaks turn a charming plant into a showstopper that doesn’t just look good—it supports the pollinators that keep your garden thriving.
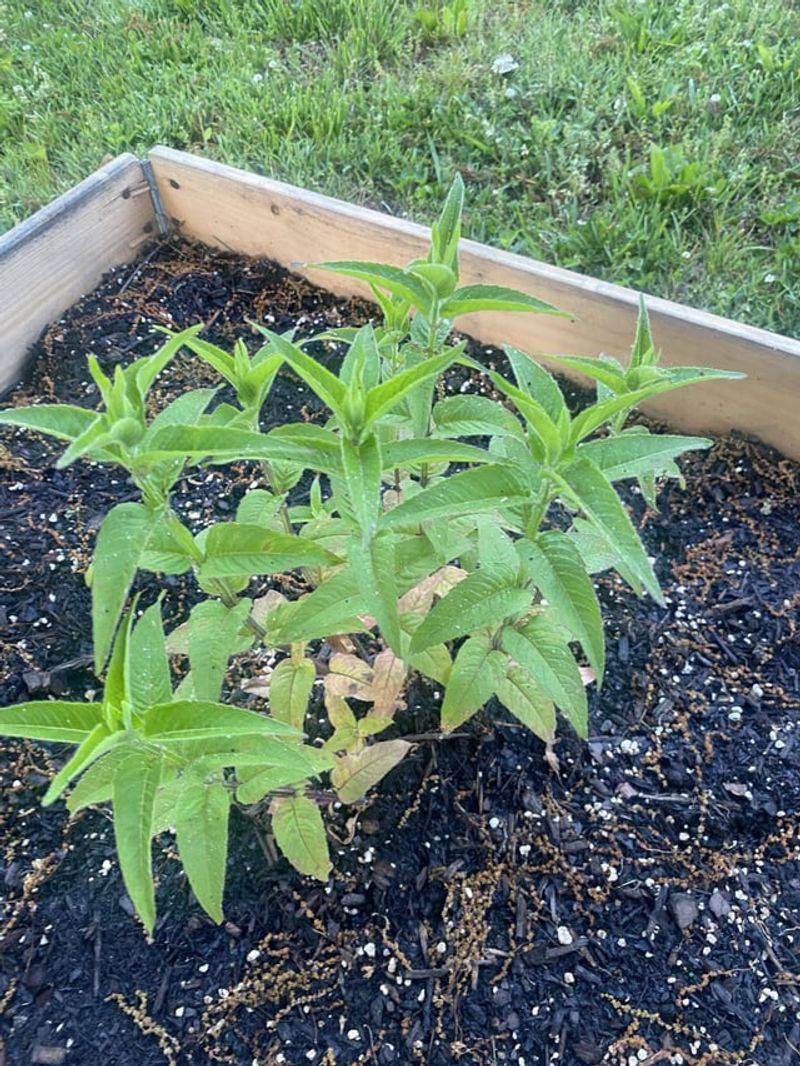
1. Start With The Right Variety
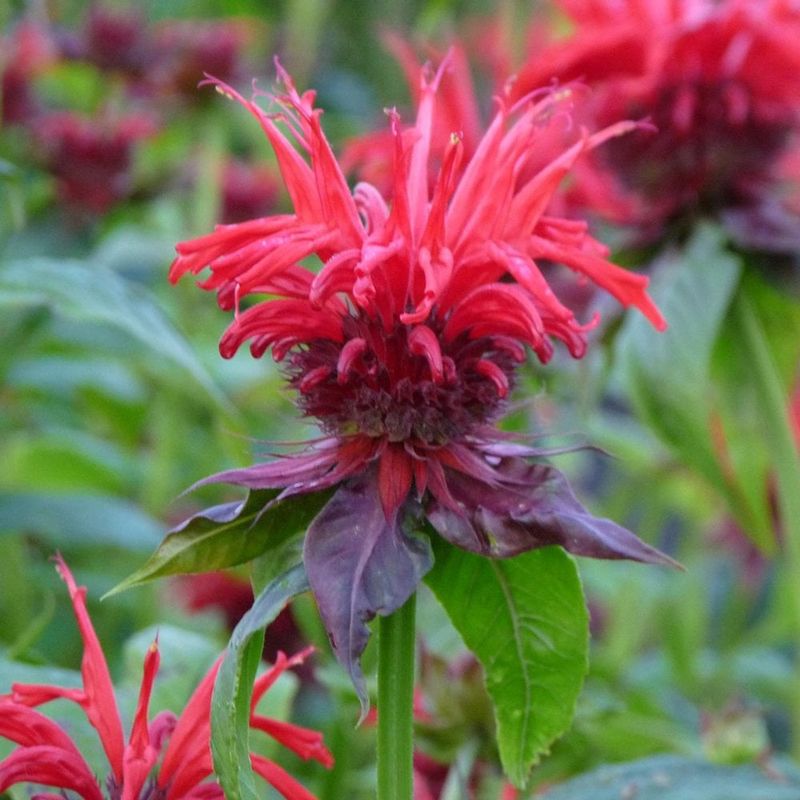
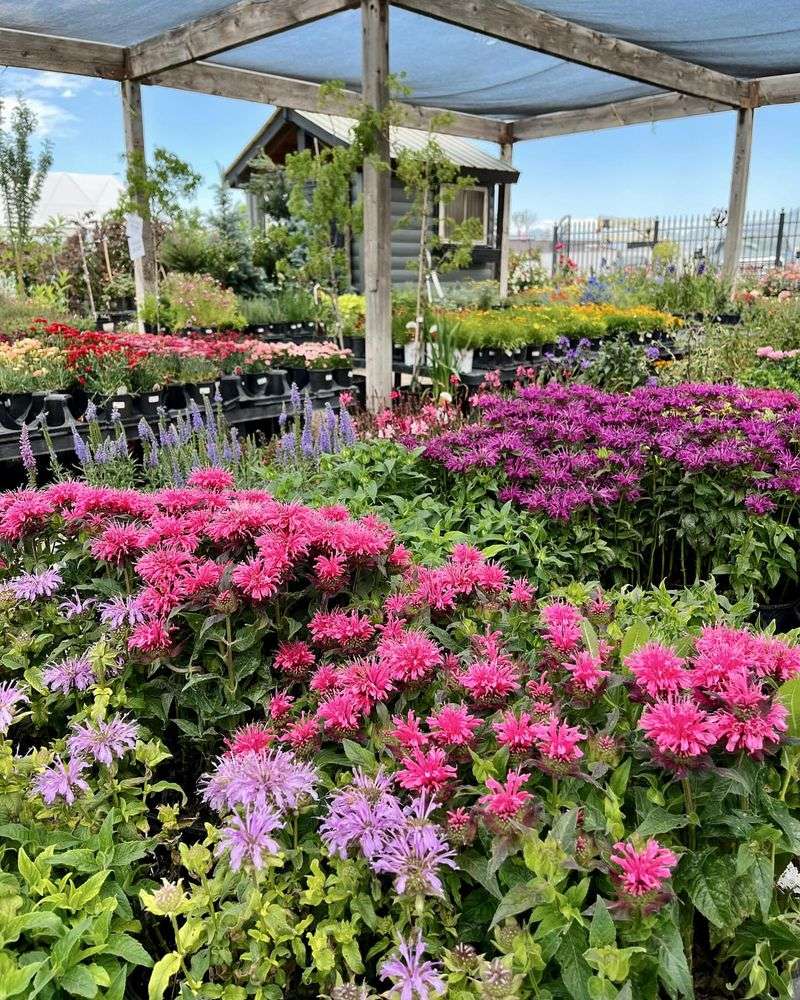
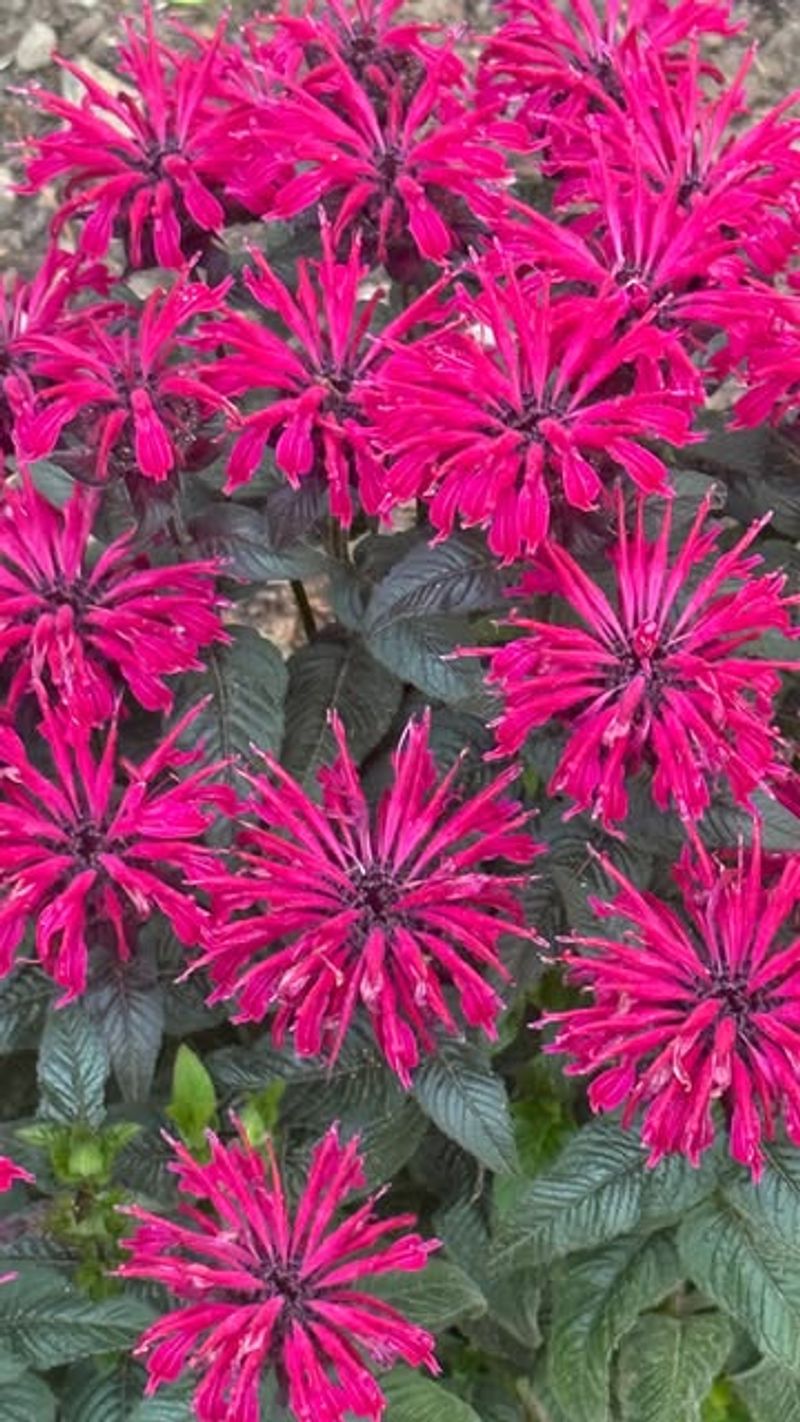
Not all bee balm varieties perform equally in gardens. ‘Jacob Cline’ and ‘Raspberry Wine’ resist powdery mildew naturally, making them perfect for beginners.
Consider your climate when selecting varieties. Some perform better in hot, humid conditions while others thrive in cooler zones with less summer heat.
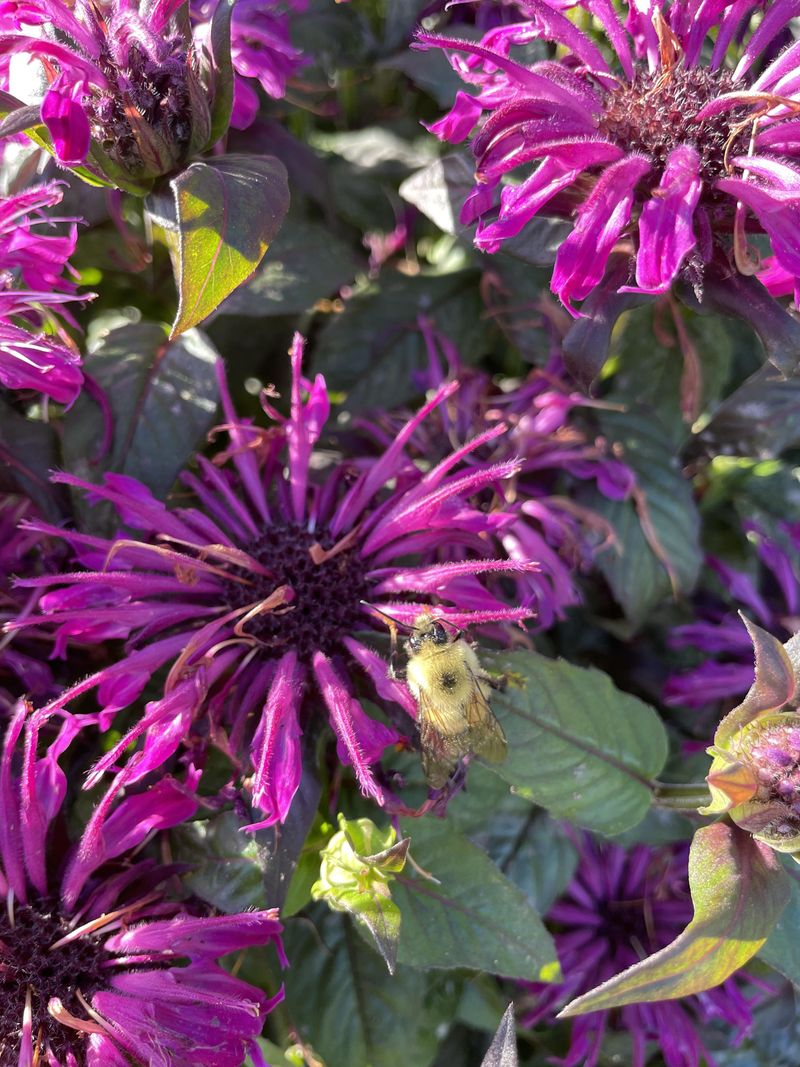
I’ve found that red varieties tend to attract more hummingbirds, while the purple and pink ones seem especially irresistible to butterflies and bees.
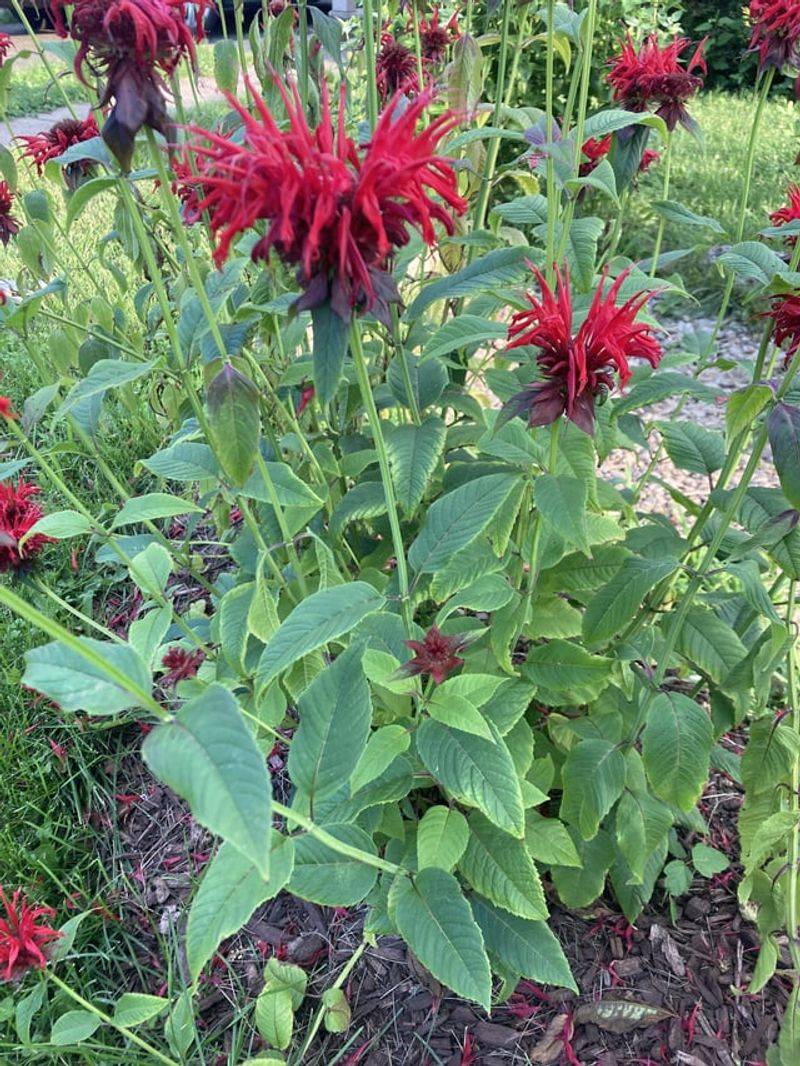
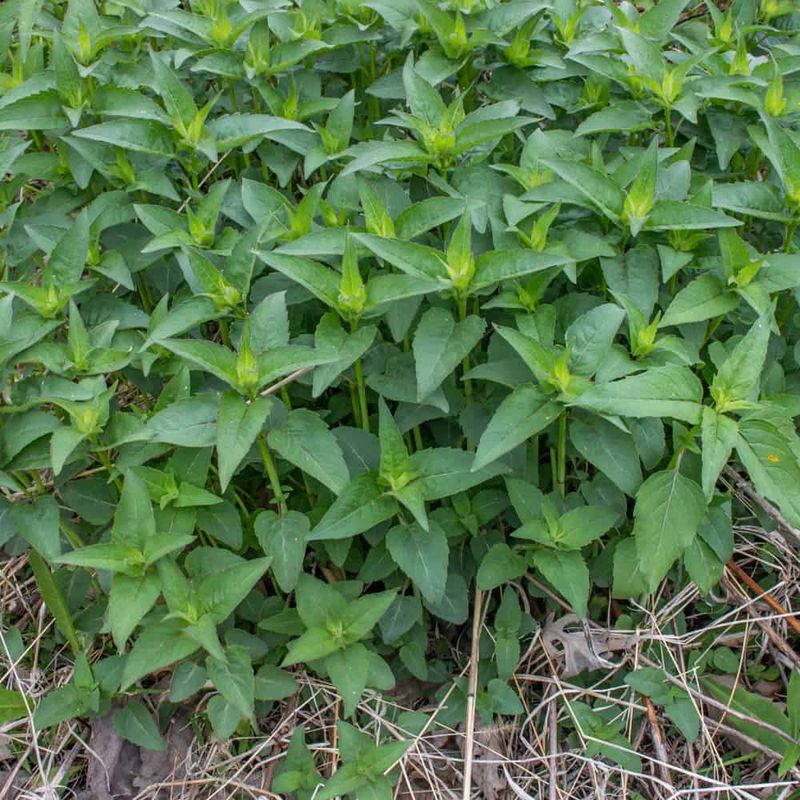
2. Give Them Room To Breathe
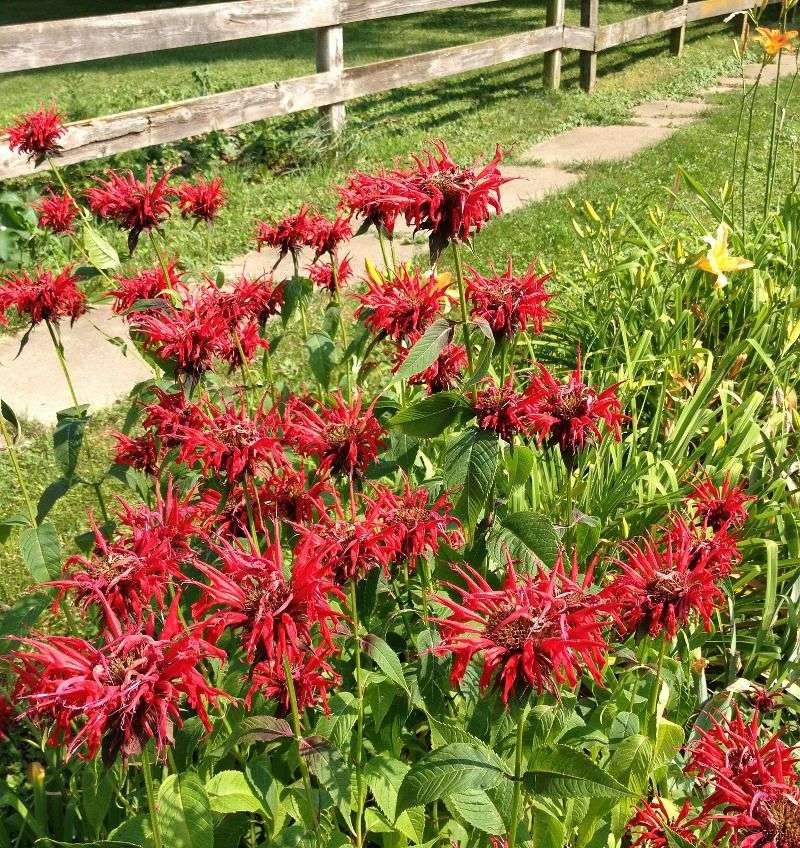
Proper spacing prevents disease and encourages bushier growth. Plant bee balm at least 18-24 inches apart to allow adequate air circulation between the plants.
When plants have breathing room, they develop stronger stems and more abundant blooms. The extra space also reduces competition for nutrients and water in the soil.
Last summer, my crowded bee balm patch struggled until I thinned it out. The remaining plants responded with twice as many flowers and much fuller growth.
3. Choose The Perfect Spot
Full morning sun with afternoon shade creates ideal growing conditions in most regions. This light pattern provides enough energy for strong growth while protecting plants from intense afternoon heat.
The sweet spot for bee balm is soil that stays evenly moist but never soggy. Areas with good drainage that don’t dry out completely work best.
My north-facing garden bed proved perfect—receiving bright morning light while being sheltered from the harsh afternoon sun that used to scorch my plants.
4. Enrich Your Soil First
Working compost into your planting area creates the foundation for spectacular growth. Aim for about 2-3 inches of organic matter mixed into the top 8 inches of soil before planting.
Rich soil helps bee balm develop stronger root systems that support more abundant top growth. The organic matter also improves drainage while retaining just enough moisture.
Since amending my clay soil with leaf compost, my bee balm has nearly doubled in size and fullness compared to previous seasons.
5. Master The Pinching Technique
Pinching back the growing tips in spring encourages branching and creates fuller plants. When stems reach about 12 inches tall, simply pinch off the top inch with your fingers.
This small action triggers the plant to develop side shoots instead of growing straight up. More branches mean more flower buds later in the season.
The first time I tried this technique, I was skeptical, but my bee balm developed twice as many stems and a much bushier habit than the unpinched plants.
6. Water Deeply, Not Daily
Thorough, infrequent watering develops stronger root systems than frequent light sprinkles. Aim for about 1 inch of water per week, either from rainfall or irrigation.
Morning watering gives leaves time to dry before evening, reducing disease risk. Focus the water at soil level rather than spraying the foliage to further prevent problems.
Using a soaker hose around my bee balm transformed their performance—they’re now drought-tolerant with robust stems that don’t flop over after summer storms.
7. Feed Strategically, Not Excessively
Moderate feeding produces sturdier plants than heavy fertilizing. Apply a balanced organic fertilizer (like 5-5-5) once in spring when new growth begins, then again lightly after the first bloom cycle.
Too much nitrogen creates floppy stems and fewer flowers. Compost tea makes an excellent supplemental feed during the growing season without pushing excessive growth.
The years I’ve used fish emulsion at half-strength have consistently produced the best results—lush but not leggy plants with extended blooming periods.
8. Divide Regularly For Vigor
Every 2-3 years, dividing crowded bee balm clumps rejuvenates their growth and blooming potential. Early spring is ideal for this task, just as new growth begins to emerge from the soil.
Dig up the entire clump, separate into smaller sections with 3-5 growing points each, and replant immediately. The outer portions typically perform better than the tired center of old clumps.
After dividing my four-year-old patch last spring, the new divisions produced twice as many flowers and much fuller growth than they had in years.
9. Mulch To Retain Moisture
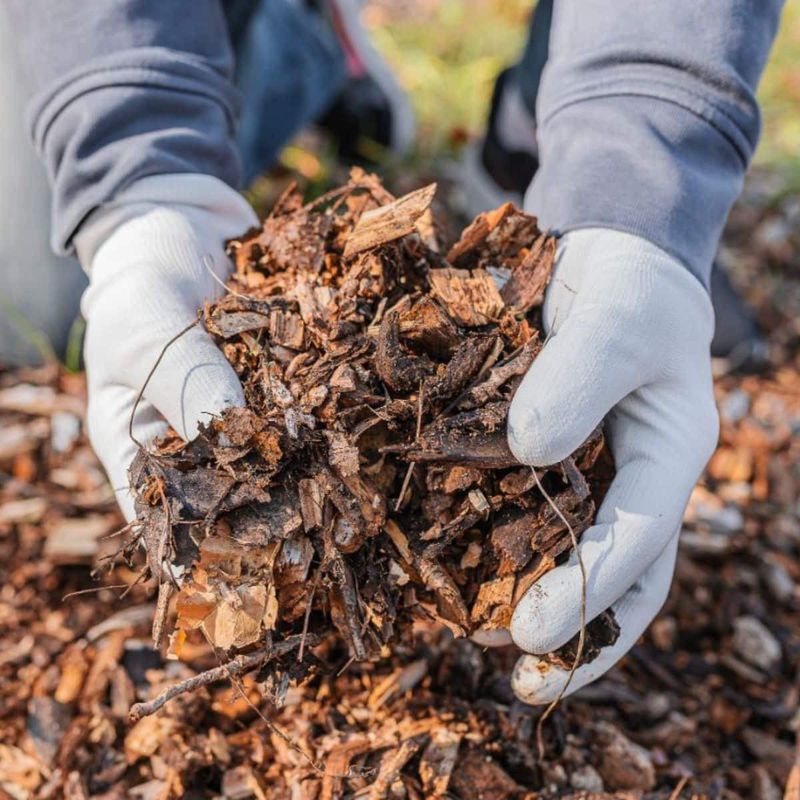
A 2-inch layer of organic mulch keeps soil moisture consistent and suppresses weeds that compete with your bee balm. Shredded leaves, straw, or pine needles work particularly well.
Keep the mulch pulled back slightly from the stems to prevent rot issues. Refresh it in spring and fall as it breaks down and enriches the soil.
The transformation in my garden was remarkable after switching to pine straw mulch—more consistent soil moisture translated to fuller plants with extended blooming periods.
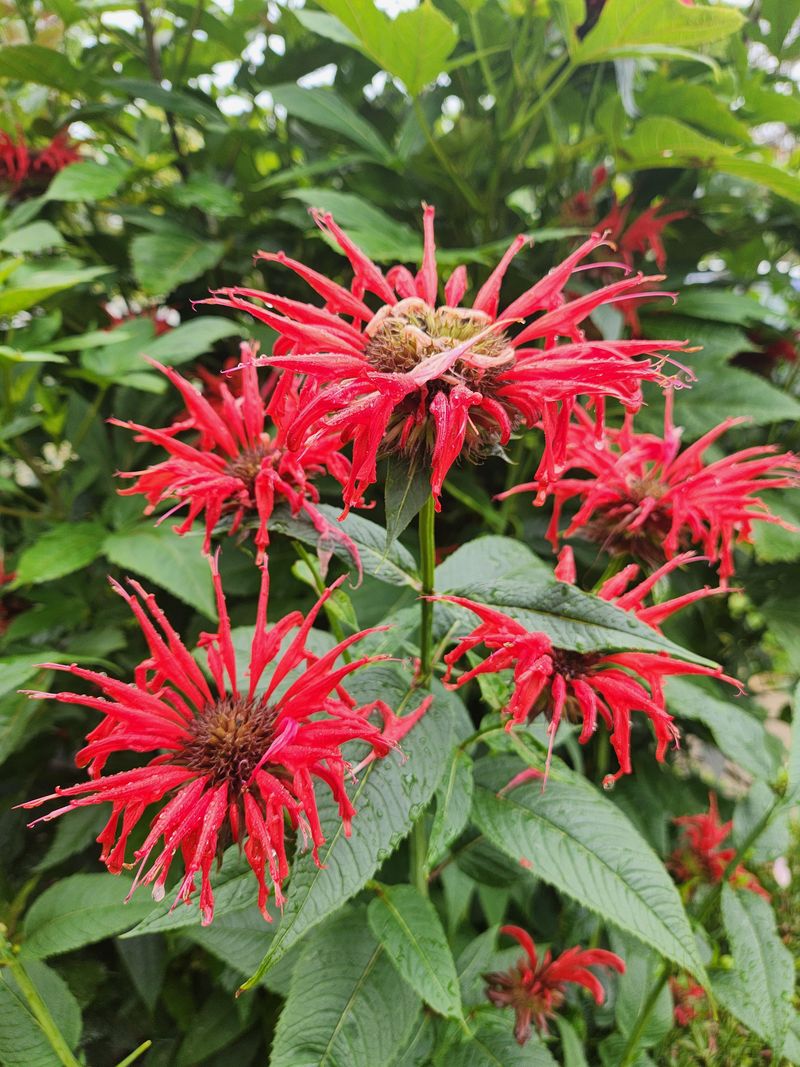
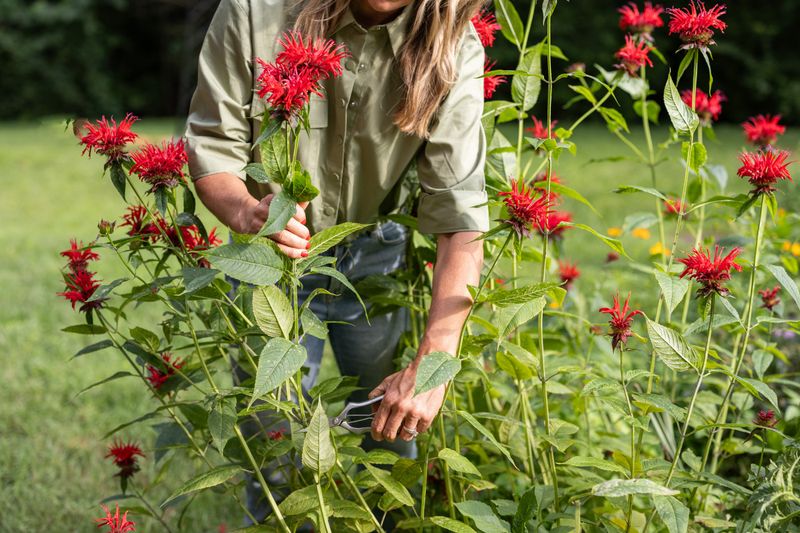
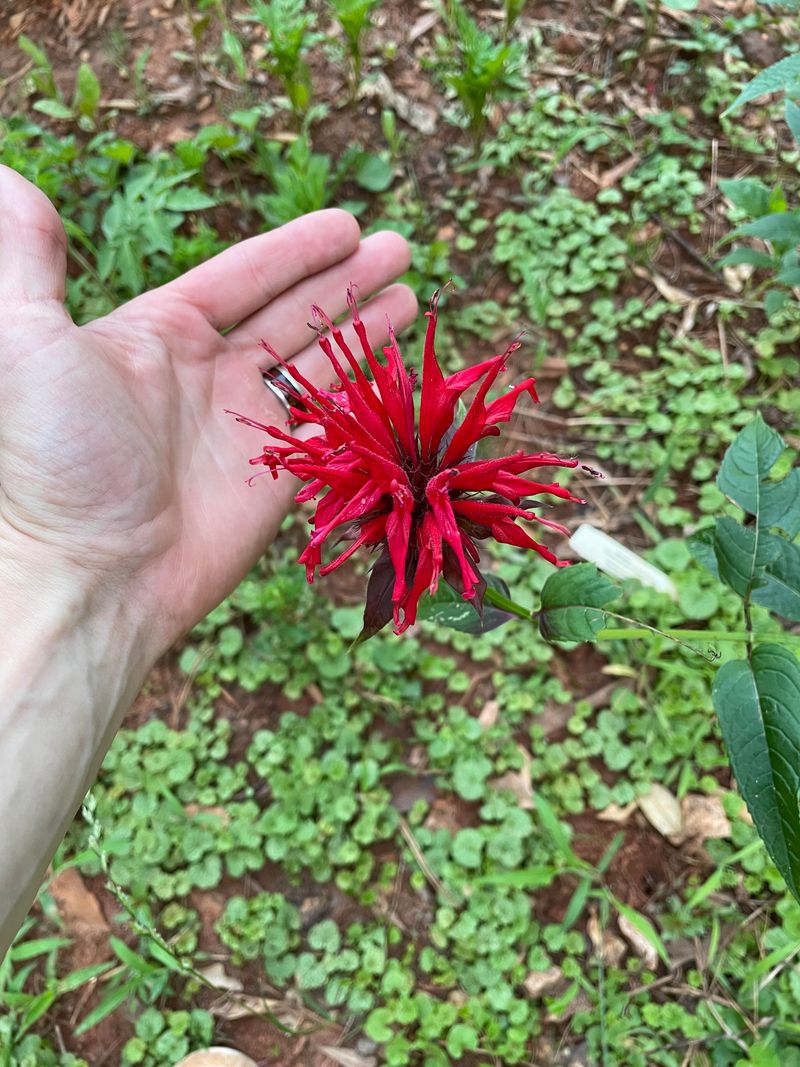
10. Deadhead Diligently
Removing spent flowers signals the plant to produce more blooms rather than seeds. Snip faded flower heads just above the next set of leaves or buds on the stem.
Regular deadheading every 3-4 days during peak bloom keeps the display going strong. This simple maintenance task can extend flowering by several weeks.
What surprised me most was how quickly new buds appeared after deadheading—sometimes within days, the plants were preparing their next show of color.
11. Cut Back For Second Flush
A bold mid-season cutback can trigger an impressive second bloom. After the first flowering period begins to fade, cut some stems back by one-third to stimulate new growth.
Stagger this pruning rather than cutting the entire plant at once. This ensures continuous color as some stems bloom while others regenerate.
The first time I tried this technique, I was rewarded with fresh blooms in September—a time when most gardens start looking tired.
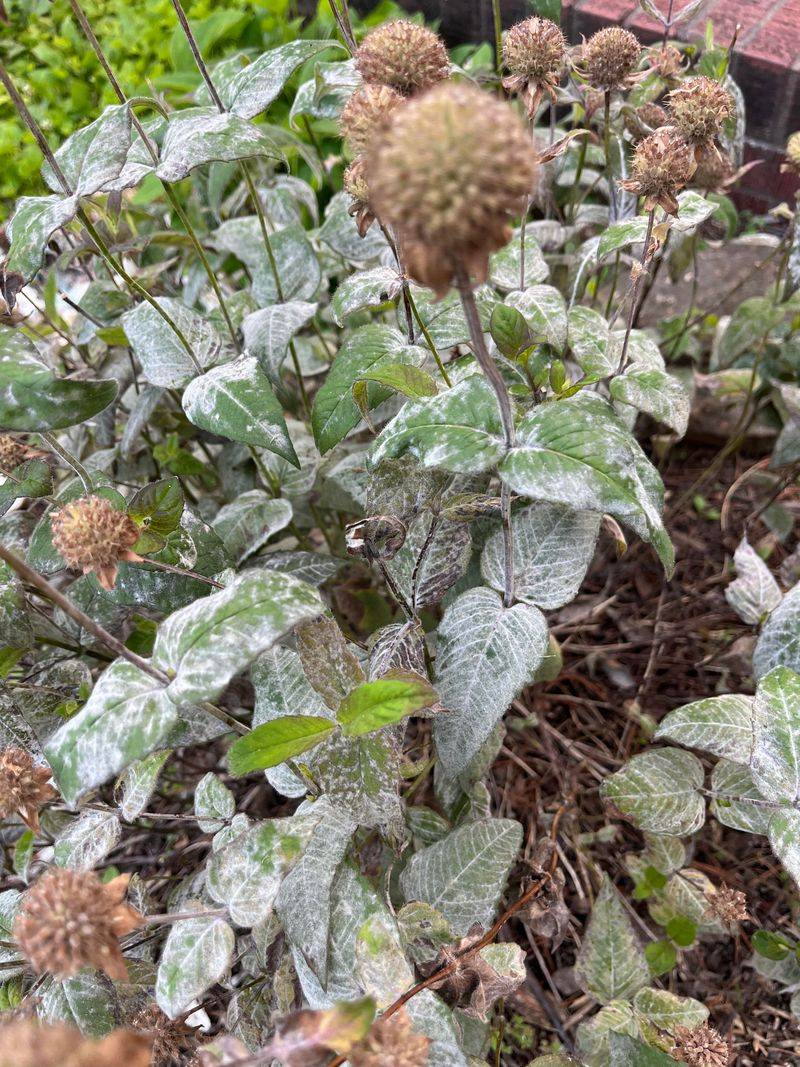
12. Prevent Powdery Mildew Proactively
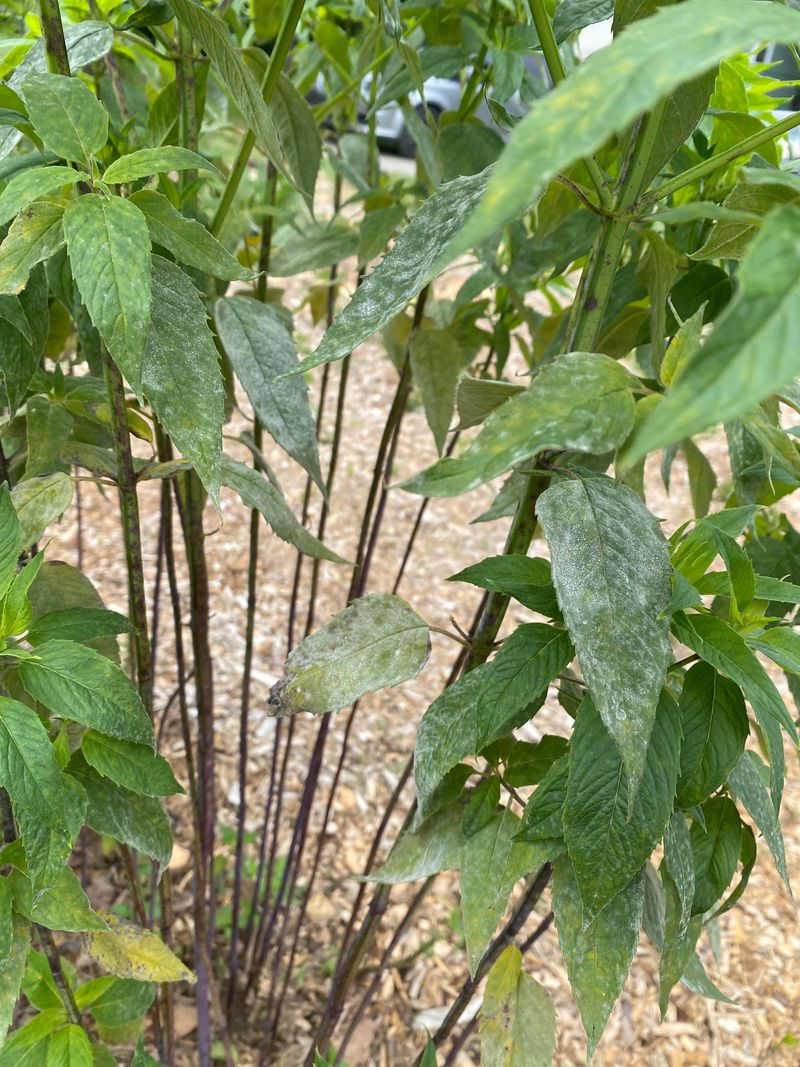
A homemade spray of 1 tablespoon baking soda, 1 tablespoon horticultural oil, and 1 gallon of water applied weekly helps prevent powdery mildew before it starts.
Good air circulation is your best defense, so thin plants occasionally by removing a few inner stems. This allows better airflow through the foliage.
Morning watering makes a tremendous difference—my plants have remained mildew-free since I stopped watering in the evening hours.
13. Partner With Complementary Plants
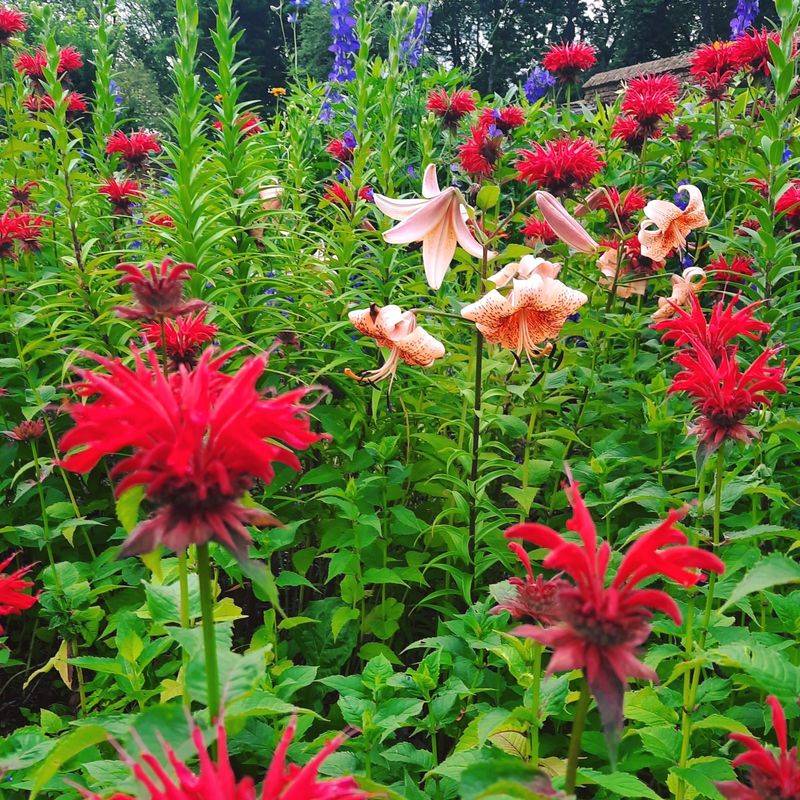
Surrounding bee balm with compatible companions enhances its growth and appearance. Black-eyed Susans, purple coneflowers, and ornamental grasses make excellent neighbors.
These plant partnerships aren’t just visually appealing—they attract diverse pollinators that improve overall garden health. Their varied root structures also help prevent soil compaction around bee balm.
The combination of bee balm with shorter catmint in my border creates a lovely layered effect while the catmint’s spreading habit helps suppress weeds around the bee balm’s base.
14. Control Spreading With Barriers
Installing underground barriers prevents bee balm’s enthusiastic spreading while maintaining plant health. Sink 12-inch deep plastic edging or large plastic pots with the bottoms removed around plants.
These physical boundaries contain the spreading rhizomes without restricting the plants’ access to soil moisture and nutrients. The result is controlled growth that stays full rather than sparse.
My garden’s transformation was dramatic after installing barriers—instead of thin, scattered plants everywhere, I now have concentrated, lush clumps exactly where I want them.
15. Manage Pests Naturally
A strong spray of water dislodges aphids and spider mites before they damage your plants. Regular inspection of leaf undersides helps catch problems early before they affect plant vigor.
Introducing beneficial insects like ladybugs and lacewings creates natural pest control. These helpful garden allies keep problematic insects in check without chemicals.
The neem oil spray I use occasionally has kept my bee balm pest-free for three seasons now—just enough intervention to prevent damage without disrupting the garden’s natural balance.
16. Provide Support For Taller Varieties
Discreet supports prevent flopping and keep plants looking their best. Place supports early in the season when plants are about a foot tall so they can grow through them naturally.
Simple bamboo stakes arranged in a circle with twine looped around work perfectly. The stems grow through and hide the supports by mid-season.
After years of fallen stems after rainstorms, adding support rings completely transformed my garden’s appearance—the plants now stand proudly upright even after heavy summer downpours.
17. Harvest Leaves For Freshness
Light harvesting of leaves stimulates bushier growth while providing aromatic herbs for tea. Take just a few leaves from each plant, focusing on stems that could use branching.
Morning harvesting captures the highest concentration of aromatic oils. Use clean scissors to make cuts just above leaf nodes to encourage new growth at those points.
The tea made from fresh leaves has a wonderful bergamot scent, and I’ve noticed that stems cut for herbs often produce the most side branches and eventually more flowers.
18. Prepare Properly For Winter
Fall cleanup significantly impacts next year’s growth pattern. Wait until after the first frost, then cut stems to about 2 inches above ground level to remove potential disease harboring material.
Leave the crown and root system undisturbed beneath a light layer of mulch for winter protection. This approach removes problem areas while preserving the plant’s energy reserves.
Since adopting this method, my spring bee balm emerges earlier and more vigorously than when I left the dead stalks standing through winter.