7 Simple Ways To Grow Garlic In Arizona Gardens
Garlic sounds simple to grow, but Arizona has a way of turning even easy crops into something unpredictable.
Cloves go in the soil with high expectations, yet results do not always match the effort once the season moves forward. Some plants stay small, others split too early, and bulbs never seem to size up the way they should.
That gap between effort and outcome usually comes down to a few details that are easy to overlook at the start. Garlic responds strongly to timing, soil setup, and how it is handled through changing conditions, especially in a place where seasons shift quickly.
Once those small pieces line up, everything starts to feel more consistent, and the harvest looks the way it should.
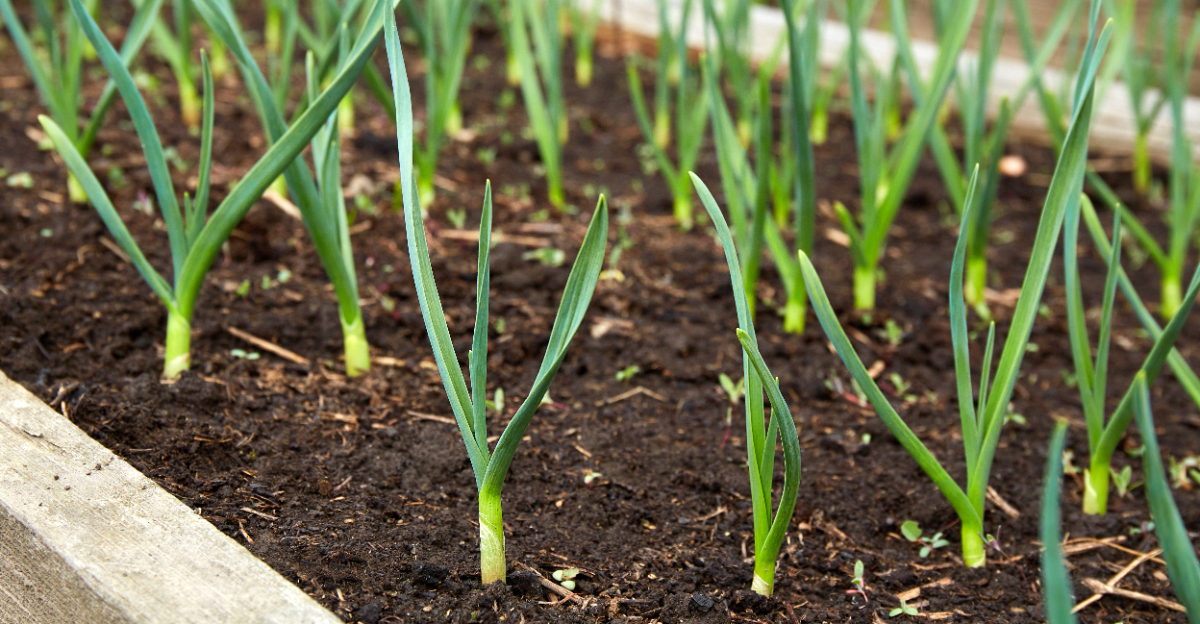
1. Plant Garlic In Fall For The Best Bulb Development
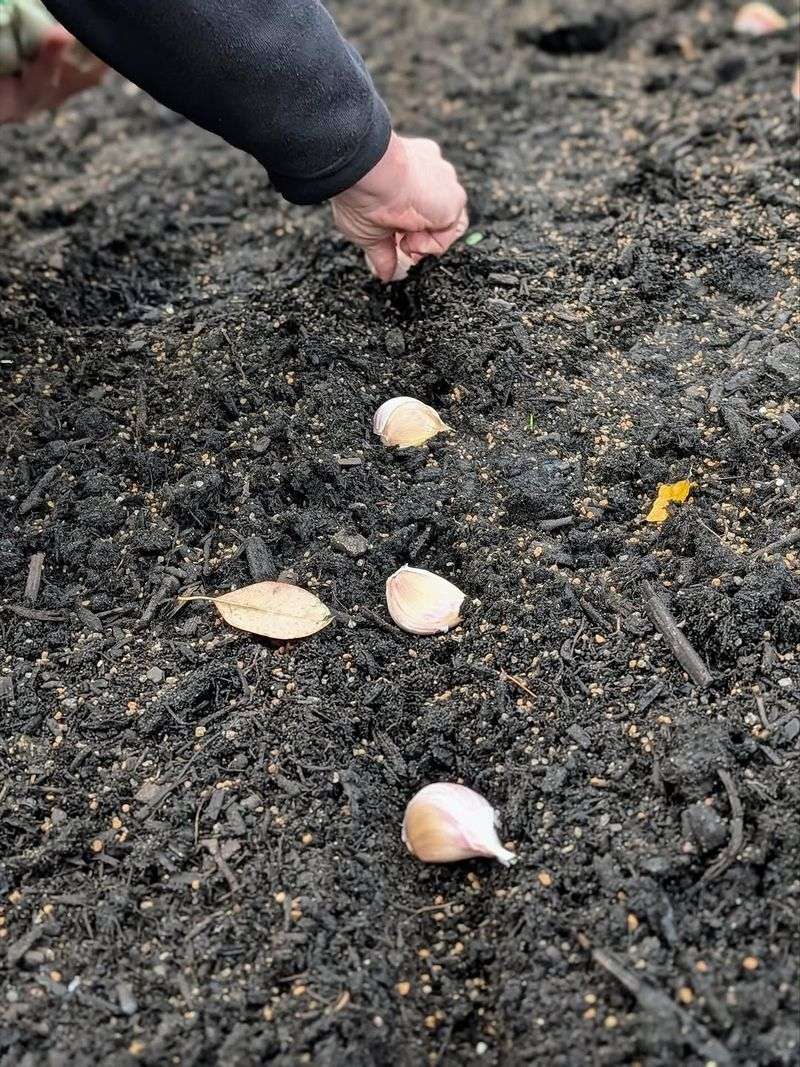
Fall planting is the single most important decision you will make when growing garlic in Arizona. Most gardeners in the low desert, including the Phoenix and Tucson areas, aim to get cloves in the ground between late October and early November.
That window gives roots time to settle before the soil cools down too much, and it keeps the bulbs from facing early spring heat before they are ready.
Cloves planted too early, say in September, often push up green shoots fast and then struggle when temperatures swing. Planted too late, they may not develop enough root mass before warm weather returns in March or April.
Getting that timing right takes a little attention to the forecast, but once you nail it, the rest of the season tends to go smoothly.
Gardeners in higher Arizona elevations like Flagstaff or Prescott may want to plant a bit earlier, around mid-October, since their winters arrive sooner and hit harder. The goal in any Arizona zone is to give cloves a solid 90 to 120 days of cooler growing conditions before bulb-forming really kicks in.
Garlic needs that cold exposure — called vernalization — to properly develop full, layered bulbs. Without enough of it, you may end up with small or single-clove bulbs instead of the full heads you were hoping for.
2. Choose Softneck Varieties That Handle Mild Winters
Not all garlic is the same, and that matters a lot in Arizona. Hardneck varieties need a long, cold winter to form proper bulbs — something that most of Arizona simply does not deliver, especially in the low desert.
Softneck types are a better fit because they tolerate milder winters and still produce solid, flavorful bulbs worth growing.
Two varieties that show up consistently in Arizona gardens are California Early and Inchelium Red. California Early matures quickly, which is useful in areas where spring heat arrives fast.
Inchelium Red tends to produce larger bulbs and stores well after harvest, sometimes lasting several months in a cool, dry spot. Both are widely available at local nurseries and through online seed garlic suppliers.
Artichoke softnecks, as a group, are generally the most forgiving for Arizona conditions. Silverskin types are another softneck option and tend to have the longest shelf life, though they can be a bit more pungent.
Your Arizona Garden Changes Every Week. Your Plan Should Too.
Gardening in Arizona changes quickly throughout the season. Every Friday you’ll receive a simple weekly plan showing exactly what to plant, prune, fertilize, harvest, and protect so you never miss the right timing.
Hardneck varieties like Rocambole or Purple Stripe are not impossible to grow in Arizona, but they usually perform better in the higher elevation areas of the state where winters are genuinely cold. If you are gardening around Phoenix or Tucson, softnecks are the practical choice.
3. Use Loose, Well-Draining Soil To Prevent Rot
Arizona’s native soil is often dense, alkaline, and full of caliche — a hardpan layer that blocks drainage and suffocates roots. Garlic sitting in waterlogged or compacted soil is a recipe for rot, and that is the main reason new gardeners in Arizona struggle with bulb quality.
Fixing your soil before planting is not optional; it is the foundation of a decent harvest.
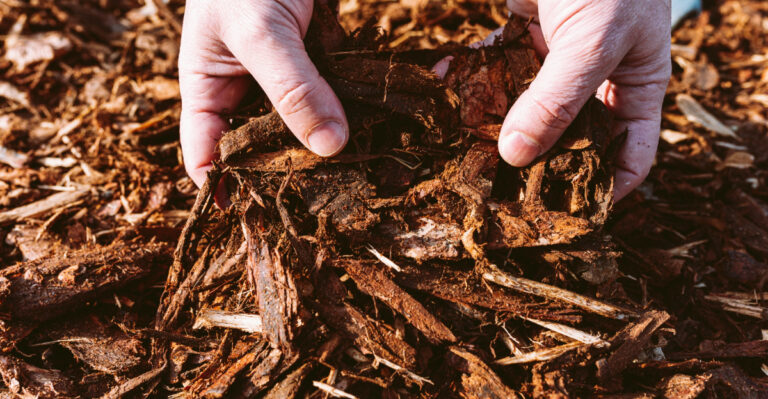
Working in several inches of compost is the most straightforward fix. Aged compost loosens clay-heavy soil, improves drainage, and adds nutrients that garlic will pull from steadily over the growing season.
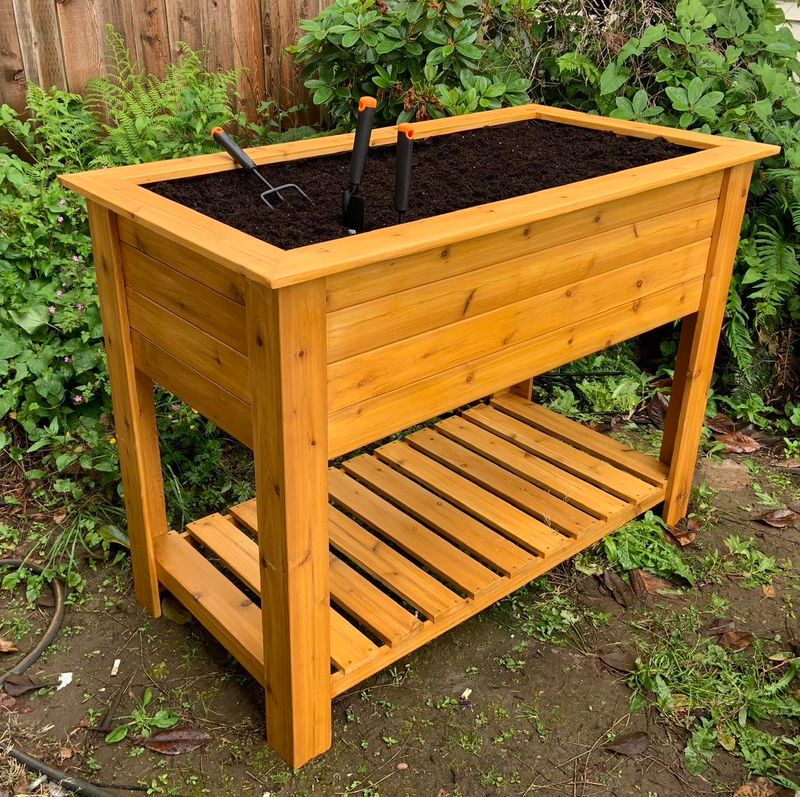
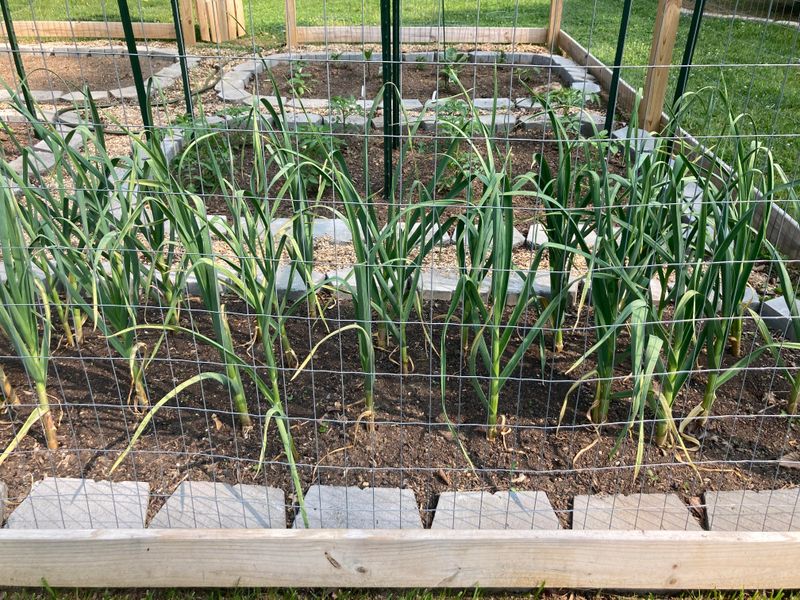
If your beds have caliche close to the surface, raised beds are often the easier solution. Filling them with a mix of quality garden soil, compost, and a little coarse sand gives garlic the loose, aerated environment it prefers.
Aim for a soil pH between 6.0 and 7.0 if possible. Arizona soils tend to run alkaline, sometimes hitting 7.5 or higher, which can limit nutrient availability.
A simple soil test from a local extension office or garden center will tell you where you stand. Sulfur amendments can help bring pH down gradually, though results take time.
Even without perfect pH, well-draining, compost-rich soil will carry garlic a long way. Raised beds also warm up faster in spring, which helps bulb formation during that final push before harvest.
4. Water Deeply But Do Not Keep Soil Constantly Wet

Garlic wants consistent moisture, but it absolutely does not want to sit in wet soil for days at a time. In Arizona, where evaporation rates are high and temperatures can swing dramatically, finding that balance is one of the trickier parts of the process.
The goal is to water deeply enough to reach the root zone, then let the top inch or two of soil dry out before watering again.
Drip irrigation works well for garlic in Arizona because it delivers water directly to the root zone without soaking the surface or wetting the foliage. Wet leaves in a dry, windy climate can still invite fungal problems, especially during cooler, more humid stretches in January and February.
Setting up a basic drip line or soaker hose saves time and reduces those risks compared to overhead sprinklers.
During the cooler months of November through February, garlic in most Arizona low desert areas may only need watering every five to seven days, depending on rainfall and temperatures. As spring warms up and plants grow faster, you might increase frequency slightly.
Checking soil moisture a few inches down with your finger is a reliable low-tech method — if it feels damp, hold off. If it feels dry, water.
Heavy clay soil holds moisture longer than sandy soil, so watering schedules need to be adjusted based on your specific garden conditions rather than following a fixed calendar.
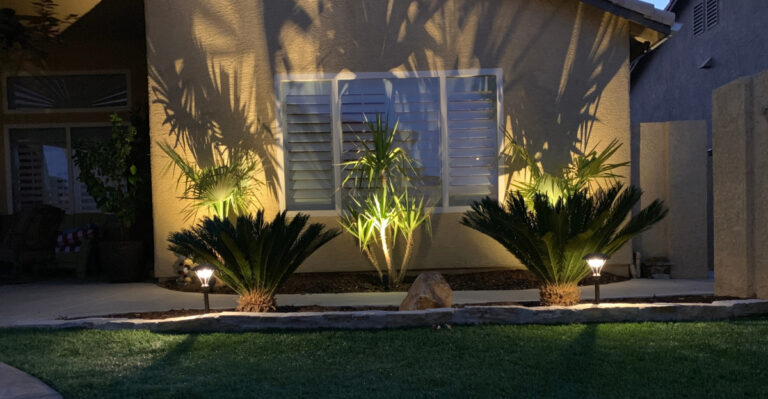
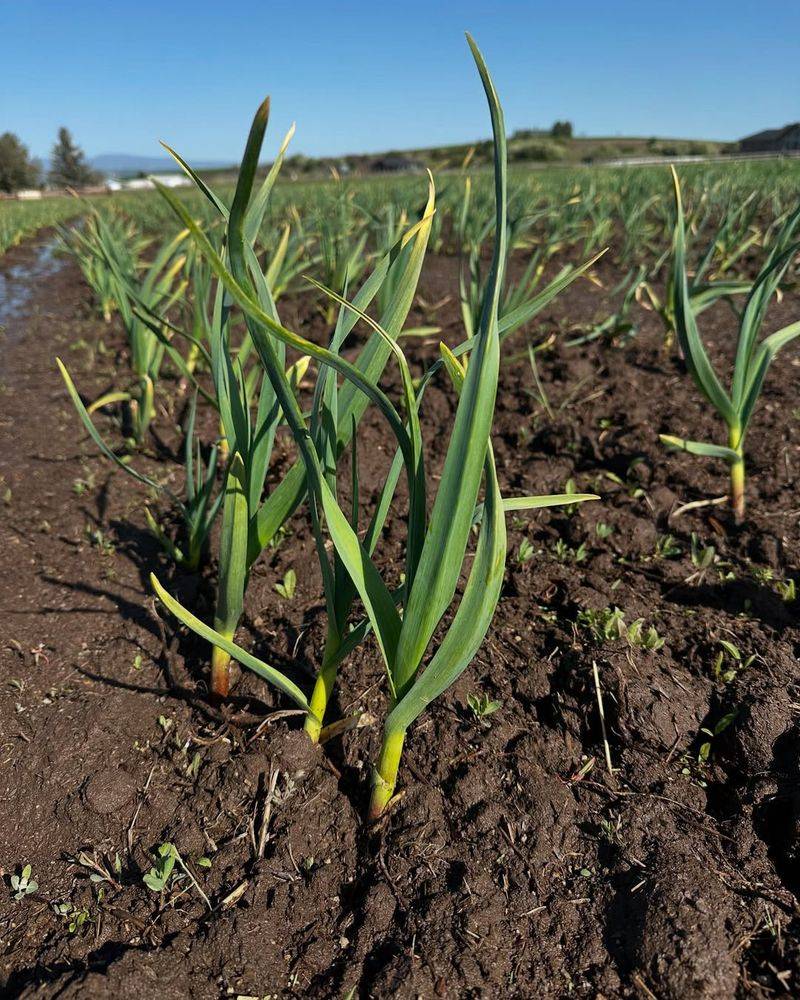
5. Give Full Sun For Strong Growth And Bulb Formation
Garlic is a sun-hungry plant, and Arizona has plenty of that to offer. A minimum of six hours of direct sunlight per day keeps plants growing steadily, but eight hours or more is where garlic really performs well.
Shaded spots produce weak, thin plants that rarely develop full bulbs, so choosing the right garden location from the start saves a lot of frustration later.
In the Phoenix area and other low desert parts of Arizona, winter sun is lower in the sky, which means shadows from walls, fences, and trees stretch further than they do in summer. Walk your garden space in November or December before planting and observe where shadows fall during midday.
A spot that gets full afternoon sun in summer might end up partially shaded during the garlic-growing season, which runs through winter and into spring.
South-facing beds tend to get the most consistent light during Arizona winters and are often the best choice for garlic. North-facing beds can fall into shade for much of the day in winter, which slows growth significantly.
If your garden space is limited, raised beds positioned in open areas away from structures and large shrubs give garlic the best shot at adequate light.
Beyond just sunlight, good airflow around plants helps reduce humidity buildup near the soil surface, which supports healthier stems and reduces the chance of fungal issues.
6. Stop Watering As Bulbs Mature To Prevent Rotting
Pulling back on water at the right time is just as important as watering correctly during the growing season. As garlic approaches maturity, usually around April or May in Arizona’s low desert, reducing irrigation helps the outer wrapper leaves dry down and form a protective papery skin around the bulb.
That skin is what protects the garlic during storage, and wet soil at this stage can soften it or invite rot.
A common guideline is to stop watering completely about two weeks before you expect to harvest. Watching the plant itself gives you the clearest signal — when the lower leaves start yellowing and drying out while the upper leaves are still green, the bulbs are getting close.
Cutting water at that point encourages the plant to finish curing naturally in the ground before you pull it.
Arizona’s dry spring air actually helps here. Unlike humid climates where late-season moisture is hard to control, Arizona gardeners can rely on naturally low humidity and minimal spring rainfall to help finish the curing process.
Just make sure you are not over-irrigating neighboring plants in a way that keeps your garlic bed wet by accident. If you are using drip irrigation on a shared line, consider capping off the garlic section separately.
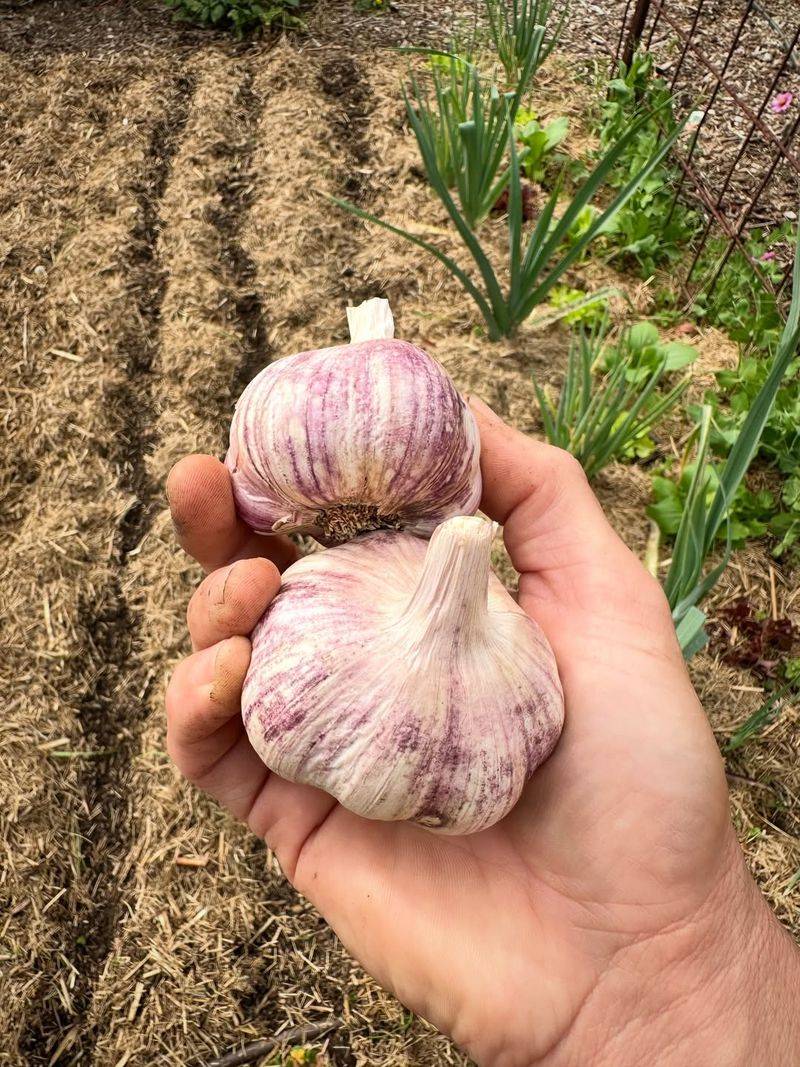
7. Harvest When Lower Leaves Start Drying Out
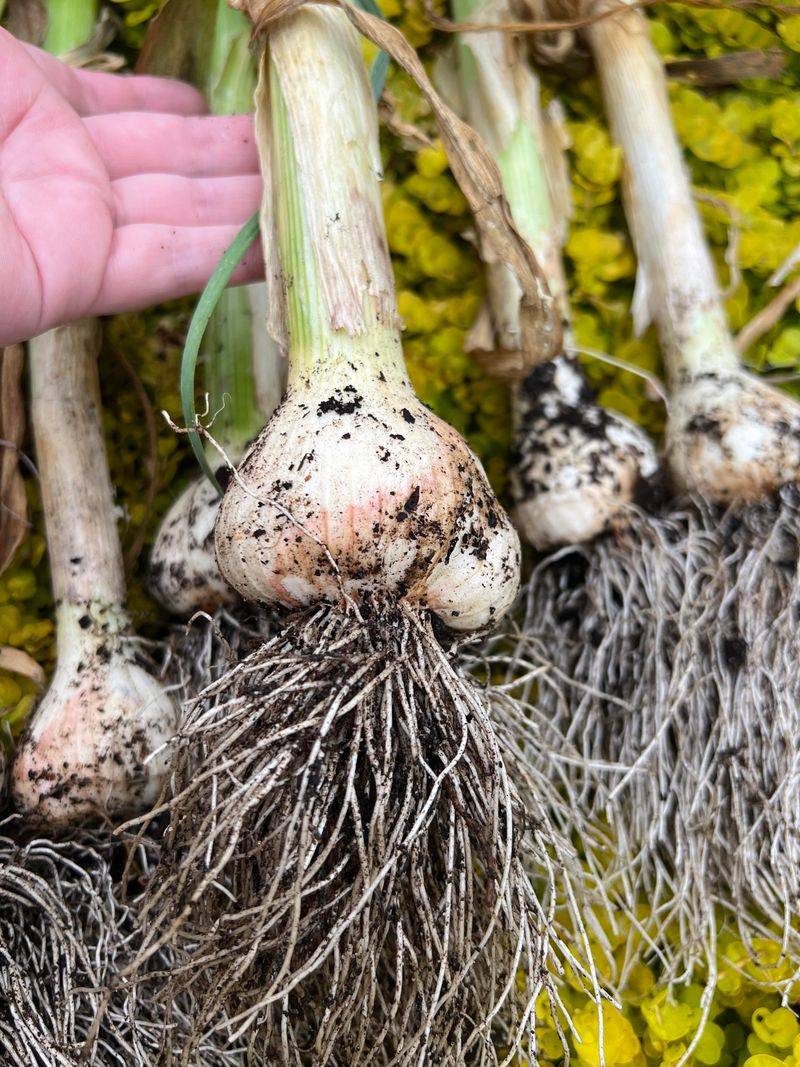
Knowing when to pull garlic out of the ground is something that trips up a lot of first-time growers. Pull too early and the bulbs are small and underdeveloped.
Wait too long and the wrappers break down, which shortens storage life and makes the bulbs harder to cure properly. Watching the leaves is the most reliable way to judge readiness without digging up test bulbs every week.
When roughly half of the lower leaves have turned brown and dry while the upper half of the plant is still green, that is generally a good signal to harvest. In Arizona’s low desert, this often happens in late April to mid-May.
Higher elevation gardens in places like Prescott or Show Low may see harvest land closer to June, depending on how the winter played out that year.
Use a garden fork or trowel to gently loosen the soil around the bulb before pulling. Yanking straight up on the stalk can snap it, which is frustrating and makes curing messier.
Once the bulbs are out, brush off loose soil without washing them and move them to a shaded, well-ventilated spot to cure. A covered porch, garage, or shed works fine.
Lay them out in a single layer or hang them in small bunches for two to three weeks. After curing, trim the roots and stalks and store the bulbs somewhere cool and dry.