8 Simple Ways To Prepare Your Rose Bushes For Winter
A snowflake icon on your weather app can undo your summer effort overnight. You can shield your roses long before the thermometer drops.
Skip hard pruning, because fresh cuts invite tender growth that winter will nip. Put away the fertilizer too, since you want your plants resting, not sprouting.
Water deeply while the soil still drinks, giving your roots a hydrated head start. Then pile mulch or compost into a thick mound around each crown.
Find the knobby graft union near the base, because that spot needs your best insulation. Wait until hard frosts arrive before you mound, so mice do not nest inside.
Wrap tender bushes loosely in burlap, and tie the canes so wind cannot whip them. Tuck in your tender container roses beside a sheltered wall. Rake fallen leaves away, since they shelter fungus you would regret.
1. Water Deeply Before The Ground Freezes
Dehydrated roots are more vulnerable to cold injury than well-hydrated ones. Moist soil holds heat better and protects tender roots during those first chilly nights.
Many gardeners stop watering once summer ends, thinking cool weather means plants need less. Fall winds and sunny days can still pull plenty of moisture from leaves and stems.
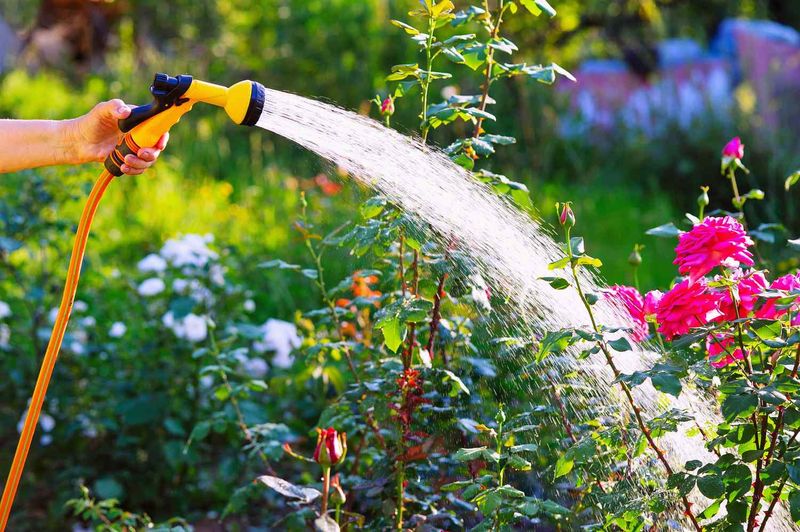
Aim to give each bush a long, slow drink about once a week through October. A soaker hose or watering can works well, as long as water soaks down deep.
Try to water in the morning so the soil warms up during the day. Evening watering can leave wet leaves overnight, which invites mold and fungus to move in.
Not sure if the ground is dry enough to need water? Push your finger two inches into the dirt, and water if it feels dusty.
Container roses dry out faster than garden ones, so check them twice as often. Pots sitting on hot patios or under roof edges may need water every few days.
One final deep soak right before the ground freezes gives roots a full tank for winter. Think of it like packing a big lunch before a long school field trip.
Skip watering if heavy rain has already soaked your yard that week. Soggy, puddled soil can rot roots, which causes just as much trouble as dry dirt.
Keep a simple calendar note to track your watering days this month. Your roses will thank you next spring with fresh green shoots and plenty of buds.
2. Clean Up Fallen Leaves Around The Base
Fallen leaves look harmless, but they can hide disease organisms under their crunchy surface. Black spot spores spend winter in old foliage and on canes, while mildew often overwinters in buds and on canes.
When spring rains arrive, those spores splash right back onto fresh new leaves. A thorough fall cleanup can reduce disease problems next spring.
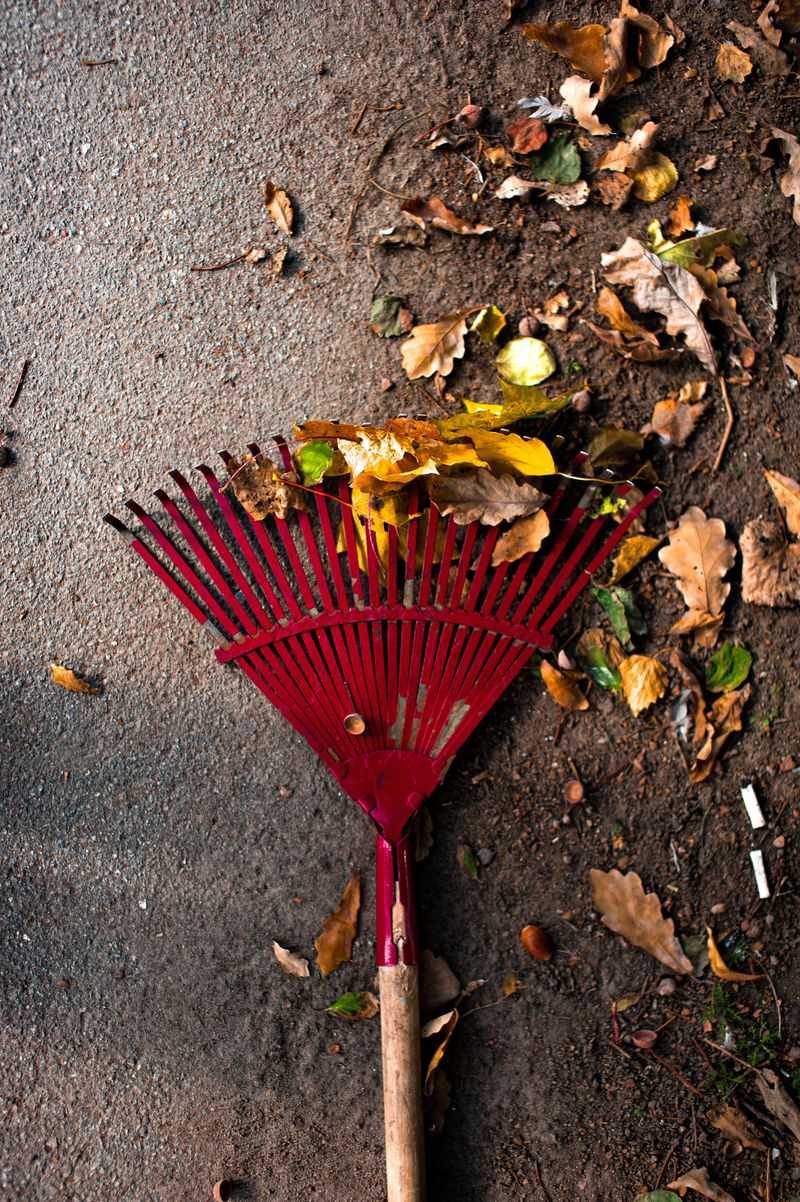
Grab a rake and gently gather every leaf around the base of each bush. Pull off any sick-looking leaves still hanging on the stems, too.
Wear thick gloves for this job, because rose thorns are sharp. Long sleeves help protect your arms from scratches while you work close to the canes.
Many beginners miss one key detail during cleanup. Diseased rose leaves should not go into your compost pile.
Most home compost piles do not get hot enough to destroy fungus spores. Bag the leaves instead and dispose of them following your local yard-waste rules.
Healthy leaves from nearby trees are a different story. Shred them with a mower, and they can become great mulch for later.
While you are down there, look for weeds growing close to the roots. Weeds compete for water and can shelter insects that chew on your plants.
Try cleaning up once in mid-October and again after the last leaves drop. A tidy bed lets air move freely and keeps moisture from sitting around stems.
Think of it as sweeping the floor before tucking your garden into bed. A clean start makes the whole winter season safer for your roses.
3. Stop Feeding Your Roses In Early Fall
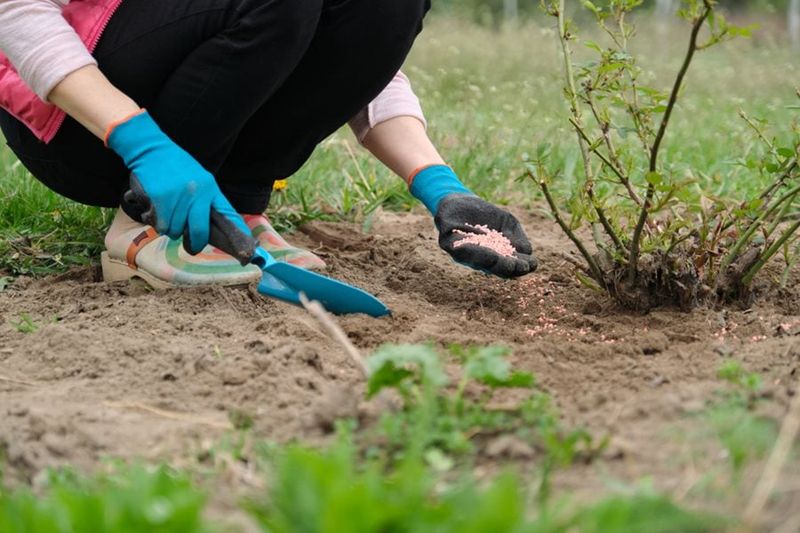
Picture a kid gulping soda right before bedtime and you get the idea. Feeding roses in fall wakes them up when they should be getting sleepy.
Fertilizer, especially the kind packed with nitrogen, tells plants to grow fresh, soft leaves and stems. That tender new growth is the first thing frost damages and darkens.
Many rose growers suggest giving the last feeding around six weeks before your first expected frost. In many places, that means wrapping up fertilizer by late August or early September.
Since it is October now, simply put the fertilizer bag away until spring. Store it in a dry spot so the contents stay fresh and clump-free.
Your bushes are not missing out when you stop feeding them. Roots keep working underground, storing sugars and energy to survive the cold months ahead.
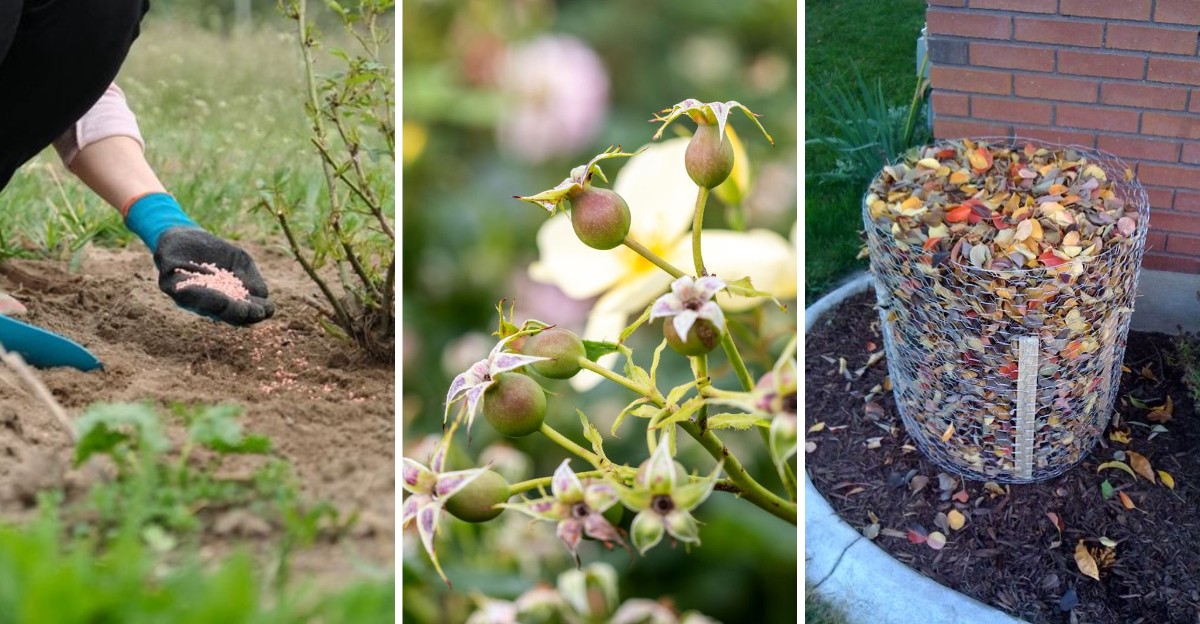
Want to help without causing a growth spurt? Spread a thin layer of compost, which feeds the soil slowly without pushing out new leaves.
Some gardeners add a little potash in fall to help canes harden. It supplies potassium without the leafy boost that nitrogen gives. Save bone meal for spring, since it can contain some nitrogen and attract digging animals.
Check labels, because some products called winterizers are made for lawns, not flower beds. Lawn mixes often contain lots of nitrogen, which is exactly what roses skip now.
Letting plants slow down naturally helps stems harden and turn woody. Tough, mature canes handle icy winds better than soft, green ones.
Mark your calendar for early spring, when new leaf buds start to swell. That is the perfect moment to bring the fertilizer back out.
4. Pile Mulch High Around The Crown

A thick pile of mulch works like a quilt on a snowy night. That soft layer keeps soil temperatures steady when the air turns icy.
The crown is the knobby spot where canes meet the roots, and it matters most. Many roses are grafted there, so damage to that area can seriously weaken the plant.
Mound about ten to twelve inches of mulch around the base after a few hard frosts. Waiting a bit lets the plant settle into its sleepy winter mode first.
Garden soil or compost brought from another spot is the most reliable choice for building a mound. Shredded bark, pine needles, or straw can go on top once the ground has cooled, but loose material can shelter mice.
Skip using soil dug from right beside the bush. Scraping dirt away from nearby roots leaves them exposed, which defeats the whole purpose.
Wondering why mulch matters so much? Repeated freezing and thawing of the ground is a major danger, along with direct cold injury to the crown.
That back-and-forth motion can push shallow roots upward out of the soil. A deep mulch blanket keeps the ground frozen steadily instead of bouncing around.
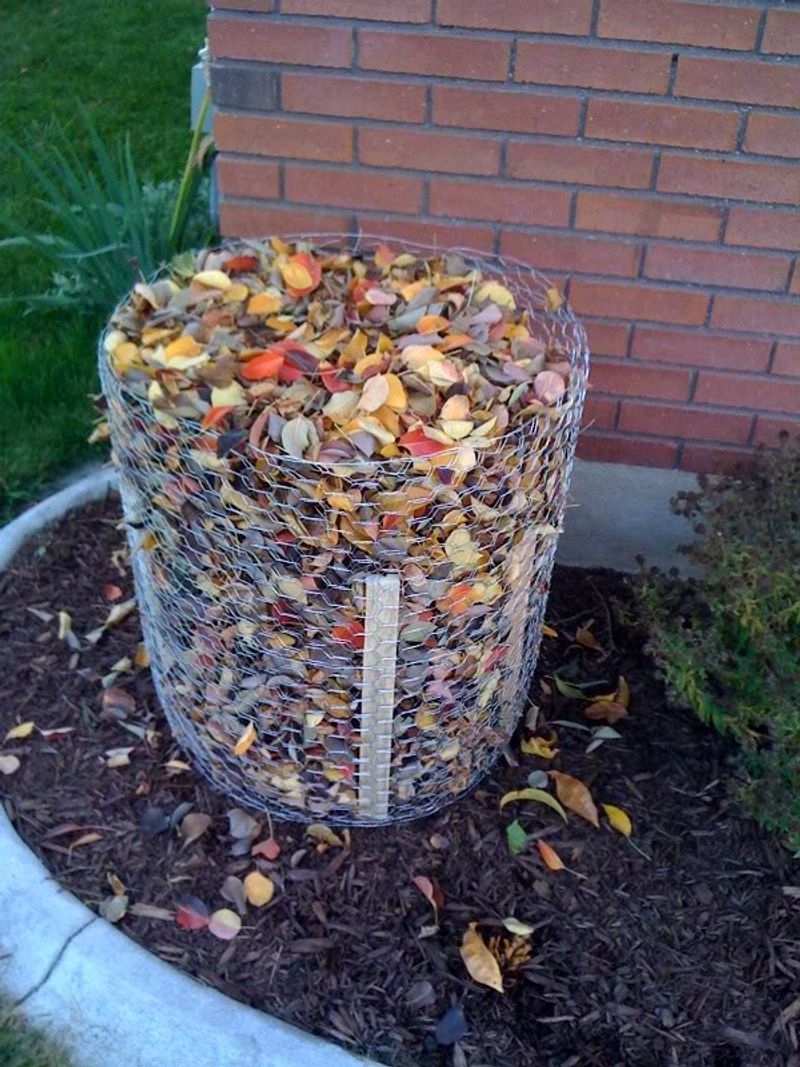
In very cold regions, gardeners sometimes add a wire cage around the mound. Filling the cage with leaves keeps wind from blowing the mulch away.
Come spring, pull the mulch back slowly over a couple of weeks. Removing it all at once can shock tender new buds with sudden cold.
Spread the leftover mulch across the bed so nothing goes to waste. It will help hold moisture and block weeds all summer long.
5. Let The Last Blooms Form Hips

During World War II, people in Britain gathered rose hips to make a syrup rich in vitamin C. Those little round fruits are more than decorations on bare branches.
Hips form when you leave faded flowers on the bush instead of snipping them off. Once those seed pods start growing, the plant gets a clear signal to slow down.
Developing hips help shift the plant toward winter dormancy. They draw energy away from new blooms and start toughening stems and roots.
Stop trimming spent flowers about four to six weeks before your expected first frost. In October, most gardeners can simply put the pruners down and let nature work.
Continuing to snip old blooms stimulates the plant to make fresh buds. Those soft new buds get damaged by frost before they ever get a chance to open.
Watching hips develop is a rewarding part of autumn gardening. They slowly turn orange, red, or deep purple, depending on the rose variety.
Birds like robins, waxwings, and mockingbirds enjoy snacking on hips during cold months. Your garden becomes a winter diner, adding life and color when flowers are gone.
Rugosa roses grow especially large, juicy hips that look like tiny cherry tomatoes. Some families still use them to brew tea or cook homemade jelly.
If your rose produces few hips, still stop snipping off faded blooms. Many modern hybrids make few hips, and cooling weather still slows them down.
Just leave the faded flowers in place and let the season run its course. Sometimes doing less is the better choice.
6. Trim Long Canes To Reduce Wind Damage

Ever hear a branch scraping your window during a windy night? Tall rose canes whip around the same way, and that motion can rock the roots loose.
Gardeners call this problem wind rock, and it gets worse as autumn storms roll in. Loose roots let cold air and water reach places they should not go.
A light trim in fall solves the issue without stressing the plant. Cut extra-long canes back to about three feet tall.
Save the heavy pruning for early spring, once the danger of hard frost passes. Big cuts in fall can encourage new growth that freezes right away.
Use clean, sharp pruners so each cut is smooth instead of crushed or ragged. Wipe the blades with rubbing alcohol between bushes to avoid spreading germs.
Keep fall trims light so they do not trigger new growth. Save precise angled cuts above an outward-facing bud for spring pruning. Slanted cuts help rain slide off, so water does not pool and cause rot.
Climbing roses need a slightly different plan than shrubby bush types. Tie their long canes snugly to a trellis or fence with soft garden twine.
Look for canes that are broken, brown, or crossing over each other. Removing those weak spots now keeps the bush tidy and lowers the chance of disease.
Toss the clippings in the trash rather than leaving them on the ground. Old stems can carry fungus and insect eggs right through winter.
A shorter, sturdier shape lets your bush hunker down like a turtle in its shell. Strong winds have less to catch, which reduces rocking at the roots.
7. Wrap Tender Bushes With Burlap
Your roses may look unusual wearing burlap sweaters, but they will benefit. Wrapping is an effective option for gardens facing harsh, windy winters.
Burlap blocks drying winds and bright winter sun while still letting the plant breathe. Plastic traps moisture and heat, so skip it to avoid mold and scorched stems.
Tender varieties like hybrid teas and floribundas benefit most from this extra layer. Tough shrub roses and many native types usually handle cold just fine alone.
Start by pushing three or four wooden stakes into the ground around the bush. Wrap burlap around the stakes to form a loose tube, then staple it in place.
Leave the top open so air can flow and extra moisture can escape. Some gardeners fill the inside with dry leaves for even more insulation.
Avoid wrapping too early, since warm October days can overheat a covered plant. Wait until nighttime temps dip into the low twenties Fahrenheit several times in a row.
Foam rose cones are another option. Add them after you mound the soil and after the first few frosts, so the plant does not overheat. Trim canes to fit underneath, and weigh the cone down with a brick.
Remember to poke a few small holes in the top of any cone. Without airflow, heat builds up quickly on sunny days and stresses the plant.
Neighbors may tease you about your bundled-up garden at first. Many gardeners find the effort pays off when roses bloom the following season.
Unwrap everything slowly in spring after the hardest freezes have passed. Cloudy days are best, so tender buds can adjust to sunlight gradually.
8. Move Potted Roses To A Sheltered Spot

Container roots are more exposed, since only a thin wall protects them from freezing air. Garden roots enjoy the earth’s warmth, while container roots feel every chilly breeze.
Moving potted roses to a sheltered spot is one of the easiest fixes around. An unheated garage, shed, or covered porch makes a suitable winter shelter.
The goal is keeping plants cold but not frozen solid. Temperatures between about 32 and 45 degrees Fahrenheit let them rest without waking up early.
Avoid bringing roses into a warm living room for winter. Indoor heat tricks them into growing, and they usually end up weak and leggy.
Heavy pots can strain your back, so use a hand truck or a wheeled plant caddy. Asking a friend for help also turns the chore into a quick team effort.
No garage or shed available? Group pots tightly against a house wall and pile mulch or straw around them for insulation.
Bubble wrap or old blankets wrapped around the containers add another helpful layer. Some people even bury pots right into a garden bed until spring returns.
Water stored roses lightly about once a month during winter. Soil should feel slightly damp but not soggy, since wet roots rot easily in the cold.
Clay and ceramic pots can crack when wet soil freezes and expands inside them. Lifting them onto pot feet or wood blocks helps water drain and prevents damage.
Once spring arrives, roll your roses back outside a little at a time. Watching them stretch toward the sun again feels like greeting an old friend.