13 Smart Ways To Keep Gravel From Shifting—Plus 4 Mistakes That Make It Worse
Gravel driveways and pathways look amazing when freshly laid, but keeping those little rocks where they belong can be a real challenge. Rain, traffic, and slopes can quickly transform your neat gravel surface into a scattered mess.
Fortunately, with the right techniques, you can keep your gravel exactly where you want it, saving you time, money, and frustration in the long run.
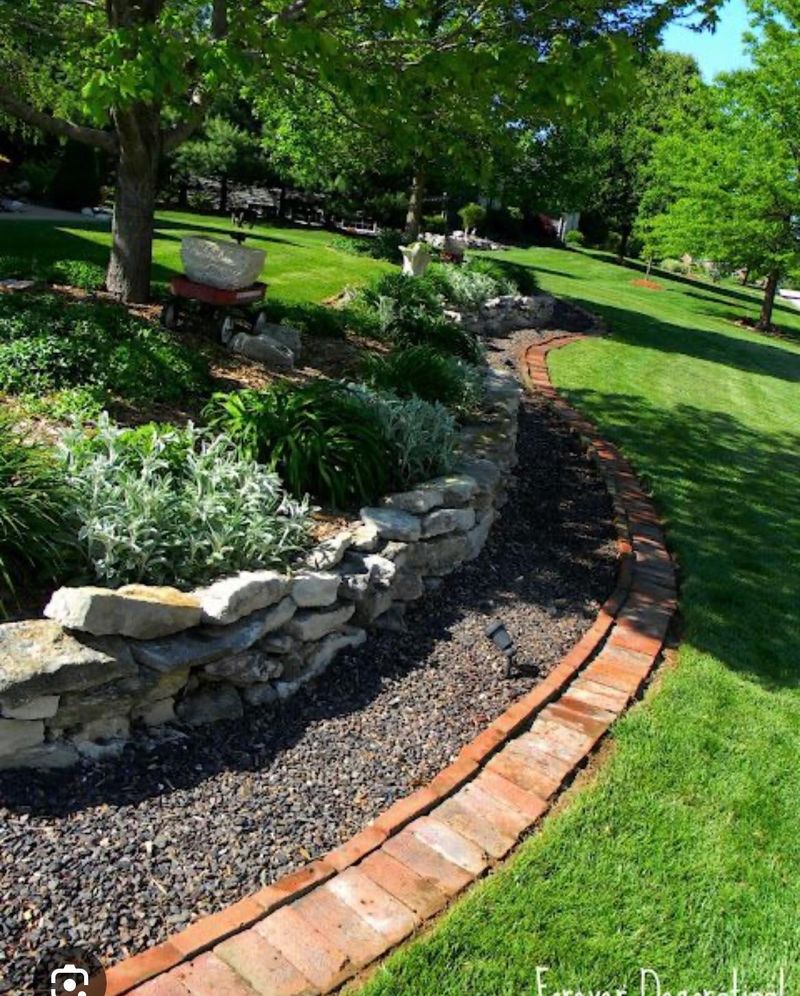
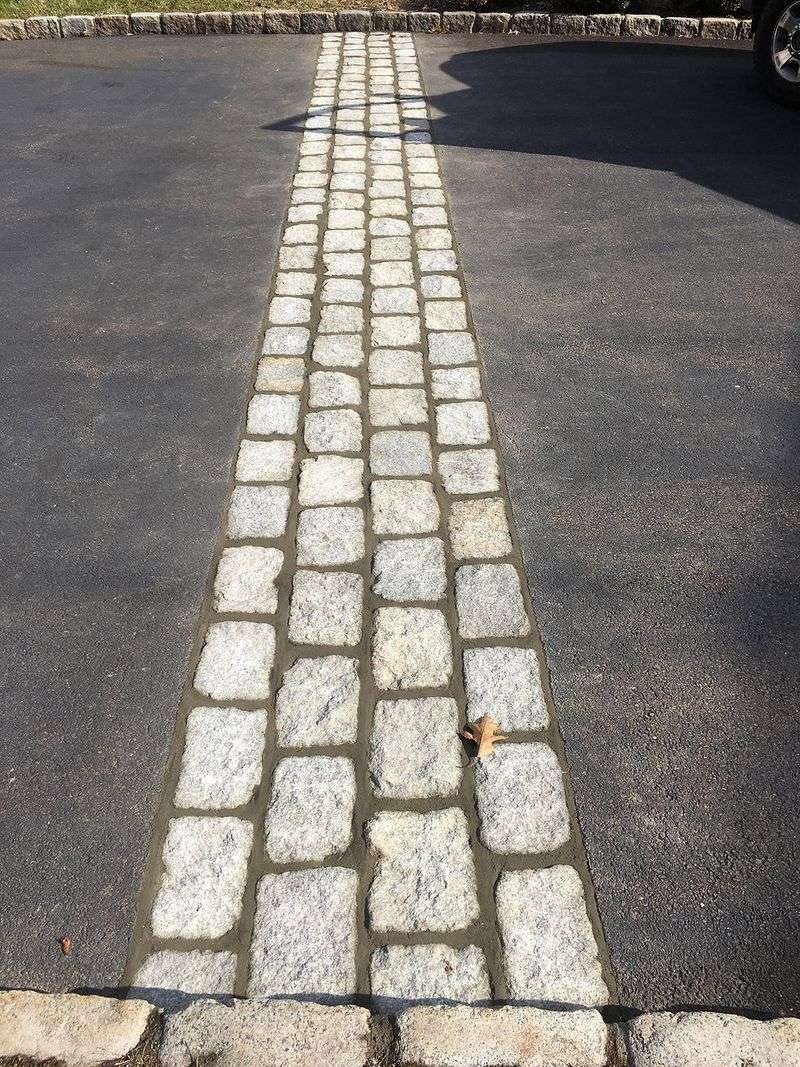
1. Install Proper Edging
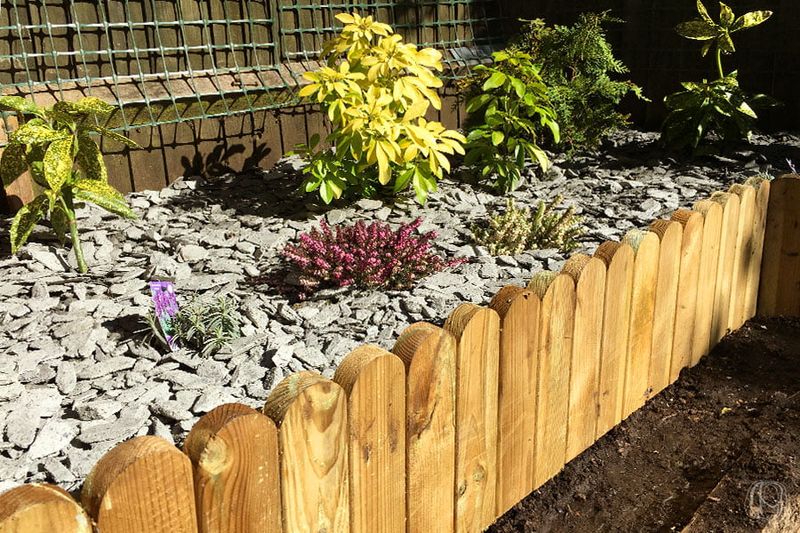
Metal, plastic, or stone edging creates a physical barrier that prevents gravel from spilling onto surrounding areas. Think of edging as building a wall around your gravel—it keeps everything contained neatly.
When installing, make sure to bury at least half the edging’s height for stability. Curved edges require flexible materials, while straight lines work well with rigid options.
For natural-looking landscapes, consider stone edging that blends with your gravel color scheme. Metal edging offers a modern, clean look that stands up to weather extremes.
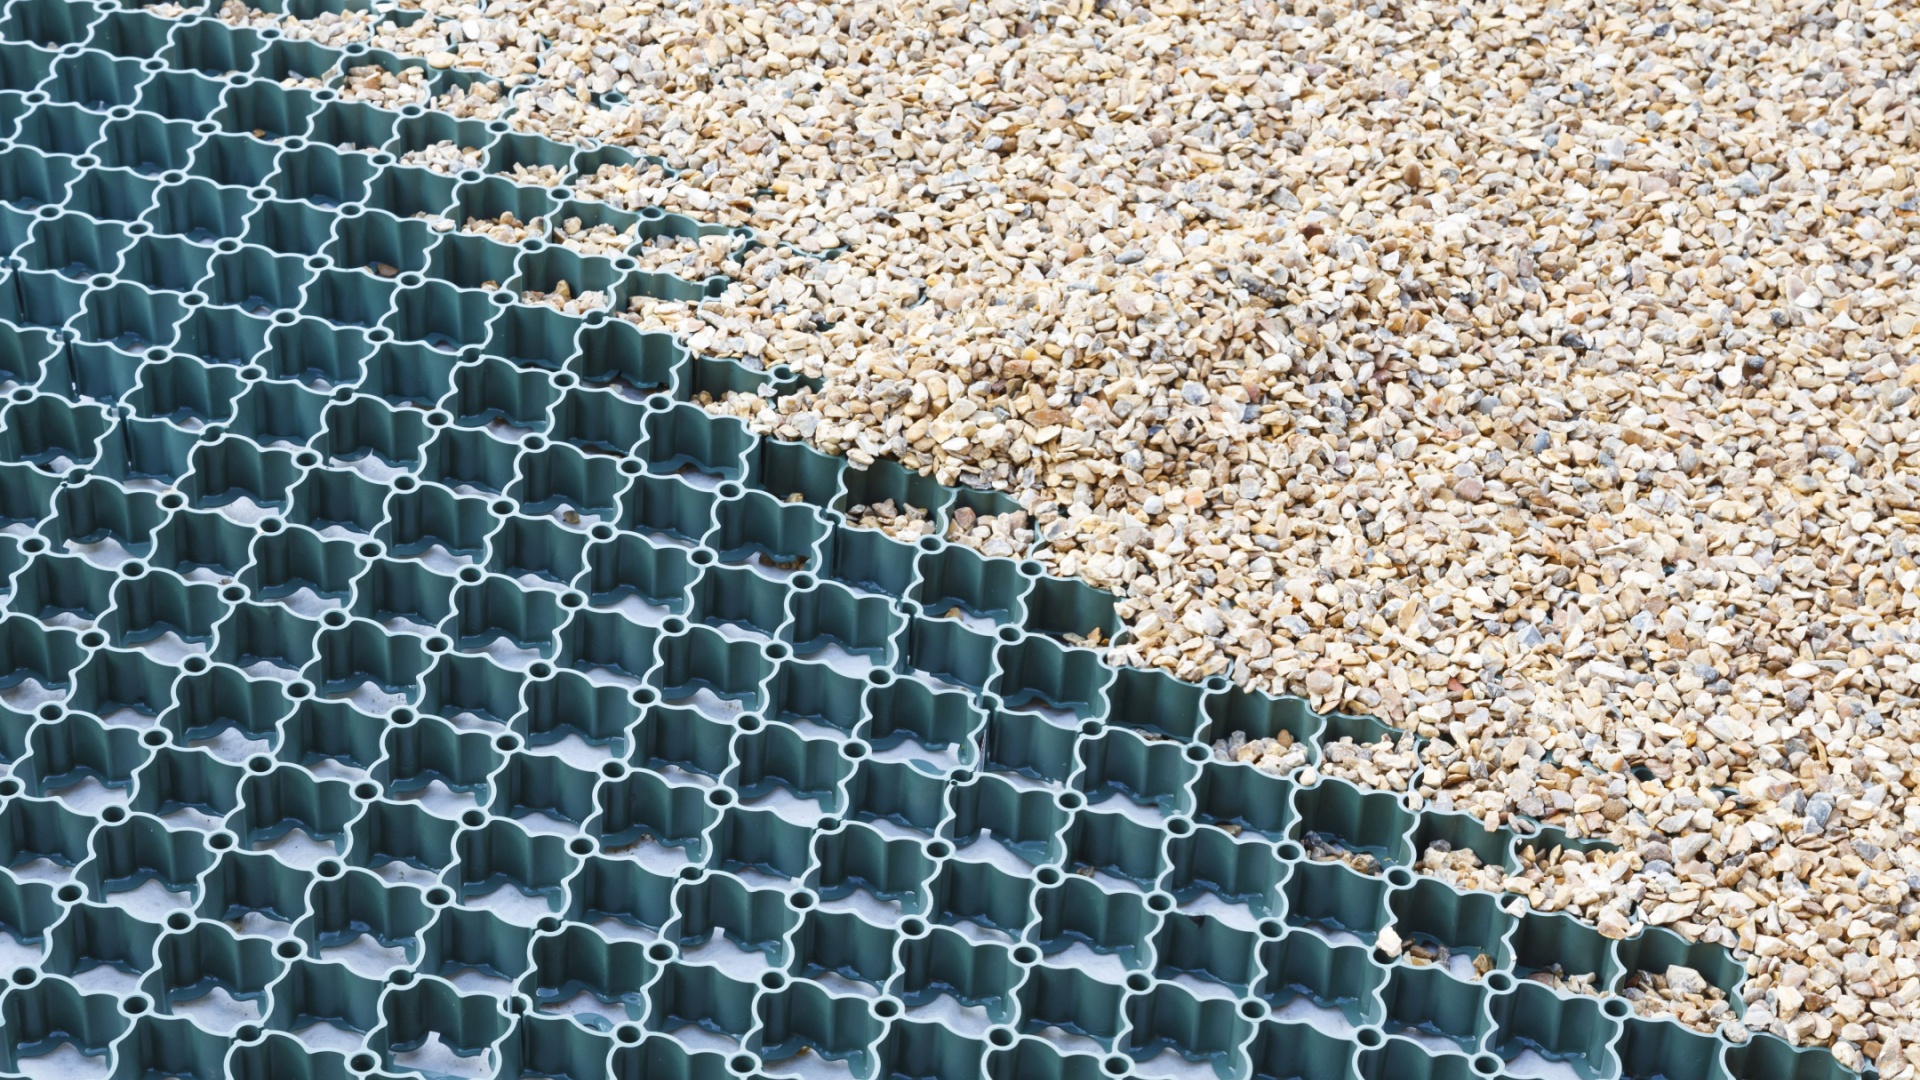
2. Use Stabilization Grids
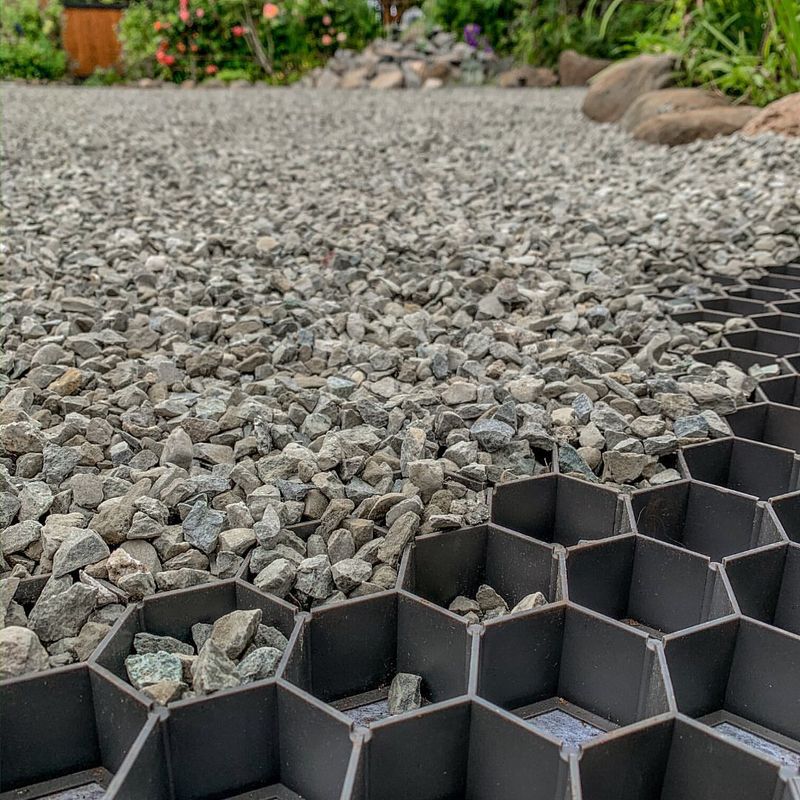
Plastic or rubber honeycomb-style grids create individual cells that hold gravel in place even on slopes. The grid system gets installed directly on prepared ground, then filled with gravel until just the tops of the cells remain visible.
Driving and walking over grid-stabilized gravel won’t displace stones because each cell contains only a small amount. During heavy rain, these grids prevent washouts completely.
Many modern grids are made from recycled materials, making them an eco-friendly option for your landscape projects.
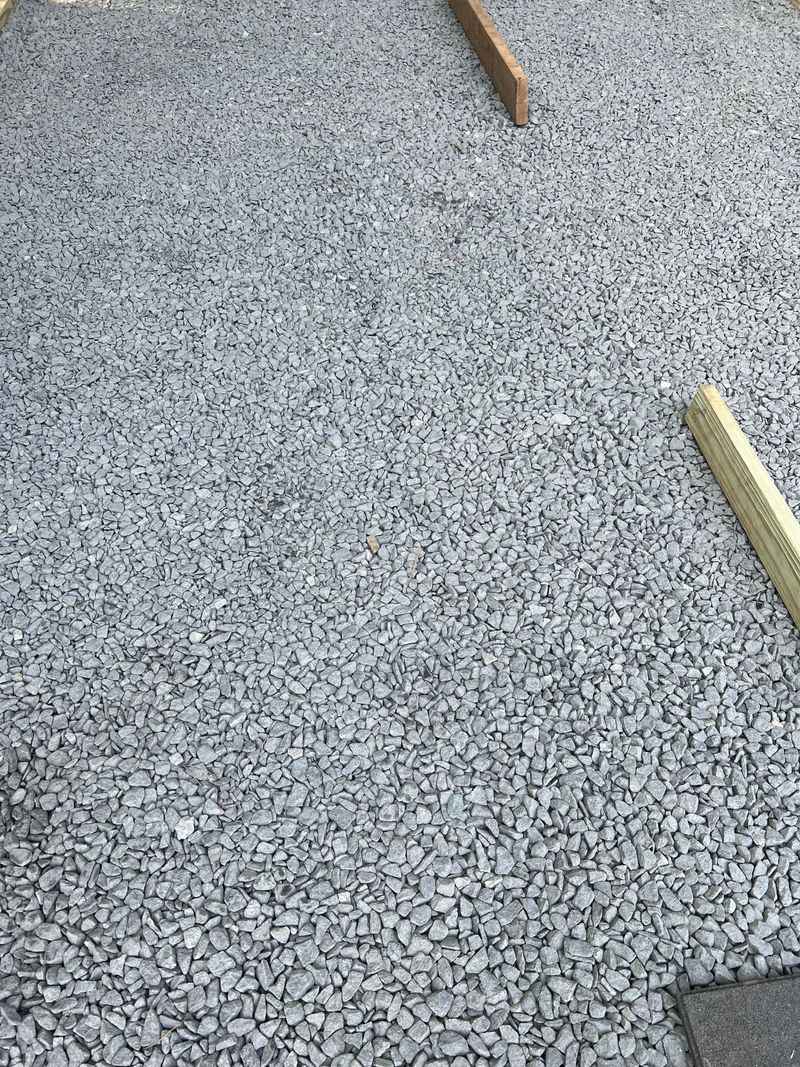
3. Choose Angular Gravel
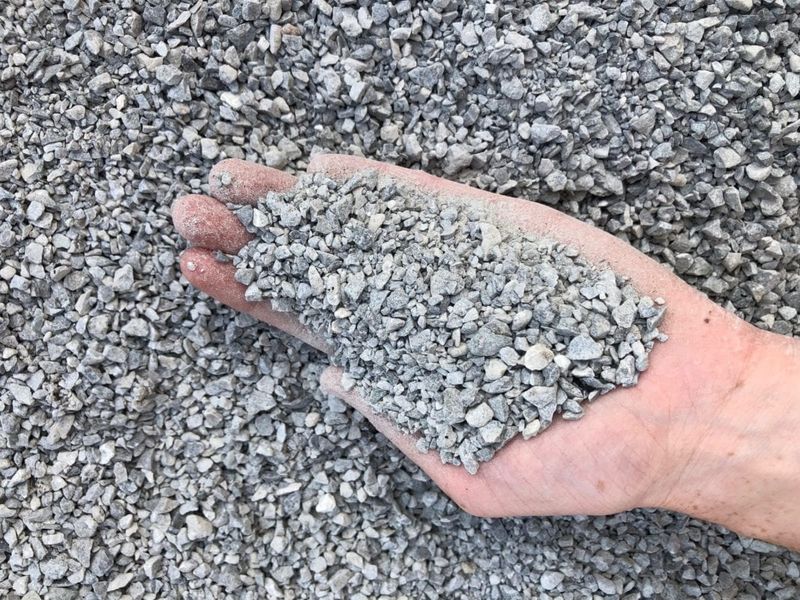
Round pebbles roll easily, while angular gravel pieces lock together naturally. The jagged edges create friction points between stones, making them less likely to shift under pressure.
Crushed stone with sharp edges costs about the same as rounded river rock but performs much better for driveways and pathways. Look for #57 crushed stone or similar angular varieties at landscape supply yards.
For best results, avoid perfectly smooth decorative pebbles in areas with traffic or slopes—save those pretty stones for garden beds and water features.
4. Apply Binding Agents
Special liquid stabilizers can be sprayed onto gravel to create a semi-solid surface. These products work by forming a flexible bond between stones while still allowing water drainage.
Most binding agents require dry conditions during application and 24-48 hours to cure properly. Some products are clear, while others enhance the natural color of your gravel.
Reapplication every few years maintains effectiveness, especially in high-traffic areas. The initial cost is offset by reduced maintenance and gravel replacement expenses over time.
5. Layer Different Gravel Sizes
Start with larger stones (2-4 inches) as a base layer, then add medium-sized gravel (1-2 inches), and finish with a top layer of smaller stones (¼-½ inch). This graduated approach creates a naturally stable structure.
Each layer should be 2-3 inches thick and compacted before adding the next size up. The varying sizes nest together, reducing movement and creating better drainage.
Professional landscapers call this the “French drain method” even when used for driveways and paths because it handles water flow so effectively.
6. Install Proper Drainage
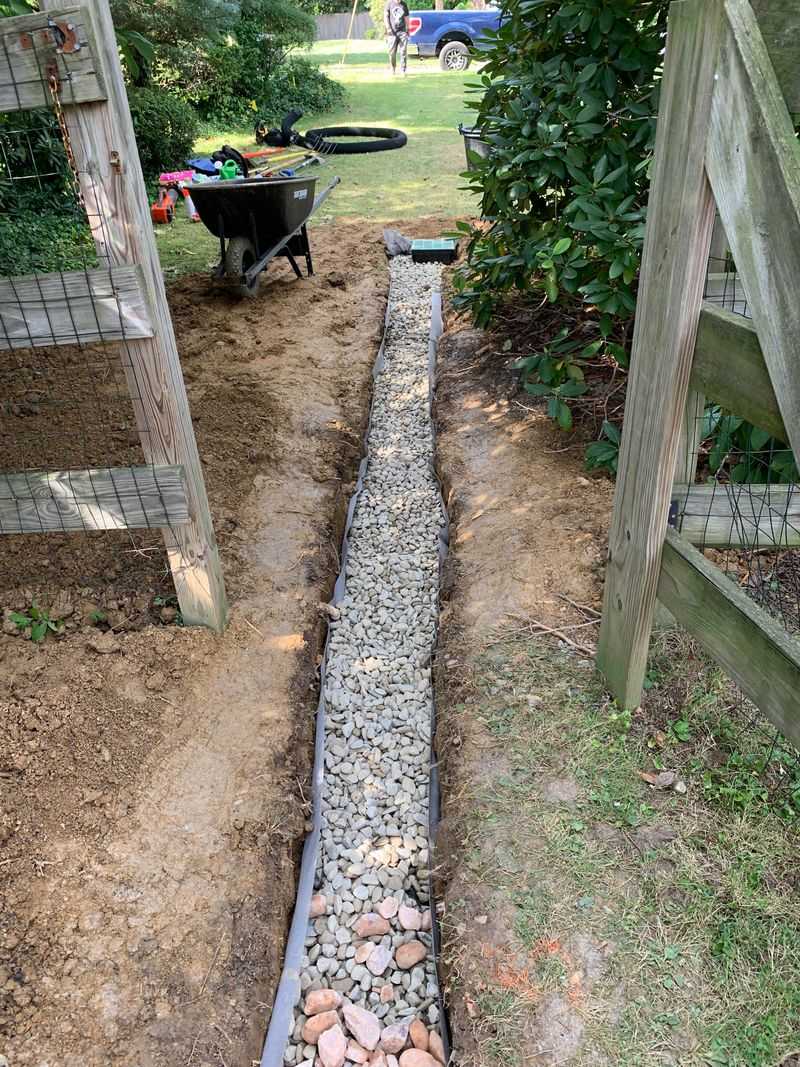
Water flowing across gravel is the number one cause of washouts and displacement. French drains or drainage ditches alongside gravel areas direct water away before it can cause damage.
Slope your gravel surface slightly (about 2%) to encourage water to flow toward drainage areas. For driveways, create a crown in the middle so water moves to both sides.
In areas with heavy rainfall, consider installing drain pipes beneath particularly troublesome sections to capture water before it reaches the surface.
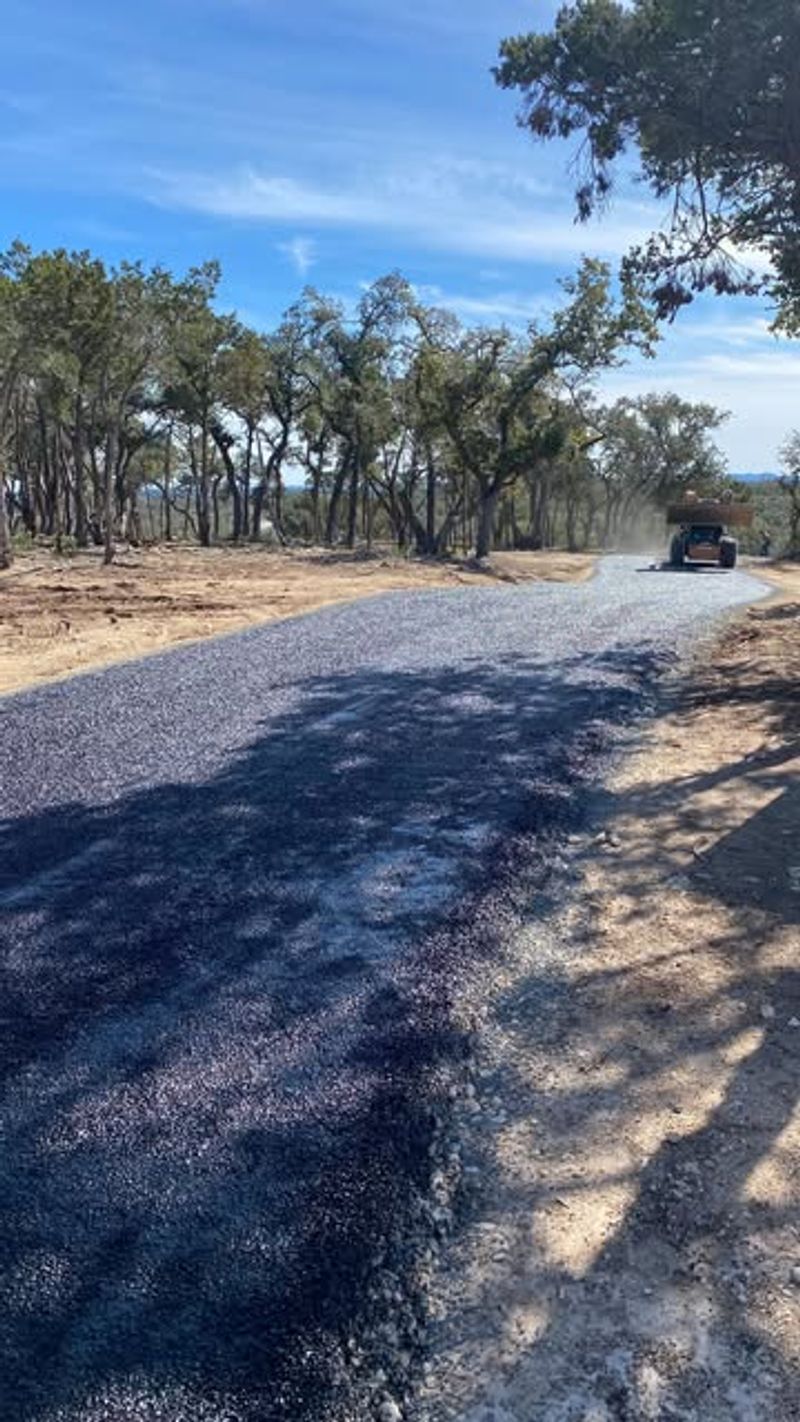
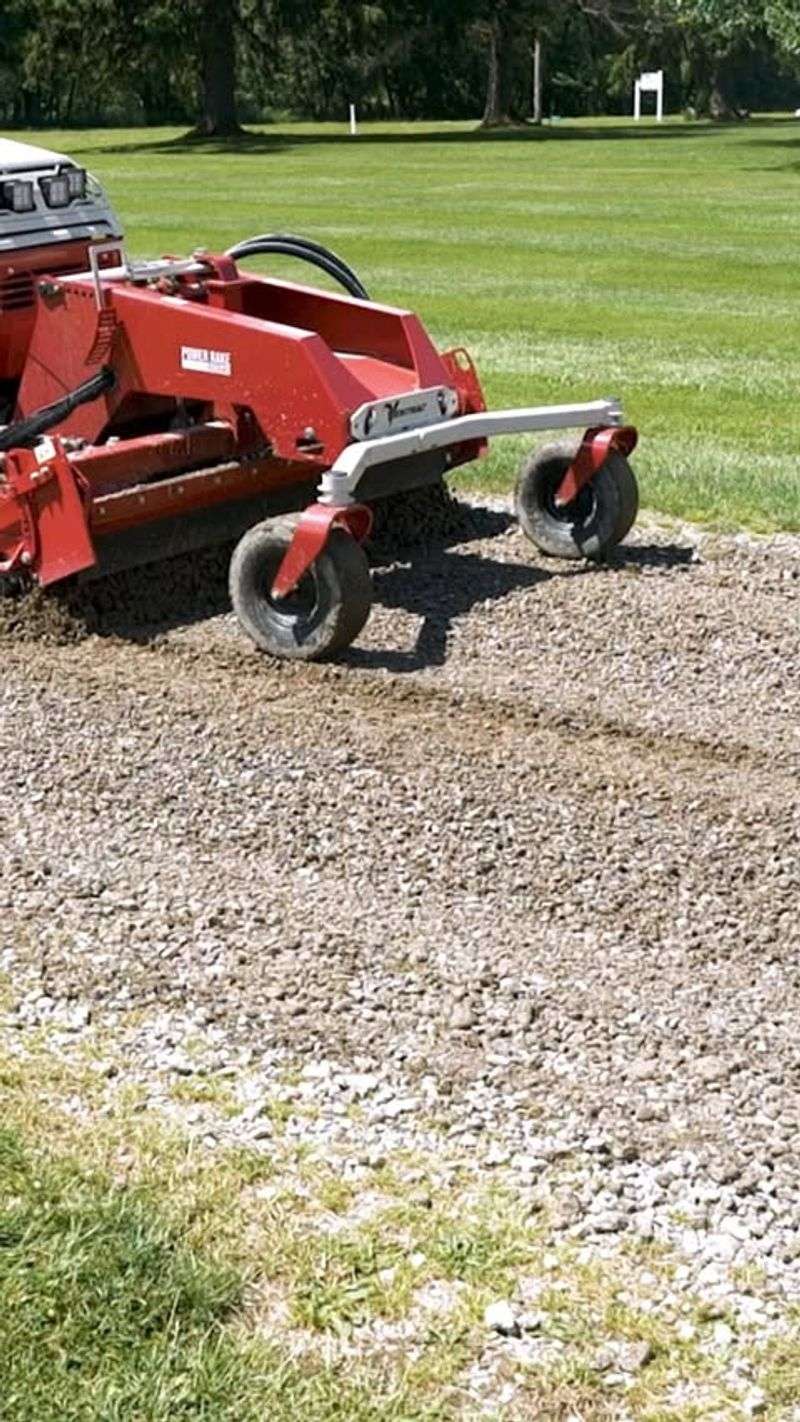
7. Compact Each Layer Thoroughly
Renting a plate compactor transforms loose gravel into a solid surface by removing air pockets and forcing stones to interlock. Make multiple passes in different directions for maximum effectiveness.
Lightly spray each layer with water before compacting—moisture helps stones settle together more efficiently. For small areas, a hand tamper works well, though it requires more physical effort.
Well-compacted gravel resists tire tracks and footprints, maintaining a smooth appearance much longer than loose-laid stone. This step shouldn’t be skipped, even for seemingly simple projects.
8. Add a Proper Foundation
Remove all vegetation and topsoil before laying gravel—roots and organic matter create weak spots that lead to shifting and sinking. A geotextile fabric barrier between soil and gravel prevents mixing while allowing water drainage.
The fabric also blocks weeds from growing up through your gravel. For heavy-use areas, consider adding a layer of crushed stone base or road base beneath decorative gravel.
This foundation work represents about 70% of a successful gravel installation, though it’s completely hidden when the job is finished. Skimping here always leads to problems later.
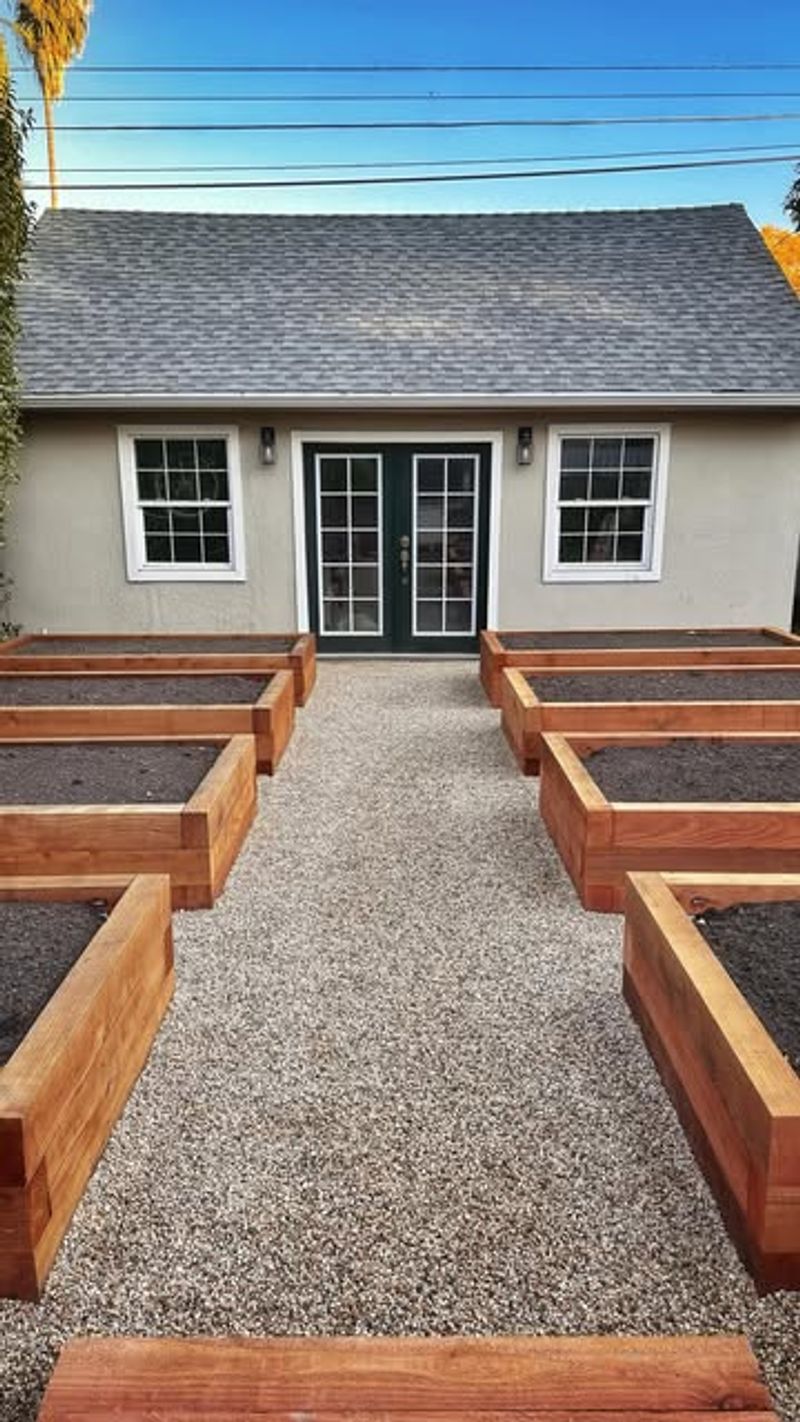
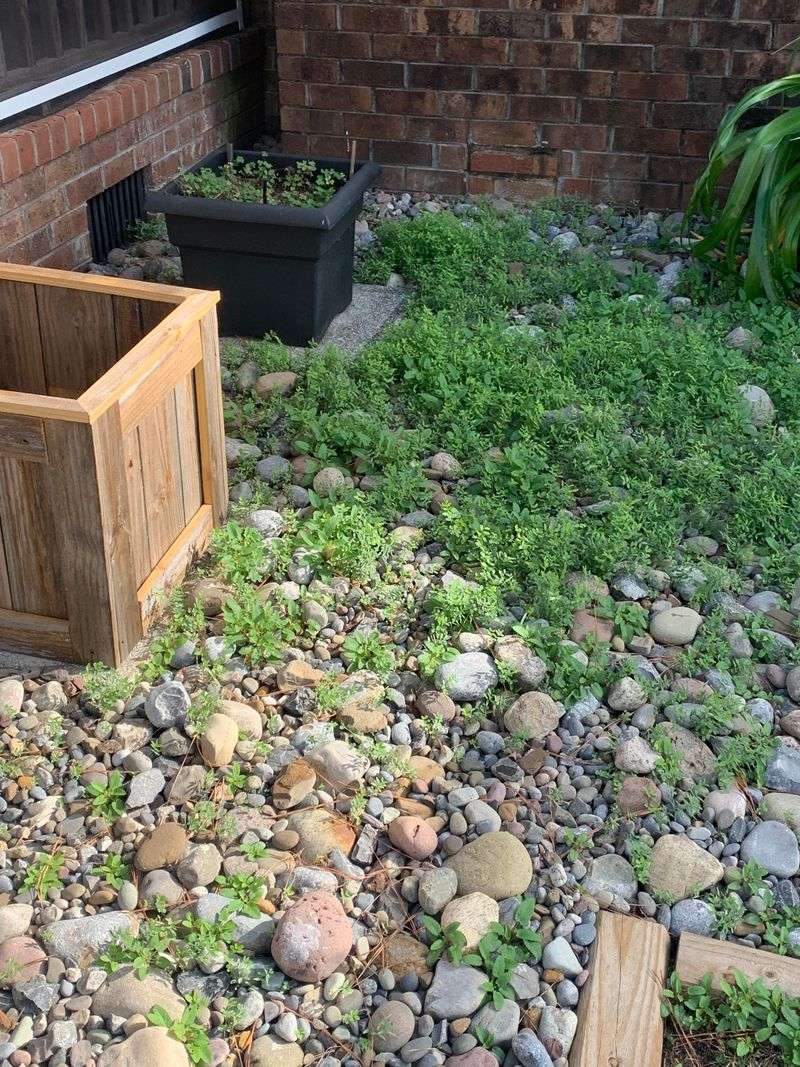
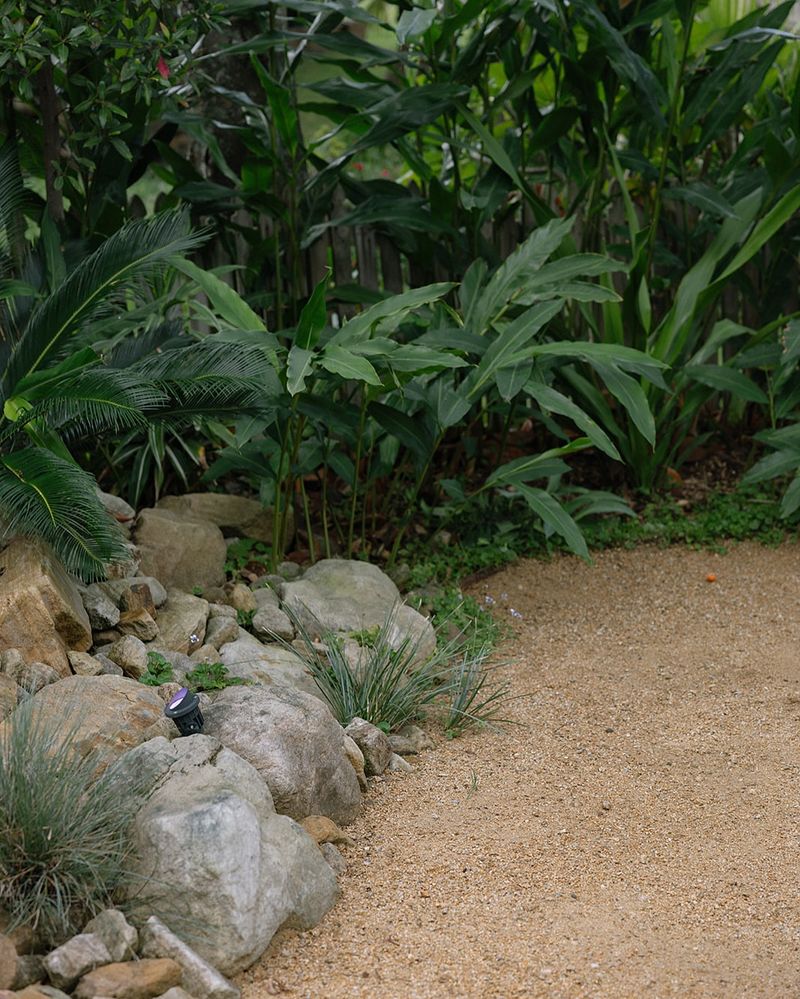
9. Create Physical Barriers
Strategically placed boulders, timber, or concrete curbs physically block gravel from migrating. These barriers look decorative while serving a practical purpose at transition points between materials.
At driveway entrances where gravel meets pavement, install a small concrete apron or metal transition strip. This prevents gravel from being dragged onto roads by vehicle tires.
In garden settings, large decorative rocks placed along gravel path edges serve double duty as both visual guides and containment systems. Choose rocks that complement your overall landscape design.
10. Maintain Proper Depth
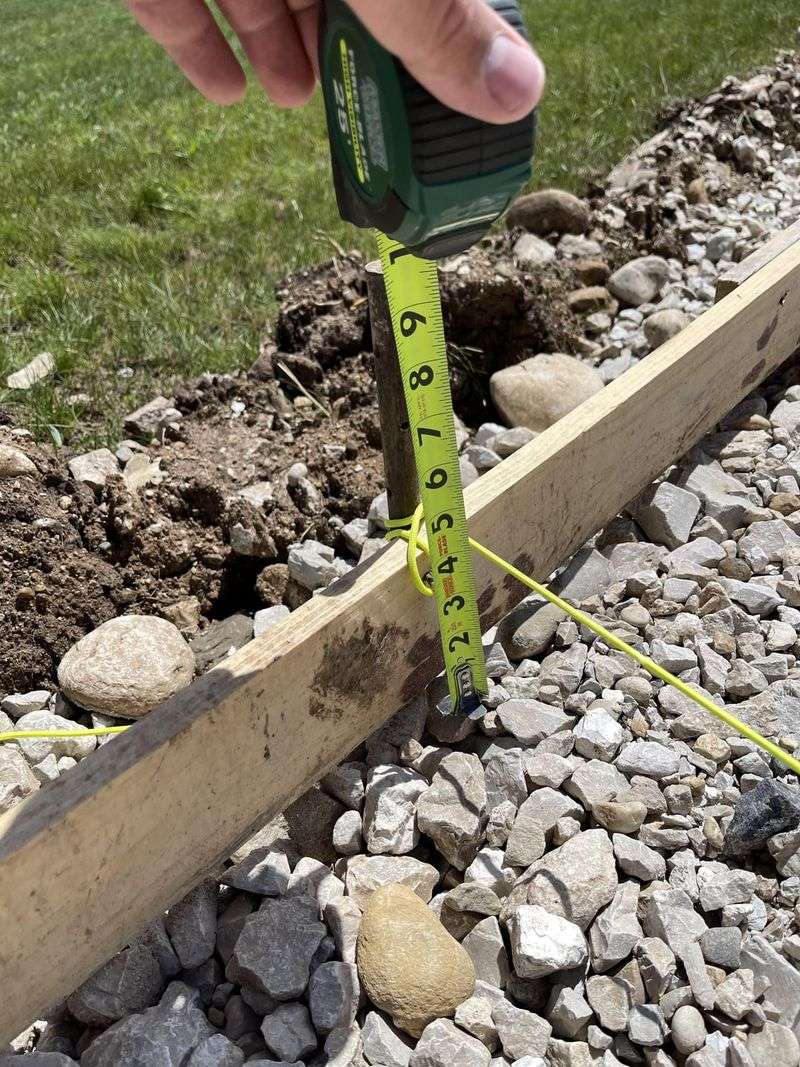
Too little gravel shifts easily, while excessive depth becomes unstable underfoot. For walkways, maintain 2-3 inches of gravel; for driveways, aim for 4-6 inches after compaction.
Regularly rake thin spots where gravel has migrated away, returning stones to their proper location. Keep a small stockpile of matching gravel for periodic touch-ups as needed.
Consistency in depth helps water drain evenly through the surface instead of creating channels that wash away material. This simple maintenance step prevents many common gravel problems.
11. Reduce Speed on Gravel Surfaces
Fast-moving vehicles kick up stones and create ruts that quickly deteriorate gravel surfaces. Posting speed limit signs (5-10 mph) reminds drivers to proceed cautiously on your gravel driveway.
Consider adding gentle curves rather than straight stretches that encourage speeding. Speed bumps made from landscape timbers can physically slow traffic in problem areas.
For commercial properties, concrete aprons at entrances force vehicles to slow down before transitioning to gravel sections. This simple behavioral change dramatically extends the life of your gravel investment.
12. Apply Regular Maintenance
Weekly raking of high-traffic areas prevents problems from developing into major issues. Use a landscape rake with wide tines specifically designed for gravel spreading.
After heavy rain, inspect for washouts and address them immediately before they expand. Filling ruts promptly prevents them from collecting water and worsening with each rainfall.
Seasonal maintenance—typically spring and fall—should include adding fresh gravel to thin areas and removing any debris or leaves that have accumulated. This consistent care ensures your gravel stays attractive and functional.
13. Install Rumble Strips at Transitions
Where gravel meets paved surfaces, install a textured transition zone that knocks loose stones from tires before vehicles exit. Commercial metal rumble strips work well, but wooden boards set perpendicular to traffic flow offer a budget-friendly alternative.
For pedestrian pathways, a section of flagstones or pavers creates a transition zone that prevents gravel from being tracked into buildings. These transition areas collect displaced stones for easy return to the gravel surface.
At garden entrances, a small grate or boot scraper serves the same purpose for foot traffic.
14. MISTAKE: Skipping the Weed Barrier
Weeds growing through gravel create channels for water erosion and displace stones as they grow. Without a proper weed barrier, you’ll fight a constant battle against persistent vegetation.
Professional-grade landscape fabric costs more initially but lasts years longer than budget options. Overlap seams by at least 6 inches and secure edges with landscape pins.
Avoid using plastic sheeting as a substitute—it prevents proper drainage and creates water pooling issues. The right geotextile fabric blocks weeds while allowing water to filter through naturally.
15. MISTAKE: Improper Slope Management
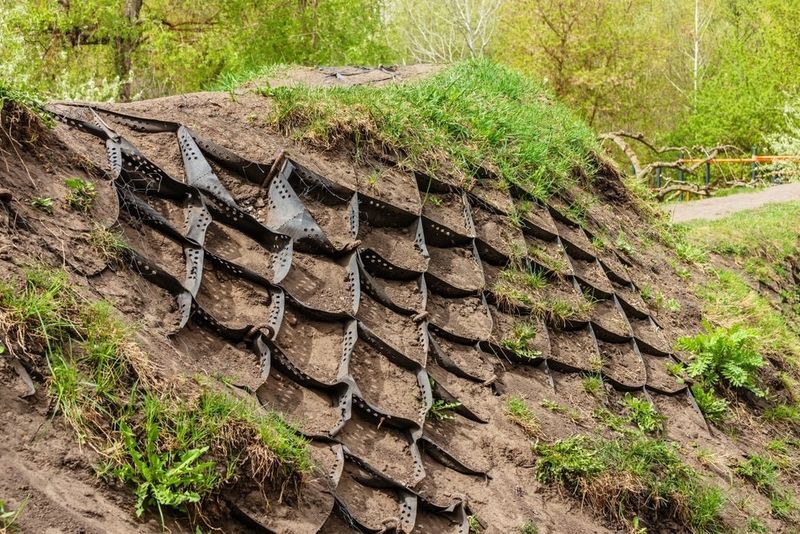
Gravel on steep slopes (greater than 10% grade) requires special techniques to prevent constant downhill migration. Standard installations simply won’t hold up against gravity’s persistent pull.
For moderately steep areas, terracing with retaining walls creates level sections that hold gravel securely. On gentle slopes, installing horizontal wooden battens every few feet creates “speed bumps” that catch migrating stones.
Consider alternative materials entirely for very steep sections—stepping stones or pavers might prove more practical than fighting a losing battle with gravel.
16. MISTAKE: Using Wrong Gravel Type

Decorative river rocks look beautiful in photos but roll like marbles underfoot. Pea gravel, while popular, shifts easily and isn’t suitable for driveways or sloped areas.
Match your gravel type to your specific use case. Driveways need angular 3/4-inch crushed stone, while pathways work well with smaller 3/8-inch crushed gravel. Purely decorative areas can use rounder, more attractive options.
Color matters too—light-colored gravel shows tire tracks and footprints less than darker varieties. Consider practical aspects alongside aesthetics when making your selection.
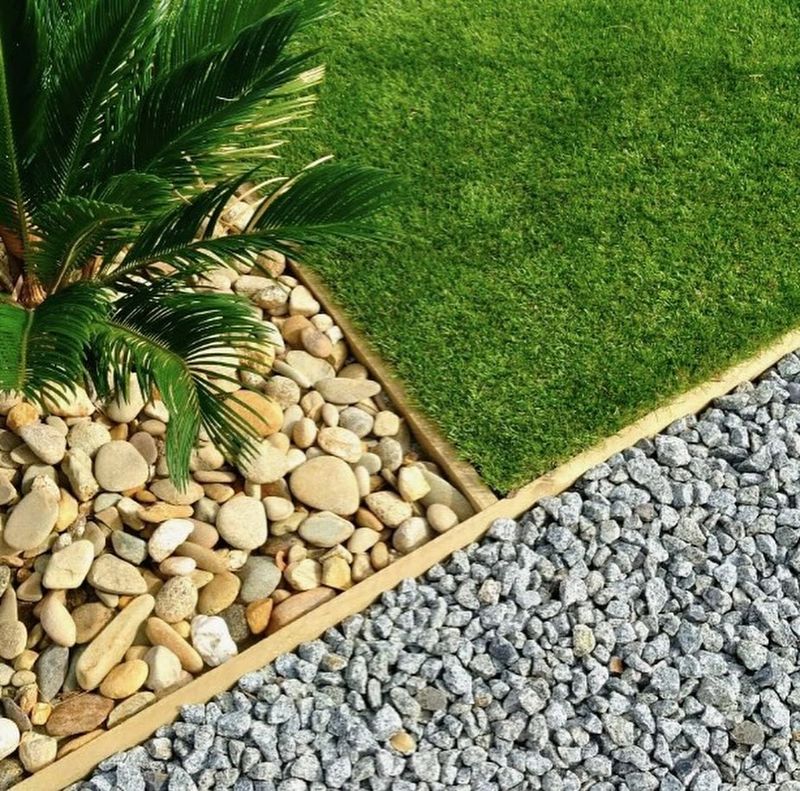
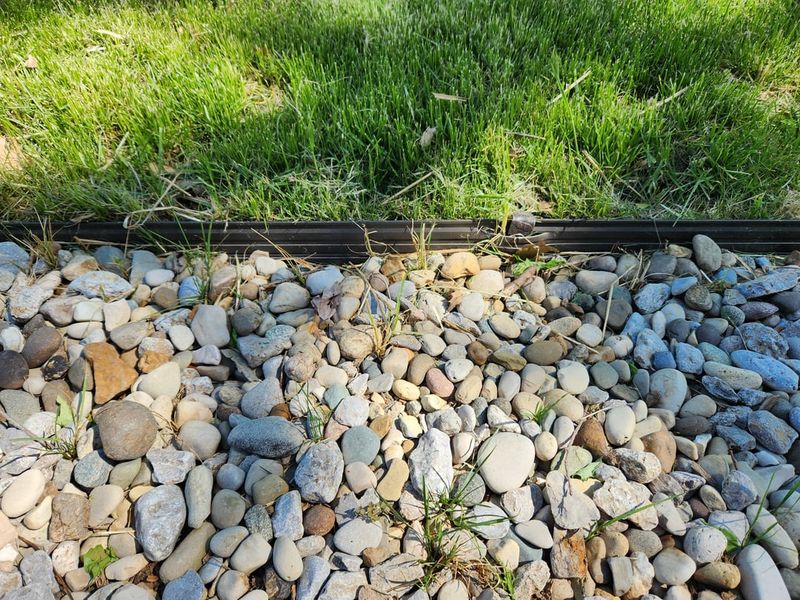
17. MISTAKE: Inadequate Edge Transitions
Abrupt edges where gravel meets lawn create maintenance headaches—mowing becomes difficult and stones scatter easily. Creating a gentle transition zone prevents these problems while looking more professional.
Install edging slightly below grass level so mower wheels can pass over without catching. Alternatively, create a small trench between lawn and gravel filled with larger stones that act as a buffer zone.
For transitions to garden beds, a slight elevation change with edging helps contain both gravel and mulch in their proper places. These thoughtful details make landscape maintenance significantly easier.