8 Steps To A Balcony Pot Full Of Morning Glory Blooms
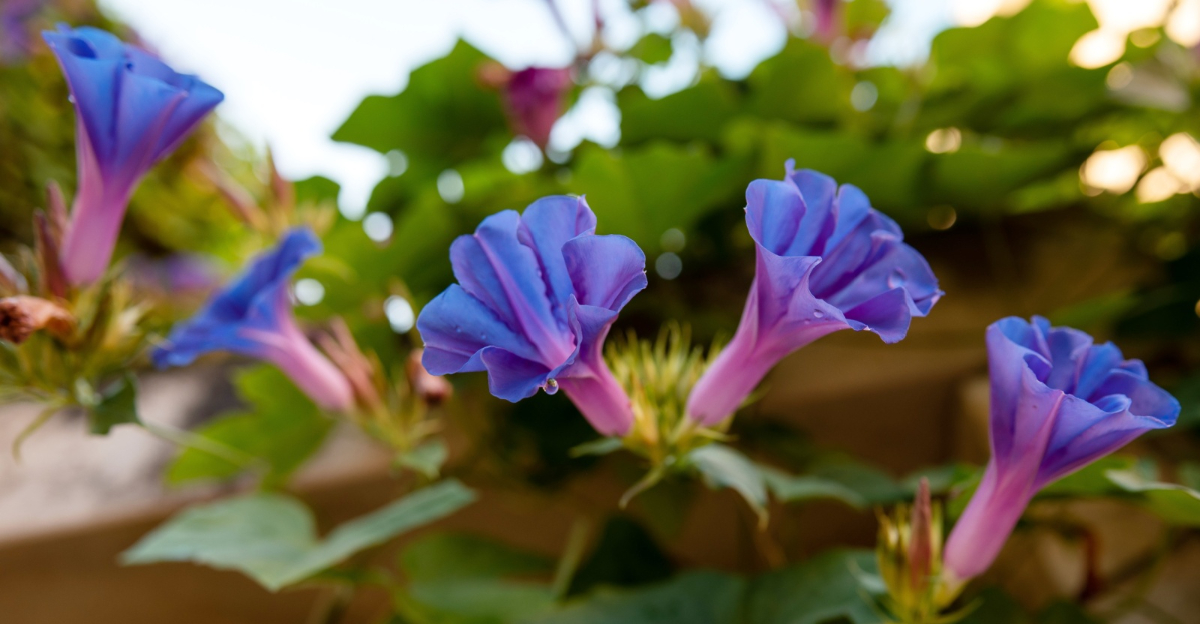
There’s something distinctive about morning glory. It blooms hard and fast at dawn, flaunts its color for a few hours, then quietly shuts the show down before lunch.
Blink and you’ll miss today’s flower, but tomorrow it’s back, reliably blooming again. Purple, pink, cobalt blue, snow white: pick a shade and this vine will paint your railing with it by midsummer.
The best part? You don’t need a backyard, a green thumb, or any prior gardening wins under your belt. A single pot, a trellis or a bit of string, and some sunlight are basically all this plant asks for.
Balconies, fire escapes, tiny patios, even a sunny windowsill ledge can turn into a dense cover of heart-shaped leaves and trumpet blooms within weeks.
Morning glory doesn’t demand attention, it just rewards whatever little you give it. Plant it once, and mornings start feeling like something worth waking up for.
1. Choose A Pot At Least 12 Inches Deep With Drainage Holes
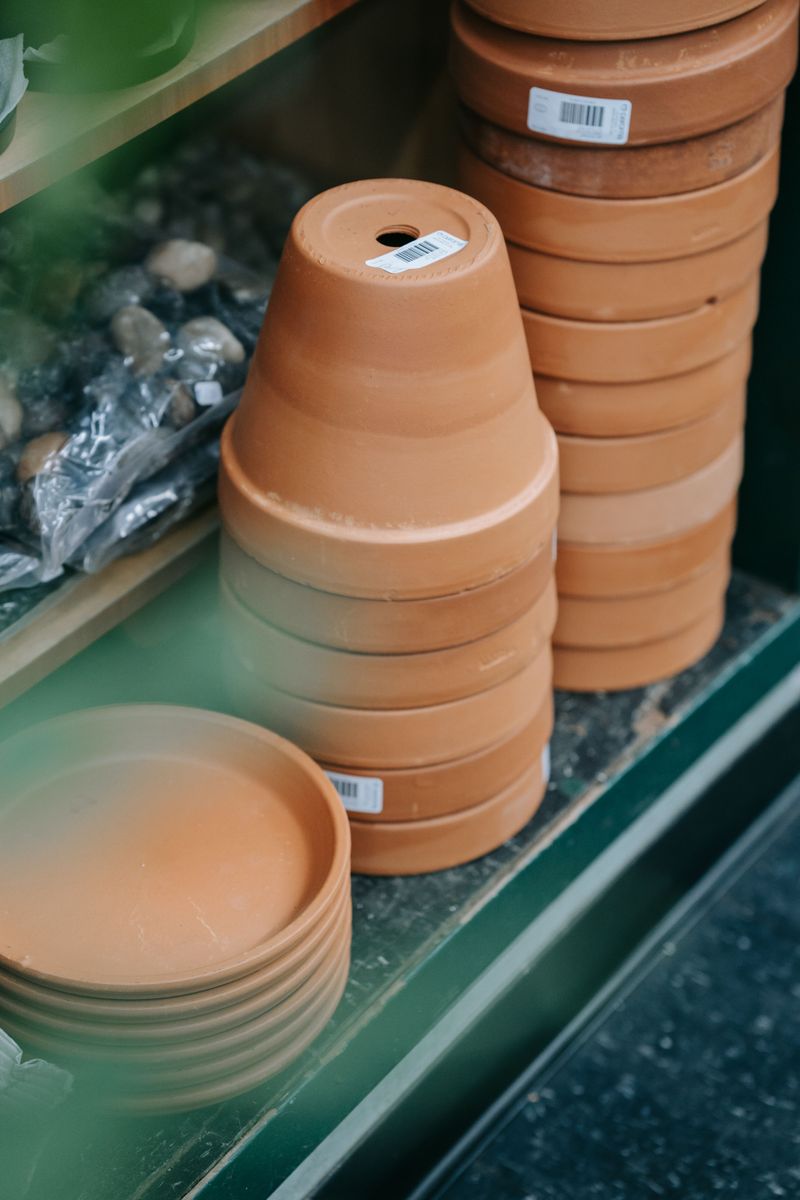
Size matters more than you think when picking a pot for morning glory. These plants send roots deep, and a shallow container will stunt their growth fast.
Go for a pot that is at least 12 inches deep and wide. Bigger is always better when you want vigorous, full vines climbing your trellis.
Drainage holes are non-negotiable for this plant. Morning glory roots sitting in standing water will rot within days, undoing your progress.
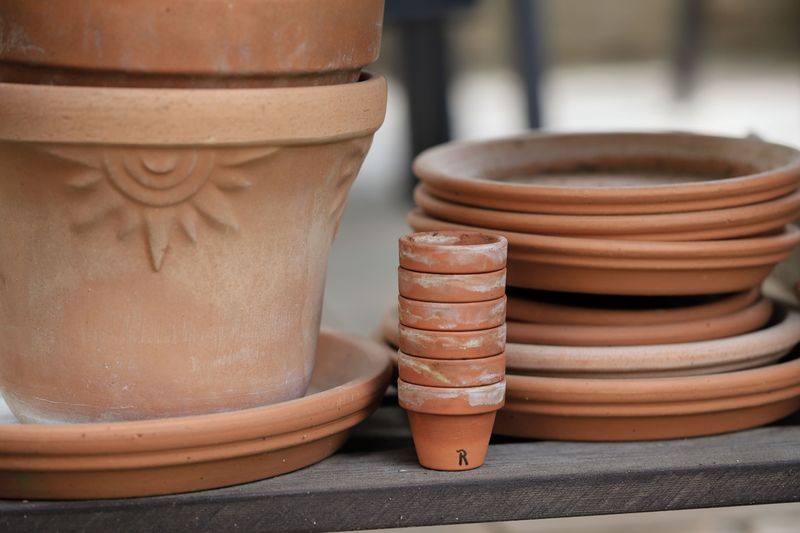
Terracotta pots are a popular choice because they breathe well and help prevent overwatering. Plastic containers work too, as long as they have several holes punched into the base.
If you already own a pot without drainage holes, grab a drill and add some yourself. A few holes on the bottom edge are enough to keep roots healthy and happy.
Check the pot for stability before planting. Morning glory vines grow tall and heavy, so an unstable container can tip over once the plant matures.
A wide, sturdy pot also holds moisture longer on hot summer days. That means less frequent watering and more time enjoying the blooms from your morning coffee chair.
Starting with the right container sets the entire season up for success. Think of the pot as the foundation of a house, get it right, and everything else becomes much easier from here.
2. Soak Seeds Overnight To Speed Up Germination
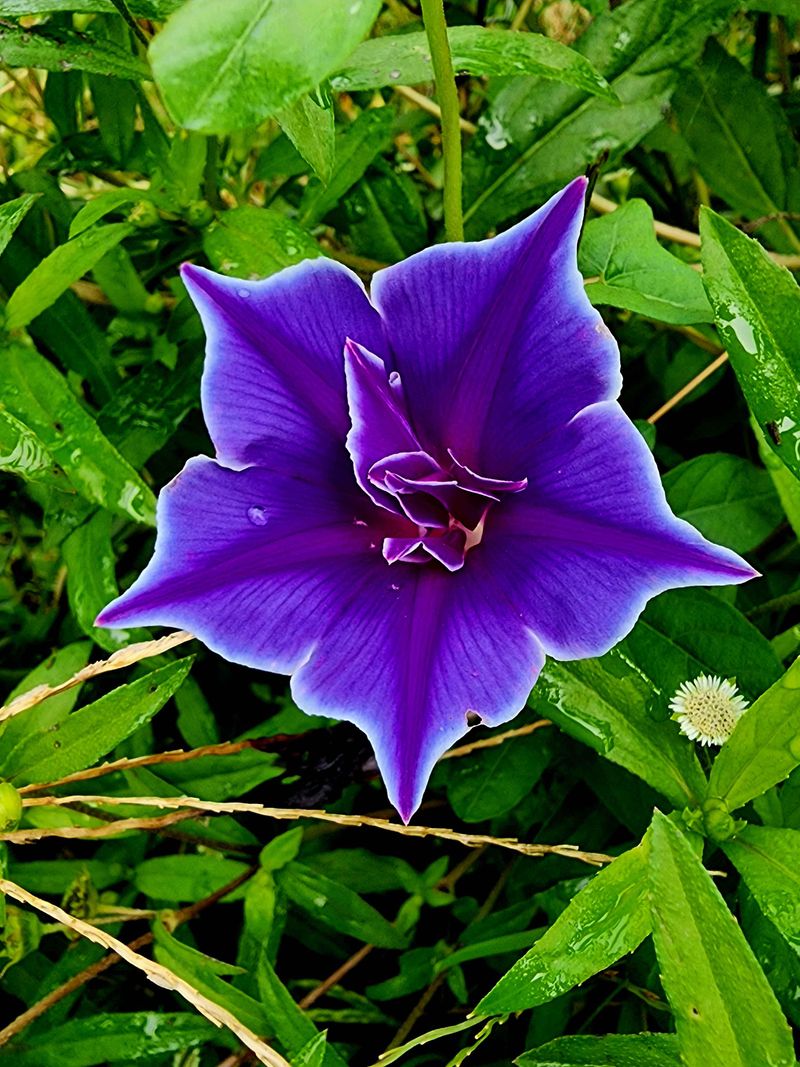
Morning glory seeds have a tough outer coat that slows down sprouting. Soaking them overnight is a simple trick that wakes them up fast.
Fill a small bowl with warm water and drop your seeds in the night before planting. By morning, you will notice the seeds have plumped up noticeably.
That swelling means the seed coat has softened and moisture has reached the embryo inside. Germination can often begin within a few days after soaking, depending on temperature and conditions.
Without soaking, seeds typically take longer to sprout, sometimes a week or more. That is a lot of waiting when you are excited to see green shoots appear.
Some gardeners take it one step further by nicking the seed coat with a nail file before soaking. This small scratch helps water penetrate even faster for stubborn seeds.
Use room-temperature water, not boiling hot water, which can damage the seed. Cold water works too, but warm water speeds the softening process along nicely.
After soaking, plant the seeds right away before they dry out again. Leaving soaked seeds sitting on a paper towel for too long can cause them to mold.
This one overnight step can shave days off your wait time and give you a much higher germination rate overall. A little patience the night before leads to a whole lot of blooms by summer.
3. Fill The Container With Well-Draining Potting Mix
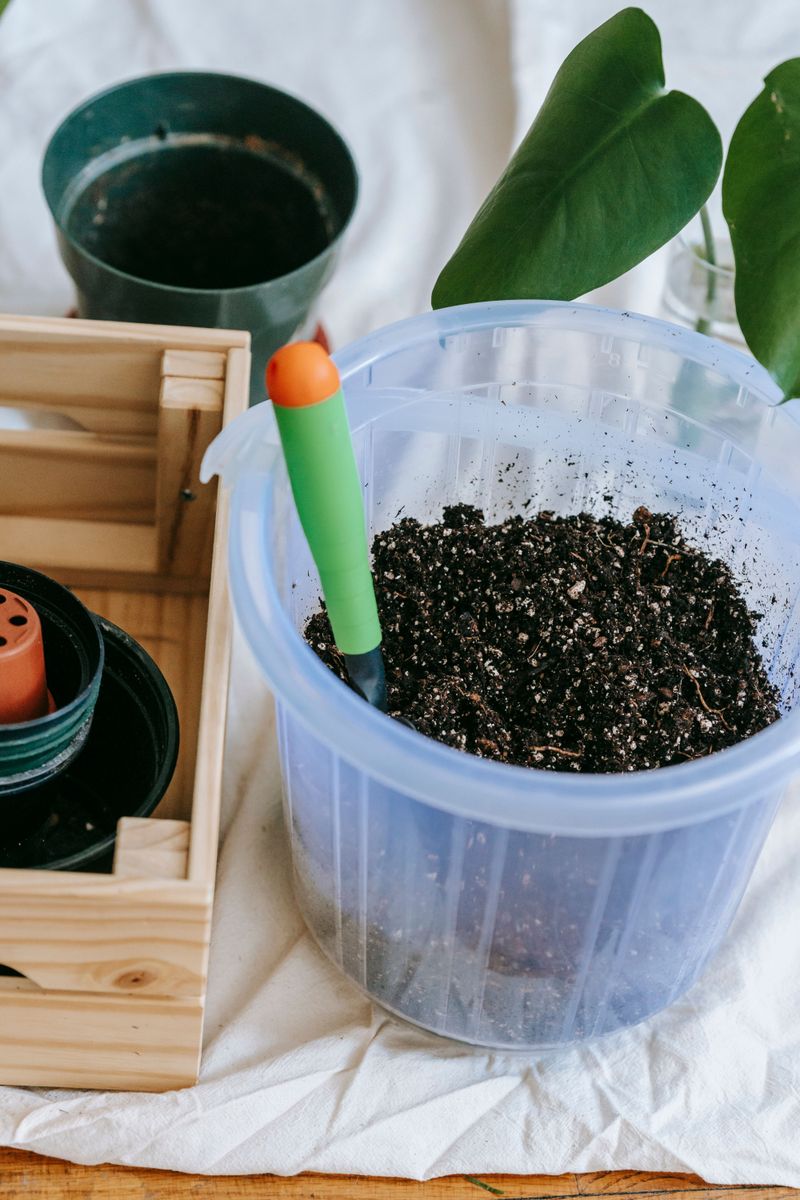
The soil you choose makes a bigger difference than most people realize. Morning glory thrives in loose, well-draining mix rather than heavy garden soil from your yard.
Standard bagged potting mix from a garden center works great as a starting point. Look for one that lists perlite or vermiculite in the ingredients for extra drainage.
Avoid using dense topsoil or clay-heavy dirt in your container. Heavy soil compacts quickly, blocks airflow, and suffocates roots that need room to breathe and spread.
If your potting mix feels dense, lighten it up by mixing in extra perlite until drainage visibly improves. That small tweak dramatically improves drainage and root health.
Morning glory does not need rich, fertilizer-heavy soil to bloom beautifully. In fact, too much nitrogen in the mix encourages leafy growth at the expense of flowers.
Fill the pot to about one inch below the rim to prevent soil from washing out when you water. That small gap acts as a buffer zone during heavy watering sessions.
Lightly moisten the potting mix before sowing your seeds. Dry soil can shift seeds around when you first water, pushing them too deep or washing them to the edges.
Getting the soil right from day one means your morning glory roots will spread easily and anchor the plant firmly. Healthy roots below the surface always lead to spectacular vines above it.
4. Sow Seeds About Half An Inch Deep
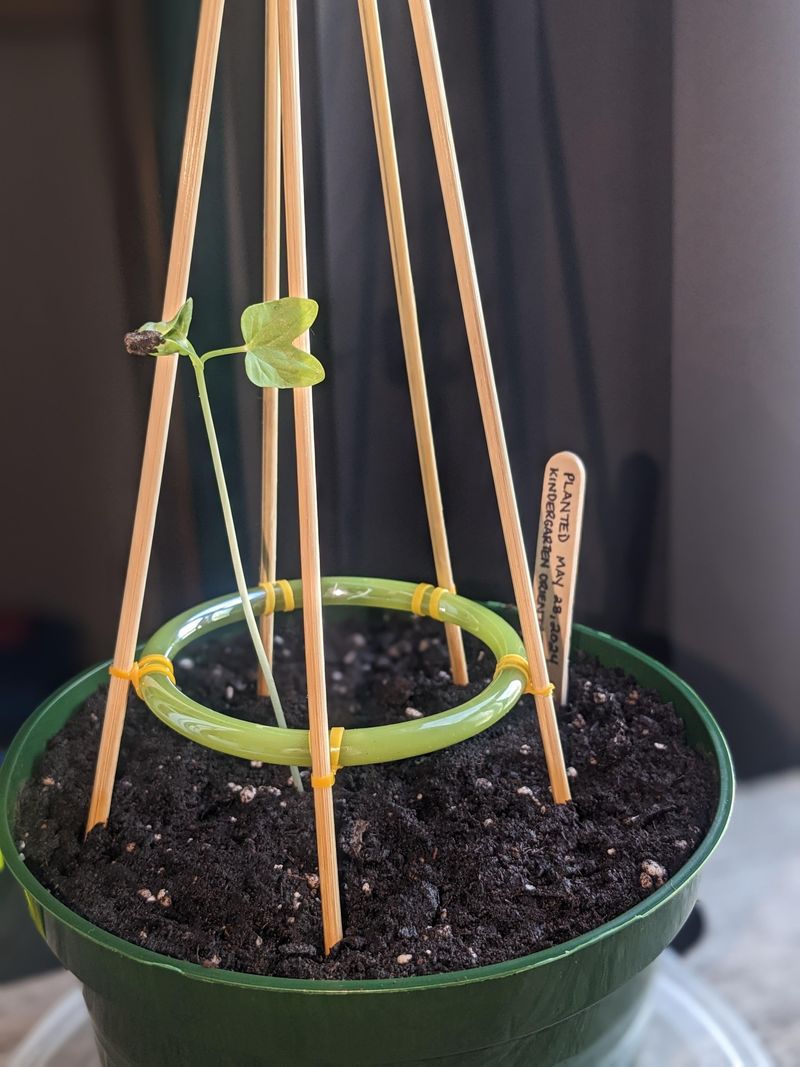
Planting depth is one of those details that gardeners sometimes overlook, but it really does matter. Morning glory seeds planted too shallow dry out fast, and seeds buried too deep struggle to push through the soil.
Half an inch deep is the sweet spot for these seeds. That depth gives them just enough soil coverage to stay moist while still allowing the sprout to reach sunlight quickly.
Use your finger or a pencil to poke small holes in the moistened potting mix. Space each hole roughly six to ten inches apart, depending on the variety, to give each seedling room to grow.
Drop one or two seeds into each hole and gently pinch the soil closed over them. Pressing too hard compacts the soil around the seed and slows the sprouting process down.
Planting two seeds per hole is a smart backup plan. If one seed does not germinate, the other usually does, saving you from bald patches in your pot.
Once both seeds sprout in the same hole, snip the weaker one off at soil level. Pulling it out risks disturbing the roots of the stronger seedling right next to it.
Water gently after sowing using a spray bottle or a watering can with a gentle rose head. A harsh stream of water can dislodge seeds before they have a chance to anchor themselves.
That half-inch depth is a small measurement with a big payoff. Nail it, and you will see those first green sprouts pushing through the soil within just days.
5. Place The Pot Somewhere It Gets Full Sun
Sunlight is the fuel that powers morning glory blooms. Without enough direct sun, the plant will grow leggy and weak, producing few if any flowers.
Find a spot that receives at least six hours of direct sunlight each day. South-facing balconies, sunny patios, and bright windowsill ledges are all excellent choices for container growing.
Morning glory earned its name for a reason: it blooms brightest in the morning sun. Placing the pot where it catches those early rays tends to produce more vivid blooms.
Afternoon shade is fine and can even protect blooms from fading in extreme summer heat. But morning sun is essential, so always prioritize eastern or southern exposure when choosing your spot.
If your space is partially shaded, experiment with moving the pot throughout the day. Container gardening gives you the flexibility that in-ground planting simply cannot offer.
Avoid placing the pot in a spot that gets reflected heat from a wall or pavement. Too much radiant heat combined with full sun can stress the plant and cause leaf scorch.
Once you find the right location, try to keep the pot there consistently. Moving plants frequently stresses them as they adjust to changing light conditions each time.
Morning glory growing in a pot genuinely thrives when sunlight is abundant and consistent. Give it that golden light every morning, and it will reward you with a waterfall of color all season long.
6. Water Regularly But Avoid Soggy Soil
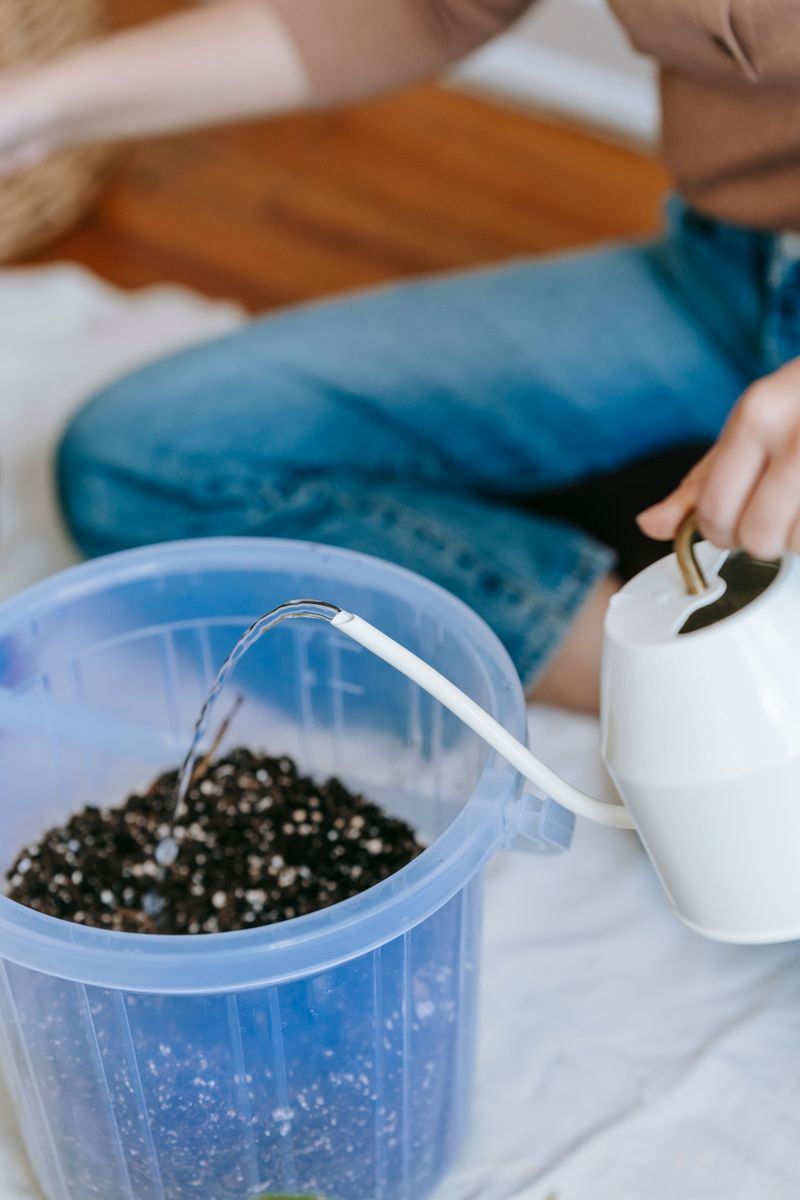
Watering morning glory is a balancing act that gets easier with a little practice. These plants like consistent moisture, but they absolutely cannot tolerate sitting in soggy, waterlogged soil.
Check the soil moisture by pressing your finger about an inch into the potting mix. If it feels dry at that depth, it is time to water; if it feels damp, wait another day.
In the heat of summer, container plants can dry out quickly, sometimes needing water every single day. Smaller pots lose moisture faster than larger ones, so keep a close eye during heat waves.
Water slowly and thoroughly until you see it draining from the bottom of the pot. That signals the entire root zone has received moisture, not just the top layer of soil.
Morning watering is ideal because it gives leaves time to dry before evening. Wet foliage overnight can encourage fungal issues that spread across the plant surprisingly fast.
If you notice yellowing leaves, overwatering is often the culprit rather than underwatering. Soggy roots cut off oxygen supply, causing the plant to look droopy and sick even with plenty of water.
A moisture meter is a handy tool if you tend to second-guess yourself. They cost just a few dollars and take all the guesswork out of knowing when to water.
Consistent, mindful watering keeps morning glory healthy and blooming. Get this step right, and you will sidestep the most common mistake new container gardeners make.
7. Install A Trellis Or Stakes For Climbing Support
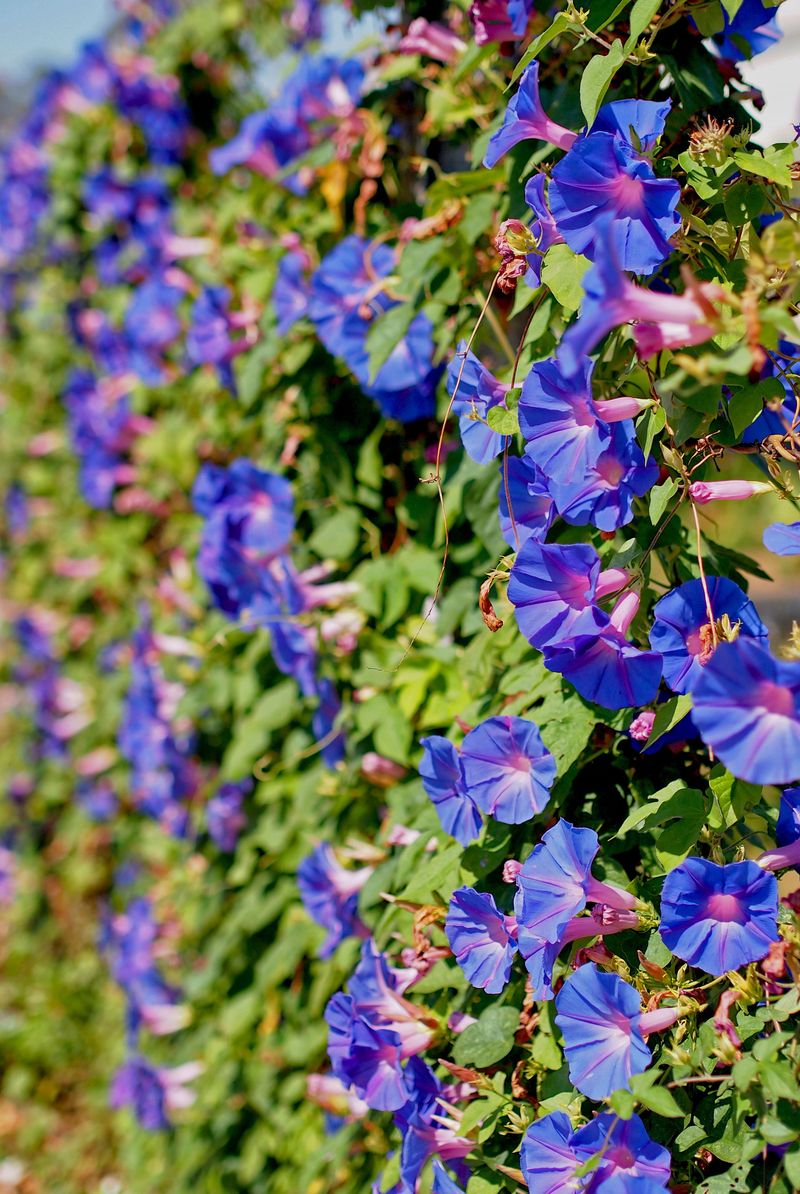
Morning glory is a natural-born climber with a strong instinct to reach upward. Without something to grab onto, those vines will sprawl across the ground or tangle into a messy heap.
Installing a trellis or a few bamboo stakes when the seedlings are young is the smartest move. Setting it up early prevents you from accidentally damaging roots by pushing stakes in later.
Bamboo stakes tied together in a teepee shape work beautifully inside a container. They are cheap, lightweight, and easy to find at any garden center or hardware store.
A small trellis panel propped behind the pot is another elegant option. It gives the vines a wide surface to spread across and creates a gorgeous living wall effect.
As the vines grow, gently guide the tendrils toward the support structure. Morning glory will quickly latch on with its curling tendrils once it makes contact with the surface.
Garden twine or soft plant ties are helpful for securing longer vines that wander away from the support. Avoid using wire or anything that cuts into the tender stems.
A well-supported plant looks cleaner, gets better airflow, and produces more blooms than one left to sprawl. Airflow between leaves also reduces the chance of powdery mildew forming on the foliage.
Think of the trellis as the plant’s personal ladder to the sky. Give morning glory something to climb, and it will put on a show that draws attention from passersby.
8. Pinch Back Growth Tips To Encourage Bushier Vines
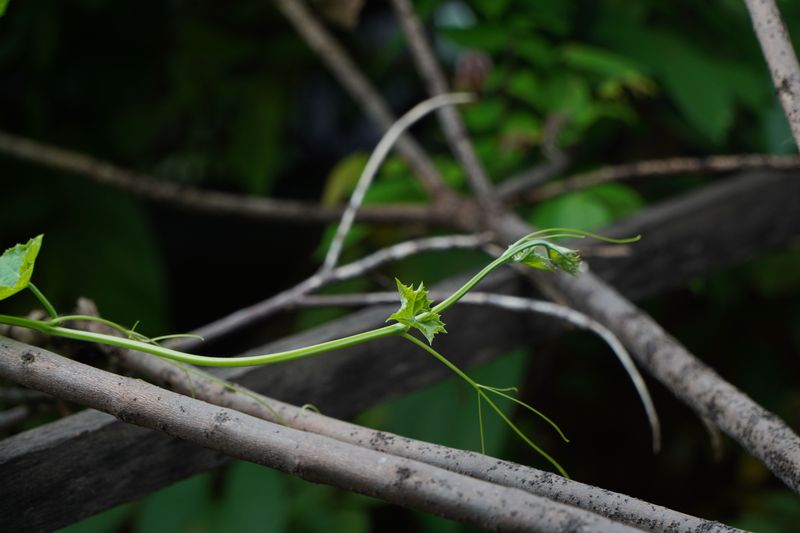
Here is a gardening move that feels counterintuitive but is effective: pinching off the growing tips actually makes morning glory fuller and more floriferous. Snipping the top encourages the plant to branch out sideways instead of racing straight up.
Wait until your seedlings are established with several sets of leaves before pinching. Doing it too early stresses young plants that are still building their root system.
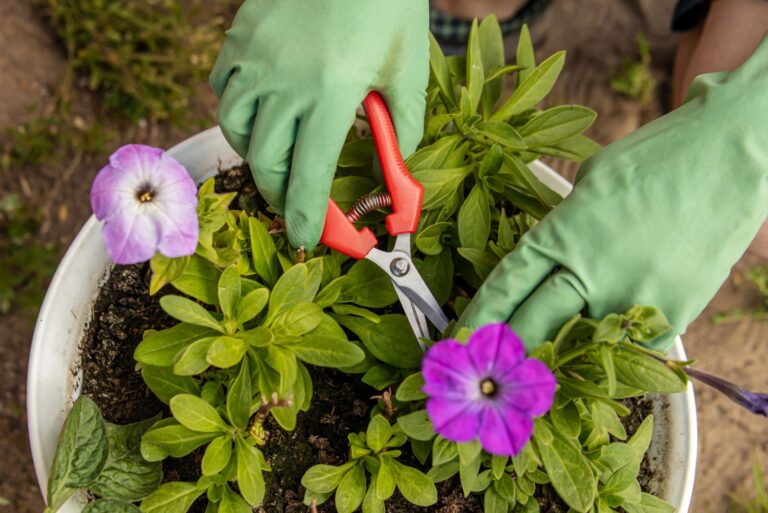
Use clean, sharp scissors or simply pinch the tip between your thumbnail and finger. Removing just the top half-inch of growth is enough to trigger that branching response.
After pinching, new shoots typically emerge from just below the cut within a week or two, depending on conditions. Each of those shoots can be pinched again later for even more branching and blooms.
More branches mean more flower buds forming along the vines throughout the season. A single unpinched plant might produce a handful of blooms, while a pinched one can produce dozens at once.
This technique is especially useful when growing morning glory in a pot with limited space. A bushy, compact plant looks far more impressive in a container than one long, bare vine.
Do not feel bad about cutting your plant back a little. Morning glory is generally resilient and bounces back well from pinching.
Growing morning glory in a pot reaches its full potential when you pinch early and often. That small act of snipping can significantly increase blooms.