15 Steps To Build A Stylish Countertop Herb Garden (Even If You’re Short On Space)
Just a pinch of fresh herbs can take your cooking from meh to mouthwatering in seconds. And when you grow your own, you get flavor, freshness, and savings—all without running to the store for a wilted bundle of basil.
Even in the smallest kitchens, a countertop herb garden can work wonders. With a few pots, some sunlight, and the right care, you’ll have parsley, thyme, or chives on hand whenever inspiration strikes.
Plus, there’s something grounding about nurturing green life indoors. It’s not just practical—it’s a little moment of nature tucked into your everyday routine.
1. Assess Your Available Space
Take a good look around your kitchen to find the perfect spot for your herbs. Measure the area carefully – I once built a beautiful herb setup only to discover it was half an inch too tall for my windowsill!
Consider spaces near windows, on countertops, or even mounted on walls. The best locations receive at least 4-6 hours of sunlight daily.
Don’t overlook unconventional spots like the top of your refrigerator or a narrow shelf. Just make sure your chosen area can handle occasional water spills.
2. Choose Your Herbs Wisely
Select herbs you’ll actually use in your cooking rather than ones that just look pretty. My unused lemon balm eventually became a dusty decoration because I rarely found recipes calling for it.
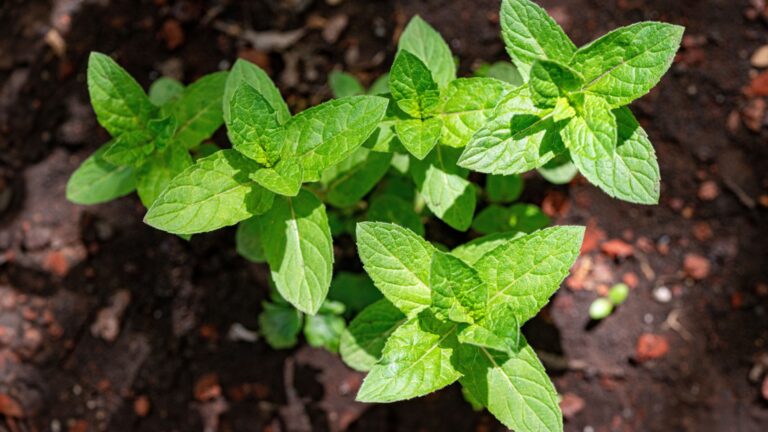
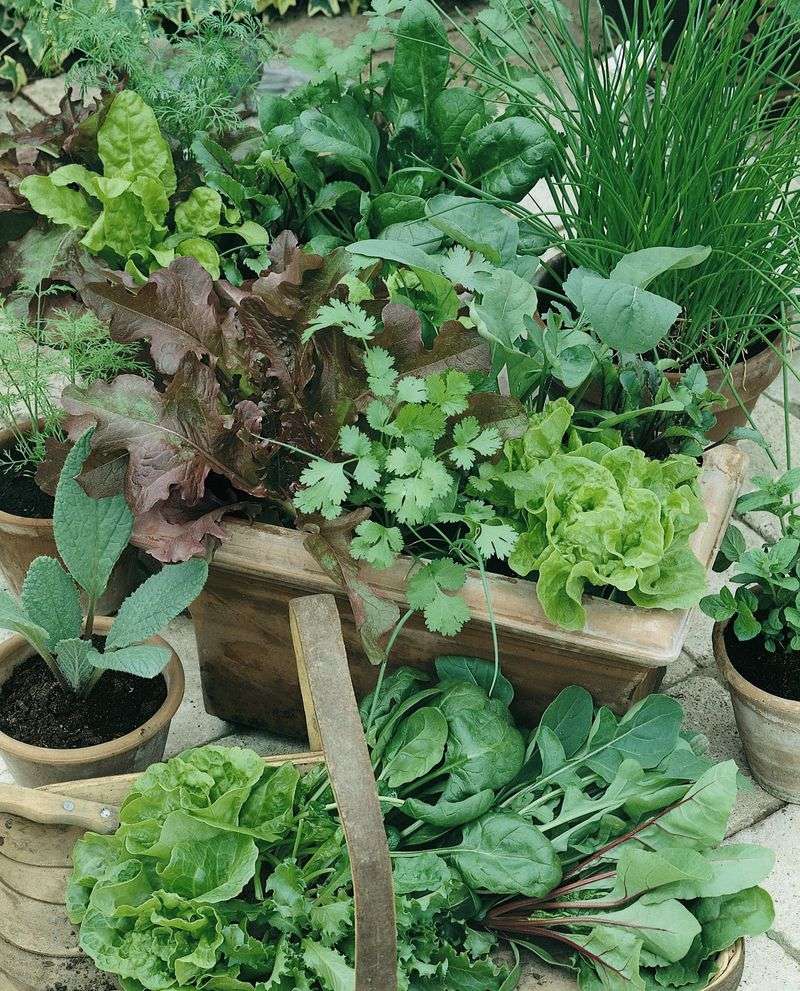
Beginners should start with resilient options like basil, mint, chives, parsley, and thyme. These forgiving plants tolerate minor care mistakes while providing flavors you’ll use regularly.
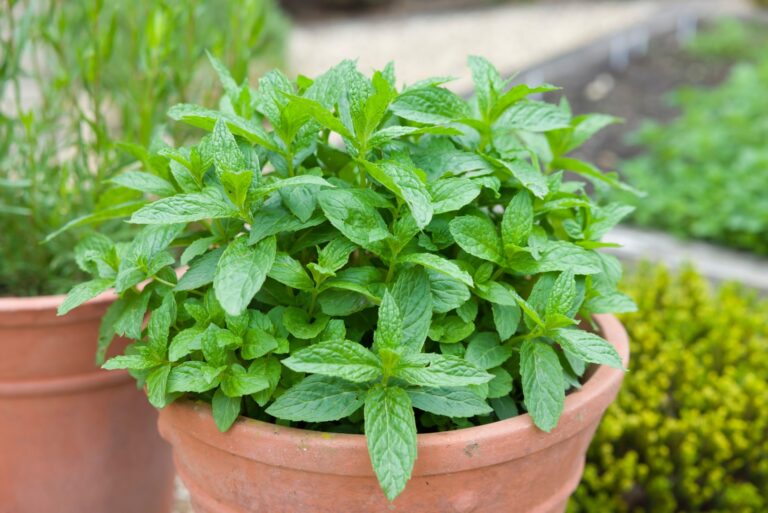
Consider growth habits too. Mint spreads aggressively and needs its own container, while rosemary grows tall and might overshadow smaller herbs.
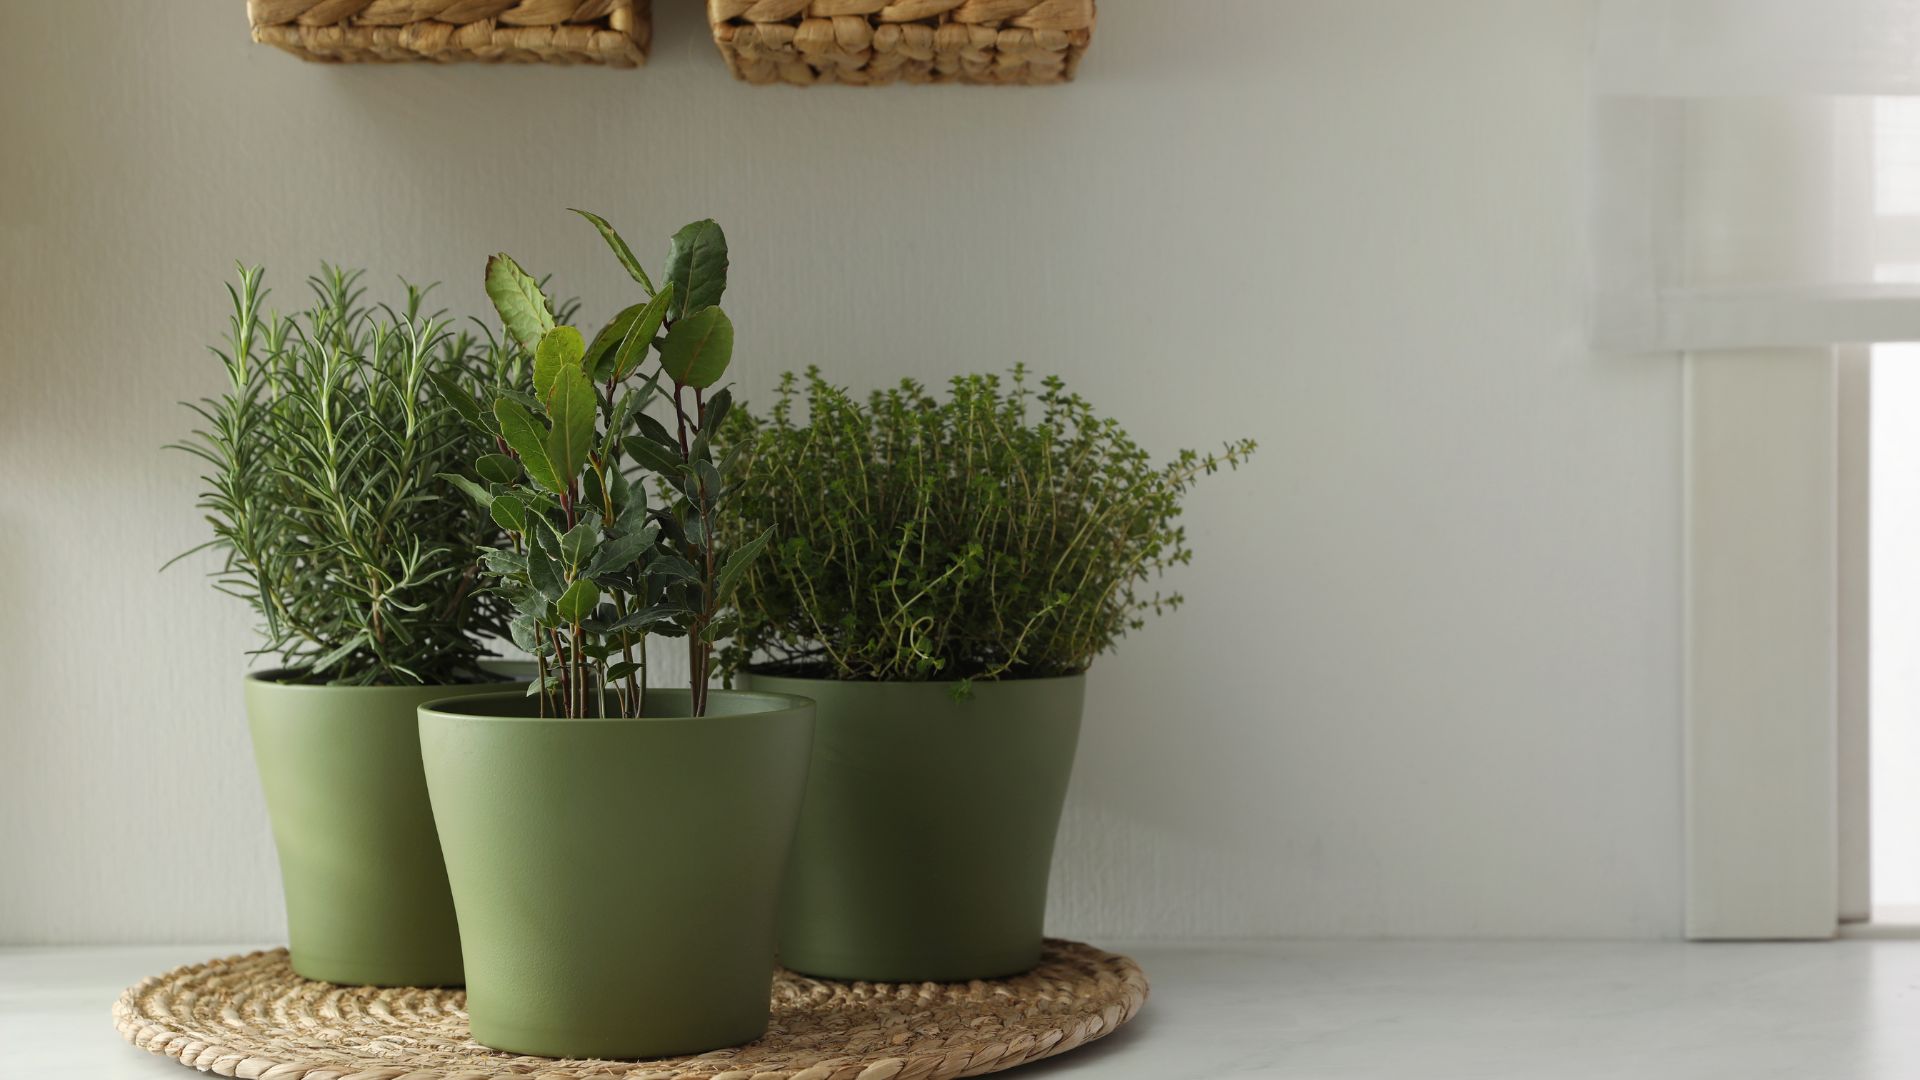
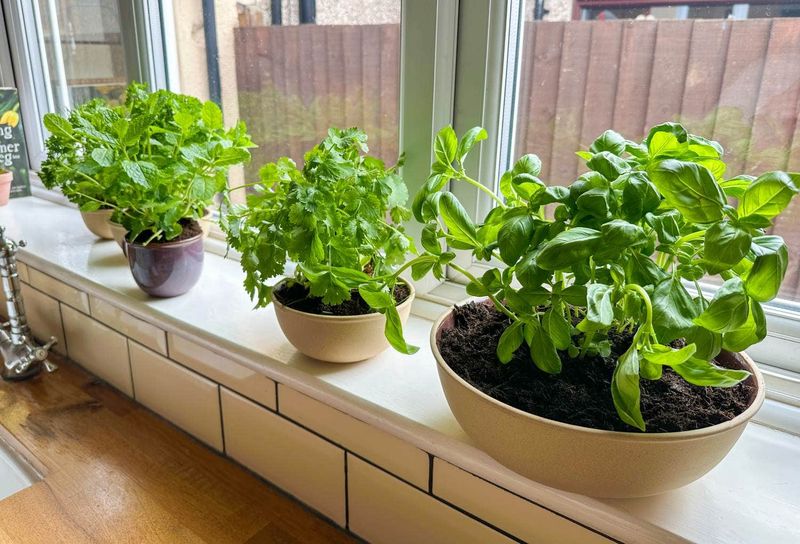
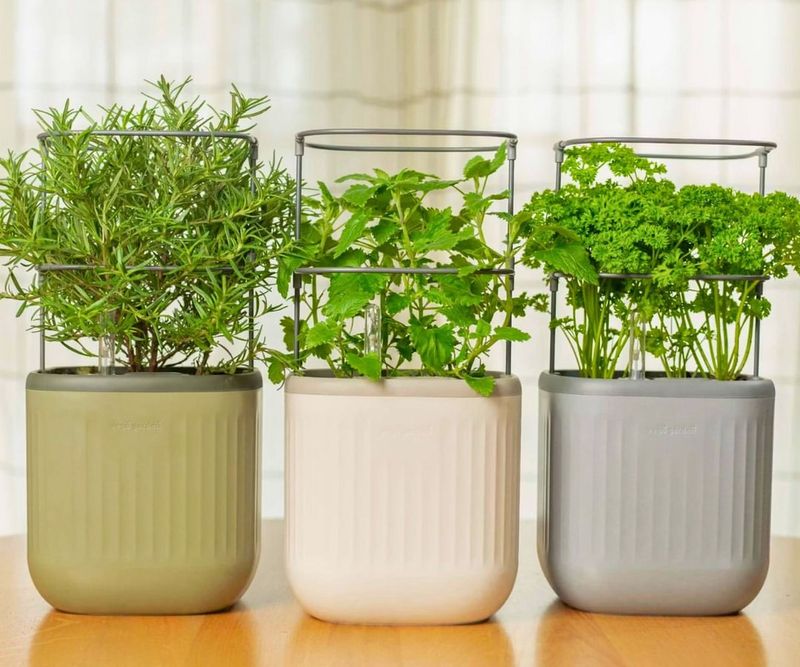
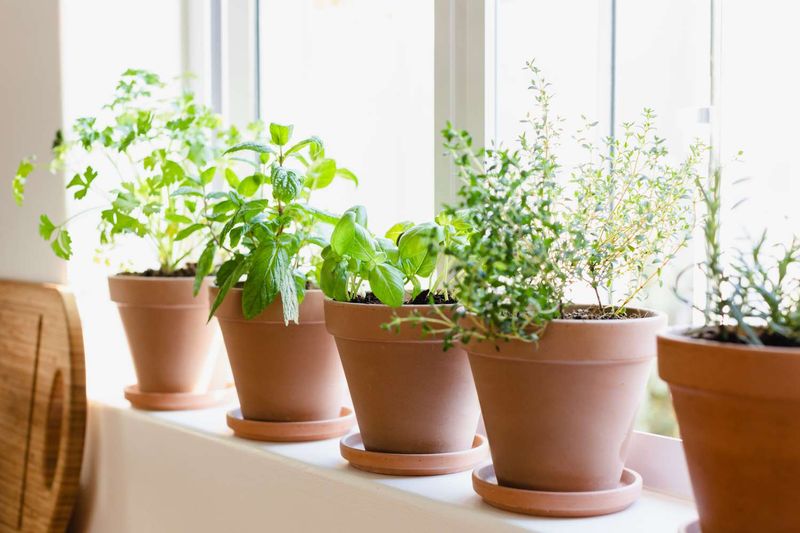
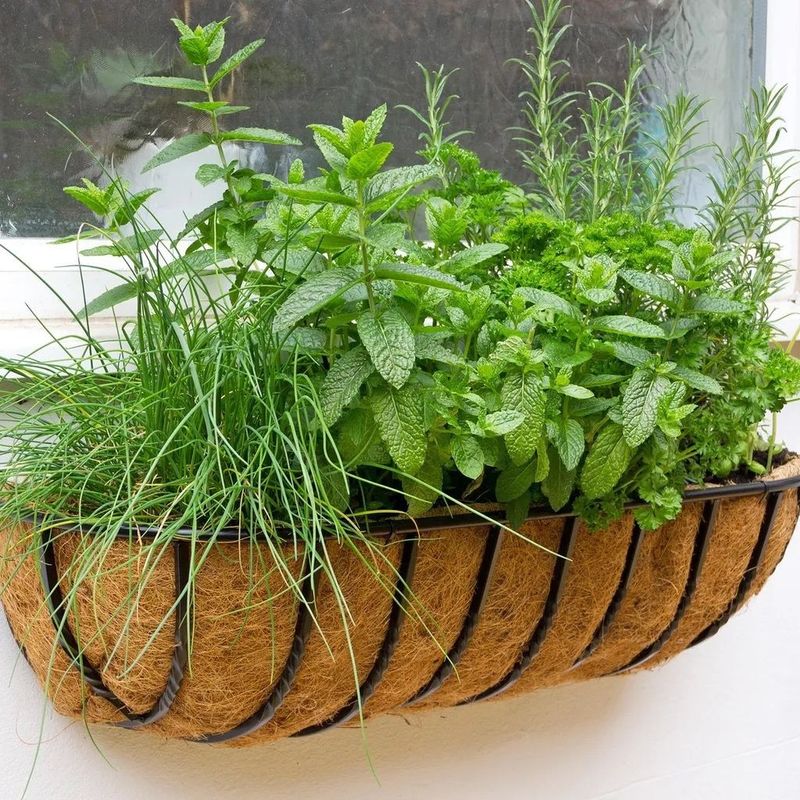
3. Select Space-Efficient Containers
Look for containers that maximize your limited space. Vertical planters, tiered stands, and wall-mounted systems all offer good solutions when countertop real estate is scarce.
Ensure any container has drainage holes – this single feature has saved countless herbs in my kitchen from root rot. If using decorative pots without holes, place plastic nursery pots inside them.
Smaller pots (4-6 inches) work perfectly for most herbs and prevent overwatering. I’ve found that herbs actually prefer being slightly rootbound rather than swimming in excess soil.
4. Purchase Quality Potting Mix
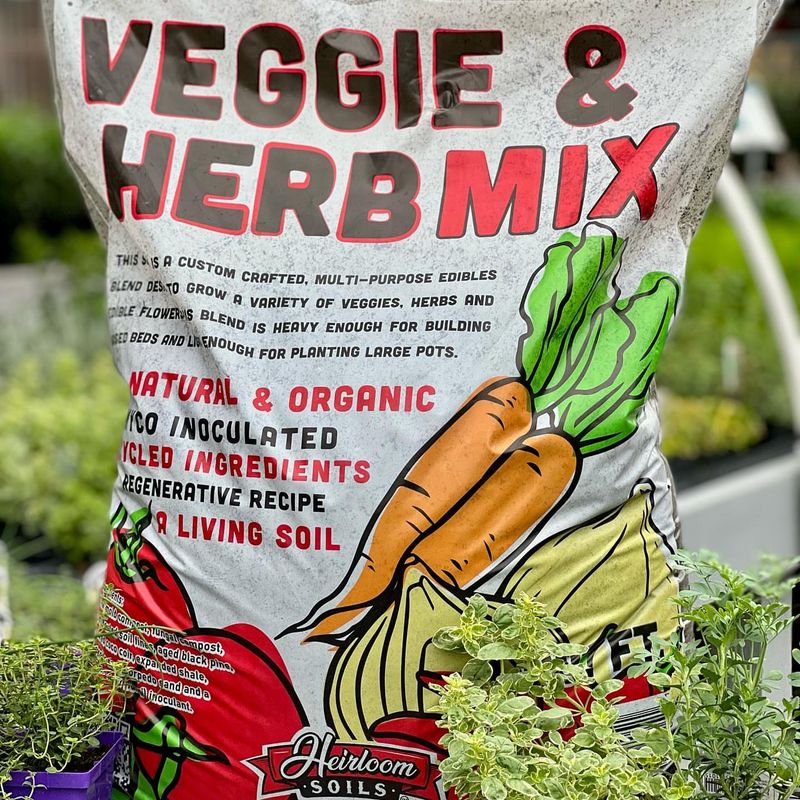
Regular garden soil becomes rock-hard in containers and suffocates roots. Instead, invest in a high-quality potting mix specifically formulated for containers – it makes a remarkable difference in plant health.
For herbs specifically, choose a mix labeled for vegetables or herbs. These blends typically offer better drainage while still retaining enough moisture for consistent growth.
Avoid mixes with added fertilizers or moisture-retaining crystals. My parsley once suffered from fertilizer burn because I used an enriched potting mix and then added more plant food.
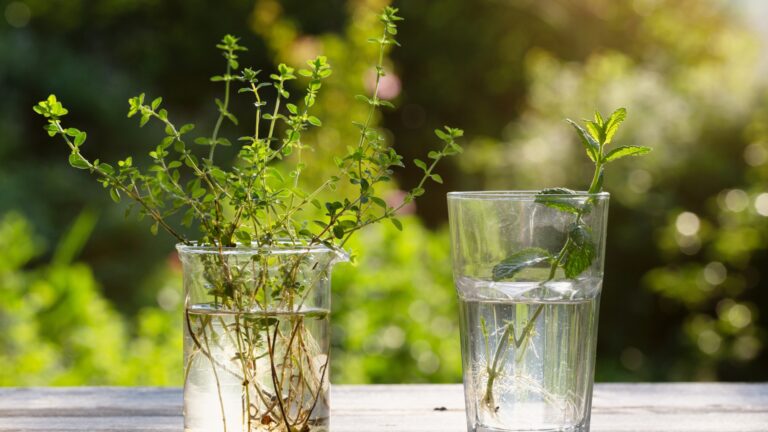
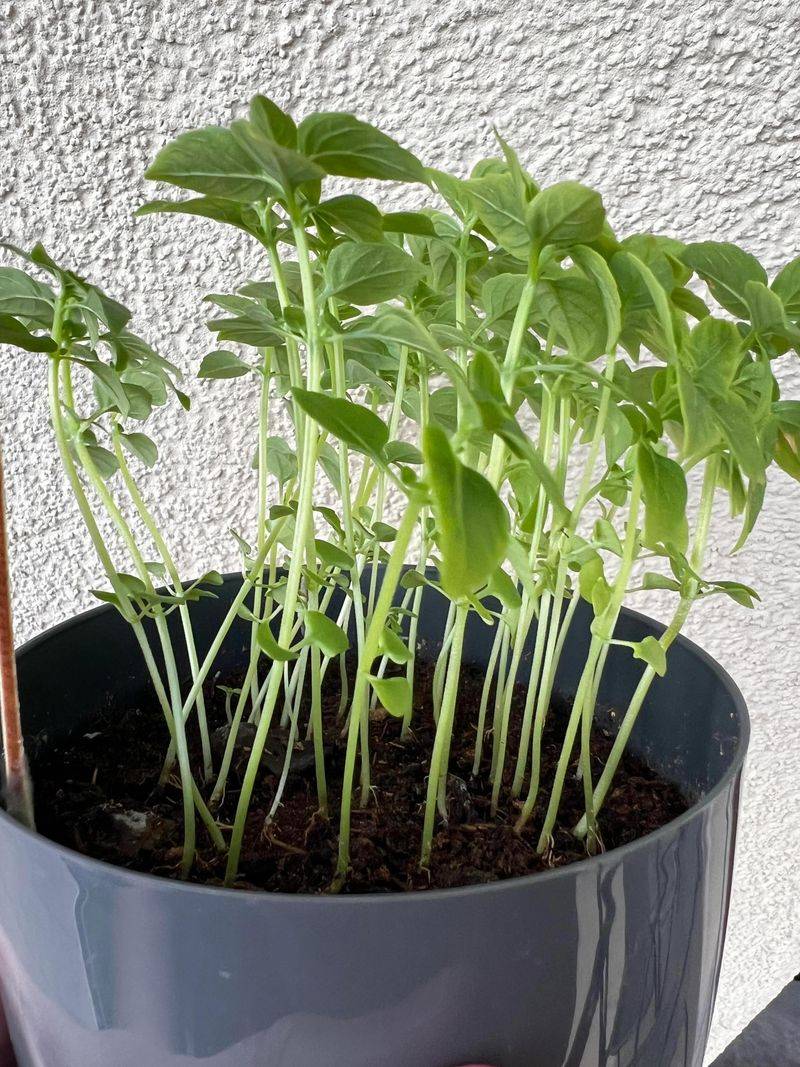
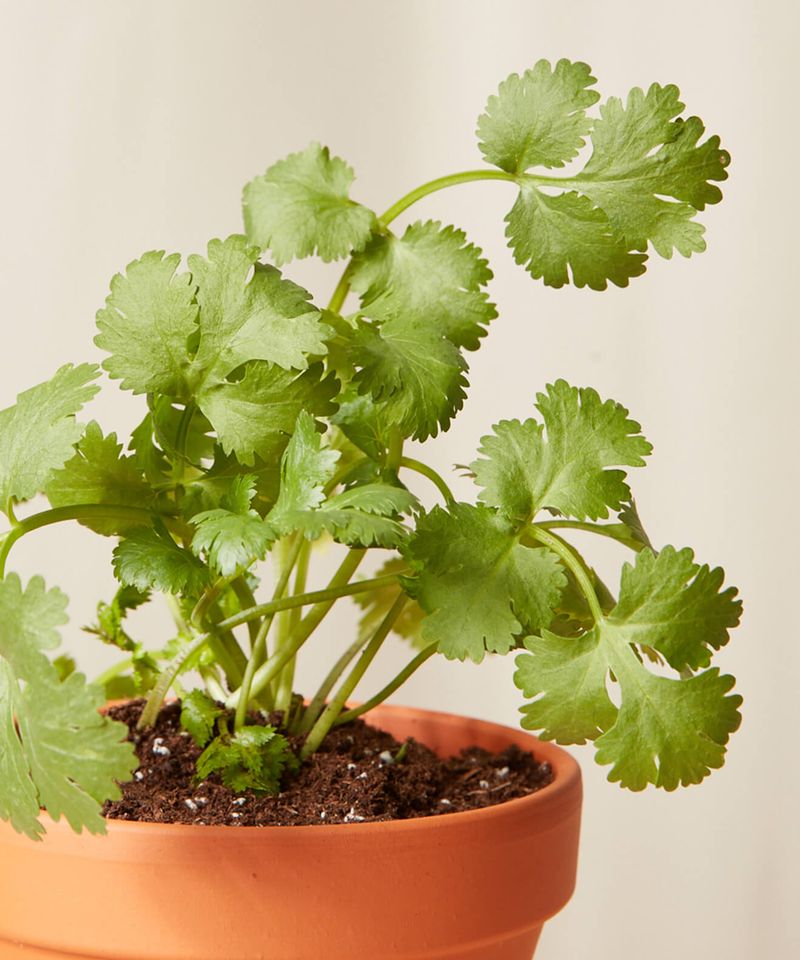
5. Start With Seedlings Instead Of Seeds
While growing from seed might seem rewarding, starting with small established plants gives your garden instant impact. Young plants from nurseries bypass the tricky germination stage where many beginners struggle.
Look for healthy seedlings with no yellowing leaves or signs of pests. Gently remove them from their nursery containers and inspect the roots – they should be white or light-colored, not brown or mushy.
Local farmers’ markets often sell hardier seedlings than big box stores. The plants might cost slightly more but typically establish themselves much faster in your home environment.
6. Arrange For Maximum Sunlight Exposure
Position sun-loving herbs like basil and rosemary where they’ll receive the most light. These Mediterranean natives need at least 6 hours of direct sunlight to develop their essential oils and flavors.
Shadier spots work well for mint, parsley, and cilantro, which tolerate partial shade. I accidentally fried my cilantro by placing it in my sunniest window – it bolted immediately and became bitter.
Rotate your containers weekly to encourage even growth. Plants naturally lean toward light sources, and without rotation, you’ll end up with lopsided herbs reaching desperately toward the window.
7. Create A Simple Watering Schedule
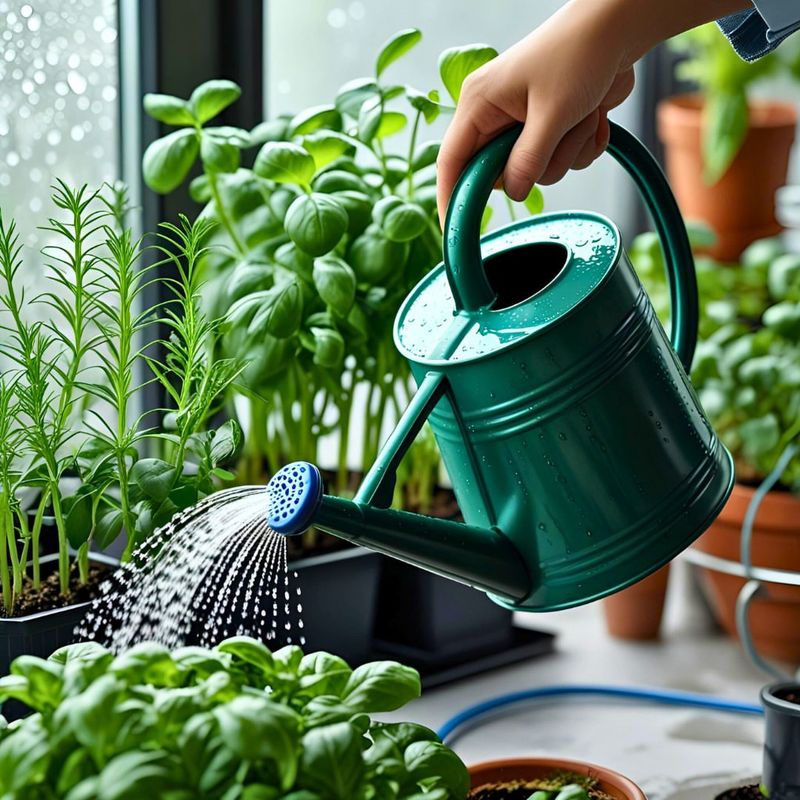
Herbs generally prefer to dry slightly between waterings. Stick your finger an inch into the soil – if it feels dry at that depth, it’s time to water thoroughly until moisture runs from the drainage holes.
Different herbs have different needs. Rosemary and thyme prefer drier conditions, while basil and mint like consistent moisture. Group plants with similar requirements together to simplify care.
Morning watering works best. I learned this after losing several plants to fungal issues that developed from evening watering, which left the foliage wet overnight.
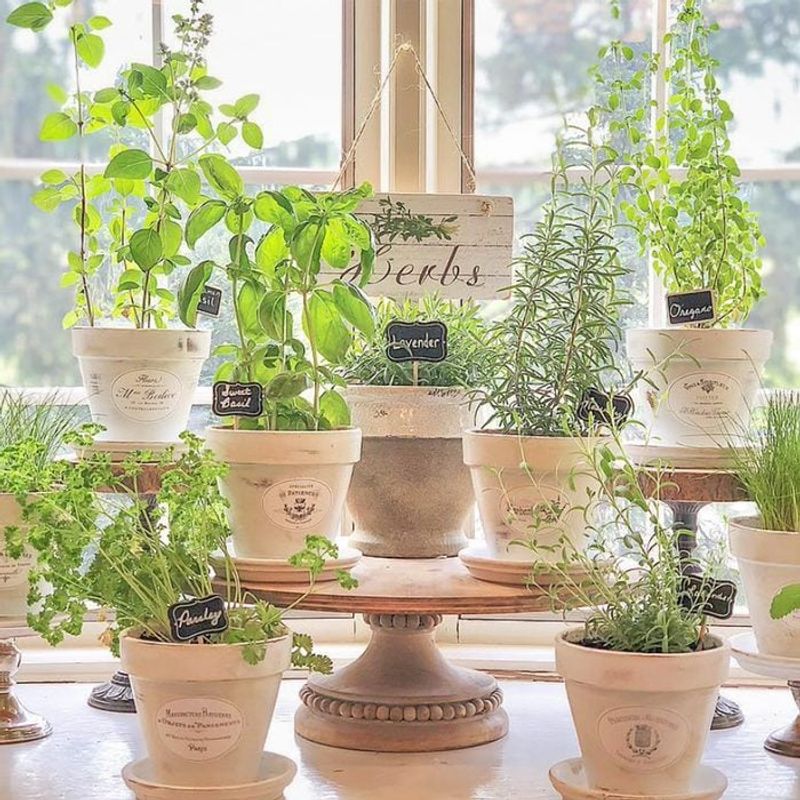
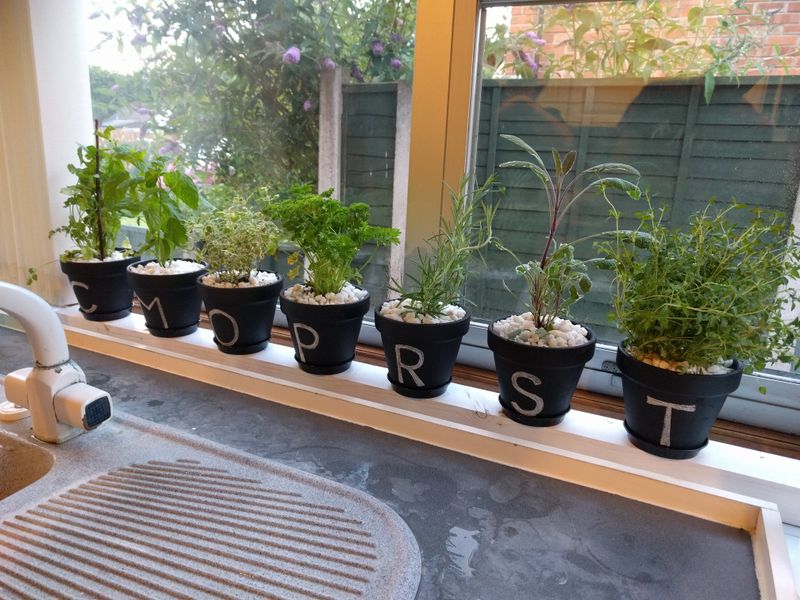
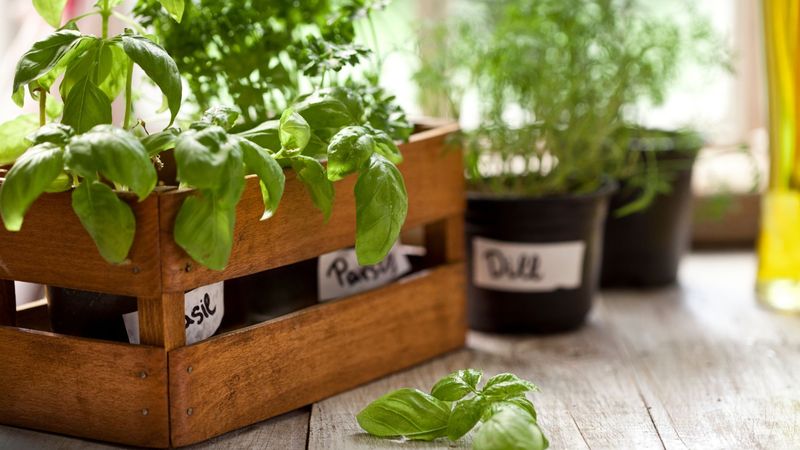
8. Use Creative Plant Markers
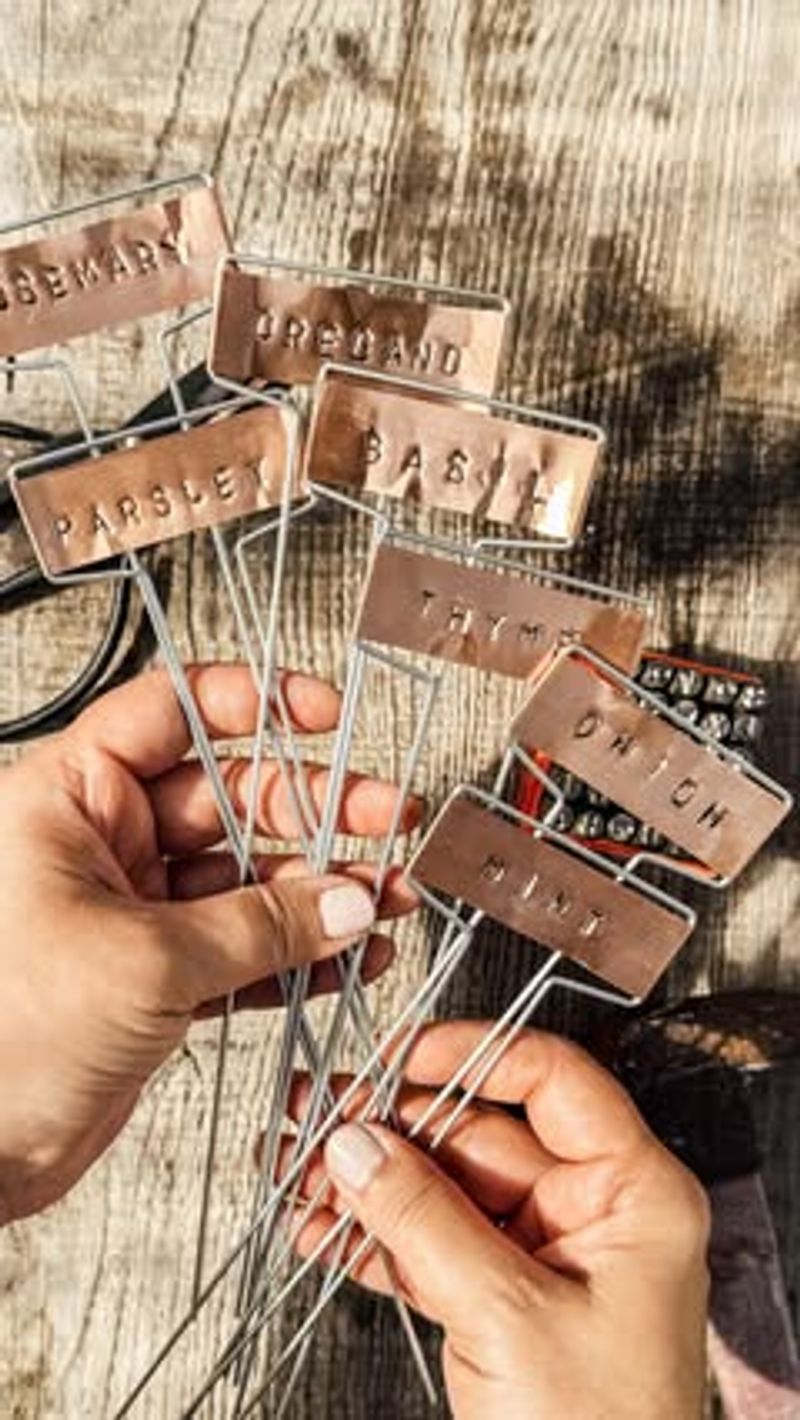
Craft simple plant markers using popsicle sticks, small stones, wine corks, or clothespins. These practical identifiers add personality to your garden while preventing confusion between similar-looking herbs.
Write plant names with permanent markers or paint pens that won’t wash away during watering. My first garden labels faded after two weeks because I used regular markers – chalk markers work much better.
Include harvest information on your labels, like “trim regularly” for basil or “cut outer stems first” for parsley. These reminders help maintain proper harvesting habits.
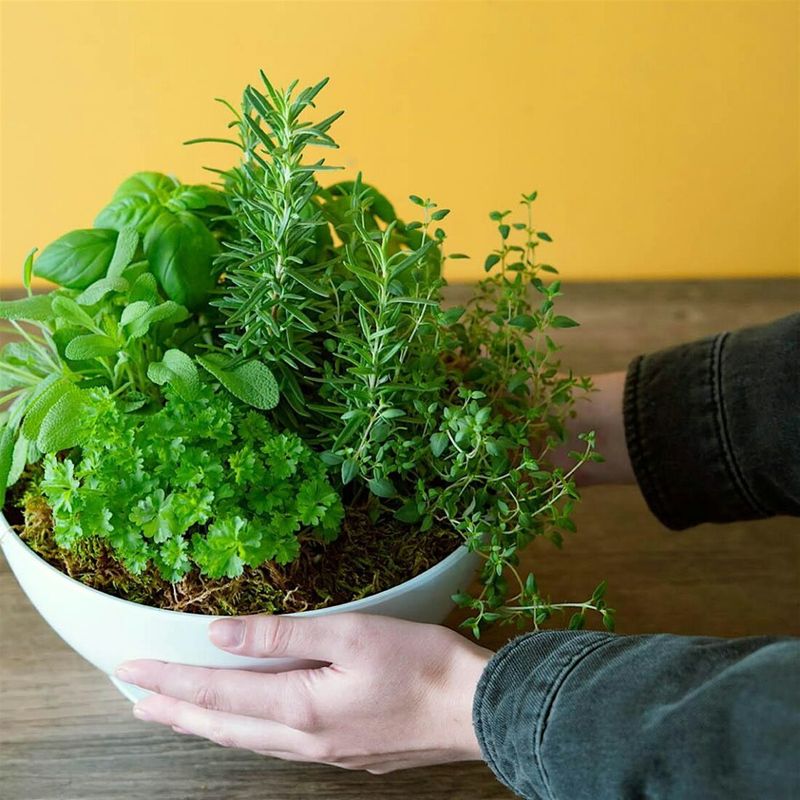
9. Maintain Proper Spacing Between Plants
Resist the temptation to crowd too many herbs into a small container. Overcrowding restricts air circulation and creates competition for nutrients, ultimately stunting growth.
Follow the spacing guidelines provided with your plants, typically 4-6 inches between most kitchen herbs. If using a single large container for multiple herbs, imagine each plant as eventually needing a softball-sized space.
Consider the mature size of each herb. My thyme started tiny but quickly spread to three times its original width, eventually smothering my nearby chives before I could intervene.
10. Fertilize Lightly But Consistently
Container herbs need regular feeding since nutrients in potting mix deplete quickly. Choose a half-strength liquid fertilizer specifically formulated for edible plants and apply every 2-3 weeks during active growth.
Organic options like diluted fish emulsion or compost tea work wonderfully but can smell unpleasant indoors. I keep a bottle of odorless seaweed extract specifically for my kitchen herbs.
Watch for signs of over-fertilization like brown leaf tips or excessive leggy growth. When this happens, flush the soil thoroughly with plain water and reduce feeding frequency.
11. Prune Regularly For Bushier Growth
Regular harvesting encourages herbs to grow fuller and more productive. Pinch growing tips when plants reach 6 inches tall to promote branching – the difference this makes is remarkable.
Remove flowers as they appear on most herbs. While pretty, flowering signals the plant to produce seeds rather than leafy growth. My basil production doubled after I started diligently removing flower buds.
Use clean, sharp scissors rather than tearing leaves, which can damage stems. Make cuts just above leaf nodes (where leaves attach to stems) to stimulate new growth from that point.
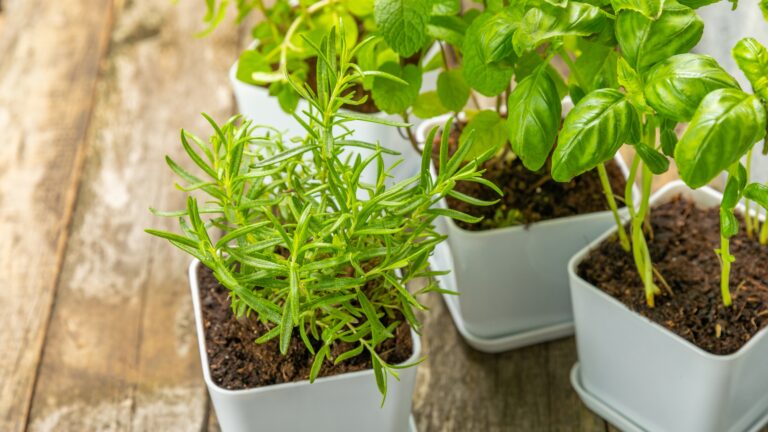
12. Add Stylish Decorative Elements
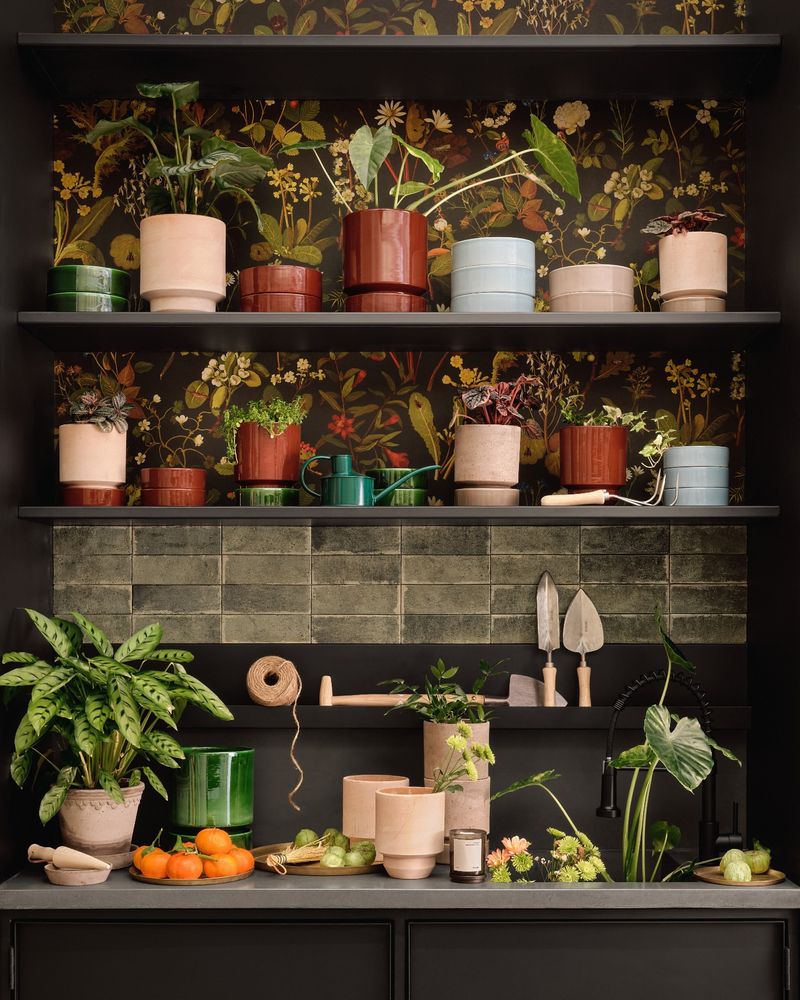
Coordinate container colors with your kitchen decor for a cohesive look. Simple terracotta pots can be painted or left natural, while colorful ceramic containers add instant visual interest.
Incorporate small decorative stones or glass marbles as top dressing around plants. Beyond looking attractive, this layer helps retain soil moisture and prevents splashing during watering.
Consider adding small garden ornaments, like miniature figurines or decorative stakes. My tiny ceramic mushrooms barely peek above the soil line but always make guests smile when they notice them.
13. Monitor For Pests And Problems
Check the undersides of leaves weekly for early signs of pests. Aphids, spider mites, and whiteflies particularly enjoy indoor herbs, but catching them early makes control much simpler.
Keep a spray bottle filled with mild soapy water (1 teaspoon dish soap per quart) as a first defense against most small insects. Spray affected areas, being careful to cover leaf undersides where pests hide.
Isolate any infected plants immediately. I once ignored a small aphid colony on my mint, only to find they’d colonized my entire herb collection within days.
14. Rotate Plants For Even Growth
Plants naturally grow toward light sources, which can create lopsided, leaning herbs if left in one position. Rotate containers a quarter turn weekly to encourage straight, even growth.
Rearrange your herb garden occasionally to ensure all plants receive adequate light. Move faster-growing plants that might shade smaller ones, and bring struggling herbs closer to light sources.
This rotation schedule doubles as a perfect opportunity to check for watering needs and early pest problems. I’ve caught countless issues during my Sunday morning plant rotation ritual.
15. Harvest And Use Your Herbs Properly
Morning harvesting yields the highest concentration of essential oils in most herbs. Snip leaves just before you plan to use them for maximum flavor – the difference between fresh-cut and hours-old herbs is noticeable.
Different herbs require different harvesting approaches. For basil, pinch stem tips above leaf pairs. For parsley and cilantro, take outer stems from the base. Woody herbs like rosemary and thyme can handle cutting anywhere along the stem.
Never harvest more than one-third of a plant at once. My overzealous basil harvest once set the plant back so severely it took weeks to recover.