15 Steps To Propagate Basil At Home (And Never Buy It Again)
Growing herbs at home is a simple way to save money and keep fresh flavors close at hand. I’ve had a basil jar on my kitchen windowsill for years, and snipping leaves as I cook always feels like a small luxury. It’s easy, even if you’re new to growing.
If you’re looking to multiply your basil plants, water propagation is the way to go. I stopped buying basil altogether once I realized how effortlessly cuttings root. All you need is a jar, some water, and a bit of patience to get started. The best part? Watching tiny white roots appear as if by magic.
Even a modest cutting on the counter can grow into a lush new plant. It’s sustainable, rewarding, and adds a personal touch to every dish you make. Let’s walk through how to do it.
1. Select A Healthy Parent Plant
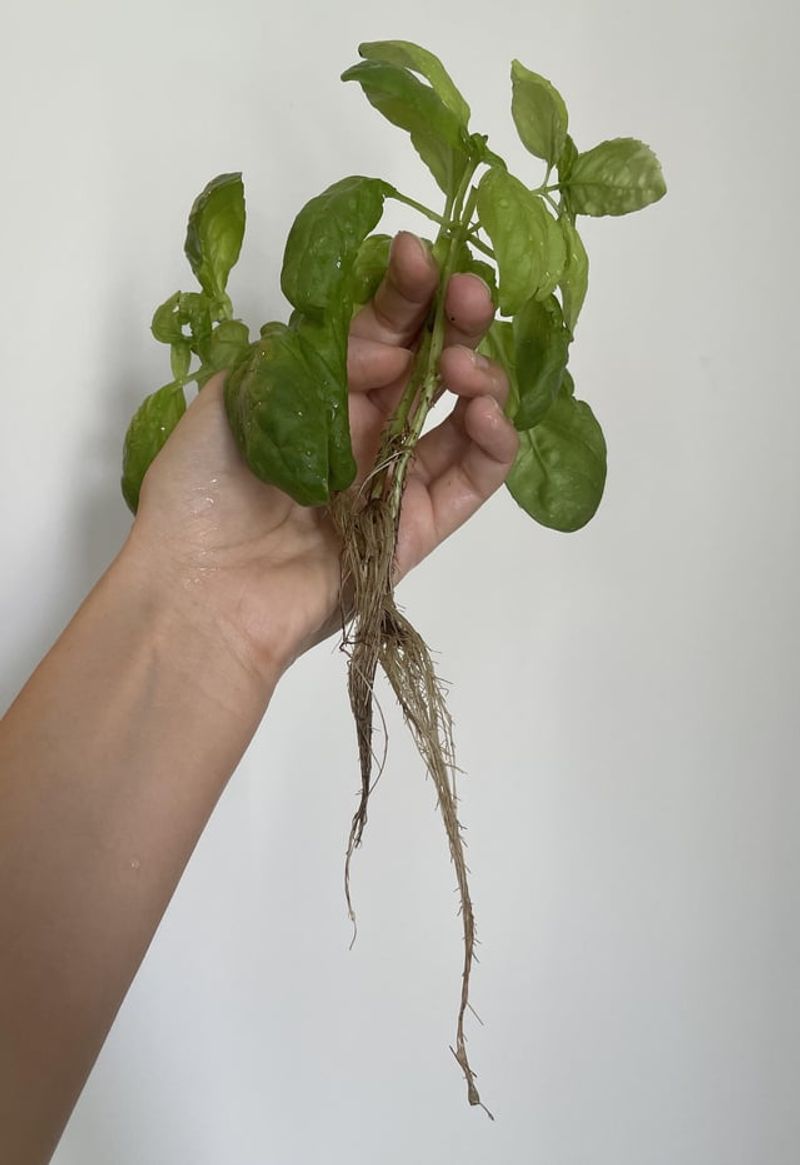
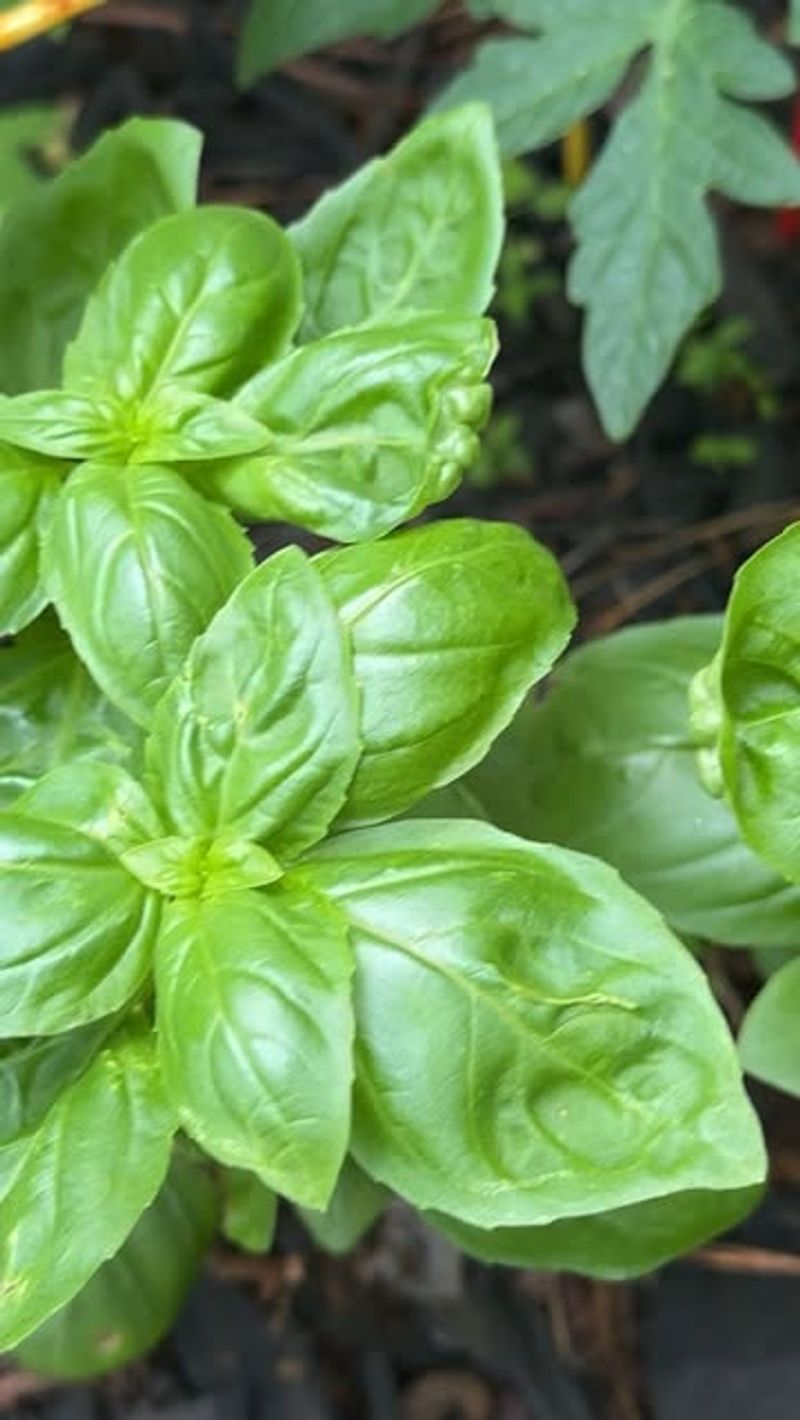
Your propagation success depends entirely on starting with a vibrant, disease-free plant. Look for deep green leaves without spots or yellowing edges. The stems should be firm, not woody or withered.
Store-bought living basil plants work perfectly for this purpose. I usually choose organic varieties since they haven’t been treated with growth inhibitors that might affect propagation.
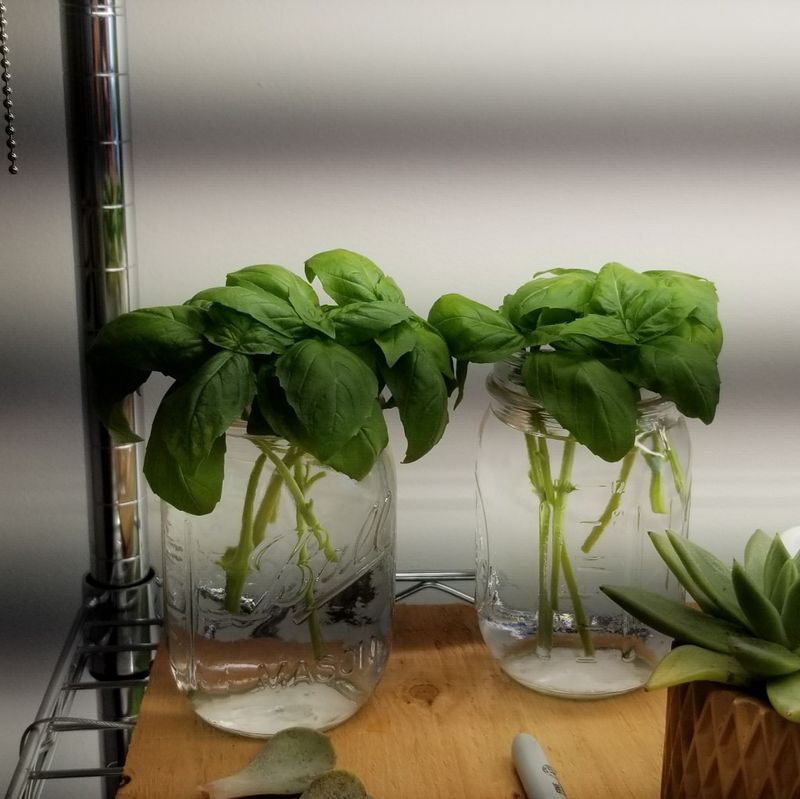
2. Gather Your Supplies
Before starting, collect everything you’ll need: sharp scissors or pruning shears, clean jars or glasses, and fresh water. Having all materials ready prevents your cuttings from drying out during the process.
The containers don’t need to be fancy. I’ve successfully used everything from mason jars to recycled pasta sauce containers. Just make sure they’re thoroughly cleaned to prevent bacteria growth.
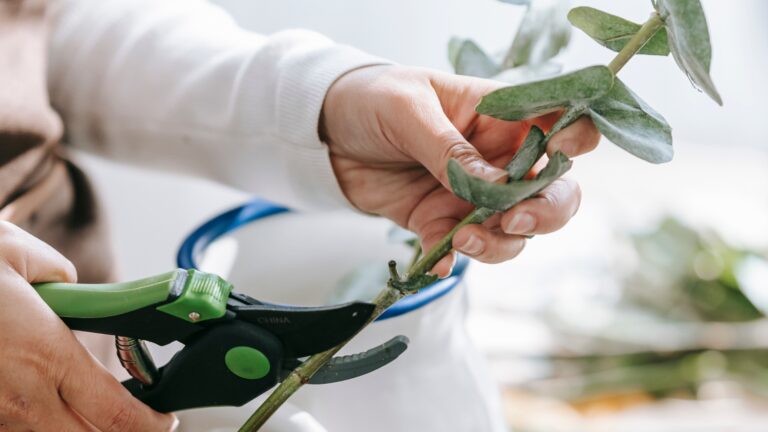
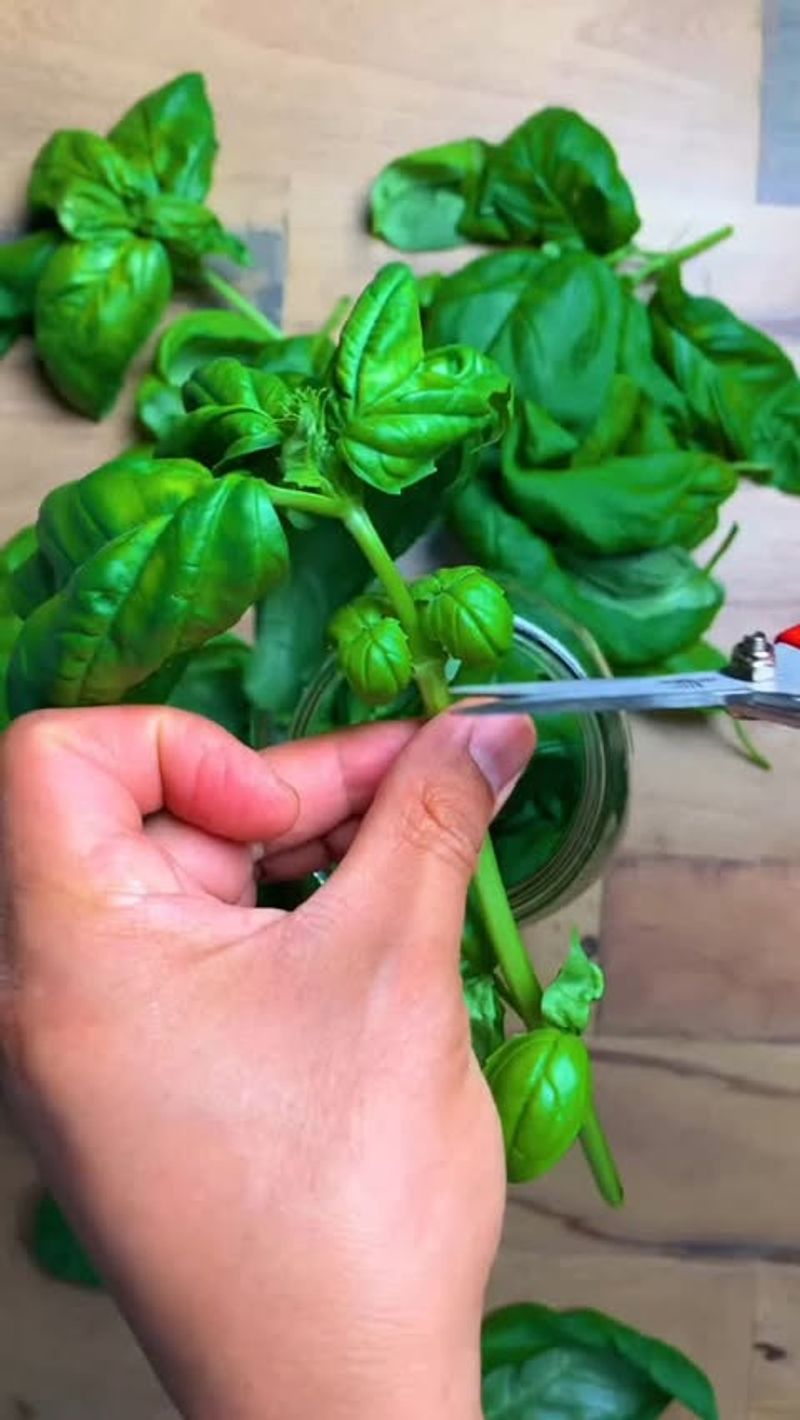
3. Cut Just Below A Node
Making the right cut dramatically improves your success rate. Identify a node (the slightly swollen area where leaves attach to the stem) and snip about 1/4 inch below it with clean, sharp scissors.
Each cutting should be 3-4 inches long with at least 2-3 sets of leaves. Morning is usually the best time for taking cuttings when the plant is well-hydrated after the night.
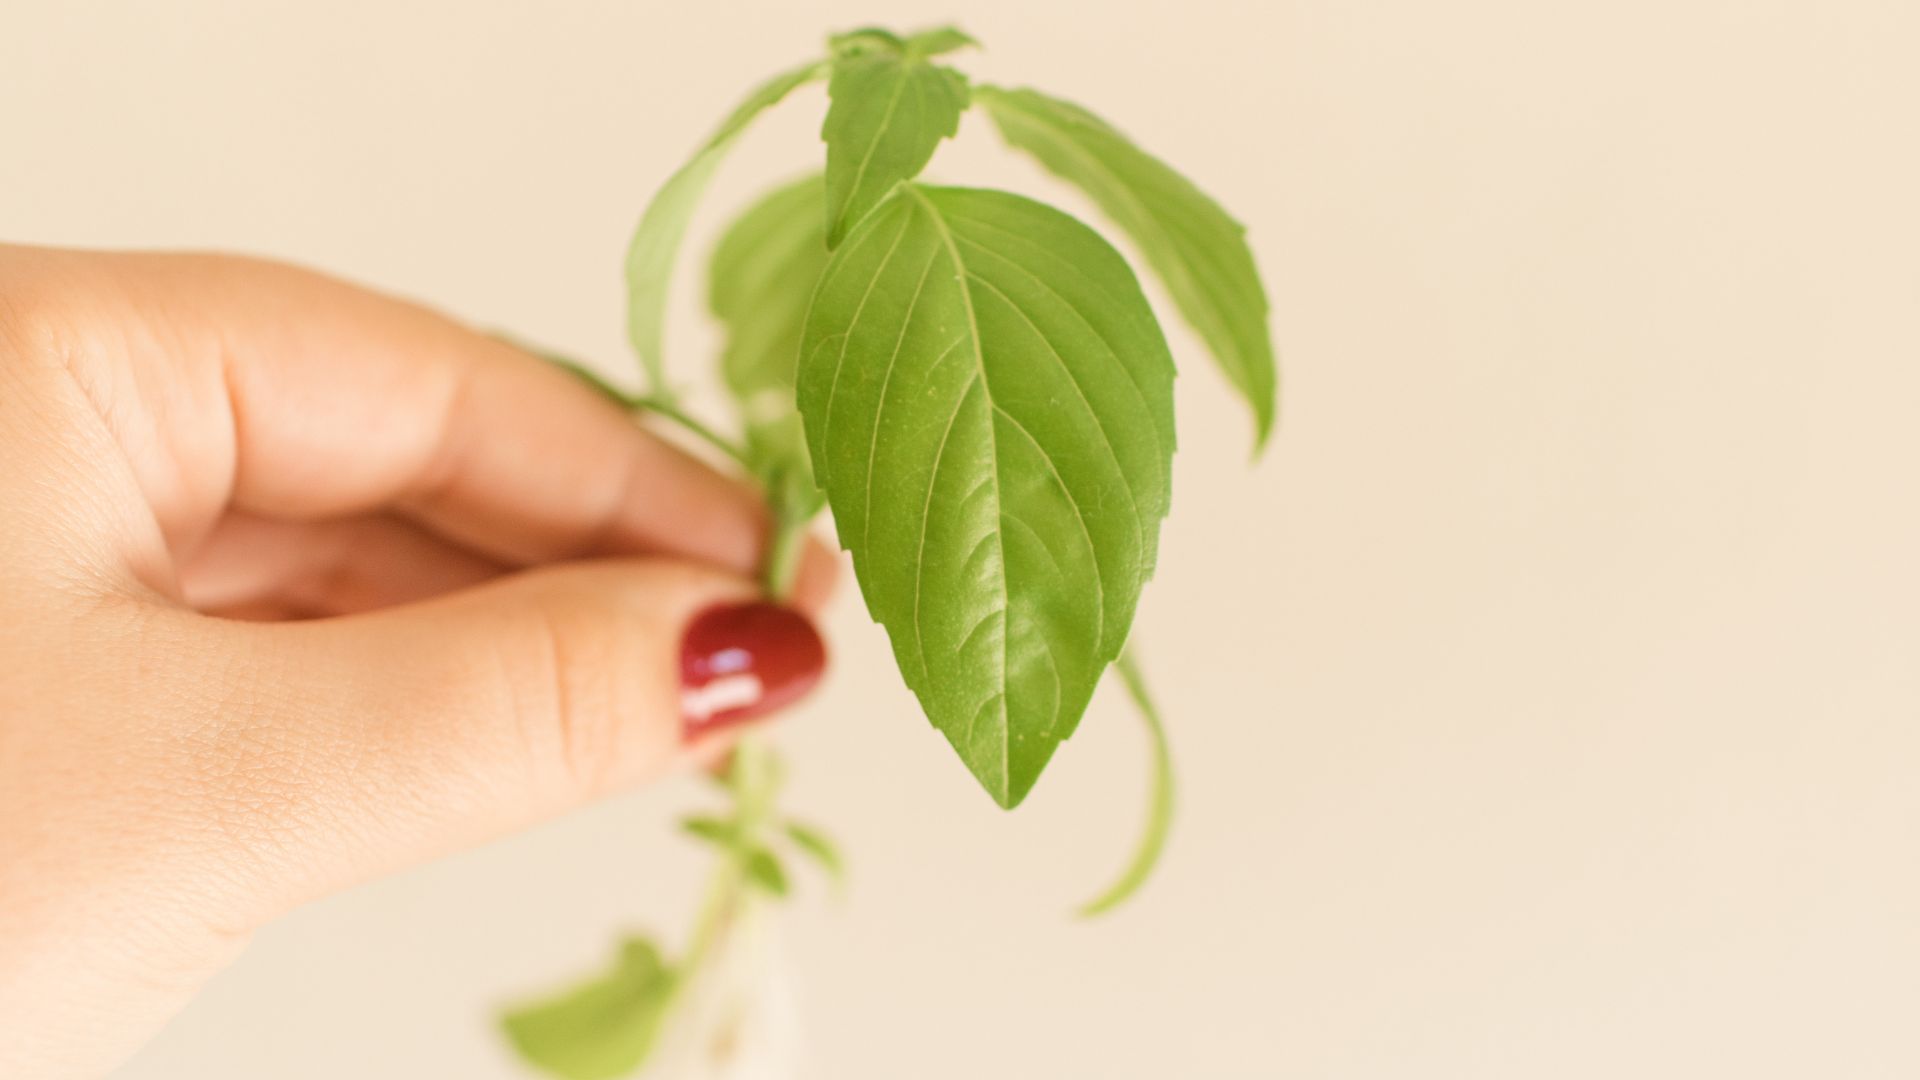
4. Remove Lower Leaves
Gently strip off the lower leaves from your cutting, leaving only the top 2-3 sets intact. This prevents leaves from rotting underwater while allowing the plant to focus energy on root development instead of maintaining excess foliage.
Your fingers work perfectly for this task – just pinch and pull downward along the stem. Those removed leaves don’t have to go to waste either; I add them to my cooking right away.
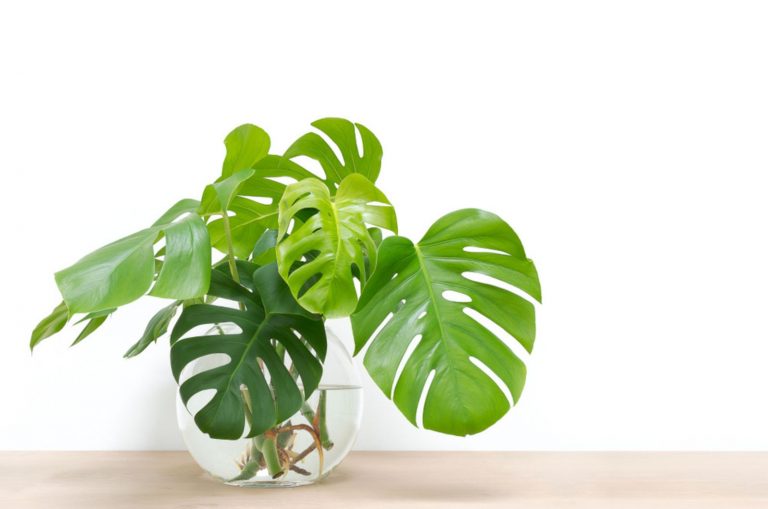
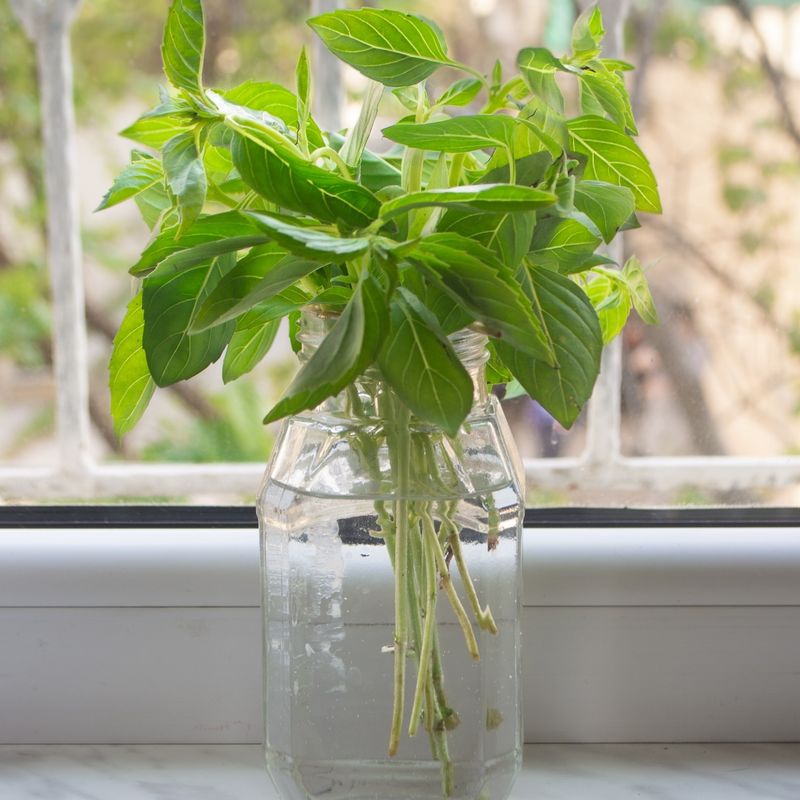
5. Prepare Water Containers
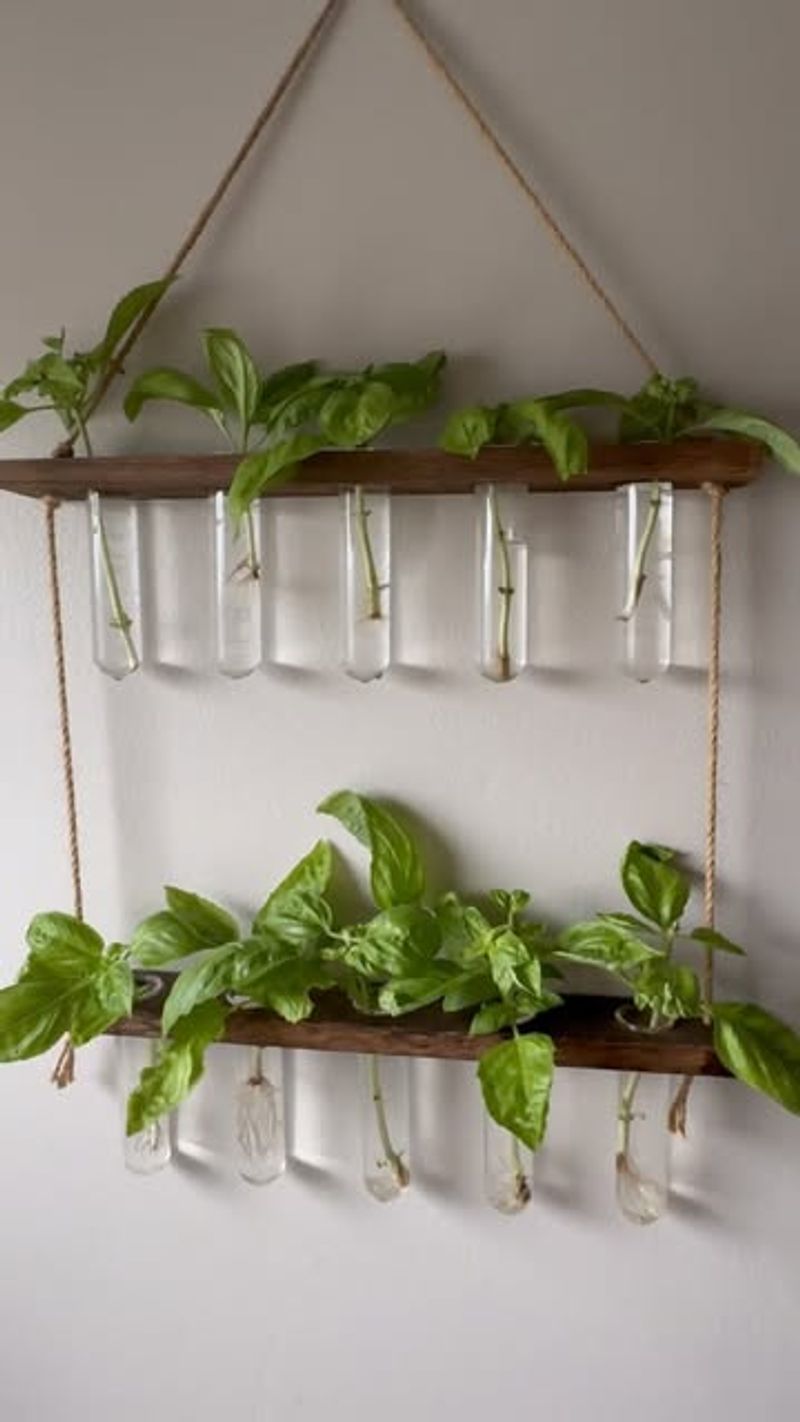
Fill your containers with room-temperature water about halfway. Tap water works fine if left to sit overnight, allowing chlorine to evaporate. Some gardeners swear by adding a drop of liquid houseplant fertilizer, but I’ve found plain water works perfectly.
Clear containers make monitoring root development easier. The water level should be sufficient to cover the nodes but not the remaining leaves.
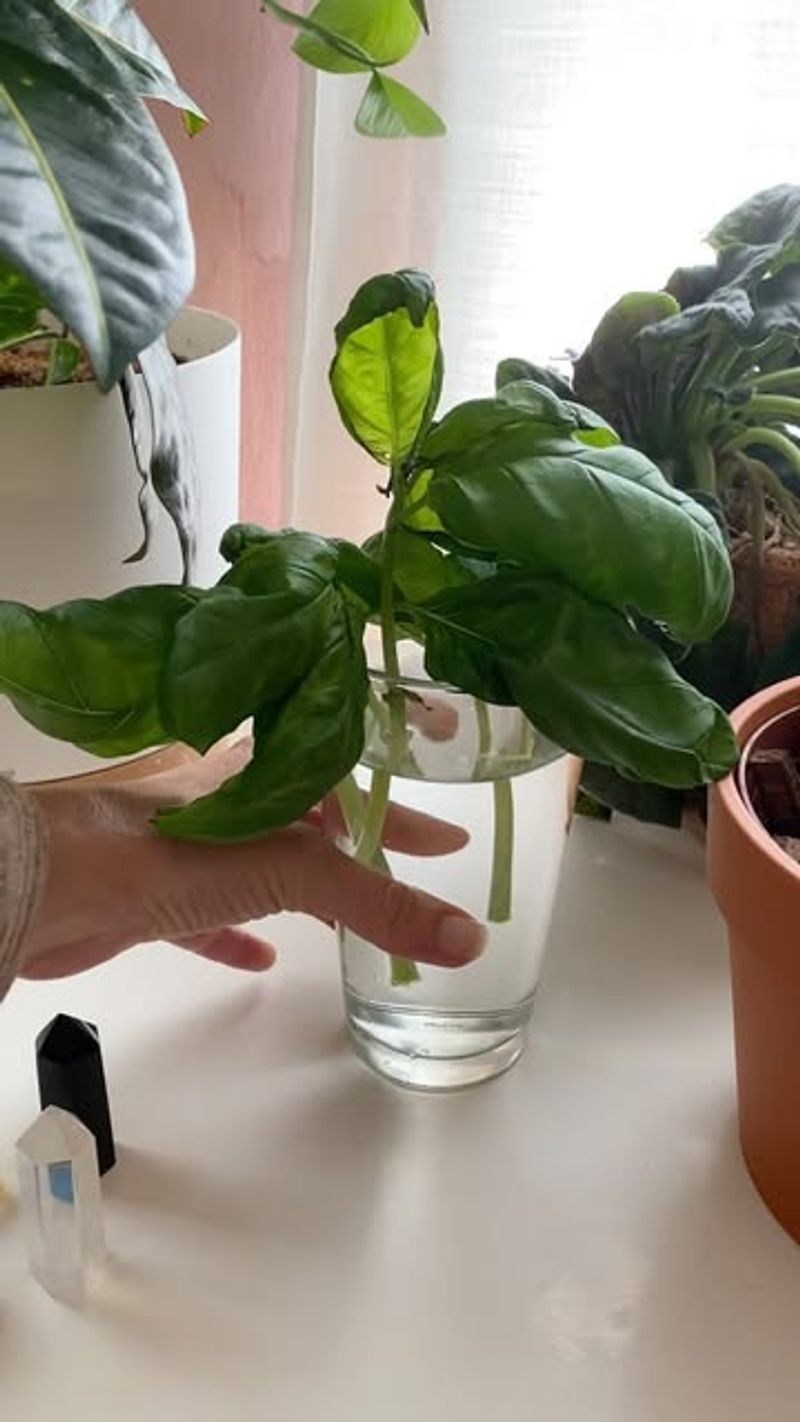
6. Position Cuttings Correctly
Place your prepared cuttings in water with the stripped portion submerged and leaves remaining dry above the waterline. Avoid overcrowding – each cutting needs space for proper root development.
Supporting the stems against the container’s edge prevents them from slipping completely underwater. When arranging multiple cuttings, ensure leaves aren’t touching each other to reduce the risk of mold.
7. Find The Perfect Spot

Location matters tremendously for successful propagation. Place your containers somewhere with bright, indirect light – direct sun can overheat the water and stress the cuttings.
A kitchen windowsill facing east or west typically provides ideal conditions. Temperature stability is important too; avoid areas with drafts or extreme temperature fluctuations. My north-facing kitchen window has proven perfect for this purpose.
8. Change Water Regularly
Fresh water prevents bacteria and algae growth that can hinder root development. Refresh the water every 2-3 days by carefully pouring out the old water while holding the cuttings in place.
The water should always look clear, not cloudy. If you notice any sliminess on the stems or in the water, change it immediately. I typically do this small maintenance task while waiting for my morning coffee to brew.
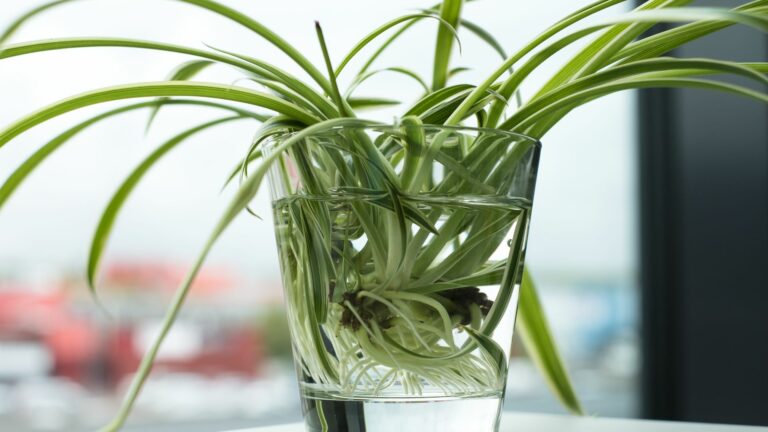
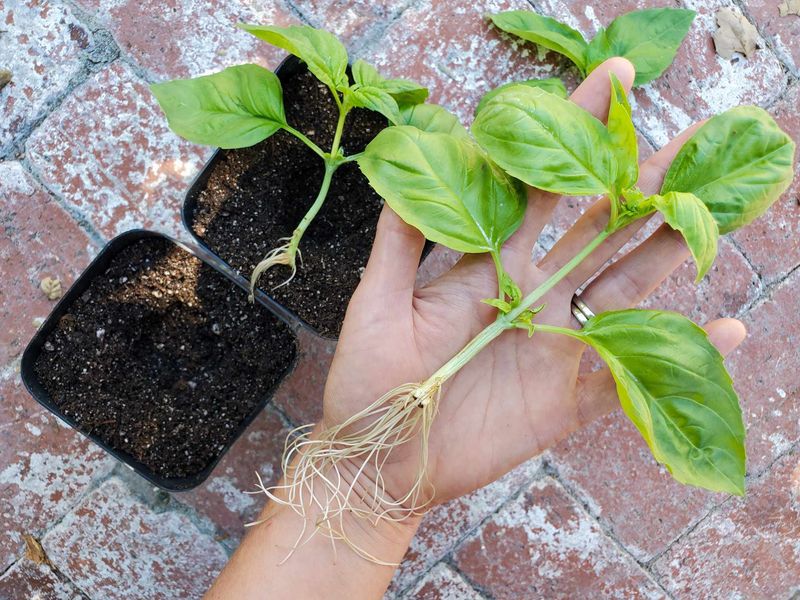
9. Watch For Root Development
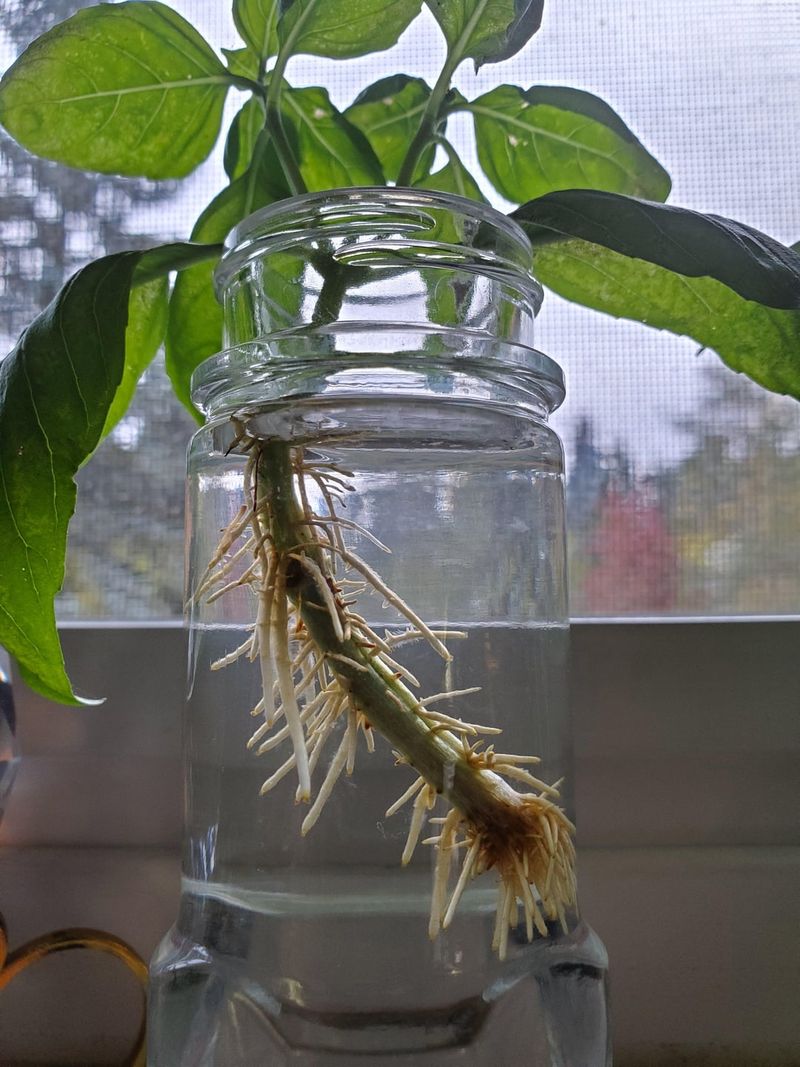
Patience pays off as tiny white roots begin emerging from the submerged nodes within 7-14 days. These delicate structures will gradually grow longer and more numerous.
Don’t worry if some cuttings develop roots faster than others – that’s completely normal. The first roots often appear as tiny white bumps before elongating. I still get excited every time I spot those first little root threads forming!
10. Wait For Sufficient Root Growth
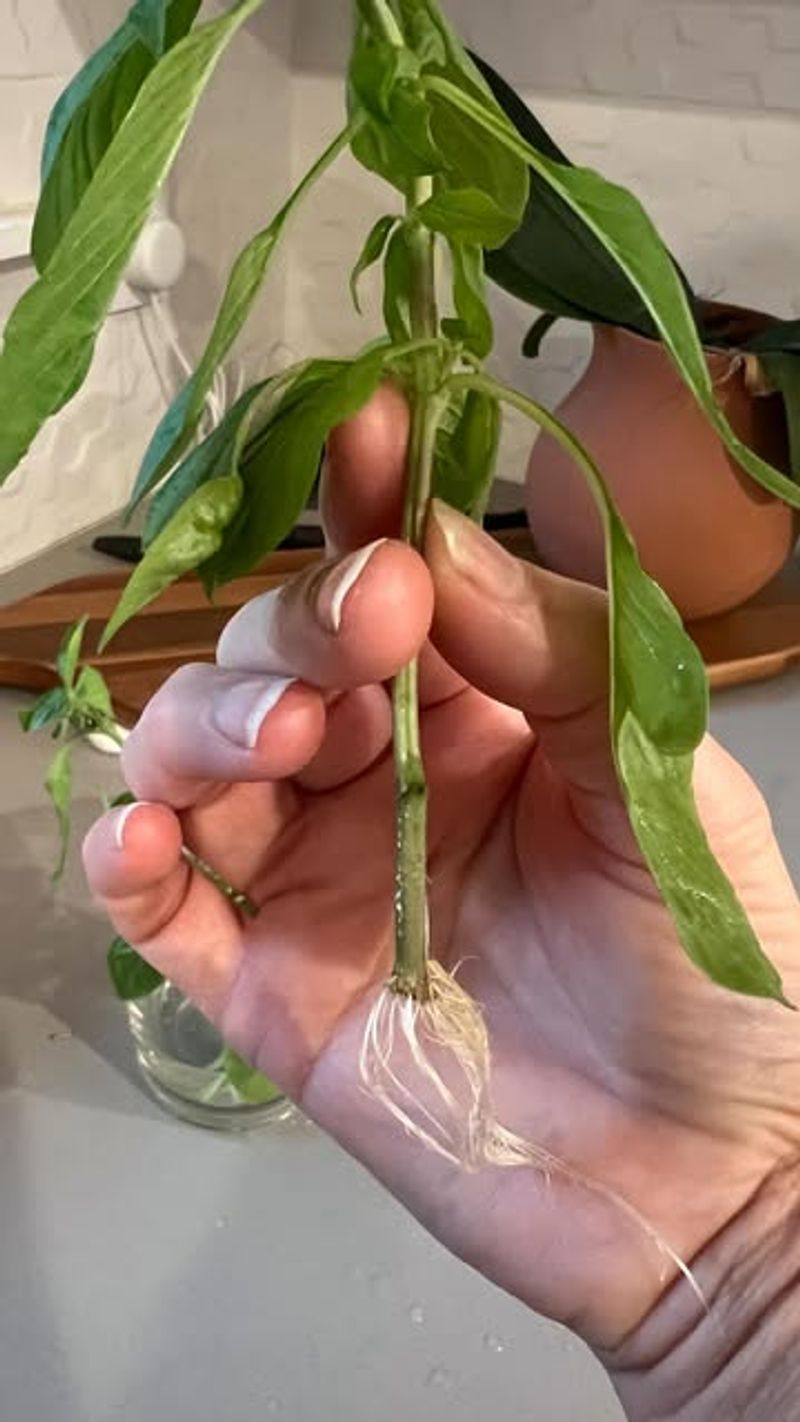
Resist the urge to plant too early. Roots should reach at least 1-2 inches long before transplanting, which typically takes 3-4 weeks from the initial cutting.
The root system needs to be robust enough to support the plant in soil. More developed roots (around 2-3 inches) generally lead to stronger plants. During this waiting period, continue changing the water regularly to support healthy development.
11. Prepare Potting Medium
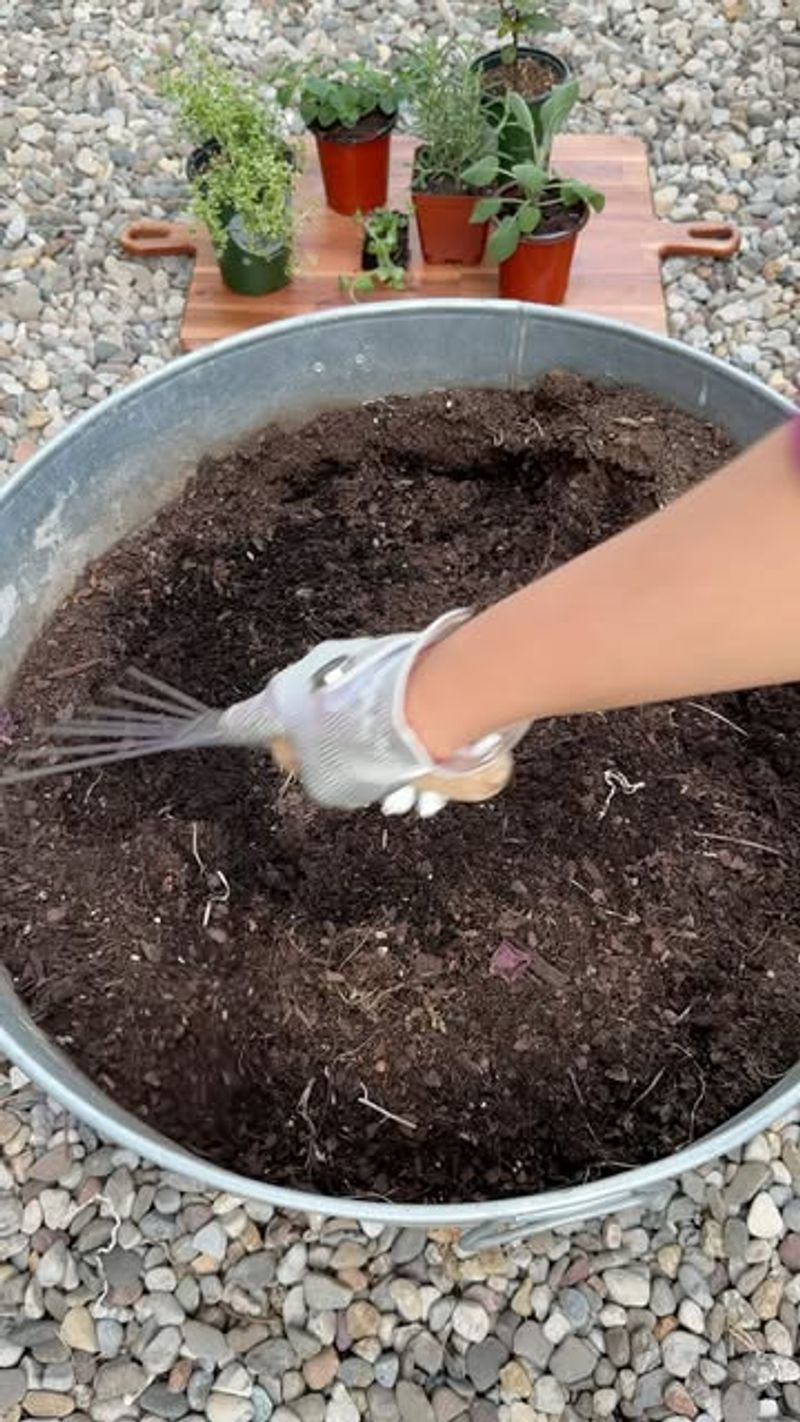
Choose a well-draining potting mix suitable for herbs. Regular potting soil mixed with a bit of perlite works wonderfully for improved drainage. Pre-moisten the soil before planting to reduce transplant shock.
Small pots with drainage holes are ideal for newly rooted cuttings. I prefer terracotta pots because they allow excess moisture to evaporate through their porous sides, reducing the risk of root rot.
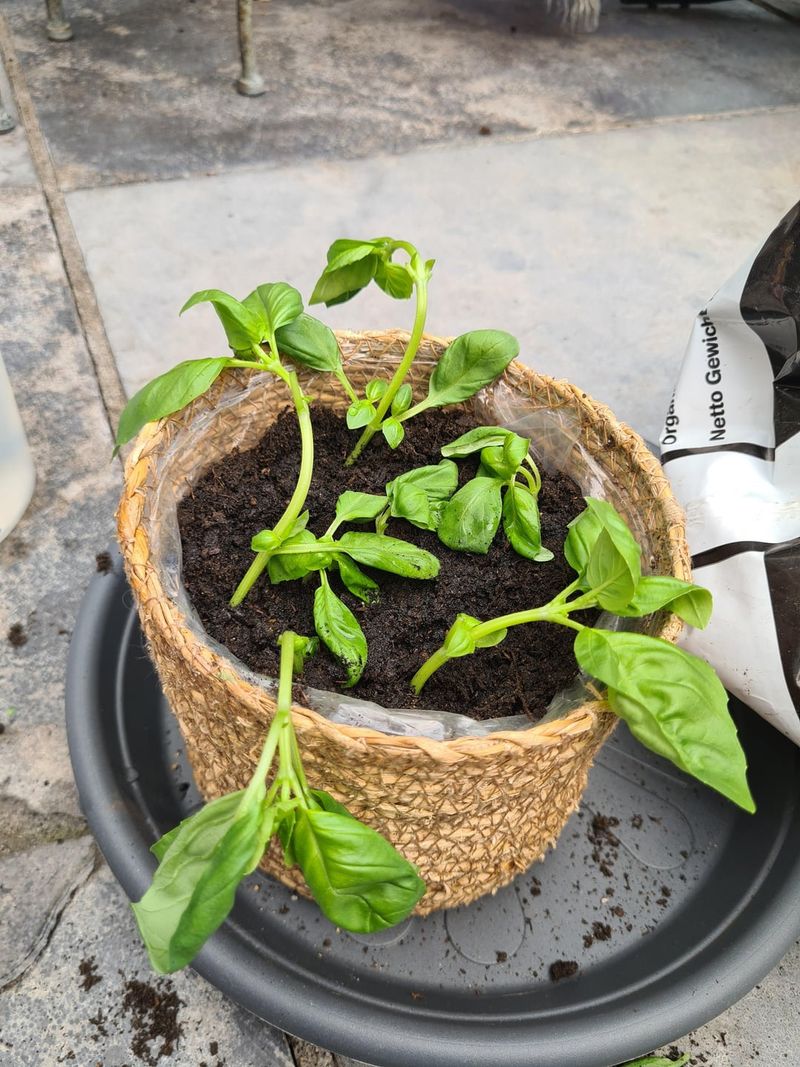
12. Transplant Carefully
Handle your rooted cuttings gently during transplanting to avoid damaging the fragile roots. Make a small hole in the prepared soil and position the cutting so the roots are spread out naturally.
Cover roots completely but keep the stem at the same depth it was in water. Press soil gently around the base to eliminate air pockets. The first time I transplanted my water-propagated basil, I was amazed at how quickly it adapted to soil.
13. Provide Initial Care
The transition from water to soil is a delicate period requiring special attention. Keep the soil consistently moist (not soggy) for the first week. Place newly potted plants in bright, indirect light rather than harsh direct sun.
A clear plastic bag loosely placed over the plant creates a mini-greenhouse effect that helps maintain humidity. Remove it for a few hours daily to prevent mold growth. I’ve found this extra humidity dramatically improves transplant success rates.
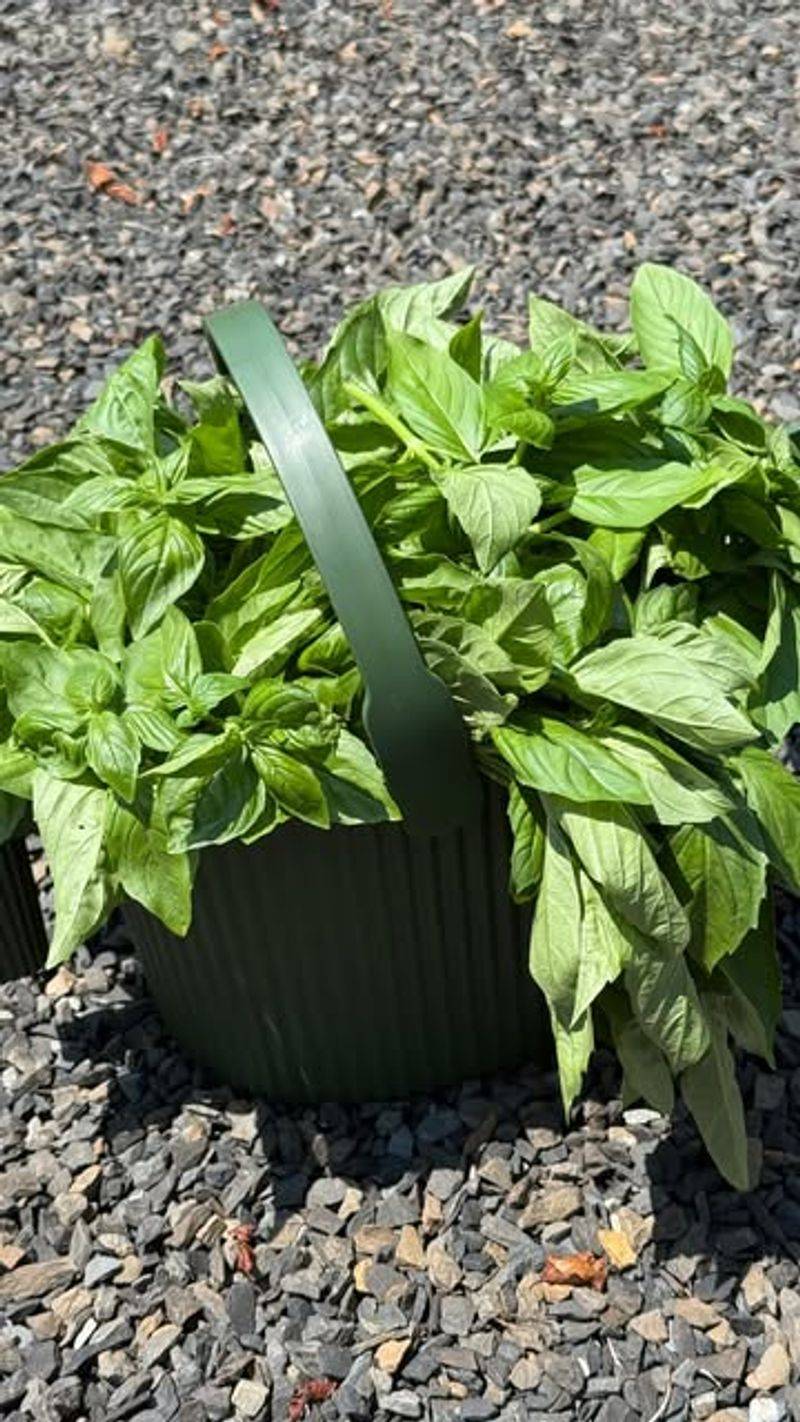
14. Establish Regular Care Routine
After the first week, gradually transition to normal basil care. Water when the top inch of soil feels dry, typically every 2-3 days depending on your climate. Bright light is essential, but protect from intense afternoon sun.
Begin fertilizing lightly after about two weeks using a diluted liquid organic fertilizer. Monthly feeding is sufficient during active growing seasons. My basil thrives with this simple care routine, requiring minimal attention.
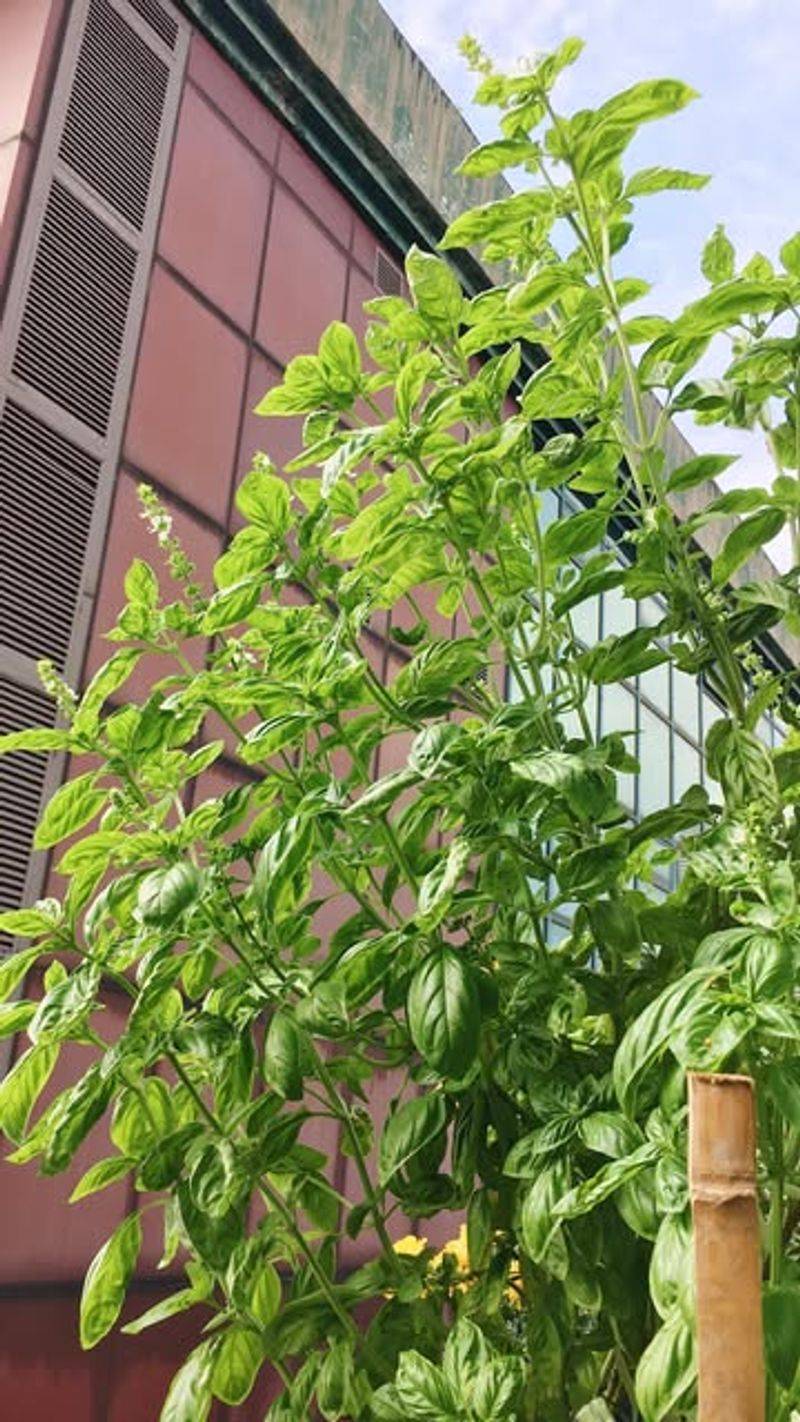
15. Harvest Properly To Promote Bushiness
Regular harvesting encourages your basil to grow fuller and bushier. Always cut just above a leaf node, which stimulates the plant to produce two new stems from that point.
Pinch off flower buds as they appear to extend the plant’s productive life. Flowering signals the end of the growth cycle and can make leaves taste bitter. With consistent pruning, a single plant can provide herbs for months – my kitchen plants typically last nearly a year with proper care.