8 Steps to Tap a Maple Tree for Syrup in a New York Backyard
A single backyard tree can hand you free breakfast syrup, and most folks walk past it every day. I walked past my own sweet tree for years in New York, raking its leaves without a second thought.
Right now is the smartest time to prepare, and the real action arrives in late winter’s deep cold. Fall leaves reveal the sweetest trees, so you can spot your winners in their bright orange and gold coats.
You’re in for a big surprise about the math, and forty gallons of sap shrink down to one small gallon. Personally, I find that number wild and weirdly motivating on a chilly morning with hot coffee.
I put together eight simple steps for New York yards, and each one fits a regular family backyard. My kitchen pancakes have tasted sweeter ever since, and yours can join that sticky club by next spring.
1. Find The Sugar Maple Hiding In Your Yard
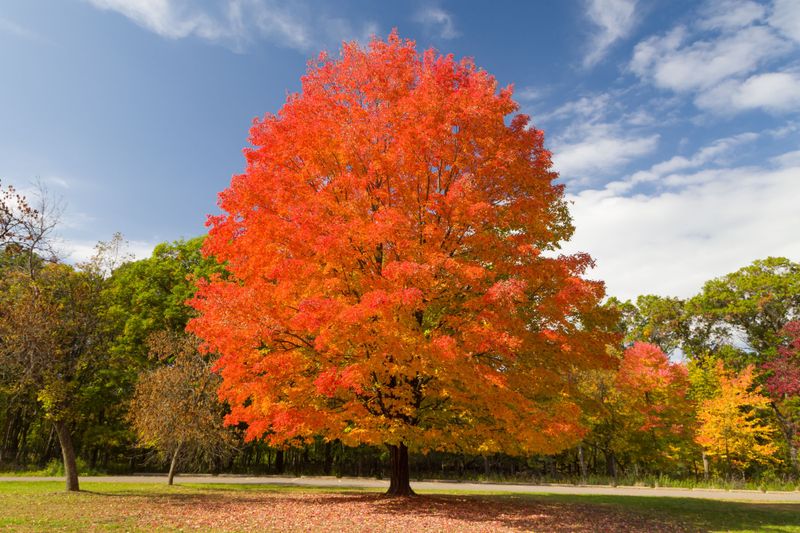
Your yard might already hold a sugar factory, and October is the easiest month to find it. Sugar maples blaze in fiery orange and gold right now, so they practically wave at you across the lawn.
The sugar maple, known to scientists as Acer saccharum, carries the highest sugar content of any common maple. Sweeter sap means less boiling time, which is a gift on a frosty February afternoon outside.
Black maples also give sweet, useful sap, and they look a lot like their sugary cousins up close. Red and silver maples can be tapped too, but their sap is less sweet and their season runs shorter.
To confirm a tree, look for leaves with five lobes and smooth, U-shaped gaps between the pointed tips. Personally, I tie a bright ribbon around each winner now, since bare branches look alike in deep winter.
Size matters a lot here, because young trees need time to grow before they share their sweet sap. A tree should measure at least ten inches across, or about thirty-one inches around, at chest height.
A cloth tape measure wrapped around the trunk makes this check quick and oddly satisfying on a crisp autumn day. Healthy trees with full crowns and solid bark deserve your attention, while cracked or hollow trunks should be skipped.
Across New York, sugar maples fill backyards and quiet roadsides, so your odds of finding one are better than you think. A short walk with a notebook this week could set up your whole syrup season months ahead of time.
2. Mark Your Calendar For The Big Thaw
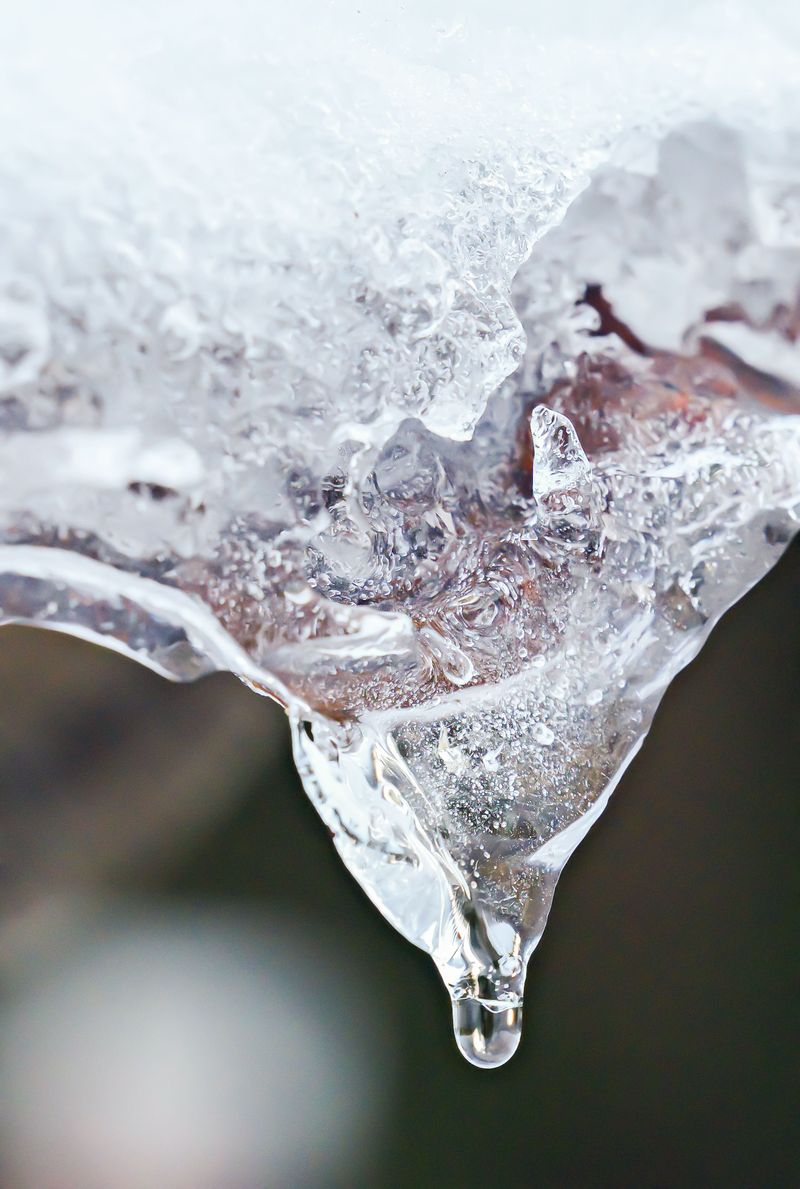
Sap runs on a weather schedule, not a calendar, and that quirk makes the whole hobby feel like a treasure hunt. Trees push sap upward when freezing nights meet warmer days, creating a natural pump inside the trunk.
Nights need to dip below about 32 degrees, while daytime temperatures climb above freezing, ideally near 40 degrees. That back-and-forth swing builds pressure in the wood and pushes sweet liquid toward any fresh tap hole.
Your New York Garden Changes Every Week. Your Plan Should Too.
Gardening in New York changes quickly throughout the season. Every Friday you’ll receive a simple weekly plan showing exactly what to plant, prune, fertilize, harvest, and protect so you never miss the right timing.
In New York, sap often starts moving around early February, which feels surprisingly early to most beginners. Peak flow usually lands between late February and late March, with the season wrapping up by early April.
So why talk about it in October, with pumpkins on the porch and leaves still drifting down? Planning ahead keeps you from scrambling when the first warm February day suddenly sends sap racing through your trees.
I like to set a phone reminder for late January, so I can start watching the forecast closely. A ten-day forecast showing cold nights and mild afternoons is your green light to grab the drill.
Tapping too early can let the hole dry out or heal before the strongest runs finally arrive later. Tapping too late means missing those sweet early weeks, which often bring the lightest and most delicate syrup.
Weather swings from year to year, so treat these dates as friendly guides rather than strict rules. Watching the thermometer each morning becomes a fun ritual, especially for kids who love checking the numbers with you.
3. Gather Gear Before The Snow Flies
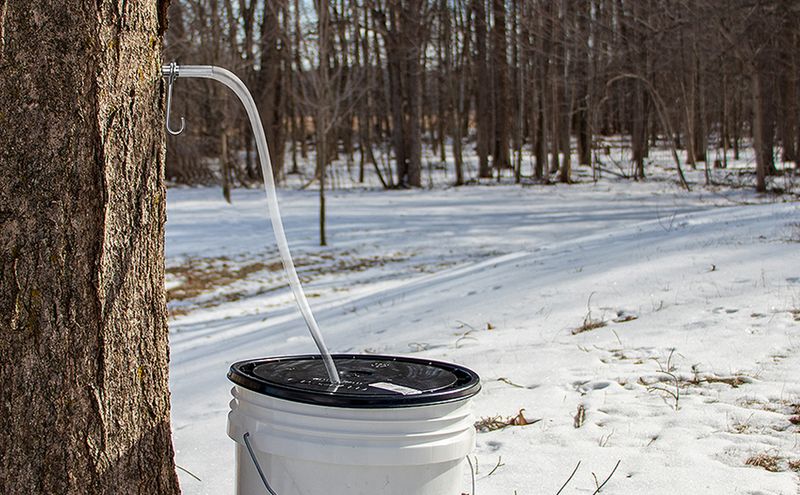
Shopping for sugaring supplies in the fall feels a little like buying a winter coat in summer sunshine. Stores and online shops often have better stock now, and you avoid the late winter rush for spiles.
Your main tool is a cordless drill, paired with a 7/16-inch or 5/16-inch bit to match your spiles. Smaller 5/16-inch spiles are popular with hobbyists because they leave a smaller wound in the tree.
Spiles come in metal or plastic, and both work well as long as they fit your chosen bit. For catching sap, you can pick covered buckets or plastic sap bags, and some folks run tubing into a container.
A rubber mallet helps you set spiles snugly without cracking the wood or bending the metal tips. You also need a clean, food-grade storage container to hold sap until boiling day finally rolls around.
For the boiling part, grab a wide pan with high sides and a reliable candy thermometer for accuracy. A simple filter strains out tiny bits of bark and sugar sand, giving your syrup a clear amber glow.
Clean glass jars or bottles make perfect homes for the finished syrup, and they look great on a shelf. I can’t imagine a nicer holiday gift than a small bottle of syrup from your own backyard tree.
Store all your gear together in one labeled bin, so nothing goes missing during the busy winter months. A quick inventory check in October saves you from frantic hardware store trips on a snowy February morning.
4. Drill A Hole With Purpose
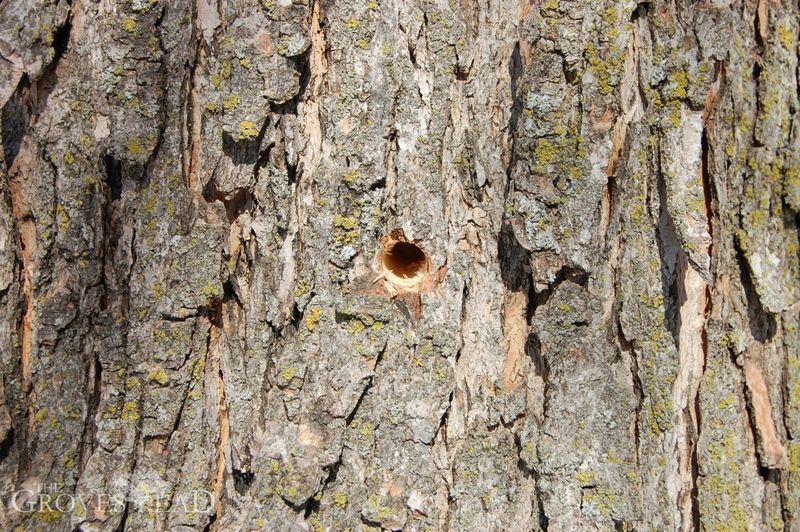
Drilling into a living tree sounds scary, yet it causes little harm when you follow a few smart guidelines. The first choice is location, and the sunny south side of the trunk often gives the strongest flow.
Warm sunshine heats that side first, so sap tends to move there earlier on a mild late winter afternoon. Pick a spot about waist high with clean, healthy bark and no old scars or past tap holes nearby.
Hold the drill at a slight upward angle, so gravity helps the sap trickle out toward your waiting spile. Drill no deeper than about 1.5 to 2 inches, since most sap travels through that outer layer of wood.
Watch the shavings as they come out, because they tell you a lot about the wood inside. Creamy or light yellow shavings mean fresh, healthy wood, while dark brown shavings suggest you should try another spot.
Bigger trees can handle more taps, though one tap per tree is a friendly start for beginners. A ten-inch tree supports one tap, and trees around 20 to 25 inches across can usually handle two.
Very large trees over 25 inches may take more, yet many careful backyard tappers still keep things modest. Space each hole at least six inches apart, giving the tree room to heal and keep growing strong.
Personally, I mark a tiny tape square where I plan to drill, which keeps my hands steady and my aim honest. Shift to fresh wood each year, and your trees will keep sharing sweet sap for many seasons ahead.
5. Tap The Spile In With Care
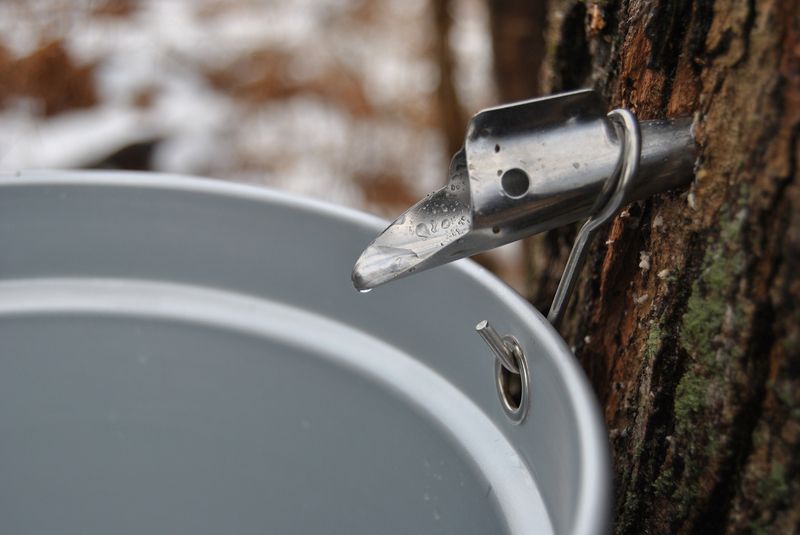
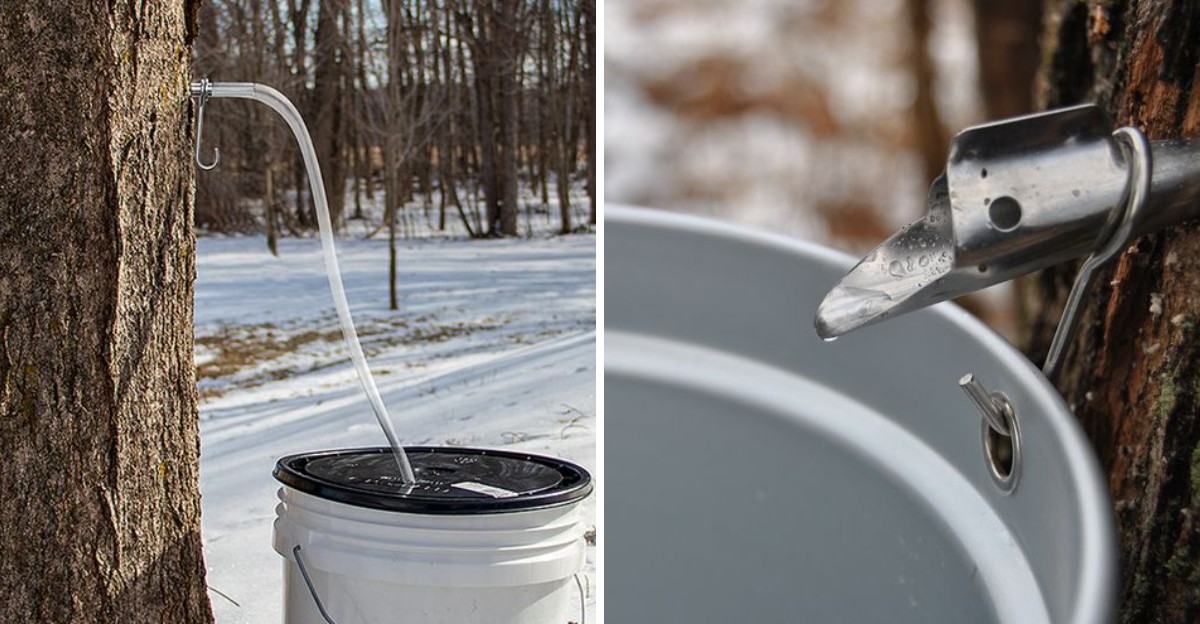
A tiny metal tube might seem like the least exciting part of this project, but it does serious work. The spile acts like a little faucet, guiding sap out of the tree and into your bucket or bag.
Right after drilling, give the fresh hole about thirty seconds to drip and flush out loose wood bits. That short pause keeps sawdust from clogging the spile, and you might even spot the first clear drops forming.
Next, slide the spile gently into the hole by hand until it sits straight and lines up with the opening. Then use a mallet to tap it lightly a few times, listening for a solid change in the sound.
Many tappers notice the sound shifting to a firmer knock once the spile seats snugly in the wood. A snug fit stops leaks, so every precious drop travels down the spile instead of running along the bark.
Hitting too hard is a common beginner mistake, and it can split the wood around your fresh tap hole. Splits create leaks and extra stress for the tree, which defeats the whole purpose of careful drilling earlier.
I believe a light touch beats brute strength here, just like hanging a picture frame on a delicate wall. Kids often love this step, and a small rubber mallet keeps it safe for little helpers.
Once your spile feels firm, give it a gentle wiggle test to make sure it holds steady under pressure. A secure spile is ready for a bucket or bag, and the sweet show can finally begin.
6. Catch Every Drop Of Liquid Gold
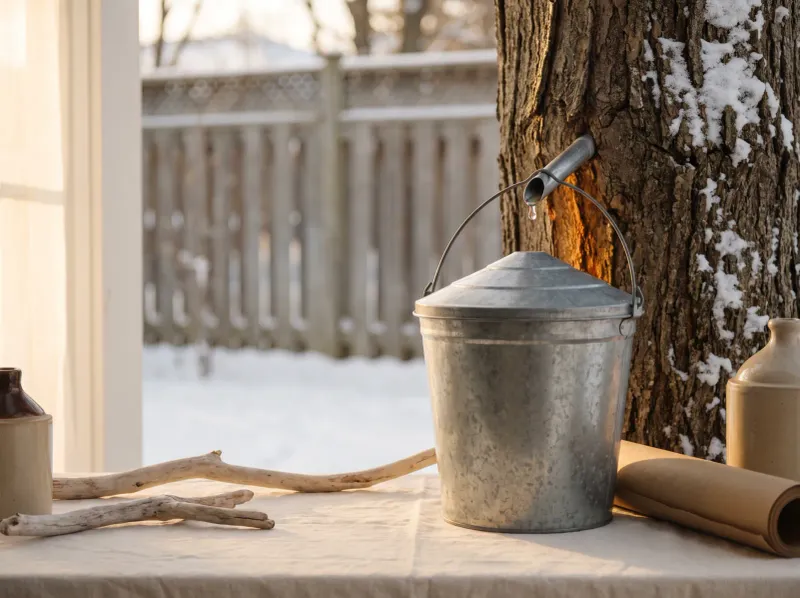
Fresh sap looks almost like plain water, and that surprises nearly everyone who tastes it for the first time. It carries only a faint sweetness, yet each clear drop holds the promise of rich amber syrup later.
Hang a covered bucket on the spile hook, or attach a plastic sap bag or tubing right to the spile. Covers matter a lot, because open containers invite rain, leaves, bark bits, and curious insects to join.
Birds and squirrels sometimes visit too, especially on warm days when sap drips steadily from the shiny tap. A snug lid keeps your harvest clean and saves you from fishing tiny critters out of your sweet treasure.
During peak runs, check your containers every day, since a strong flow can fill a bucket surprisingly fast. Empty sap into your food-grade storage container right away, keeping it cold and protected from sunshine and dirt.
So how much can one tap actually give you over a whole season of freezing nights and mild days? Each tap usually yields about 10 to 20 gallons of sap during a four to six week season.
That sounds like a lot, but it boils down to roughly one quart of finished syrup per tap. Personally, I find that small jar feels more valuable than any fancy bottle sold at the grocery store.
Many families in New York make sap checks a daily routine, often pairing them with a quick morning walk. Those cold, quiet trips to the trees can become a favorite late winter tradition for the whole household.
7. Keep Your Sap Colder Than A Snowbank
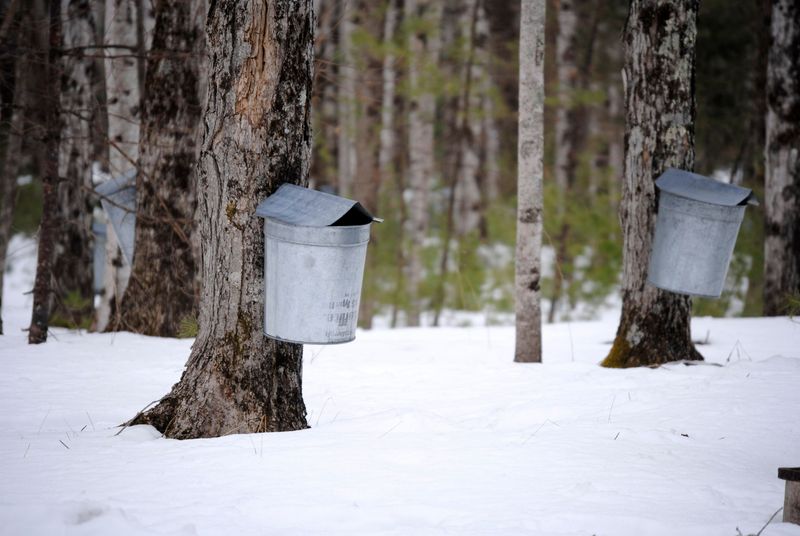
Sap spoils almost as fast as fresh milk, and that fact catches many first-time tappers off guard. Its natural sugars make a tasty buffet for microbes, which multiply quickly once the liquid starts warming up.
Store collected sap in clean, food-grade containers kept at 38 degrees Fahrenheit or colder for the best quality. Microbial growth speeds up around 50 degrees, so even a sunny afternoon on the porch can cause trouble.
Late winter weather often helps you here, since snowbanks make handy natural coolers right outside the back door. I like burying my sap containers in a shady snowdrift, which keeps them chilled without hogging fridge space.
Cloudy or sour-smelling sap is a warning sign, and it usually turns into off-flavored syrup that disappoints. Fresh sap should look clear and smell clean, almost like cool spring water from a mountain stream.
Aim to boil your sap within one or two days of collecting it for the sweetest, cleanest flavor. Quick boiling also prevents a buildup of gallons, which can feel overwhelming on a busy school or work week.
Freezing is a handy backup plan, and frozen sap can stay fresh for a week or even longer. Large freezer bags or clean jugs work well, as long as you leave space for the liquid to expand.
Scrub every bucket and container with hot water before each season, since leftover residue can spoil a fresh batch. A little extra care here pays off with lighter, sweeter syrup that tastes like a frosty New York morning.
8. Boil It Down Outside For Sweet Syrup
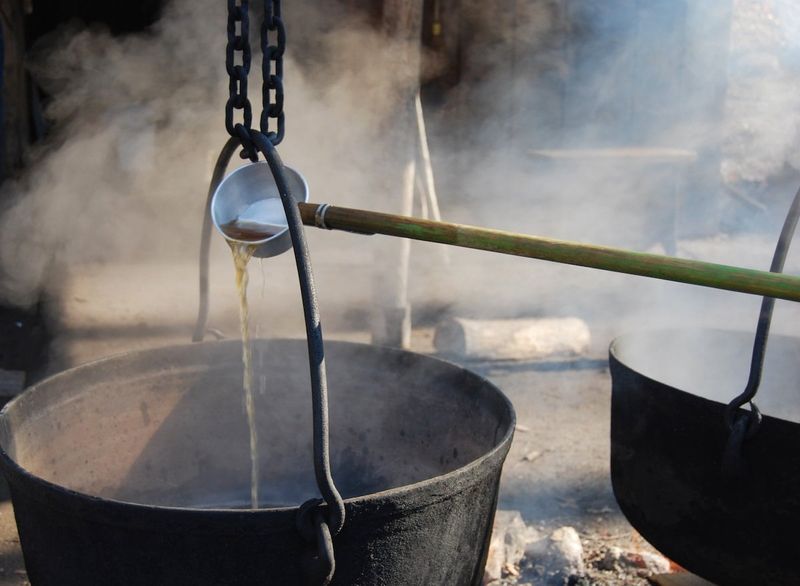
Forty gallons of sap go into one gallon of syrup, and the rest floats away as clouds of steam. That steam adds up to roughly 39 gallons of water, which is enough to soak your kitchen walls.
For that reason, boil your sap outdoors or inside a dedicated shed, not in your home kitchen. Sticky moisture can peel paint and loosen wallpaper, and nobody wants a syrup-scented ceiling dripping above dinner.
Use a wide pan with high sides, because a bigger surface lets water escape faster during the long boil. Add fresh sap slowly as the level drops, keeping the liquid deep enough to prevent scorching on the bottom.
The color shifts from clear to golden as hours pass, and the sweet smell drifts across the whole yard. Patience matters here, since the sap changes slowly for hours, then thickens surprisingly fast near the end.
Finished syrup reaches about 66 to 68 percent sugar, which usually happens around 7 degrees above water’s boiling point. A candy thermometer helps you track that moment, so watch it closely and stay near the pan.
Many folks finish the last stage on a kitchen stove, where heat is easier to control in small batches. Strain the hot syrup through a filter, then pour it into clean jars while it stays piping hot.
I can’t imagine a better reward than drizzling your own syrup over pancakes on a snowy weekend morning. This October, a little planning sets up that sweet moment, and your trees are already waiting for February.