String Of Hearts Propagation: A Complete Guide To All Methods
A string of hearts, also known as the chain of hearts, is a breathtaking plant, and it’s not strange that you are looking for ways to propagate this plant.
Good news; it’s not hard to propagate a Ceropegia Woodii, even if you aren’t an experienced grower.
You won’t have any issues with a string of hearts propagation; you can even choose from among 6 propagation methods.
Whether you want to gift string of hearts babies, or just add one more to your own plant collection, you’ll certainly enjoy the process.
Let’s start!
String Of Hearts Propagation: Stem Cuttings
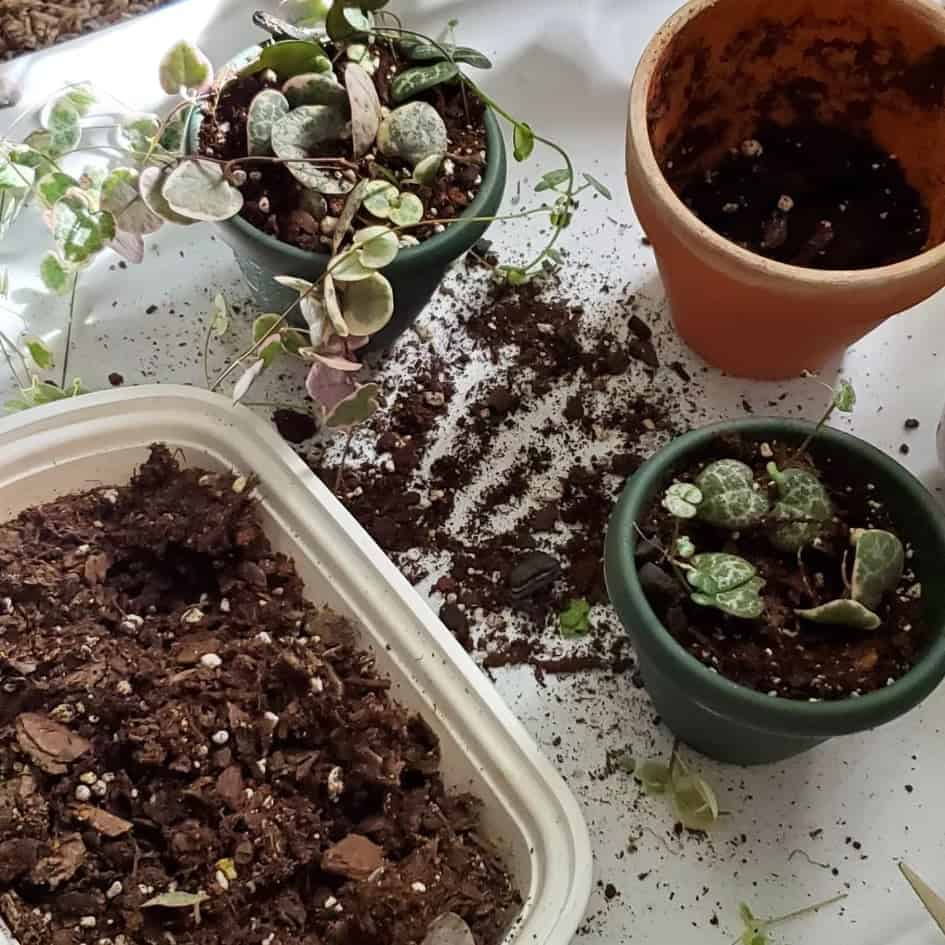
Photo from: @_growingjasmine_
Propagation by stem cuttings is the most frequently used propagation method for all houseplants (those that can be propagated in general).
You probably assume that the first thing you should do when you start propagating is to take stem cuttings. Therefore, that will be the first process I will show you.
Of course, before you start the propagation process, you need to prepare all the equipment used in the process.
How To Take Stem Cuttings
Before I closely describe each method, I would like to explain a few things that are essential for propagation in general.
Getting string of hearts babies is easy, but only if you follow each step carefully. Before you start propagation, prepare gloves (to prevent infection), bleach or alcohol (for sterilization), rooting hormone, new potting soil, a sharp tool for cutting (if needed), and a potting medium.
After you learn how to take stem cuttings, you can choose between soil and water to continue the process.
Here’s a list of the equipment you need for taking the stem cuttings of the string of hearts.
• Sterilized pruners or snips. Choose sharp tools for cutting; you can sterilize the tools using 70% isopropyl alcohol or bleach.
• Gloves are a must to prevent an infection that could ruin the entire process.
After you have prepared the equipment, it’s time for cutting!
First, select a 4 inch section of the vine but make sure it is healthy and has a few healthy leaves. You can also cut a longer section from the mother plant and divide it into a few parts (each part should have leaves attached).
If you used individual sections for the cutting, remember they need to have a nub of the stem attached; otherwise, the process won’t work.
After selecting the section where the leaves join, make a cutting above it using pruners or snips.
Now that you have the cuttings, it’s time to root them!
Stem Cuttings In Soil
The great thing about rooting chain of hearts’ cuttings in the soil is that the roots get stronger quickly. If you root the cuttings in the soil, make sure the humidity is higher.
You’ll need:
• new potting mix;
• container;
• rooting hormone;
• lid or plastic bag;
• heat mat.
Here are the steps you should follow when rooting the cuttings in soil:
1. Prepare a fresh potting mix. You can purchase the potting mix but make sure it’s well-draining. I suggest using a cactus mix or a mix for succulent plants, including sand for improving drainage. Alternatively, you can make your own soil by mixing 1/3 potting soil, 1/3 perlite or pumice, and 1/3 coarse sand.
2. Prepare the container. Lightly water the potting mix as soggy soil will cause root rot. Fill 2/3 of the container with your potting mix.
3. Using your finger, poke some holes in the soil.
4. Brush the leaf nodes with rooting hormone to speed up the process.
5. Put the nodes in the holes you made and add the remaining potting mix. Gently press the soil around the cuttings.
6. Ensure humidity: put the lid or a plastic bag on the container. To avoid mildew, check for excess condensation every few days.
7. Place the container in bright, indirect light. The string of hearts plants require a lot of light during propagation, however, direct sunlight can burn them. The best method is to place the container near a sunny window so that the plant can receive filtered light.
8. Place the container on the heat mat to speed up the process.
Here’s a video:
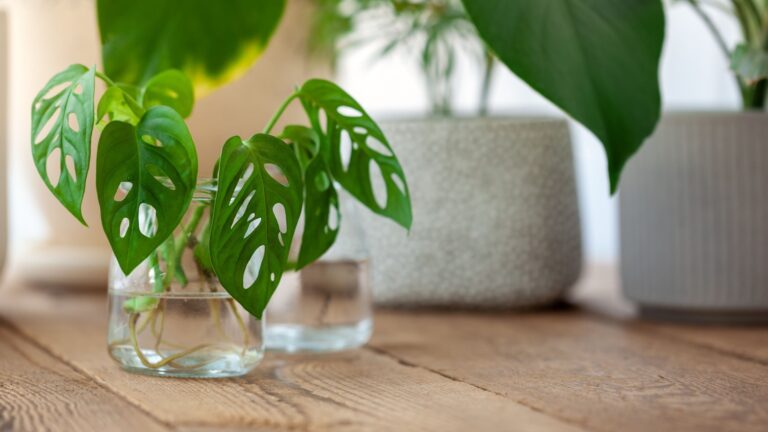
Water Propagation Of Stem Cuttings
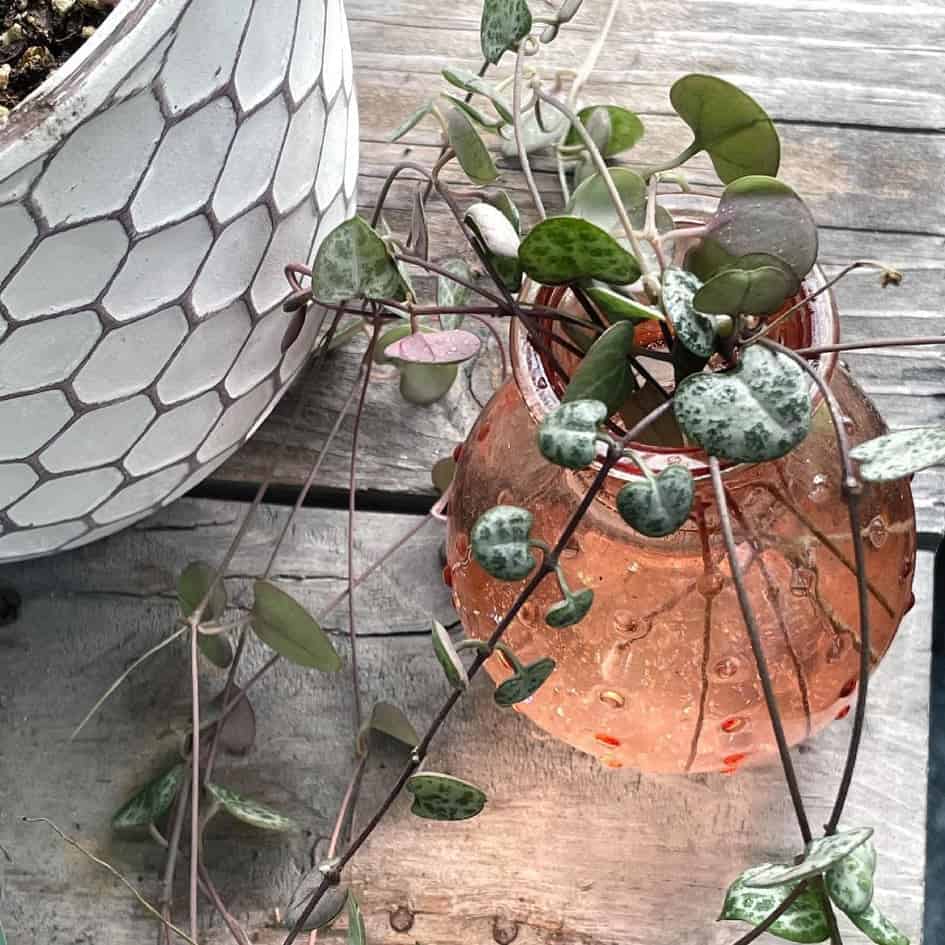
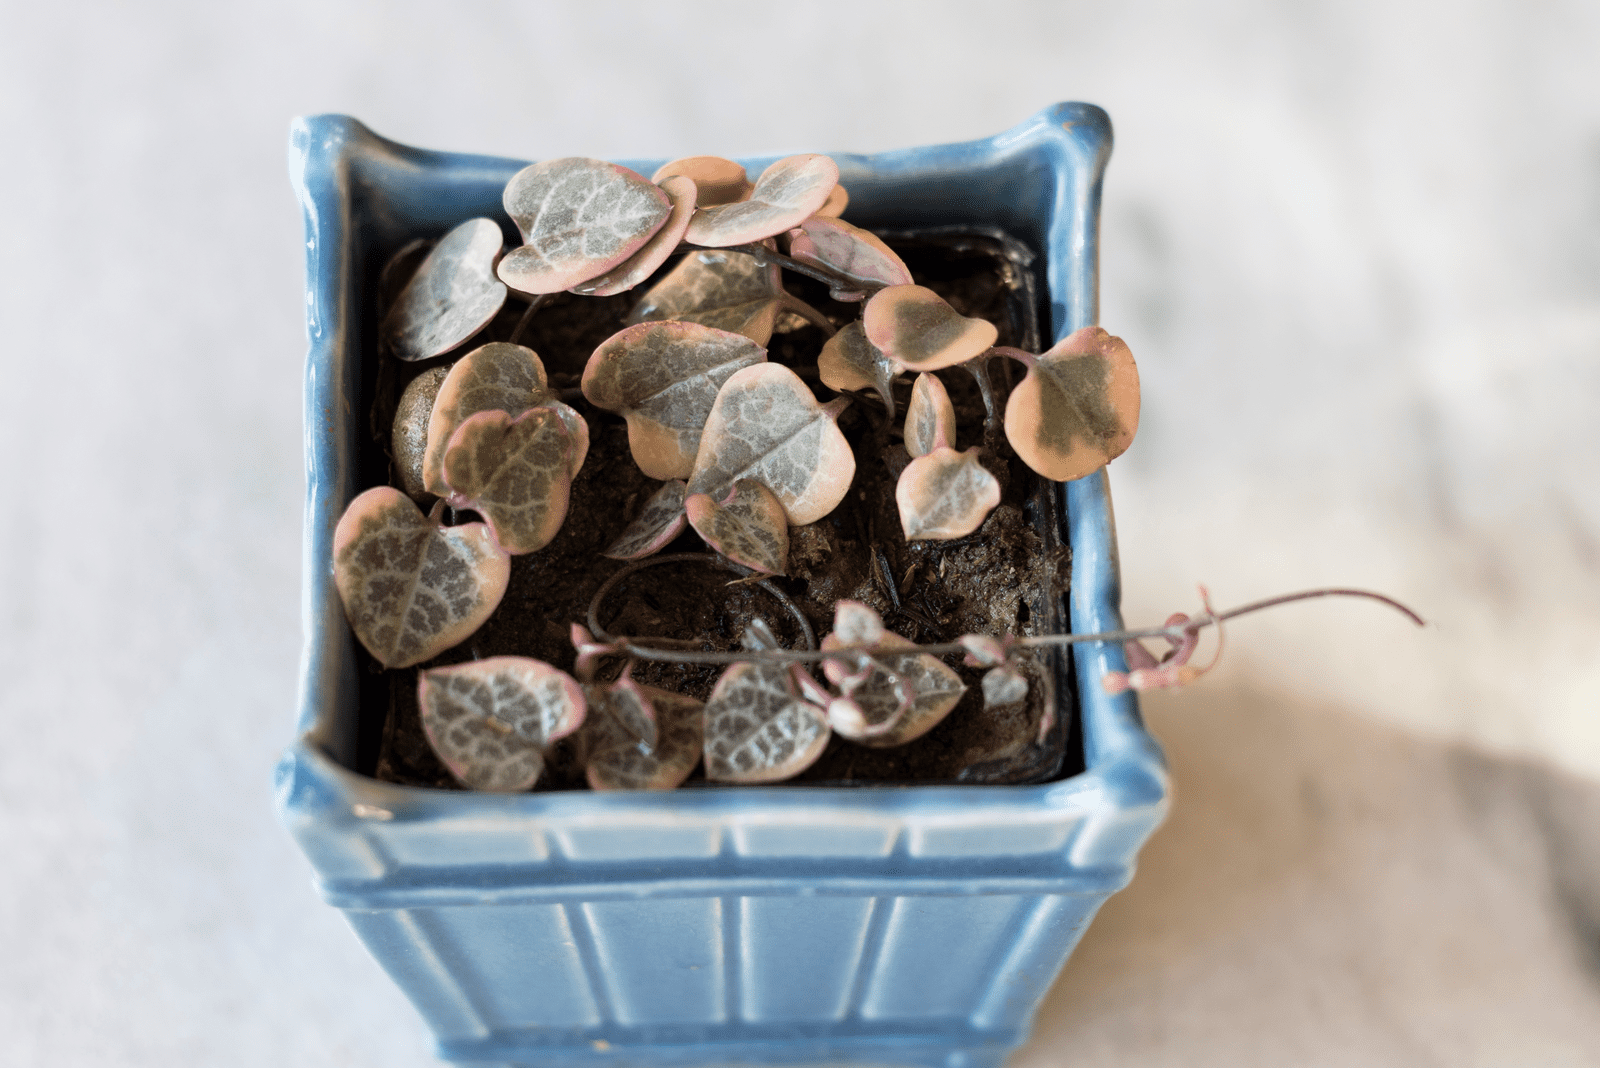
Photo from: @tampabaeplants
Another great feature of this propagation method is that it’s not messy. If you don’t want dirty hands, this method is excellent; just prepare a jar and water.
There’s one drawback to this method; the roots won’t be very strong, so they will need more time to form.
Here are the steps to follow when propagating in water:
1. Fill a jar with tepid or lukewarm water. Alternatively, you can use a vase but make sure it’s clear, so you can see the roots.
2. Immerse the string of hearts cuttings. Remember that at least one leaf node (per stem) is submerged. If you have more than one cutting, feel free to place them all in the jar (if they can all fit). On the other hand, the leaves shouldn’t be immersed in the water as they will rot, and the process won’t work at all.
3. Change the water regularly. If you notice that the water has evaporated or became dirty, fill the jar with fresh water. If you see that the water within the jar is stinky and brown, react immediately, as this indicates that some pieces have started to rot. Remove the rotted pieces and refill the jar.
4. Pot the roots when they grow to about half an inch. Never leave the roots immersed in water for too long as it will be harder to pot them, or they could even rot.
Propagation By Laying Cuttings On Soil
Cutting Ceropegia Woodii vines and placing them in the soil is another popular way of propagating.
You must ensure that the nodes touch the potting soil; use paper clips to secure the nodes.
Remember to keep the soil moist; don’t skip misting, as low humidity prevents the cuttings from growing. You can raise the humidity by placing the container in a plastic bag. Seal the plastic bag and open it every few days to prevent mold and allow the roots to breathe.
At some point, you should be able to see roots at each node.
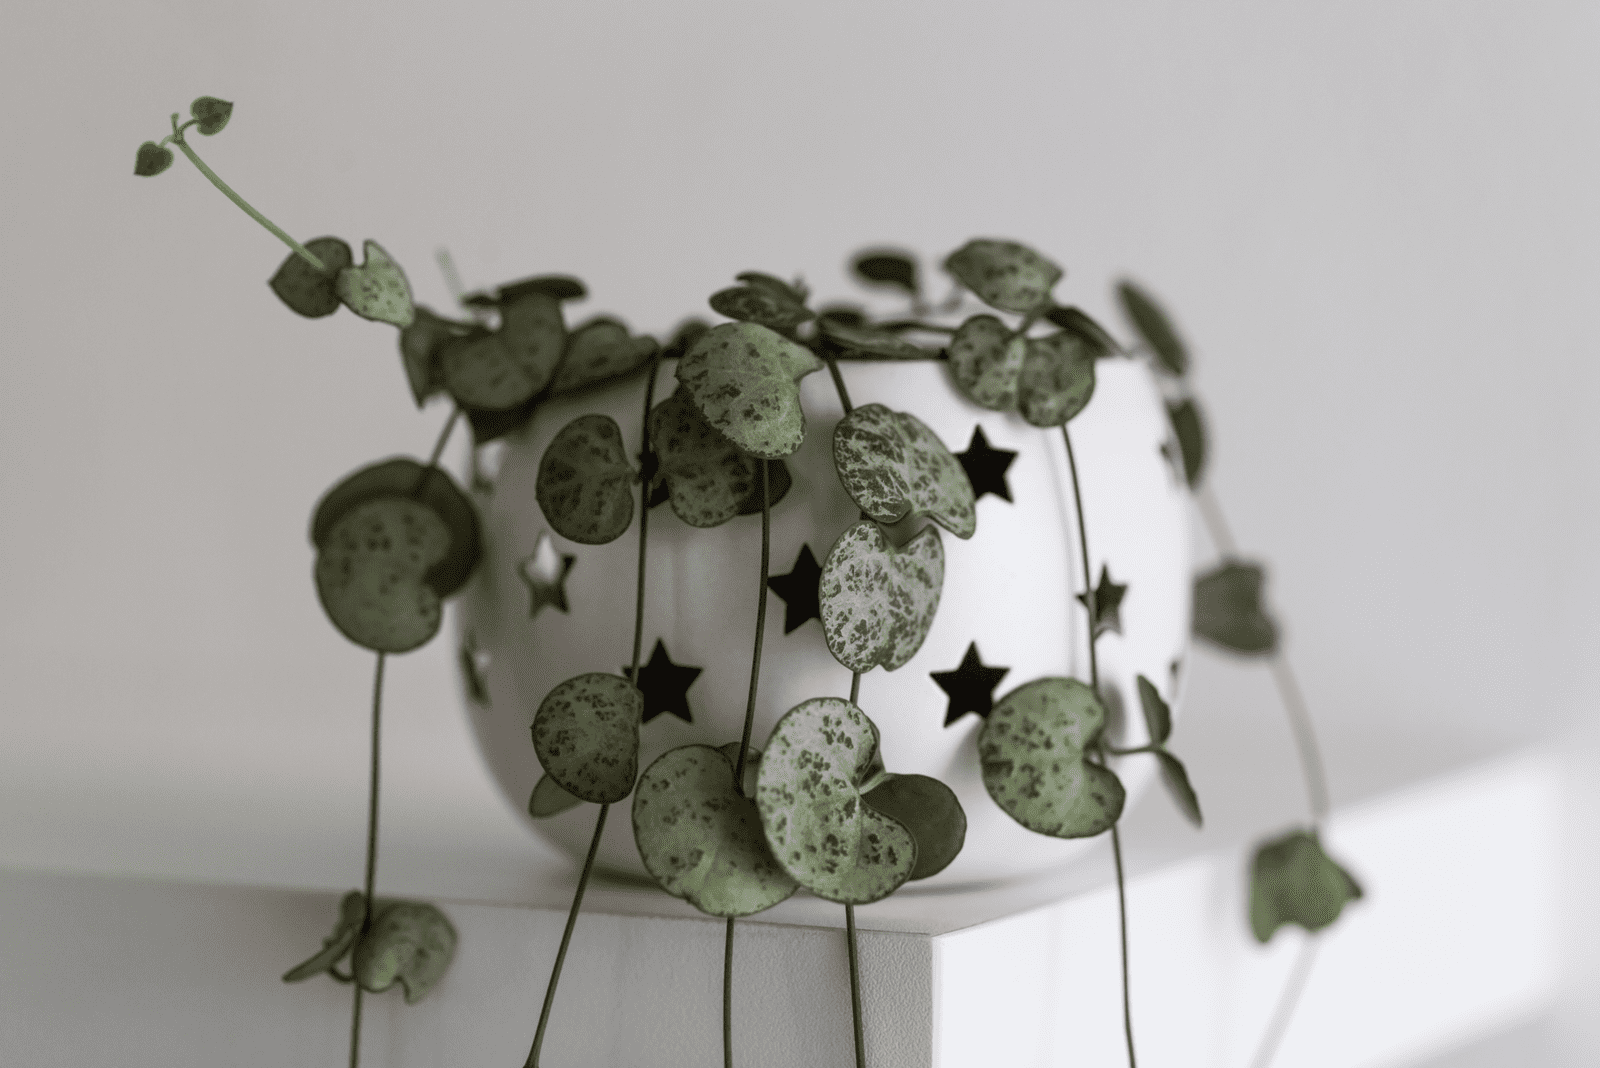
Propagating By Division
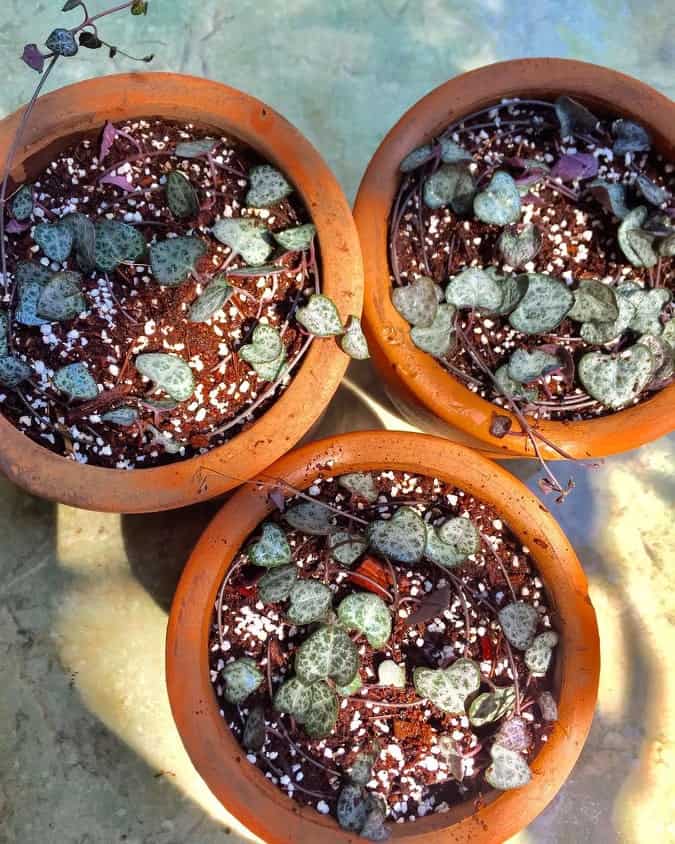
Photo from: @wienksgarden
There are 3 advantages of propagating by division. The first one is that it has the best success rate, the second one is that it’s easy, and the third one is that it’s fast.
If you decide to propagate by division, you’ll have to divide the rootball, and each section must contain several tubers.
Here are the steps for propagation by rootball division:
1. Prepare clean, new pots (containers) and potting soil. The pot or container should be sterilized to prevent infection (use bleach or 70% isopropyl alcohol).
The pot’s size should be appropriate; it shouldn’t be too large as the string of hearts’ roots will have too much soil surrounding them. The pot shouldn’t be too small as the roots need space to grow. Make sure the pots have drainage holes.
Add a layer of the potting soil (well-draining) to the bottom of the new pot and gently press the soil.
2. Divide the rootball. Take your Ceropegia Woodii out of the pot; turn the pot upside down and tap it to ease the sliding. Divide the rootball into a few large chunks. Now you need to untangle the vines and roots gently; it may take some time but be patient; it’s worth it!
3. Pot each division. Put the divisions at the same depth as they were in the original pot. Fill the rest of the pot with the remaining potting mix and gently press it to close any unnecessary air spaces.
4. Place the pots with divisions in bright indirect light.
Rosary Vine Tuber Propagation

You can divide all individual tubers to get plenty of new rosary vines.
You can find the tubers in several places:
• on the top of the soil;
• underneath the soil;
• as aerial tubers on the vines.
The process for propagating the tubers you found on top of or underneath the soil is completely the same. Aerial tubers need to root before new stem growth.
Here are the steps for tuber propagation:
1. Separate the bulbs (tubers) on the top or underneath the soil. Most of these tubers have roots attached; don’t worry if they don’t have them; the process will still be successful.
If you use aerial tubers, make a cut above them on the vine. The stems or the leaves from the tubers shouldn’t be removed; however, if they break off, the process will continue, and the success rate won’t be decreased.
2. Bury half of each tuber in the soil. If the tuber has roots, bury the side with roots into the soil.
On the other hand, aerial tubers will form the roots from the buried section. If any vines or leaves remain attached to the tubers, place them above the soil line.
3. Misting the soil. Mist the top layer where the tuber is buried, just enough to keep it moist. Don’t let it dry out entirely, but don’t overwet it either, or it will rot.
4. Place the tubers in bright indirect light. They require bright light and enough warmth to root but avoid direct sunlight as it may cause them to burn. To get them going faster, consider adding bottom heat.
Propagating Ceropegia Woodii From Seeds
Ceropegia Woodii is a flowering plant, which means that its seed pods will develop if the flowers are pollinated. The chain of hearts produces flowers throughout the year.
Wait until the seed pods start opening and the seeds start falling out.
Collect the rosary vine’s seeds and plant them in the soil (make sure it’s moist). You can’t just use any soil; purchase a soil designed explicitly for germination.
Place the seeds in a warm place with bright indirect light and mist the soil regularly. You’ll see the roots in a few days.
This method is undoubtedly the easiest one, but the problem is that you most likely won’t see the seeds if you grow a string of hearts indoors. However, you can purchase the seeds and grow the plant.
Propagation In Sphagnum Moss (Butterfly Method)
Sphagnum moss propagation is our preferred method because it is simple, has a high success rate, and is quick. Sphagnum moss is available in various plant and pet stores; it’s normally sold in dried compact blocks that expand dramatically when water is introduced.
In as little as one week, you should notice the first roots of the new chain of hearts.
Propagating in sphagnum moss is similar to the propagation in both water and soil, almost as if it combines the best of both worlds.
A string of hearts can be propagated in sphagnum moss via strands, stem cuttings, or the butterfly method.
I’ve chosen to show you the butterfly method.
Here are the steps for propagation in sphagnum moss:
1. Soak the sphagnum moss.
2. Take a clear container and fill it with sphagnum moss. Alternatively, you can use any type of container as long as you place it in a plastic bag or cover it with a lid or clear foil.
3. Keep the hearts together and cut them into sections. Leave 1/4 of an inch of vine on both ends.
4. Place the vine cuttings on the sphagnum moss; the hearts should be facing up, and the back of the vine leaves should be placed on top of the sphagnum moss.
5. Put a lid on the container (or place it in a plastic bag) and place it in bright indirect light.
The roots will sprout in a couple of weeks, and you’ll also notice new vines shooting from the cuttings.
How Long Does It Take To Propagate String Of Hearts?

You’ll notice that a string of hearts grows new roots very quickly. New growth can develop in less than a week, but it usually takes 2-4 weeks.
However, it can take several months for the roots to mature to the point where they can be potted, especially in water.
If there’s no new growth even after a couple of months, you might’ve made some mistakes while propagating.
Let’s see!
Common Propagation Mistakes
There are several reasons why your string of hearts didn’t root.
Here’s the list:
• Lack of moisture: if you didn’t mist the soil regularly, the soil became too dry and the plant’s parts were prevented from uptaking the nutrients.
• Not enough light: low light significantly stunts the string of hearts’ root system growth.
• Too low temperature: low temperature prevents the soil from drying up, causing the wet soil and an unsuitable environment for root growth.
• Lack of humidity.
• Soggy soil: overwatering causes soggy soil, creating a perfect environment for fungus to spread.
String Of Hearts Care Guide
I grow my string of hearts along with a variegated string of hearts and a string of pearls. Honestly, I wouldn’t take it well if something bad happened to my Ceropegia plants.
After a successful string of hearts plant propagation, you should take good care of it.
Take a look at this short rosary vine’s plant care guide to learn how to take care of this magnificent plant.
Humidity
The string of hearts plant is native to South Africa, which means it is used to a high humidity.
Keep the humidity between 40% to 60%.
You can do a few things to enhance the humidity in your home. I recommend purchasing a hygrometer, which will display the percentage of humidity in your home.
If it’s consistently less than 40%, you’ll need to raise it. For example, place a chain of hearts near other houseplants to naturally increase the humidity. Make a pebble tray by adding pebbles to a shallow dish and placing the tray under a string of hearts’ pot.
You can place a rosary vine in the kitchen or bathroom, as the humidity level is naturally higher in these places.
Alternatively, you can purchase a humidifier.
Temperature
Temperatures of 60 to 80 degrees Fahrenheit are ideal for these plants. A string of hearts won’t thrive in cold temperatures, so make sure the temperature doesn’t drop below 41 degrees Fahrenheit as it could kill the plant in a short time.
Avoid placing a Ceropegia Woodii near heating sources. If the temperatures are higher, the leaves won’t grow, and the plant might also wilt.
Light
Low light will stunt the string of hearts’ growth, and direct light will cause the leaves to scorch. Therefore, this Ceropegia plant needs bright, indirect sunlight to thrive.
If you place it in an east-facing window, your plant will benefit from the morning dappled sunlight. If you want to put it near a south-facing window, make sure it doesn’t get any direct midday sun.
If you’re unsure about the light, consider getting a grow light.
Watering
Water once or twice a week during the spring and summer (growing season).
Reduce watering to once every two weeks during the fall and winter, as the plant is in its dormant stage.
Between waterings, make sure the soil is completely dry. Overwatering can cause leaf yellowing, as well as root rot. Ceropegia plants store water in their leaves and survive in dry conditions (like succulents). Still, they need water if their leaves are wilted and deflated.
Potting Mix
Cacti soil mix with good drainage is ideal for a string of heart plants. Although these plants grow well in fertile soil, they might grow irregularly if the potting mix is too rich.
If you’re using regular potting soil, you’ll need to add materials that improve drainage, like pumice or perlite.
Fertilizing
Your string of hearts plant will benefit from regular feedings; you can use fertilizers designed for succulents.
The fertilizers used for succulents are low in nitrogen because adding too much nitrogen could cause the leaves to turn soft.
Pruning
A string of hearts plant is a hanging plant, so your living room can be taken over by the long vines if they’re not pruned regularly.
You can prune the chain of hearts to get a desired shape, but pruning is a must if you notice discolored, dead, or damaged leaves.
I always sterilize my pruners before I use them, to prevent spreading infections, if there are any.
Repotting
You’ll need to repot your rosary vine every few years.
When you’re repotting, pay attention to the following:
• Larger pot: the new pot should be about 2 inches larger than the first one. A Ceropegia Woodii’s roots won’t benefit from excess soil surrounding them; moreover, it can cause them to rot.
• Drainage holes: the new pot should have drainage holes to remove the excess water.
• Fresh potting mix: always use fresh soil mix to prevent diseases from spreading.
Common issues
You shouldn’t have many problems with your string of hearts plant. However, some pests, like aphids or mealybugs, can occur, and some diseases like root rot can too.
Aphids are common invaders of all indoor plants. If you notice sticky substances on the undersides of rosary vine leaves, aphids are the invaders. Keep aphids away by using neem oil.
If you notice mealybugs on the heart-shaped leaves, use rubbing alcohol to get rid of them.
If you overwater your string of hearts plant, it may suffer from root rot and that causes the plant’s leaves to turn yellow. You’ll have to take your string of hearts out of the pot and cut the affected roots to remove root rot.
Wrapping Up
It’s no wonder that growers are obsessed with string of hearts propagation. Who wouldn’t like more plants with fascinating, heart-shaped leaves in their plant collection?
Luckily, you can choose from many propagation methods, and you shouldn’t have any problems with any of them. Therefore, getting a new plant won’t be challenging, even if you’re a beginner.
Propagate your rosary vine and take good care of it.
Until next time!
Like this post? Share or pin it for later!