The Fall Clematis Job That Helps Build A Fuller Vine Next Year
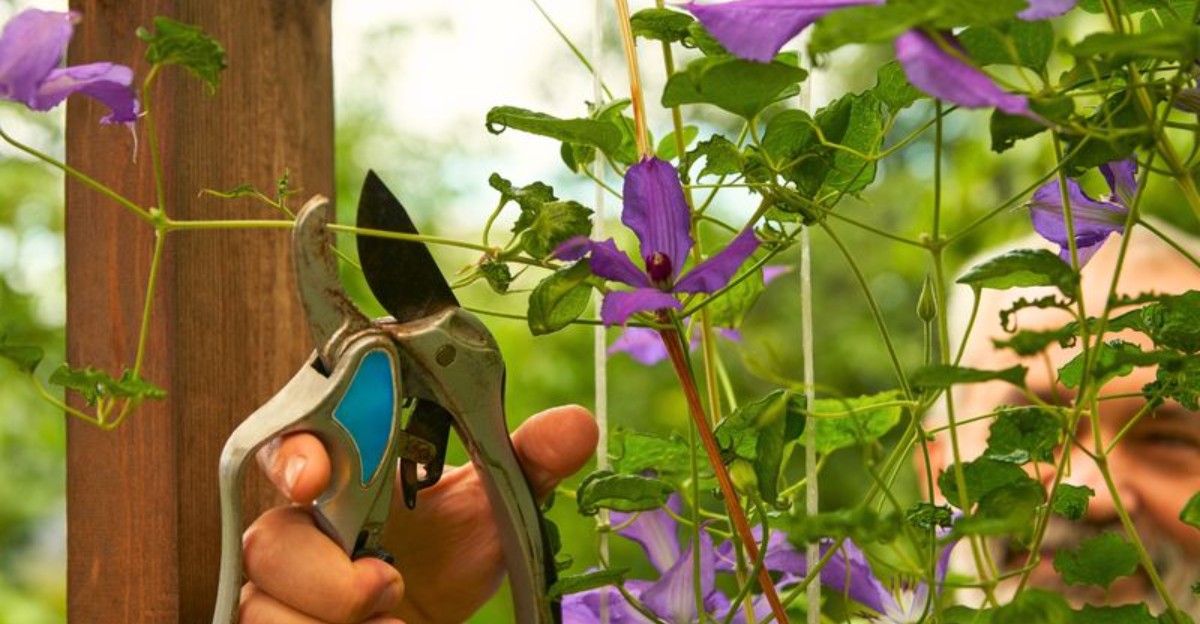
Why would you take shears to a plant that finally looks finished? Because that tangle crowds out the fresh buds you want next year.
Confirm your vine blooms on new stems before you cut. Grab bypass pruners and sterilize the blades with rubbing alcohol before you start. Trim each stem back to about a foot above the soil.
Cut just above a healthy bud, angling the blade so water slides away. Resist the urge to leave a few extra stems for comfort. Light snips leave you with tall, floppy growth and sparse flowers.
Bold cuts wake buds near soil, where you cannot see the work happening. Spread compost around the base afterward and you give new shoots a head start.
Spring should reward you with thick, sturdy stems that carry noticeably more blooms. You may soon admire purple blooms again.
A Hard Cut To Twelve Inches Above The Soil
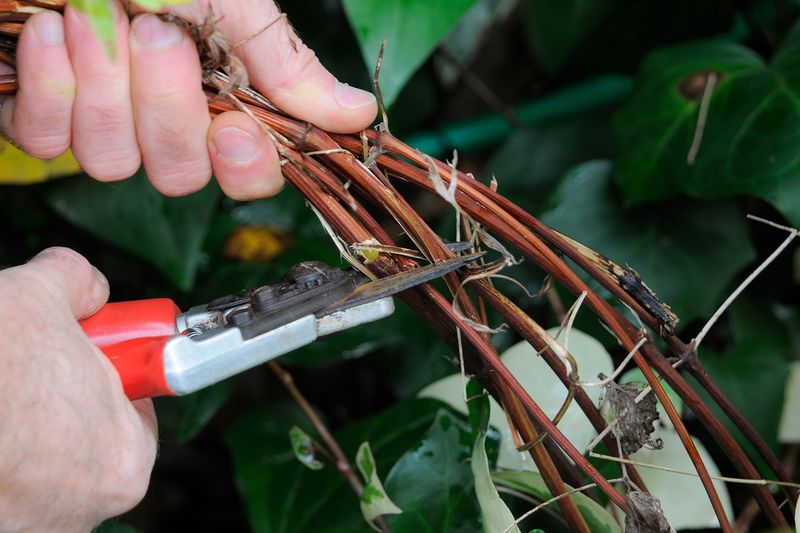
Picture grabbing a whole summer of vines and snipping them down to a stubby bundle near the ground. That hard cut is the October job that can give you a thicker, healthier clematis next year.
The goal is simple and easy to remember, even for beginners. Cut every stem back to about 12 inches above the soil line.
Look for a pair of plump buds along each stem near that height. Make your cut just above those buds, so new shoots have a clear place to start.
A foot of bare stem might look unusual sticking out of the dirt. Those short stubs are a launch pad for fresh growth when spring warms up.
Gardeners often feel nervous because the vine took months to climb that high. Still, late-blooming types grow back fast and flower on brand new stems.
Think of it like a haircut for a shaggy dog. The trim looks drastic at first, but the result is cleaner, fuller, and easier to manage.
You only need sharp bypass pruners, gloves, and maybe a bucket for the clippings. The whole job usually takes about fifteen minutes for an average-sized plant.
Once the stems are short, you can see the base clearly for the first time all year. That view helps you spot weeds, pests, or loose soil before winter arrives.
Take a quick photo before and after you cut. Next July, that picture will make you grin when the vine is noticeably bushier.
Why Cutting Low Encourages Fresh Stems
Plants store energy underground in their roots and crown. Clematis stocks up on sugars there during the long summer months.
Removing the tall stems leaves the stored energy to feed buds near the base when growth resumes in spring.
Cutting back the top growth reduces apical dominance, so buds near the base are more likely to grow into new shoots in spring.
One stem cut short can push out several new shoots. More shoots mean more branches, and more branches mean more spots for flowers.
Late-season clematis bloom on growth made in the current year. Old woody stems up high do little except hold leftover tangles and empty seed heads.
Without a hard cut, the plant keeps adding growth to the top of last year’s stems. Soon you get bare, leggy legs below and a messy flower clump way up high.
Gardeners call this look “bare legs.” It is common on older vines that have gone years without a serious trim.
Cutting back resets the whole shape from the ground up. The result is leaves and blooms spread from knee height to the top of the trellis.
Roots stay protected below the soil. They keep storing food in autumn, ready to fuel spring growth. In the wild, many vines regrow from the base after damage.
The October Window For The Big Snip
October feels like the garden is slowly packing its bags for winter. Leaves turn yellow, nights get colder, and your clematis starts to slow down.
That slowdown is your signal to grab the pruners. The plant has finished blooming and is shifting energy down into its roots.
Aim to cut after the last flowers fade and the leaves start browning. In many Northern Hemisphere regions, mid to late October works well, but local frost dates vary.
Try to finish before the ground freezes hard. Frozen soil makes it tough to add mulch and check on the crown afterward.
Pick a dry, mild afternoon for the job. Wet stems are slippery, and damp cuts can invite mold or fungus to move in.
Many gardening authorities recommend pruning Group 3 clematis in late winter or early spring. In cold climates, leaving the stems over winter also protects the crown.
In cold climates, leaving the stems over winter also protects the crown. Either choice works, as long as you finish before new buds swell in spring.
Cutting in fall has a few nice perks, though. The yard looks tidier all winter, and you skip a muddy chore during busy spring.
Fall pruning also removes old leaves that might hide disease spores. Less old foliage on the fence means fewer problems waiting to spread next year.
Keep an eye on your local weather report before you start. A mild spell after cutting can prompt early growth, so mulch the base and watch for frost.
Mark the date on your calendar once you finish. Next October, you will know exactly when to repeat this simple routine.
Think of it as tucking your vine into bed early. A well-rested plant wakes up stronger and ready to climb.
The Wrong Clematis Group For A Hard Prune
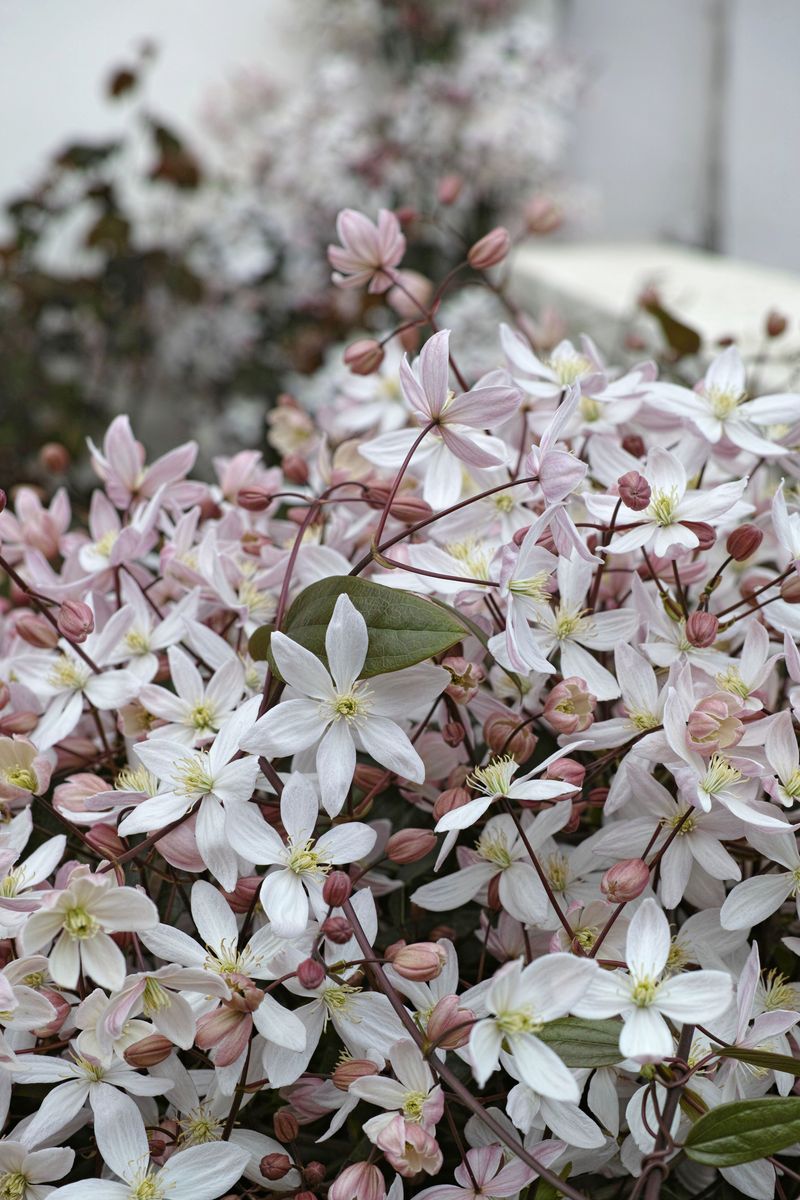
Not every clematis needs a hard prune, and this is where many gardeners go wrong. Cutting the wrong type can remove a season’s flower buds.
Clematis are sorted into three pruning groups based on when they bloom. Group 3 types flower in summer and fall on brand new stems.
Those late bloomers are the ones that love a hard cut to 12 inches. Popular picks include Jackmanii, Sweet Autumn, and most Viticella varieties.
Group 1 types bloom in early spring on stems grown the year before. Montana and Armandii clematis fall into this group.
Cutting Group 1 vines in October removes the flower buds waiting for spring. You would be left with a green vine and no blossoms until the following year.
Group 2 plants sit in the middle with big flowers in late spring. They usually need only a light trim to tidy weak or broken stems.
Not sure which group you have? Check the plant tag, look up the variety name, or think back to when it bloomed.
A vine that flowered in July or August may be Group 3, though some Group 2 plants bloom again in late summer. If you are unsure, confirm the variety before cutting. A vine that bloomed in April probably needs to be left alone this fall.
If the tag is long gone, a nursery worker can often help. Bring a photo of the flowers and they may identify it fast.
Write the group number on a plant marker and stick it near the base. A marker helps you remember the right pruning each autumn.
Clean Cuts And A Cozy Mulch Blanket
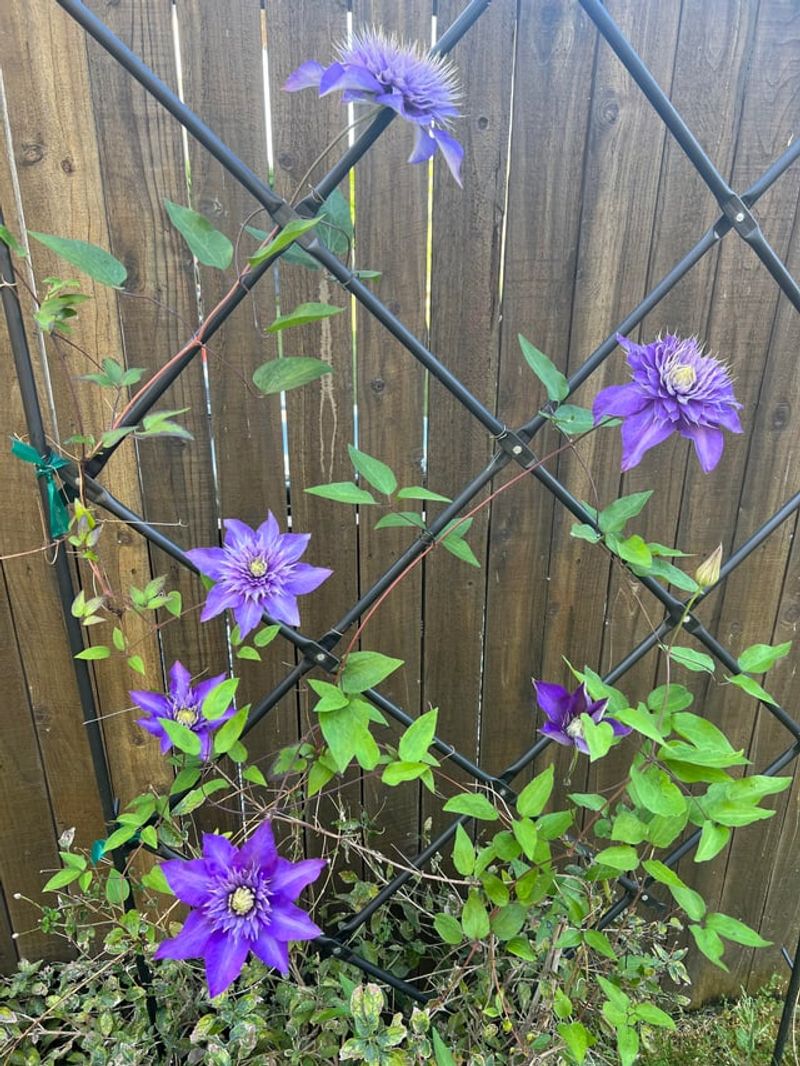
Dull pruners crush stems instead of slicing them, and crushed stems heal slowly. Sharpen your blades before you start, and wipe them with rubbing alcohol.
Clean tools help stop the spread of clematis wilt and other fungal troubles. A quick wipe between plants takes seconds and saves real headaches later.
Make each cut at a slight angle just above a healthy pair of buds. The slant helps rainwater roll off instead of pooling on the fresh wound.
Untangle the old stems gently from the trellis after cutting. Pulling hard can loosen the roots or snap the stubs you want to keep.
Toss diseased or spotted foliage in the trash, not the compost pile. Healthy clippings are fine to compost or chop up for mulch.
Next comes the cozy part of the job. Spread two to three inches of shredded bark, leaves, or compost around the base.
Clematis like their roots cool and their heads in the sun. A thick mulch layer protects the crown from freezing and thawing all winter.
Keep the mulch a couple of inches away from the stubs themselves. Piling it right against the stems can trap moisture and cause rot.
Give the plant a deep drink if your fall has been dry. Moist soil holds warmth better than dusty soil and keeps roots comfortable.
Skip the fertilizer for now, since the plant is heading into rest. Save the feeding for early spring, when hungry new shoots appear.
A small stake or marker near the base is helpful too. It keeps you from stepping on the crown or digging there by mistake.
A Bushier Vine With More Blooms Next Summer
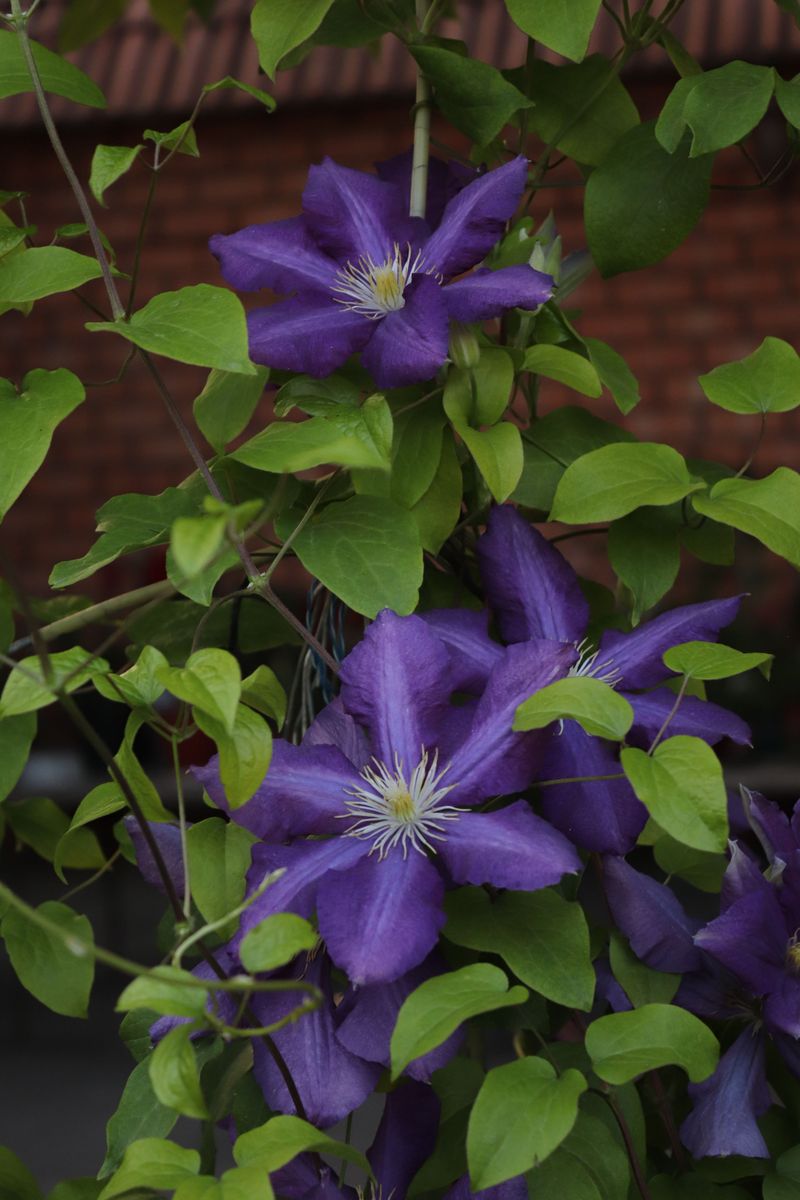
Imagine stepping outside next July to find your fence covered in purple, white, or ruby flowers. That is the payoff for a few minutes of work in October.
Spring brings the first sign of success. Fat red shoots poke out of the stubs, often several from each cut stem.
Those shoots grow fast, sometimes several inches in a single warm week. Guide them gently onto the trellis so they climb instead of sprawling on the ground.
By early summer, the vine fills out from the bottom up. Leaves cover the lower stems that once looked bare and scraggly.
Flower buds form along the many new side branches. More branches give you more buds, so the bloom show lasts longer and looks fuller.
Hard-pruned Group 3 vines often bloom more heavily than untrimmed ones, though results vary by variety and climate.
The plant also tends to stay healthier with fresh growth each year. Better airflow can help reduce disease problems, though mildew can still occur.
Older clematis can live for decades with this yearly routine. Some vines planted by grandparents still bloom happily for their grandkids today.
Keep a little notebook or phone note about bloom dates and colors. Comparing seasons shows you how well the fall cut is working.
Many pollinators visit clematis flowers, so your yard may see more activity.
Each autumn, the cycle starts again with the same simple snip. This chore offers a good return for the time it takes.