Step-By-Step Guide To Building A Stylish DIY Modern Plant Stand On A Budget
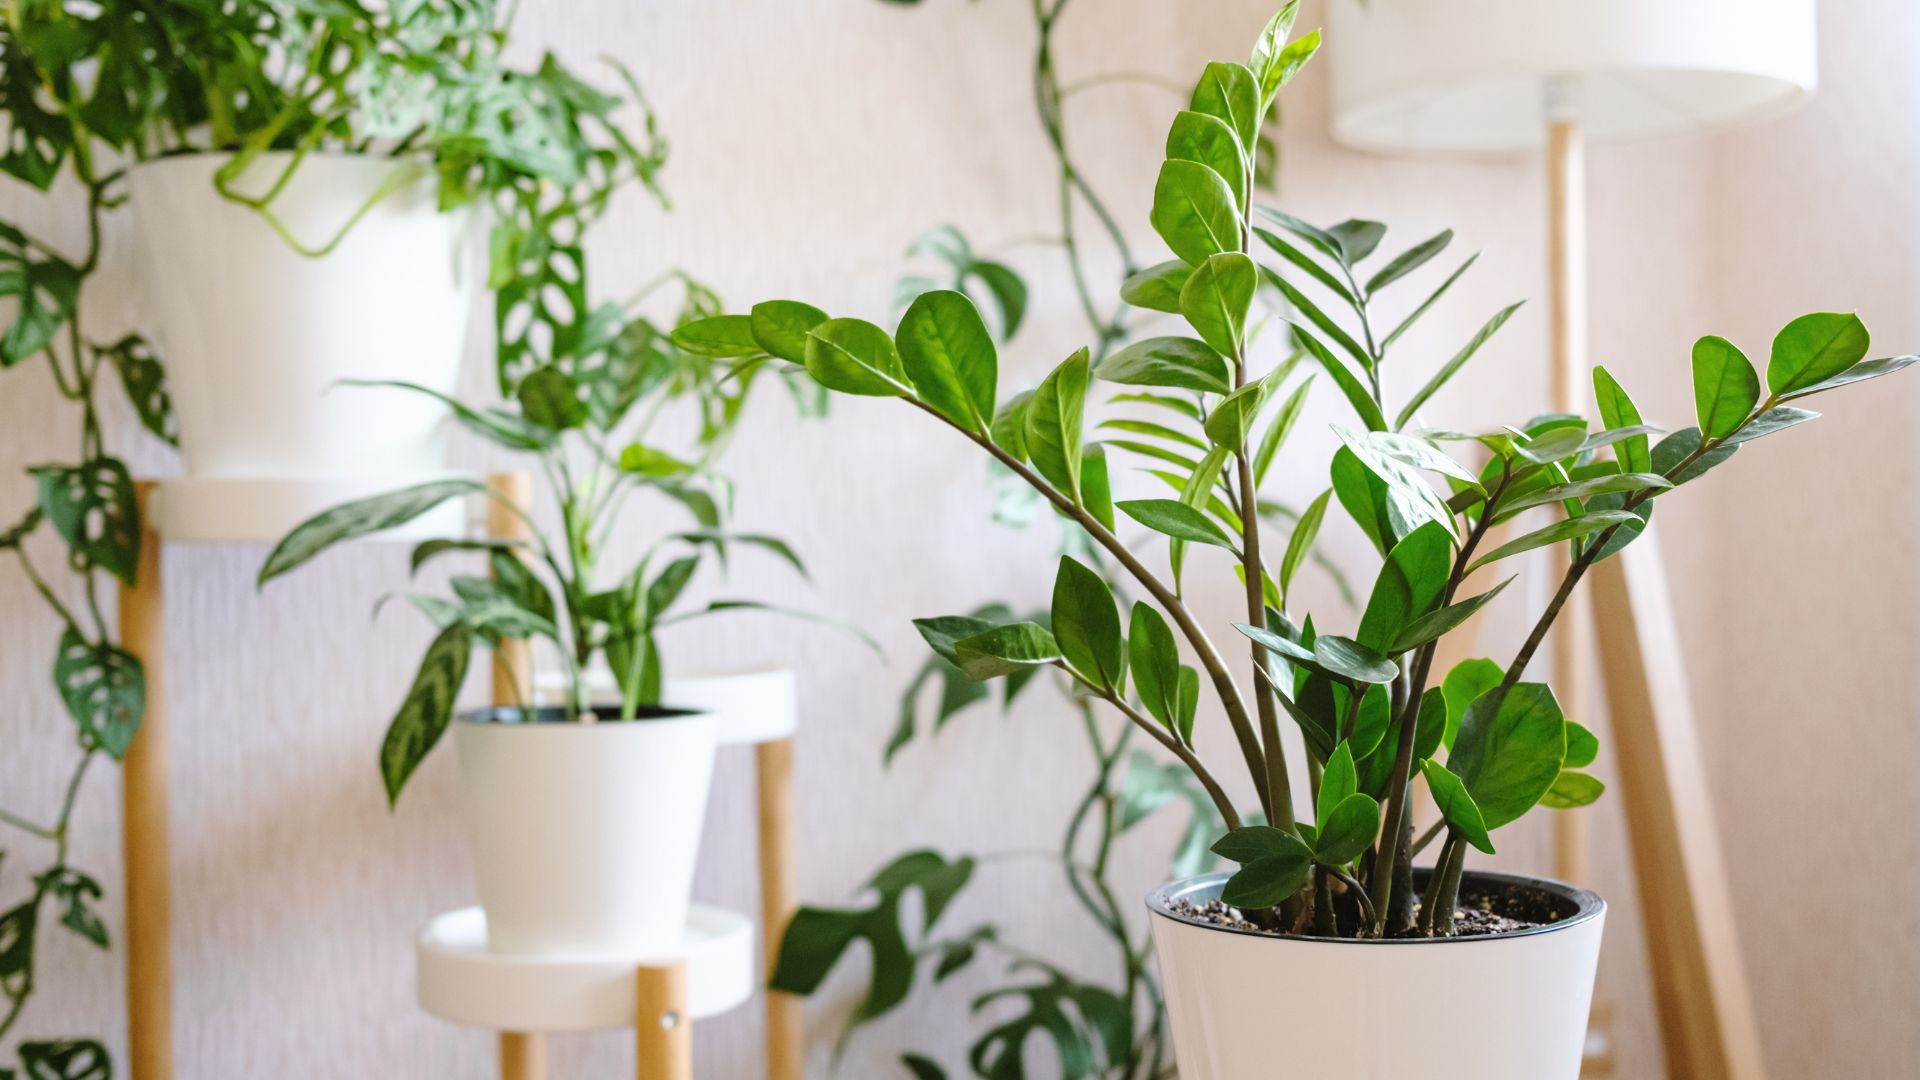
So, you’ve been eyeing those sleek, modern plant stands online, but let’s face it – who wants to drop big bucks on something you can totally make yourself?
Trust me, I’ve been there, scrolling through endless online shops thinking, “I could totally do that!”. And guess what? I did. Not only did I save some cash, but I also got to add a personal touch to my space, and now my plants are standing tall in style.
I’m here to show you how to make a chic, modern plant stand that’ll have your leafy friends looking like they’ve been plucked straight out of an Instagram influencer’s home. No power tools required – just a few simple materials and a sprinkle of creativity
So, grab those supplies, put on your crafty hat, and jump right in to create the plant stand of your dreams!
Step 1: Measuring, Cutting, And Not Losing Your Mind Over Power Tools
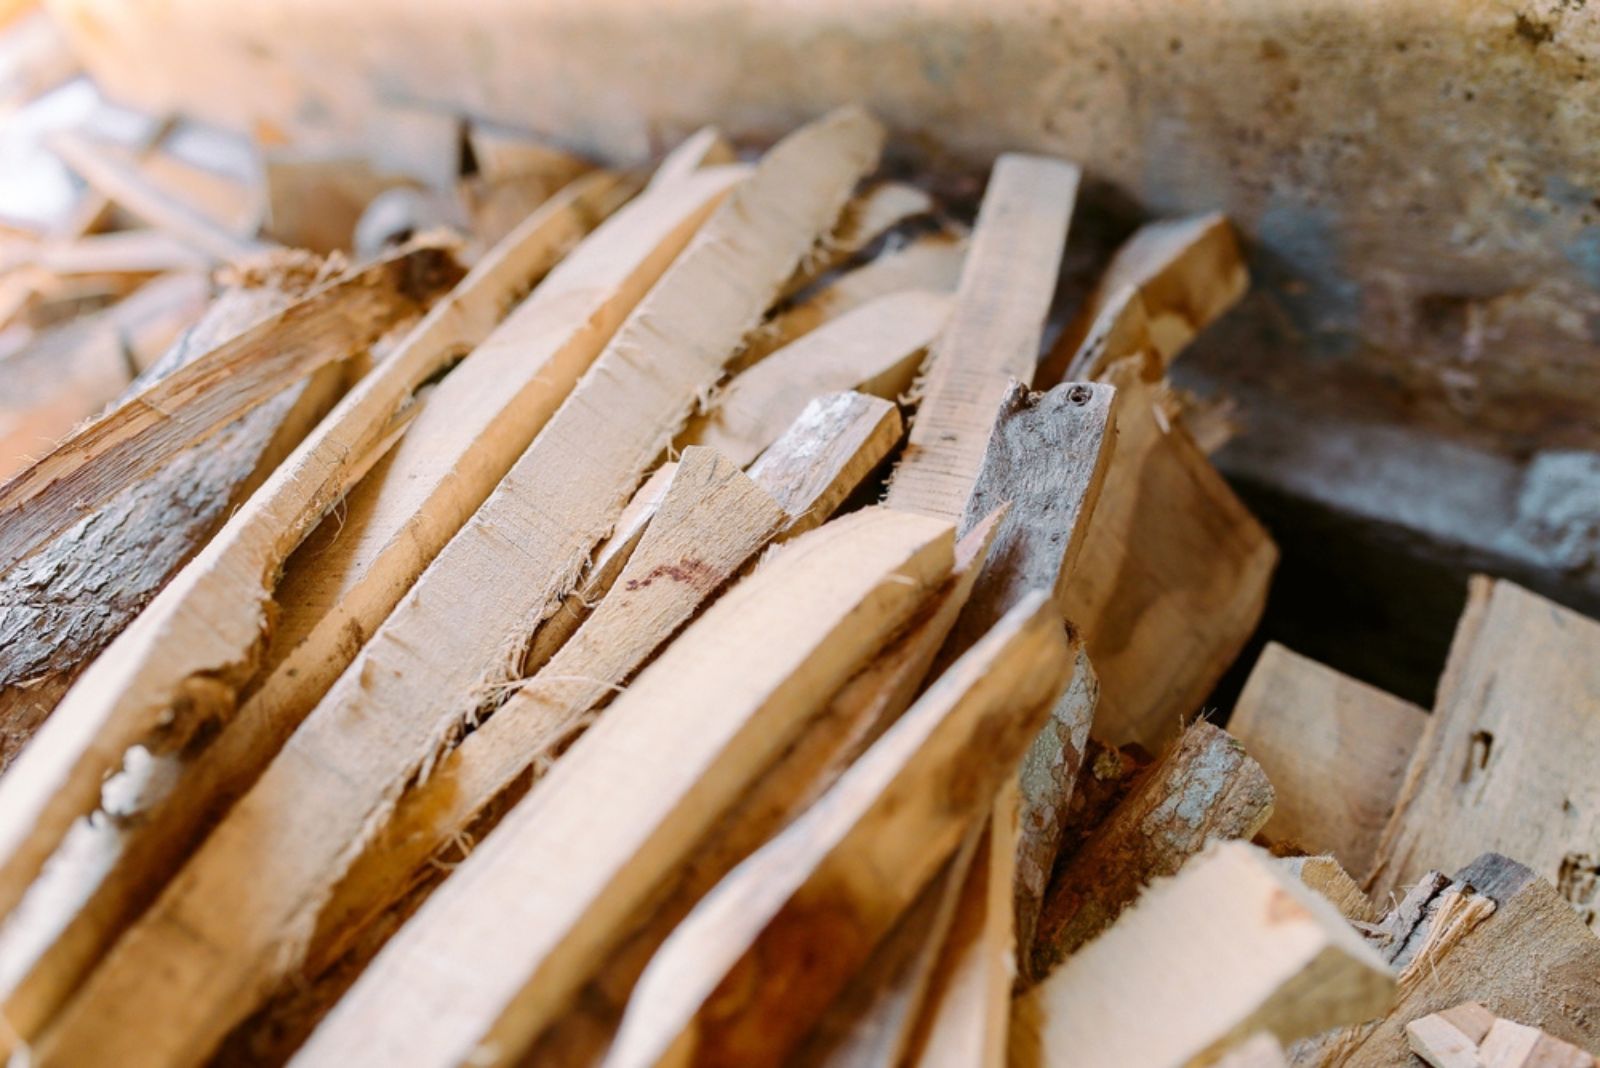
We are going to start with the basics: cutting the wood.
Grab some scrap wood you’ve got lying around (hey, it’s free, right?), and let’s do some measuring. You’ll need 2-by-2s and 2-by-8s – so basically, if you don’t have them already, head to Home Depot.
Don’t worry if you’re not a pro with a saw; Home Depot also offers tool rentals and wood-cutting services.
For this project, you’re cutting the 2-by-2s into a few different sizes (8, 12, 22, and 32 inches), and then cutting the 2-by-8s into three pieces that are 7¼ inches long.
Remember: measure twice, cut once – because we’re not going to waste wood like it’s 1999. After cutting, sand down the pieces with some fine sandpaper. This part is surprisingly therapeutic.
Step 2: Building The Stand (T For “Totally Awesome”)
Now that the wood’s cut and prepped, it’s time to assemble the stand.
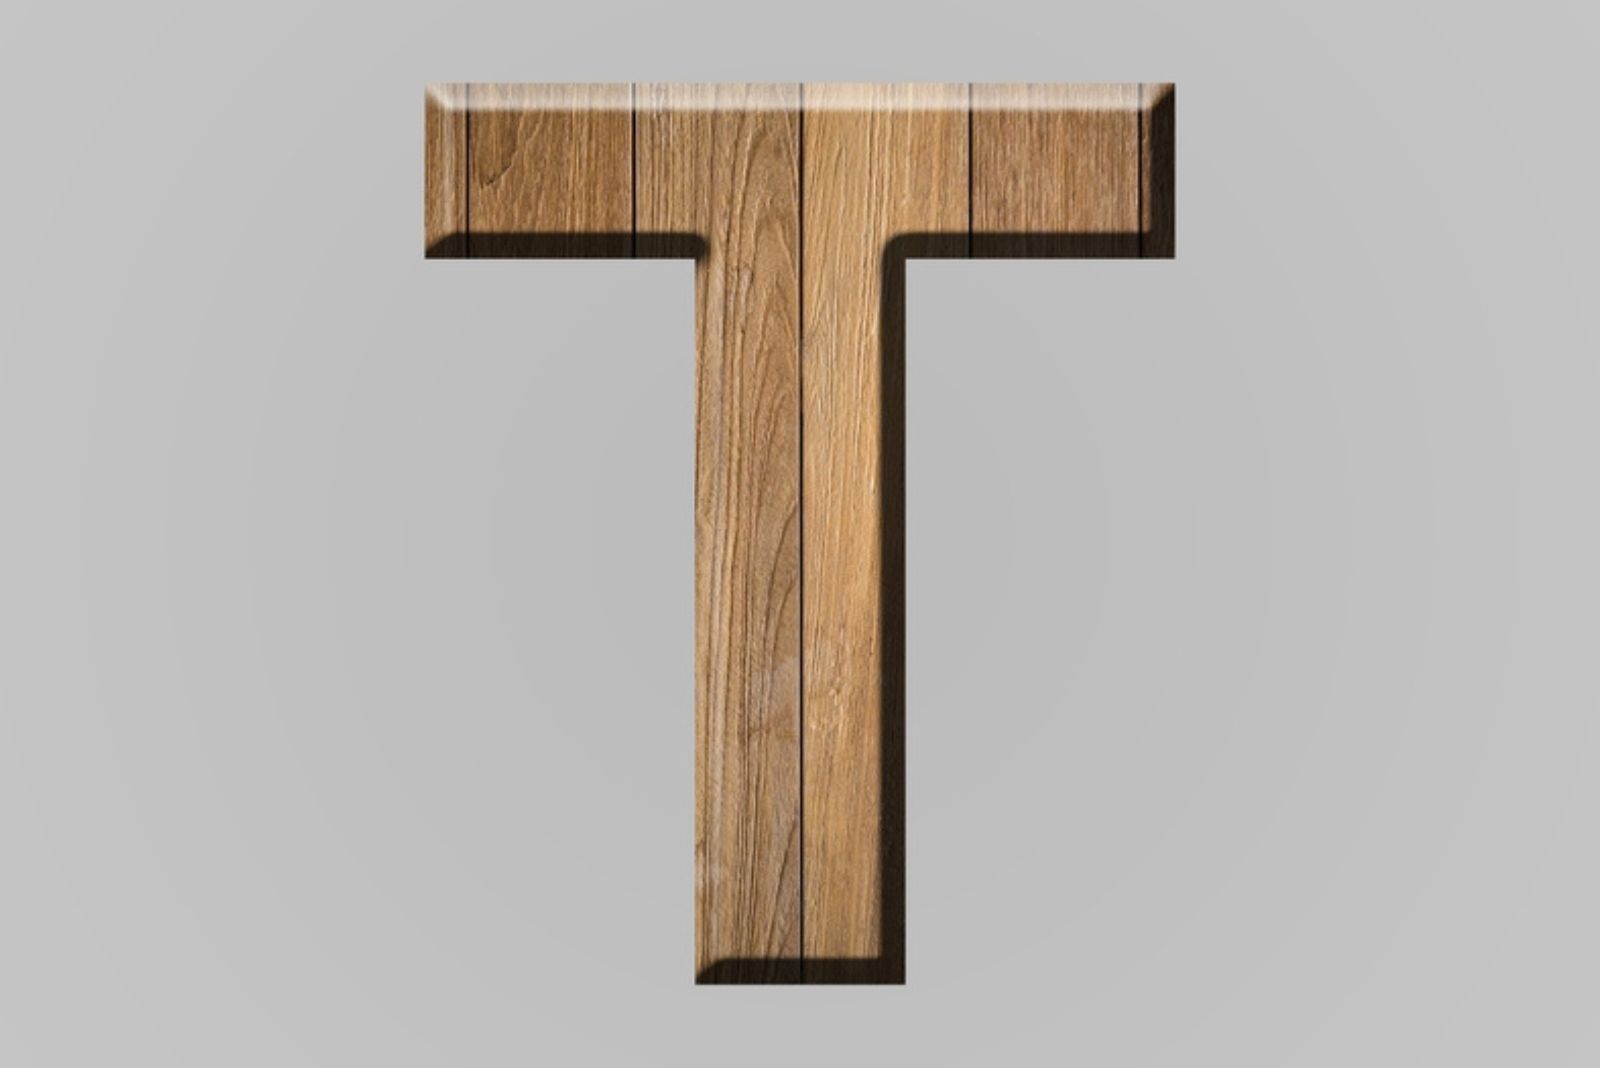
First, take two of your 8-inch 2-by-2s and create the letter “T” (not literally, but figuratively!). These will act as the brace for the whole structure.
Secure them with wood glue or screws – I opted for both because why not be extra? Clamp them into place if needed.
Once they’re locked in, attach the longer 12, 22, and 32-inch pieces to the T at the 6-inch mark. Voilà! You’ve got your stand’s basic frame.
Step 3: Shelving Your Plants Like Bob The Builder
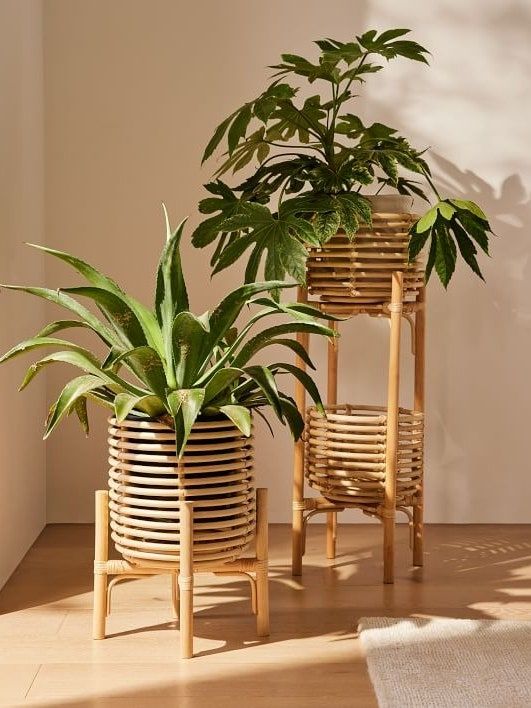
The fun part is here – adding shelves, of course!
Grab the three 2-by-8 pieces you’ve cut, and place one on each tier of the frame. Secure each shelf with screws and wood glue (remember that Gorilla Glue is your best friend if you need extra stability). This is the point where your plants are going to feel like they’ve just checked into a luxury resort.
If you have bigger plants, no worries – you can customize the shelves to be wider or taller. Maybe your plants need more space to stretch out and get cozy.
Step 4: Personalizing It (Because Your Plants Deserve It)
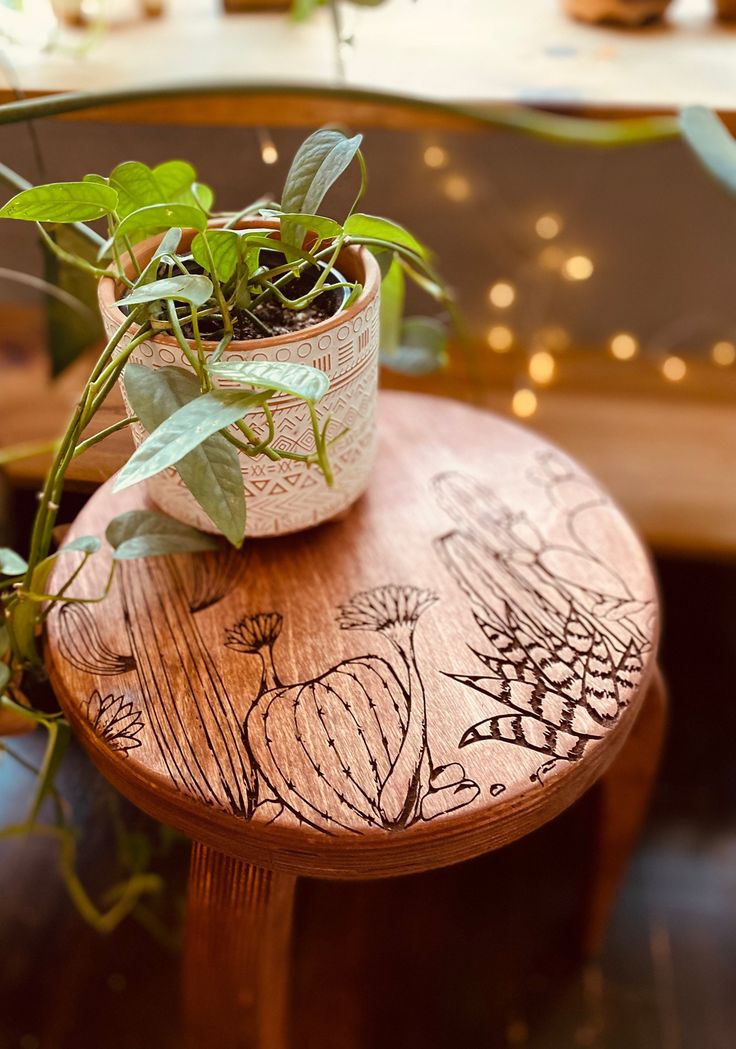
Here’s where the magic happens. You could leave the wood as-is, but why not make it truly yours?
Stain it, paint it, or even mix and match different shades of wood for some contrast. You could go all minimalist or make it pop with a bold color.
This part is totally up to you – because, at the end of the day, the plant stand should be as unique as your plant collection. You can even add extra shelves if you’re one of those people who collects plants like Pokémon (no judgment here, I get it).
Bonus Tips: Because More Plants = More Happiness
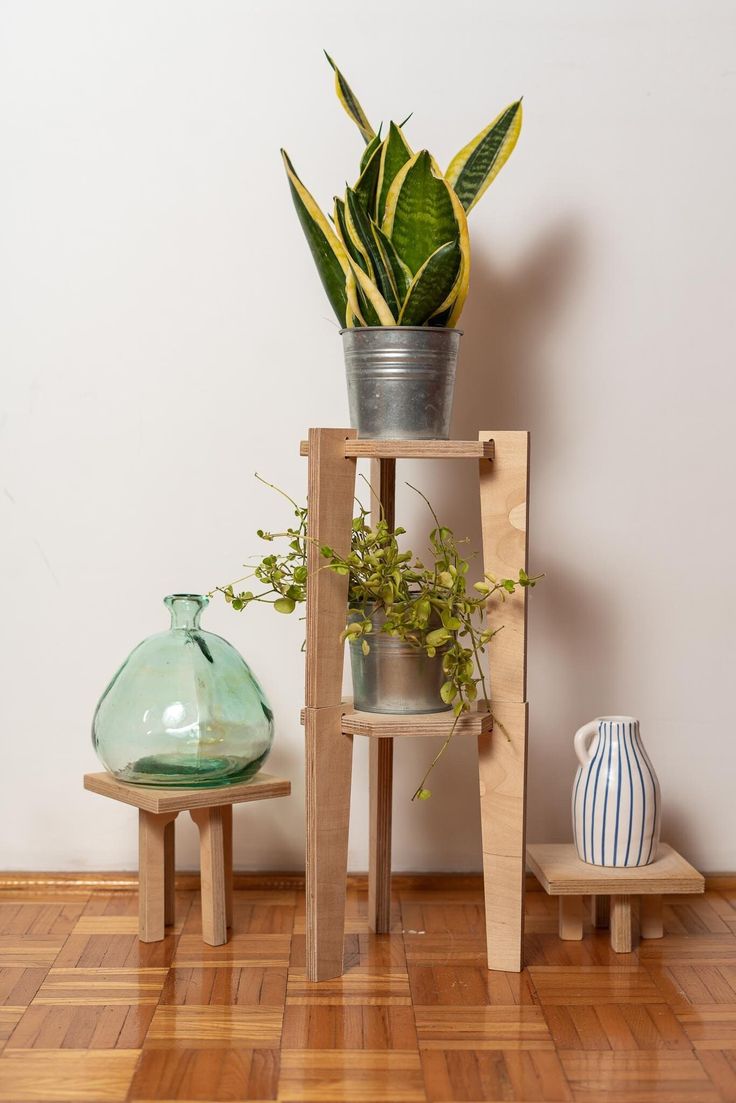
Finally, don’t forget about your plant-setup game. After building your stand, it’s time to arrange your plants in style.
Whether you’re going for quirky succulents, vibrant flowers, or a mix of both, your plant stand is the perfect spot for them to show off.
You can also incorporate decor pieces to give it that Instagram-worthy look because, let’s be honest, your plants are about to get a lot of attention.
So there you have it! A super simple, stylish, and budget-friendly DIY modern plant stand that’ll have your greenery feeling on top of the world.
Now, sit back, relax, and watch your plants grow tall, proud, and a whole lot happier.

