The November Clematis Job For More Flowers Next Summer
A tangle of bare brown stems on my fence holds next summer’s biggest flower show. It looks like a mess of old string right now, yet tiny buds are already tucked along some of those stems.
I skipped a November chore one year and paid for it in June. The vine flowered, sure, but only at the very top, far above my head. Turns out a few minutes with clean pruners and a bag of mulch makes a real difference.
Late fall is a sweet spot for this work. Leaves have dropped, so you can finally see the plant’s bones, and the soil still feels soft.
The tricky part is knowing where to cut and where to leave things alone. One wrong snip could send half your blooms to the compost pile. So which stems on your vine are the keepers?
Next Summer’s Clematis Blooms Are Already Hiding On Those Bare Vines
Walk out to your clematis this week and look closely at the brown stems. Some of them carry plump little buds in pairs along each joint. Those buds hold a lot of next year’s promise.
Clematis vines fall into three pruning groups, and the difference comes down to when and where they flower. Group 1 and Group 2 plants set their spring and early summer flowers on stems that grew this past year.
Group 3 plants flower on brand-new shoots that sprout in spring, usually blooming from July into fall.
That one detail explains the November job. Cut the wrong vine hard now, and you snip off months of future color.
Leave a late bloomer untouched for years, and it turns into a bird’s nest with flowers only at the top.
I like November for sorting this out because the leaves are mostly gone. You can trace each stem, spot the healthy buds, and find the brittle brown bits that need to go.
A quick look now saves a lot of guessing later. So before you grab the pruners, take a slow walk along the trellis. The vine is already showing you what it plans to do.
Figure Out Which Clematis Pruning Group Is Climbing Your Trellis
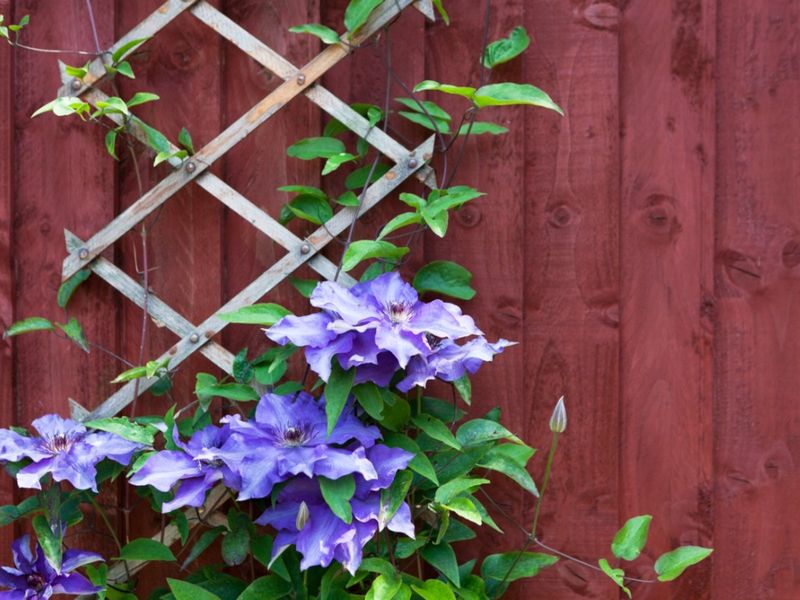
Plant tags get lost. Mine usually blow away by the second summer, so I rely on the calendar instead.
Recall when your vine put on its best show. If flowers showed up in early spring, often before May, you likely have a Group 1 type such as Clematis montana, alpina, or armandii.
If big blooms opened in May or June and a smaller wave followed later, it is probably Group 2, like ‘Nelly Moser’ or ‘Henryi’.
Flowers that start in July or later point to Group 3. Popular picks include ‘Jackmanii’, ‘Comtesse de Bouchaud’, and the viticella types.
Sweet autumn clematis also blooms late, but it is considered invasive in many regions, so a native option like Clematis virginiana makes a smarter choice. Still unsure? Check where last summer’s flowers appeared.
Blooms on short side shoots from older woody stems suggest Group 1 or 2. Blooms on long, fresh, green growth that started near the ground suggest Group 3.
Jot the group on a label and zip-tie it to the trellis. Future you will be grateful every single fall when pruning season rolls around again.
Late Summer Clematis Like Jackmanii Welcome A November Trim
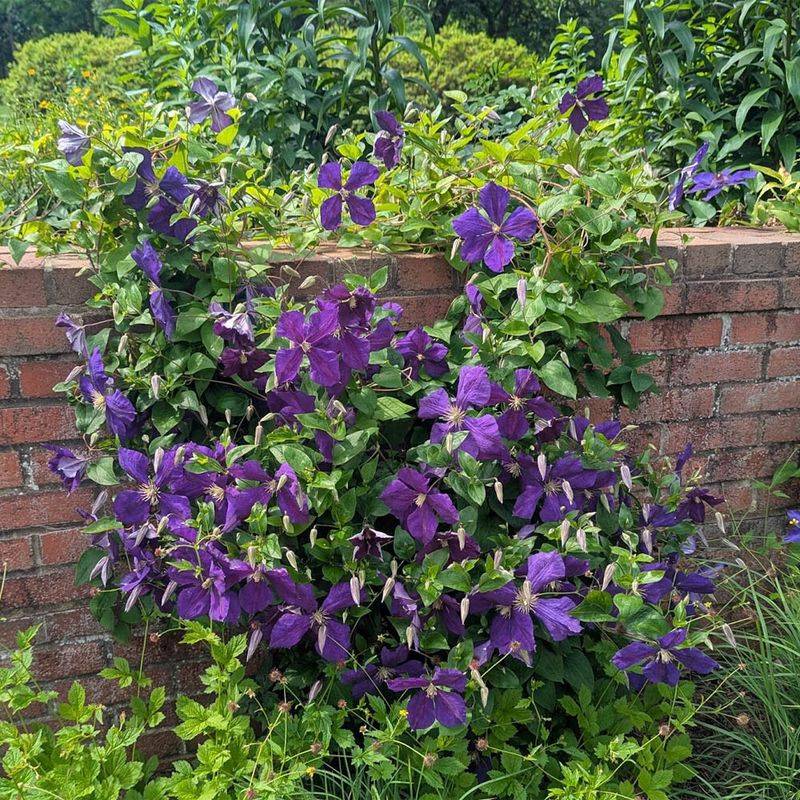
Late bloomers are the easygoing members of the clematis clan. Since Group 3 vines flower on new growth, cutting them back does not cost you any summer flowers.
In November, I cut the tangled top growth down to about three feet. That removes the heavy, wind-catching mass that can whip around in winter storms and tear stems loose from the trellis.
It also clears out spent seed heads and brown leaves. The final hard prune works best in late winter, around late February or early March in many climates. By then, you can see fat buds swelling along the lower stems.
Cut each stem back to roughly 12 to 18 inches, just above a healthy pair of buds. Why wait for that last cut? Buds are easier to spot in late winter, and leaving some extra stem gives you a buffer if a hard freeze nips the tips.
Some gardeners in milder coastal areas make the full cut in fall and do fine, but the two-step approach feels safer.
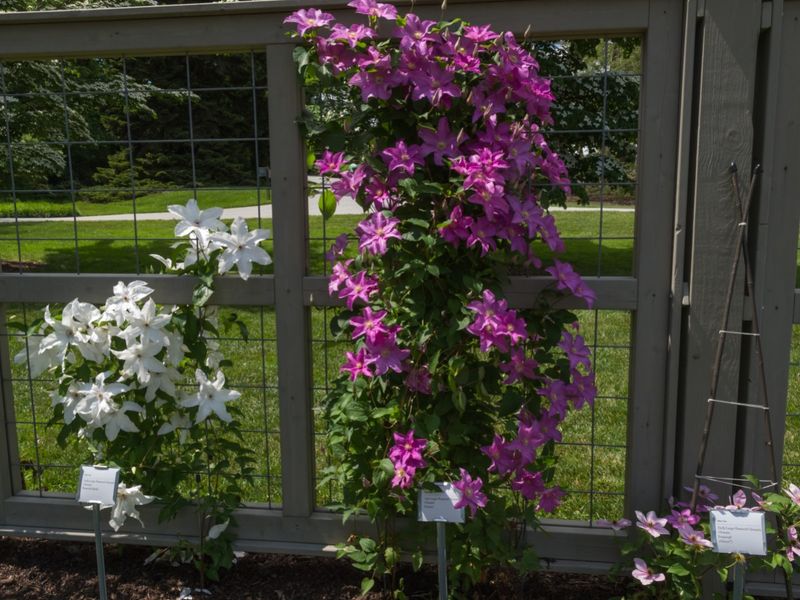
Your reward comes in July. Instead of a few blooms dangling way overhead, you get a fuller vine covered in color from knee height up.
Spring-Blooming Clematis Montana Stems Should Stay Mostly Untouched
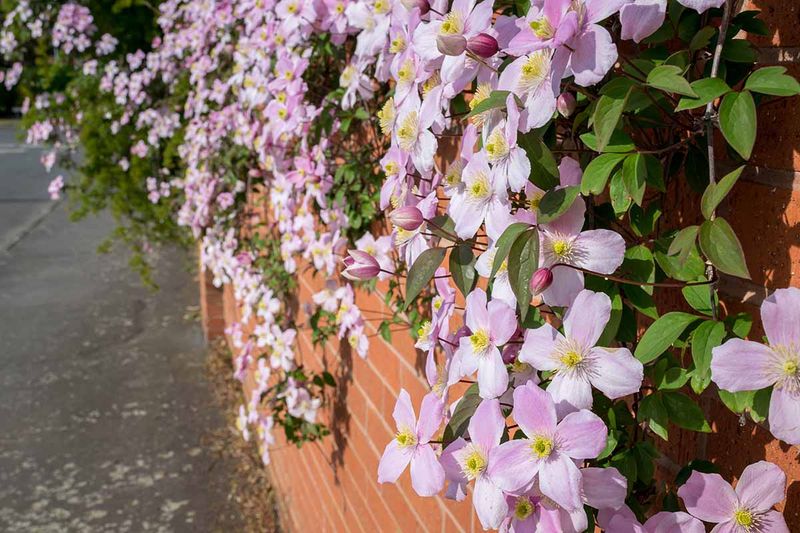
Hands off, mostly. That is the best November advice for early clematis, and it is the step I see skipped most often.
Group 1 vines like Clematis montana and alpina already carry next spring’s flower buds on their woody stems. Any big cut now removes those blooms before they ever open.
These plants get their tidy-up right after they finish flowering in spring, giving them all summer to grow fresh stems for the next show.
Group 2 large-flowered hybrids need a light touch too. In late winter, just as buds start to swell, trim stems back to the first strong pair of buds and remove weak or tangled pieces.
A second light trim after the first flush of flowers may encourage a later round. So what can you do this month?
Snip off clearly broken stems and anything brown and brittle that snaps instead of bending. Gently tie loose vines back to their support so winter winds do not tear them.
A scratch test helps here. Lightly scrape a stem with your thumbnail, and green underneath means it is alive and worth keeping. Brown and dry all the way through means it can go.
A Thick Mulch Ring Around The Clematis Base Protects Tender Roots
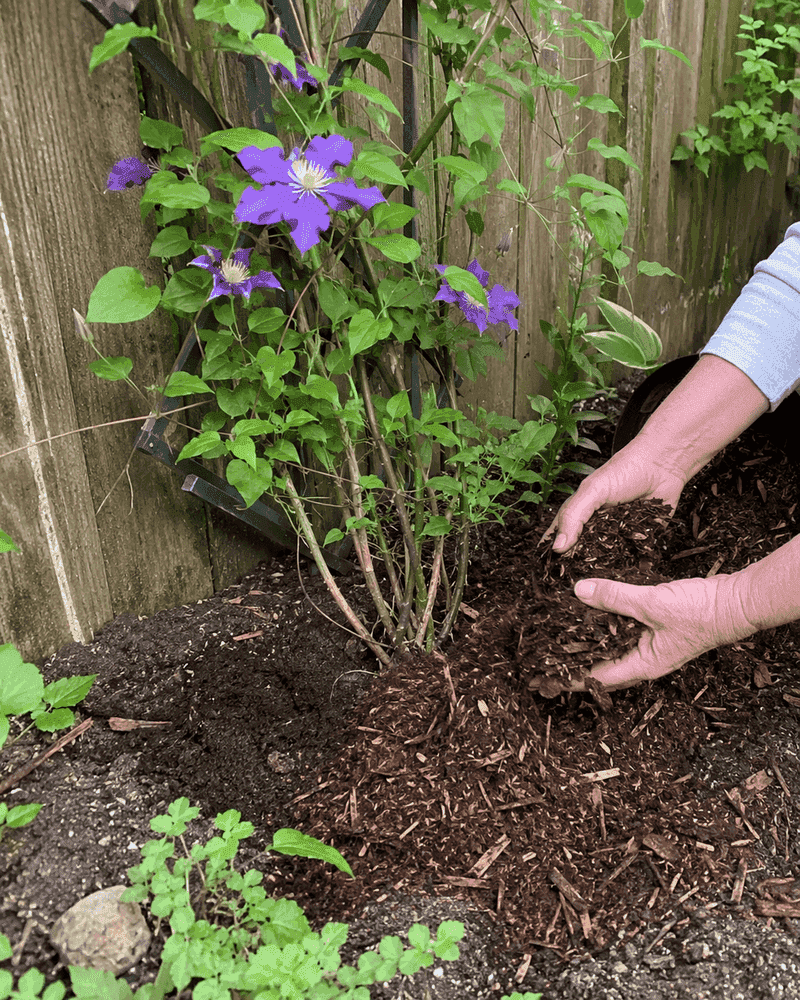
Clematis growers love an old saying about these vines wanting their heads in the sun and their feet in the shade. That cool-root preference matters in winter too.
Winter weather can bounce around a lot. A cold snap might freeze the soil one week, and a warm spell thaws it the next.
Repeated freezing and thawing can heave shallow roots and stress the crown, especially on young plants set out this year.
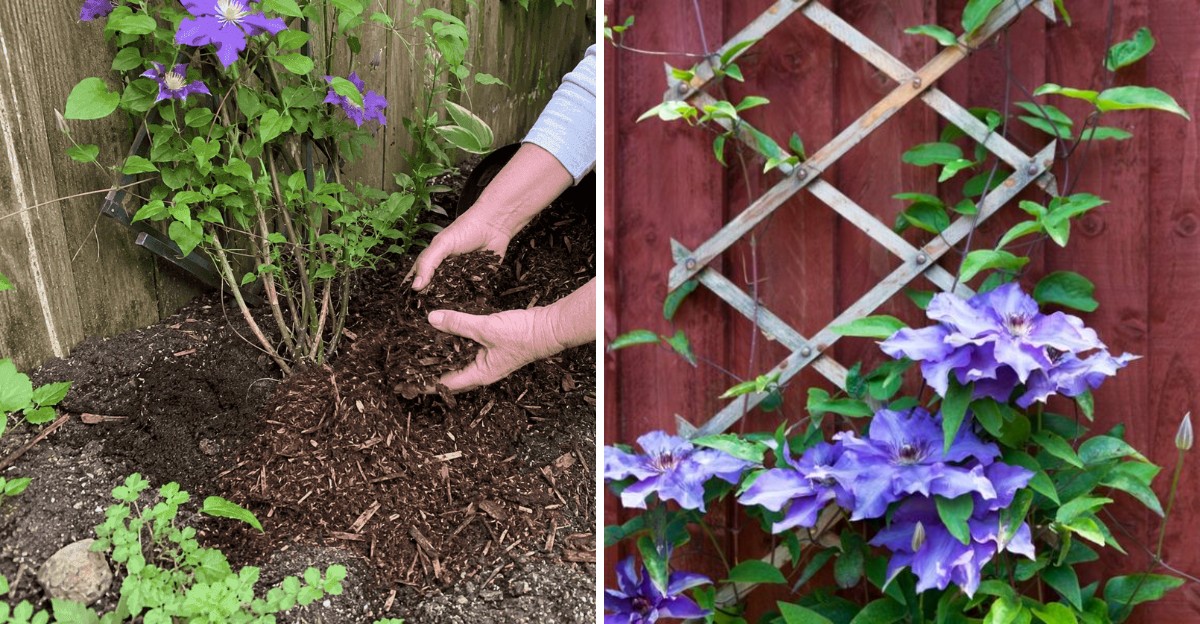
A layer of mulch evens out those swings. Spread 2 to 3 inches of shredded bark, chopped leaves, or compost in a wide circle around the base.
Keep it a couple of inches away from the stems so moisture does not sit against them and invite rot.
Gardeners in the mountains, where zone 5b and 6a temperatures dip low, may want to go a little deeper. Folks closer to the coast in zone 8 can usually keep it lighter.
I like using shredded leaves from my own yard. They cost nothing, they break down into rich soil by summer, and the earthworms seem to love them. A low stone or flat paver set nearby also shades the roots once spring heat arrives.
Raking Up Fallen Clematis Leaves Lowers The Odds Of Wilt
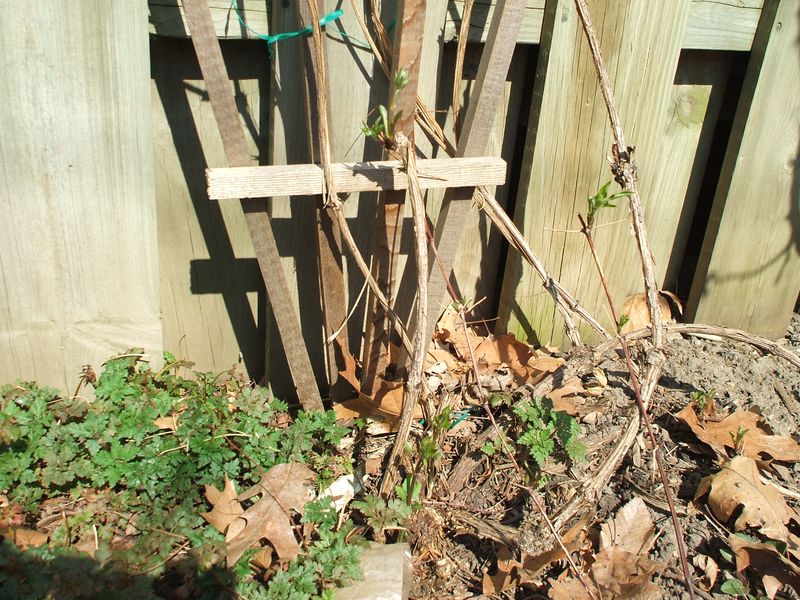
Old clematis leaves look harmless on the ground, but they can hide trouble. Fungal spores from leaf spots and powdery mildew often spend the winter in that debris, waiting for spring rain.
Clematis wilt is the scary one. It is caused mainly by a fungus, and it can make a healthy-looking stem collapse almost overnight in late spring or early summer.
Large-flowered hybrids tend to struggle the most, while small-flowered types like viticella usually shrug it off.
Raking up fallen leaves and pulling off any spotted foliage still clinging to the vine lowers the amount of fungus nearby. Bag that material or send it out with yard waste instead of adding it to a cool compost pile, which may not heat up enough to break down the spores.
While you are at it, clean your pruners with a disinfecting wipe or a diluted bleach solution between plants. That small habit keeps you from carrying problems from one vine to the next.
One more trick gives wilt-prone vines a backup plan. Clematis planted with the crown a few inches below soil level can send up fresh shoots from underground buds if the top struggles. Keep that in mind for any new vines you add.
Potted Clematis Vines Need A Sheltered Winter Spot And No Fertilizer
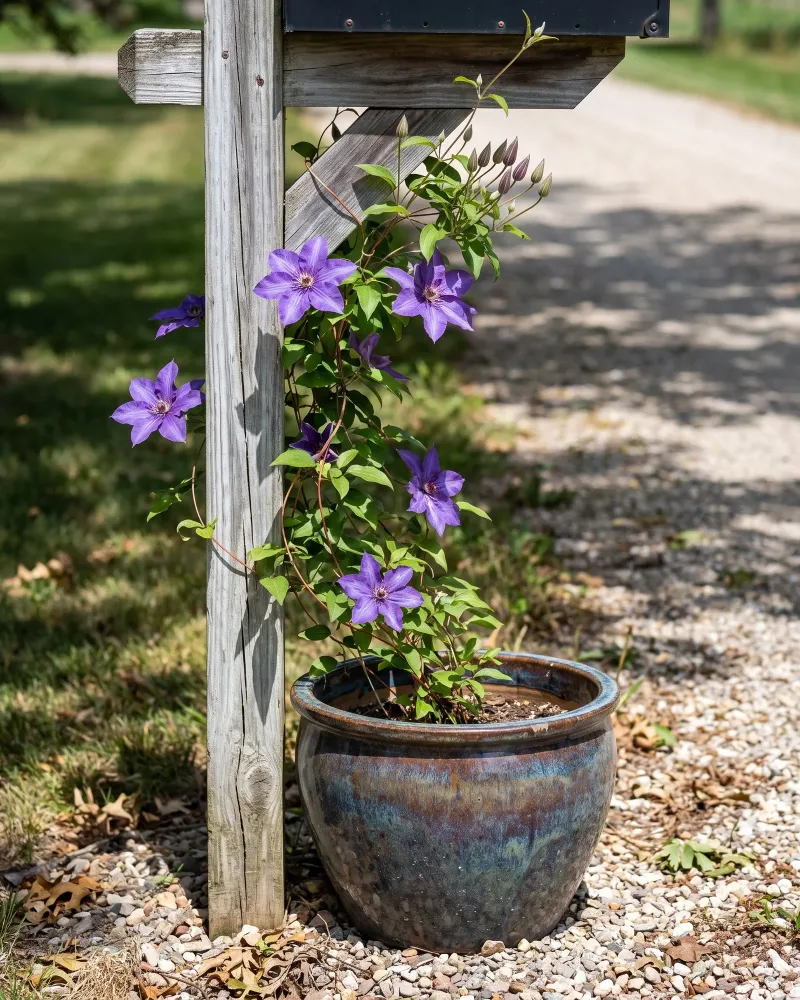
Container clematis face a tougher winter than their cousins in the ground. Roots in a pot have no deep soil around them, so cold reaches them from every side.
Move pots into an unheated garage, shed, or a sheltered spot against the house. If the container is too heavy to budge, wrap it in burlap or bubble wrap and pile leaves around it.
Check the soil every few weeks and water lightly when it feels dry, since winter wind pulls moisture out of pots faster than you would guess.
Hold off on fertilizer for every clematis this month, potted or not. Nitrogen now can push soft new shoots that get damaged at the first hard cold.
Save feeding for early spring, when buds break and the plant can put that boost to good use.
Before you head inside, run through a quick checklist. Know your pruning group, trim late bloomers to about three feet, leave early bloomers mostly alone, mulch the roots, and clean up old leaves.
That adds up to maybe an hour of work. Next July, when your fence disappears under flowers, it will feel like the best hour you spent all fall.