The Right Time And Way To Fertilize Clematis For The Most Colorful And Biggest Flowers
Some of the biggest garden flowers in America grow on a vine that would rather keep its feet in the shade. A few hybrids open blooms close to 8 inches across, about the size of a dessert plate.
My first one sulked for two summers straight. I fed it plenty, yet it gave me a jungle of leaves and maybe six flowers. Not going to lie, I blamed the trellis.
It turns out the problem was my timing and my bag of plant food. These vines read nutrients like a calendar, and a feeding in the wrong month can push leaves instead of petals.
You’d think a plant this showy would demand fancy products, but the fix is surprisingly simple. A little patience, the right numbers on the label, and a few well-timed meals make the difference.
So what does a hungry vine actually want on its plate?
1. Those Clematis Buds Start Asking For Food Earlier Than You’d Guess
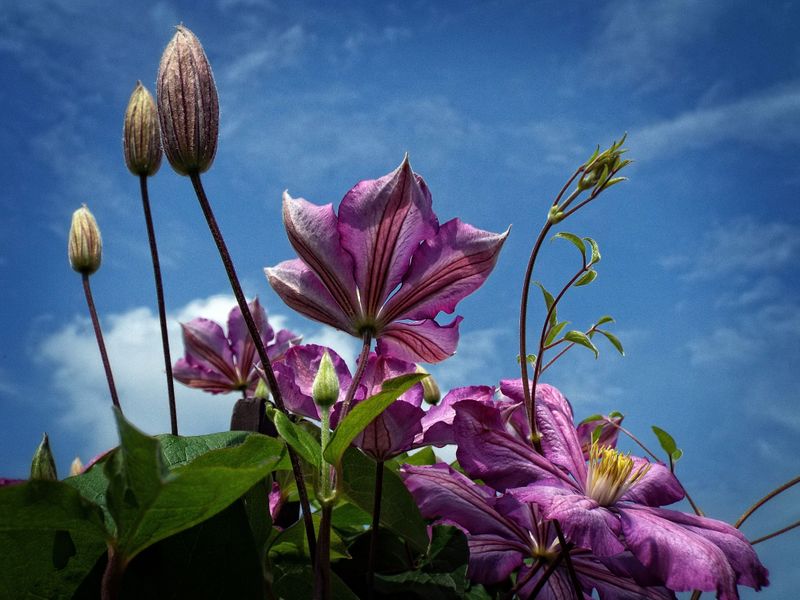
Spring sneaks up on clematis gardeners every year. Long before the first bud swells, the vine is already pulling energy from the soil to build stems that will carry flowers later.
The best moment for the first feeding is early spring, right as new shoots begin to push out of the ground or from old woody stems. In much of the country, that lands somewhere between March and April, depending on your frost dates. Gardeners in warmer southern zones may see it in late February.
Why so early? Clematis forms its flower buds on growth that develops in spring, whether that growth comes from new stems or last year’s wood. A balanced, slow-release meal at this stage helps the plant build sturdy vines and healthy leaves, which become the engine for big blooms.
Watch the plant, not the calendar. Once you spot those reddish or bright green shoots about an inch or two long, that’s your signal to feed.
Skip feeding a plant that is still fully dormant, since roots can’t use nutrients they aren’t ready to absorb. Heavy rain can wash extra fertilizer away before it does any good, so a little patience pays off with a stronger start.
2. Read The Fertilizer Bag Numbers Before Feeding Your Clematis Vine
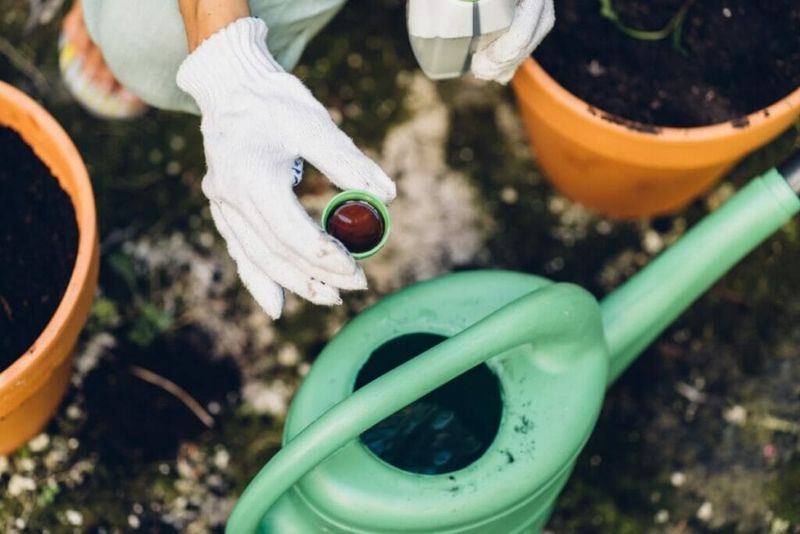
Those three numbers on every fertilizer bag tell you more than any fancy label. They stand for nitrogen, phosphorus, and potassium, listed in that order as N-P-K.
Nitrogen fuels leaves and stems. Too much of it gives you a lush green wall with very few flowers, which is exactly what happened to my first vine. Phosphorus supports roots and bloom development, while potassium helps with flower quality, color, and overall toughness.
For clematis, many growers favor a formula where the last two numbers are equal to or higher than the first. Options like 5-10-10, 4-10-10, or a gentle 10-10-10 early in the season are common choices. Some bloom boosters run much higher in phosphorus, but more is not better.
Here’s a smart move before you buy anything. Get a soil test through your local university extension office, which often costs very little. Many garden soils already hold plenty of phosphorus, and adding extra can run off into streams and ponds.
Once you know what your soil has, picking a blend becomes easy. Follow the label rate carefully, because clematis roots are sensitive, and a heavy hand can scorch them rather than help.
3. Rose And Tomato Food Works Wonders On Big Clematis Blooms
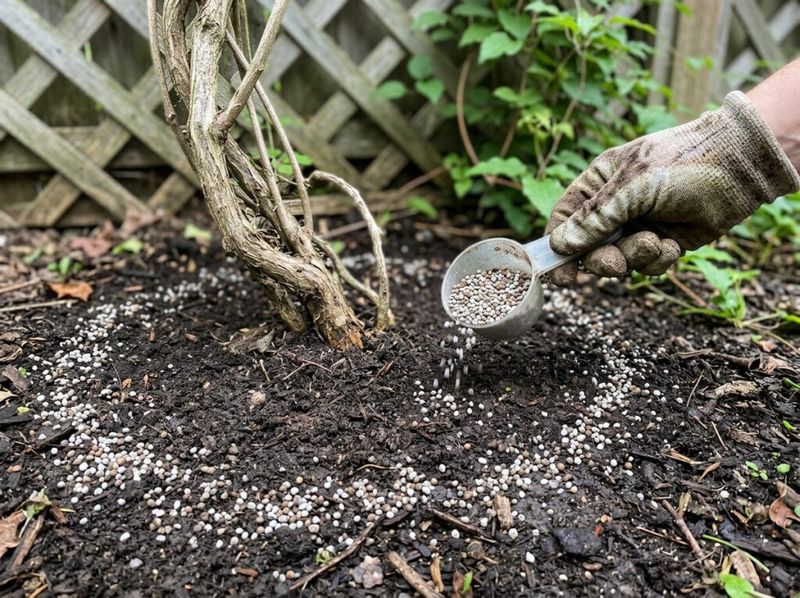
Guilty as charged, I raid the rose shelf for my clematis. Rose and tomato fertilizers tend to carry more potassium than nitrogen, and that balance suits a flowering vine nicely.
Potassium helps plants move water and sugars, which supports richer petal color and stronger stems. Rose growers figured this out ages ago, and clematis gardeners have quietly borrowed the trick.
Prefer an organic route? Compost spread around the base each spring feeds the soil slowly and improves its structure. Well-rotted manure works too, though fresh manure can burn roots, so let it age first.
Bone meal adds phosphorus and calcium and is often mixed into the planting hole. Since it breaks down slowly, it suits soils that tested low in phosphorus. Liquid seaweed offers a mild boost of potassium plus trace minerals and makes a gentle supplement during the growing season.
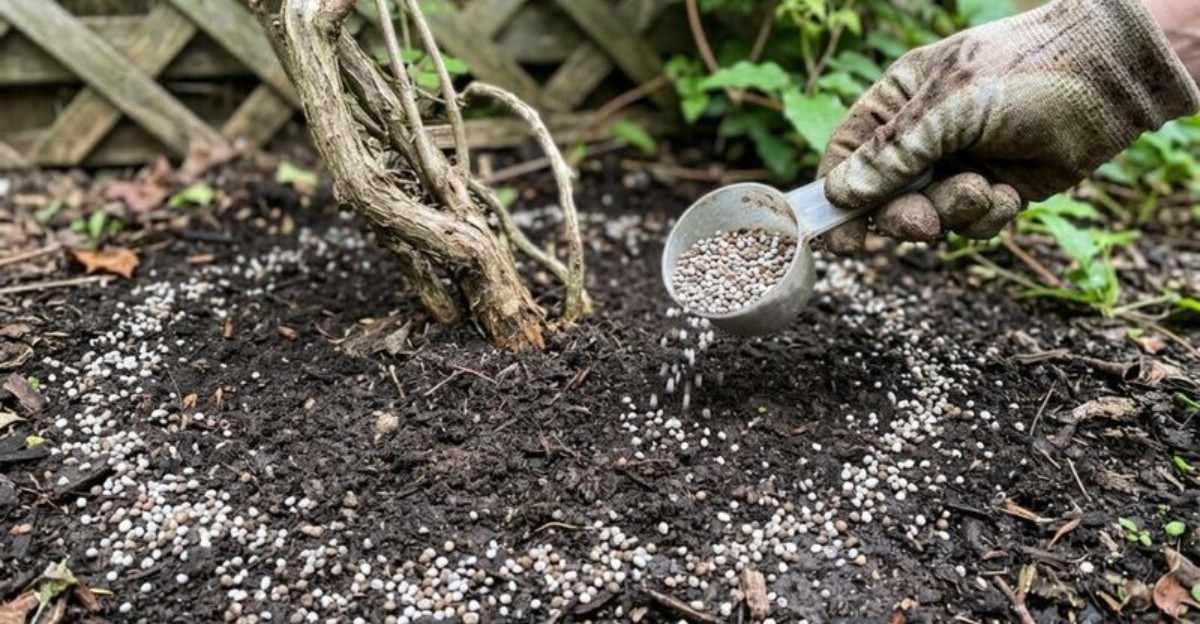
A simple routine might look like this. Spread compost in early spring, scratch in a granular rose food around the root zone, then water well.
Keep fertilizer a few inches away from the stems. Clematis stems are fragile near the soil line, and that spot is prone to damage and wilt problems if you pile material against it.
4. Monthly Meals Keep Clematis Flowers Coming All Summer Long
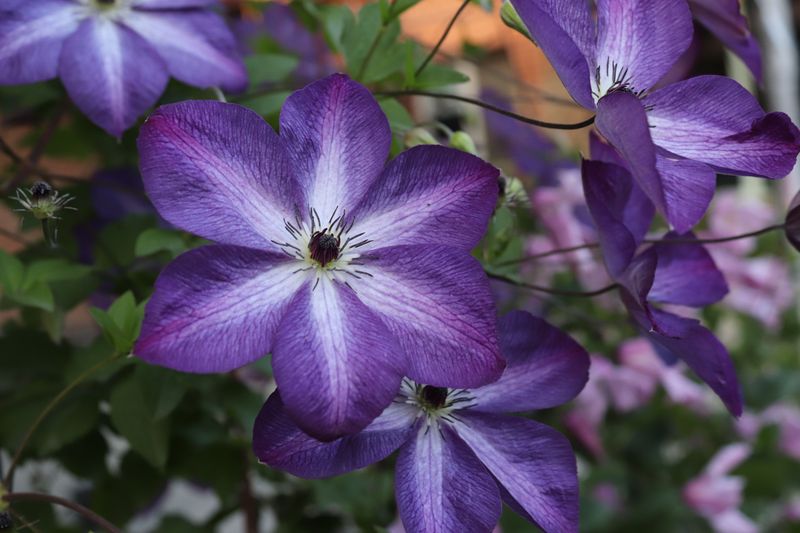
After that first spring feeding, clematis appreciates a steady routine rather than one giant meal. Many gardeners feed about once every four to six weeks through late spring and summer with a light, bloom-friendly fertilizer.
Repeat bloomers deserve extra attention. Large-flowered hybrids such as ‘Nelly Moser’ or ‘The President’ often flower in late spring and again later in summer. A light feeding after the first flush, usually around June, gives them fuel for round two.
Here’s a timing detail that surprises people. Some growers pause feeding while the plant is in full bloom, then resume afterward. Heavy fertilizing during flowering can shorten the show in some cases, so a light hand works best.
Heat matters too. During long stretches above 90 degrees, roots struggle and fertilizer salts can stress the plant, so water deeply and hold off until temperatures ease.
Stop feeding by late summer, around mid-August to early September in colder areas. Late nitrogen encourages soft new growth that can suffer in an early freeze.
Jot dates on a calendar or in your phone. It sounds fussy, but a few reminders keep you from overfeeding or forgetting altogether.
5. Cool Clematis Roots And The Right Soil Make Fertilizer Work
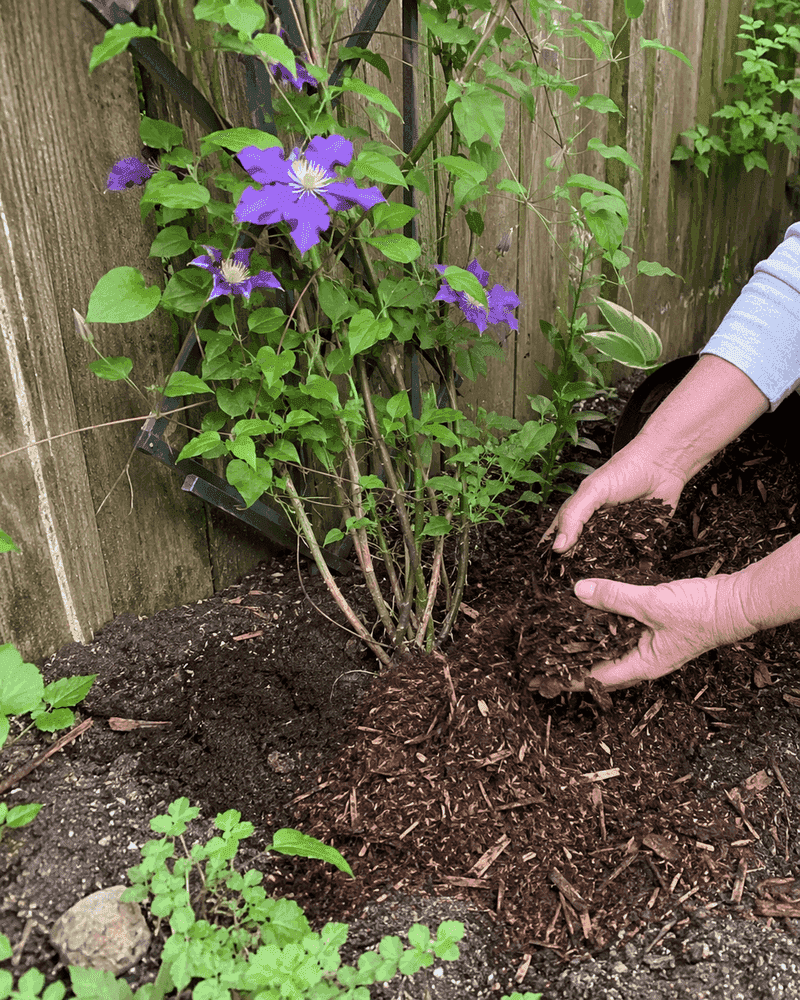
Old gardeners love the saying that clematis wants its head in the sun and its feet in the shade. It holds up well, and it explains why fertilizer sometimes seems to do nothing.
Roots that bake in hot, dry soil can’t take up nutrients efficiently. A 2 to 3 inch layer of mulch, or a few low perennials planted near the base, keeps the soil cooler and moister. Just keep mulch a couple of inches back from the stems.
Soil pH plays a quiet but powerful role. Clematis grows best in soil that is roughly neutral, around 6.5 to 7.0, and many types handle slightly alkaline ground. In strongly acidic soil, some nutrients become harder for roots to reach.
A soil test tells you where you stand. If it shows acidic conditions, your extension office can recommend how much garden lime to add, usually applied in fall or early spring.
Drainage counts as much as pH. Clematis likes steady moisture, yet soggy clay can lead to root rot. Working compost into heavy soil helps water move through while still holding enough for thirsty roots. Healthy ground turns every feeding into real flower power.
6. Yellowing Clematis Leaves Can Point To A Hidden Nutrient Gap
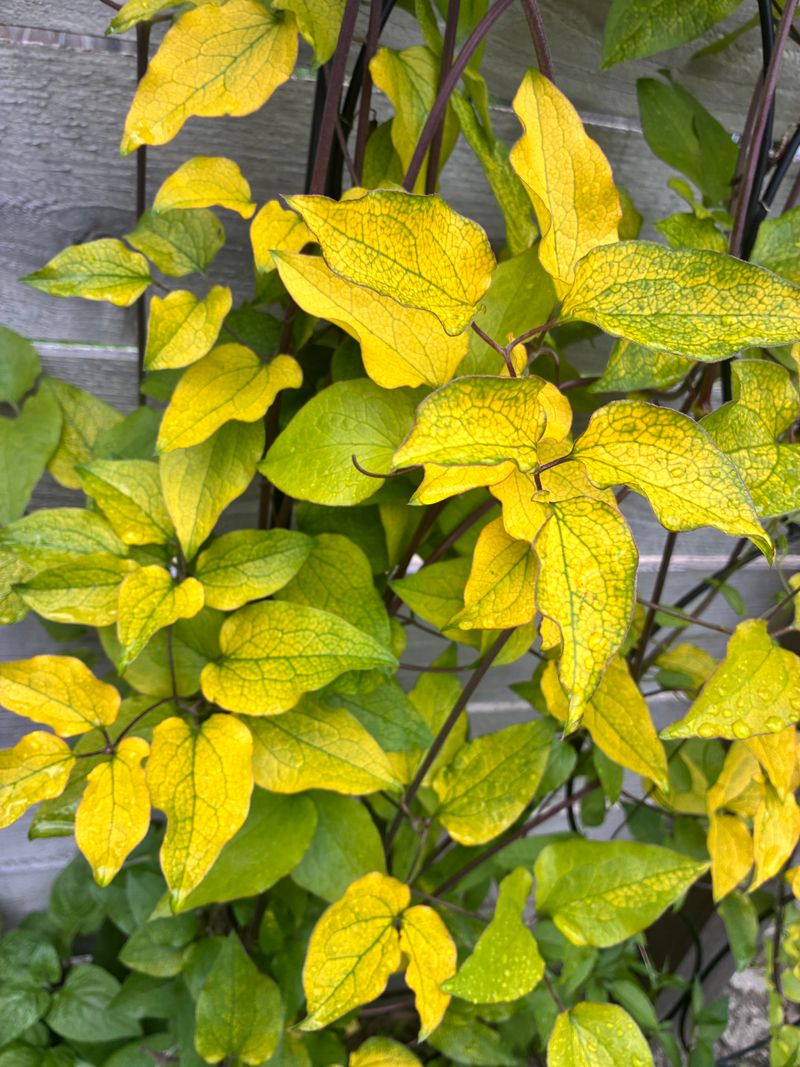
It took me a while to notice the pattern on my vine. The leaves were turning yellow between the veins while the veins stayed green.
That look, called interveinal chlorosis, can signal a magnesium shortage, especially on older leaves. Clematis gardeners in Britain often reach for Epsom salts, which is magnesium sulfate, at roughly one tablespoon per gallon of water poured around the roots.
Before you grab that bag, though, do a little detective work. Yellow leaves can also come from iron issues in alkaline soil, overwatering, poor drainage, or plain old age on the lower stems. Epsom salts help only when magnesium is truly lacking.
A soil test or a leaf sample sent through your extension service clears up the guesswork. University experts point out that many U.S. soils already hold enough magnesium, so extra amounts may do nothing useful.
Check your watering habits too. Clematis wants moist but not waterlogged soil, and soggy roots often show stress through pale foliage first.
Healthy green leaves matter because they power photosynthesis. More sugar made in the leaves means more energy for those wide, richly colored blossoms you planted the vine for in the first place.
7. Potted Clematis Needs A Snack Schedule All Its Own
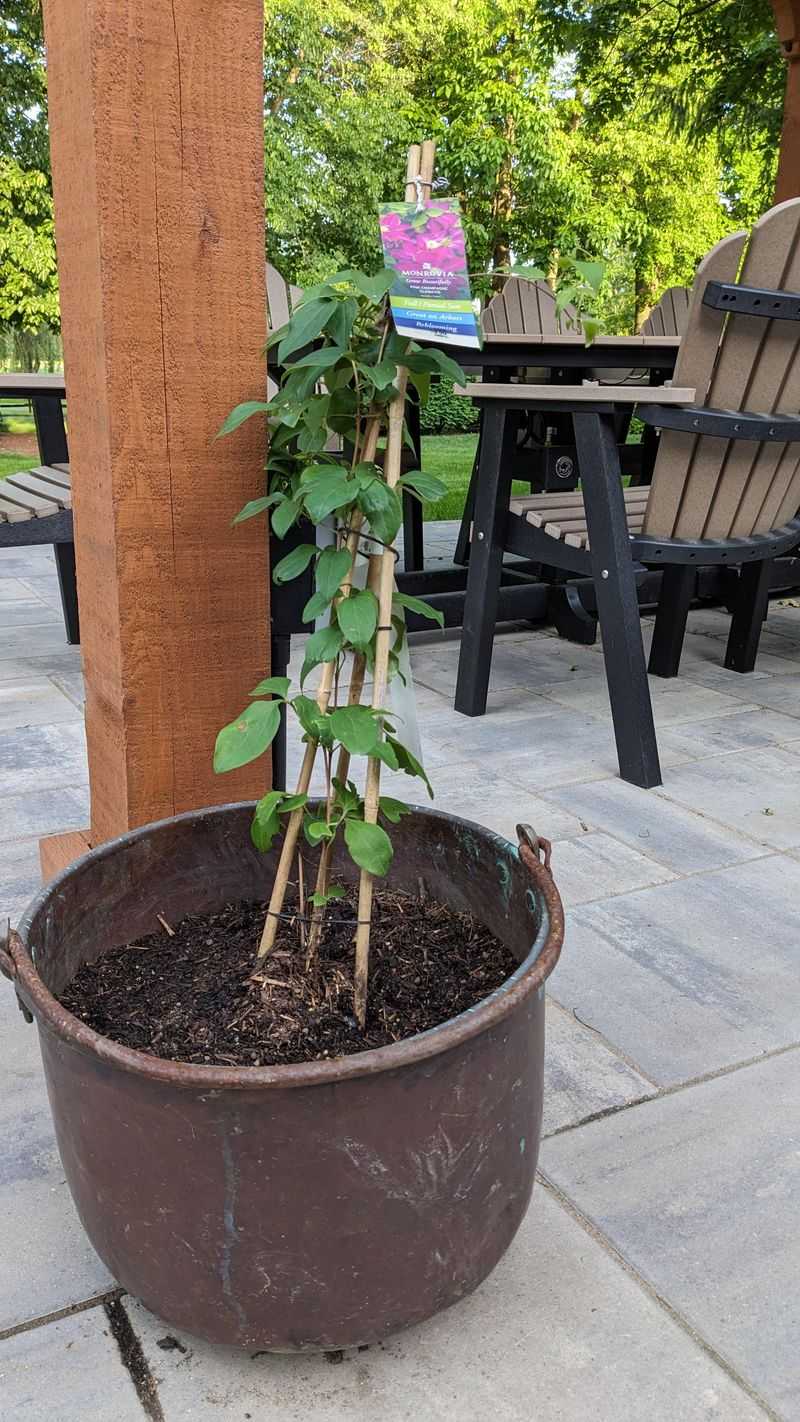
Container clematis lives a different life from its garden cousins. Every time you water, some nutrients drain out the bottom, so the soil in a pot runs low much faster.
I’m a sucker for compact varieties on a patio, and they reward regular attention. A diluted liquid fertilizer for blooms, such as a tomato feed, applied every two weeks during active growth keeps the flowers coming. Always mix it at the strength listed on the label or a bit weaker.
One habit protects tender roots. Water the pot with plain water first, then apply the liquid feed. Dry potting mix plus fertilizer can lead to root burn.
Pot size matters more than people expect. Clematis roots run deep, so choose a container at least 18 inches wide and deep, with good drainage holes. Bigger pots also hold moisture longer during hot spells.
Slow-release pellets mixed into fresh potting soil in spring offer another option for busy gardeners. They feed steadily for months, though a midsummer liquid boost still helps.
Wind down feeding in late summer, just as you would in the ground. Repot or refresh the top few inches of soil every couple of years.
8. Pair Smart Feeding With The Right Clematis Pruning Group
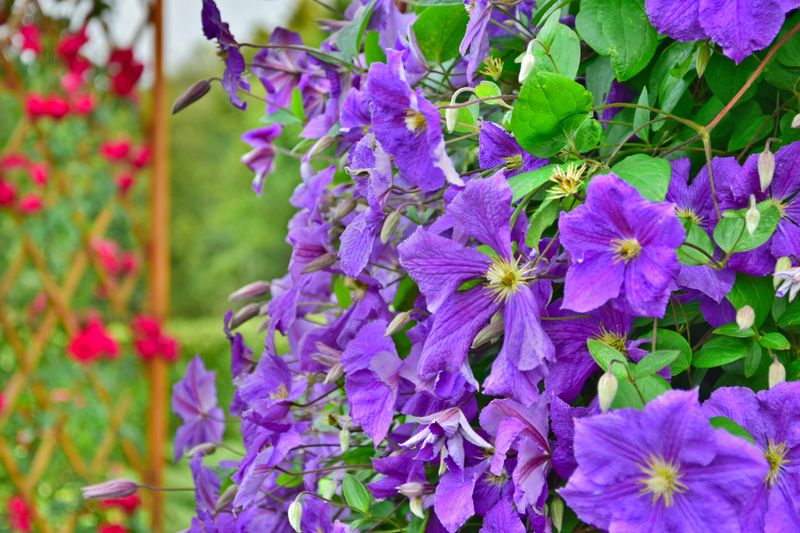
Fertilizer can’t rescue a clematis that was pruned at the wrong time. I learned the hard way that cutting a spring bloomer in March removes the very stems that hold its buds.
Clematis falls into three pruning groups. Group 1 flowers early on old wood and gets a light trim right after blooming. Group 2 includes many big-flowered hybrids that bloom in late spring on old wood and again later, so it needs only a light tidy in late winter.
Group 3 flowers on new growth from summer into fall. These vines, like ‘Jackmanii’, can be cut back to about 12 inches in late winter or early spring.
Matching feeding with pruning creates a strong rhythm. Prune according to the group, then give that first spring meal as fresh shoots appear. The plant gets food just when it needs to rebuild.
Watering ties it all together. Aim for about an inch per week, more during dry heat, soaking the root zone deeply.
Check your plant tag or look up the variety name to learn its group. Combine good timing, gentle feeding, cool roots, and steady water, and your vine will likely surprise you next summer.