The Soil Issue Most Gardeners Overlook With Hydrangeas
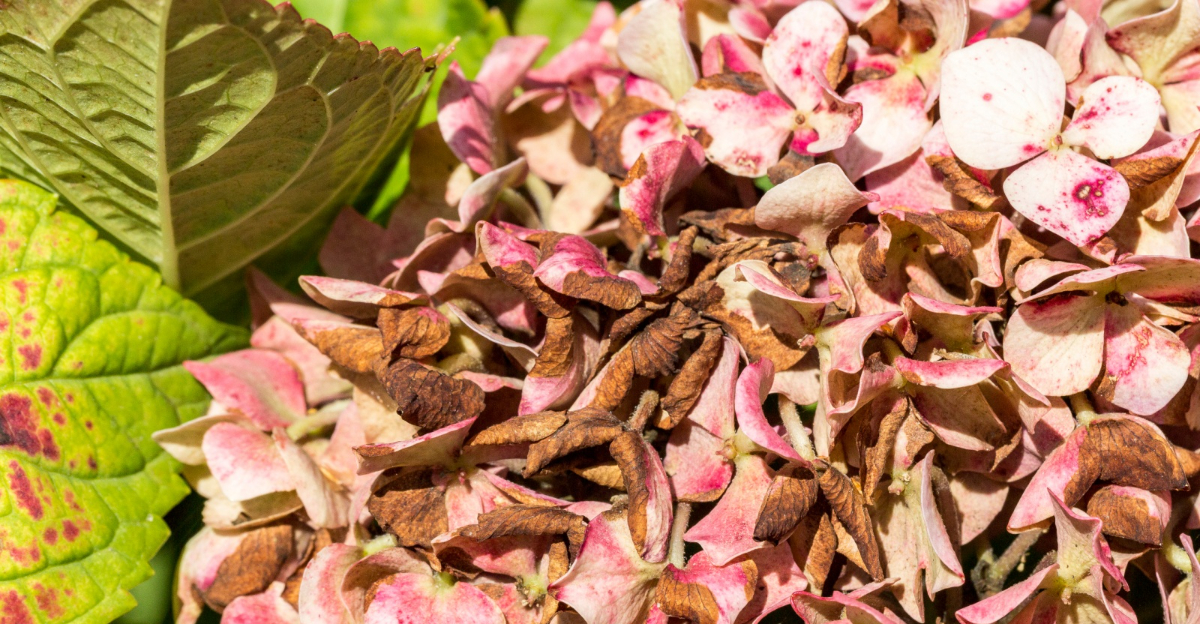
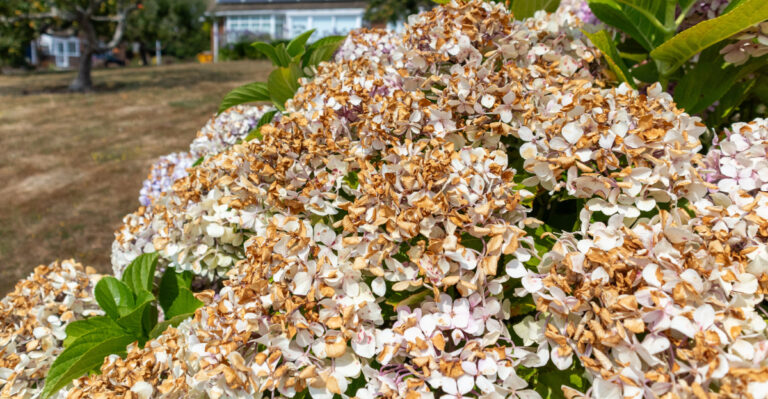
Your hydrangeas looked perfect the day you brought them home. Now they droop in the yard.
Leaves curl. Blooms fade before they even open. You water on schedule. You feed them like clockwork. Still, nothing changes. Look down.
The answer might be hiding right beneath your shoes. Clay soil doesn’t announce itself as a problem.
It looks solid, even reliable. But once it packs down tight, it turns into a trap. Water pools around the roots instead of draining away. Oxygen gets pushed out entirely.
Roots struggle quietly, long before the leaves show any sign of distress. What follows pulls back the curtain on what’s really happening underground.
You’ll learn the early warning signs most gardeners miss. You’ll see why feeding sick soil won’t save a struggling plant.
And you’ll get the exact steps to loosen things up fast. Beginner or lifelong green thumb, your hydrangeas deserve soil that actually works for them.
What Compacted Clay Soil Is And Why It Forms
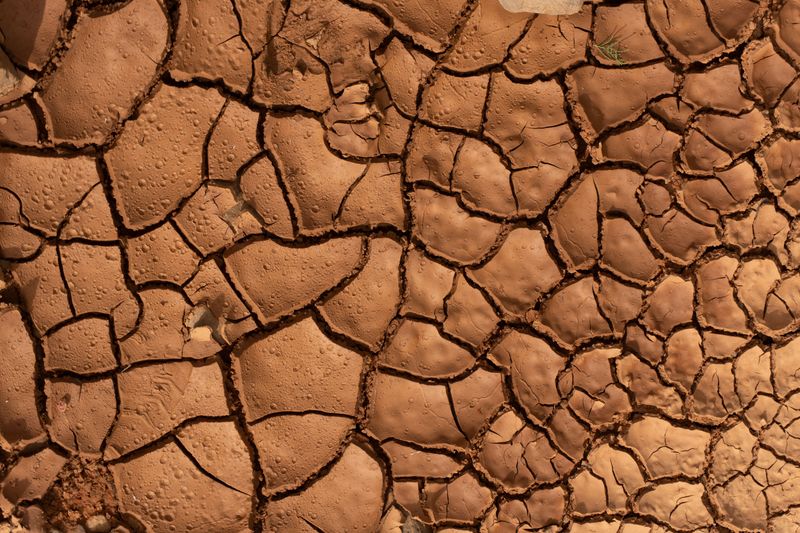
Clay soil can be deceptive. It looks like regular dirt, but its tiny particles pack together so tightly that water and air can barely move through.
When soil compacts, it forms a dense barrier that roots simply cannot push through. Foot traffic, heavy rain, and even lawn equipment press those clay particles closer together over time.
This common soil mistake happens gradually, so many gardeners never notice until their hydrangeas start struggling. The ground may look fine on top while being rock-hard just a few inches down.
Clay soil forms naturally in many American yards, especially in the Southeast and Midwest. It holds nutrients well, which sounds great, but those nutrients become useless when roots cannot breathe or expand.
Poor drainage makes the problem worse by keeping water pooled around the root zone. Roots sitting in standing water start to struggle within days.
Think of compacted clay like a sponge that has been squeezed flat and left to dry. Water sits on top instead of soaking through to where roots actually need it.
Knowing what you are dealing with is half the battle. Once you understand how clay compacts, you can start making smart changes that your hydrangeas will love.
How To Tell If Your Soil Is the Problem (Drainage Test)
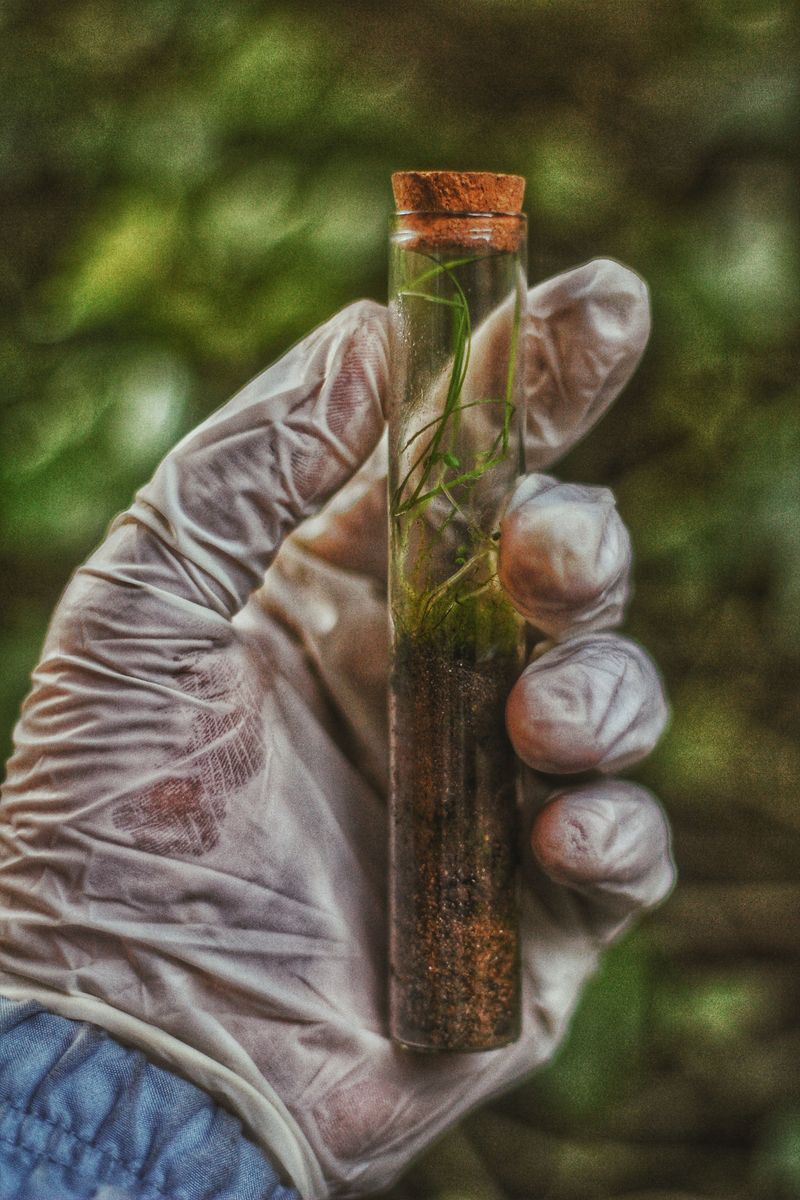
Grab a shovel and try this right now. Dig a hole about 12 inches deep and 12 inches wide in your garden bed near your hydrangeas.
Fill the hole completely with water and watch what happens over the next hour. Healthy soil typically drains around one to two inches per hour, so the hole should be mostly empty within an hour or two.
If water is still sitting there after two or three hours, you have a drainage problem. That slow drain means your soil is too compacted to move water efficiently.
You can also try the ribbon test to confirm clay content. Grab a handful of moist soil and roll it between your palms into a ribbon shape.
Clay-heavy soil forms a long, smooth ribbon without crumbling. Sandy or loamy soil falls apart quickly because it lacks the sticky clay particles that bind together.
Another clue is surface puddling after rain. If your yard holds puddles for hours after a storm, that is a red flag your hydrangeas are sitting in waterlogged ground.
These simple tests cost nothing and take less than ten minutes. Getting this answer early saves you months of frustration and keeps your plants from struggling through another bad season.
Signs Your Hydrangea Is Struggling From Poor Drainage
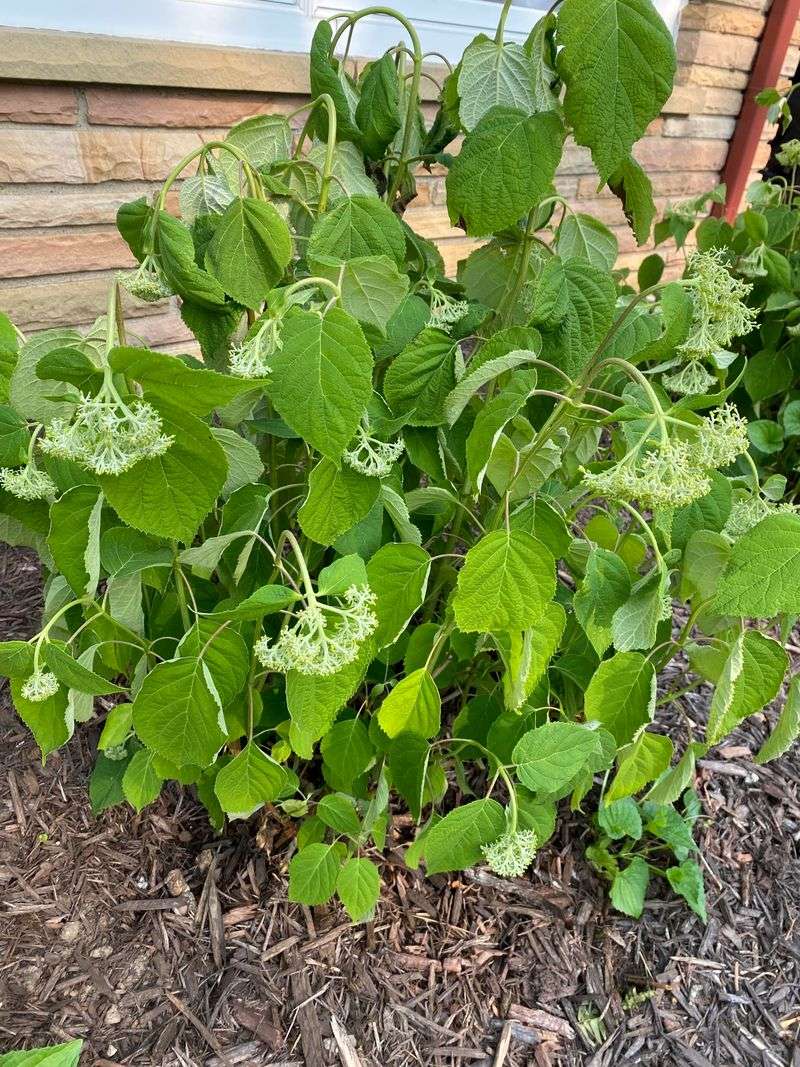
Yellowing leaves are often the first cry for help. When roots sit in waterlogged soil, they cannot absorb nutrients properly, and leaves start to turn pale or chartreuse.
You might also notice wilting even after watering. This seems backward, but roots in soggy clay cannot function well enough to pull moisture up through the plant.
Brown leaf edges that are not caused by sun exposure are another warning sign. Waterlogged roots create stress throughout the entire plant, and leaves often show that stress along their margins first.
Stunted growth is a big clue too. Hydrangeas in compacted clay tend to stay small and produce fewer blooms than plants growing in well-draining ground.
Check the base of your plant after a heavy rain. If you see standing water pooling around the stem, your hydrangea is at serious risk of root damage.
Mushy or dark-colored roots are a telltale sign things have gone too far. Healthy roots are firm and white or tan, not soft and brown.
Catching these signs early gives you a real chance to turn things around. A struggling hydrangea that gets proper drainage can bounce back surprisingly fast with the right care.
Why Waterlogged Roots Cause Root Rot And Nutrient Lockout
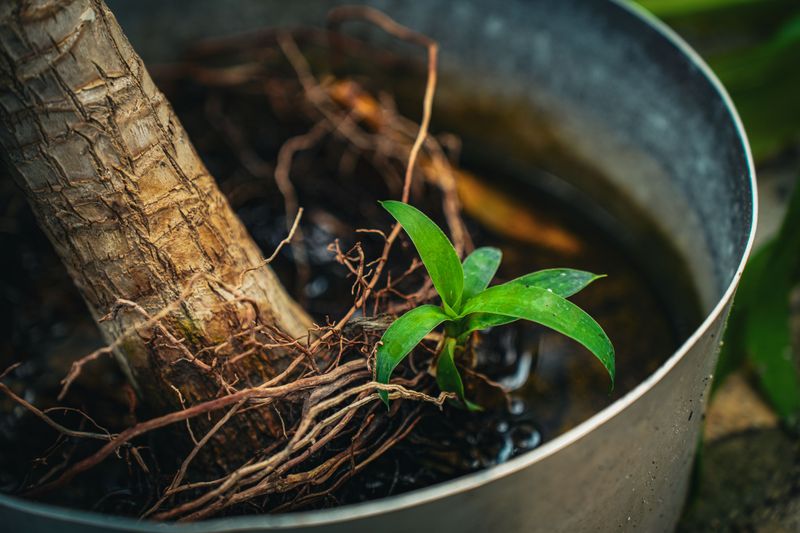
Roots need oxygen just as much as they need water. When soil stays saturated, air pockets collapse and roots begin to struggle in the mud.
This oxygen shortage triggers root rot, a condition caused by soil-borne fungi that thrive in wet, airless environments. Once rot sets in, it progresses quickly and damages the root system over time.
Rotting roots cannot absorb nutrients, even if your soil is loaded with fertilizer. This is called nutrient lockout, and it is one of the most frustrating things a gardener can face.
You may keep adding plant food, but your hydrangea keeps looking worse. The problem is not a lack of nutrients in the soil but a root system too damaged to use them.
Calcium, magnesium, and iron are especially hard for stressed roots to absorb. Deficiencies in these minerals cause the yellowing and browning symptoms you see on leaves.
Waterlogged conditions also lower soil temperature, which slows down beneficial microbial activity. Those microbes help break nutrients into forms plants can actually absorb.
Understanding this chain reaction makes it clear why drainage matters so much. Fixing the soil structure is the only real way to break the cycle and let your hydrangeas thrive again.
How To Amend Clay Soil Before Planting
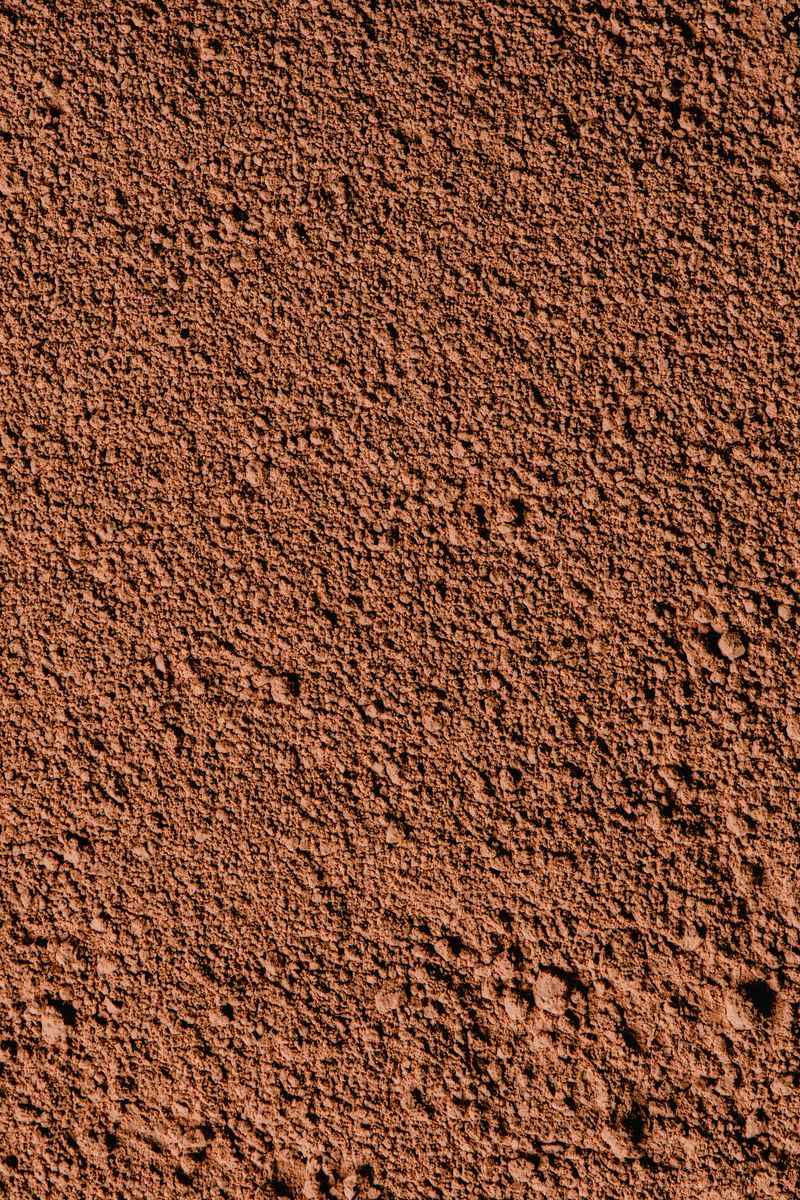
Amending clay soil before you plant is the smartest move you can make. Working organic matter into the ground changes its structure and creates space for air and water to move freely.
Compost is your best friend here. Add a three to four inch layer of aged compost and mix it into the top 12 inches of soil before placing your hydrangea in the ground.
Coarse horticultural grit or perlite also helps break up clay particles. Mix in about 20 percent grit by volume to improve drainage without changing the soil chemistry too much.
Avoid adding sand alone to clay soil. Fine sand and clay particles can bind together and create a concrete-like texture that makes drainage even worse than before.
Aged bark mulch worked into the soil adds organic structure and feeds beneficial earthworms. Those worms are natural aerators that keep loosening the soil long after you have done your initial prep work.
Gypsum is another option worth trying. It breaks up clay at a mineral level without changing soil pH, making it ideal for hydrangeas that prefer slightly acidic conditions.
Prep your soil right and your hydrangeas will reward you with stronger roots, bigger blooms, and more resilience through hot summers and wet springs.
Raised Beds And Ongoing Soil Improvement
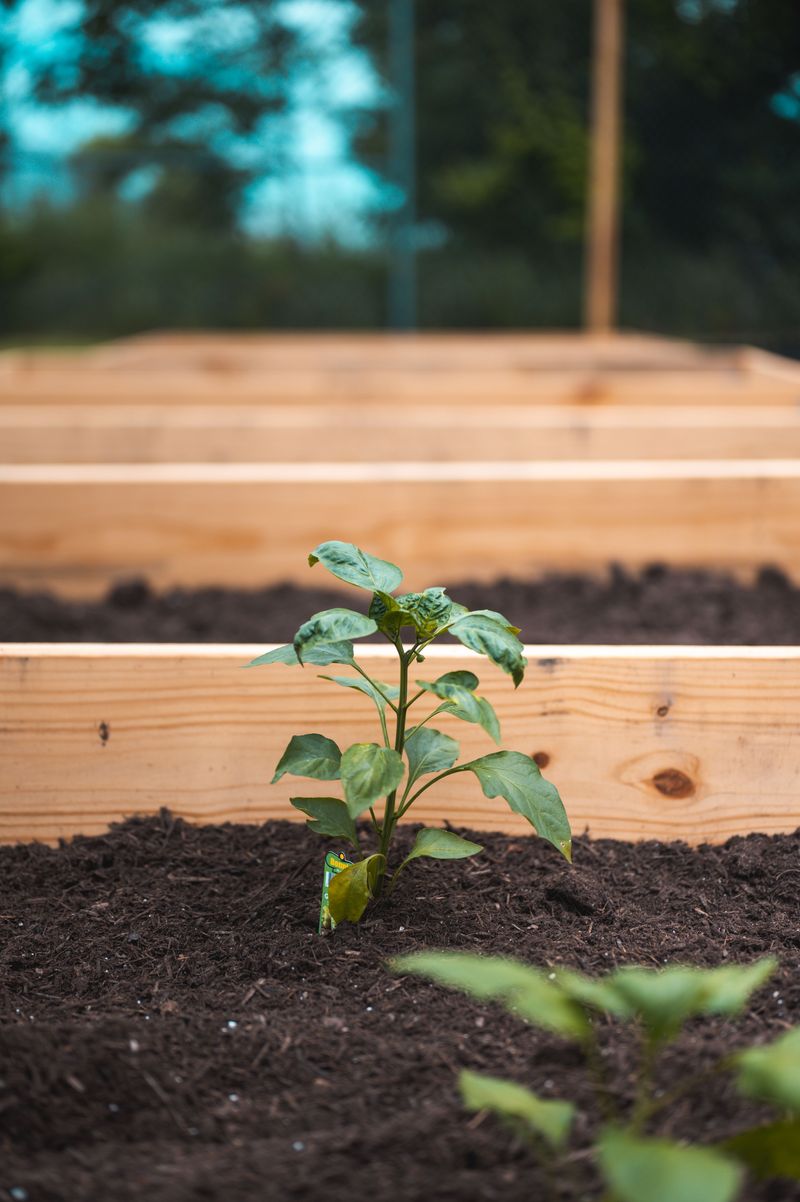
Sometimes amending in place is not enough. When clay is extremely compacted or drainage is severely blocked, raised beds offer a fresh start above the problem soil entirely.
Build a raised bed at least 12 inches tall and fill it with a blend of quality topsoil, compost, and coarse perlite. This gives roots a clean, well-draining environment from day one.
Raised beds also warm up faster in spring, which encourages earlier root growth. Your hydrangeas get a head start on the season without fighting through cold, waterlogged ground.
For in-ground planting, plan on adding compost every single year. Organic matter breaks down over time, so consistent top-dressing keeps the soil structure open and healthy.
Planting cover crops like clover or buckwheat in off-season beds helps too. Their roots break up compaction naturally, and when you turn them under, they add organic material back into the soil.
Avoid walking directly in your planting beds. Even one person stepping repeatedly in the same spot can compact soil enough to affect drainage within a single season.
Long-term soil health is a commitment, not a one-time fix. Gardeners who treat their soil like a living system consistently grow the healthiest, most vibrant hydrangeas on the block.
Preventing The Problem From Coming Back
Fixing compacted clay soil once is great, but protecting that progress is what makes the difference long-term. Prevention is far easier than correction, and a few simple habits keep your soil loose and healthy year after year.
Mulching is one of the most powerful tools you have. A two to three inch layer of wood chips or shredded bark insulates soil, retains moisture evenly, and prevents rain from pounding the surface into a crust.
Mulch also feeds soil organisms as it breaks down slowly. Those organisms keep the structure open and create the kind of rich, crumbly texture that hydrangea roots absolutely love.
Set up stepping stones or garden paths if you need to walk near your beds. Designating clear walking routes keeps foot traffic away from the root zones where compaction causes the most harm.
Water deeply but less frequently instead of shallow watering every day. Deep watering encourages roots to grow downward, which naturally aerates the soil and makes plants more drought-resistant.
Check your drainage each spring by doing the hole test again. Catching any new compaction early means a quick fix rather than a full soil overhaul.
Staying consistent with these habits protects your hard work and ensures your hydrangeas never have to struggle through this common soil mistake again.