7 Secrets Everyone With An Aloe Plant Should Know
I know many beginner gardeners opt for aloe plants due to their low-maintenance, but did you know that you’re likely not growing them correctly?
Or rather, there are a couple of tricks you can implement to have the best-looking aloe plant possible.
Here are some of the basics every aloe owner should know in order to have a thick, healthy, and thriving plant!
Care Basics
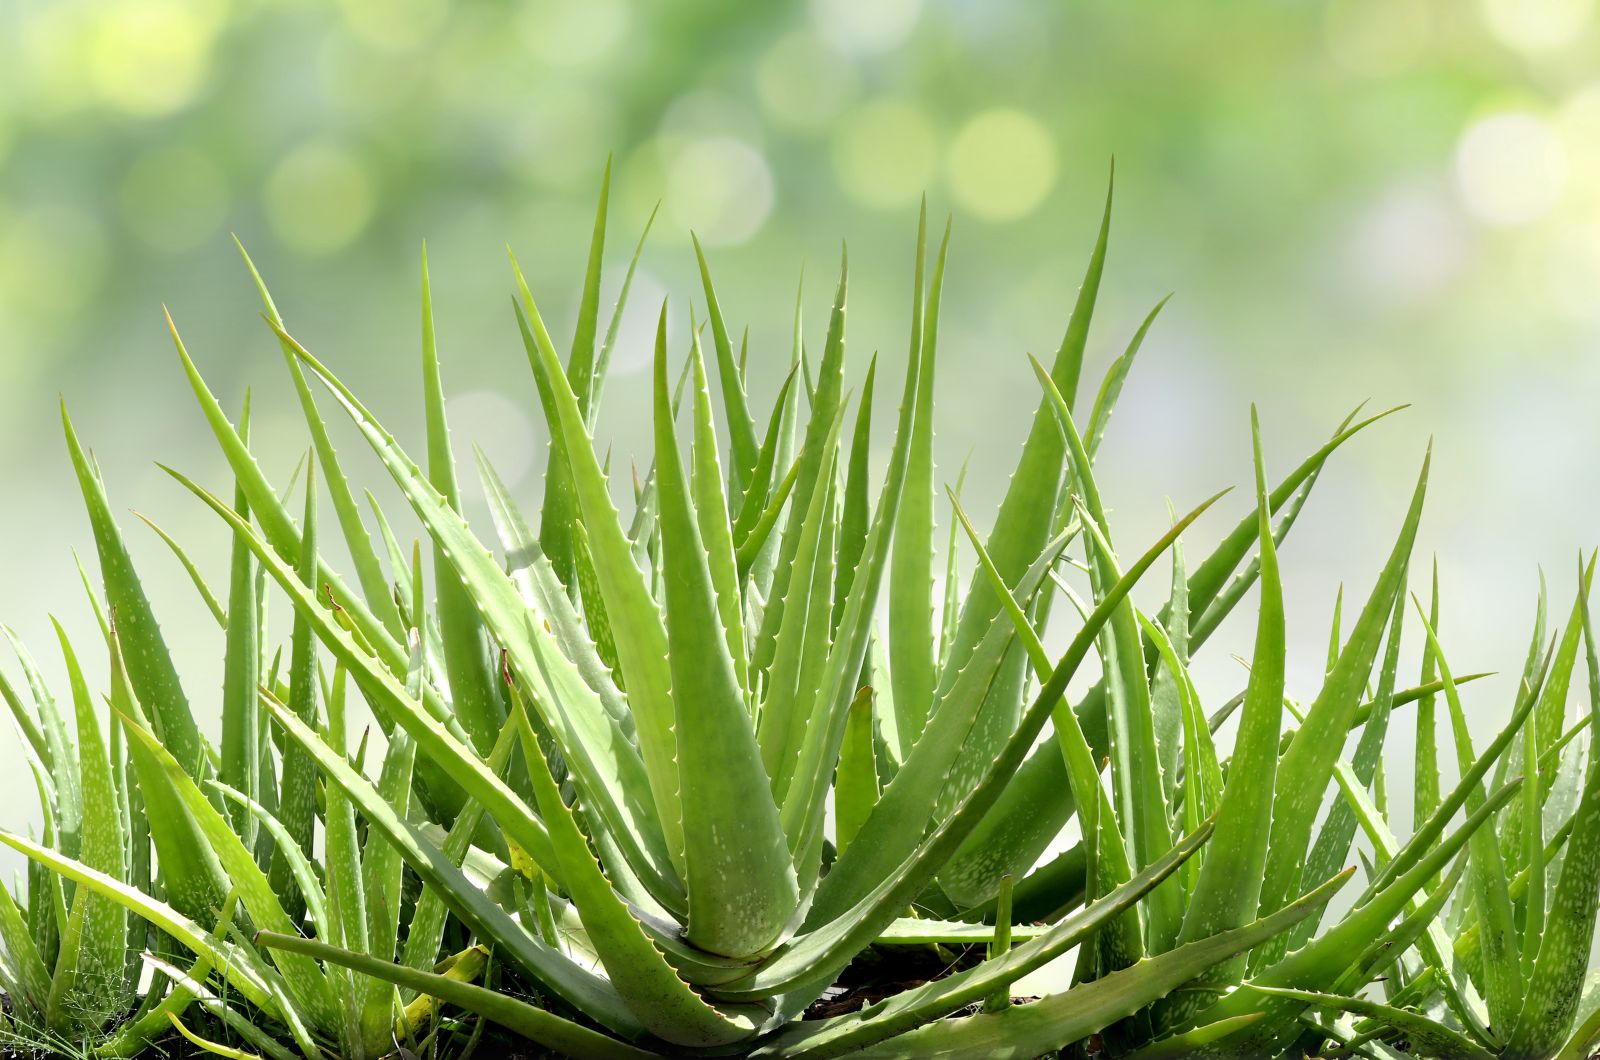
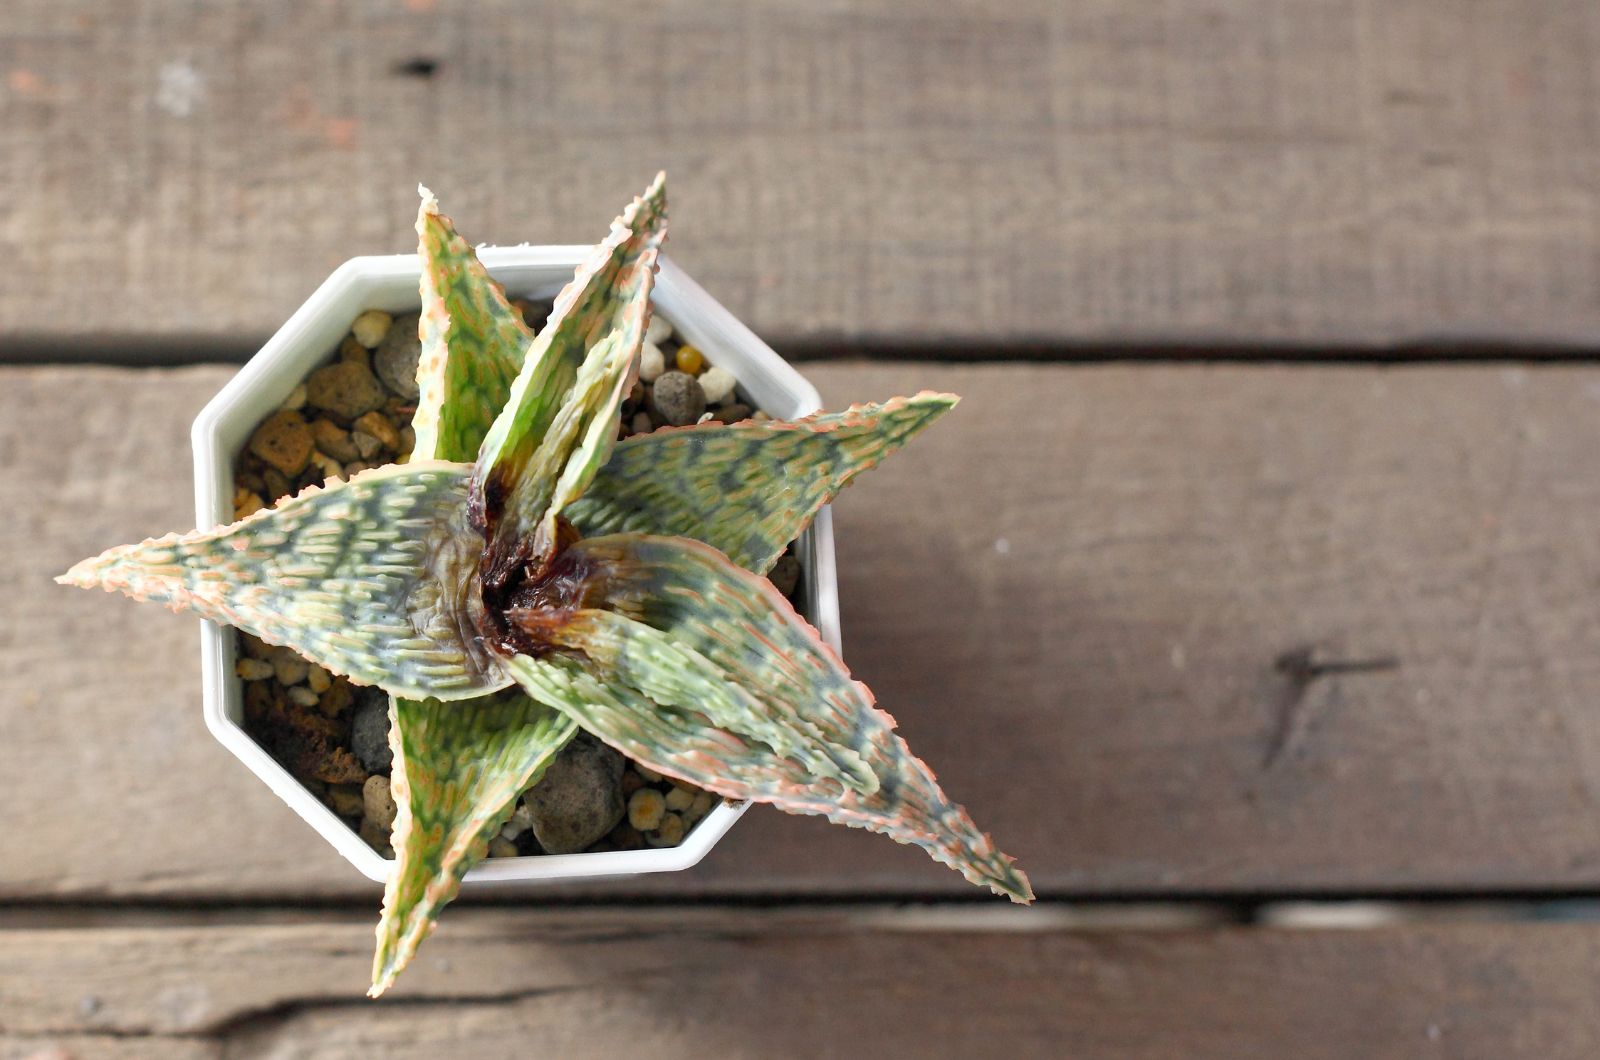
There are many different varieties of aloe plant – not just aloe vera. But the good thing about them is that they all have similar requirements, from soil and moisture to sun exposure.
The first thing about these plants is that they absolutely need somewhere between 4-8 hours of direct sunlight each day, depending on its harshness. If you don’t provide your spiky buddy with these conditions, it will turn leggy.
The next thing is watering. Aloe plants have thick and succulent leaves they use for storing water, so you don’t have to irrigate them that often. Once every 3 weeks during summer and less frequently in winter is more than enough.
Of course, your aloe won’t thrive regardless of how little you water it if you choose the incorrect potting mix. Choose a soil mix aimed for succulents and cactuses because they drain quickly and won’t clog your plant’s roots with water.
And yes, don’t forget about drainage holes! They are a must when it comes to potted aloe plants.
Feed your aloes with a succulent fertilizer every 1-2 months, following the instructions on the back. Just know that potted aloes will need more fertilizer than the in-ground ones, but it’s always better to feed your plants a little less than too much.
These succulents don’t require that much nutrition in the first place, so don’t get carried away.
1. Tricks For Growing Thick Aloes
Aloe plants can go through war and still come out looking decent. But what if you don’t want a decent plant that just survives, but a thriving aloe everyone admires?
One thing you can do is keep their stems thick and healthy.
• The first thing you need to do if you want to have a thick aloe is allow for the potting medium to dry out between waterings. You will encourage your plant to store more water if you irrigate it infrequently, making it look plump.
If the soil is constantly moist, your plant will always have access to water, so it won’t need to store it in its leaves.
• The next thing you need to bear in mind if you want a plump aloe is to expose it to bright light. Just like any plant, aloe needs sun exposure to photosynthesize, and without it, it won’t produce exceptional foliage.
Make sure to give your plant 8 hours of sunlight each day, and you’ll quickly notice its showy leaves.
2. Be Careful About Sun Exposure
Did you know that this sun-loving plant can burn? Therefore, make sure to keep your aloe plant away from the harsh midday sun, which can cause a lot of damage.
Common signs of sunburnt aloe vera include discolored leaves and tips (yellow and brown), brown leaf spots, wilting and curling foliage, and soil that dries out too quickly.
If you notice any of these symptoms, move your aloe plant a bit further away from the window where direct sun rays can’t touch it. It will keep it safe from harsh sunlight while giving it enough light exposure to thrive.
And if you like to move your plants outside during summertime, make sure to find a spot for your aloe where it will get some shade during the hottest part of the day.
Monitor it regularly to avoid sunburns and prevent your plant from suffering too much damage.
3. Train Them To Grow Upright
Most outdoor aloe plants don’t have an issue with growing straight up as they get equal sun exposure on all sides.
But if you take it indoors, it will start growing sideways because it doesn’t have the same strong light.
Therefore, you need to expose your aloe to bright light and rotate it every once in a while to get even growth.
Then, you can train your aloe plant to grow upright. Tie your plant snugly, but not too much as you don’t want to risk breaking its foliage.
Tighten the string once a day for the next couple of days. After about 5 days of tying, remove the string, and your plant should grow upright.
Note: If you don’t expose your aloe to enough sunlight after tying it, there’s a great chance it will start growing sideways again.
4. Turn Your Aloe Vera Into An Air Plant
If you’re having trouble growing your aloe upright, you can always turn it into an air plant, which involves growing it without soil.
Use a mixture of coco coir and pebbles, place it into a burlap, and fasten it around the aloe roots to hold everything in place.
Tie the fabric around the base of the plant and use some string or twine to hang it in a bright spot.
Of course, you’ll have to water your aloe more frequently than an actual air plant, but it isn’t that difficult. Place the burlap-wrapped end in a container with water for a couple of minutes, let it drain a bit, and return it to its usual place.
Water your aloe like this every two weeks or spray it with water every couple of days. You can add some succulent fertilizer every 1-2 months to give your plant some nutrients.
5. Propagate Aloe From Pups
One plant is never enough, and many gardeners can attest to that. We all have multiple plants from the same species we propagated ourselves in order to improve our gardening skills.
But you can’t multiply every plant the same way. For instance, the easiest way to propagate most houseplants is by leaf cuttings, but not aloe.
It’s filled with gel which keeps the cutting constantly moist and makes it more likely to rot than to root.
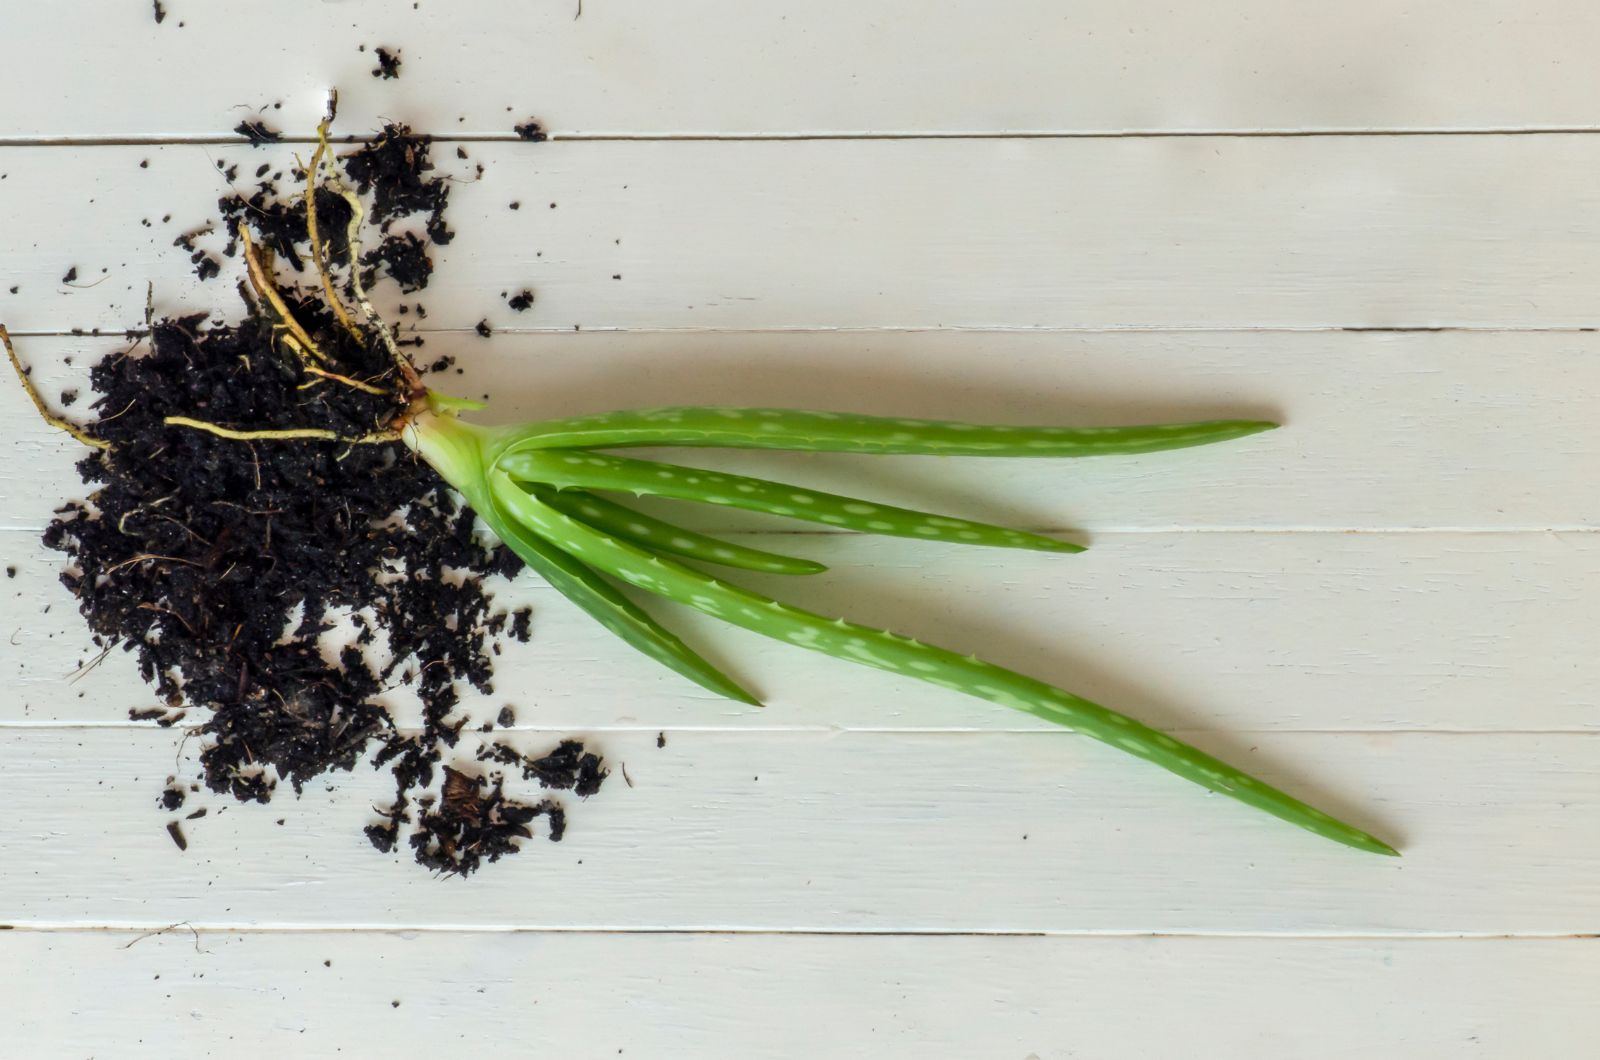
Luckily, there’s a better option – using pups. Aloe is a great helper and will propagate itself, producing plantlets at its base. Here’s how to use them.
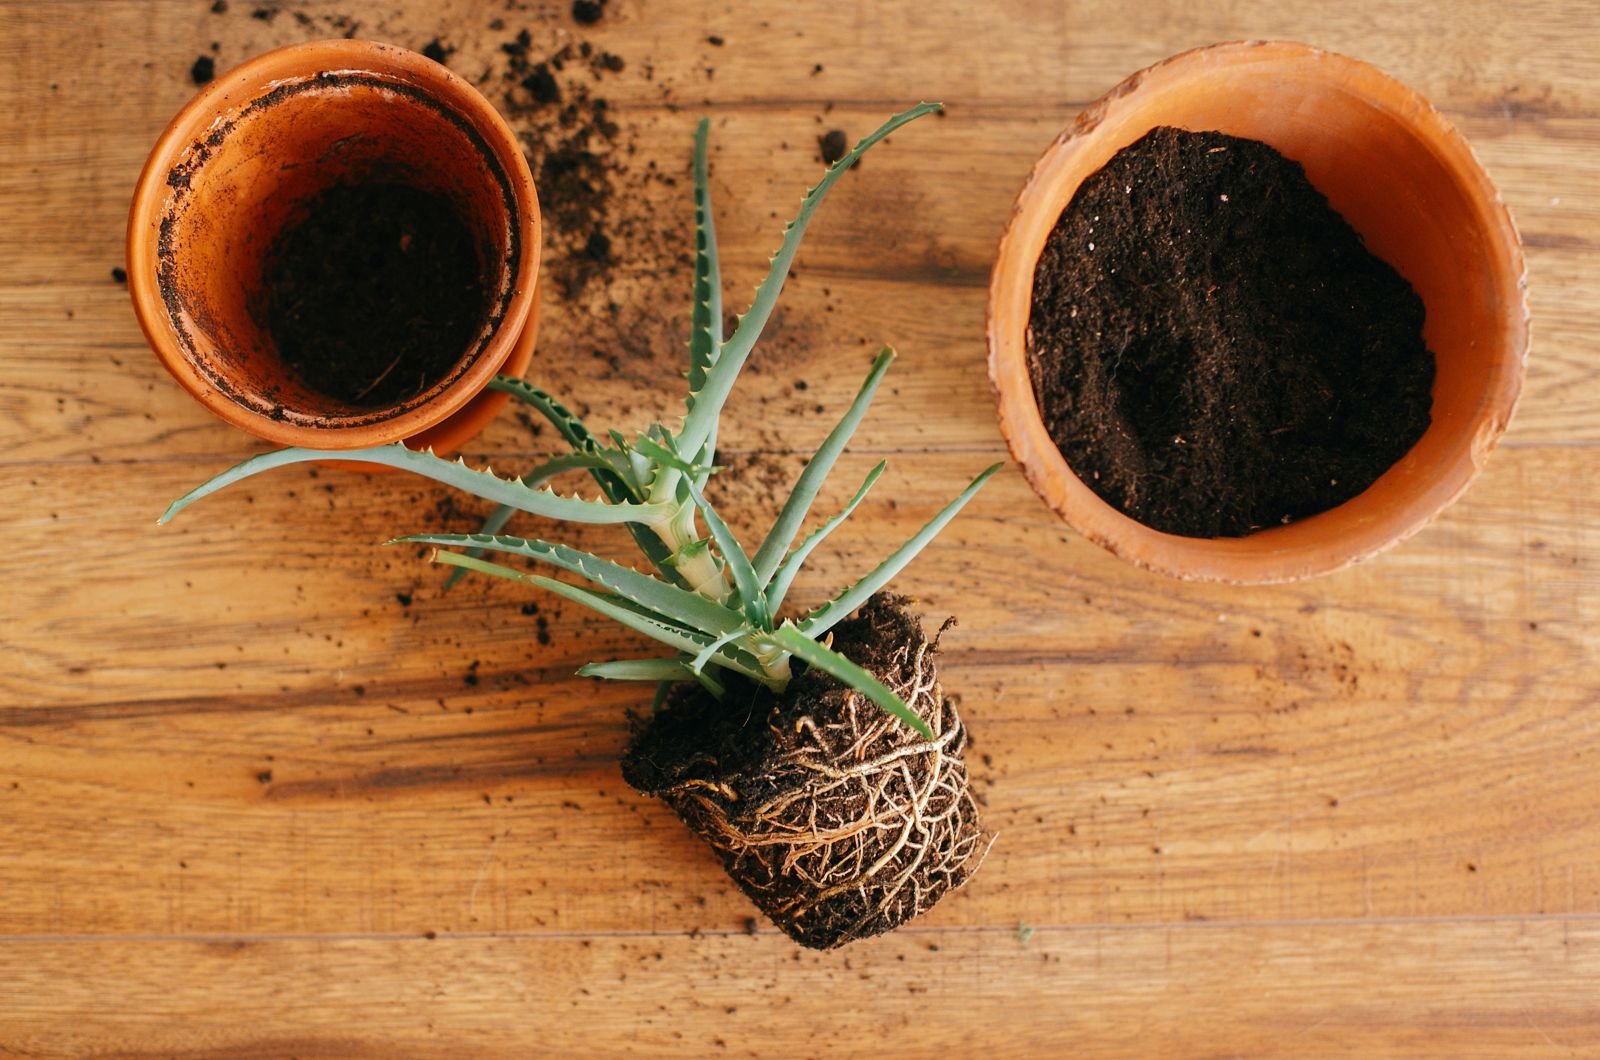
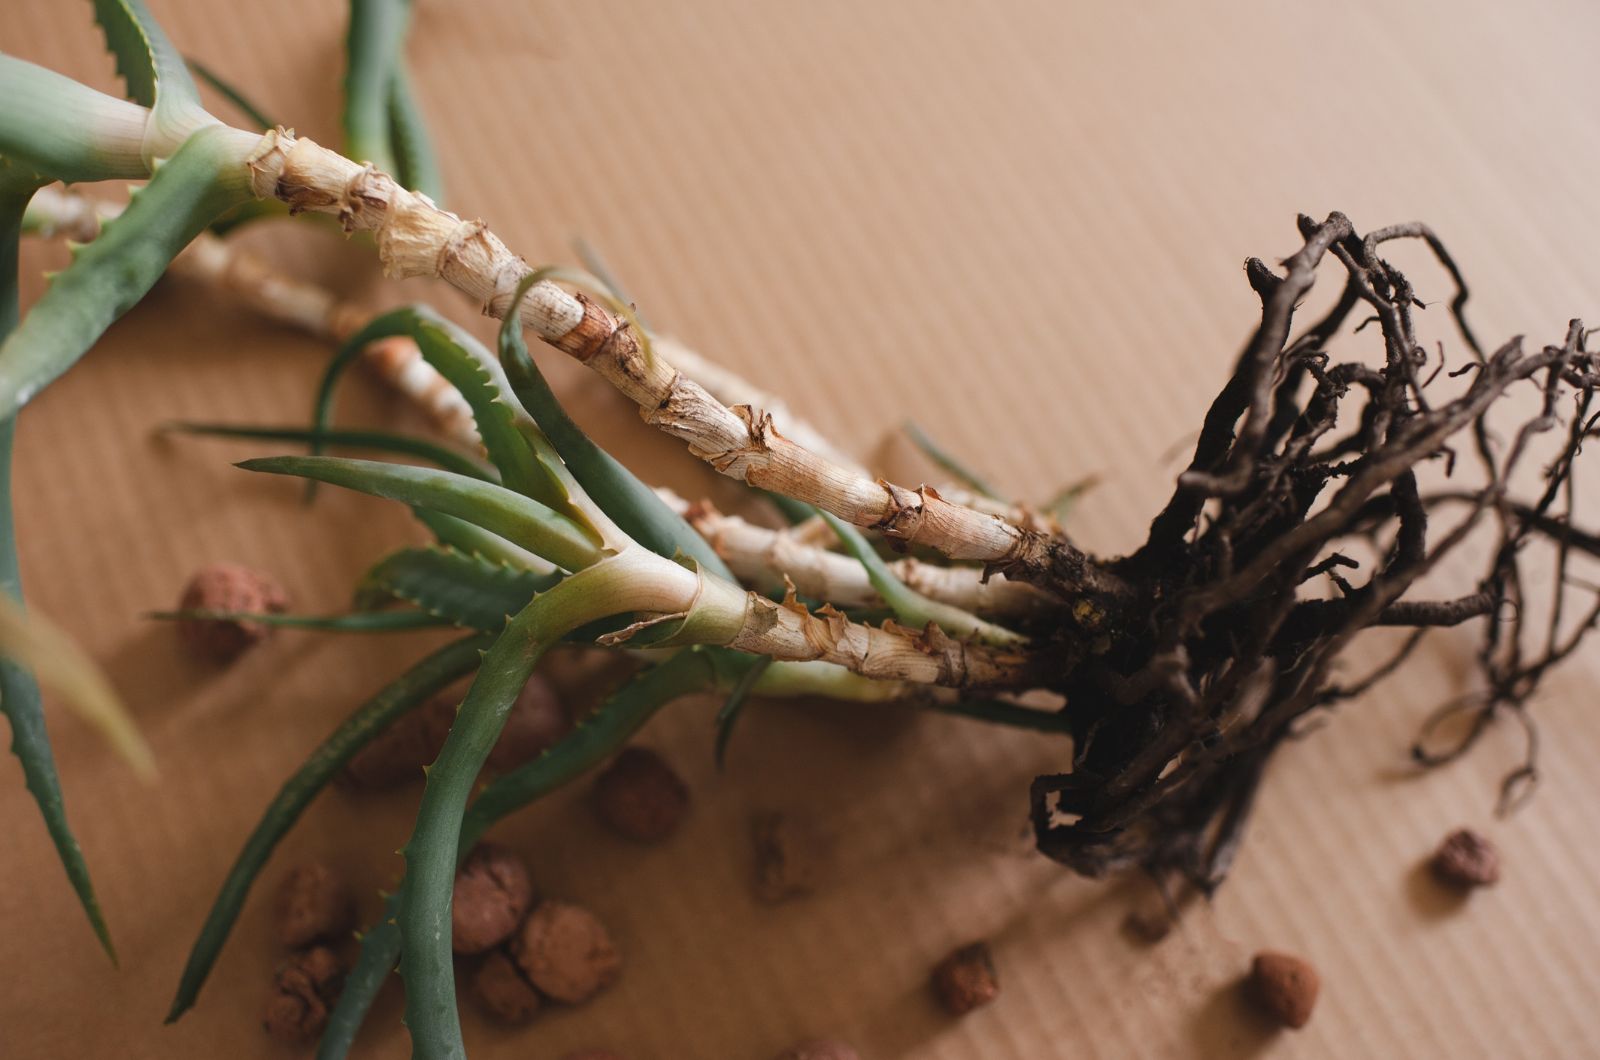
Step 1. Take the entire plant out of its container, find the pups and their root system, and gently separate them. You can use a sterilized knife or scissors to cut them.
Step 2. Let the roots form a callus before planting them in a succulent potting mix. This step is optional and you can plant the pup directly into the soil, just know that letting it form a callus reduces the risk of it rotting.
Step 3. Water the pups deeply whenever the soil dries out and keep them away from harsh sunlight until they establish (start growing).
6. Dealing With Root And Crown Rot
Aloe plants and other succulents are prone to diseases, such as root and crown rot, caused by overwatering and sitting in water for too long.
Some signs of overwatered aloe plants that let you know something terrible is going on include yellow, transparent, shriveling, and mushy leaves.
And if the symptoms persist and you continue to water your plant, it will lead to root and basal rot.
Root rot refers to roots rotting in the soil because they’re constantly in the water. If this happens, you have to take your plant out of the pot, remove the diseased parts, and plant it in fresh soil. Don’t water it right away and always wait until the mix dries out before irrigation.
If you don’t treat your plant at the beginning, the disease will move onto its base (crown) and result in crown rot. The base will turn brown, and you’ll have to move quickly in order to salvage what’s left of your plant.
Remove all the diseased parts, use loose and well-draining soil, and treat it with fungicide before transplanting your aloe. Avoid wetting the leaves and don’t fertilize your aloe until it fully recovers.
There’s only a slim chance this will work and it’s most likely you’ll have to get a new plant.
7. Harvesting Its Gel
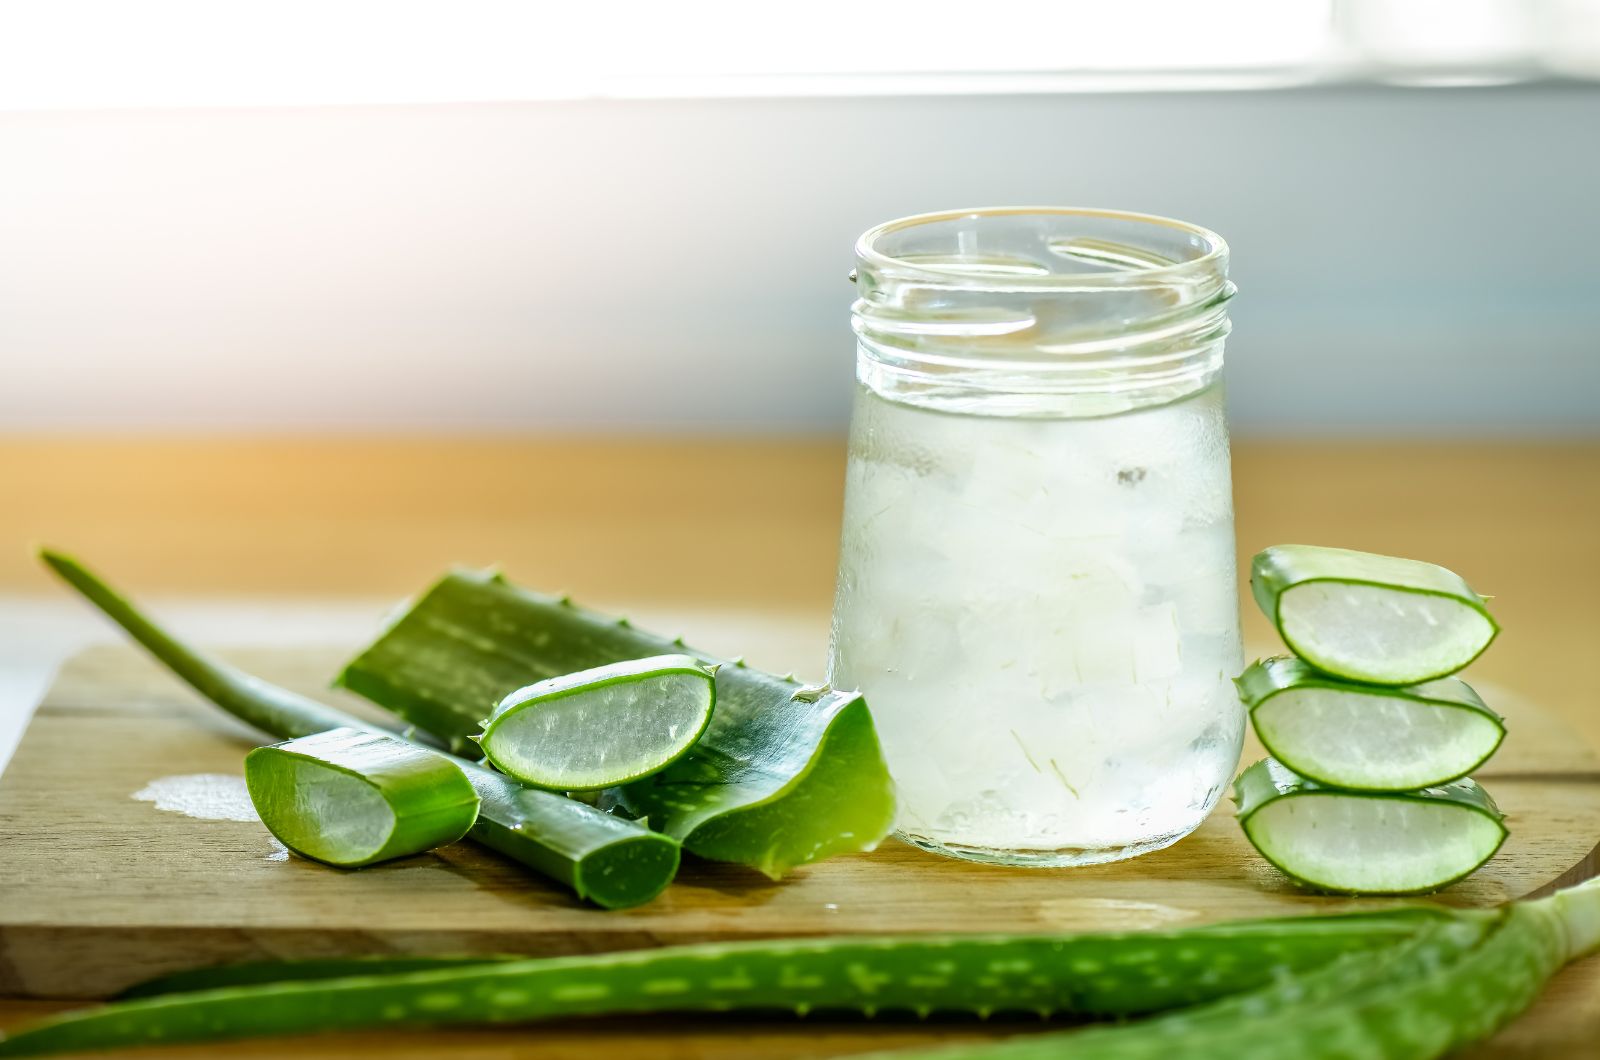
Let’s face it! We’ve all harvested our aloe plant at one point or another. And it doesn’t matter because it recovers quickly.
But did you know that there’s an ideal way to harvest the aloe gel and use it on your sunburnt, mosquito-bitten, dehydrated, or simply sensitive skin?
Cut one of the spears at the base of the plant and let the latex drain. This substance can cause various skin reactions, so don’t skip this step.
Once there’s no more latex dripping, use a spoon or a knife to peel the gel off the skin and put it in a blender to make it easier to use.
This way, you’ll have a fresh aloe gel that doesn’t expire!