9 Things To Do Before Bringing Houseplants Indoors For Fall
Frost doesn’t send a warning before it slips into your backyard. Your plants notice long before you do, sensing the shift outside. Cold snaps arrive quickly before you even check the forecast.
You assume carrying pots indoors solves everything instantly, but assumptions crumble fast. Pests disagree, and they’ve already claimed your soil as home. Soggy roots hide trouble your eyes simply cannot catch in time.
Stressed leaves hide changes your eyes might miss once indoors. Windowsills become the next challenge the moment you skip proper prep work. Timing often matters more than you might realize until it’s too late.
Humidity indoors treats your plants differently than outside ever did. Light angles shift indoors, and your plants feel the difference immediately.
Late winters test your patience without ever offering any real warning. Ignoring small signals now costs you weeks of stubborn frustration later on. Winter doesn’t wait, and neither should you.
1. Track The Thermometer And Pick Your Moving Day
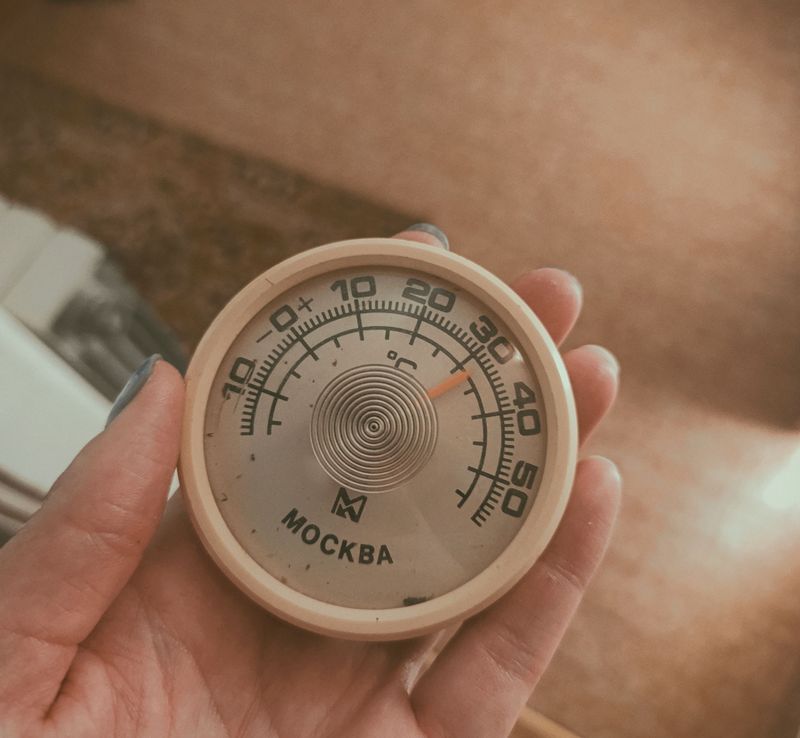
Timing beats guesswork here. Tropical houseplants start sulking once nighttime temperatures dip below 55 degrees Fahrenheit, and early September is exactly when those dips begin sneaking in.
Keep a cheap outdoor thermometer where you can see it, or bookmark a weather app with a ten-day forecast. Watch the overnight lows rather than the daytime highs, since those chilly hours after midnight do the real damage.
Tender types like pothos, philodendron, and fiddle leaf figs want to come in first. Succulents, jade plants, and rosemary can usually hang on a bit longer, sometimes down to 45 degrees.
Chilled roots show their unhappiness slowly. Leaves may yellow, drop, or develop soft brown patches a week or two after a cold snap, which makes the cause easy to misread.
Give yourself a buffer. Aim to move plants indoors when lows are still hovering around 60, not when a frost warning is already scrolling across your screen.
Weekend moving days work best for many people, so scan the forecast on Monday and plan ahead. Rushing a dozen heavy pots inside at 9 p.m. during a surprise cold front is nobody’s idea of fun.
Fun bit of history: Victorian gardeners often used glass conservatories to help tender plants survive the colder months.
Write the date on your phone now. Future you, sipping coffee indoors while the wind howls, will appreciate the foresight.
2. Give Every Leaf A Full Pest Patrol
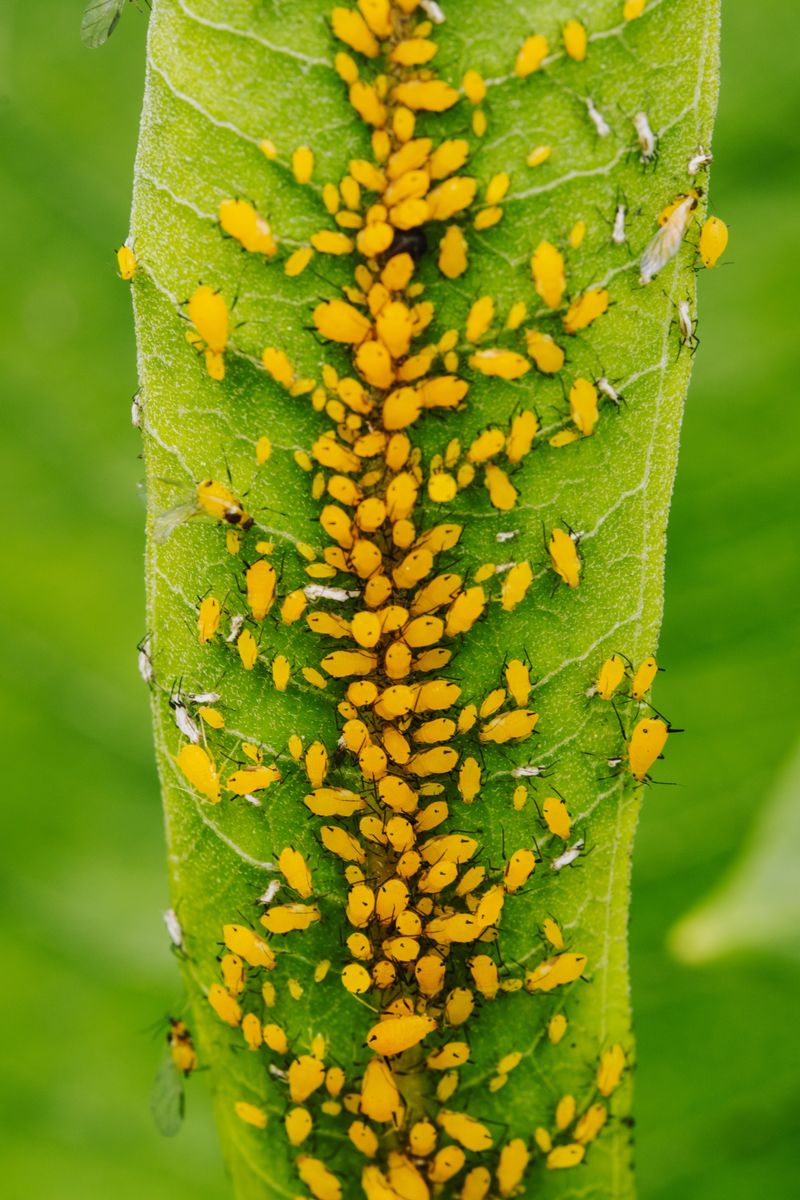
Here is the reality of summering plants outside: they often attract pests. Aphids, spider mites, mealybugs, scale, and thrips all consider your patio a fine place to raise a family.
Grab a magnifying glass and inspect like a detective. Flip leaves over, check where the leaf meets the stem, and peek into the crevices near new growth.
Look for fine webbing, sticky residue, white cottony fluff, or tiny bumps that scrape off with a fingernail. Speckled or stippled leaves often signal mites long before you spot the mites themselves.
Don’t forget the pot itself. Slugs, earwigs, ants, and pill bugs love hiding under the rim, in drainage holes, and beneath the saucer.
Set questionable plants aside rather than mixing them with the rest. One overlooked mealybug can turn into a houseplant-wide headache by Thanksgiving.
A strong spray from the garden hose knocks off a surprising number of freeloaders. Aim upward at leaf undersides, where the troublemakers actually hang out.
For stubborn cases, insecticidal soap or a neem oil solution works well when applied in the shade, not in blazing sun. Repeat treatments every five to seven days for about three weeks to catch newly hatched pests.
Yellow sticky cards planted in the soil help you monitor what is flying around. They are also weirdly satisfying to check.
Ten minutes of inspecting now beats months of chasing bugs across your living room windowsill.
3. Wash The Pots Until They Look New Again
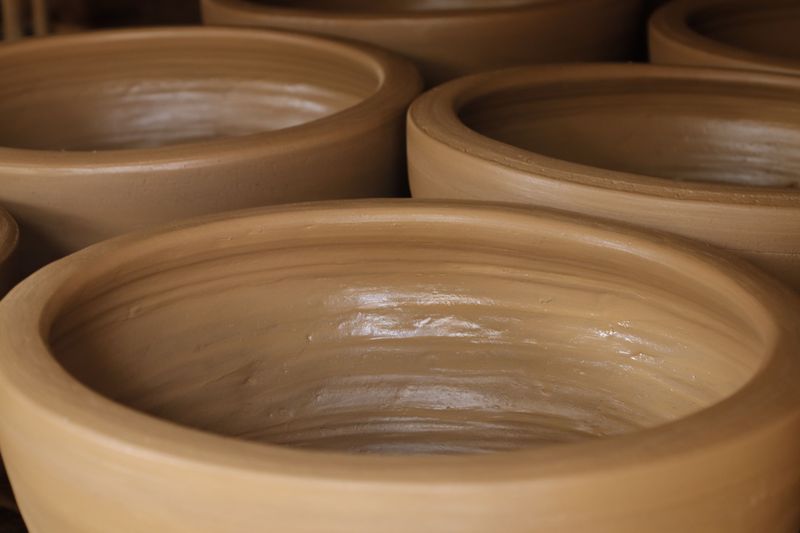
Pots collect a season’s worth of grime, and it shows. Algae streaks, white mineral crust, dried mud, and mystery gunk on the bottom all come inside with the plant unless you deal with them.
Start by lifting each container and checking underneath. Spiders, ant colonies, worms, and slug eggs adore that dark, damp hiding spot.
Scrub the outside with warm soapy water and a stiff brush. For terracotta with stubborn white salt deposits, a splash of white vinegar in the water loosens the buildup nicely.
Rinse saucers separately, since standing water in them breeds mosquitoes and encourages fungus gnats. A quick soak in a bucket with a little diluted bleach, followed by a thorough rinse, handles anything clinging on.
Wipe down the rim too. That is where mealybugs like to tuck their egg sacs, hidden just under the lip where nobody looks.
Cleaning does more than improve appearances. Clean drainage holes mean water actually escapes, which matters much more indoors where evaporation slows way down.
While you are at it, check for cracks. A hairline fracture that survived summer humidity may split wide open on a dry radiator-warmed floor.
Let everything dry in the sun before hauling it inside. Damp pot bottoms leave rings on wood floors and windowsills, and those marks are annoyingly permanent. Your plants get a fresh start, and your home stays cleaner. Small effort, big payoff.
4. Soak The Root Ball To Evict Hidden Hitchhikers
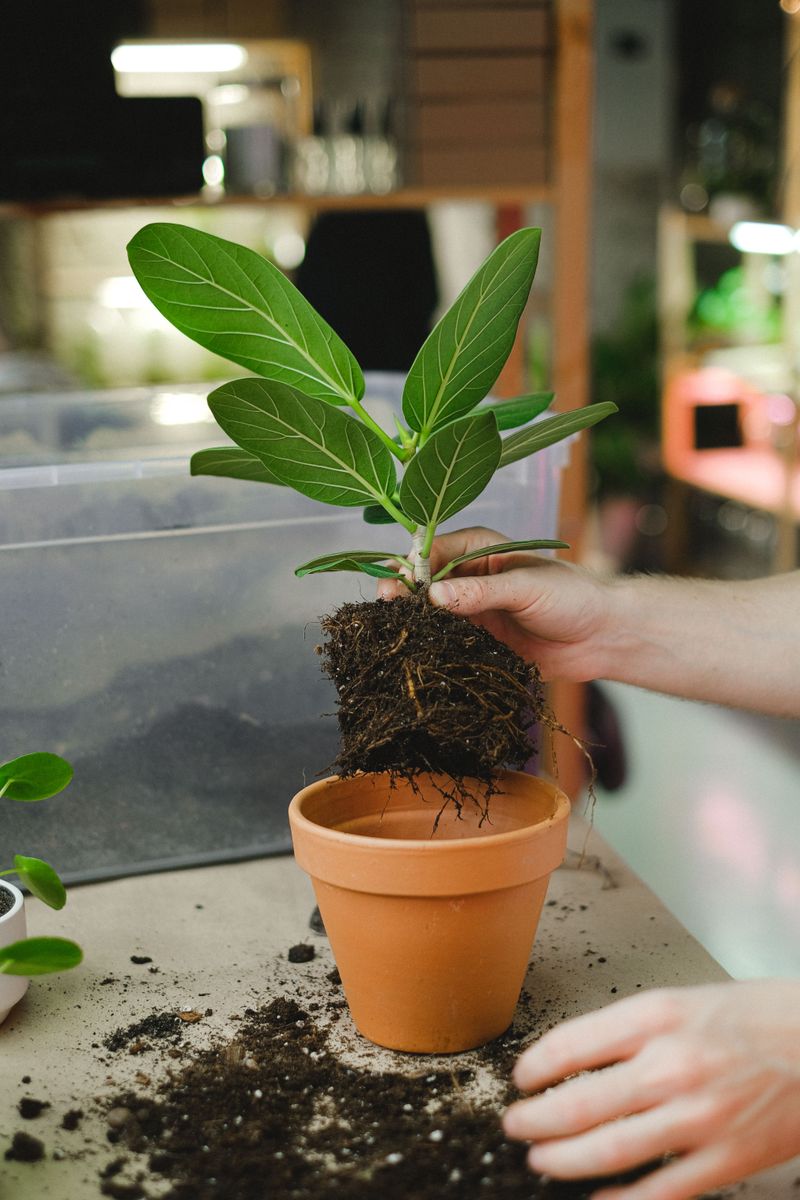
Soil is the sneakiest part of the whole operation. What looks like plain potting mix might be hosting ant nests, slug eggs, centipedes, and fungus gnat larvae by the dozen.
Submerging the pot solves it without chemicals. Fill a bucket or tub with room-temperature water, lower the pot in until the water sits about an inch above the soil line, and wait fifteen to twenty minutes.
Insects that dislike drowning will float or climb out. Skim them off, then lift the pot and let it drain thoroughly on a slope or a stack of bricks.
Adding a tablespoon of mild dish soap per gallon speeds things along for tougher cases. Rinse afterward with clean water so no residue lingers around the roots.
Big containers are awkward to lift, so try a slow flush instead. Run water through the soil for several minutes until it pours freely from the drainage holes.
Flushing has a bonus benefit: it washes out accumulated fertilizer salts from summer feeding. Those salts build up quietly and can scorch root tips over winter.
Do this a few days before the actual move, not the same morning. Soggy soil plus a warm indoor room equals fungus gnats, and nobody wants that welcome party.
Once the pot feels noticeably lighter, it is ready to travel. Give the surface a gentle poke to confirm the top inch has dried. Simple trick, remarkably effective results.
5. Trim Back Leggy Growth And Tired Foliage
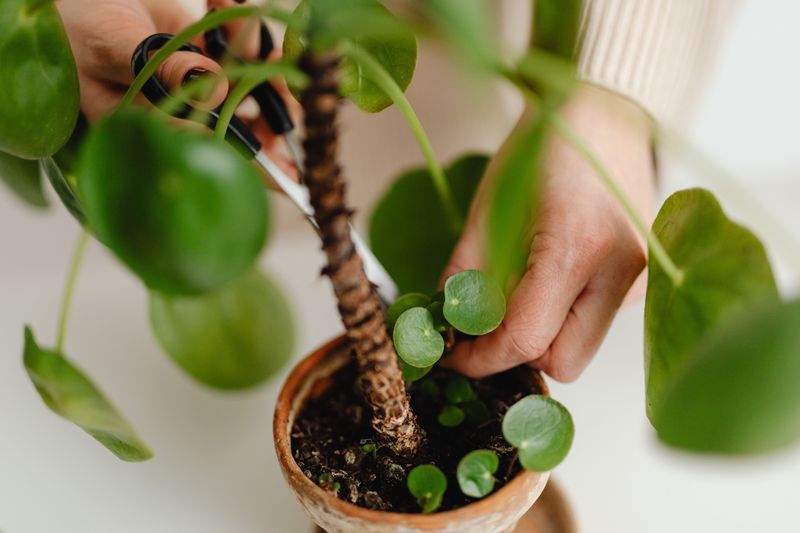
Summer outdoors can turn compact houseplants into significantly overgrown ones. All that sunshine and rain produces growth that simply will not fit through your doorway, let alone beside your couch.
Pruning before the move makes sense on several levels. Fewer leaves mean less water demand, which matters when indoor light drops by a huge margin come October.
Snip off yellowing leaves, brown tips, spent flowers, and any stem that looks stretched or bare. Cut just above a leaf node so the plant branches out rather than stubbing.
Trailing plants like pothos and string of pearls can take a serious haircut. Save the cuttings and root them in water on a bright sill for free backup plants.
Use clean, sharp shears and wipe the blades with rubbing alcohol between plants. Dull blades crush stems and open the door to rot.
As a general guideline, trim back overgrown specimens noticeably, and go lighter on slower-growing plants. Damaged or discolored foliage is worth removing regardless of size. Struggling leaves attract pests and rarely bounce back once light levels fall.
Handy fact: many tropicals slow their growth dramatically in winter, so a plant trimmed in September will hold that tidy shape until spring. Sweep up the clippings instead of leaving them on the soil. Decaying plant bits are a fungus gnat buffet.
6. Repot Only If The Roots Are Truly Crowded
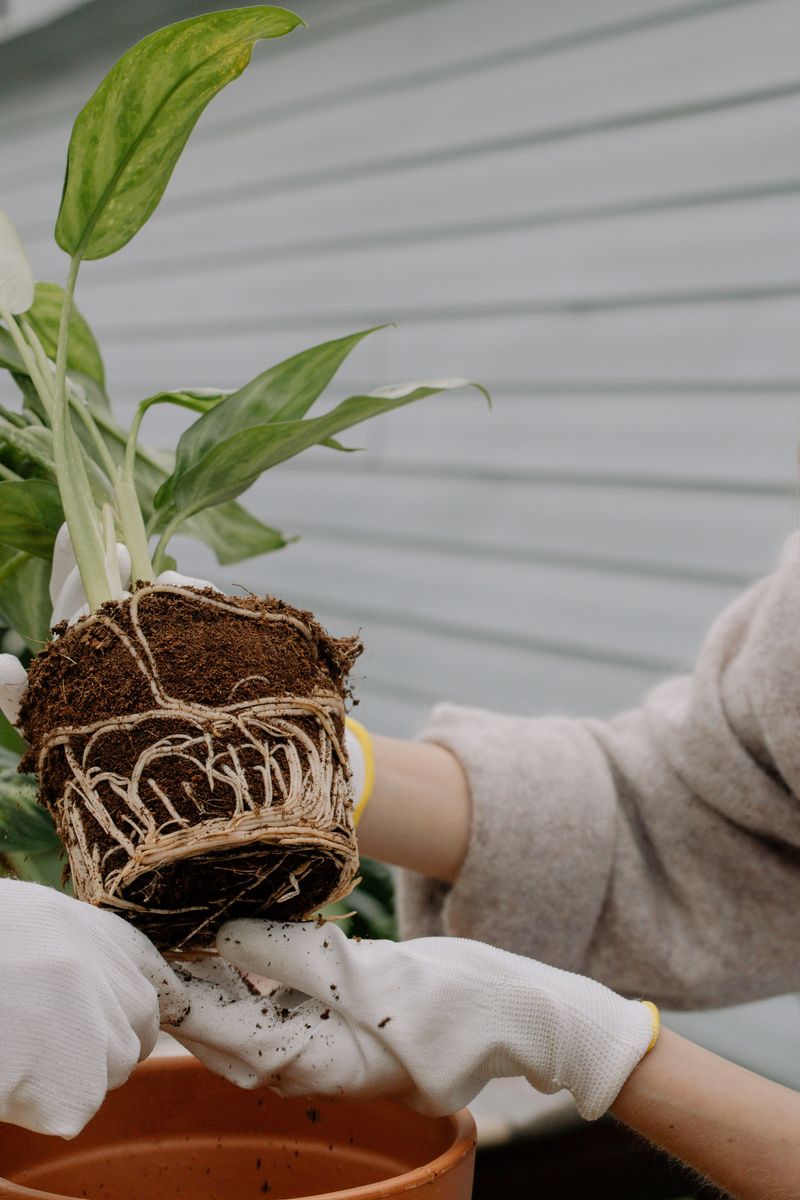
Plenty of plants outgrow their containers over a generous summer. Roots circling the bottom, water rushing straight through, and pots tipping over in the breeze are all clues.
Slide the plant out and take a look. If roots wrap the soil ball like a tangled net, moving up one pot size helps.
Go up just an inch or two in diameter. Oversized pots hold extra moisture that roots cannot use, and soggy soil indoors leads to trouble fast.
Fresh potting mix matters more than a fancy container. Summer rain compacts soil and washes out nutrients, leaving a dense brick that resists watering.
Loosen the outer roots gently with your fingers before setting the plant in its new home. Trim any that feel mushy or look darkened.
Keep the plant at the same depth it was growing before. Burying stems deeper invites rot at the base.
If roots look fine, skip repotting entirely. Doing it right before a big environmental change stacks two stresses on top of each other.
A good compromise for borderline cases is top-dressing. Scrape off the top inch of old soil and replace it with fresh mix.
Water lightly after repotting, then hold off on fertilizer for about a month. New soil already carries enough nutrition to get started.
Give repotted plants a few extra days outdoors in shade before the move, so they settle in first.
7. Ease Them Into Shade For A Week Or Two
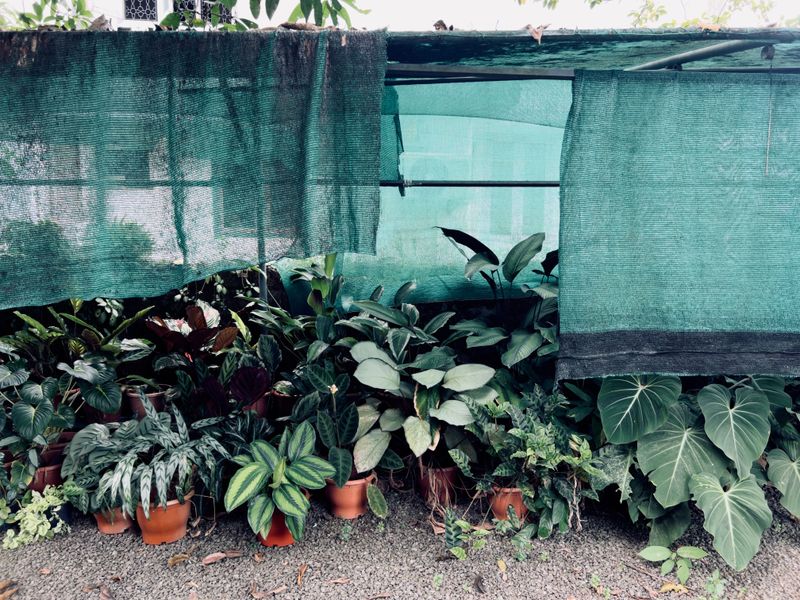
Picture going straight from a beach vacation into a dim basement office. That is roughly what a plant experiences when it jumps from full patio sun to a north-facing living room.
Outdoor light is dramatically brighter than indoor light, even next to a big window. The gap can be ten times or more, and leaves need time to adjust.
Start by moving pots into a shadier spot outdoors, like under a porch roof or beneath a leafy tree. Leave them there for seven to fourteen days.
Leaves grown in strong sun are thicker and structured differently than shade leaves. Gradual dimming lets the plant grow new foliage suited to lower light instead of dropping everything at once.
Some leaf loss still happens, and that is normal. A ficus shedding a handful of leaves in October is simply recalibrating.
Shifting the pot every few days works well. Full sun, then partial shade, then deep shade, then indoors.
Once inside, place plants in the brightest window you have for the first few weeks. South and west exposures are your best friends from November onward.
Grow lights fill the gap nicely for darker homes. A basic LED on a timer running twelve hours a day makes a visible difference.
Patience here pays off in fuller, healthier plants come February. Rushing the transition usually means staring at bare stems all winter.
8. Set Up A Quarantine Corner For New Arrivals
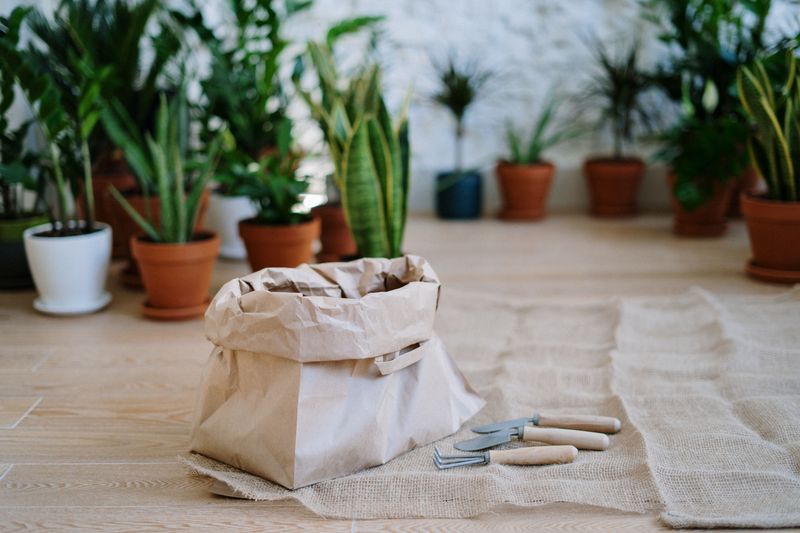
Even after inspecting and rinsing, something can slip through. Eggs are microscopic, and Scale insects are very difficult to spot.
A quarantine period catches what your eyes missed. Pick a spare room, a bathroom with a window, a basement corner with a lamp, anywhere separated from your existing indoor collection.
Two to four weeks is the sweet spot. That covers most pest life cycles, giving eggs time to hatch and reveal themselves.
Check the plants twice a week during quarantine. Look for new webbing, sticky spots, tiny flying insects, or fresh damage on young leaves.
Keep yellow sticky traps nearby as an early warning system. Fungus gnats show up on them within days if larvae are present in the soil.
Treat any problems while the plants are still isolated. Handling one infested pot is far easier than treating fifteen scattered around the house.
Wash your hands or change shirts after handling quarantined plants before touching others. Spider mites travel on fabric with impressive ease.
Grouping the newcomers together also makes watering simpler during their adjustment period. You can monitor moisture in one place instead of running laps.
Once they pass inspection, move them to their winter homes with confidence. That peace of mind is genuinely worth the extra few weeks.
Many commercial growers use similar quarantine practices for incoming stock, and that is a good sign this approach holds up at any scale.
9. Prepare The Indoor Spots Before The Pots Arrive
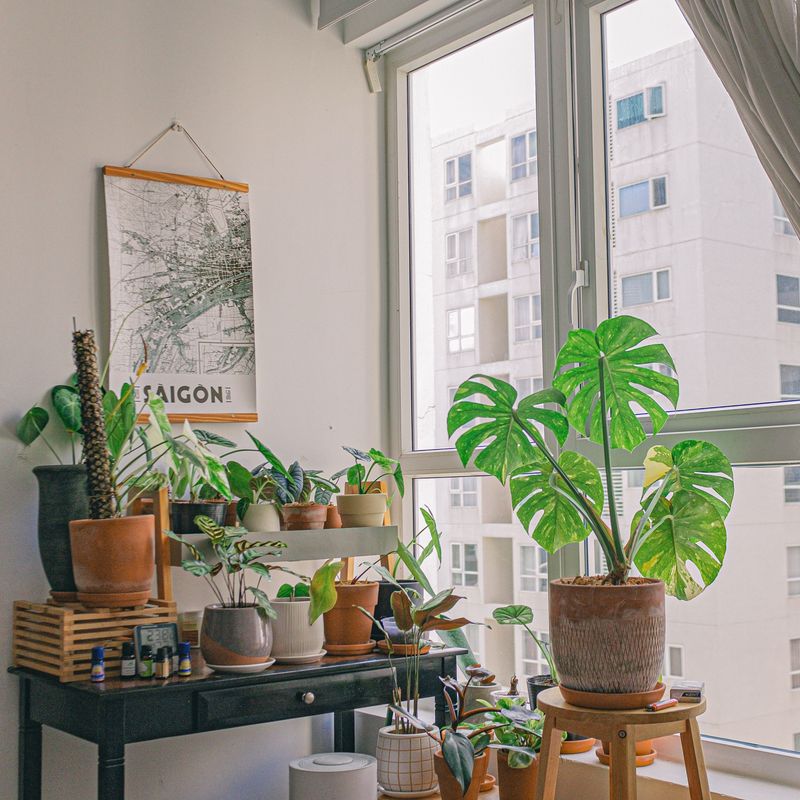
Half the work happens indoors before a single pot crosses the threshold. Windows carrying a summer film of dust cut light noticeably, so wash them inside and out.
Pull back curtains and clear away clutter blocking the glass. Every bit of brightness counts once the days get short.
Think about heat sources next. Radiators, vents, fireplaces, and space heaters create dry pockets that stress tropical foliage.
Keep pots at least a couple of feet from any vent. Drafty entryways and single-pane windows can get surprisingly cold at night too.
Humidity deserves attention because indoor winter air often drops to desert-like levels. Grouping plants together, adding pebble trays, or running a small humidifier helps a lot.
Lay down waterproof saucers or trays to protect floors and furniture. Cork pads under heavy pots prevent moisture rings on wood.
Have plant stands, hooks, or a shelf ready if space is tight. Figuring out where a five-foot monstera goes while holding it is genuinely difficult.
Adjust your watering habits mentally as well. Indoor plants dry out much slower, so check the soil with your finger before reaching for the can.
Ease off fertilizer through fall and winter since growth naturally slows. Resume feeding when new leaves appear in spring.
Set the stage well and the transition feels effortless for both you and your leafy roommates.