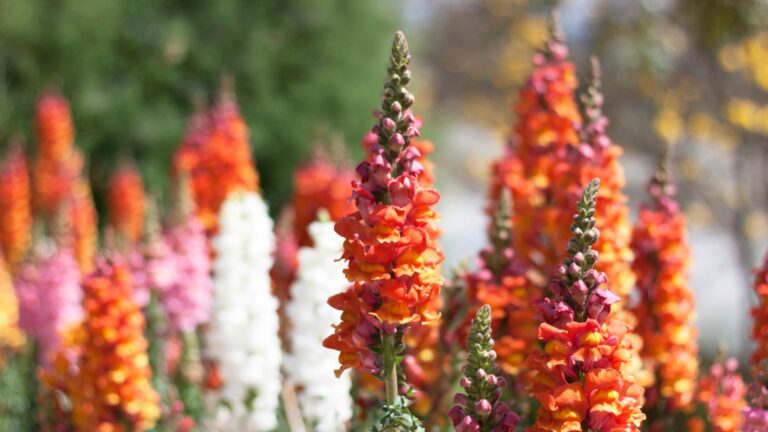
8 Things To Do With Daylilies After They Bloom
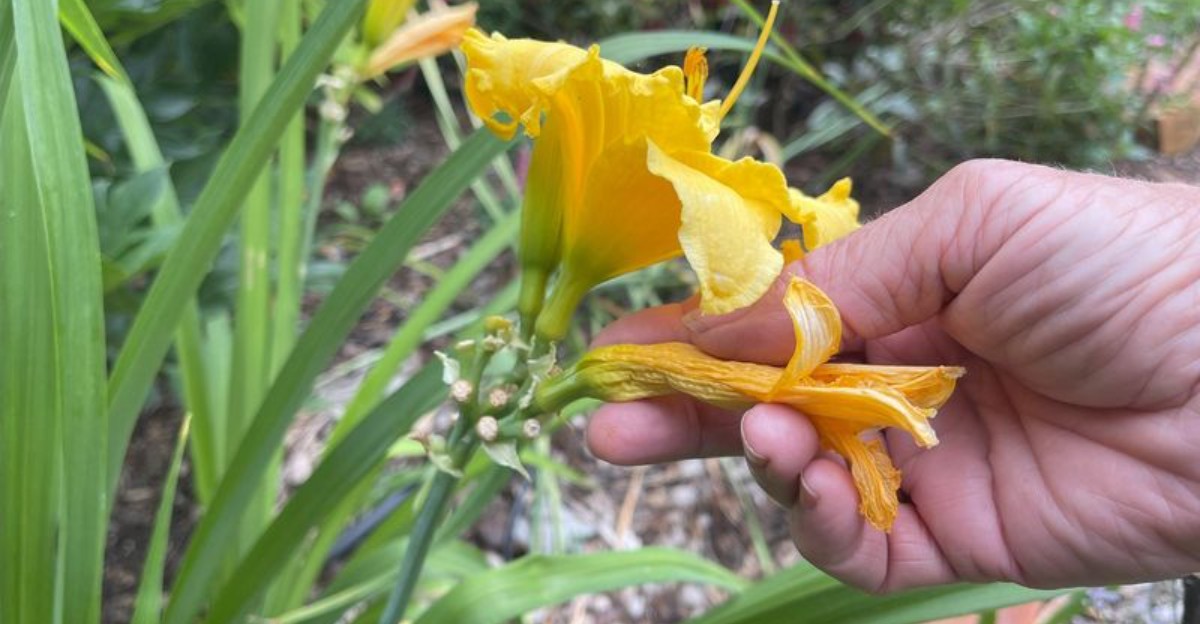
The garden looks a little like a party after the guests go home. Crumpled petals hang around on the soil, and the stems stand tall with nothing to show.
You can almost hear the plants sighing in the warm afternoon air. Bees buzz past without stopping, clearly unimpressed by the leftover snacks on the stems.
Still, something is happening under the soil, where the real work goes on quietly, out of sight. Roots are busy storing energy like squirrels stuffing their cheeks.
A little effort now can make next summer look like a fireworks display. Skip the effort, and the show may feel more like a sad sparkler.
Grab your gloves and a bottle of water, because the cleanup crew is just you. Sadly, the bees still flatly refuse to lift even a single leaf.
1. Snap Off The Spent Flower Scapes
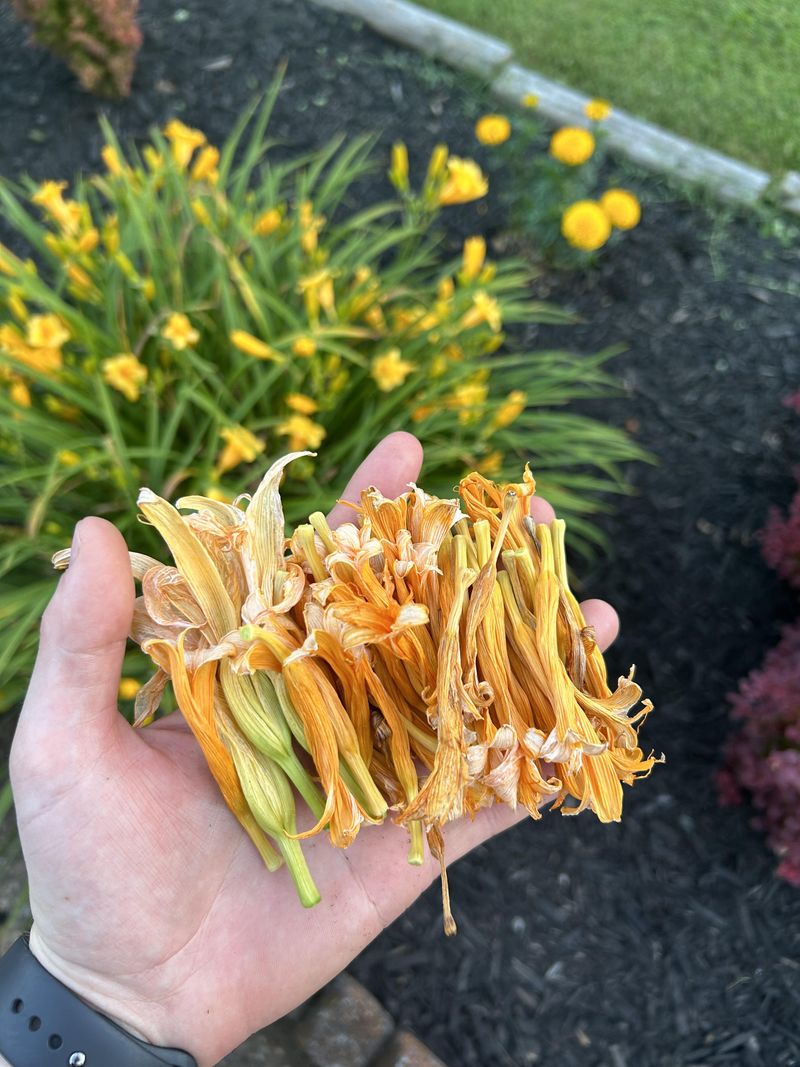
Picture a bare green stalk poking up like a forgotten birthday candle. Those leftover flower stems, called scapes, serve little purpose once the last bud fades.
Removing them keeps the plant from wasting energy on seed pods. That saved energy goes down into the roots, where it supports healthy blooms next year.
The job is easier than it sounds. Bend a scape sideways near the base and snap it off by hand, and it usually breaks cleanly.
If the stalk still feels firm and green, use clean pruners instead. Cut it as close to the leaves as you can without nicking them.
Late summer through early fall is a good time for this chore. Most varieties have finished their show by then, and cooler mornings make yard work pleasant.
Pick a dry afternoon for the job. Dry leaves and soil are less likely to spread disease from one clump to the next.
Keep a bucket nearby for the scapes as you go. It saves trips to the compost pile and keeps the bed from looking messy while you work.
Toss the stalks in your compost pile if they look healthy. Anything with brown spots or mushy patches should go in the trash to limit the spread of disease.
Reblooming types like Stella de Oro may still push out a few late flowers. Snip only the finished stems on those plants and leave the fresh buds alone.
2. Tidy Up The Tired Yellow Leaves
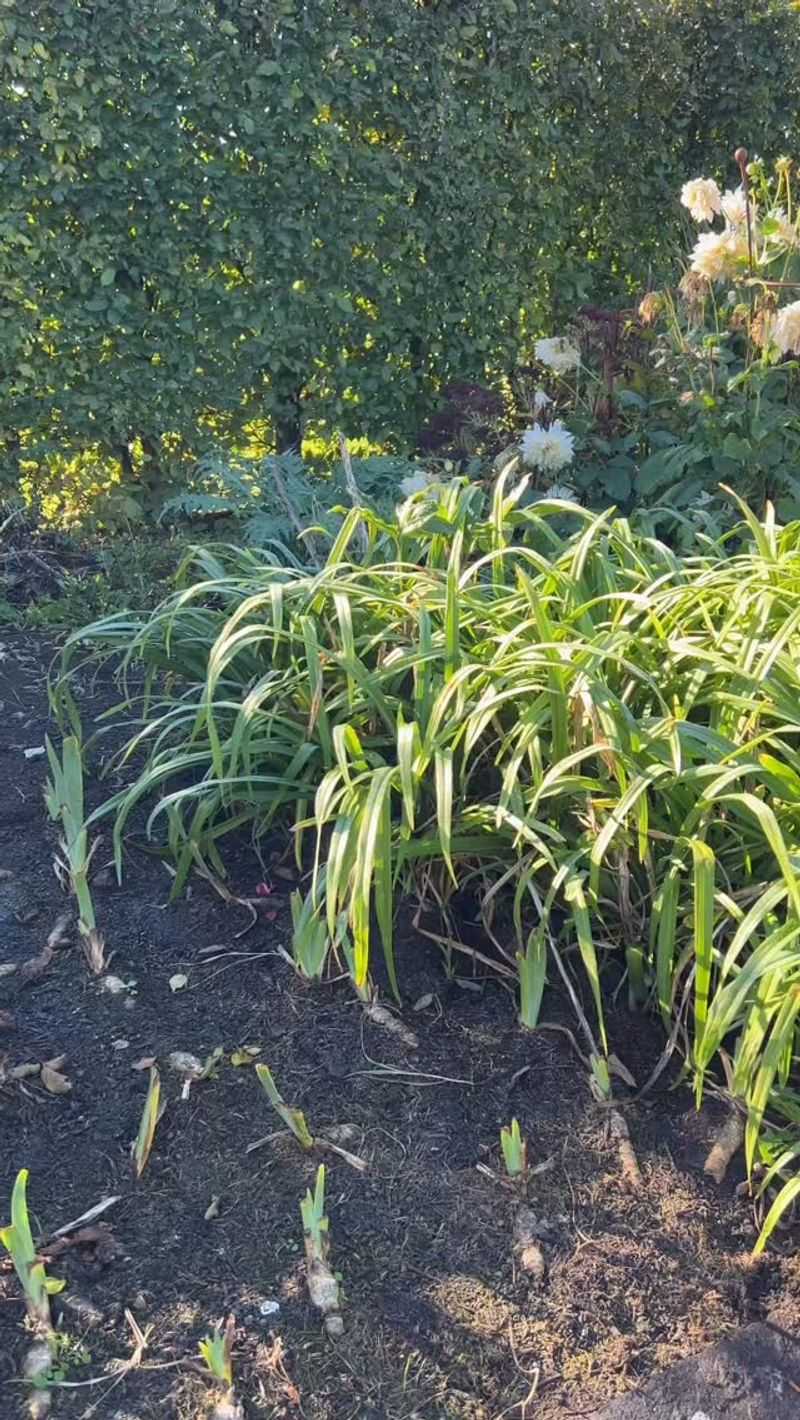
Nobody wants to look scruffy for autumn photos, and your plants feel the same way. By September, many clumps have a few floppy, yellow leaves hanging around like messy hair.
Pulling those leaves out makes the bed look neater right away. It also improves airflow, which helps reduce the risk of leaf streak and rust.
Start by running your fingers through the base of each clump. Brown or yellow leaves usually slide out with a light pull of your hand.
Green leaves should stay put for now. They are still making food from sunlight and sending it down to the roots for winter storage.
Evergreen and semi-evergreen types in mild climates keep much of their foliage through winter. Trim those lightly and only remove leaves that are clearly damaged.
Some gardeners like to cut the whole plant down to about six inches after frost. Others wait until spring, since the old leaves give a little winter shelter.
Both choices work fine, so pick the one that fits your style. Just remove soggy, slimy foliage before snow arrives, because it can invite rot and hungry slugs.
Drop the removed leaves into a bucket or wheelbarrow as you go. Healthy foliage can go to the compost pile, while spotted or slimy leaves belong in the trash.
Wear gloves while you tidy to keep soil off your skin. Your garden will look ready for its fall closeup when you finish.
3. Divide The Crowded Clumps With Confidence
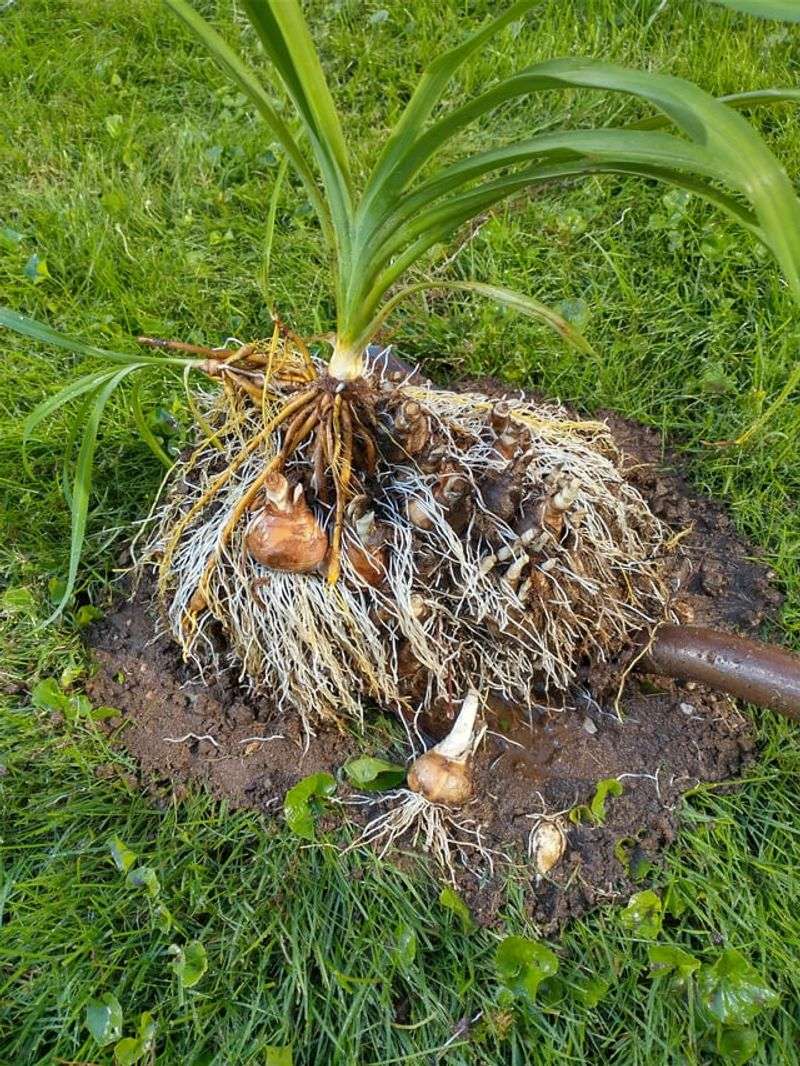
Here is a fun fact to share at dinner. A single plant can grow into a clump several feet wide after just a few summers.
Crowded clumps often produce fewer flowers, with the middle sometimes going bare. Dividing them every three to five years gives each piece room to breathe and grow.
Early fall is a great window for this fairly simple project. The soil is still warm, so new roots can settle in before the ground freezes.
Use a sturdy spade to dig around the whole clump, then lift it out. Shake or hose off the soil so you can see the roots and fans clearly.
Pick a cool, cloudy day if you can. Less sun on exposed roots means less stress for the fans while you work.
Pull the clump apart with your hands or two garden forks placed back to back. Each new section should have at least two or three fans with healthy roots attached.
Trim the leaves down to about six inches to reduce stress. Replant the pieces at the same depth they grew before, with the crown just below the surface.
Water each new planting well right after replanting. This settles the soil around the roots and removes air pockets that can dry them out.
Aim to finish dividing about four to six weeks before your first hard frost. That timing gives the roots a head start on their winter nap.
4. Share The Extra Fans With Friends
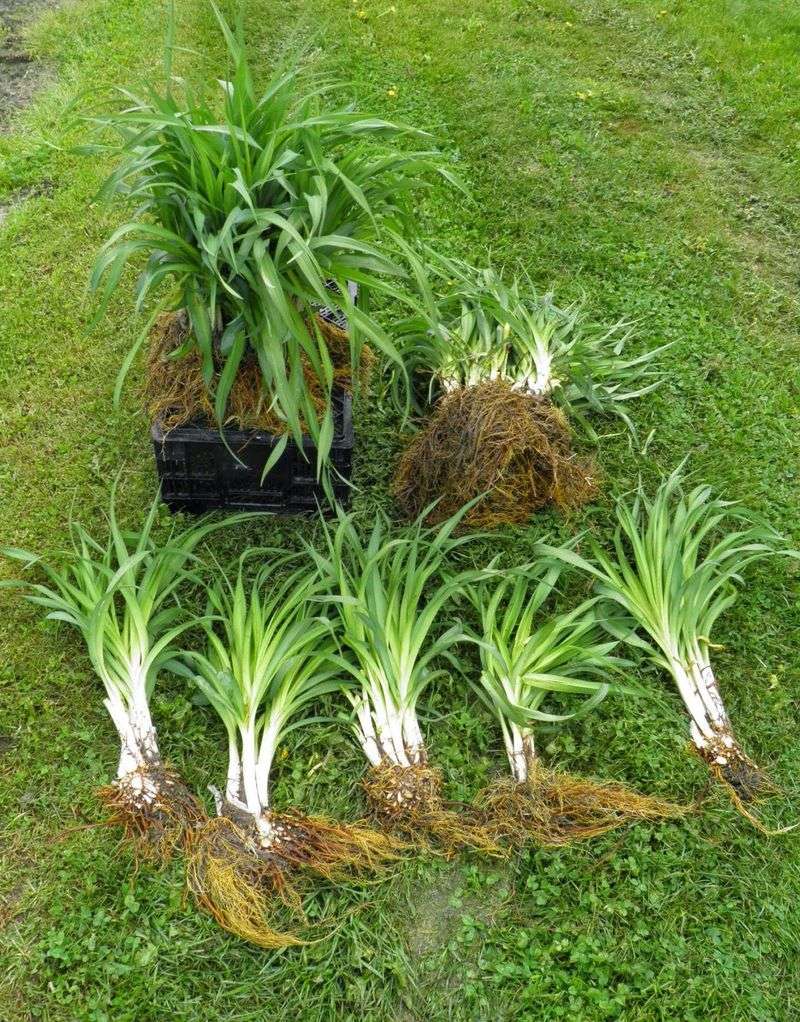
Many long-loved daylily patches began with a single division passed over a fence. Every clump has a story, and gardeners love telling them.
After dividing your plants, you might end up with more pieces than space. Passing them along is a sweet way to spread color around your neighborhood.
Wrap each division in damp newspaper or place it in a plastic grocery bag. Keeping the roots moist helps them survive the trip to their new home.
Attach a small tag with the flower color and variety name if you know it. Your friends will enjoy knowing what to expect next summer.
Add the dividing date to the tag as well. Friends can then track how the plant settles in and when it first blooms.
Schools, community gardens, and plant swaps often welcome donations too. Many towns host fall swap events where gardeners trade extras for something new.
These tough plants are a great gift for beginners just starting out. They handle heat, poor soil, and forgetful watering better than many flowers do.
Share a few planting tips with the gift. A sunny, well-drained spot gives new divisions a solid start.
Encourage your friends to plant their gifts within a few days. The sooner the roots hit the soil, the stronger they will be when spring rolls around.
Who knows, someday a friend might hand a piece back to you. That is how garden stories keep growing from one yard to the next.
5. Feed The Roots A Light Snack
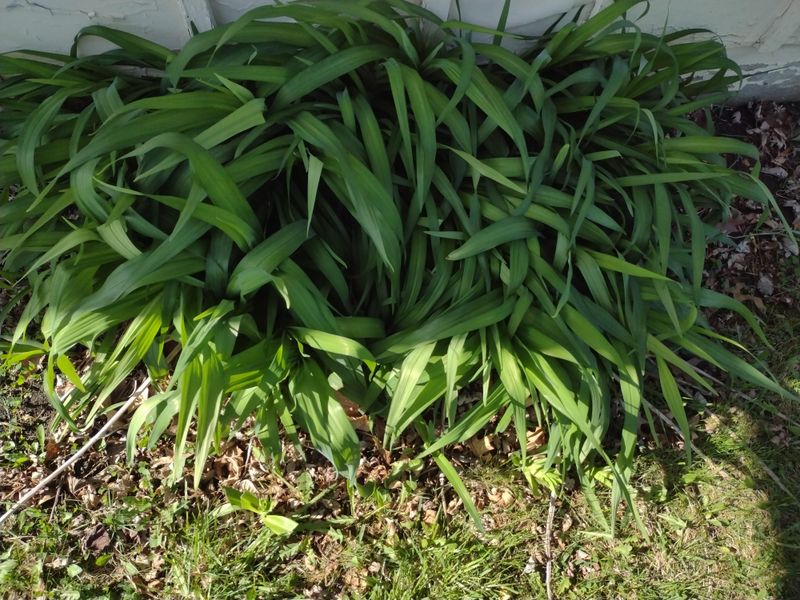
Think of your plants as marathon runners who just crossed the finish line. They worked hard all summer and could use a small snack, not a giant feast.
A light feeding in early fall can help roots store energy for next year. Too much food, though, can push out soft new leaves that frost can damage.
Choose a fertilizer with lower nitrogen, like a 5-10-10 mix. The higher phosphorus and potassium support strong roots and future flower buds next summer.
Sprinkle a small handful around each clump, keeping it a few inches from the crown. Then water it in well so the nutrients soak down into the soil.
Sweep any loose granules off the leaves right after spreading. Stray fertilizer left on foliage can cause burn spots, especially on warm, sunny days.
Compost makes a gentle, natural option if you prefer skipping store-bought products. Spread about an inch around the plants, and worms help mix it into the soil.
Finish feeding several weeks before your first hard frost. Anything later may push the plants into growing when they should be slowing down.
Skip fertilizer on plants that were divided this fall. Their new roots are still settling in, and extra food can wait until spring.
If your soil is already rich, you may not need fertilizer at all. A simple soil test from a local extension office can show which nutrients are low.
6. Water The Beds Before Fall Dryness
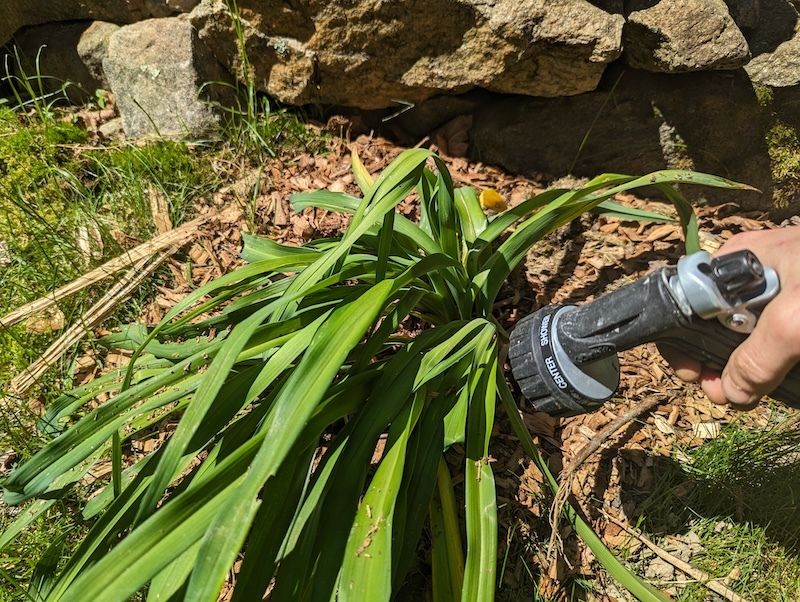
Ever notice how September can feel like summer forgot to leave? Warm days and little rain can leave garden soil dry and crumbly in early fall.
These plants are tough, but their roots still need moisture to prepare for winter. Thirsty roots store less energy, which can mean fewer flowers next summer.
Give your beds a deep soaking about once a week if rain is scarce. Aim for roughly one inch of water, soaking the soil several inches down.
Water early in the morning so leaves dry quickly in the sun. Wet leaves overnight can invite fungus, and nobody wants that uninvited guest.
A rain gauge or a small empty can set in the bed helps you track what nature already delivered. Measure before you reach for the hose.
A soaker hose or watering can at the base works better than a sprinkler. Getting water straight to the roots saves water and keeps foliage drier.
Freshly divided or newly planted pieces need extra attention. Check them every few days, since their small root systems dry out faster than established clumps.
Skip watering once the ground begins to freeze. Roots take up very little water in cold soil, and extra moisture can pool around the crowns.
Push a finger into the soil about two inches deep to test it. If it feels dry, grab the hose, and if it feels damp, relax until next time.
7. Save The Seed Pods For Fun Experiments
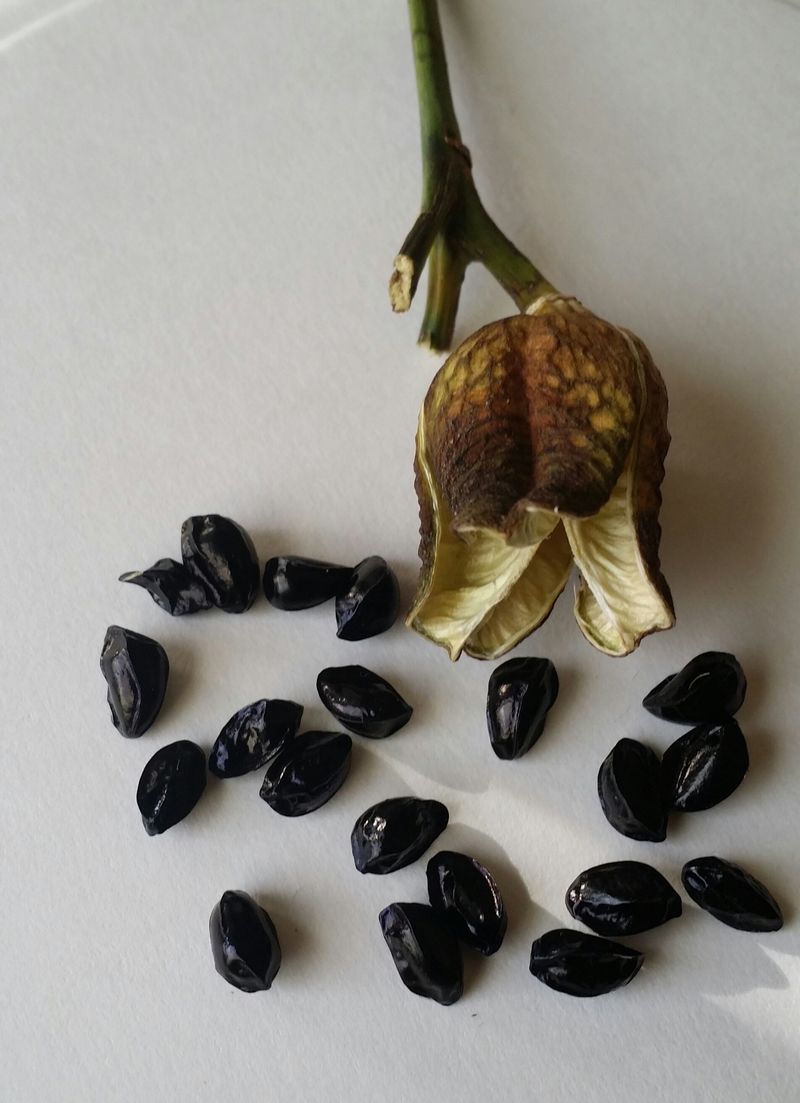
Hidden inside those plump green pods are shiny black seeds that look like tiny beads. Each one could grow into a one-of-a-kind flower.
Hybrid plants rarely grow true from seed, which is part of the fun. Your seedlings might bloom in surprising colors, sizes, or ruffled shapes.
Mark the plants you want seeds from before you snap off the other scapes. A bit of colored yarn tied around the stalk makes them easy to find later.
Leave a few pods on the stalk until they turn brown and start to crack open. Then snip them off and drop them into a paper bag.
Let the pods dry indoors for a week, then shake out the seeds. Store them in a labeled envelope inside your refrigerator for about six weeks.
Write the name of the parent plant on each envelope if you know it, along with the date you collected the seeds. Those notes help you track where each seedling came from.
That chilly rest mimics winter and helps the seeds sprout later. Plant them indoors in late winter, or sow them outside once spring warms the soil.
Patience is the secret ingredient in this hobby. Most seedlings take two to three years before they finally produce their first flower.
Hobby breeders register new varieties this way every year. The American Daylily Society oversees registration of daylily cultivars, and the total now tops 80,000.
8. Tuck The Plants In With Fresh Mulch
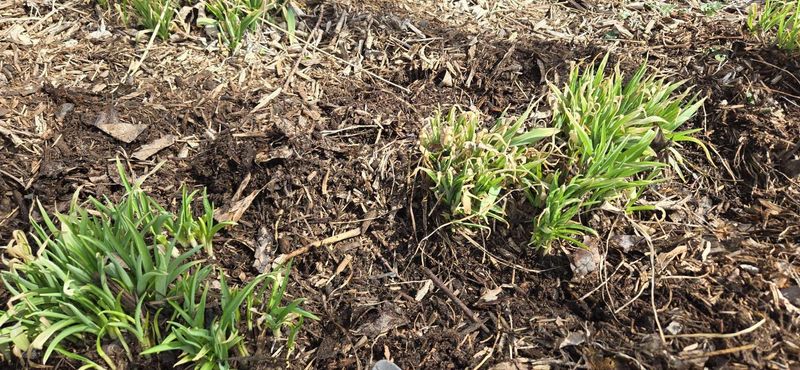
Bedtime stories, warm pajamas, and a fluffy blanket make winter nights cozy for kids. Your garden beds benefit from a similar treat in the form of mulch.
A layer of mulch keeps soil temperatures steadier during freezing and thawing cycles. Those swings can push roots up out of the ground, a problem called frost heave.
Wait until after the first hard frost to spread it. Mulching too early can trap warmth and keep plants active longer than they should be.
Shredded leaves, straw, or pine needles all make great choices. Many are free, especially if your yard already has trees dropping leaves in autumn.
Spread about two to three inches around each clump. Keep it an inch or two away from the crowns so they do not stay soggy.
Avoid piling mulch against the leaves or burying the fans. Trapped moisture can lead to rot, and a thin gap lets air move freely around the crowns.
Lightly water the mulch after spreading it. This settles the material in place and keeps wind from carrying lighter pieces like straw or leaves across the yard.
Newly divided plants often benefit most from this extra layer each winter. Their young roots are still settling in and appreciate the added protection.
In spring, pull the mulch back once new shoots appear. The old material can go straight into the compost pile, ready to feed the garden again.