Protect Your Roses Before The First Freeze With These 9 Steps
Your roses are still blooming, and that is the problem. Fresh growth in autumn stays soft, and frost browns soft tissue fast.
You need those canes hardened, woody, and ready before temperatures drop. Stop feeding them now. Nitrogen pushes tender shoots that winter will test. Quit trimming blooms, too. Letting hips form tells the plant to slow down and store energy.
Here is the part gardeners miss: thirst threatens roses as much as cold. Frozen ground locks water away while dry wind pulls moisture from exposed canes.
Deep watering before the freeze gives roots a reserve to draw on. Then comes the graft union, that knobby swelling near the soil line. Protect it, and your rose rebounds with vigor next season.
Leave it bare, and repeated freezing can weaken it before spring. Master these moves now, before the thermometer dips.
1. Stop Feeding Your Roses Well Before The First Frost

Picture your rose bush as a sleepy toddler who just gobbled a sugary treat at bedtime. Fertilizer in fall works the same way, sending out energy right when the plant should rest.
Feeding pushes out soft, fresh shoots that look lovely for a week or two. Those tender stems cannot handle frost and are easily damaged when temperatures drop.
Plan your last dose of fertilizer about six to eight weeks before your first expected frost, which falls in mid to late August in many areas. If you are reading this in September and still feeding, now is the perfect time to stop.
Slowing down lets the plant harden off, which means its stems toughen up for winter. Woody canes hold up far better against ice, wind, and freezing temperatures than green ones do.
Skip any high-nitrogen products, since nitrogen fuels leafy growth more than anything else. Some gardeners add a little potash, which supports cold hardiness without triggering new shoots, but a soil test tells you what your roses actually need.
Your roses will still bloom a bit as the days get shorter and cooler. Enjoy those final flowers, but resist the urge to reward the plant with another snack.
Think of this pause as tucking the bush in for a long, peaceful nap. A well-rested rose wakes up in spring with stronger canes, healthier leaves, and plenty of fresh buds.
2. Stop Snipping Spent Blooms To Let Hips Form

Ever noticed the plump orange or red balls on roses in late fall? Those are rose hips, and they are the plant’s way of saying the season is wrapping up.
All summer long, snipping off faded flowers tricks roses into making more blooms. That habit is great in July, but it sends the wrong message in September.
When you let spent flowers stay put, the plant starts forming seeds inside the hips. Seed production signals the bush to slow down and get ready for colder weather.
It’s like a natural alarm clock that tells your roses it’s time for bed. Stopping bloom removal around six weeks before your first expected frost gives them plenty of warning.
Save heavy pruning of repeat-blooming roses for early spring, too, while once-blooming roses are pruned right after their summer flowers fade. Diseased or broken canes can still come off at any time.
Rose hips also add a splash of color when the rest of the garden looks tired. Birds love them as a winter snack, so you might get a few feathered visitors.
People have brewed rose hips into tea for centuries because they are packed with vitamin C. Just avoid eating any from plants sprayed with chemicals during the growing season, and remove the hairy seeds inside before brewing.
So put down those clippers and let nature take the wheel for a while. Your roses know exactly what to do once you step aside.
3. Water Your Roses Deeply Before The Ground Freezes

A thirsty rose heading into winter is like a hiker starting a long trip without water. Dry roots struggle far more in freezing weather than roots sitting in moist, healthy soil.
Damp soil actually holds heat better than dry soil, which surprises many beginner gardeners. That stored warmth helps protect the root zone when temperatures drop overnight.
Early fall can be sneaky dry, especially after a hot summer with little rain. Check the soil by pushing a finger about two inches down near the base.
If it feels dusty, give your roses a long, slow drink with a hose or watering can. Aim for about an inch of water each week until the ground starts to freeze.
Water in the morning so the leaves have time to dry before evening. Wet foliage overnight invites fungus, and nobody wants spotty leaves heading into winter.
A soaker hose works wonders because it delivers water straight to the roots. It also saves you from standing in the chilly yard holding a hose for ages.
Once the soil freezes solid, you can stop watering until spring returns. Evergreen shrubs and roses in windy spots may need a bonus drink during warm winter spells.
Deep, steady watering now builds a strong foundation for the months ahead. Your roses will thank you with sturdy growth once the snow finally melts.
4. Clean Up Fallen Leaves Around Your Rose Beds
Fallen leaves might look cozy, but under roses they can become a germ party. Black spot and other fungal diseases love to hide in soggy leaf piles all winter.
Those spores wait patiently, then splash back onto new leaves when spring rains arrive. Before you know it, your fresh growth is covered in ugly dark spots again.
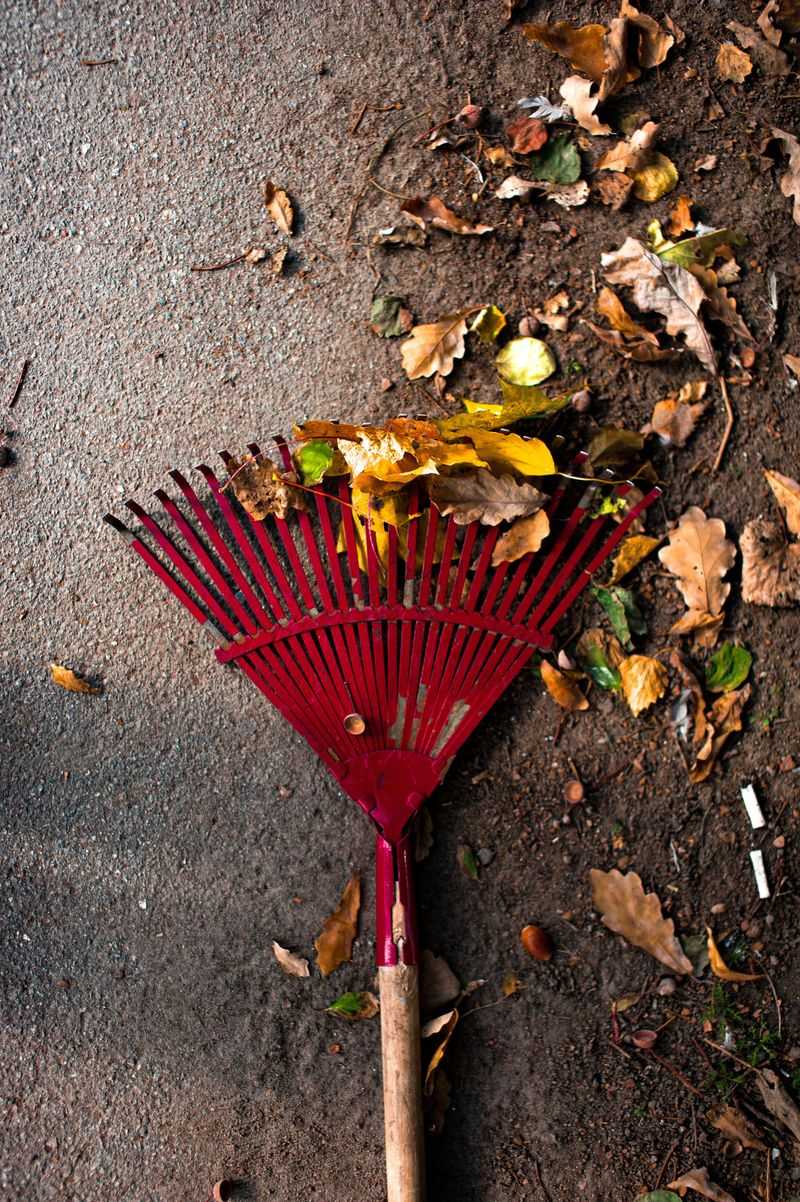
Grab a rake and clear every leaf and petal from around the base of each bush. Pick off any yellow or spotted leaves still clinging to the stems as well.
Bag up the diseased material and toss it in the trash, not the compost bin. Most home compost piles do not get hot enough to wipe out fungal spores.
Pull any weeds while you’re down there, since they steal water and shelter pests. Spider mites sometimes spend the winter tucked inside garden debris, while aphid eggs often cling to the canes themselves.
A tidy bed also makes the next steps much easier for you. Clean soil gives mulch and mounded dirt a fresh start without trapping hidden problems underneath.
Put on a podcast or some music and make the cleanup a relaxing afternoon project. Crunchy leaves, cool air, and a warm drink afterward make it feel less like a chore.
Your future self will be glad come May. Spotless beds in fall mean healthier leaves and brighter blooms next season.
5. Mound Soil Over The Base Of Each Rose
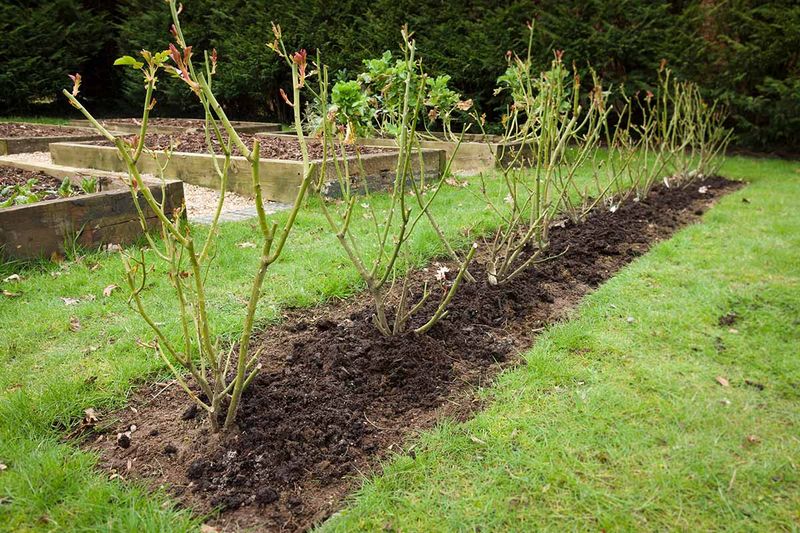
Gardeners in cold regions have used this trick for generations, and it still works beautifully. Mounding soil around the base of a rose acts like a warm winter scarf.
The most important part of many roses is the graft union, a knobby bump near the ground. Grafted roses have a fancy variety joined onto hardy roots, and that joint is fragile.
If the graft freezes, the pretty top growth may not return in spring. Sometimes only the rootstock survives, producing plain flowers you did not choose.
Wait until after a few light frosts, usually in late fall, to start mounding. Pile loose soil or compost about ten to twelve inches high around the base.
Bring in soil from another part of the yard instead of scraping it from the bed. Digging near the bush can expose roots and cause more harm than good.
In really cold zones, some gardeners go even higher, up to eighteen inches. Milder areas may only need a small mound, so check your local hardiness zone first.
When spring arrives and the ground thaws, gently pull the extra soil away. Do it slowly over a week or two so the canes adjust to fresh air.
It takes about ten minutes per bush but protects the heart of the plant. That’s a small price for roses that come back strong year after year.
6. Spread A Thick Layer Of Mulch Over The Roots
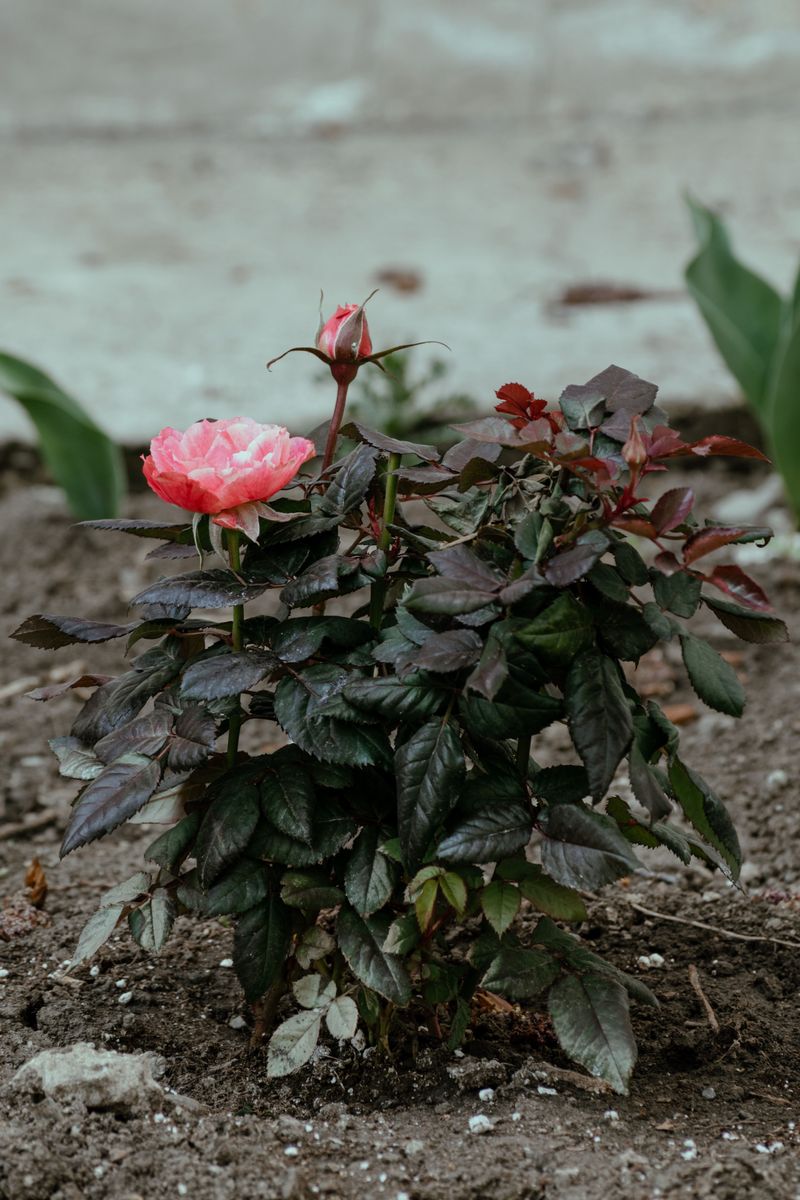
Mulch is basically a fluffy blanket for the soil, and roots adore it. A thick layer keeps the ground temperature steady when the weather swings wildly.
The real danger in winter often comes from freezing and thawing again and again. That cycle can heave roots right out of the ground, leaving them exposed to icy air.
Mulch softens those swings, so the soil stays frozen and calm instead of bouncing around. Shredded bark, straw, pine needles, and chopped leaves all make excellent choices.
Spread about three to four inches over the root zone after the ground cools. Adding it too early in September can keep soil warm and confuse your roses.
Leave a small gap around the canes so moisture does not rot the bark. Mulch piled directly against stems also invites mice looking for a cozy winter home.
If you mounded soil in the last step, spread mulch over and around that pile. Together they form a double layer of protection that works like a sleeping bag.
Bonus perk: mulch slowly breaks down and feeds the soil with rich organic matter. By summer, your roses get a free snack without any extra work from you.
Many garden centers sell bagged mulch, but free options exist too. Some towns give away wood chips, and healthy raked leaves work nicely when shredded.
7. Tie Up Long Canes To Reduce Wind Damage

Climbing roses can look like wild octopus arms flailing around in a winter storm. Strong gusts whip long canes back and forth, cracking stems and loosening roots.
Wind damage is sneaky because you might not notice broken canes until spring. By then, the injured spots may have let in disease or pests.
Gather the long canes gently and tie them together with soft garden twine. Old pantyhose or strips of fabric work great because they will not cut into bark.
For climbers, secure the canes firmly to their trellis, fence, or arbor. Tie them in several spots so they cannot swing or rub against rough surfaces.
Tall shrub roses sometimes get a light trim to reduce their height before winter. Cut back only the tips that could snap, leaving the main structure alone until spring.
Avoid wire or plastic zip ties since they can dig into canes over time. Stems thicken as they grow, and tight ties can restrict them.
If you live somewhere with heavy snow, bundling also helps canes hold that weight. Snow piled on loose branches can bend them to the ground and split them apart.
Take a quick walk around your garden after big storms throughout the winter. Retie any loose canes right away so small problems don’t grow into big ones.
8. Wrap Tender Roses With Burlap Or Rose Cones
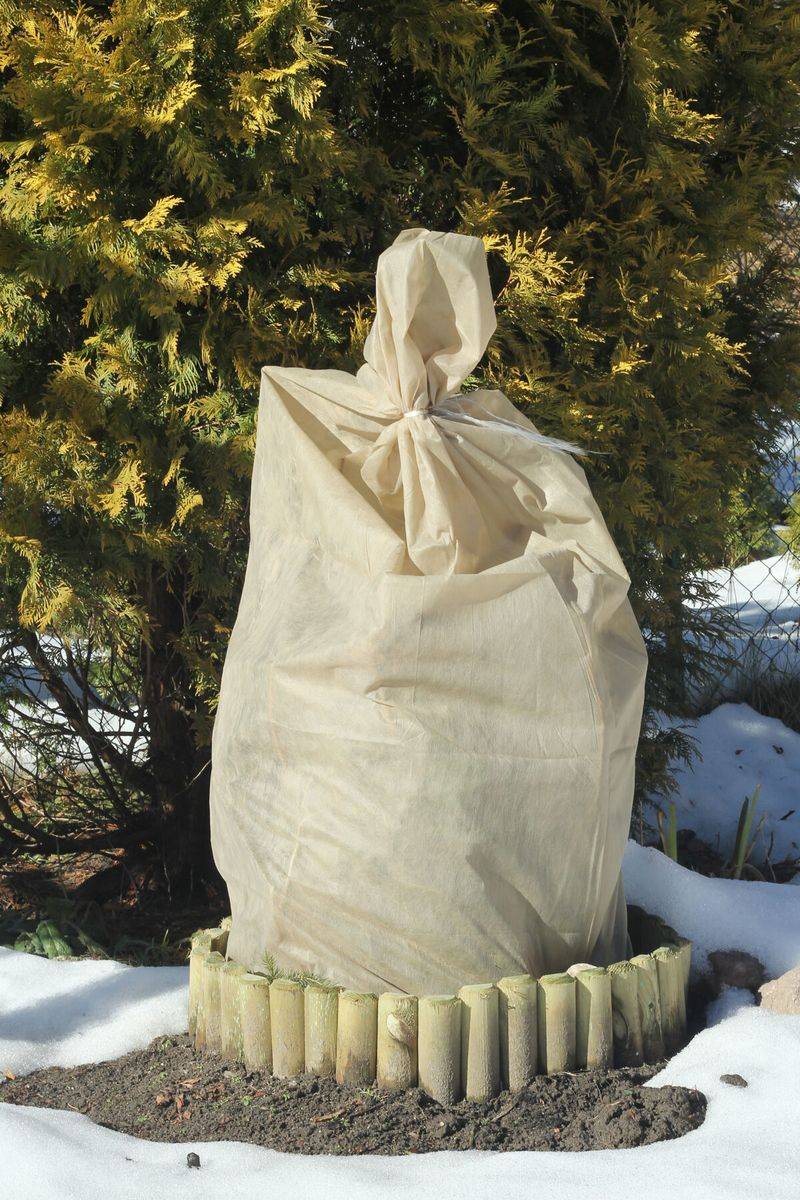
Some roses are tough as old boots, while others shiver at the first chilly breeze. Hybrid teas and certain tree roses fall into that delicate category and need extra help.
Burlap is a gardener’s best friend for this job because it breathes well. It blocks harsh wind and winter sun while letting moisture escape so plants stay healthy.
Pound three or four stakes into the ground around the rose before the soil freezes. Wrap burlap around the stakes to form a loose cage, then fill it with dry, disease-free leaves.
Another popular option is a foam rose cone that fits right over the whole bush. Prune the canes short enough to fit, then weigh the cone down with a brick.
Poke a few small holes near the top of the cone for airflow. Without ventilation, warm sunny days can heat the inside like a tiny greenhouse.
Skip plastic sheeting since it traps moisture and can cause mold or rot. Whatever you use, wait until temperatures stay near freezing before covering your plants.
Covering too early can trap warmth and make roses think spring has arrived. Timing varies widely by region, so let your local weather forecast guide you.
Wrapped roses might look a little silly, like garden ghosts standing in a row. Your neighbors may laugh now, but they’ll be jealous of your blooms in June.
9. Move Potted Roses Into A Sheltered Spot

Roses growing in pots face a tougher winter than their cousins planted in the ground. Their roots sit above soil level, where freezing air can reach them from every side.
A container rose can freeze solid much faster than a garden bush. That’s why moving pots to a safer spot makes such a big difference.
An unheated garage, shed, or enclosed porch works beautifully for most potted roses. You want a spot that stays cool, ideally between twenty-five and forty degrees Fahrenheit.
Avoid bringing them into your warm living room, since roses need a cold rest period. Indoor heat can wake them up too early and leave them weak and leggy.
Heavy pots can be tricky to move, so a plant dolly with wheels saves your back. Plan the move for a mild day in late fall after leaves begin dropping.
If you lack a garage, group pots together against a sheltered wall of your house. Pack straw or leaves around the containers, or wrap them in bubble wrap for insulation.
Check the soil about once a month and add a little water if it feels dry. Dormant roses need far less moisture, but they still need some to stay healthy.
When spring warms up, slowly bring your pots back into the sunshine. A few hours outside each day helps them adjust without getting stressed.