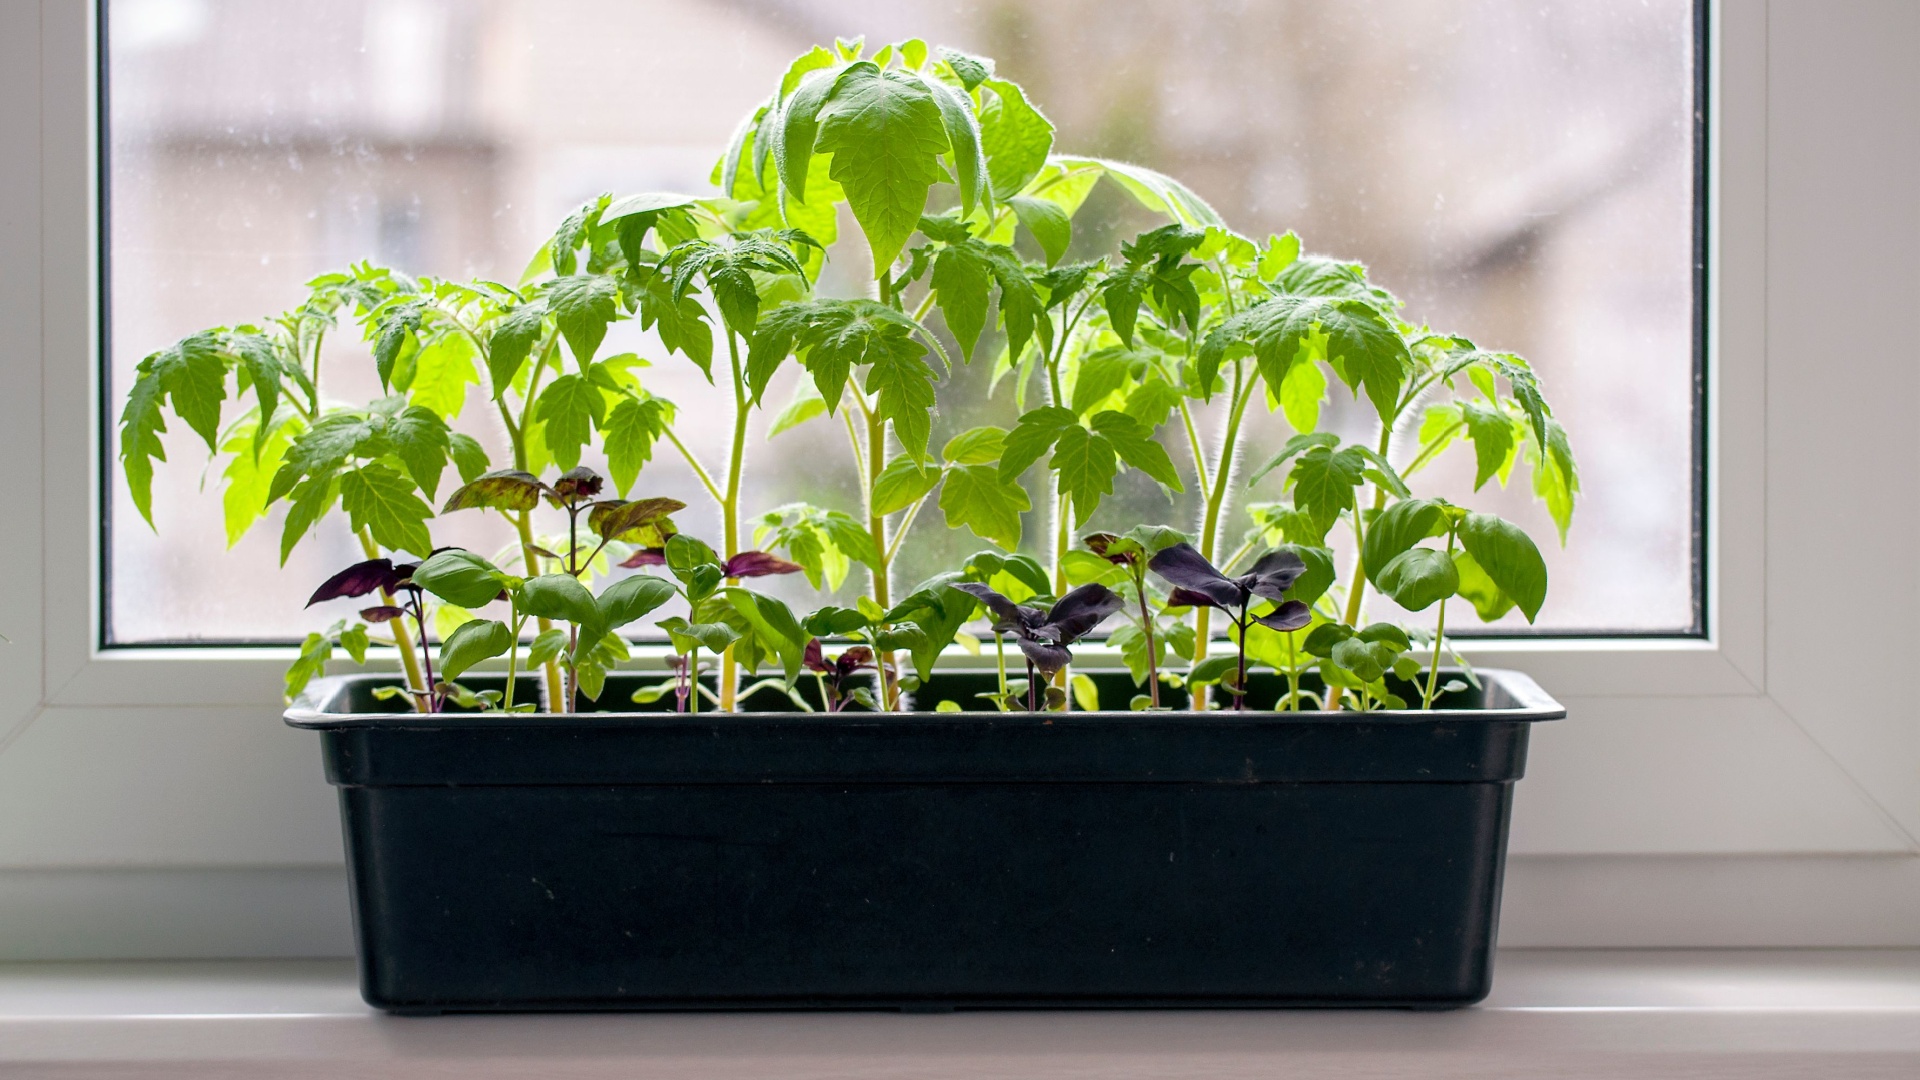
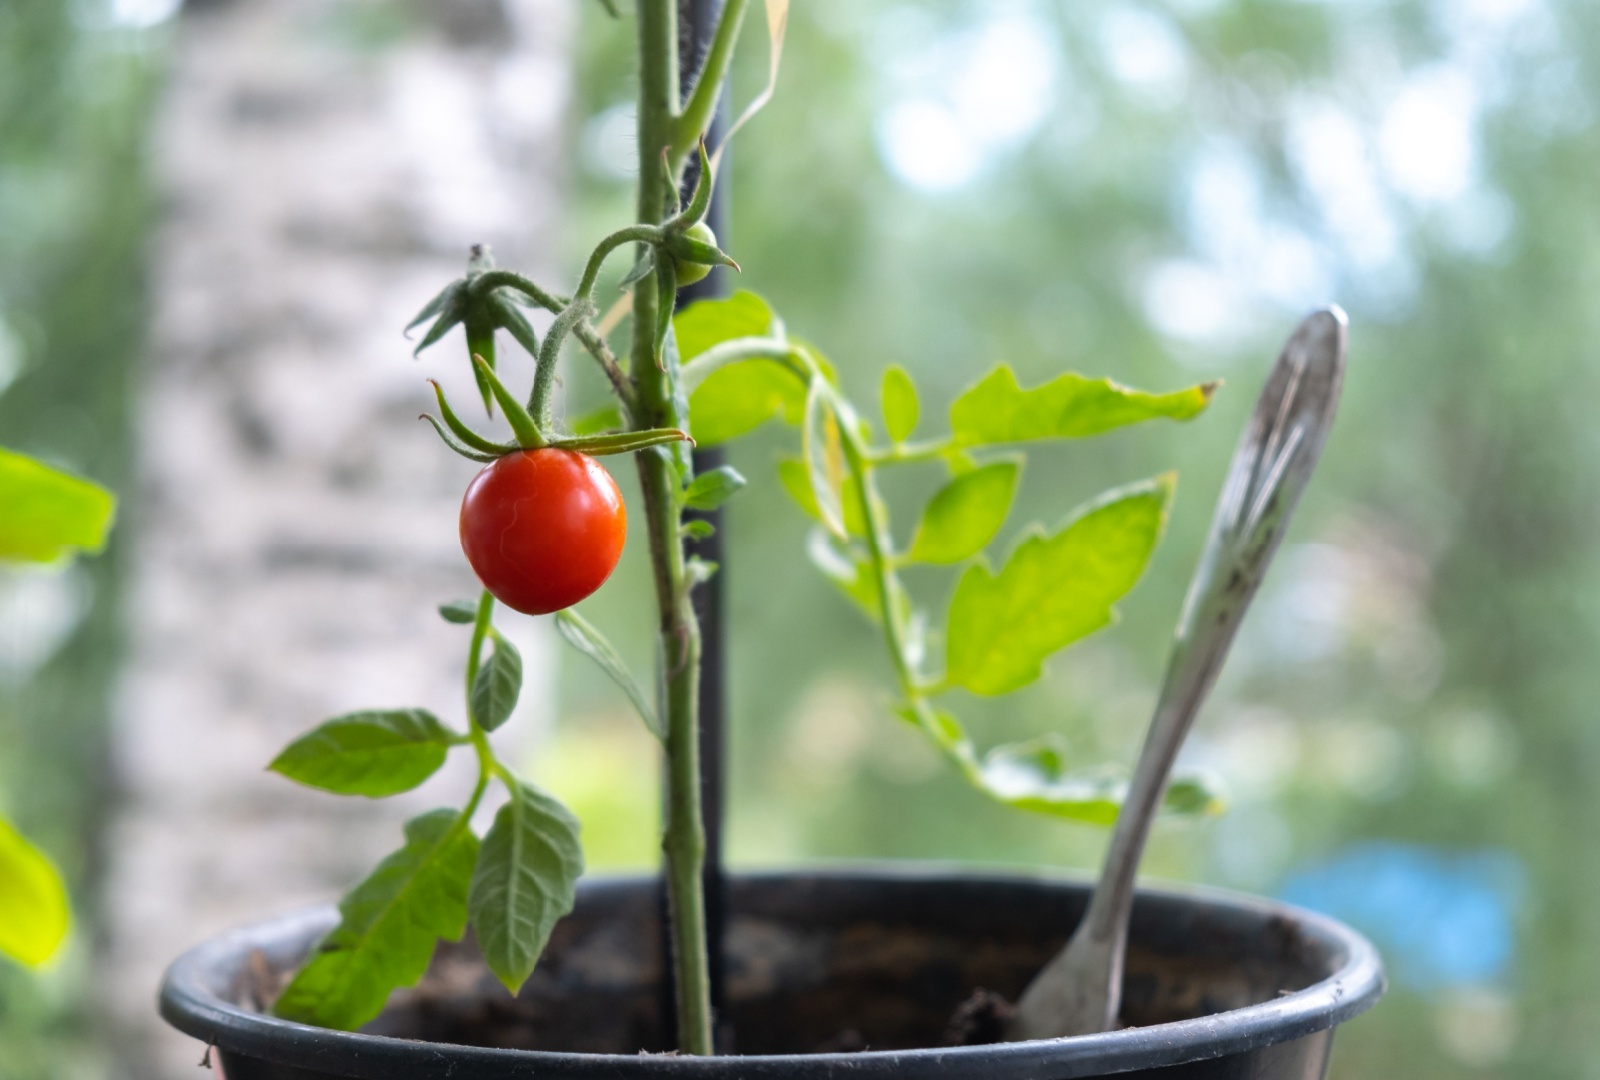
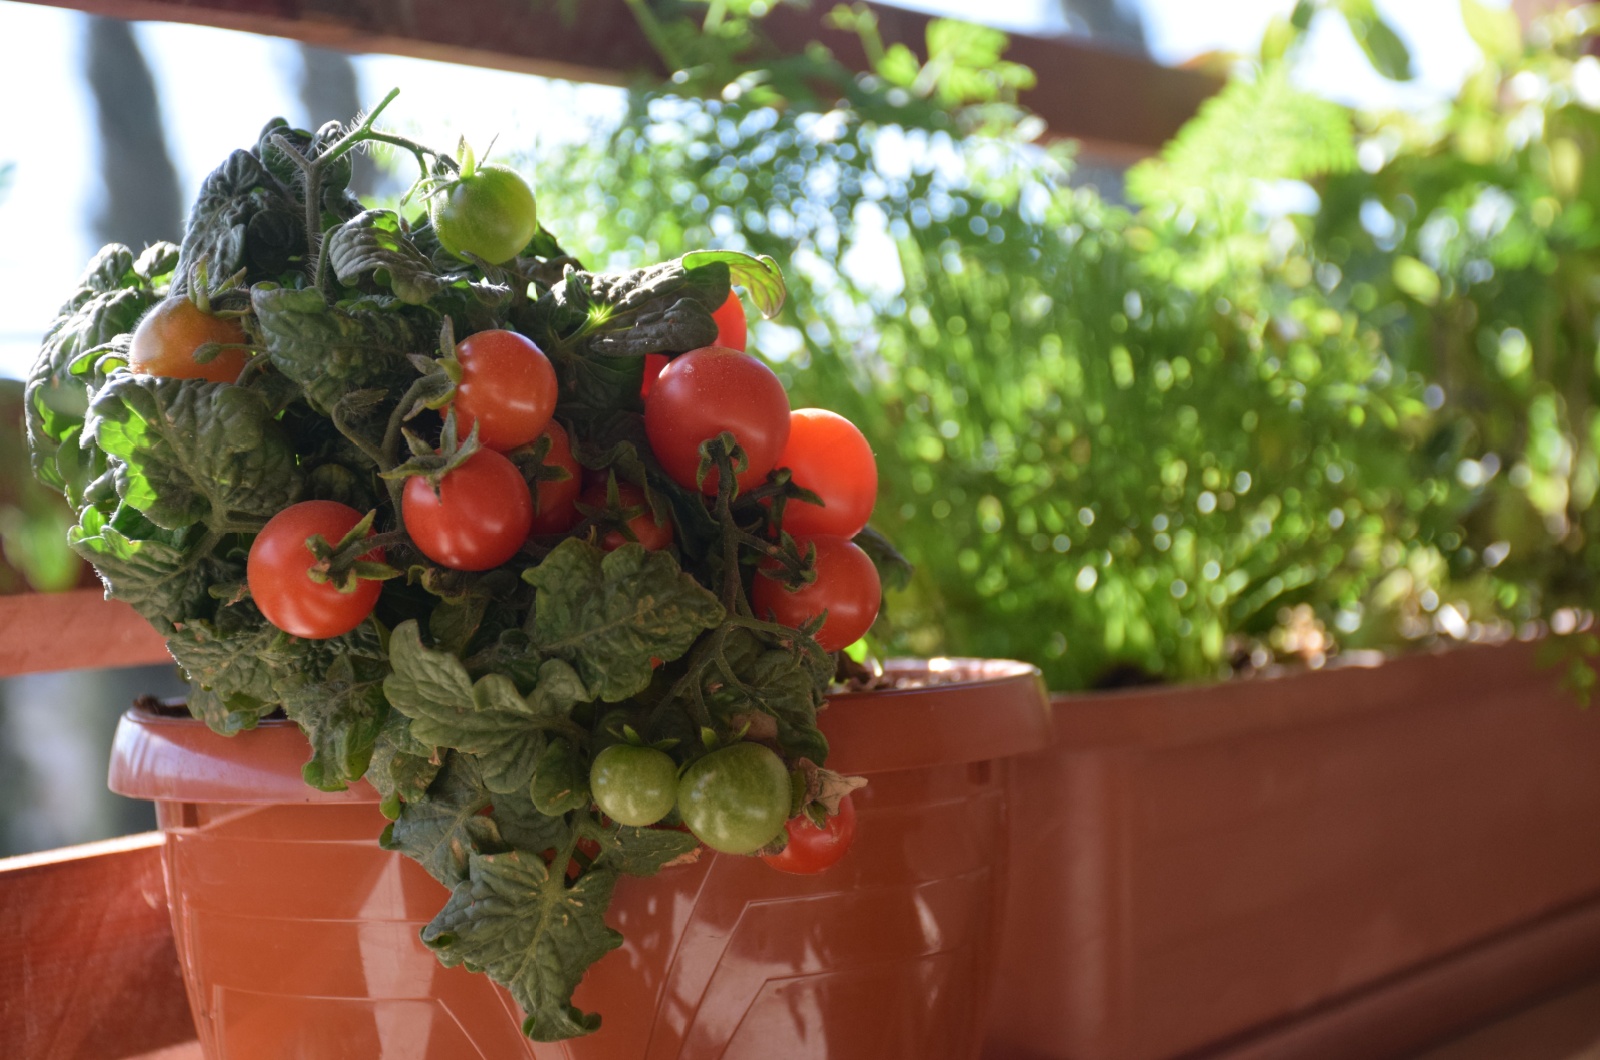
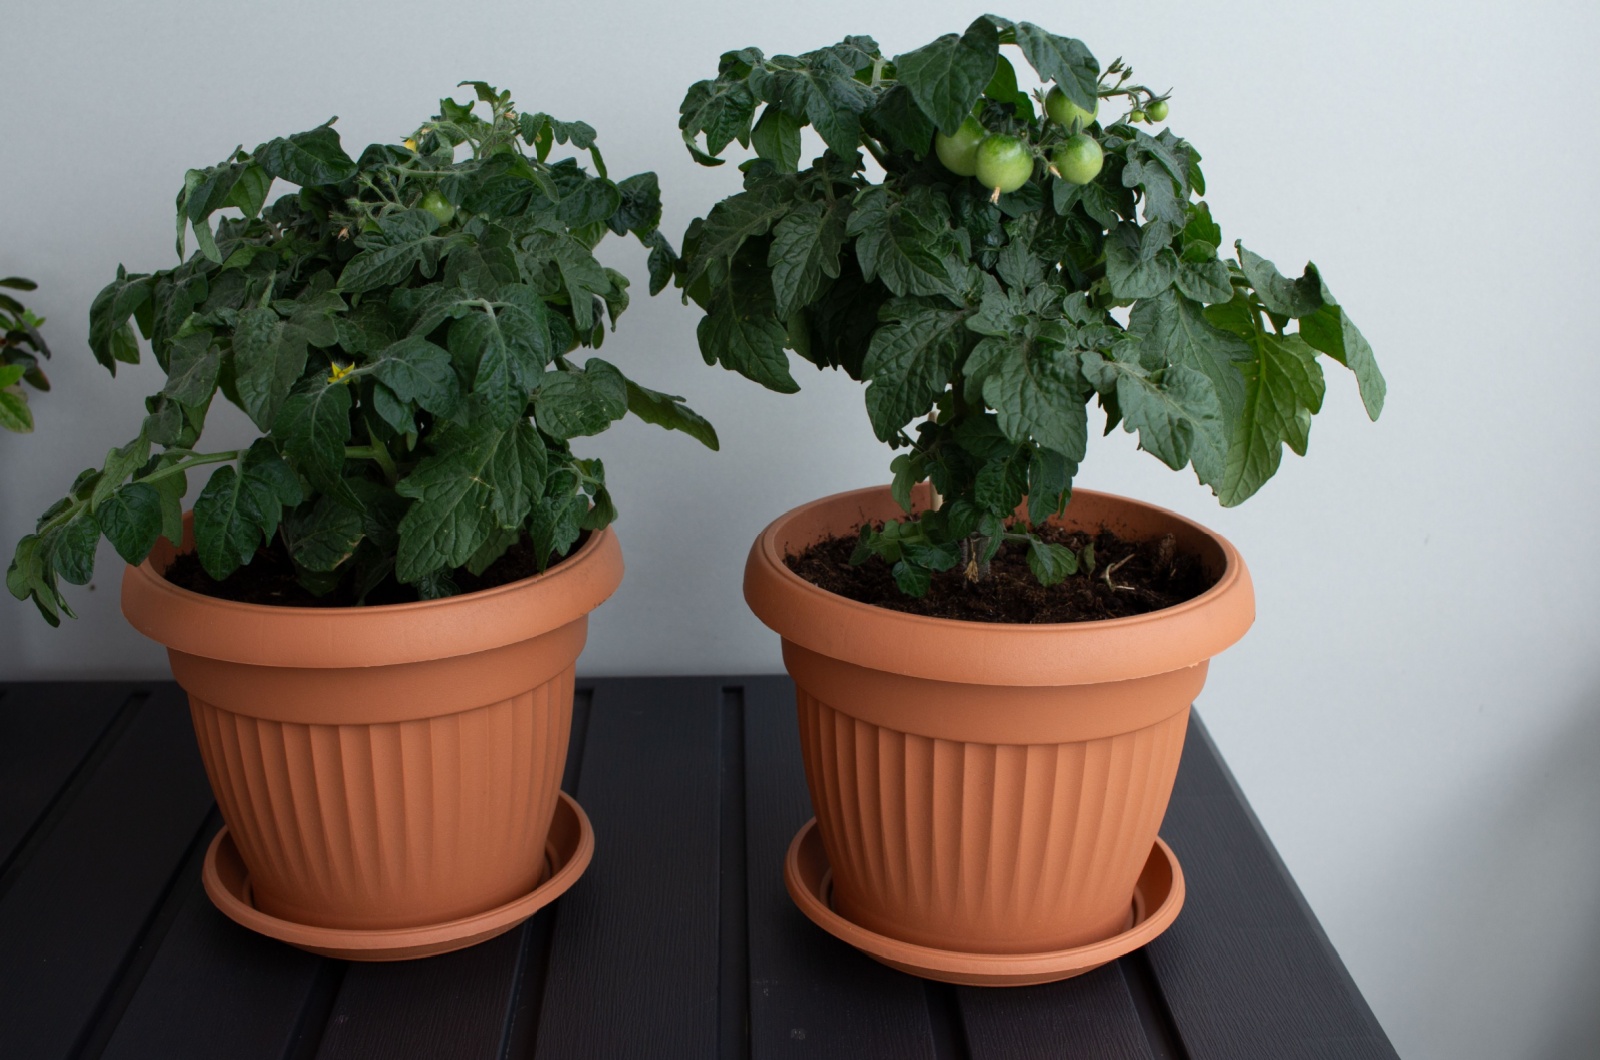
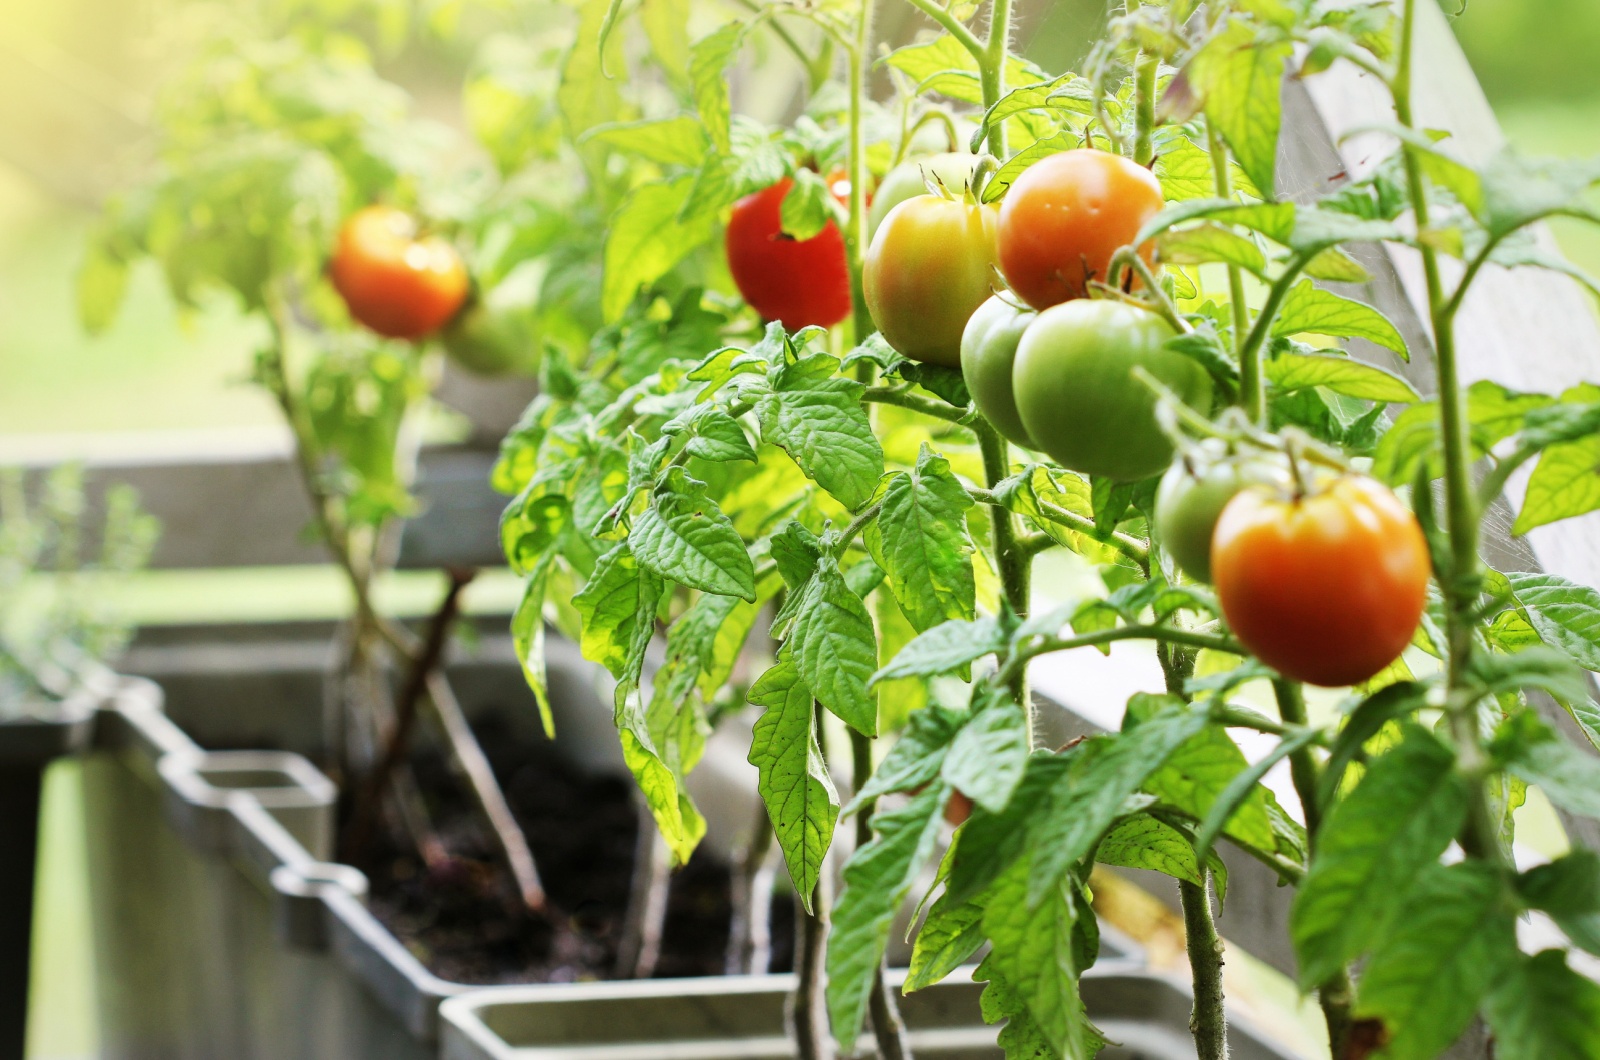
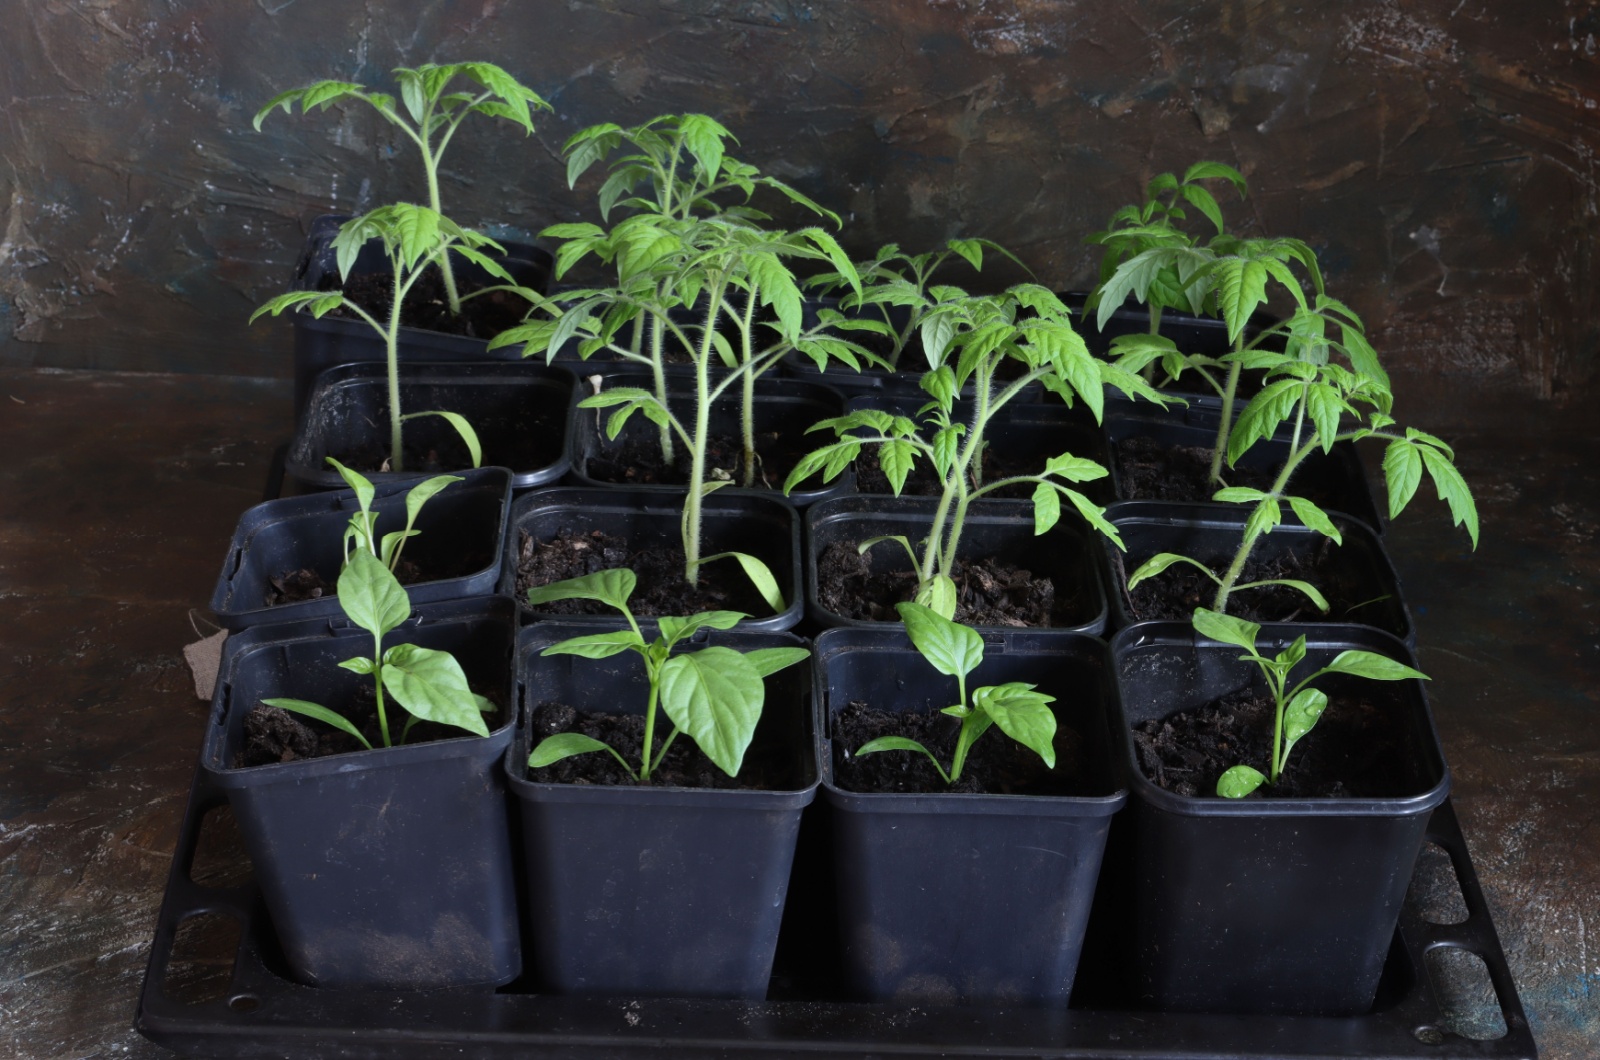
When space is tight but your craving for homegrown tomatoes is strong, container gardening seems like the perfect solution. Yet, growing them in containers introduces its own set of challenges (or as I like to call them, ‘tomato tragedies’).
I remember the first time I tried to grow a mini tomato factory on my patio – it was all filled with beautiful green leaves, but BARELY any tomatoes! I was so mad, especially because I didn’t know what went wrong.
So, I started figuring it out and, as it turns out, there are not one, not two, but TEN things you shouldn’t do when growing tomatoes in containers. I am going to share what I learned from my mistakes so you can avoid them and get to enjoy yummy container-grown tomatoes this season.
1. Growing Them In Pots That Are Too Small
What I didn’t know when I first started out is that a small pot just doesn’t cut it for tomato plants. I remember I used a tiny container and quickly realized it couldn’t hold enough water during the hottest months.
Tomatoes are thirsty and they need constant hydration. In that small pot, the soil dried out faster than I could keep up with, and the roots started winding around in circles like they were lost in a maze.
Rootbinding was a major issue for me. My plants got stunted and barely produced any fruit. I found out that small plastic pots are the main issue for this problem.
I moved to large, permeable clay or cloth pots to avoid rootbinding (these naturally “air prune” the roots!). When the roots hit the above-ground oxygen, they stop growing and avoid the whole binding mess.
Trust me, give your tomatoes plenty of room to stretch out, and they’ll reward you with a bountiful harvest.
Related: 8 Simple Strategies To Get More Tomatoes And Boost Your Harvest
2. Giving Them Too Much Water
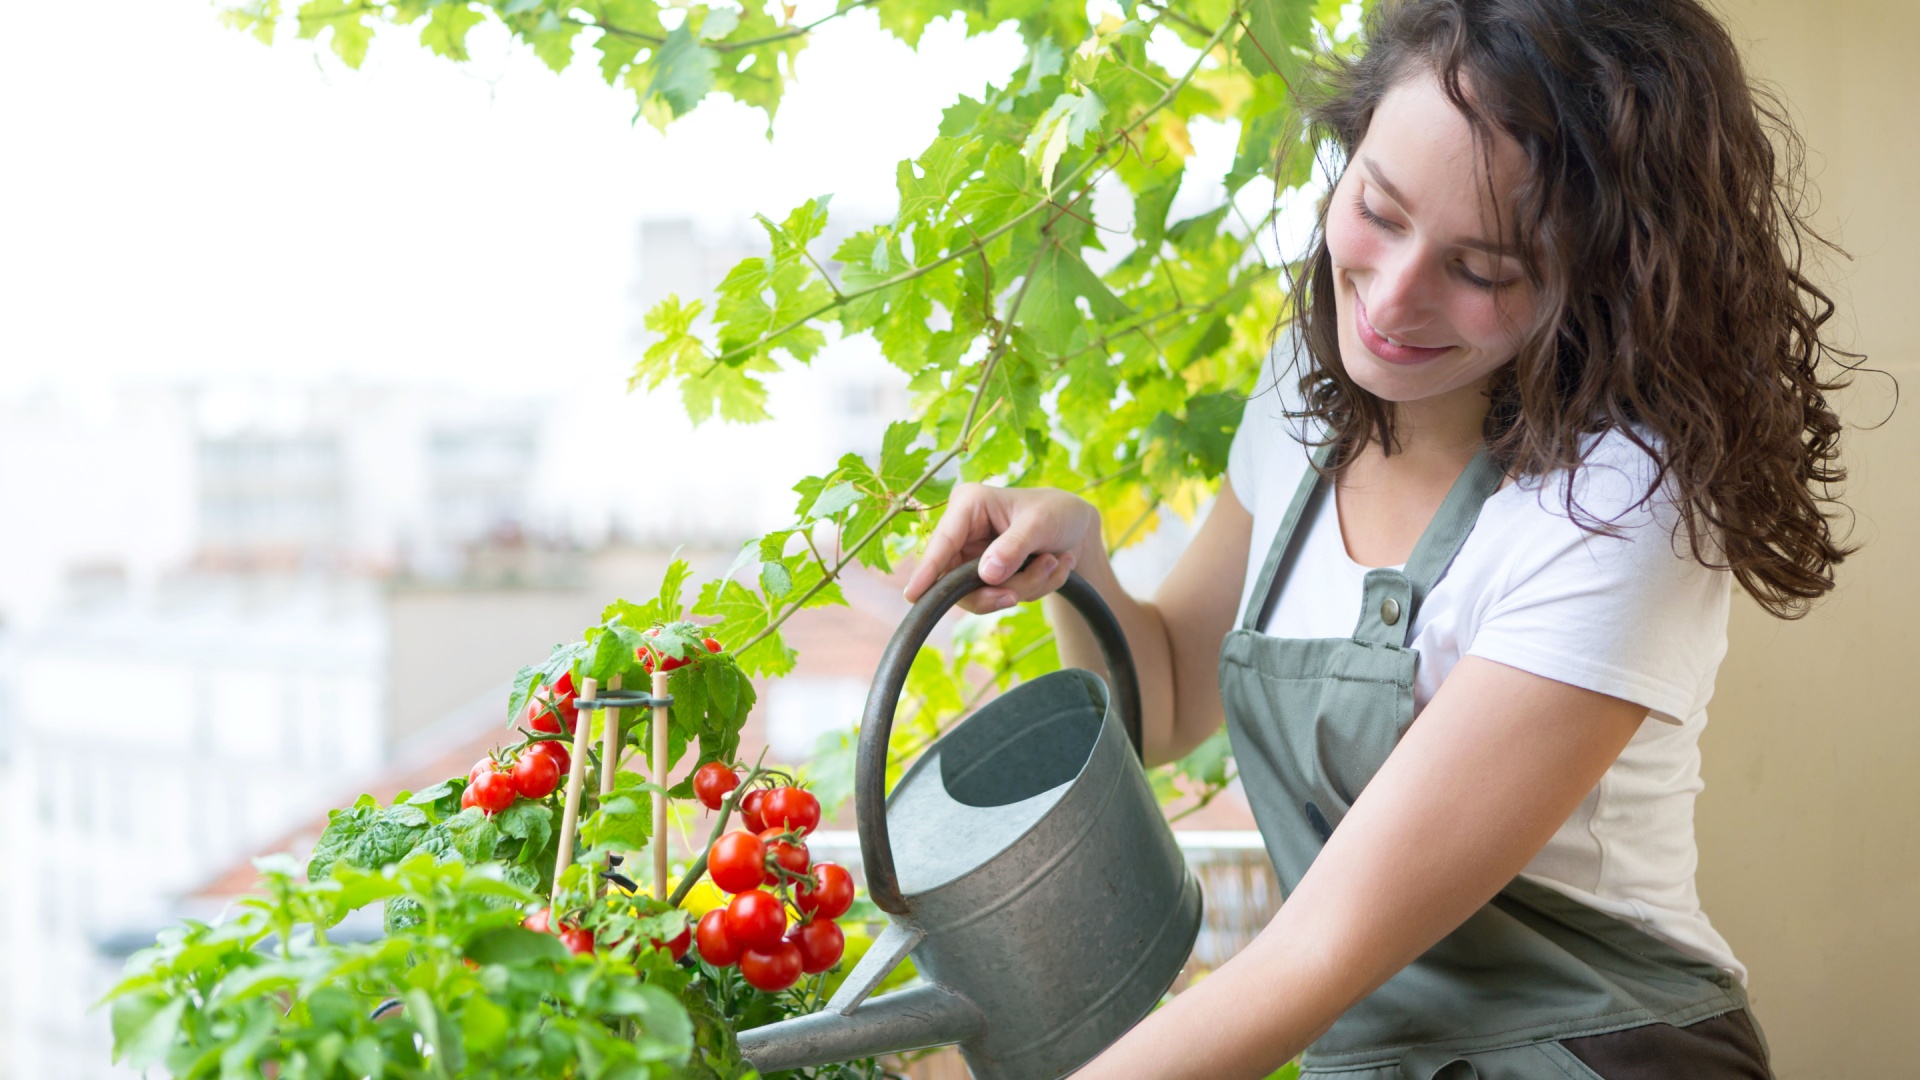
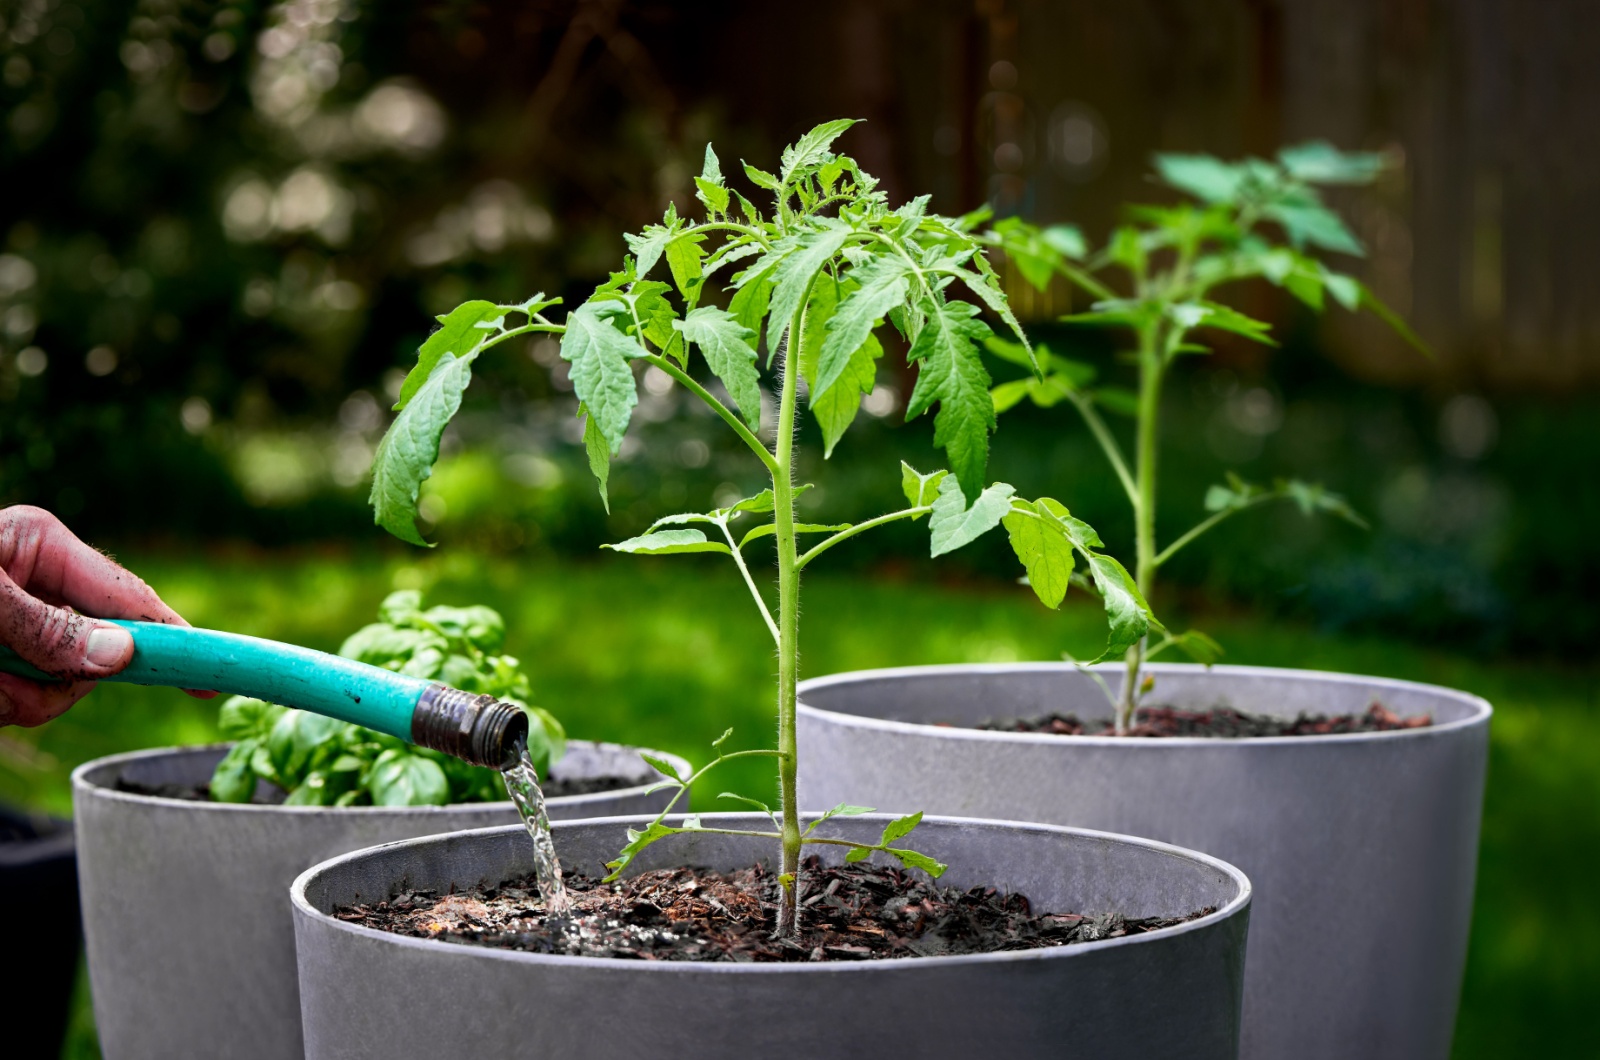
Proper irrigation is crucial for all tomatoes, especially those growing in containers. And of course, I got a bit too enthusiastic with the watering can, and it was a disaster.
Excess water can quickly damage potted plants since it has no place to escape. It collects at the bottom of the container, fostering an ideal environment for root rot (a deadly fungal disease that thrives in moist conditions).
After experiencing all those shenanigans with root rot, I really try to avoid keeping my potted tomatoes in wet soil. Picture yourself wearing boots soaked in water all summer long (that’s what an overwatered container plant experiences). The roots can’t breathe or function properly in the sogginess.
Here’s what I noticed when my plant was overwatered:
• Standing water at the base (been there, seen that)
• Rotten, foul odor from the soil (trust me, you’ll notice it)
• Yellowing, blistered leaves (I thought they were just getting sunburned!)
• Mushy, soft leaves (not a good look)
• A visible crust on the soil surface or lower tomato stem (I never liked the crust)
• Droopy, wilted foliage despite wet soil (this one threw me off completely)
• Limp, mushy, black roots (healthy roots should be whitish)
• Cracked fruit (sadly, I saw this way too often)
So, to avoid these problems, I learned to keep a close eye on my watering schedule. Let your plants dry out a bit between waterings, and make sure your pots have good drainage.
For more detailed instructions, check the text below!
How To Prevent Overwatering
First, ensure your container has proper drainage, ideally with a large hole in the bottom. Porous materials like terracotta and fabric pots are also excellent for soaking up excess moisture and preventing water from pooling.
These pots’ tiny holes on the sidewalls let airflow reach the roots, preventing the anaerobic conditions that can lead to root rot. I found this out after drowning my first batch of potted tomatoes in plastic containers (yep, guilty as charged!).
Next, make it a priority to check your potted plants regularly. Watering every other day won’t do anything for your potted tomatoes, so don’t follow that schedule.
Weather and conditions are always changing, so your plants’ water needs will vary. Instead, make it a routine to check the soil moisture with your finger whenever you pass by your plants. I’ve been doing this, and it’s saved my tomatoes more than once!
Here’s how to measure soil moisture by only using your fingertips:
• If it feels too soggy when you stick your finger several inches down.
• If it feels like a well-wrung sponge, the moisture is just right, and no watering is needed
• If it feels dry and crumbly, with little soil sticking to your skin, the plant needs water immediately.
Finally, analyze how well your soil drains. Because the soil is contained in a smaller area, container plants require even better-drained soil than raised beds or in-ground beds (water should flow through the soil freely).
Water puddling on top of the soil indicates that the plant needs to be repotted in a better mixture. I learned this after repotting my tomatoes into a more suitable mix and seeing them thrive.
Also read: Never Grow These 8 Plants Next To Your Tomatoes Or You’ll End Up With An Empty Batch
3. Or Not Watering Them Enough
Just as too much water can be problematic, a lack of water can also pose issues to your tomatoes. It’s probably too dry if you see the soil separating from the pot’s edge.
Remember what I said: tomatoes are thirsty crops, and container-grown plants are especially prone to drought stress. Depending on the size of the container and the environment, you may need to water your potted plant every day or maybe even every three days.
Roots are bound by the pot and can’t go any deeper to find moisture. Bigger pots will withstand dry spells longer, but fruit-bearing plants will always require more water to keep those juicy tomatoes going.
Here are a few of the main signs of underwatering:
• Pulling soil
• Wilting
• Crisp, dry leaves
• Leaves that curl
• Brown or yellow foliage.
• Slow, stunted growth
• No flowers or fruits
Your tomato crop might suffer greatly from a lack of water, which can lower the yield, flavor, and texture significantly.
You know, a tomato is about 95% water, so consistent moisture is highly important, especially for large-fruited varieties like beefsteaks!
This Is The Best Irrigation System To Water Your Potted Tomatoes
Thanks to an interesting natural process known as soil moisture tension, tomato roots can absorb just the right amount of moisture they need. That’s where the olla system comes in handy for potted plants.
Once the soil reaches saturation, the olla automatically stops releasing water through its porous sides. It’s like having a self-regulating hydration system for your plants!
All you need to do is bury the olla at the right depth and keep an eye on it to make sure it’s topped up. This simple yet effective method has kept countless potted plants perfectly hydrated and thriving.
4. Planting The Wrong Tomato Variety
There are a lot of different tomato varieties out there, and some are just too big for containers. Opt for compact types unless you have an enormous grow bag or raised bed.
Generally, determinate (bush) tomatoes are perfect for containers. These cultivars stay small and shrubby while still producing plenty of fruit at once. However, indeterminate (pole) cultivars can still be grown with regular trimming, trellis, and a larger container.
Here are some of my top picks for tomato varieties that thrive in containers:
• Supremo Roma – a compact, bushy tomato perfect for making sauces with its elongated, red fruits.
• Tumbling Tom Yellow – this cherry tomato is ideal for hanging baskets and window planters, adding a pop of color with its compact growth.
• Glacier – with determinate growth, these tomatoes are easy to manage with just a tomato cage, and produce delicious fruit.
• Chocolate Cherry – enjoy the rich flavor of purplish cherry tomatoes that grow effortlessly on a trellis.
• Better Bush – disease-resistant and compact, these plants reach about 4 feet tall, making them perfect for smaller spaces.
When selecting tomato seeds or seedlings, look for those specifically labeled as “compact” or “suitable for pots” to ensure they grow successfully in containers.
And don’t forget to match your tomato variety with your culinary preferences:
• If you love larger tomato slices, opt for heirloom and beefsteak types.
• For sweet snacks, cherry varieties are the way to go.
• And for canning, choose sauce varieties that yield low-moisture-content fruits.
So, if you’re new to growing tomatoes in containers, start small and watch your garden flourish!
Also read: These Are the Sweetest Tomatoes That Will Make Your Mouth Water
5. Not Pruning Them As Frequently
I didn’t know that even my potted tomatoes need some trimming from time to time! At one point, they looked like a tiny tomato jungle on my patio.
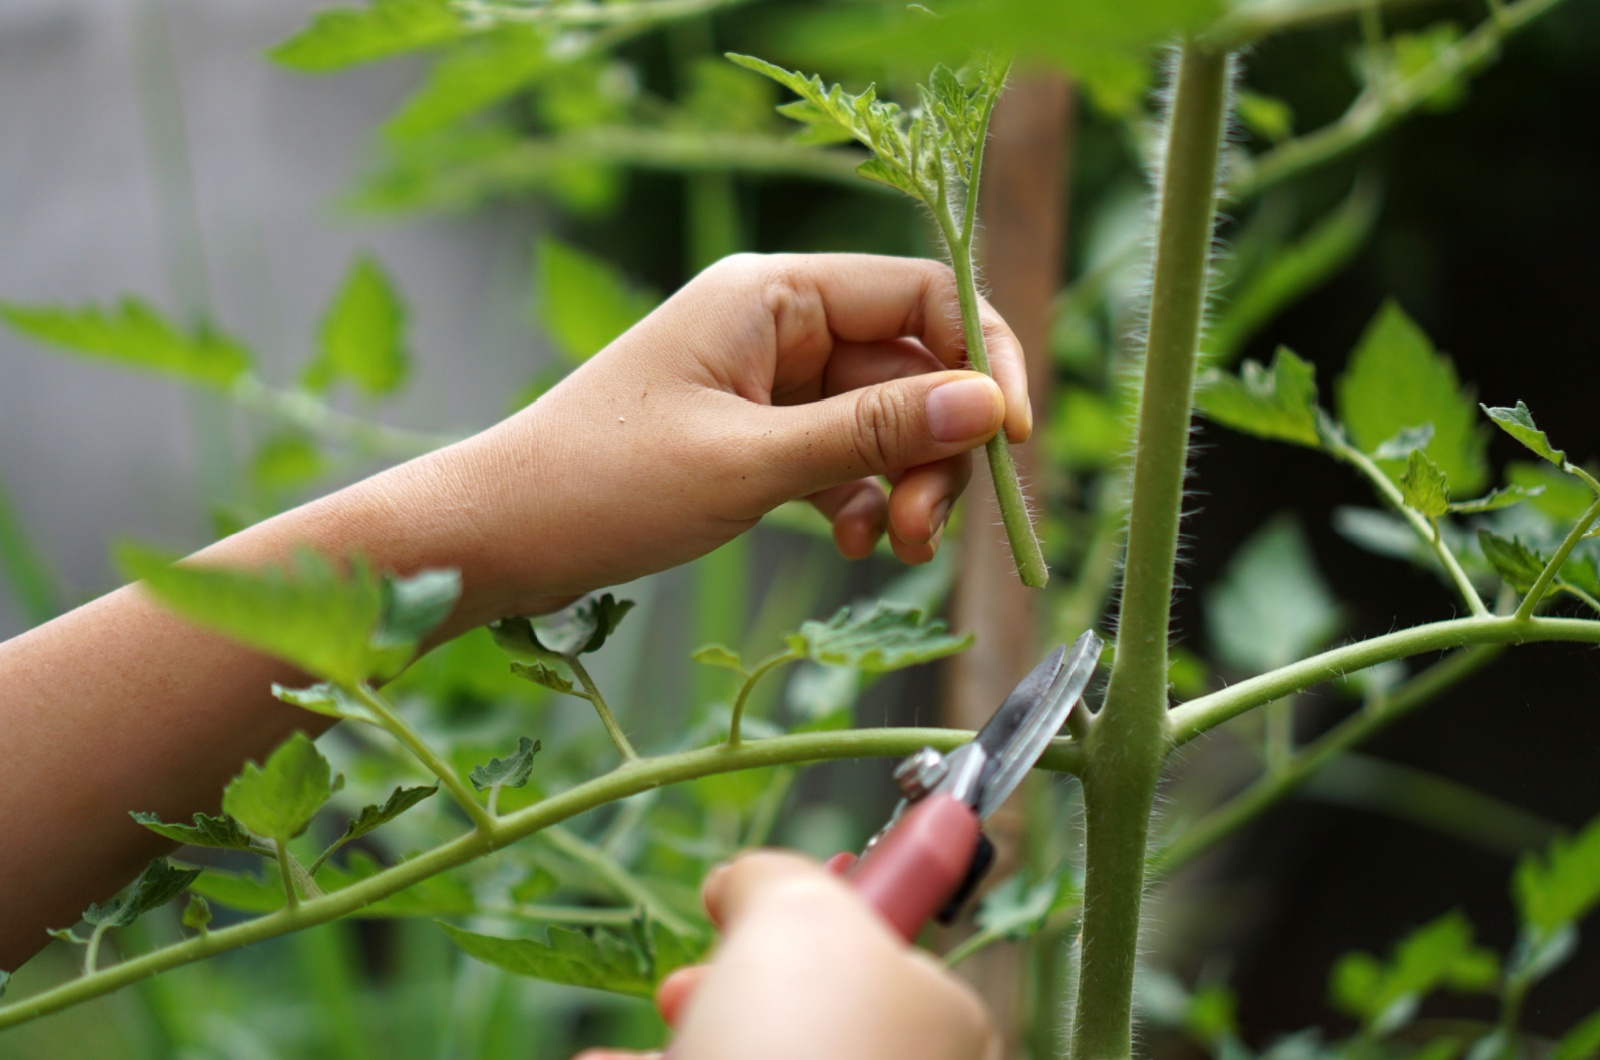
Suckers are the culprits here – they’re those sneaky side shoots that sprout in the “elbow ditches” of tomato plants, where leaf stems meet the main stem.
Indeterminate varieties are especially prone to suckers. Why are they called suckers you wonder? Well, it’s because they sap energy that could go into fruit production. Snipping them off redirects the plant’s focus to growing juicy tomatoes.
Just remember to keep your shears clean and sanitized. And don’t forget to remove the prunings from your garden to keep nasty diseases and pests far away from your potted tomatoes.
6. Not Supporting Your Plants Adequately
Growing tomatoes in pots without support (both mentally and physically) is asking for trouble! Without support, your plants are just waiting to topple over as soon as the weather gets windier.
No matter if you’re dealing with determinate or indeterminate varieties, they all need a little help to stay upright. You gotta keep them stable, right?
For determinate tomatoes, a sturdy tomato cage works wonders. It keeps them contained and supported as they grow bushier.
As for indeterminate varieties, they need something taller (like a T-post, a stake, or an extra-tall cage) to help them grow without sprawling all over the ground.
I usually go with trellising. Not only does this save you a lot of space, but it also keeps your plants tidy and disease-free.
So, don’t leave your tomatoes hanging (literally) and give them the support they need!
Related: Here’s How To Grow Tomatoes On An Arched Trellis
7. Letting Your Tomatoes Get Overcrowded
When it comes to container-grown tomatoes, overcrowding is a big no-no! Trust me, I’ve made the mistake of trying to cram too many plants into one pot, and let’s just say it didn’t end well (they were all struggling in the end).
From now on, stick to one plant per pot. Seriously, if you’re tempted to grow more, consider a small raised bed instead. Why? Well, tomatoes need room to spread their roots and stretch their branches.
When you overcrowd your tomatoes, they end up competing for everything – water, nutrients, and even sunlight. It’s like a tiny battle in a pot, and nobody wins. Crowded plants are also more prone to diseases like powdery mildew and blight. Trust me, you DO NOT want to deal with that mess.
So do yourself a favor and give your tomatoes some breathing room. Space them out, give them some love, and watch them thrive. Your future tomato harvest will thank you!
Related: If You’re Short On Space, Grow Your Tomatoes Upside Down And Get Bountiful Yield
8. Growing Them In Low Light Settings
Potted tomatoes are no exception, and they still crave their daily dose of sunlight. If you want those juicy fruits, give them at least six to eight hours of direct sunshine each day.
Insufficient light can leave your plants looking a bit… under the weather. Think pale foliage, wimpy stems, and a serious lack of flowers or fruit. Not exactly the tomato garden of your dreams, right?
The good news? You’ve got options! Since your container garden is mobile, you can easily relocate your tomatoes to a sunnier spot. Aim for a south-facing area with plenty of uninterrupted sunlight (no shady business from buildings or trees allowed!).
Related: This Is How Much Sun You Need To Give Your Tomatoes To Have Them Bursting With Flavor
9. Planting Them In Containers Without Drainage Holes
Watering tomatoes in containers can become a tricky game if your pots lack proper drainage. Unlike garden beds, where water can seep deep into the soil, containers need an exit strategy for excess water.
Before you pop that tomato plant into its new home, do a quick check for drainage holes. You’ll want at least one large opening at the bottom of the pot to let excess water escape.
And while those “self-watering” planters may sound fancy, they’re not always the best bet. Without seeing the water drain out, it’s tough to figure out if you’ve watered just right.
Stick with a classic pot-and-saucer setup instead – when the saucer fills up, you know you’ve hit the hydration sweet spot.
You can also use grow bags. These are made of permeable fabric that naturally absorbs away excess water, giving your tomato roots enough room to breath and avoiding overwatering.
10. Adding Too Much Nitrogen
Tomatoes will gobble up as much food as you give them, but too much of a good thing can backfire (as we all know).
Overdoing it with nitrogen-rich fertilizers is a classic rookie mistake. Sure, nitrogen perks up those leaves and stems, but it’s a double-edged sword.
All that lush foliage steals the energy from fruit production, leaving you with a green, leafy mess and not a tomato in sight!
So, how do you fertilize tomatoes the right way? It’s all about that balance, my friend.
Opt for a slow-release fertilizer with a near-even ratio of nitrogen, phosphorus, and potassium (4-4-4 or 3-4-6 will do the trick). This way, your tomatoes get a steady, well-rounded diet without the risk of overindulging on nitrogen.
Or go for an organic fertilizer that relies on soil microbes and gradually releases nutrients to your tomatoes as they need them.
Stay away from these ten blunders, and your tomatoes will thrive, avoiding the fate of being dry, soggy, withered, diseased, pale, shriveled, and alone (kind of like my college days: sickly, pale, and lonely… but hey, it gets better!).
Giving your tomatoes some space, not drowning them in water, and offering them support can make all the difference. With these basics covered, you’ll be on your way to enjoying juicy and homegrown tomatoes in no time!
Also read: Get The Biggest Tomatoes With These Fertilization Tips

