17 Tips And Tricks For Lush, Green Porch Ferns That Last All Season (And Beyond)
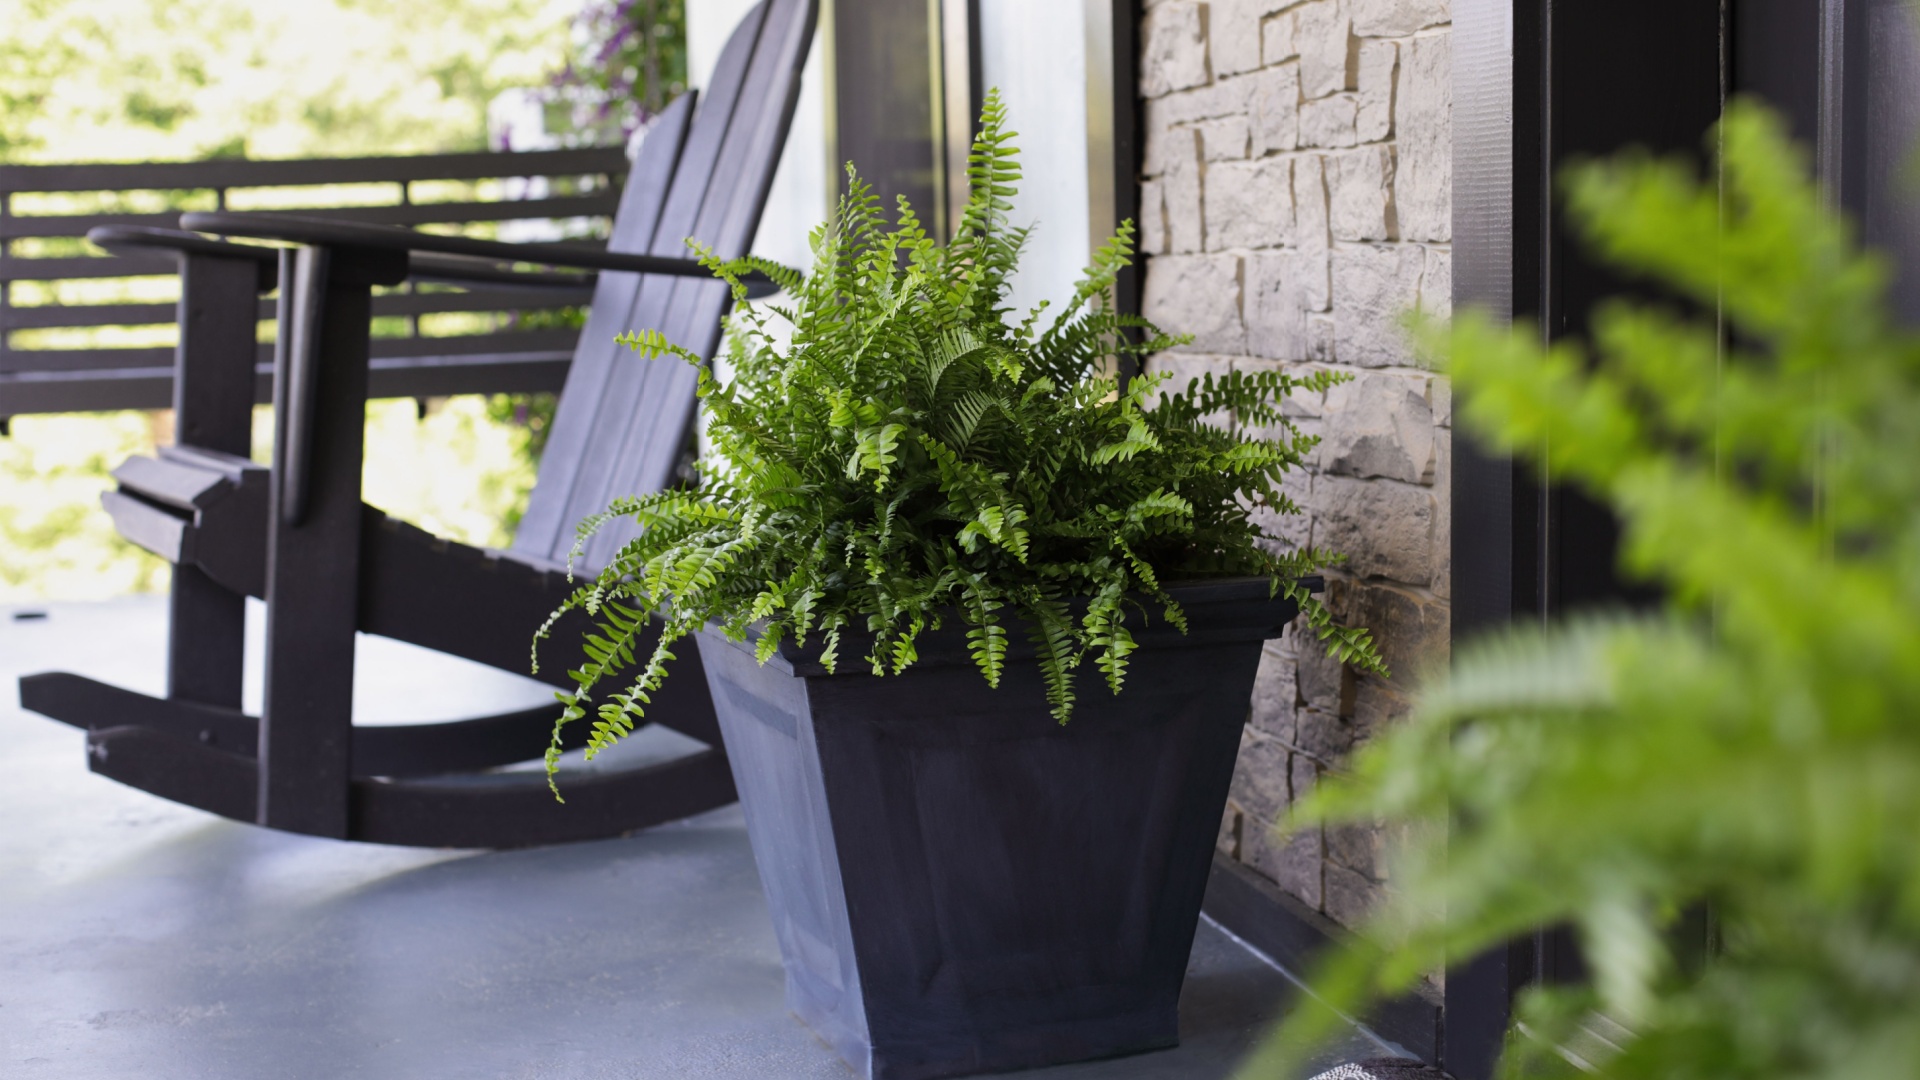
Is your porch fern more flop than flourish? Don’t throw in the trowel just yet! With the right know-how, your ferns can be lush, green showstoppers from spring to fall—and even come back swinging year after year.
Whether you’re a seasoned plant parent or just trying to keep those fronds from frying in the sun, these 17 tips and tricks are the secret sauce to long-lasting, leafy success. Let’s dig in and turn your porch into a fern-filled paradise!
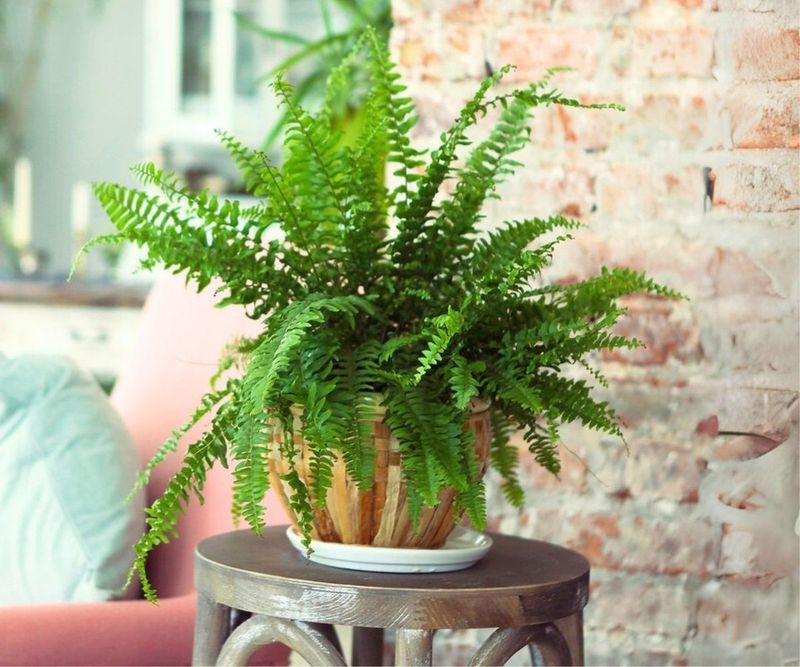
1. Find the Perfect Spot

Location makes all the difference for fern happiness. Most porch ferns thrive in spots with bright, indirect light. Morning sun is gentler than harsh afternoon rays that can scorch delicate fronds.
Take a day to observe how sunlight moves across your porch. Eastern exposures often provide that perfect balance of light without excessive heat. Northern porches work well too, especially in warmer climates where protection from intense sun is crucial.
2. Water with Consistency
Ferns crave steady moisture but hate drowning. Instead of following a strict schedule, check your fern’s soil by pressing a finger about an inch deep – if it feels dry, it’s watering time.
During summer heat, you might water every 1-2 days, while cooler weather requires less frequent attention. A good soaking that allows water to run through the drainage holes ensures thorough hydration. Just never let your fern sit in standing water!
3. Humidity Is Your Friend
Ferns evolved in forest understories where humidity levels stay naturally high. Recreate these conditions by misting your ferns regularly with room-temperature water, especially during hot, dry spells.
For an extra humidity boost, place ferns on trays filled with pebbles and water. As the water evaporates, it creates a pocket of moisture around your plants. Grouping multiple ferns together also helps maintain a humid microclimate they’ll appreciate.
4. Master the Art of Feeding
Ferns need nutrients but in gentler doses than flowering plants. Feed your porch beauties with a balanced, water-soluble fertilizer diluted to half the recommended strength once monthly during growing season (spring through early fall).
Organic options like fish emulsion work wonderfully despite their temporary smell. Always apply fertilizer to damp soil to prevent burning the roots. Come winter, suspend feeding entirely to respect your fern’s natural dormancy period.
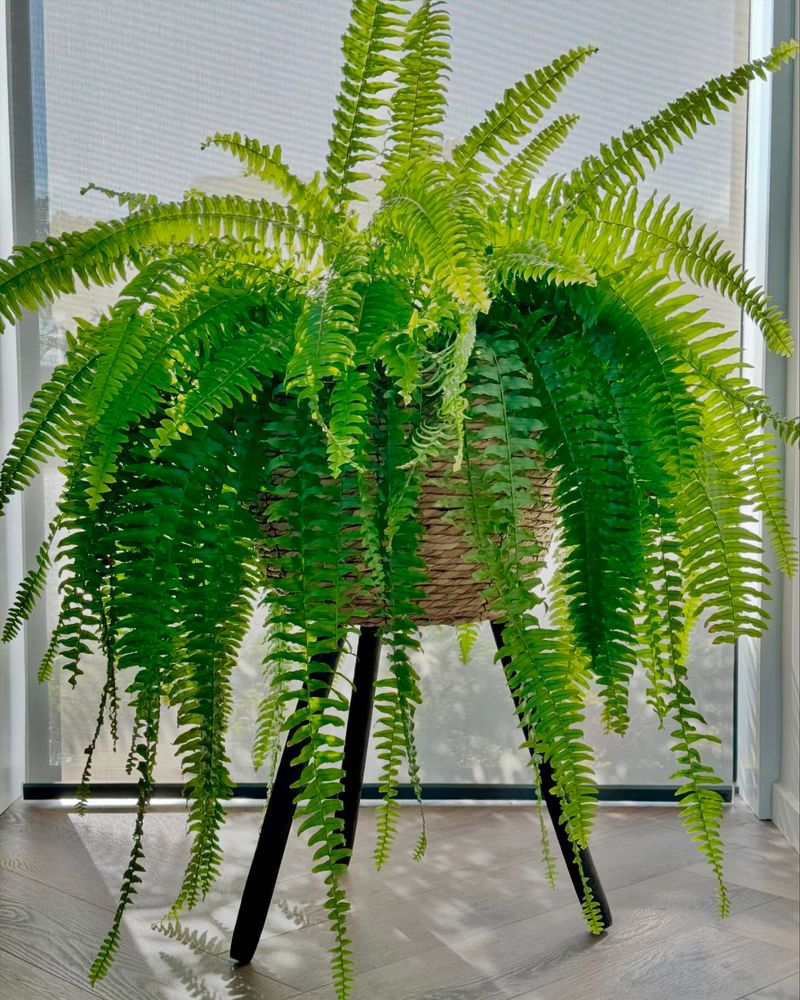
5. Choose the Right Pot

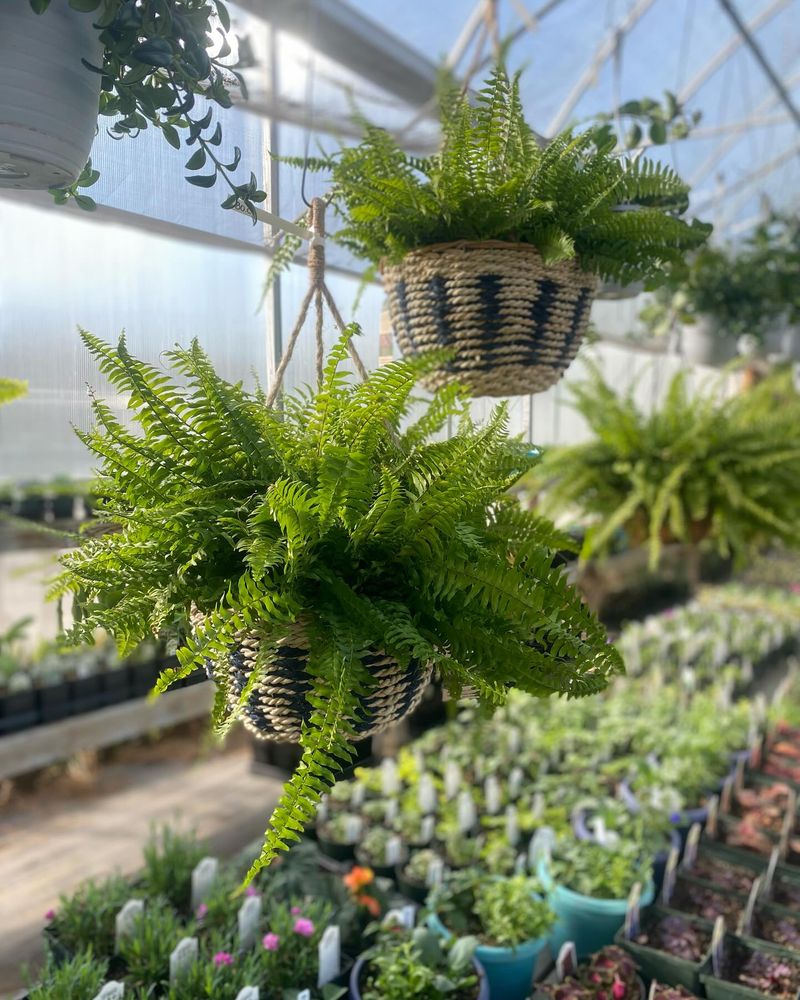
Pot selection significantly impacts fern health. Clay pots breathe naturally but dry out faster, while plastic retains moisture longer. Whatever material you choose, adequate drainage holes are non-negotiable.
Size matters too – a pot that’s 2-3 inches larger than the root ball gives room to grow without excess soil that stays wet. Hanging baskets work beautifully for many fern varieties, allowing their graceful fronds to cascade dramatically over the sides.
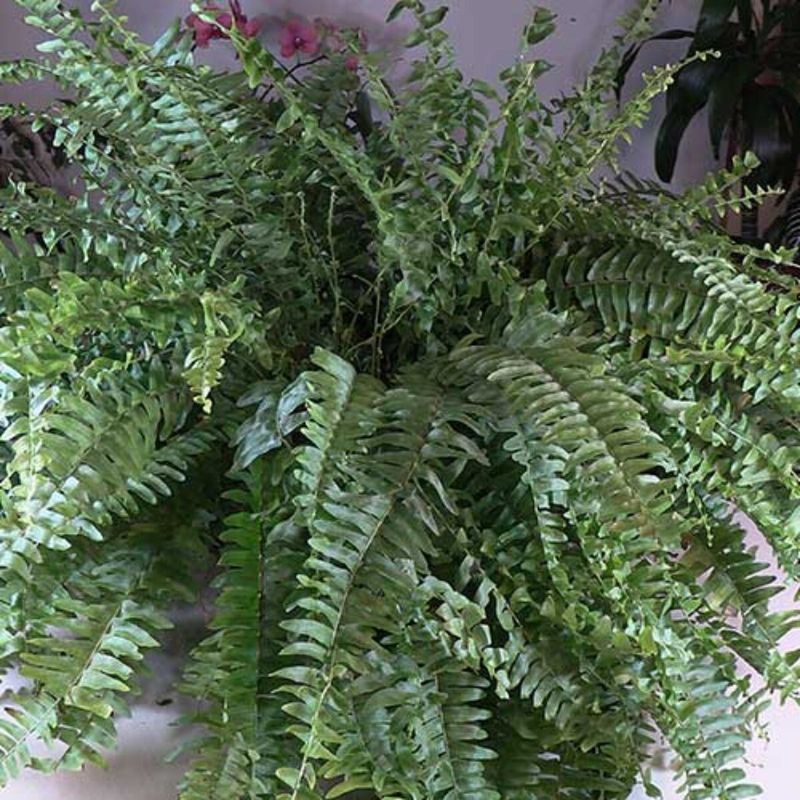
6. Trim Away the Brown

Even well-cared-for ferns develop occasional brown fronds. Grab clean, sharp scissors and snip these dead portions at the base where they emerge from the soil. This not only improves appearance but redirects energy to healthy growth.
Regular pruning prevents pests from taking hold in decaying material. Don’t worry about perfect symmetry – ferns naturally grow with wild, organic shapes. Focus instead on removing only truly dead or damaged fronds while preserving the plant’s natural form.
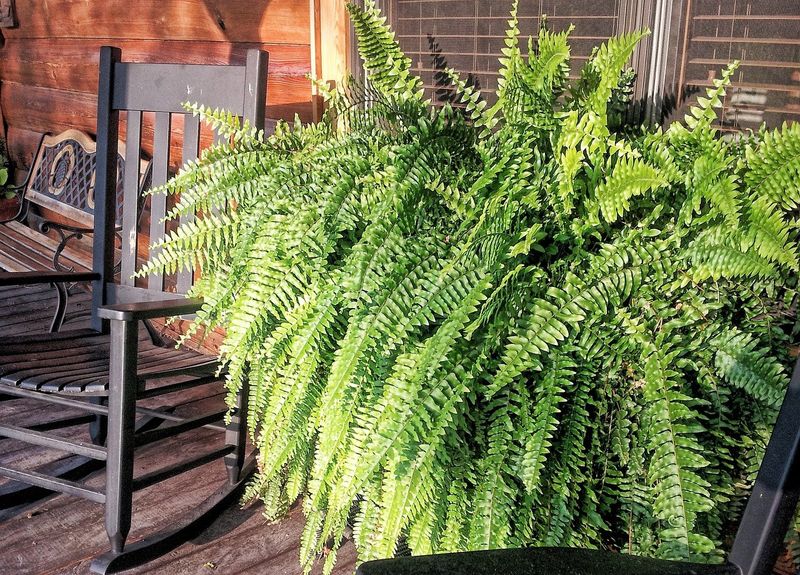
7. Protect from Temperature Extremes
Ferns prefer consistent temperatures between 65-75°F. When forecasts predict temperature dips below 55°F or heat waves above 90°F, temporary relocation might be necessary.
During cold snaps, bring ferns inside or against the house wall for protection. For heat waves, move them to shadier spots and increase watering frequency. Some gardeners use shade cloth during peak summer to filter intense sunlight while maintaining airflow around their prized ferns.
8. Prevent Pest Problems

Healthy ferns resist pests naturally, but occasional invaders like spider mites, mealybugs, or scale insects can appear. Catch problems early by inspecting the undersides of fronds weekly during growing season.
For minor infestations, a strong spray of water often dislodges pests. Persistent problems might require insecticidal soap applied in the evening when temperatures are cooler. Avoid chemical pesticides when possible – they kill beneficial insects and can damage sensitive fern fronds.
9. Give Them a Summer Shower

Dust and debris naturally accumulate on fern fronds, blocking light and clogging their pores. Once monthly, treat your ferns to a rejuvenating shower with room-temperature water.
Move potted specimens to the lawn and gently spray with a hose using a shower attachment. For hanging baskets, temporary removal allows for thorough cleaning. This practice not only removes dust but also hydrates thoroughly and discourages pests that prefer dry conditions.
10. Rotate for Even Growth
Ferns naturally grow toward light sources, which can result in lopsided plants over time. Combat this tendency by rotating your pots a quarter turn weekly.
This simple habit ensures all sides receive equal light exposure, maintaining that perfectly rounded shape ferns are known for. Pay special attention to hanging baskets, which often develop denser growth on the side facing outward. Even growth not only looks better but promotes better overall plant health.
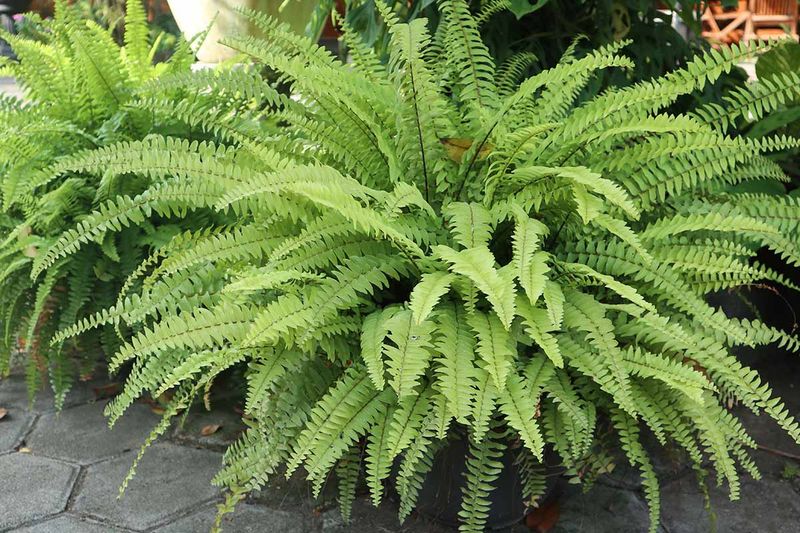
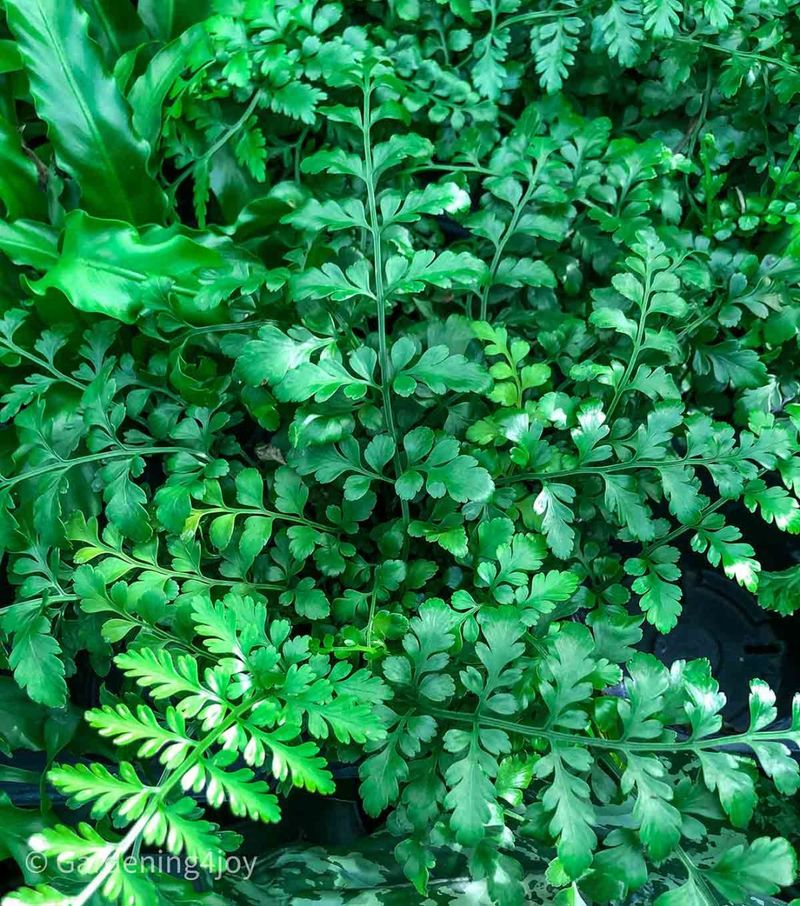
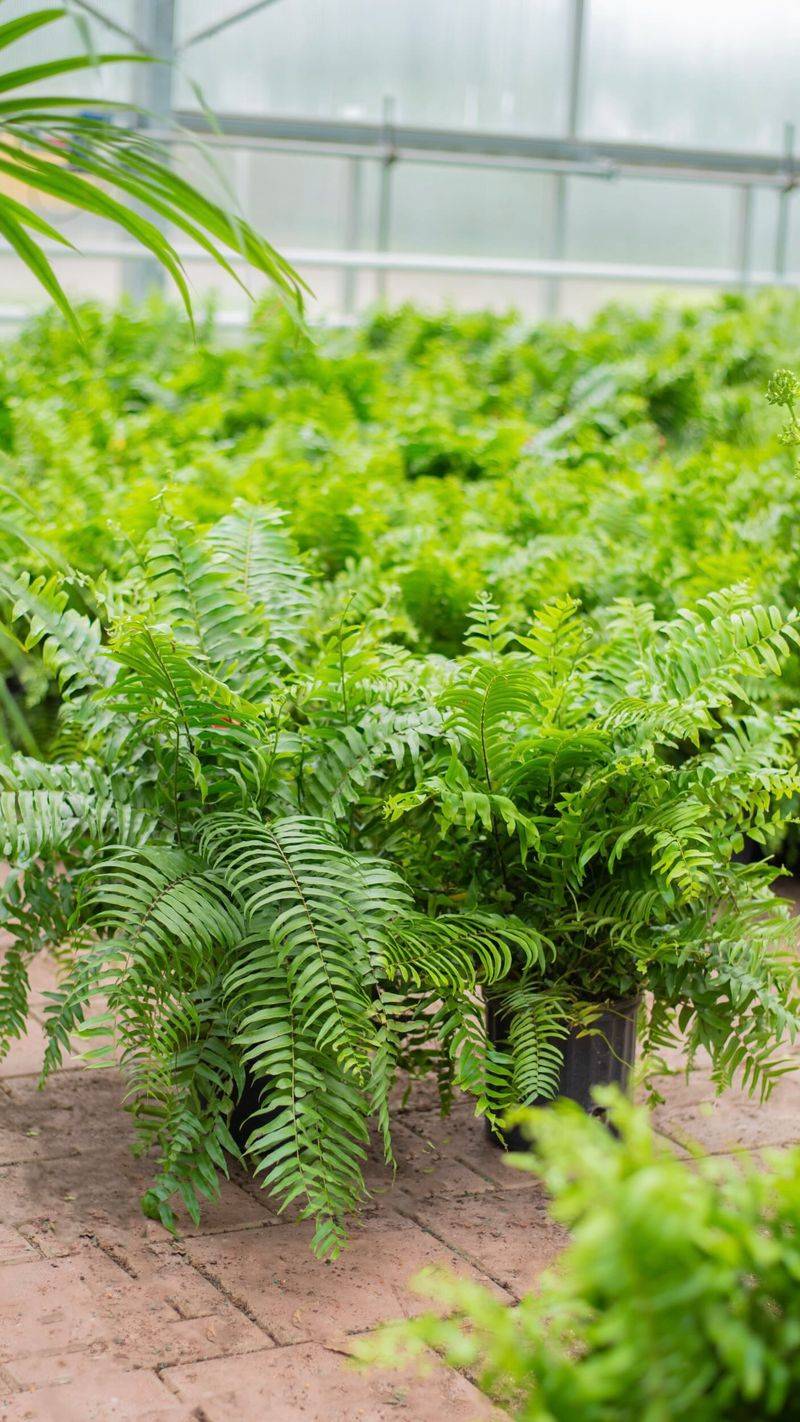
11. Choose Hardy Varieties
Not all ferns are equally suited to porch life. Boston ferns, maidenhair ferns, and kimberly queen ferns have proven themselves as stellar performers in hanging baskets and containers.
For challenging conditions, consider more resilient options like holly ferns or autumn ferns. They tolerate temperature fluctuations better than their delicate cousins. Match your fern choice to your specific porch conditions – whether that means intense humidity, occasional drought, or temperature swings.
12. Master Winter Storage

In colder regions, bringing ferns indoors for winter ensures year-after-year enjoyment. Before the first frost, inspect plants carefully, trim damaged fronds, and treat for any pests.
Place ferns in a cool location with bright, indirect light. Reduce watering but maintain humidity with occasional misting. Some gardeners store dormant ferns in cool basements with minimal care. When spring returns, gradually reintroduce them to outdoor conditions, avoiding sudden temperature or light changes.
13. Provide Proper Air Circulation
Stagnant air creates perfect conditions for fungal problems. Position your ferns with enough space between them and surrounding objects to allow air movement around all sides.
Ceiling fans on covered porches provide gentle air circulation that ferns appreciate. For crowded plant displays, consider occasional repositioning to ensure no plant remains constantly surrounded. Good airflow helps leaves dry properly after watering or rain, significantly reducing disease risk.
14. Use Quality Potting Mix
Standard garden soil compacts too heavily for container ferns. Instead, choose a high-quality potting mix specifically formulated for containers, ideally one containing peat moss and perlite for both moisture retention and drainage.
For extra fern happiness, add a handful of leaf compost to mimic their natural woodland floor habitat. Some gardeners incorporate a small amount of activated charcoal into the mix to keep the soil sweet and prevent odors in the consistently moist environment ferns prefer.
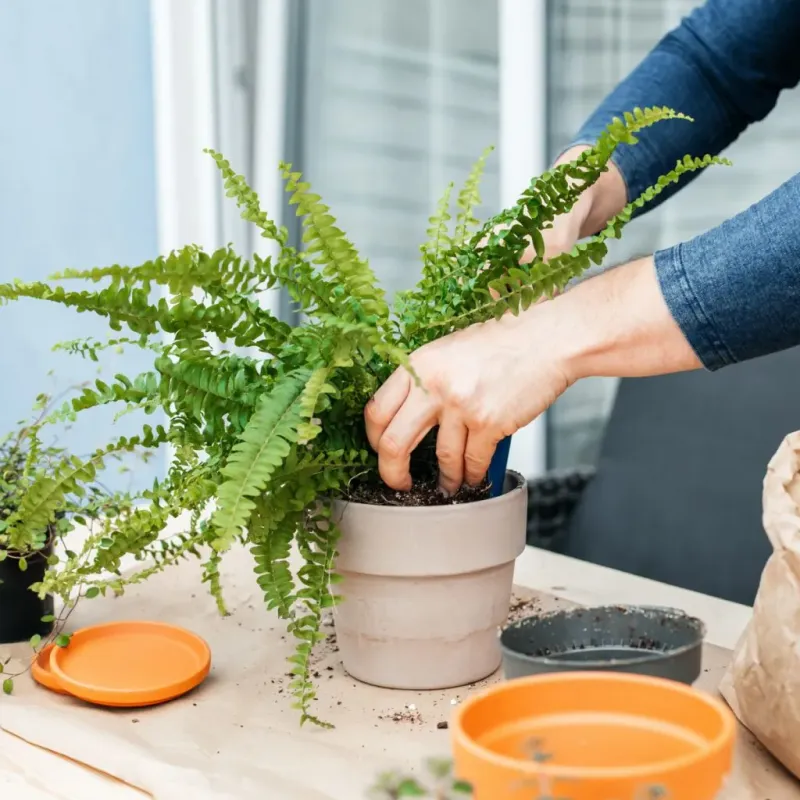
15. Know When to Repot

Ferns eventually outgrow their containers, showing signs like roots circling at the bottom or poking through drainage holes. Spring is the ideal time for repotting, when plants are entering active growth.
Select a container just 2-3 inches larger in diameter – too much extra space can lead to waterlogged soil. Gently loosen the root ball before replanting, and position at the same soil level as before. After repotting, place in shade for a week to recover from transplant shock.
16. Consider Self-Watering Options
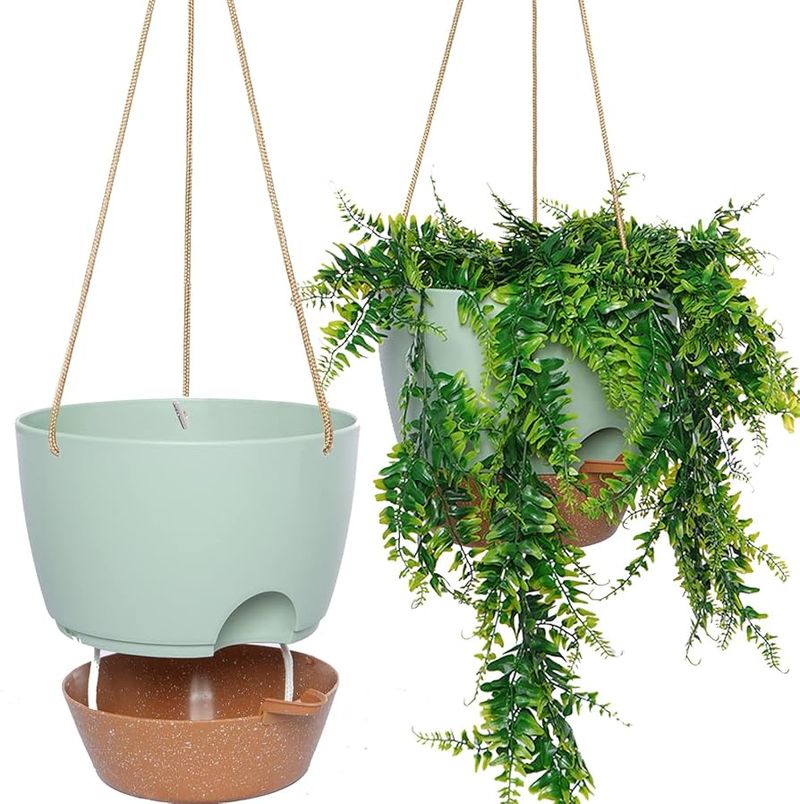
Vacation plans needn’t spell disaster for your ferns. Self-watering containers use a reservoir system to provide consistent moisture for up to a week, depending on weather conditions.
Commercial self-watering pots work wonderfully, but DIY options using plastic bottles or wicking systems can be equally effective. These systems excel during hot summer months when traditional containers might dry out completely in a single day. For longer absences, arrange for a plant-sitting friend to check on your fern collection.
17. Divide and Multiply
Mature ferns can be divided to create new plants and rejuvenate older specimens. Early spring provides the perfect opportunity, just as new growth begins.
Remove the entire plant from its pot and gently separate the root ball into sections using a sharp knife. Ensure each division has both roots and fronds before replanting. Newly divided ferns appreciate extra humidity and protection from direct sun while they establish. This practice not only multiplies your collection but reinvigorates aging plants.