17 Gardening Tips For Growing A Lush Fern Garden (And How To Keep It Thriving Year-Round)
Ferns bring that cool, calm vibe to any garden, but keeping them lush can be a bit of an art. I’ve spent plenty of time figuring out what makes them thrive through every season, and these 17 tips cover all the essentials.
From watering to light and a few insider secrets, you’ll have a green oasis that stays vibrant all year. Ferns are surprisingly easy to love once you get the hang of it.
Let’s make your fern garden the envy of every backyard.
1. Choose the Right Location
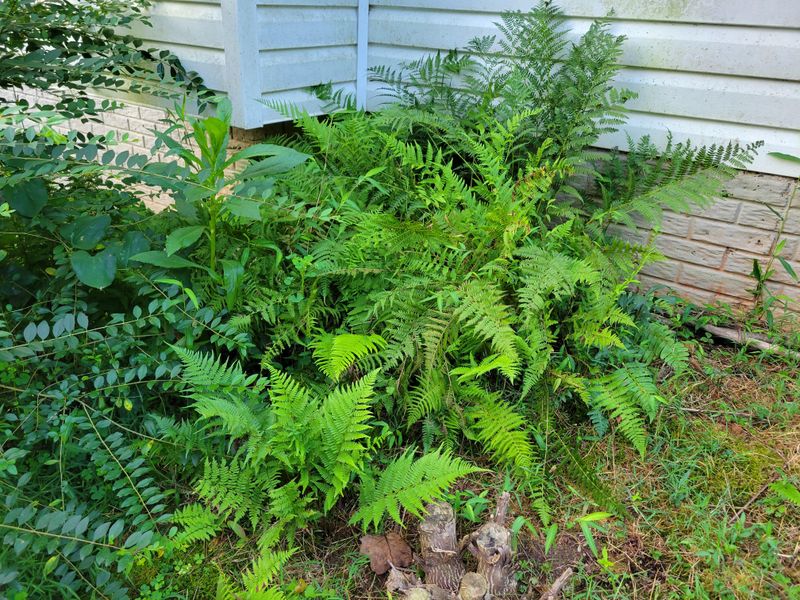
Most ferns thrive in shady spots that mimic their natural woodland habitats. Look for areas that receive filtered sunlight or are shaded by trees or buildings. Morning sun with afternoon shade works perfectly for many varieties.
North-facing walls or under tree canopies create ideal microclimates for these ancient plants. Remember that while some ferns tolerate more sun, excessive direct sunlight will scorch their delicate fronds and cause browning.
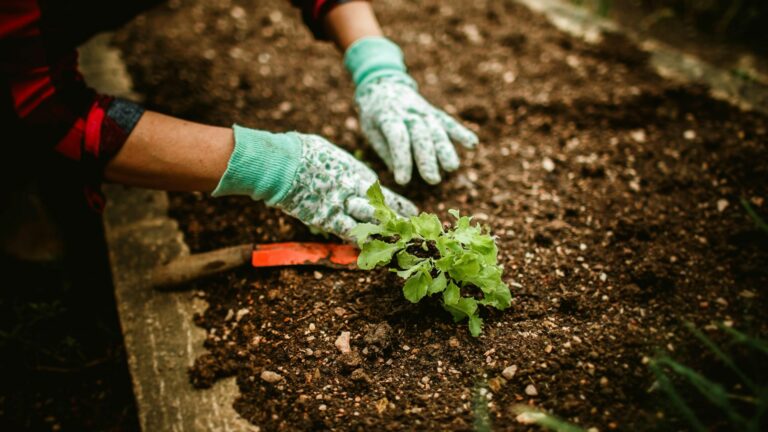
2. Understand Soil Requirements
Ferns crave rich, well-draining soil that holds moisture without becoming waterlogged. Create the perfect growing medium by mixing regular garden soil with plenty of organic matter like leaf mold, compost, or well-rotted manure.
This combination mimics the forest floor where ferns naturally grow. A slightly acidic to neutral pH between 5.5 and 6.5 suits most varieties perfectly. Test your soil and amend if necessary with sulfur to lower pH or lime to raise it.
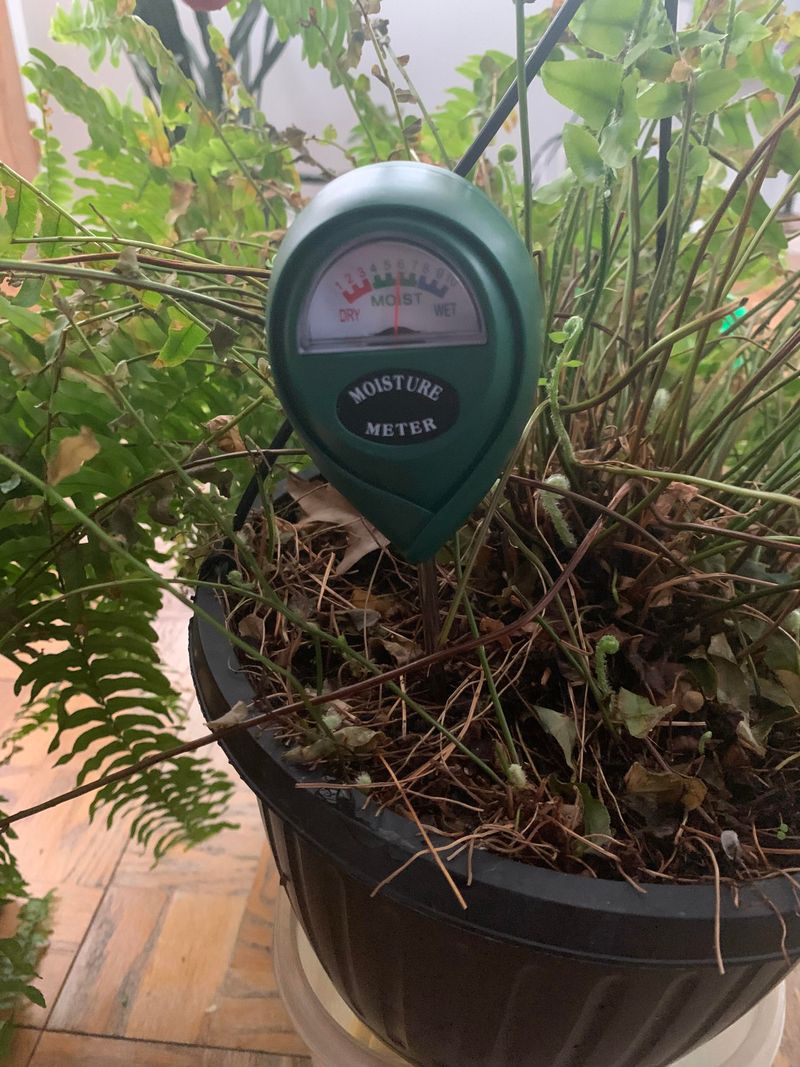
3. Master Watering Techniques
Consistent moisture is key to fern success, but finding the right balance takes practice. Water deeply when the top inch of soil feels dry, typically once or twice weekly depending on your climate. During hot spells, you might need to increase frequency.
Morning watering allows foliage to dry before evening, reducing disease risk. Consider installing a drip irrigation system with a timer to maintain consistent moisture levels even when you’re away. Avoid overhead watering which can damage delicate fronds.
4. Apply Proper Mulching
Mulch acts as your fern garden’s best friend by retaining moisture, suppressing weeds, and gradually breaking down to feed the soil. Apply a 2-3 inch layer of organic mulch like shredded leaves, pine needles, or bark chips around your ferns.
Keep mulch slightly away from the crown to prevent rot. Refresh your mulch layer annually in spring as the old layer decomposes. This mimics the natural forest floor where leaf litter continually breaks down, creating the perfect environment for fern roots.
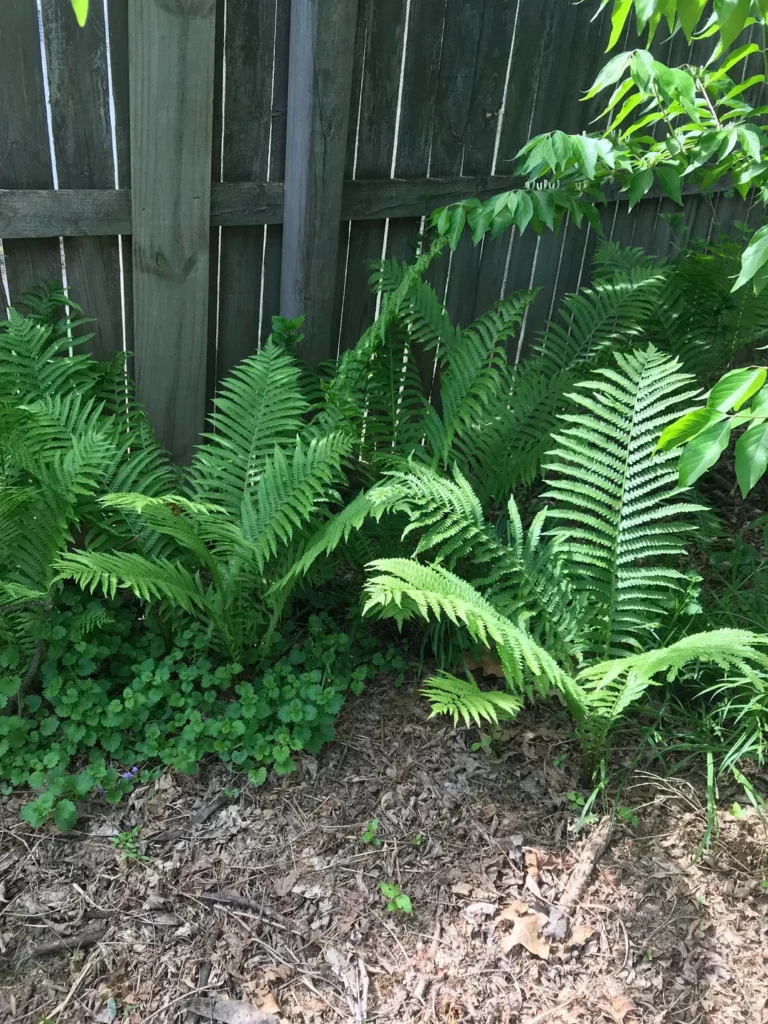
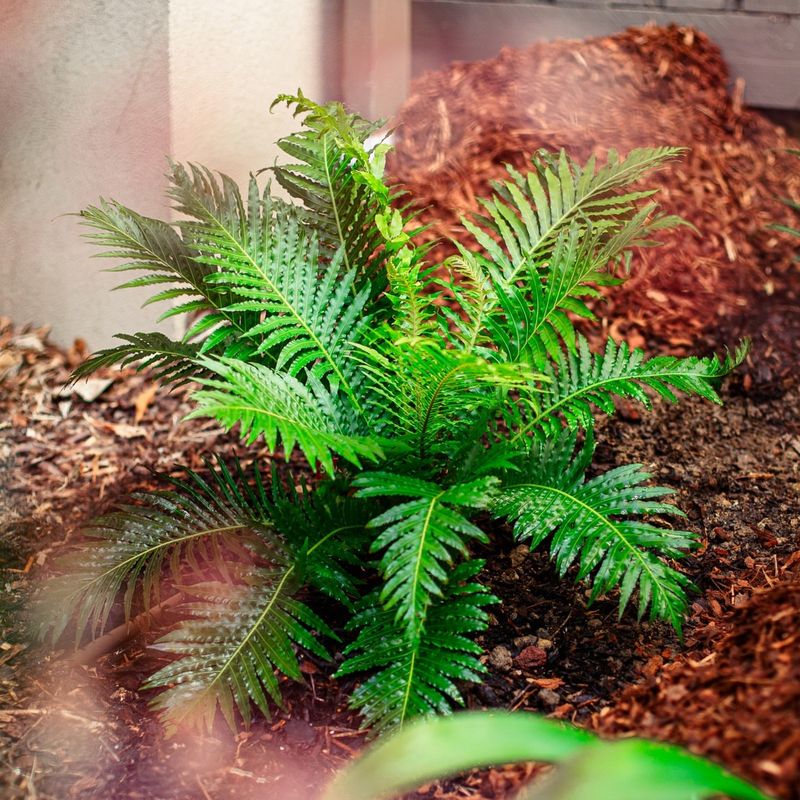
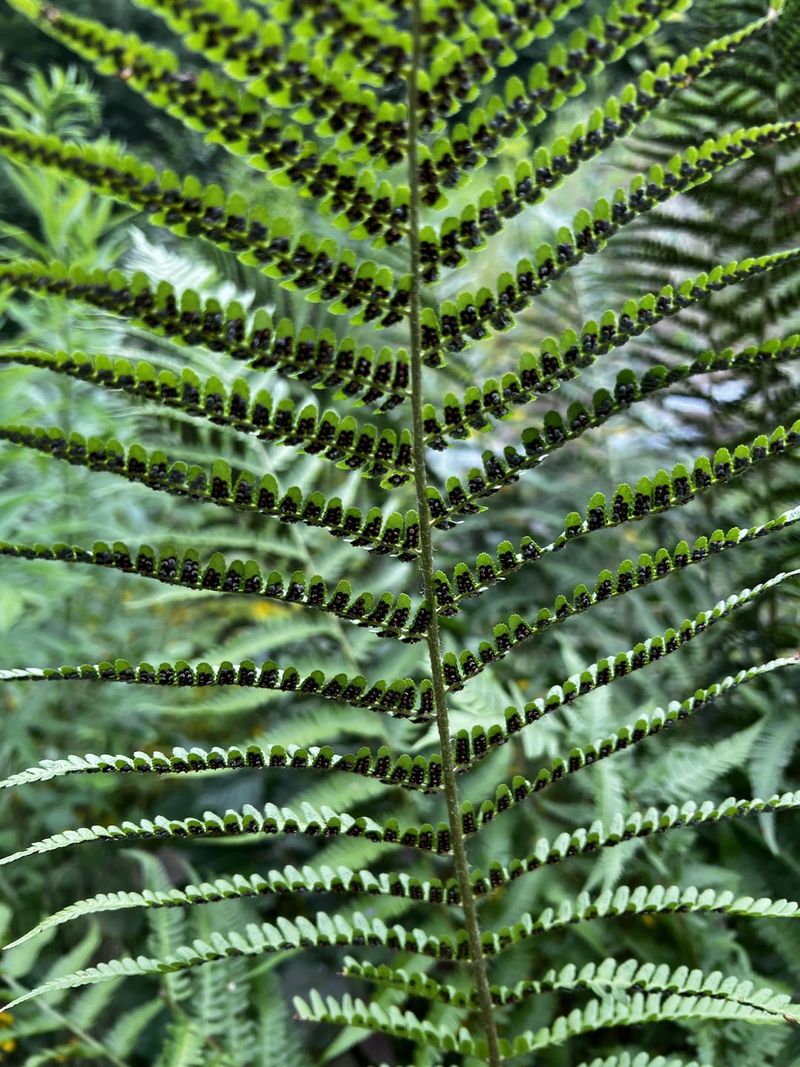
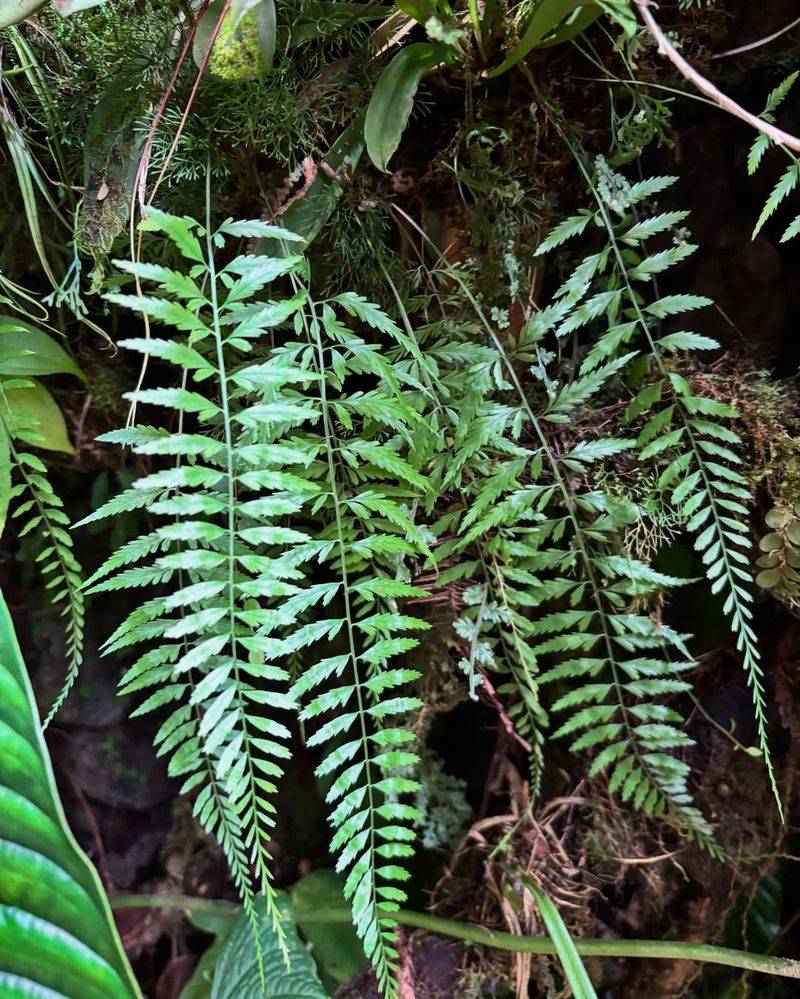
5. Select Diverse Fern Varieties
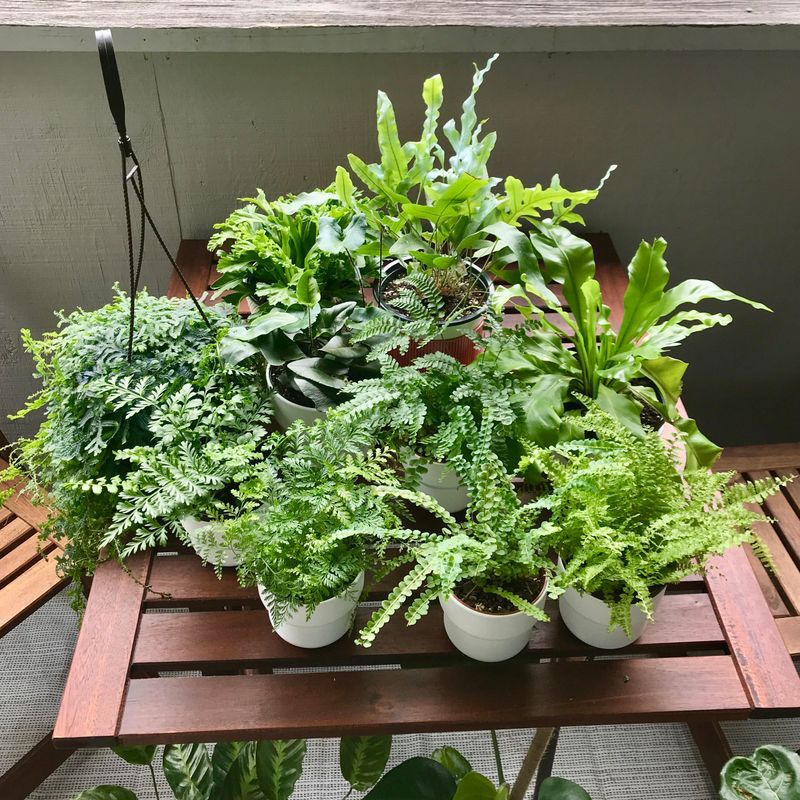
Creating visual interest means embracing fern diversity. Mix different textures, sizes, and colors by combining varieties like feathery Maidenhair ferns, bold Japanese Painted ferns with their silver-blue fronds, and dramatic Ostrich ferns that can reach 5 feet tall.
Include evergreen varieties like Christmas ferns alongside deciduous types for year-round appeal. Consider native ferns for your region as they’ll naturally adapt to local conditions. This diversity not only creates a stunning display but also provides insurance against pests or diseases.
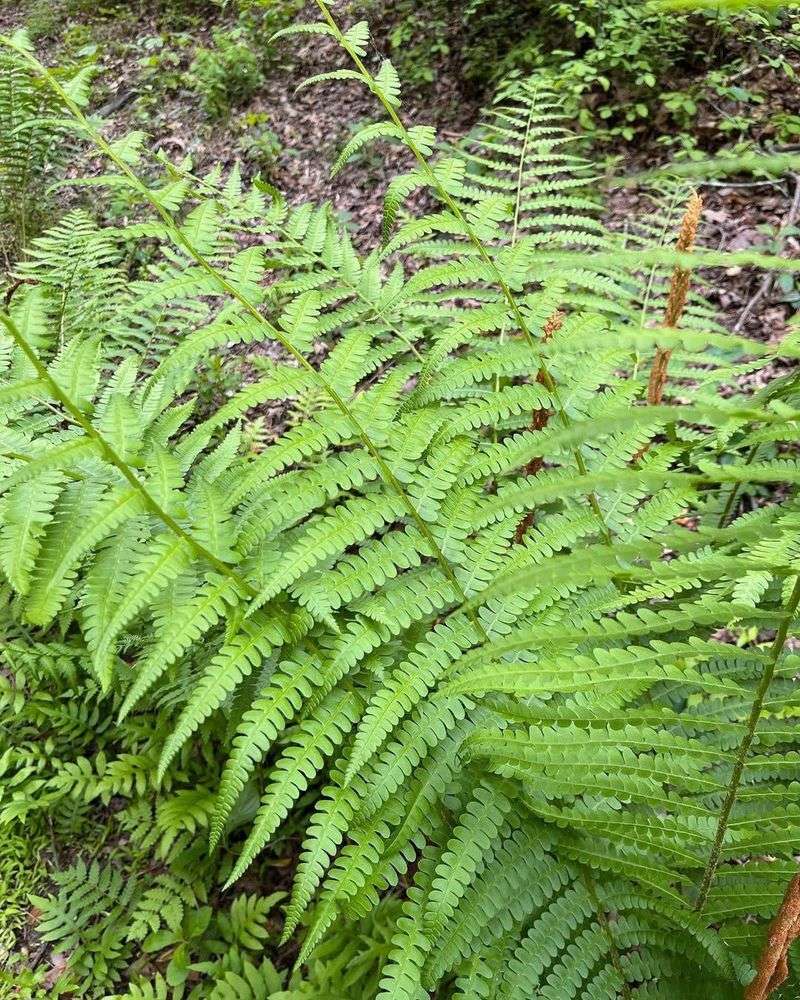
6. Implement Proper Spacing
Give your ferns room to show off their natural form by spacing them appropriately. Small varieties like Button ferns need about 12 inches between plants, while larger types like Ostrich ferns require 24-36 inches of space to spread their dramatic fronds.
Consider mature size when planting, not current size. Proper spacing improves air circulation, reducing fungal problems while allowing each plant to develop its characteristic shape. Over-crowded ferns compete for resources and often develop weak, stretched growth.
7. Feed with Appropriate Fertilizer

Ferns prefer gentle nutrition over strong fertilizers. Apply a balanced, slow-release organic fertilizer in early spring when new growth begins. Look for products specifically formulated for acid-loving woodland plants or use compost tea for a natural approach.
Avoid high-nitrogen fertilizers which can burn delicate roots and fronds. A light feeding once or twice during the growing season is sufficient. Remember that excess fertilizer does more harm than good, often resulting in brown frond tips or edges.
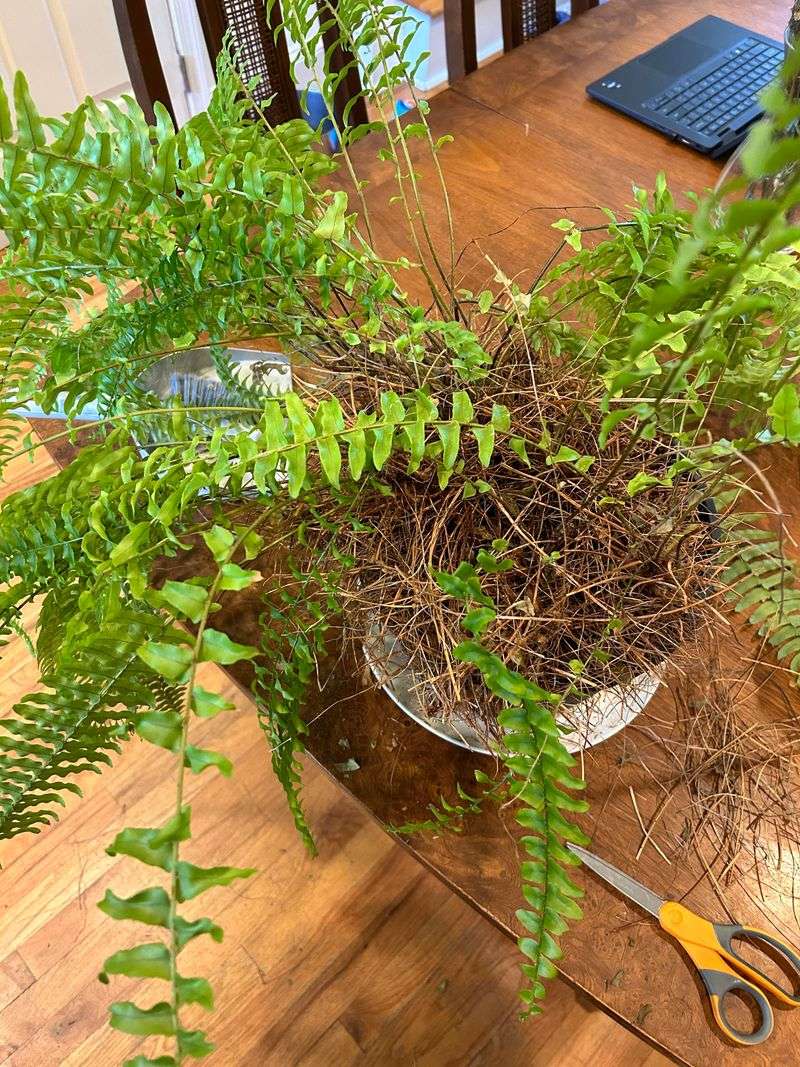
8. Master Division Techniques
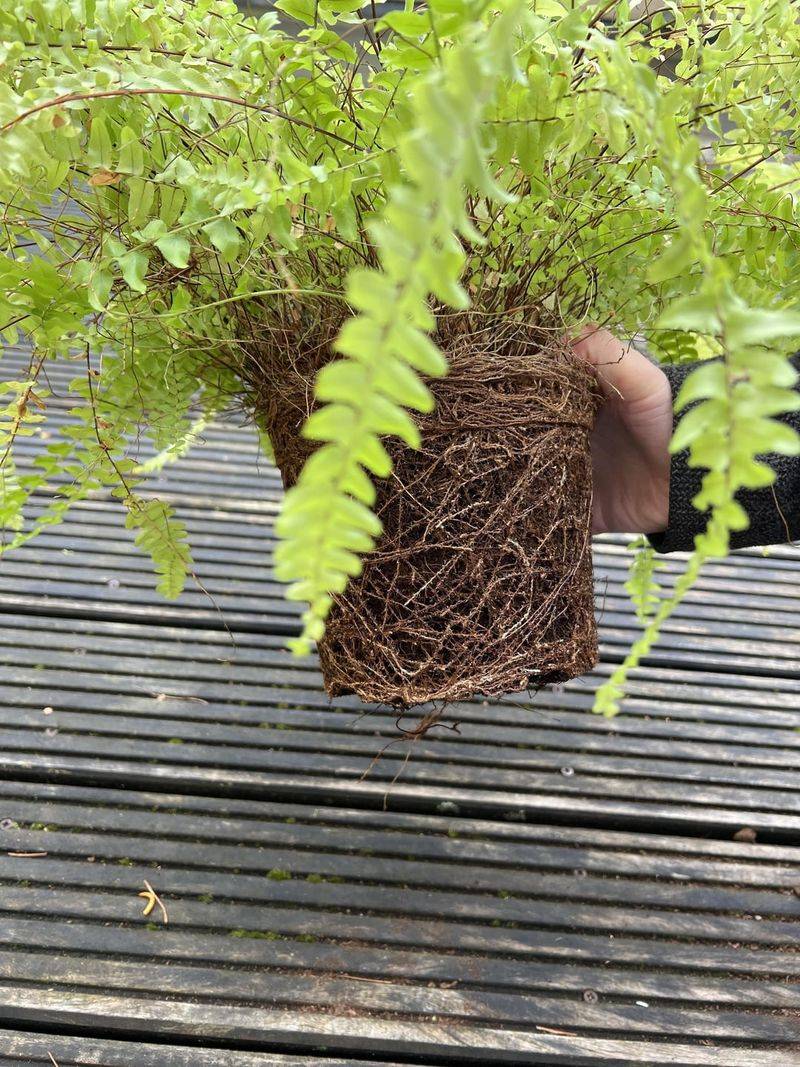
Rejuvenate overcrowded ferns and expand your collection through division every 3-5 years. Early spring, just as new growth emerges, provides the perfect timing. Dig up the entire plant, gently shake off excess soil, and use a sharp knife to separate the rhizomes into sections.
Each division should have both roots and several fronds or growth points. Replant immediately at the same depth as before, water thoroughly, and keep newly divided plants consistently moist for several weeks. This simple technique maintains plant vigor and provides free plants.
9. Provide Winter Protection

Help tender ferns survive winter by applying a thick layer of mulch after the first frost. Fallen leaves, straw, or evergreen boughs create insulation that protects roots from freeze-thaw cycles. In severe climates, potted ferns should move to an unheated garage or basement.
Leave the fronds intact through winter rather than cutting them back – they provide additional protection. For tree ferns, wrap the trunk with burlap stuffed with straw. Come spring, remove protection gradually as temperatures warm to avoid shocking plants.
10. Control Pests Naturally
Ferns face relatively few pest problems, but occasional visitors like slugs, snails, and scale insects can cause damage. Combat these naturally by setting shallow dishes of beer to trap slugs or manually removing them during evening garden walks with a flashlight.
Encourage beneficial insects like ladybugs by planting companion flowers nearby. For scale infestations, wipe fronds with insecticidal soap or neem oil. Avoid chemical pesticides which harm beneficial insects and can damage sensitive fern fronds.
11. Manage Humidity Levels
Ferns evolved in humid forest environments and appreciate similar conditions in your garden. Increase humidity by grouping plants together, which creates a microclimate as they release moisture through transpiration. Placing shallow water trays filled with pebbles near ferns also helps.
Misting during dry periods provides temporary relief but isn’t practical as a primary humidity source. Consider installing a small fountain or water feature nearby – the splashing water increases ambient moisture while adding soothing sounds to your garden sanctuary.
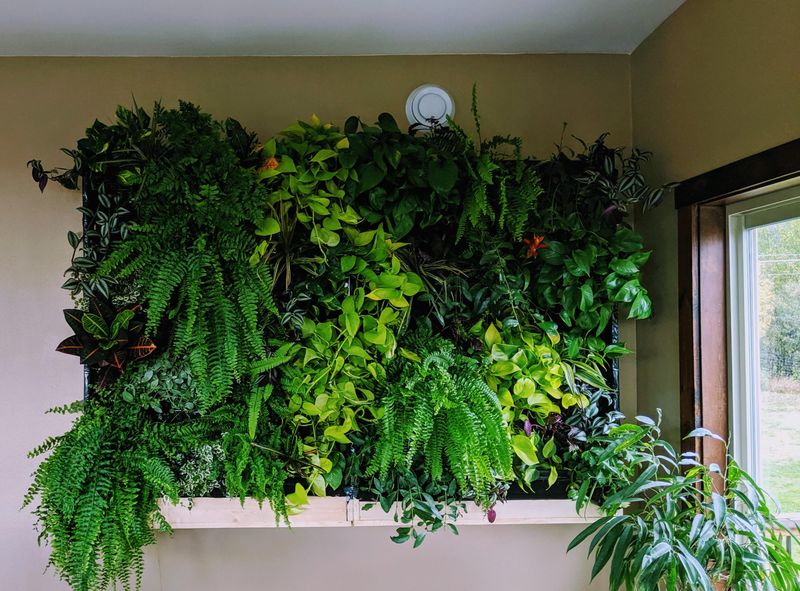
12. Create Companion Plantings
Enhance your fern garden’s beauty by choosing compatible companions that thrive in similar conditions. Woodland wildflowers like bleeding heart, hosta, heuchera, and astilbe complement ferns perfectly while adding seasonal color and varied textures.
Japanese forest grass provides contrasting linear form, while moss creates a lush ground cover between plants. These companions not only look beautiful together but also create a more complete ecosystem that mimics natural woodland settings where ferns evolved.
13. Monitor Light Conditions
Light requirements vary significantly between fern species. Boston ferns tolerate brighter conditions while Maidenhair ferns need deeper shade. Watch for signs of light stress – bleached or brown fronds indicate too much sun, while sparse growth suggests insufficient light.
Remember that light conditions change seasonally as deciduous trees leaf out or lose foliage. Be prepared to relocate potted specimens or add temporary shade cloth during summer. The perfect spot creates that elusive dappled light that makes ferns glow with an almost magical quality.
14. Prune and Groom Regularly
Keep your fern garden looking its best through simple maintenance. Remove brown or damaged fronds by cutting them at the base with clean, sharp scissors. This improves appearance and redirects energy to new growth rather than trying to repair damaged parts.
Clear away fallen debris that could harbor pests or disease. Spring cleaning is particularly important – remove winter protection and last year’s dead fronds to make way for fresh growth. Regular grooming prevents your fern garden from looking untidy while maintaining plant health.
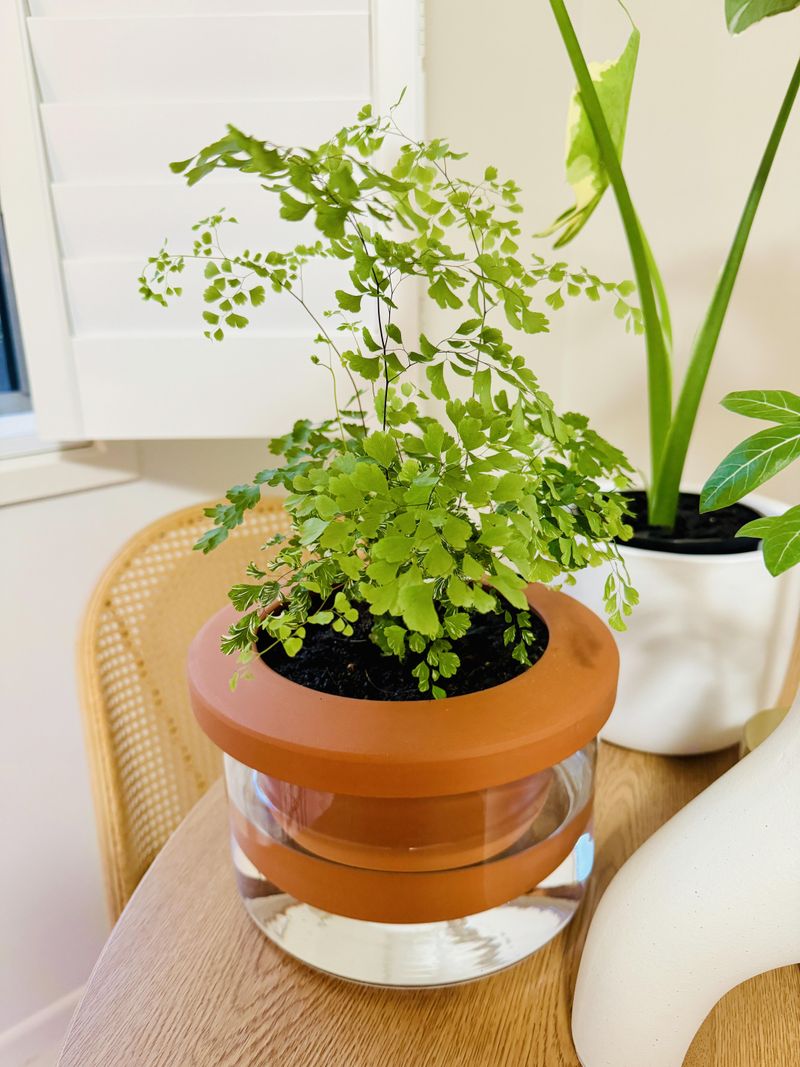
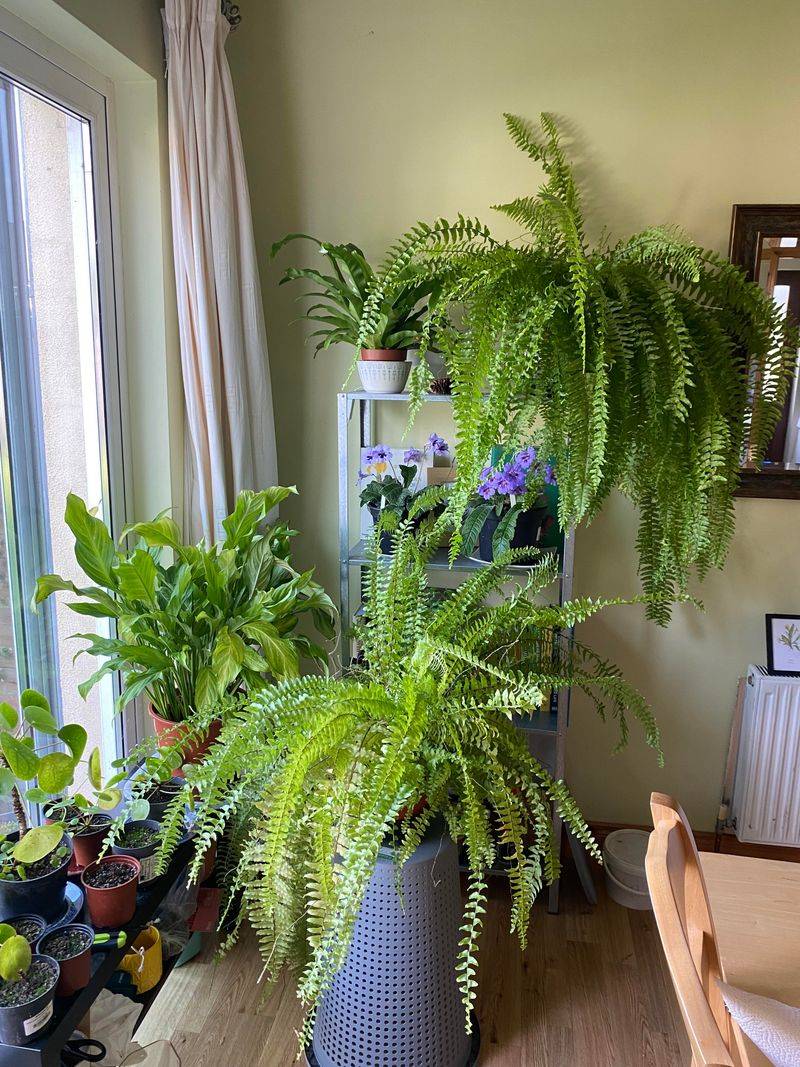
15. Utilize Container Growing

Containers offer versatility for fern gardening, allowing you to create perfect growing conditions regardless of your natural soil type. Choose pots with ample drainage holes and use a premium potting mix designed for woodland plants, adding extra perlite for drainage.
Container ferns can move to showcase seasonal beauty or protect from harsh weather. Larger pots maintain more consistent soil moisture and temperature. Remember that potted ferns dry out faster than garden-planted ones, so check moisture levels frequently during summer heat.
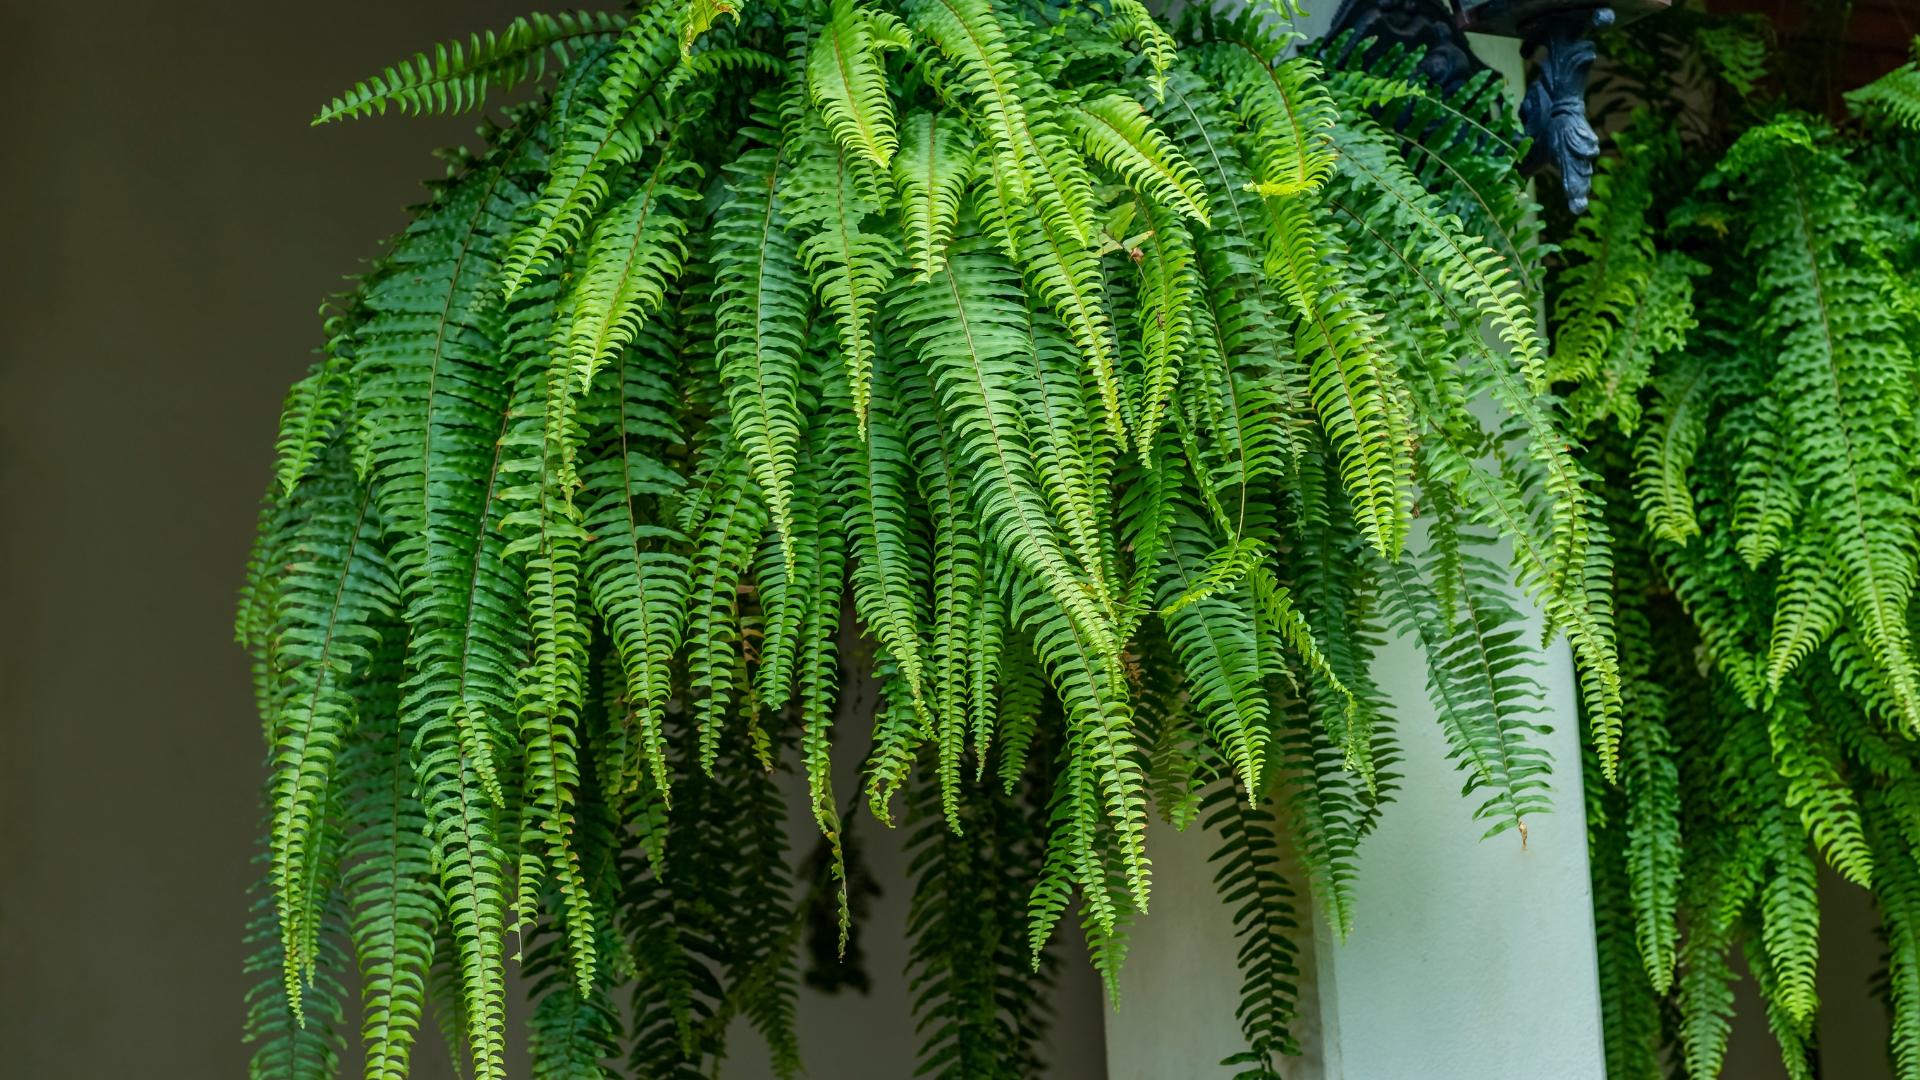
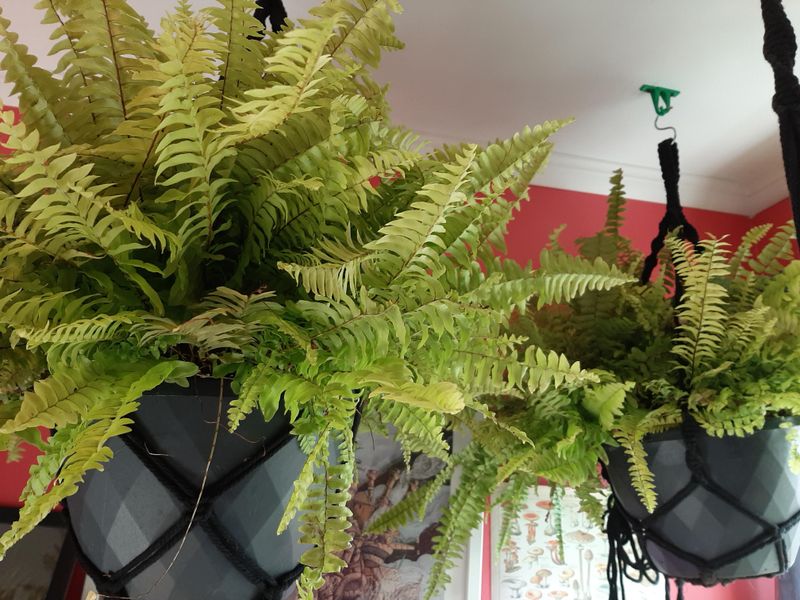
16. Create Vertical Interest
Maximize your fern display by thinking beyond ground level. Mount staghorn ferns on boards or hang Boston ferns in baskets to create eye-catching vertical elements. Repurpose an old ladder as a plant stand for smaller potted specimens.
Utilize walls and fences by installing wall pockets filled with moisture-loving ferns. These vertical elements draw the eye upward, making even small spaces feel larger and more dynamic. The layered approach mimics how ferns naturally grow in forest settings from ground level to tree canopy.
17. Keep Detailed Records
Successful fern gardening benefits tremendously from good record-keeping. Document which varieties thrive in specific garden locations, noting their growth patterns, water needs, and seasonal changes. Take periodic photos to track development and identify any emerging issues early.
Record maintenance activities like division dates, fertilization, and pest problems. This information becomes invaluable over time, helping you refine your techniques and avoid repeating mistakes. A simple garden journal or digital app can transform your fern gardening from guesswork to science.