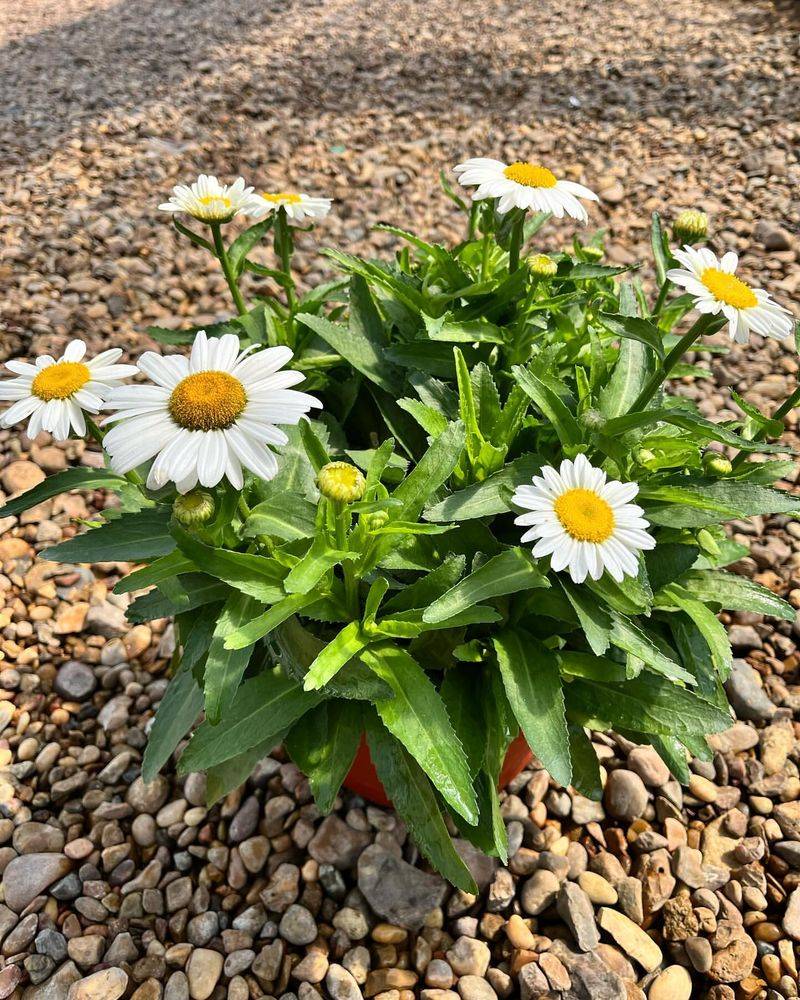
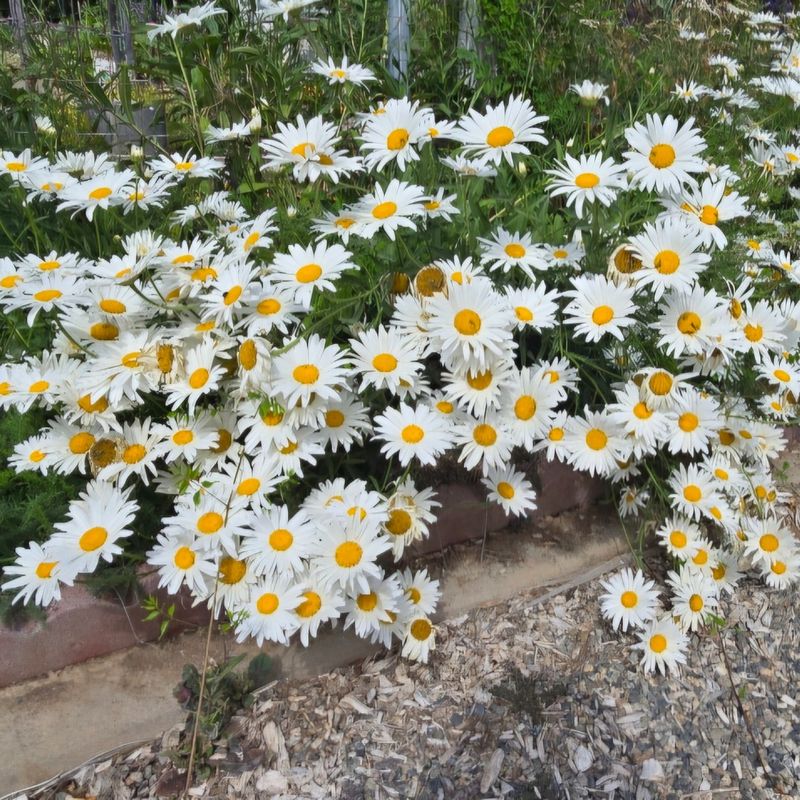
20 Tips For Growing Shasta Daisies
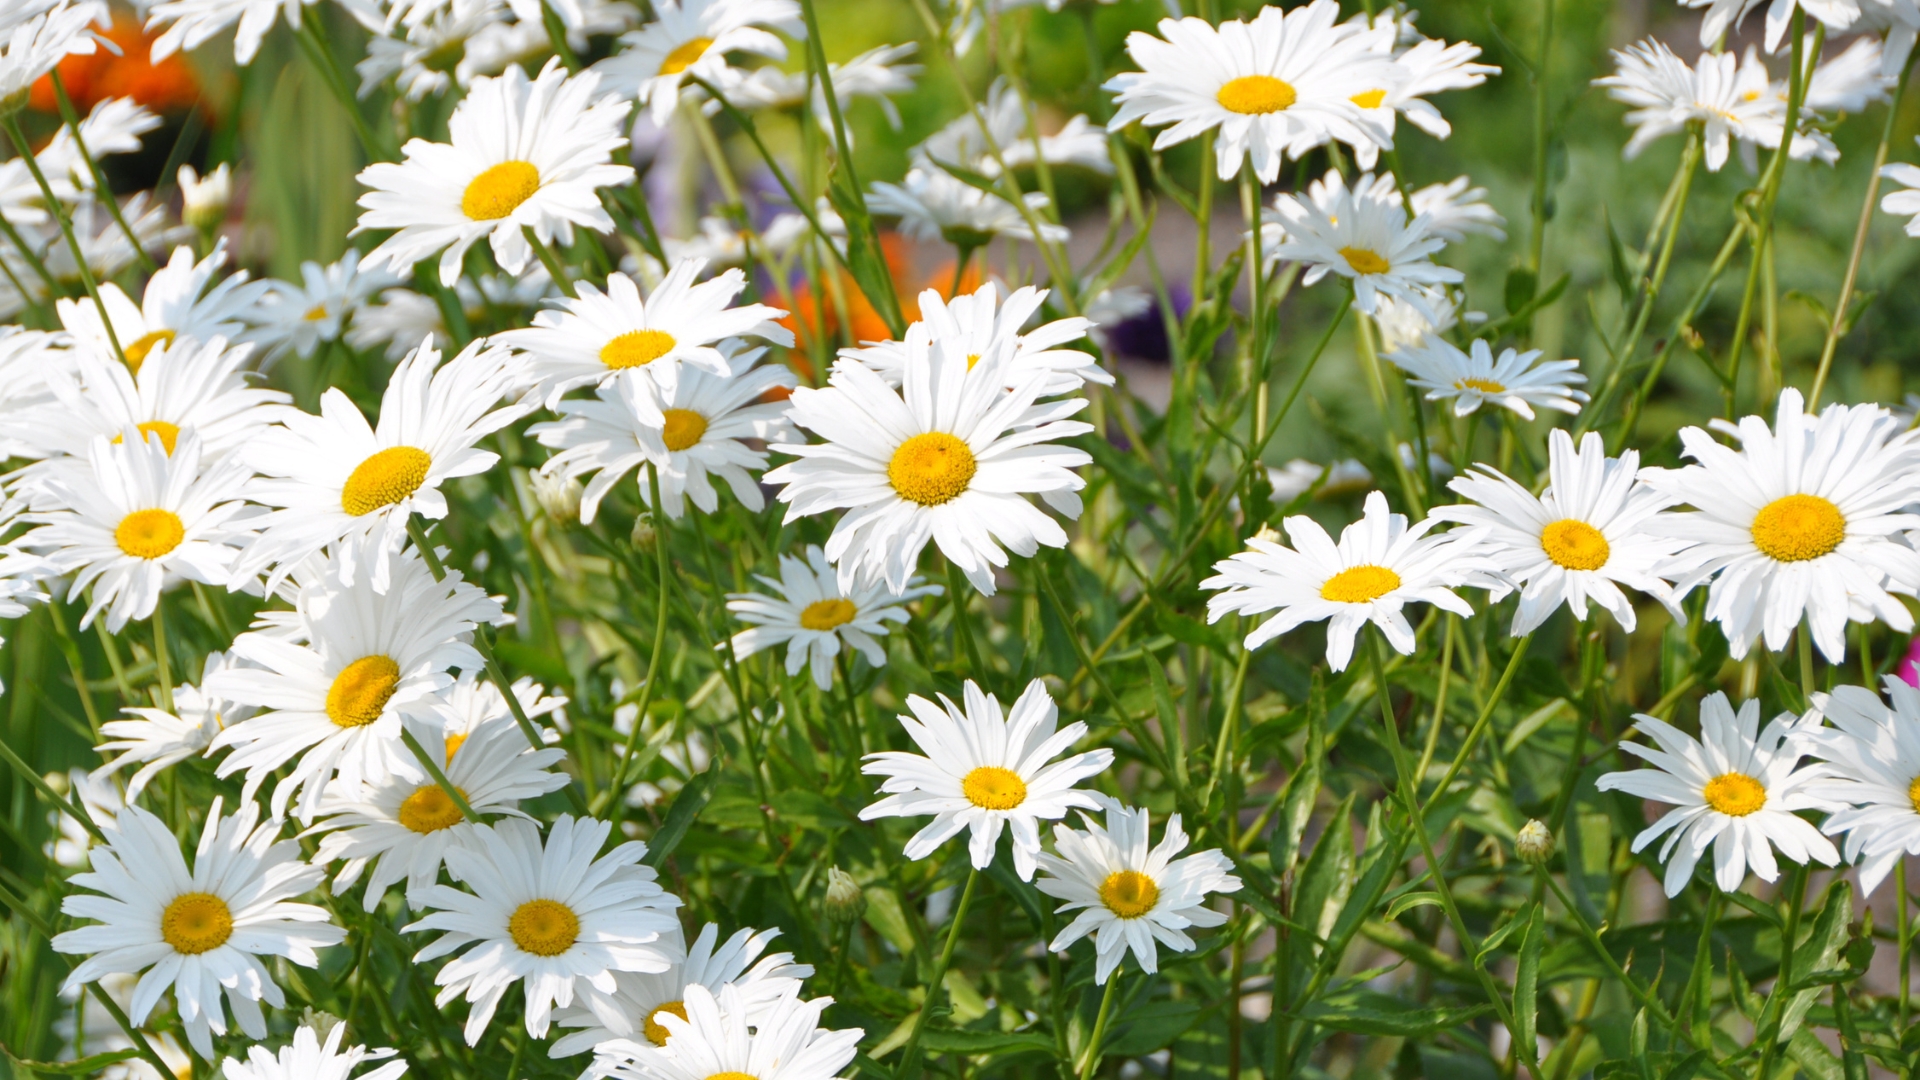
Shasta daisies bring a burst of cheer to any garden with their bright white petals and sunny yellow centers. Whether you’re an experienced gardener or just starting out, growing these delightful flowers can be both rewarding and straightforward. This guide offers twenty insightful tips to ensure your Shasta daisies thrive, keeping your garden vibrant and lively.
1. Choose The Right Location
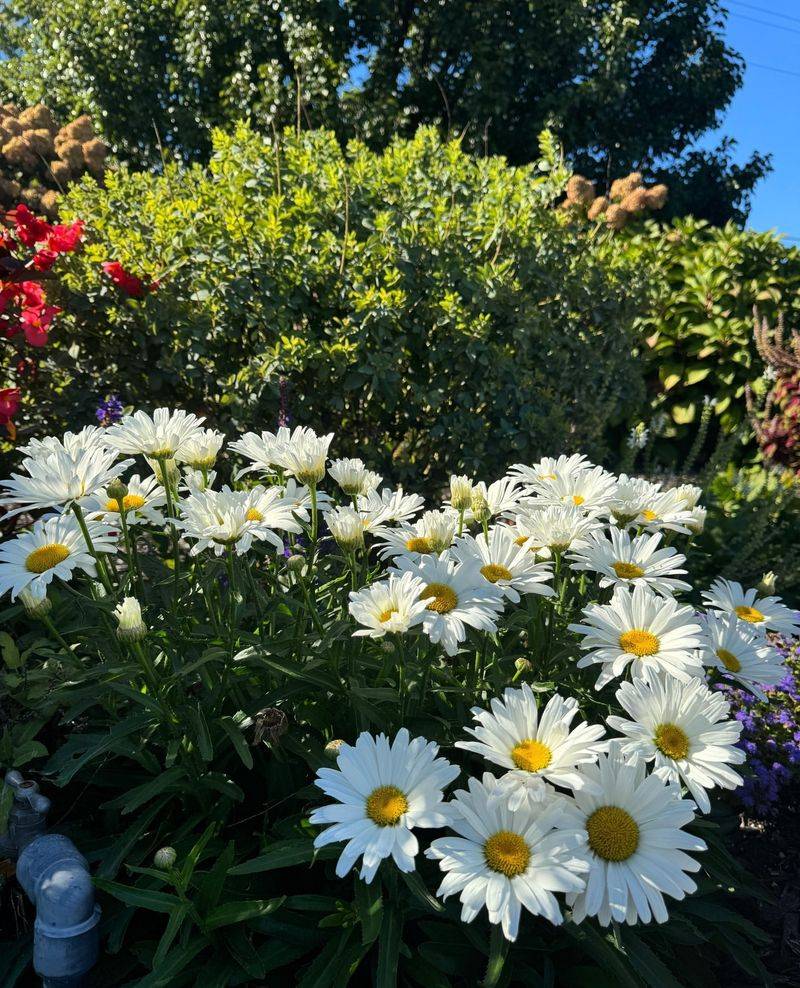
Location is everything for Shasta daisies. These cheerful blooms thrive best in full sunlight, so pick a spot in your garden that bask in at least six hours of sun daily. They love basking in the sun’s glory, just like sunbathers at the beach!
Equally important is the soil quality. Well-drained soil will ensure your daisies don’t end up waterlogged. If your soil resembles a swamp more than a flower bed, consider raising your garden beds. This simple act can prevent your daisies from drowning in too much water.
2. Prepare The Soil
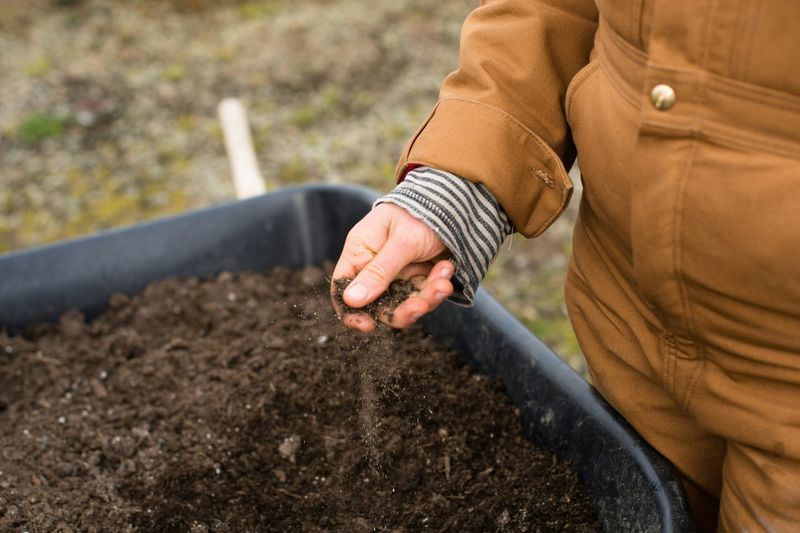
Lay the groundwork for success by preparing the soil properly. Mix in plenty of compost or well-rotted manure to enrich the soil with nutrients. This will give your daisies the best start possible, as they love a nutrient-rich environment.
Ensure that the soil pH is slightly acidic to neutral, around 6.0 to 7.0. If you’re unsure, a simple soil test can guide you in the right direction. Remember, healthy soil leads to healthy plants, so don’t skimp on this step.
3. Plant At The Right Time
Timing is crucial when planting Shasta daisies. Aim to plant in early spring, once the threat of frost has passed but before the heat of summer kicks in. This ensures they have sufficient time to establish themselves before blooming.
If you prefer starting from seeds, sow them indoors about six to eight weeks before the last frost date. For those less patient, purchasing young plants from a nursery is a quicker route to a daisy-filled garden.
4. Water Wisely
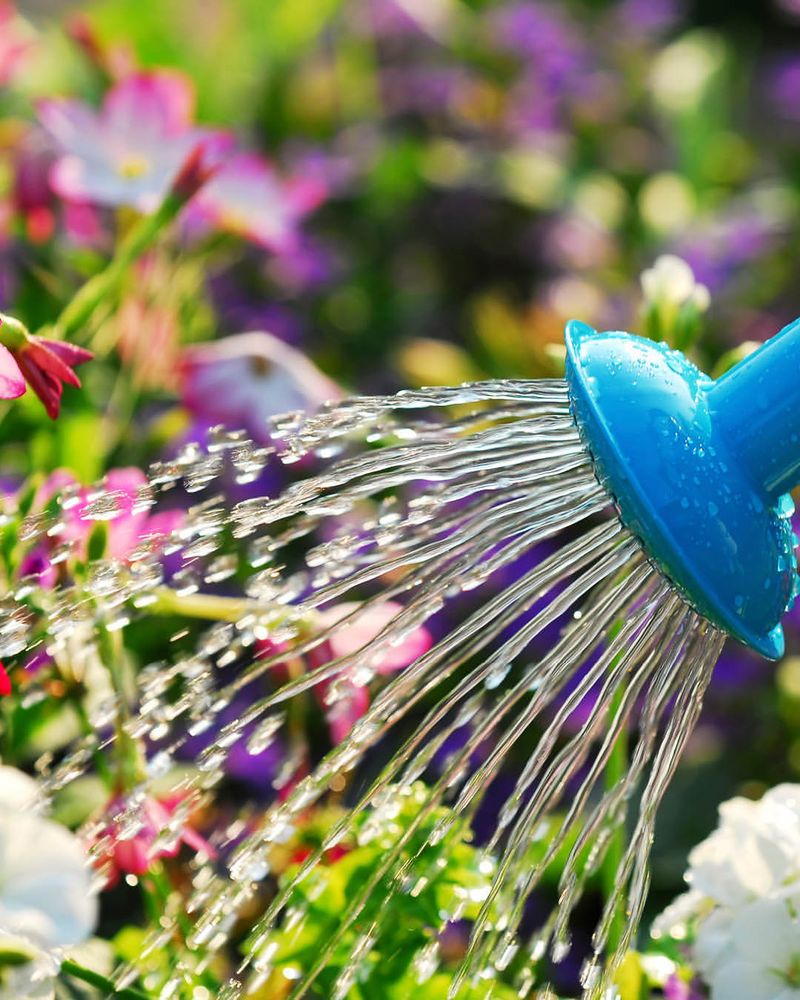
Watering can make or break your daisy-growing efforts. These flowers prefer their drinks in moderation, requiring regular watering but with a light touch. Overwatering can lead to root rot, so let the top inch of soil dry out between waterings.
Early morning is the best time to water, reducing evaporation and allowing plants to soak up moisture before the day’s heat. Remember, daisies like their roots moist but not soggy—think of it as offering them a refreshing morning smoothie!
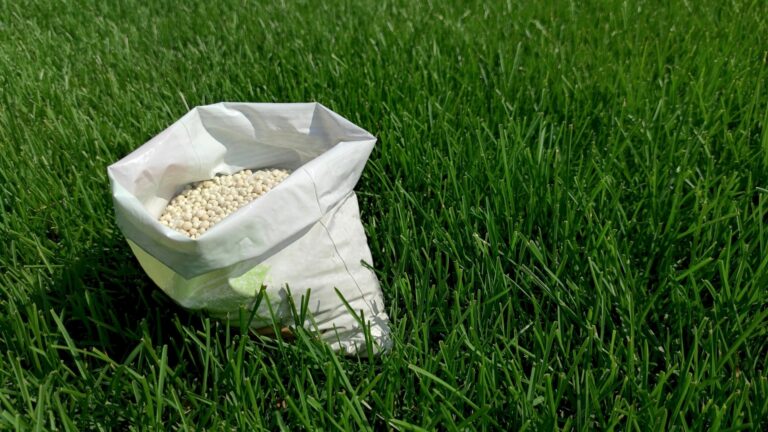
5. Fertilize For Blooms
Feed your daisies to fuel their flower power! Use a balanced, slow-release fertilizer to provide steady nutrients throughout the growing season. This encourages more robust growth and abundant blooms.
Apply fertilizer in early spring and once again in mid-summer. Avoid over-fertilizing, as it can lead to lush foliage but fewer flowers. A little goes a long way in helping your daisies dazzle the neighborhood.
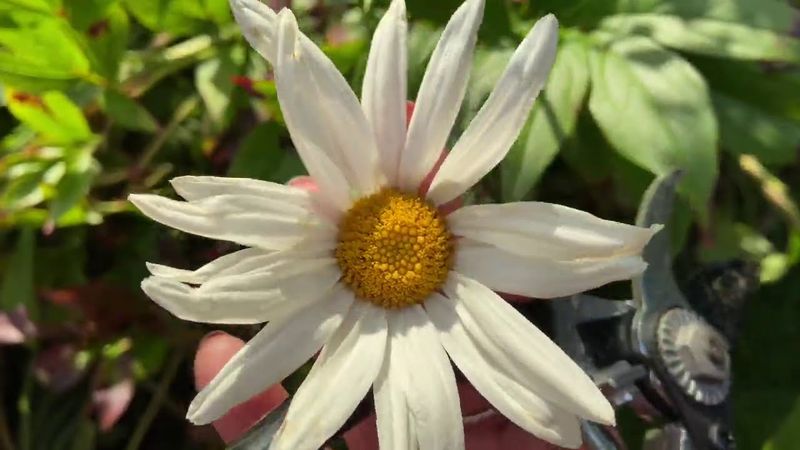
6. Deadhead For Prolonged Blooming
Keep your Shasta daisies blooming longer by deadheading spent flowers. Simply snip off the faded blooms to encourage new ones to take their place. This simple act ensures your garden stays colorful all season long.
Deadheading prevents the plant from going to seed, which can cause it to stop producing new flowers. Think of it as a gentle reminder that there’s always room for improvement, even in the floral world!
7. Divide And Conquer
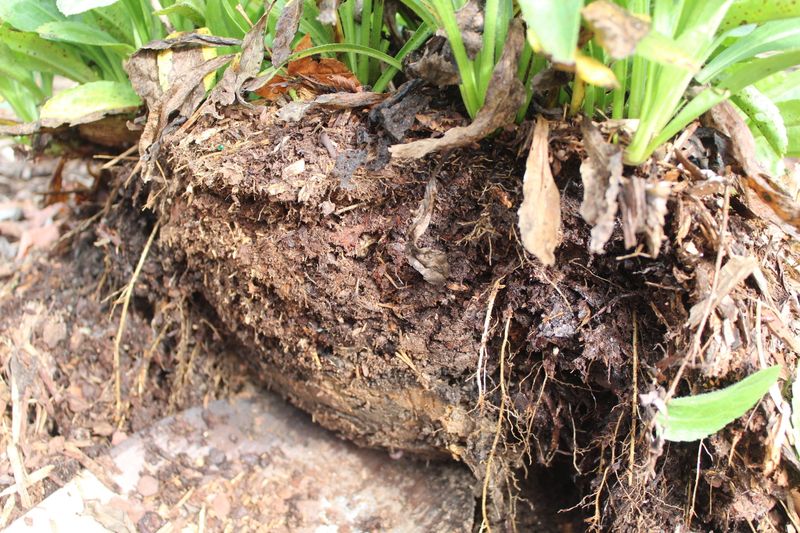
Like all good things, Shasta daisies benefit from being divided every few years. This prevents overcrowding and rejuvenates the plant, ensuring continuous growth and vitality. Divide them in early spring or late summer for best results.
Gently lift the clump of daisies with a spade and separate them into smaller sections, each with a good root system. Replant them in well-prepared soil, and watch them thrive with renewed vigor.
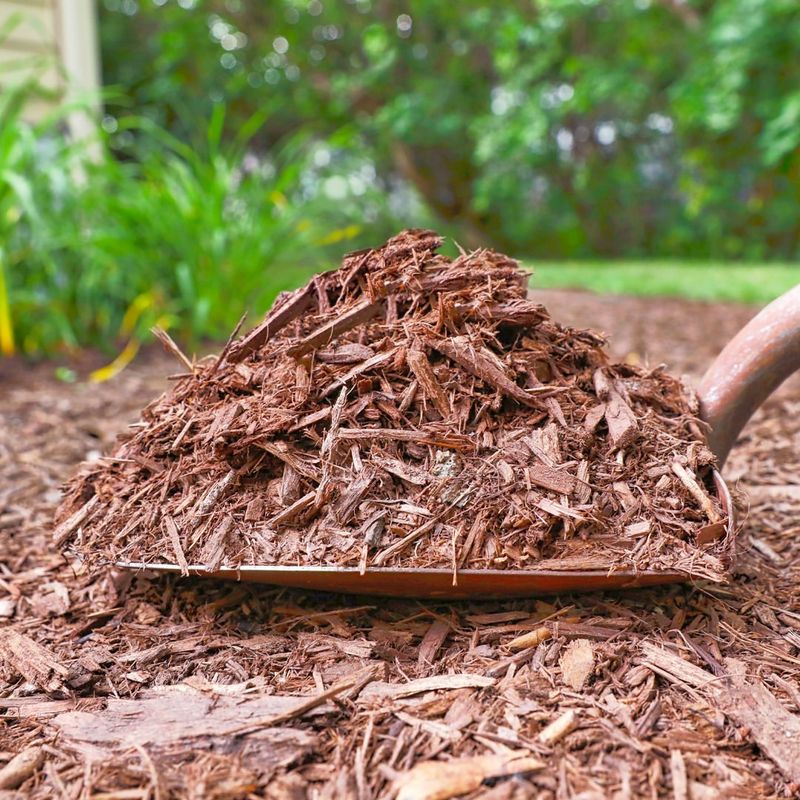
8. Mulch To Retain Moisture
Mulching is the unsung hero of gardening, keeping your Shasta daisies happy and hydrated. Apply a layer of organic mulch around the base of the plants to retain soil moisture and suppress weeds.
Mulch also helps regulate soil temperature, providing a stable environment for your daisies to grow. Plus, as the mulch breaks down, it adds nutrients to the soil, giving your plants an extra boost.
9. Protect From Pests
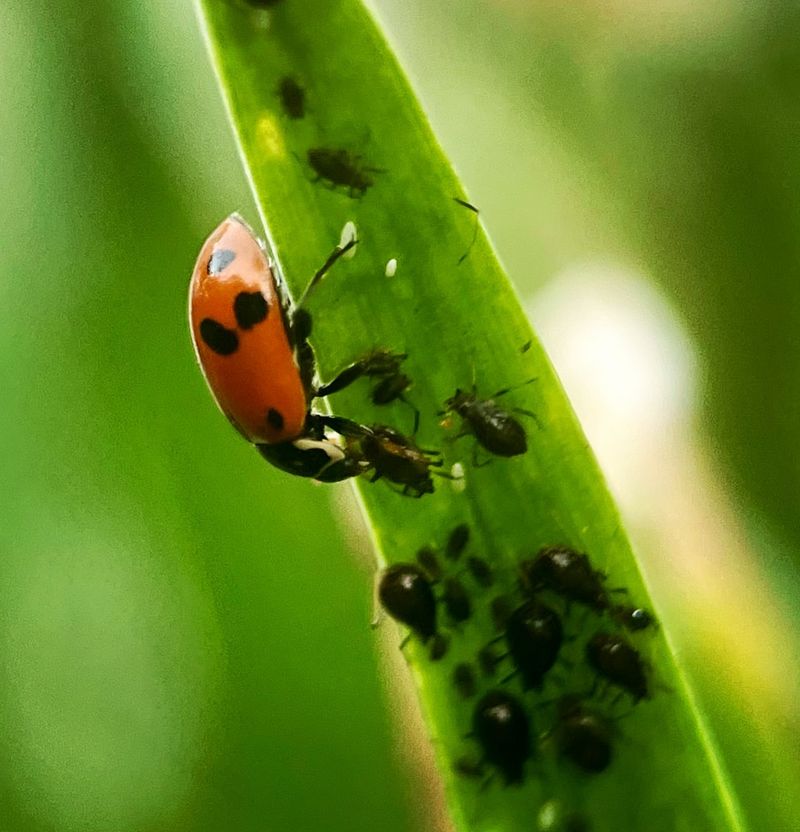
While Shasta daisies are generally pest-resistant, they can occasionally fall victim to aphids or slugs. Regular inspection of your plants can help catch any infestations early. If pests are found, remove them by hand or use an insecticidal soap.
Companion planting with pest-deterrent plants like lavender can also help. Embrace nature’s helpers, like ladybugs, which feast on aphids, keeping your daisies in the clear. Think of it as hiring a security detail for your blooms!
10. Prevent Disease With Good Practices
Disease prevention starts with good gardening habits. Ensure proper air circulation around your daisies by spacing them adequately and pruning any overcrowded areas. This helps prevent fungal diseases like powdery mildew.
Watering at the soil level rather than overhead can also reduce disease risk. Keep your garden tidy by removing any diseased or dead plant material. A clean garden is a healthy garden, where your daisies can thrive without worry.
11. Stake Tall Varieties
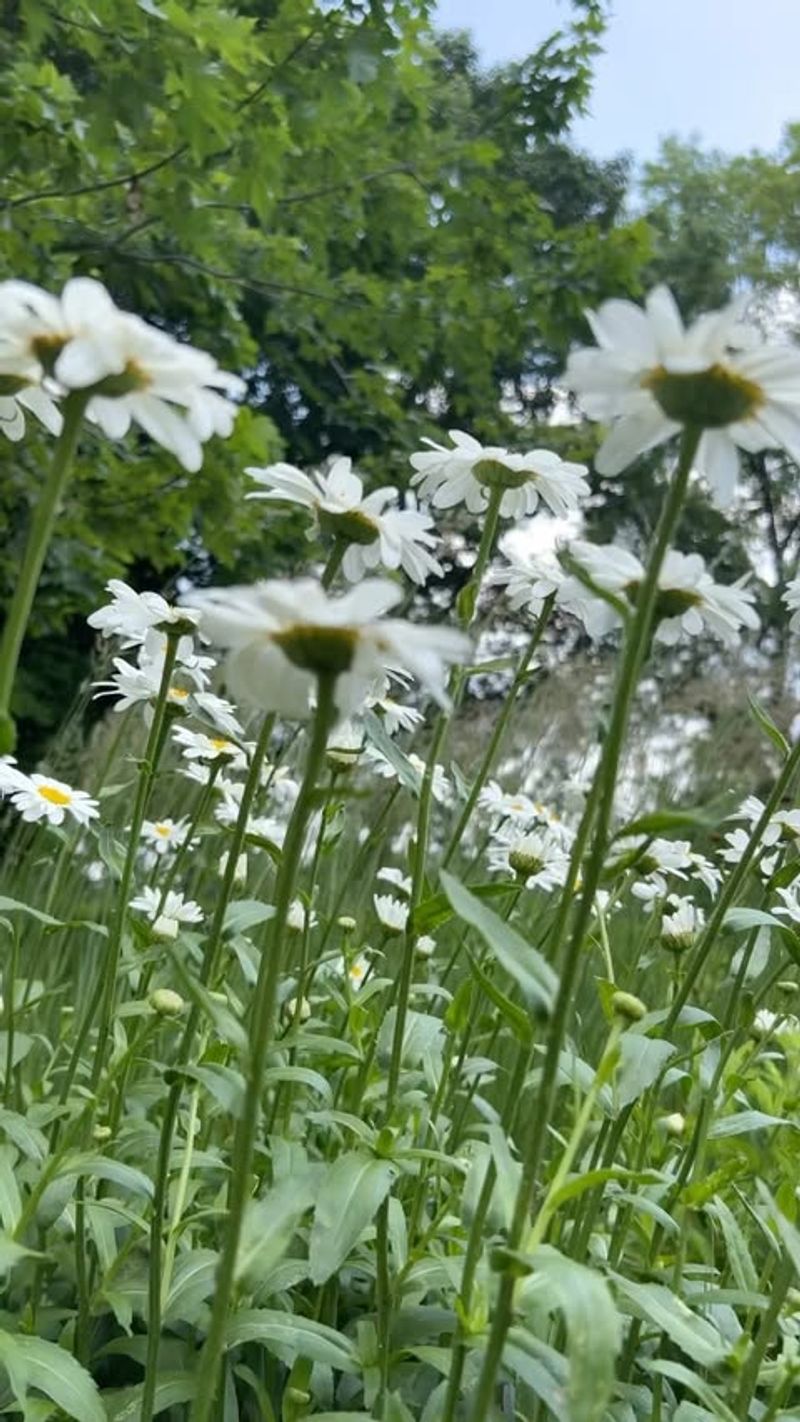
Some Shasta daisy varieties can grow quite tall, potentially flopping over under their own weight. Staking provides support to prevent them from toppling. Use bamboo stakes or garden twine to gently tie the stems, offering stability.
Install stakes early in the growing season to avoid damaging roots. As your daisies grow, adjust ties to accommodate their height. This ensures your garden looks neat, and your daisies stand tall, proud, and unbent.
12. Encourage Bees And Butterflies

Enhance your garden’s ecosystem by attracting pollinators like bees and butterflies to your Shasta daisies. These beneficial insects aid in the pollination process, ensuring a healthy cycle of blooms.
Planting a variety of flowers alongside your daisies can create an inviting environment for pollinators. Choose plants that bloom at different times to provide a continuous food source. A buzzing garden is a thriving garden, where your daisies can shine in nature’s spotlight.
13. Prune After Flowering

Once your Shasta daisies have finished blooming, pruning is essential to prepare them for the next season. Cut back the stems to about half their height to encourage healthy growth and prevent legginess.
Pruning also helps remove any diseased or damaged foliage, keeping your plants healthy and vigorous. Think of it as giving your daisies a fresh haircut, ready to face another season of blooming with style.
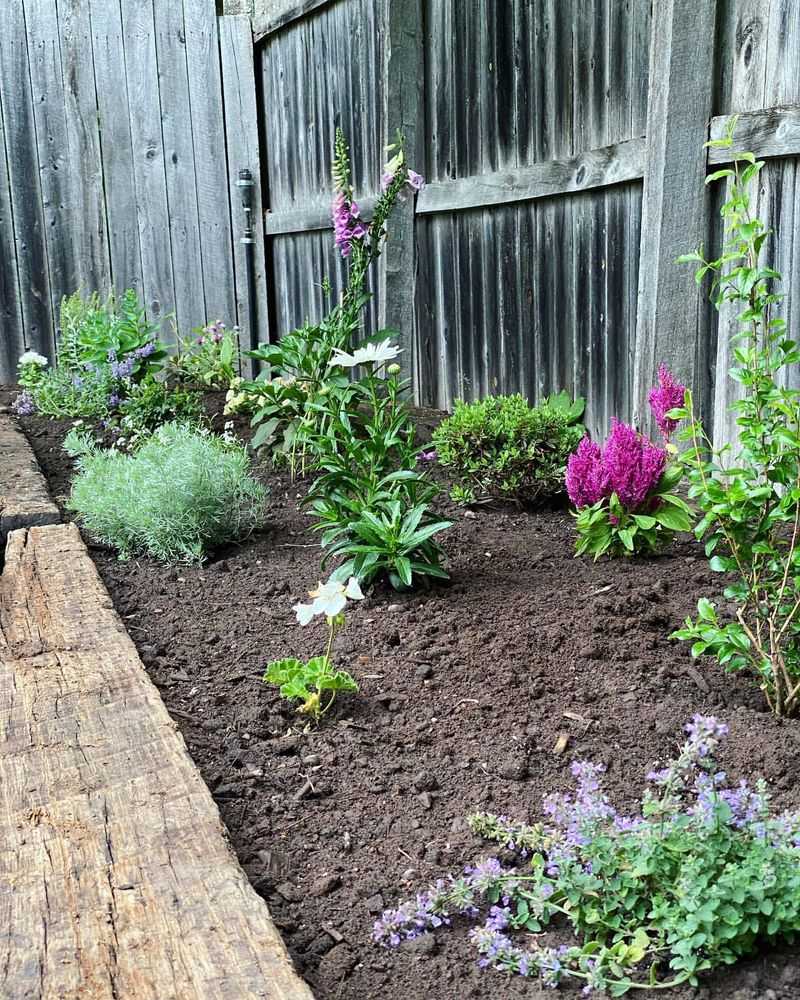
14. Consider Companion Planting
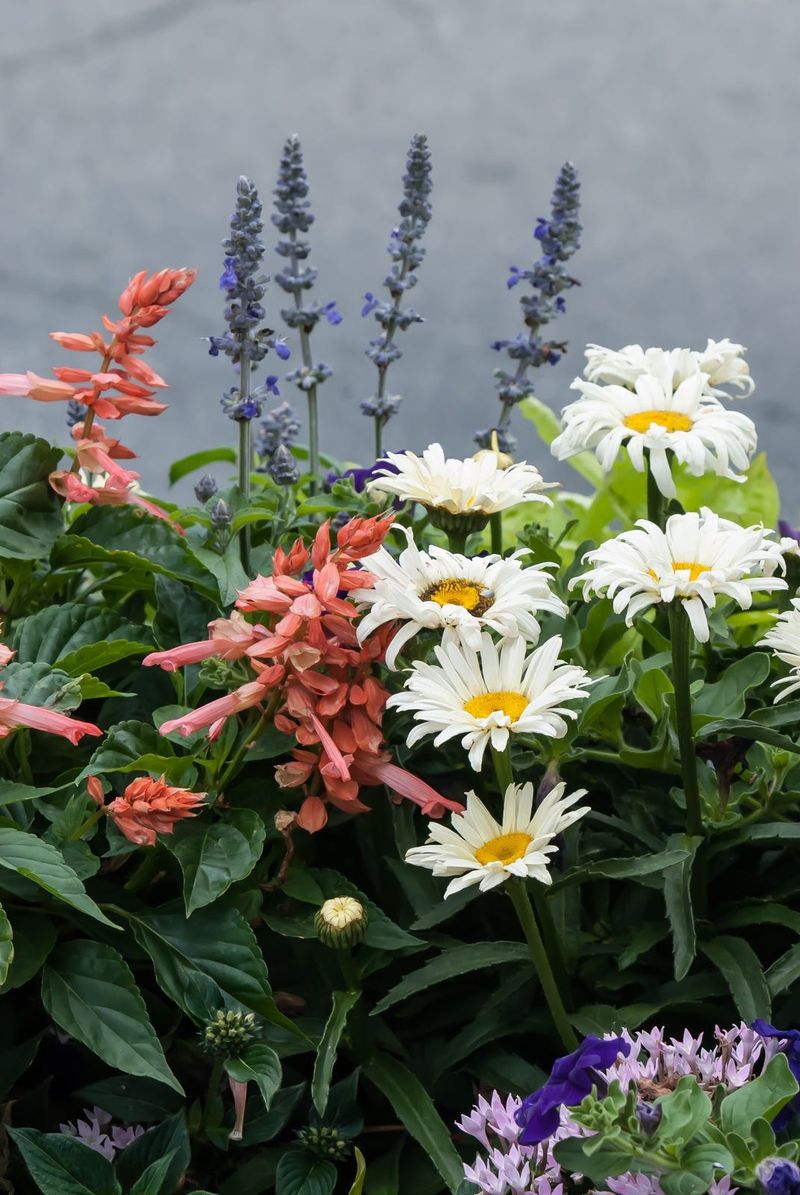
Companion planting can enhance the growth and health of your Shasta daisies. Pair them with plants like lavender, rosemary, or echinacea, which not only complement their beauty but also offer pest-repelling benefits.
These companions can attract beneficial insects or deter pests naturally, reducing the need for chemical interventions. A harmonious garden is one where plants work together, creating a vibrant and balanced ecosystem.
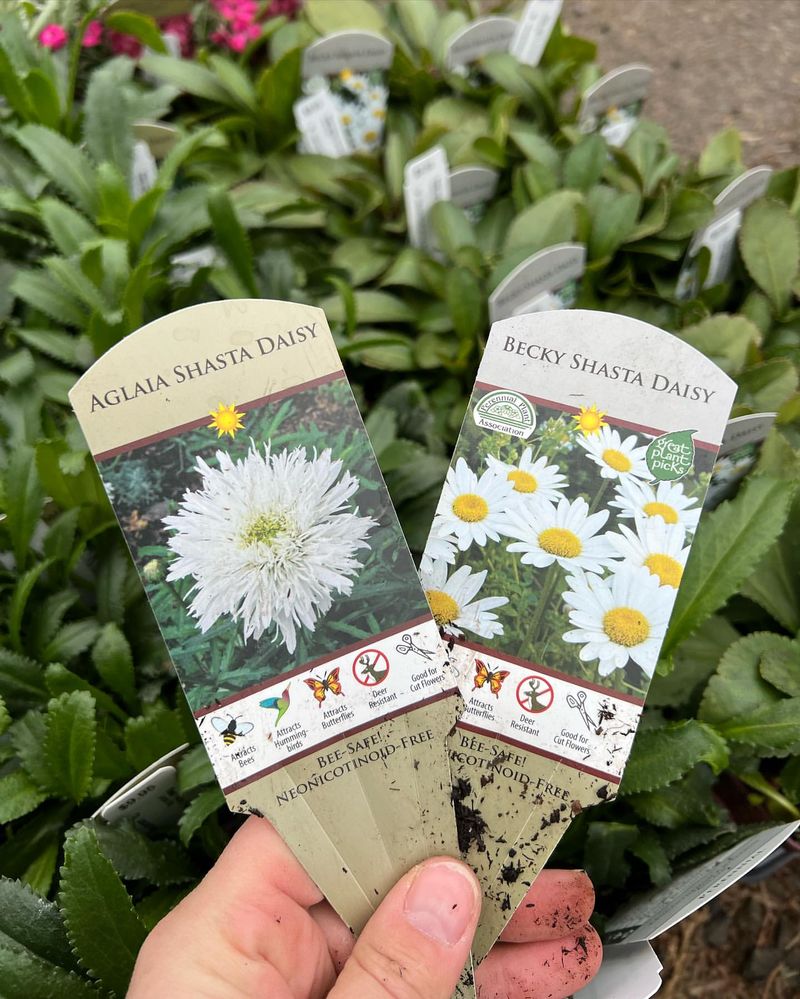
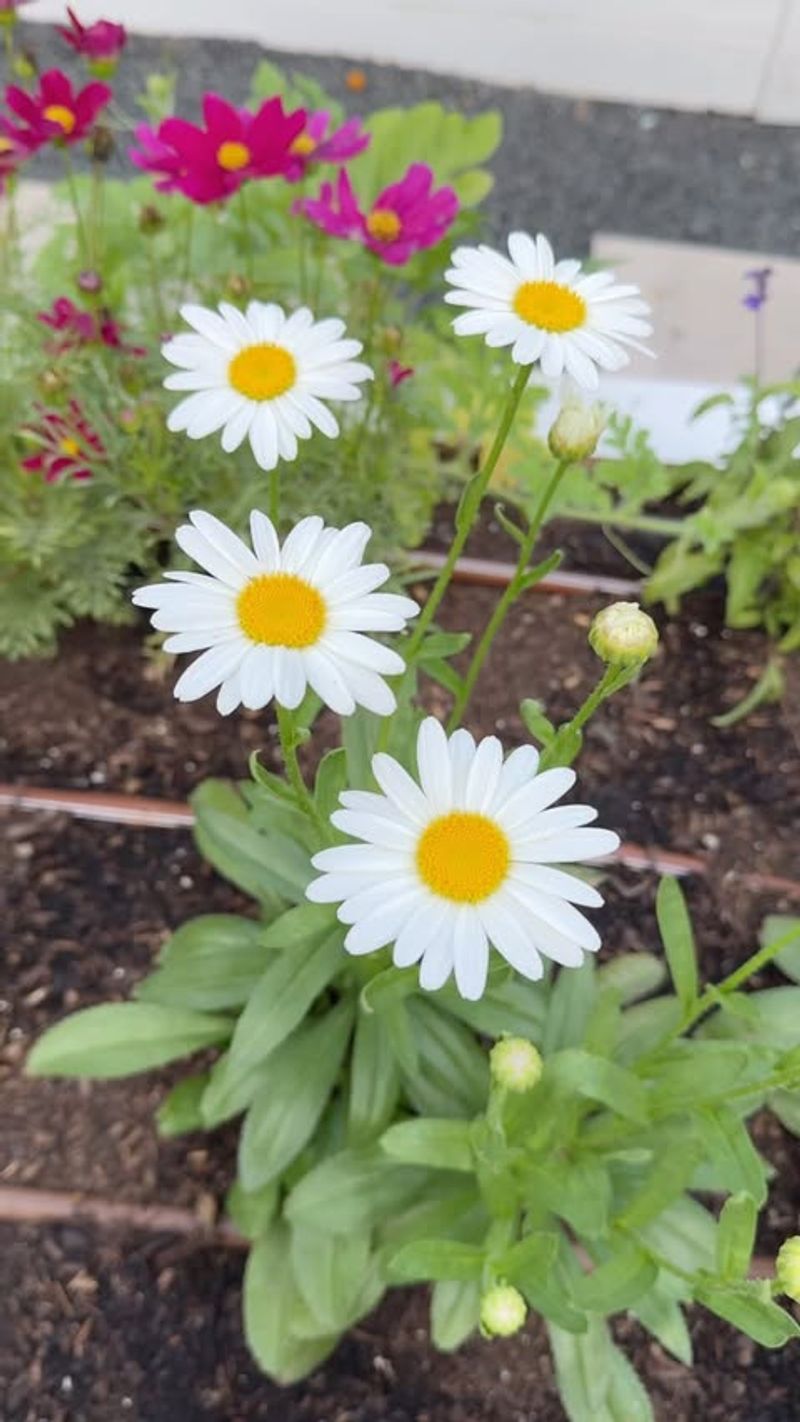
15. Select The Right Varieties
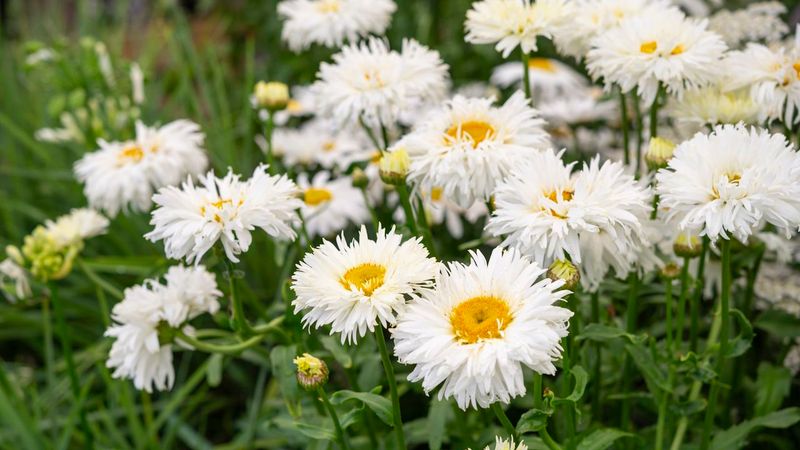
Choosing the right Shasta daisy variety can make a significant difference in your garden. With options ranging from dwarf varieties to giant blooms, selecting the right one depends on your space and aesthetic preferences.
Consider the size, color, and bloom time when choosing your daisies. Mixing varieties can add diversity and interest to your garden, providing a continuous display of color and texture throughout the growing season.
16. Watch For Weather Changes
Weather can be unpredictable, and Shasta daisies need some protection from severe conditions. During heavy rains or strong winds, ensure your daisies have adequate support to prevent damage.
Consider using windbreaks or temporary covers to shield your plants. Keeping an eye on the forecast can help you prepare and protect your daisies, ensuring they remain upright and undamaged, ready to bloom another day.
17. Provide Room To Grow
Give your Shasta daisies room to spread their roots and grow by spacing them adequately during planting. Crowded conditions can lead to reduced airflow and increased disease risk.
Aim for about 12 to 18 inches between plants, depending on the variety. This spacing allows your daisies to thrive without competition, ensuring each plant receives enough nutrients and sunlight to flourish.
18. Use Organic Practices
Embrace organic gardening practices to grow healthy Shasta daisies. Use natural fertilizers, mulch, and pest control methods to create an eco-friendly garden environment.
Organic practices not only benefit your daisies but also contribute to a healthier ecosystem. By avoiding synthetic chemicals, you protect pollinators and preserve soil health, ensuring your garden remains a lush and sustainable haven.
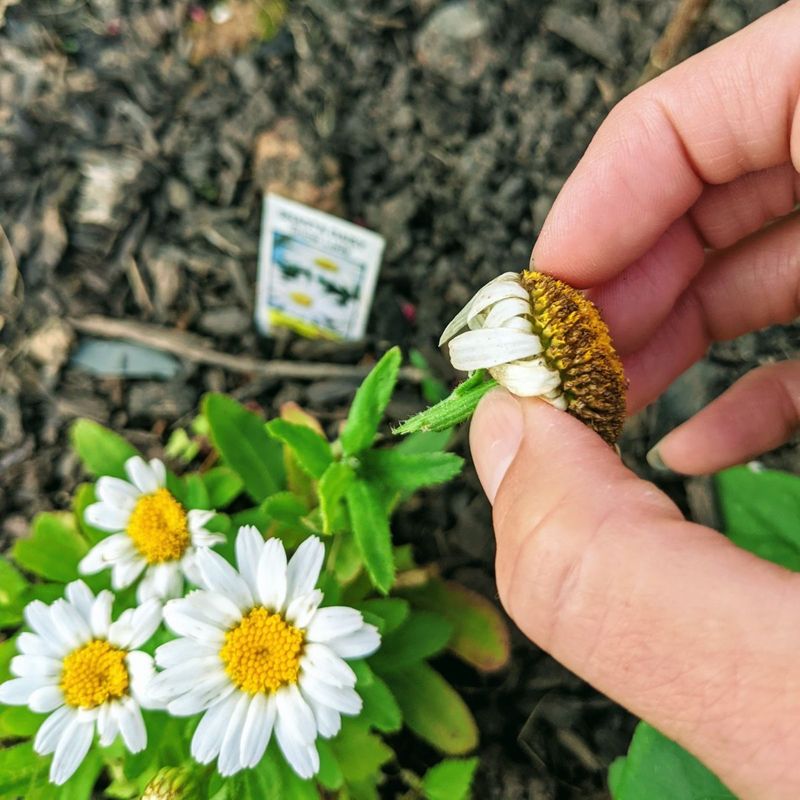
19. Harvest Seeds For Future Growth
Extend the life of your Shasta daisies by harvesting seeds for future planting. Once the flowers have faded, allow the seed heads to dry on the plant before collecting them.
Store seeds in a cool, dry place in a labeled envelope or container. This ensures you have a ready supply of seeds for the next growing season, allowing you to propagate your favorite daisies year after year.
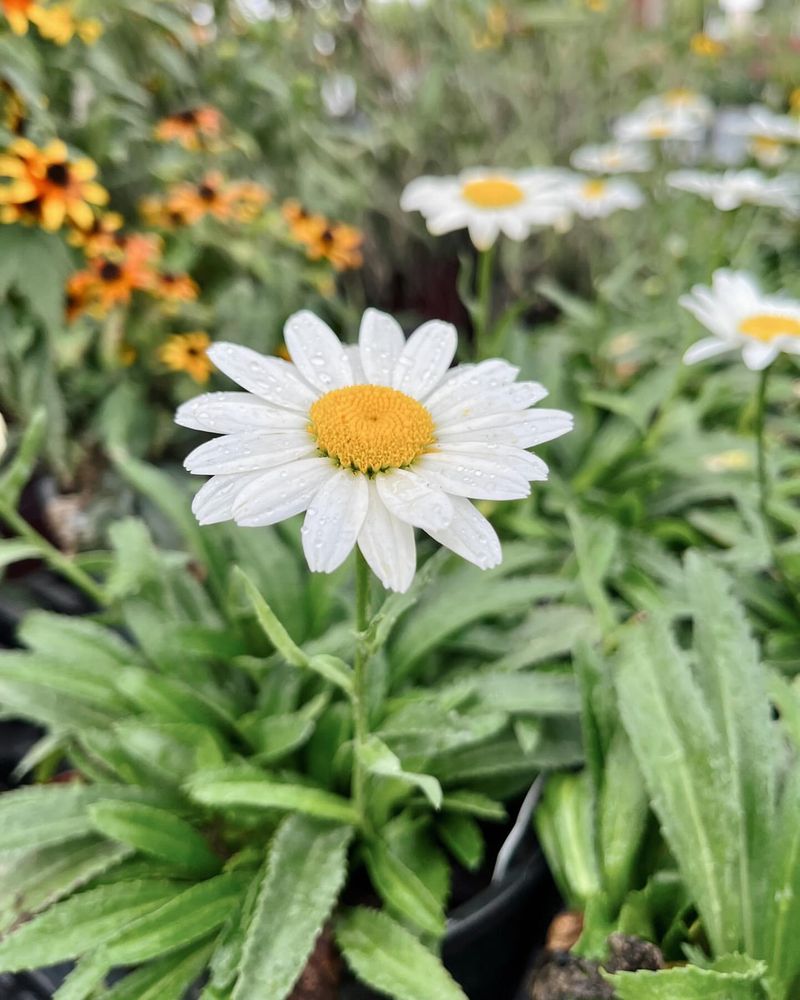
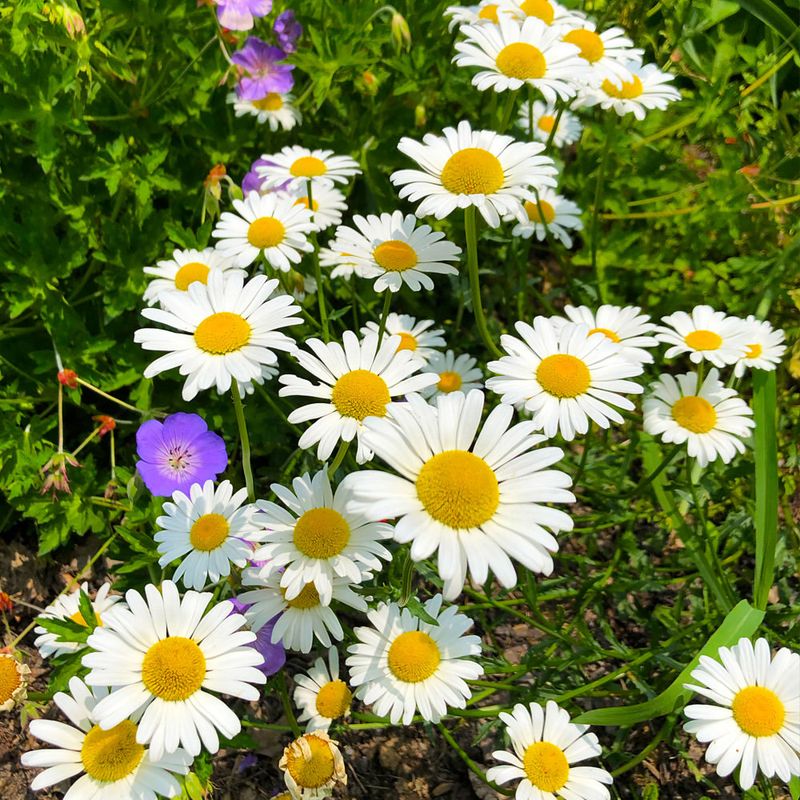
20. Enjoy The Blooms
Ultimately, the joy of growing Shasta daisies lies in enjoying their blooms. Take time to appreciate the beauty and cheer they bring to your garden. Involve family and friends in the experience, sharing cut flowers or spending time outdoors.
Creating memories in a garden filled with daisies is a rewarding endeavor. Celebrate their vibrant presence and the happiness they bring, turning your garden into a sanctuary of joy and color.