9 Tips That Will Get You Vibrant Hollyhock Blooms
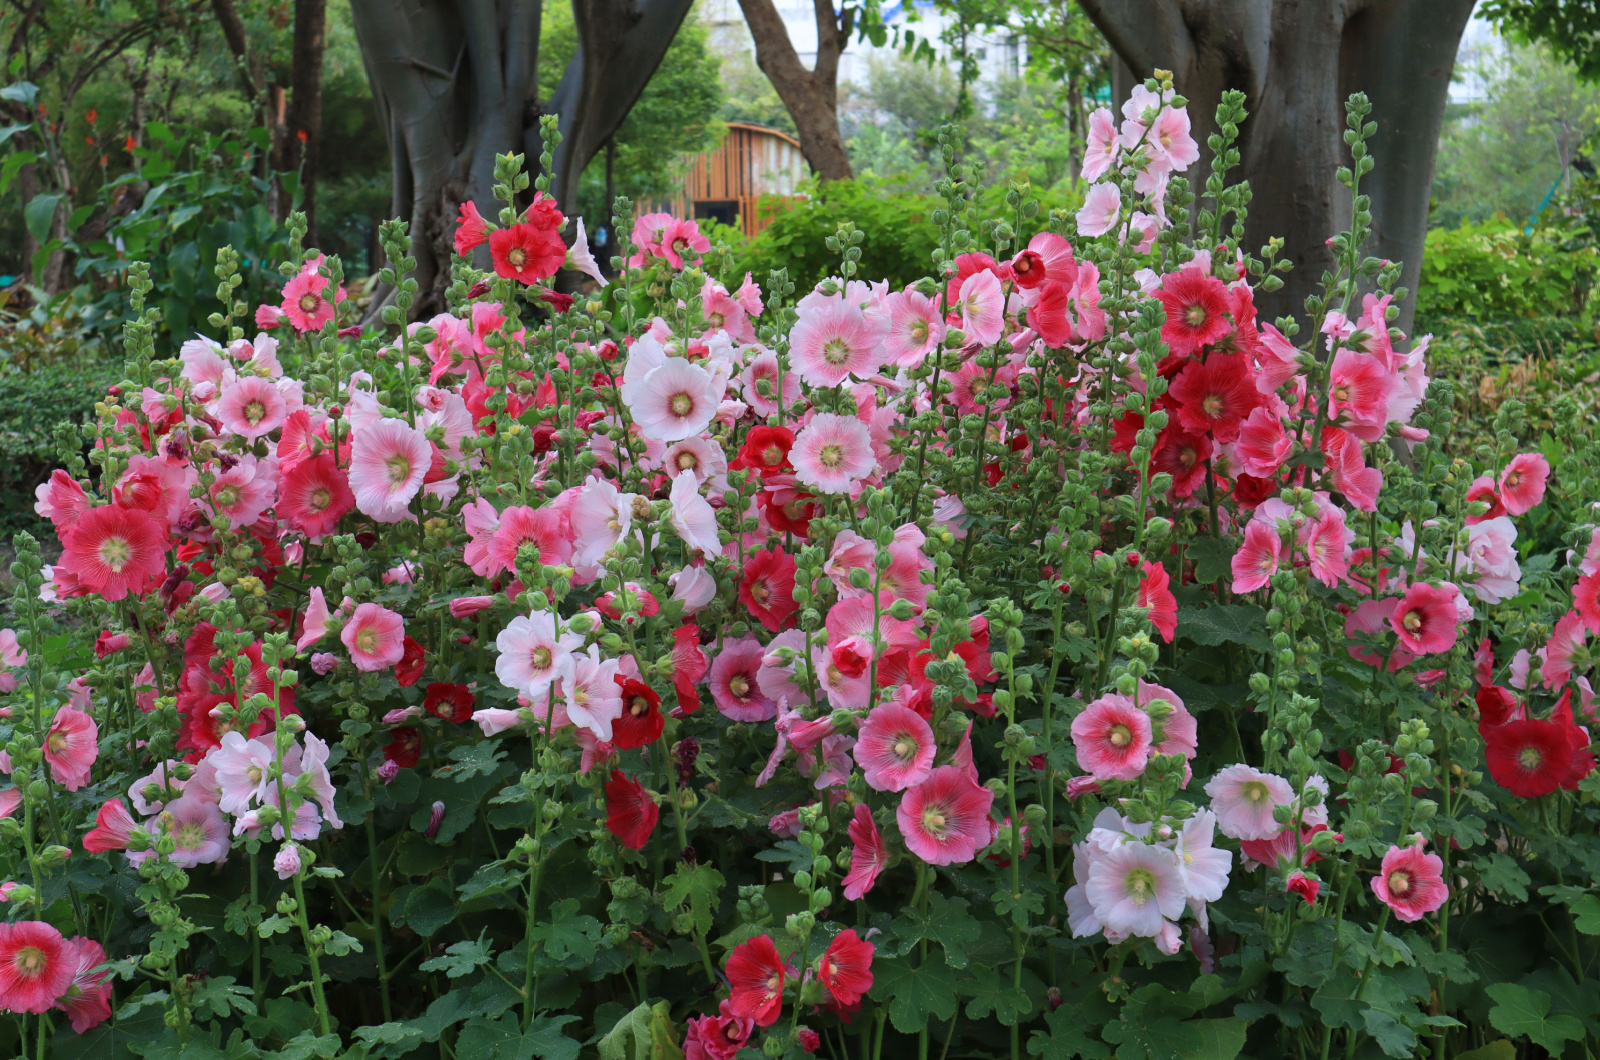
If you’ve always admired gorgeous hollyhock flowers in gardens, then you are in for a treat!
With the right care and a little know-how, you can make your garden come alive with these stunning, colorful flowers. Not only can they grow quite large and create a wonderful flower display, but they are also edible and have numerous medicinal benefits.
So you better keep reading to find out some of the best tips that will have your hollyhocks reaching for the sky!
1. Sunlight Exposure Is Key
In case you didn’t know, Hollyhocks absolutely love full sunlight exposure!
These lovely flowers should receive about 6 to 8 hours of direct sunlight throughout the day for robust growth and lively blooms.
However, Hollyhocks are one of those old-fashioned flowers that can also grow in shade, although their blooms might not be so vibrant.
If you live in a region with extremely hot temperatures, then you should provide your flowers with some shade during the day. Remember to also give them some extra moisture!
2. Find The Right Varieties
Luckily, there are plenty of different types of Hollyhocks to choose from, so everyone can find the one that suits their garden style!
Here are some options:
• Red Hollyhocks – varieties like Mars Magic and Chater’s Scarlet O’Hara have the deepest red flowers.
• Hollyhocks with double flowers – Summer Carnival and Spring Celebrities are varieties that have stacked ruffled flowers that look like carnations.
• White Hollyhocks – The Bride and Charter’s Icicle will create a dreamy flower display with their white colors.
• Black Hollyhocks – if you want to add some edge to your garden, consider planting varieties like Black Watchman and Jet Black.
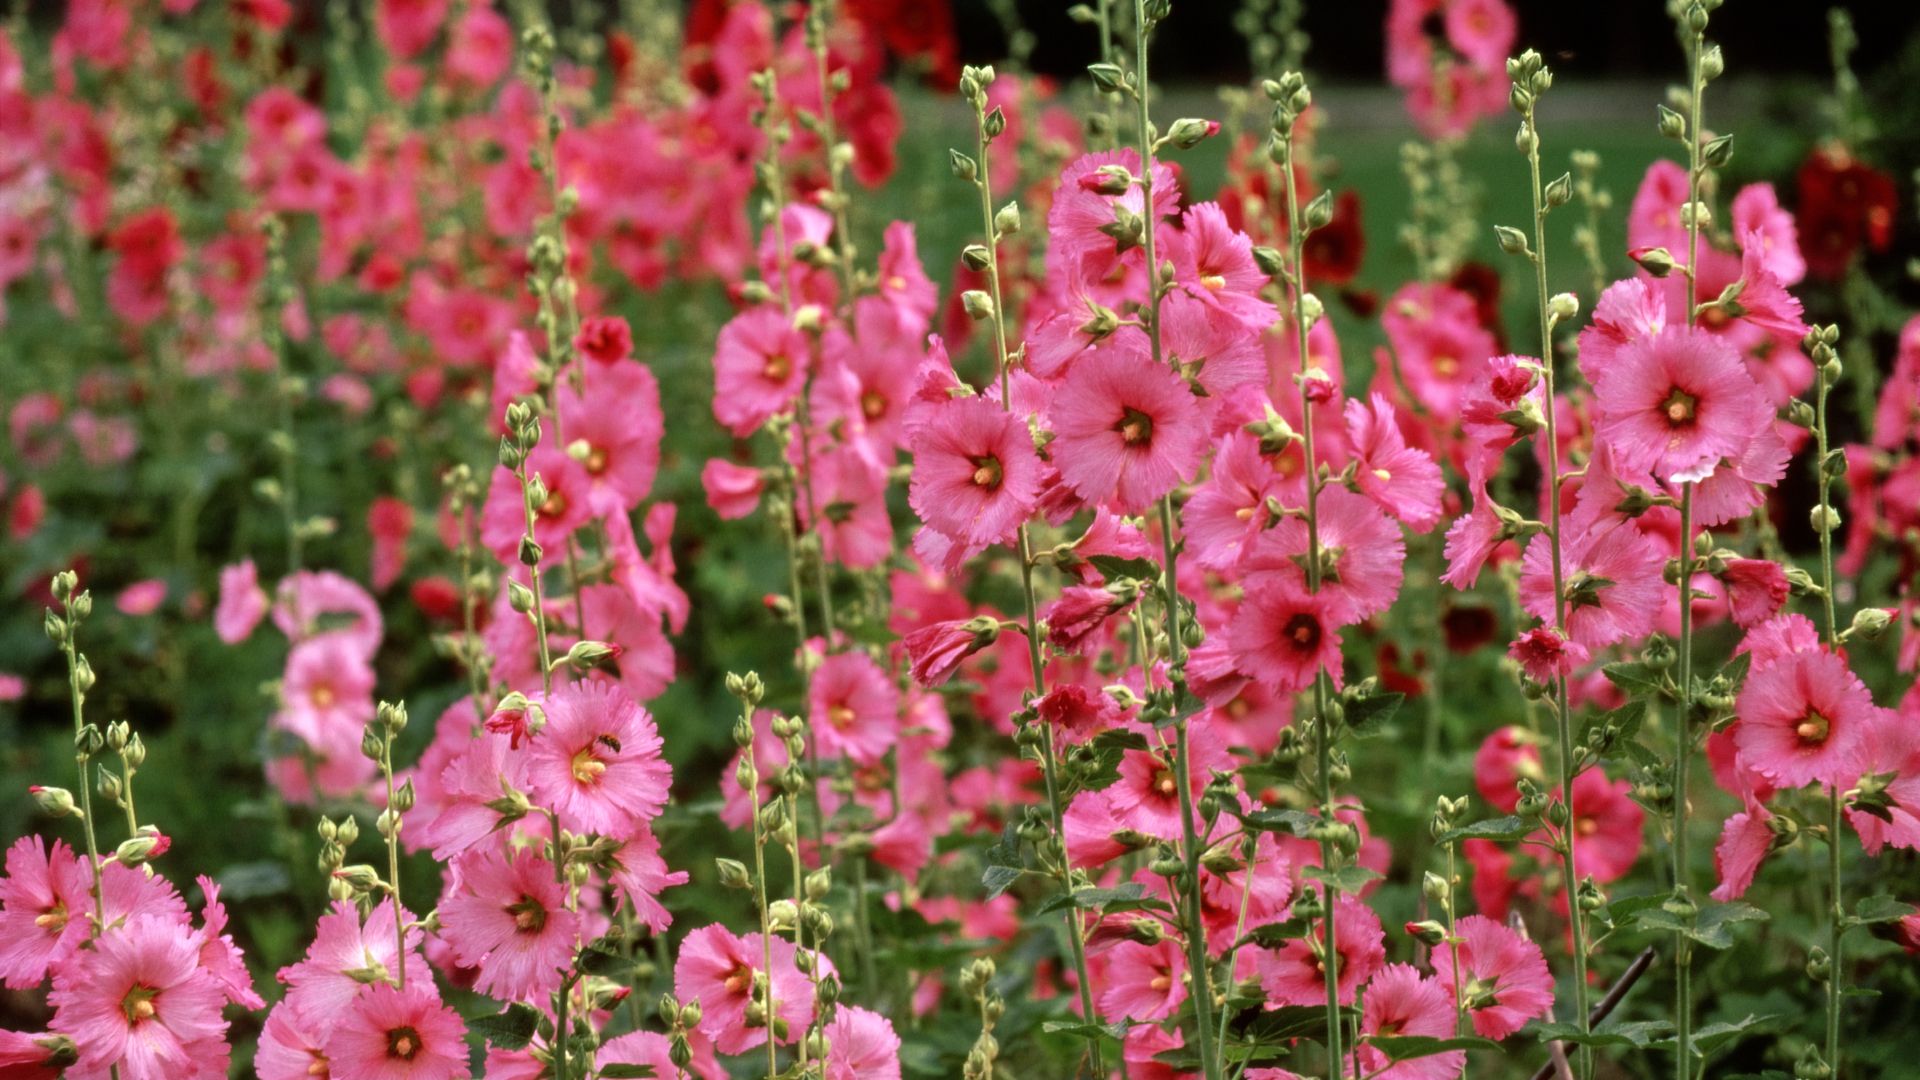
• Pink Hollyhocks – on the other hand, if you are more into sweet and pink flowers, consider planting Halo Cerise, Radiant Rose, and Spring Celebrities Pink Hollyhocks.
• Contrasting Centers – Hollyhocks with contrasting centers come in different shades, including apricot, cherry, red, pink, white, and cream. These include varieties from the Halo series.
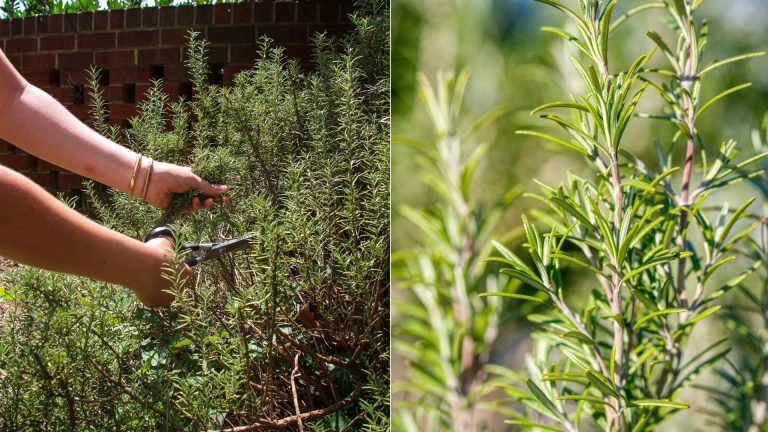
3. Don’t Forget To Deadhead
To encourage continuous blooming, regularly deadhead spent flowers. This not only keeps your hollyhocks looking fresh but also redirects the plant’s energy into producing new, vibrant blooms.
However, it’s possible that plants from seeds produced in the lower, larger blooms will grow more robustly than those from seeds produced at the top of the plant. So, if you want to collect the seeds, let the flowers grow big and strong!
You might be interested in: People Are Deadheading Their Flowers All Wrong!
4. Keep An Eye Out For Pests & Diseases
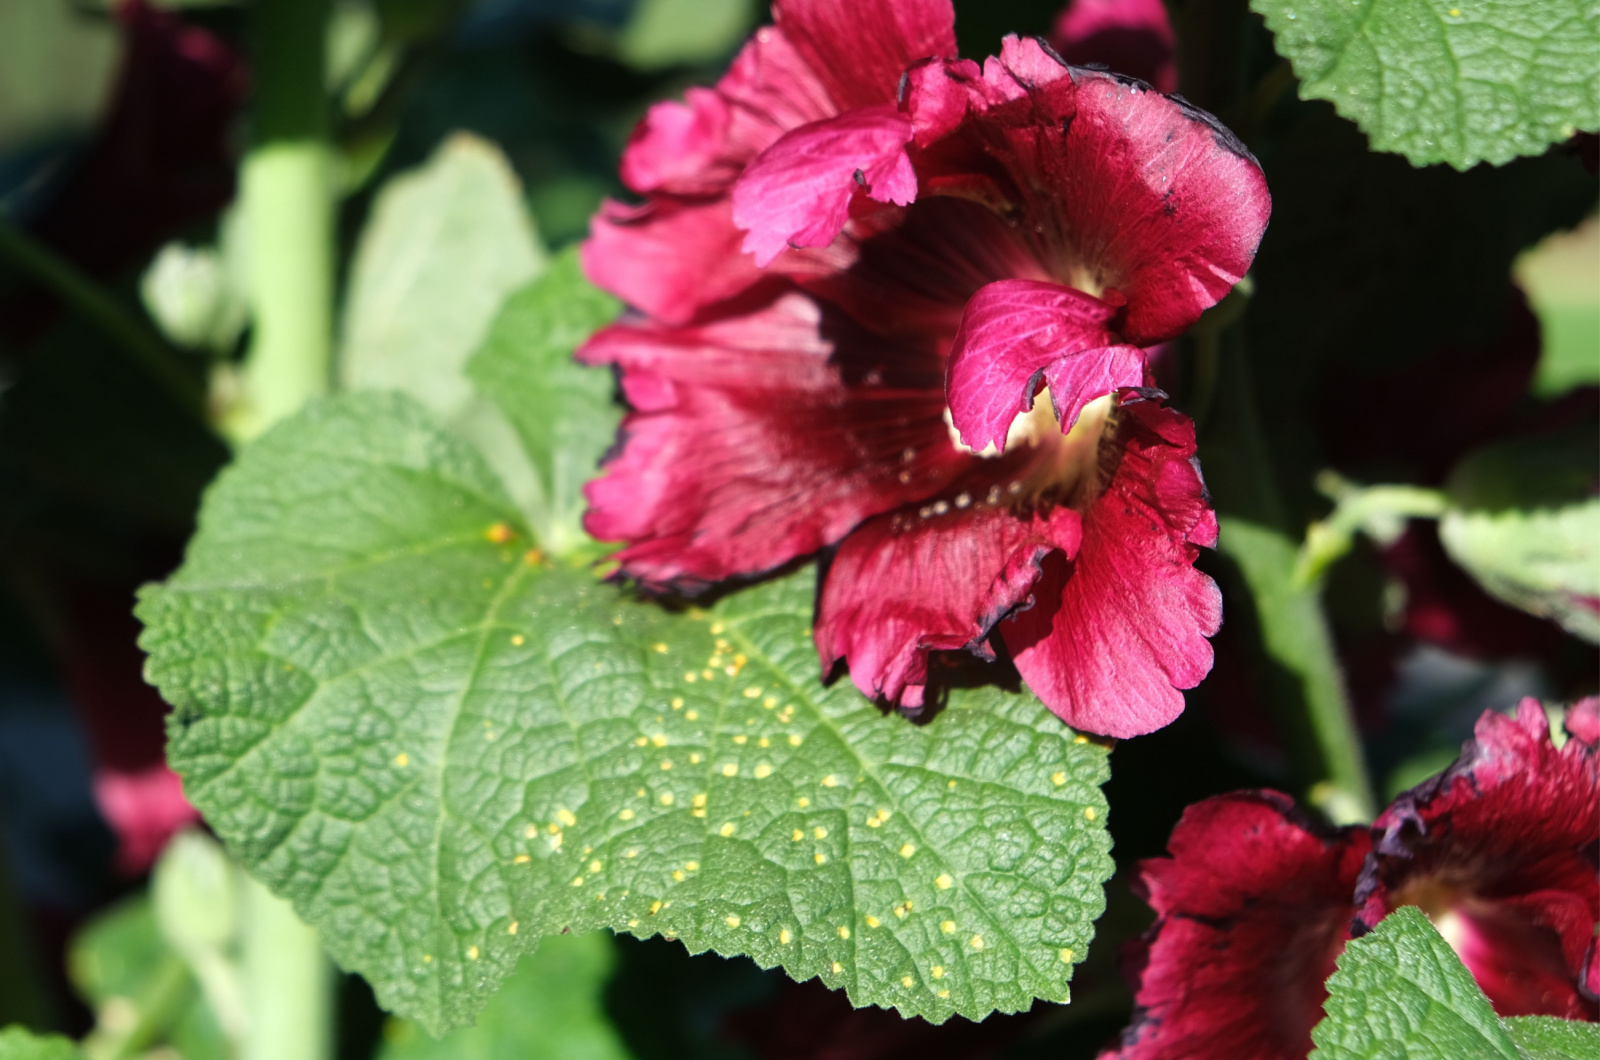
Hollyhock will catch everyones’ attention, including unwanted visitors such as aphids, slugs, snails, spider mites, and Japanese beetles. However, certain plant diseases like rust might also occur if you don’t take good care of your Hollyhock plant.
To prevent these issues, make sure to water the plant at its base rather than getting the leaves wet. Regularly remove pests like slugs and snails, and also debris that might carry some pathogens.
In case of an infection, remove the affected area of the plant. You could apply pesticides or fungicides as treatment.
You should also thin Hollyhock plants to about 18 or 24 inches apart in order to ensure proper airflow. Remember to also provide proper drainage and avoid overwatering!
Also read: 7 Most Common Hibiscus Diseases & Pests And How To Treat Them
5. Find The Perfect Location
First of all, take into account that Hollyhocks can grow in USDA hardiness zones 2 through 10.
So, the preferred conditions are not too wet or too dry environments!
Second of all, you should also keep in mind Hollyhocks’ growth habits – these plants can reach up to 12 feet tall. So, make sure to plant them somewhere where they can grow and thrive comfortably.
If you live in a windy area, make sure to shelter your Hollyhock or provide it with some type of support like stakes or fences.
If you are considering starting your own butterfly garden, Hollyhock is the perfect plant for you because they are host to young butterflies.
6. Get The Right Soil
Hollyhocks prefer well-draining soil with a slightly alkaline pH. Ensure your garden soil is rich in organic matter to provide essential nutrients for these tall beauties.
For instance, you can add well-rotted manure or compost to improve your soil’s fertility. What you can also do is top dress or mulch with compost, but remember to provide proper airflow to reduce plant diseases.
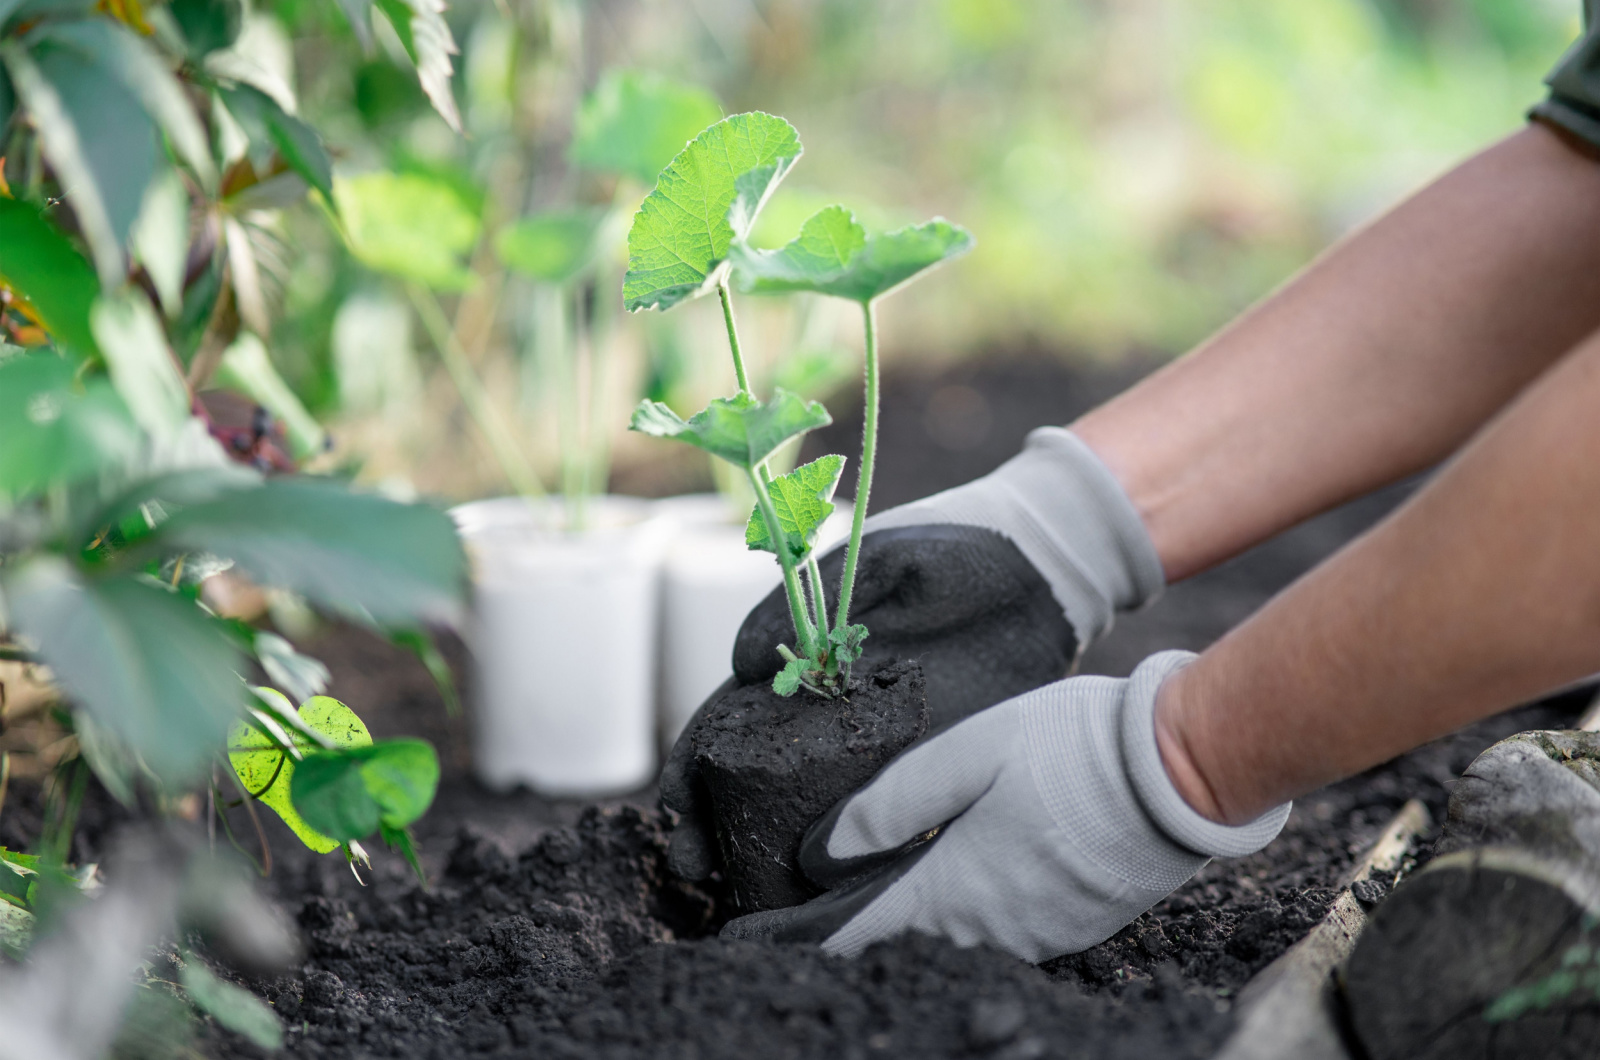
7. Grow Them From Seeds
Hollyhocks are often grown from seeds. You can sow them directly in your garden or start them indoors. If you decide to start them indoors, make sure to plant them 8 to 10 weeks before the last frost date.
If you live in colder regions with a short growing season, you should plant the seeds in spring or earlier and wait patiently for the next year’s flowering explosion.
Once you plant the seeds, they should germinate quickly – the ideal germination temperature is between 60 and 70 degrees Fahrenheit.
However, if you already own Hollyhocks, you can just let them reseed themselves because they are self-seeding plants that just keep on coming back!
8. Consider Companion Planting
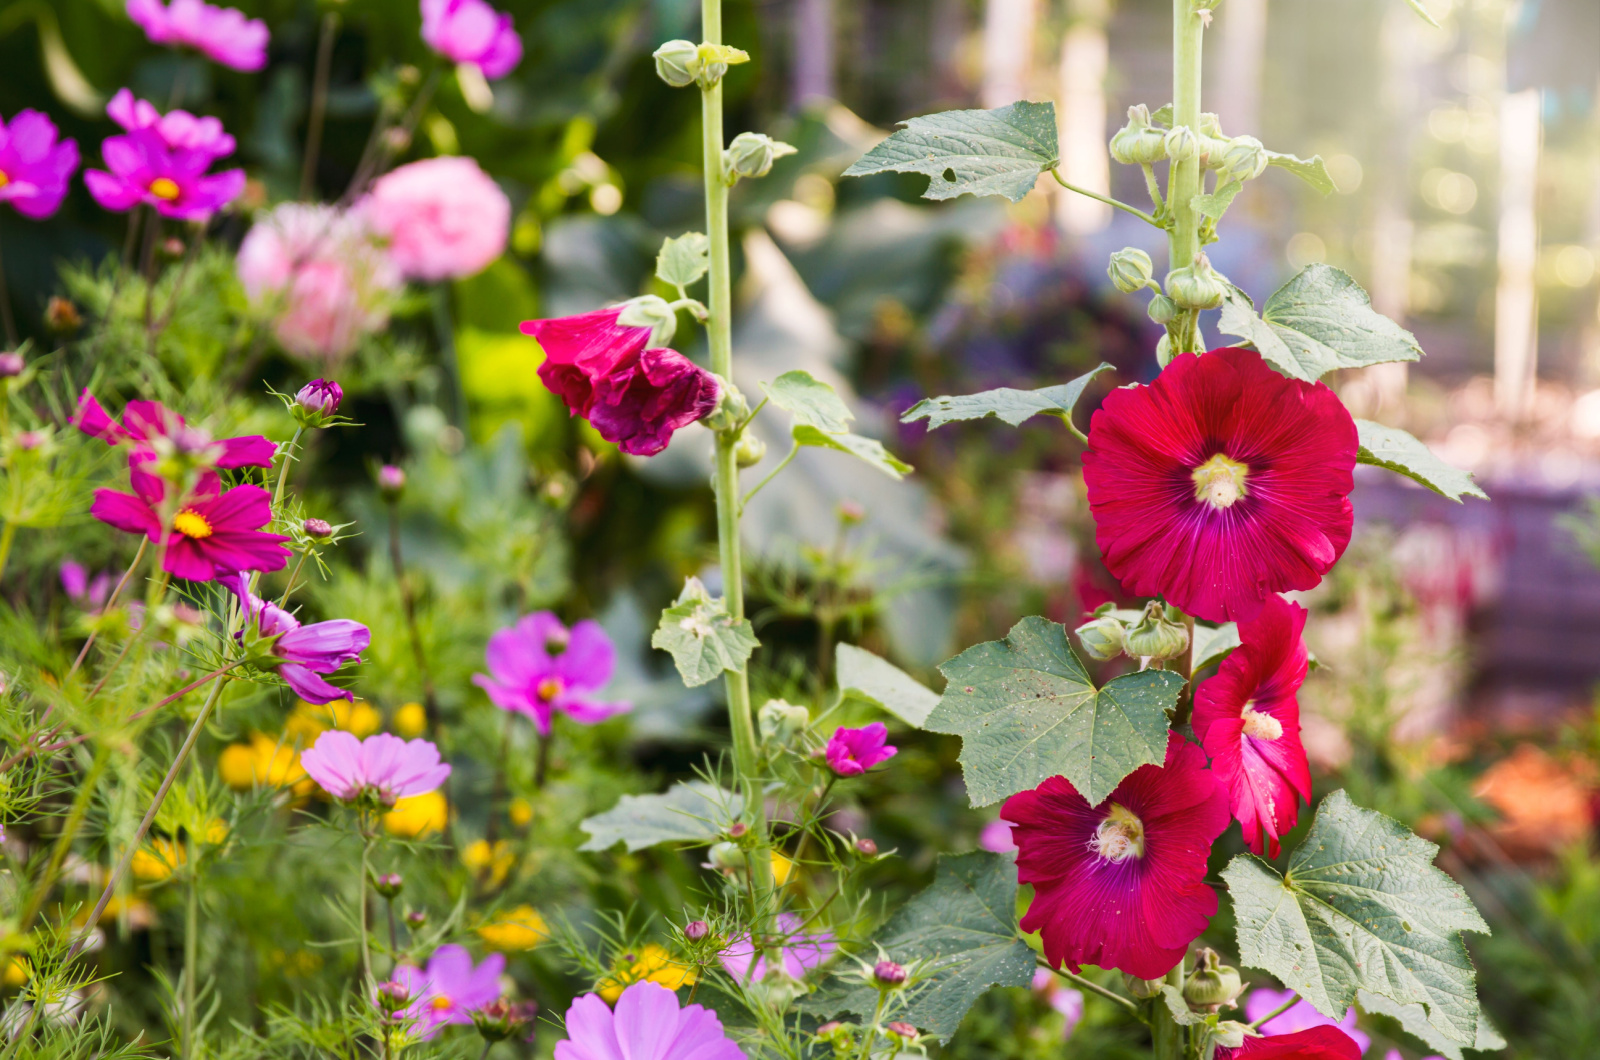
Companion planting is an old gardening trick that will help you have a problem-free garden. This includes strategically growing plants together that boost each others’ growth and protect one another from various pests.
For instance, since Hollyhocks grow quite tall, they might provide some shade for the smaller, shade-loving plants.
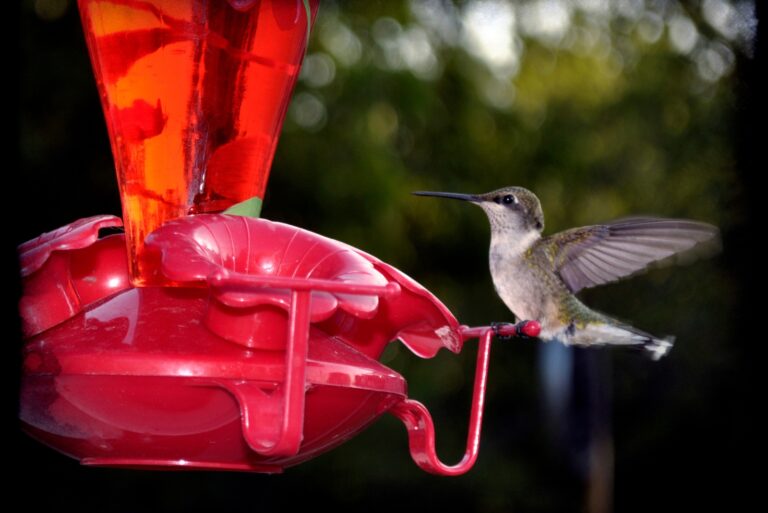
Additionally, these flowers will attract butterflies and hummingbirds to your garden, thus improving the pollination rate and making your garden cheerful and lively!
You can combine Hollyhock with Bee balm, dahlia, phlox, daisies, echinacea, and roses. If you grow celosia, then you could grow some of these celosia companion plants.
9. Overwintering Hollyhocks
In areas with harsh winters, you might need to protect your hollyhocks. Mulch the base of the plants in late fall to insulate them from freezing temperatures.
This will help your hollyhocks survive the winter and come back even stronger in the spring.
Remember to remove the mulch early in spring to avoid fungal diseases, especially in wet and soggy soils.