17 Pro Tips For Growing The Best Melons In Your Garden (Plus Some You Might Not Have Considered)
There’s no sweeter win in the garden than biting into a melon you raised from seed to slice. That rich, sun-kissed flavor leaves store-bought in the dust.
I still remember my first—quirky on the outside, pure gold on the inside. One bite made all the sweat and dirt worth it.
With a few tried-and-true tricks up your sleeve, you can grow juicy melons that steal the show all summer long.
1. Start With Warm Soil
Cold soil is the enemy of melon seeds. I learned this the hard way after planting too early one spring and watching my seeds rot instead of sprout. Melons need soil temperatures of at least 70°F to germinate properly.
Using black plastic mulch can help warm your soil faster in spring. Simply lay it down two weeks before planting to capture heat. The warmer environment not only speeds germination but also promotes faster growth once seedlings emerge.
For those in cooler climates, starting seeds indoors 3-4 weeks before transplanting gives your melons a head start without risking cold soil exposure.
2. Choose The Right Varieties For Your Climate
Not all melons are created equal when it comes to climate adaptation. In my northern garden, I wasted several seasons trying to grow varieties that simply needed more heat than our summers could provide.
Short-season varieties like ‘Minnesota Midget’ and ‘Sugar Baby’ watermelon mature in just 70-80 days, making them perfect for cooler regions.
Those in hot climates can grow almost any variety, including heat-loving honeydews and casabas that need 110+ days to ripen. Check the days to maturity on seed packets and match them to your growing season length for the best results.
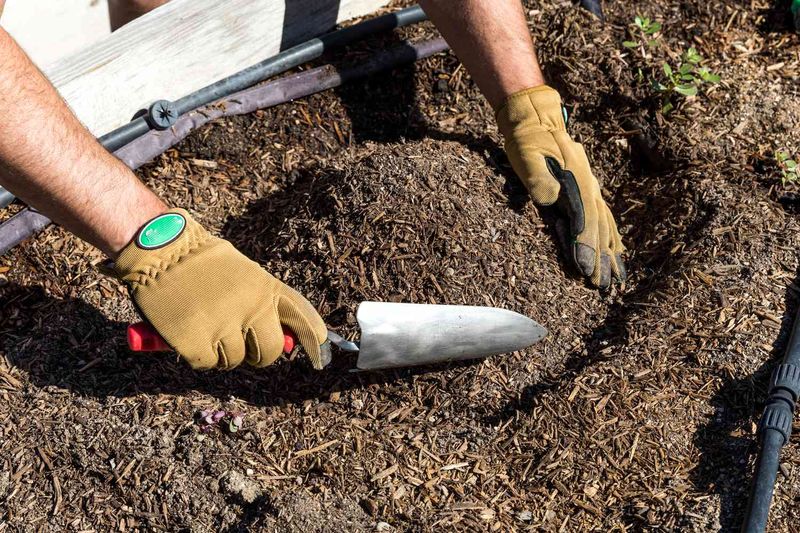
3. Build Rich, Well-Draining Soil
The foundation of juicy, flavorful melons lies beneath the surface. My first melon patch produced mediocre fruits until I revamped the soil with plenty of compost. These heavy feeders thrive in nutrient-rich environments.
Add 2-3 inches of compost to your planting area and work it into the top 8 inches of soil. The organic matter improves both drainage and nutrient availability.
Sandy loam soils with a pH between 6.0-6.8 create ideal growing conditions. Avoid clay soils which retain too much moisture and can lead to root rot and cracked fruits.
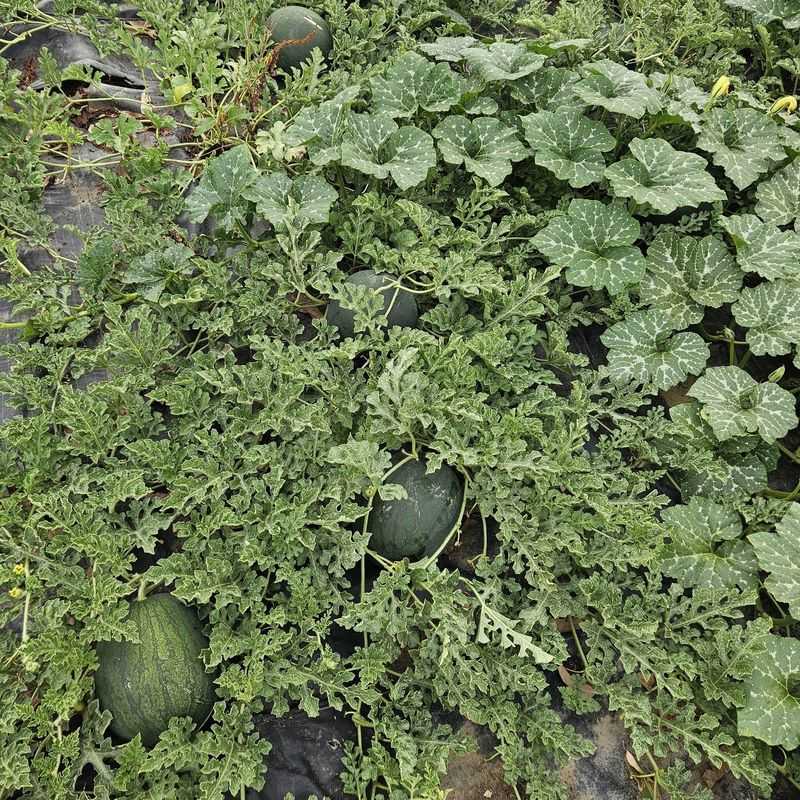
4. Give Them Room To Sprawl

Space constraints nearly ruined my first melon crop. The vines quickly outgrew their allotted space, competing for nutrients and sunlight, resulting in smaller fruits and lower yields.
Most melon varieties need 18-24 square feet per plant to reach their full potential. Plant in hills with 2-3 plants per hill, spacing hills 4-6 feet apart. The sprawling vines might seem excessive at first, but this breathing room pays off in harvest quality.
For small gardens, consider growing melons vertically on sturdy trellises or choose bush varieties like ‘Minnesota Midget’ that take up less space.
5. Perfect Your Watering Technique

Inconsistent watering led to split fruits and bland flavor in my garden until I developed a better approach. Melons need steady moisture during vine growth and fruit development, but excess water dilutes sweetness.
Provide deep, infrequent watering rather than frequent shallow sprinkles. This encourages deeper root development and drought resistance. Aim for about 1-2 inches of water weekly, adjusting for rainfall and temperature.
Reduce watering once fruits reach full size and begin to ripen. This stress period concentrates sugars and improves flavor—a trick I wish I’d known years earlier.
6. Use Mulch For Multiple Benefits
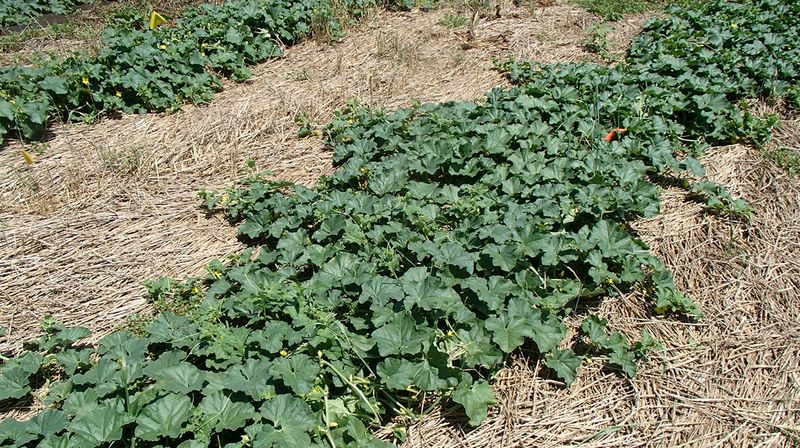
The year I started mulching my melon patch changed everything. Previously, my fruits would develop rot spots where they touched the bare soil, and weeds constantly competed with the young plants.
A 2-3 inch layer of straw mulch creates a clean barrier between developing melons and the soil. This prevents rot and keeps fruits cleaner.
As a bonus, mulch conserves soil moisture, suppresses weeds, and moderates soil temperature fluctuations. Apply mulch after the soil has warmed and plants are established, keeping it a few inches away from the stems to prevent collar rot.
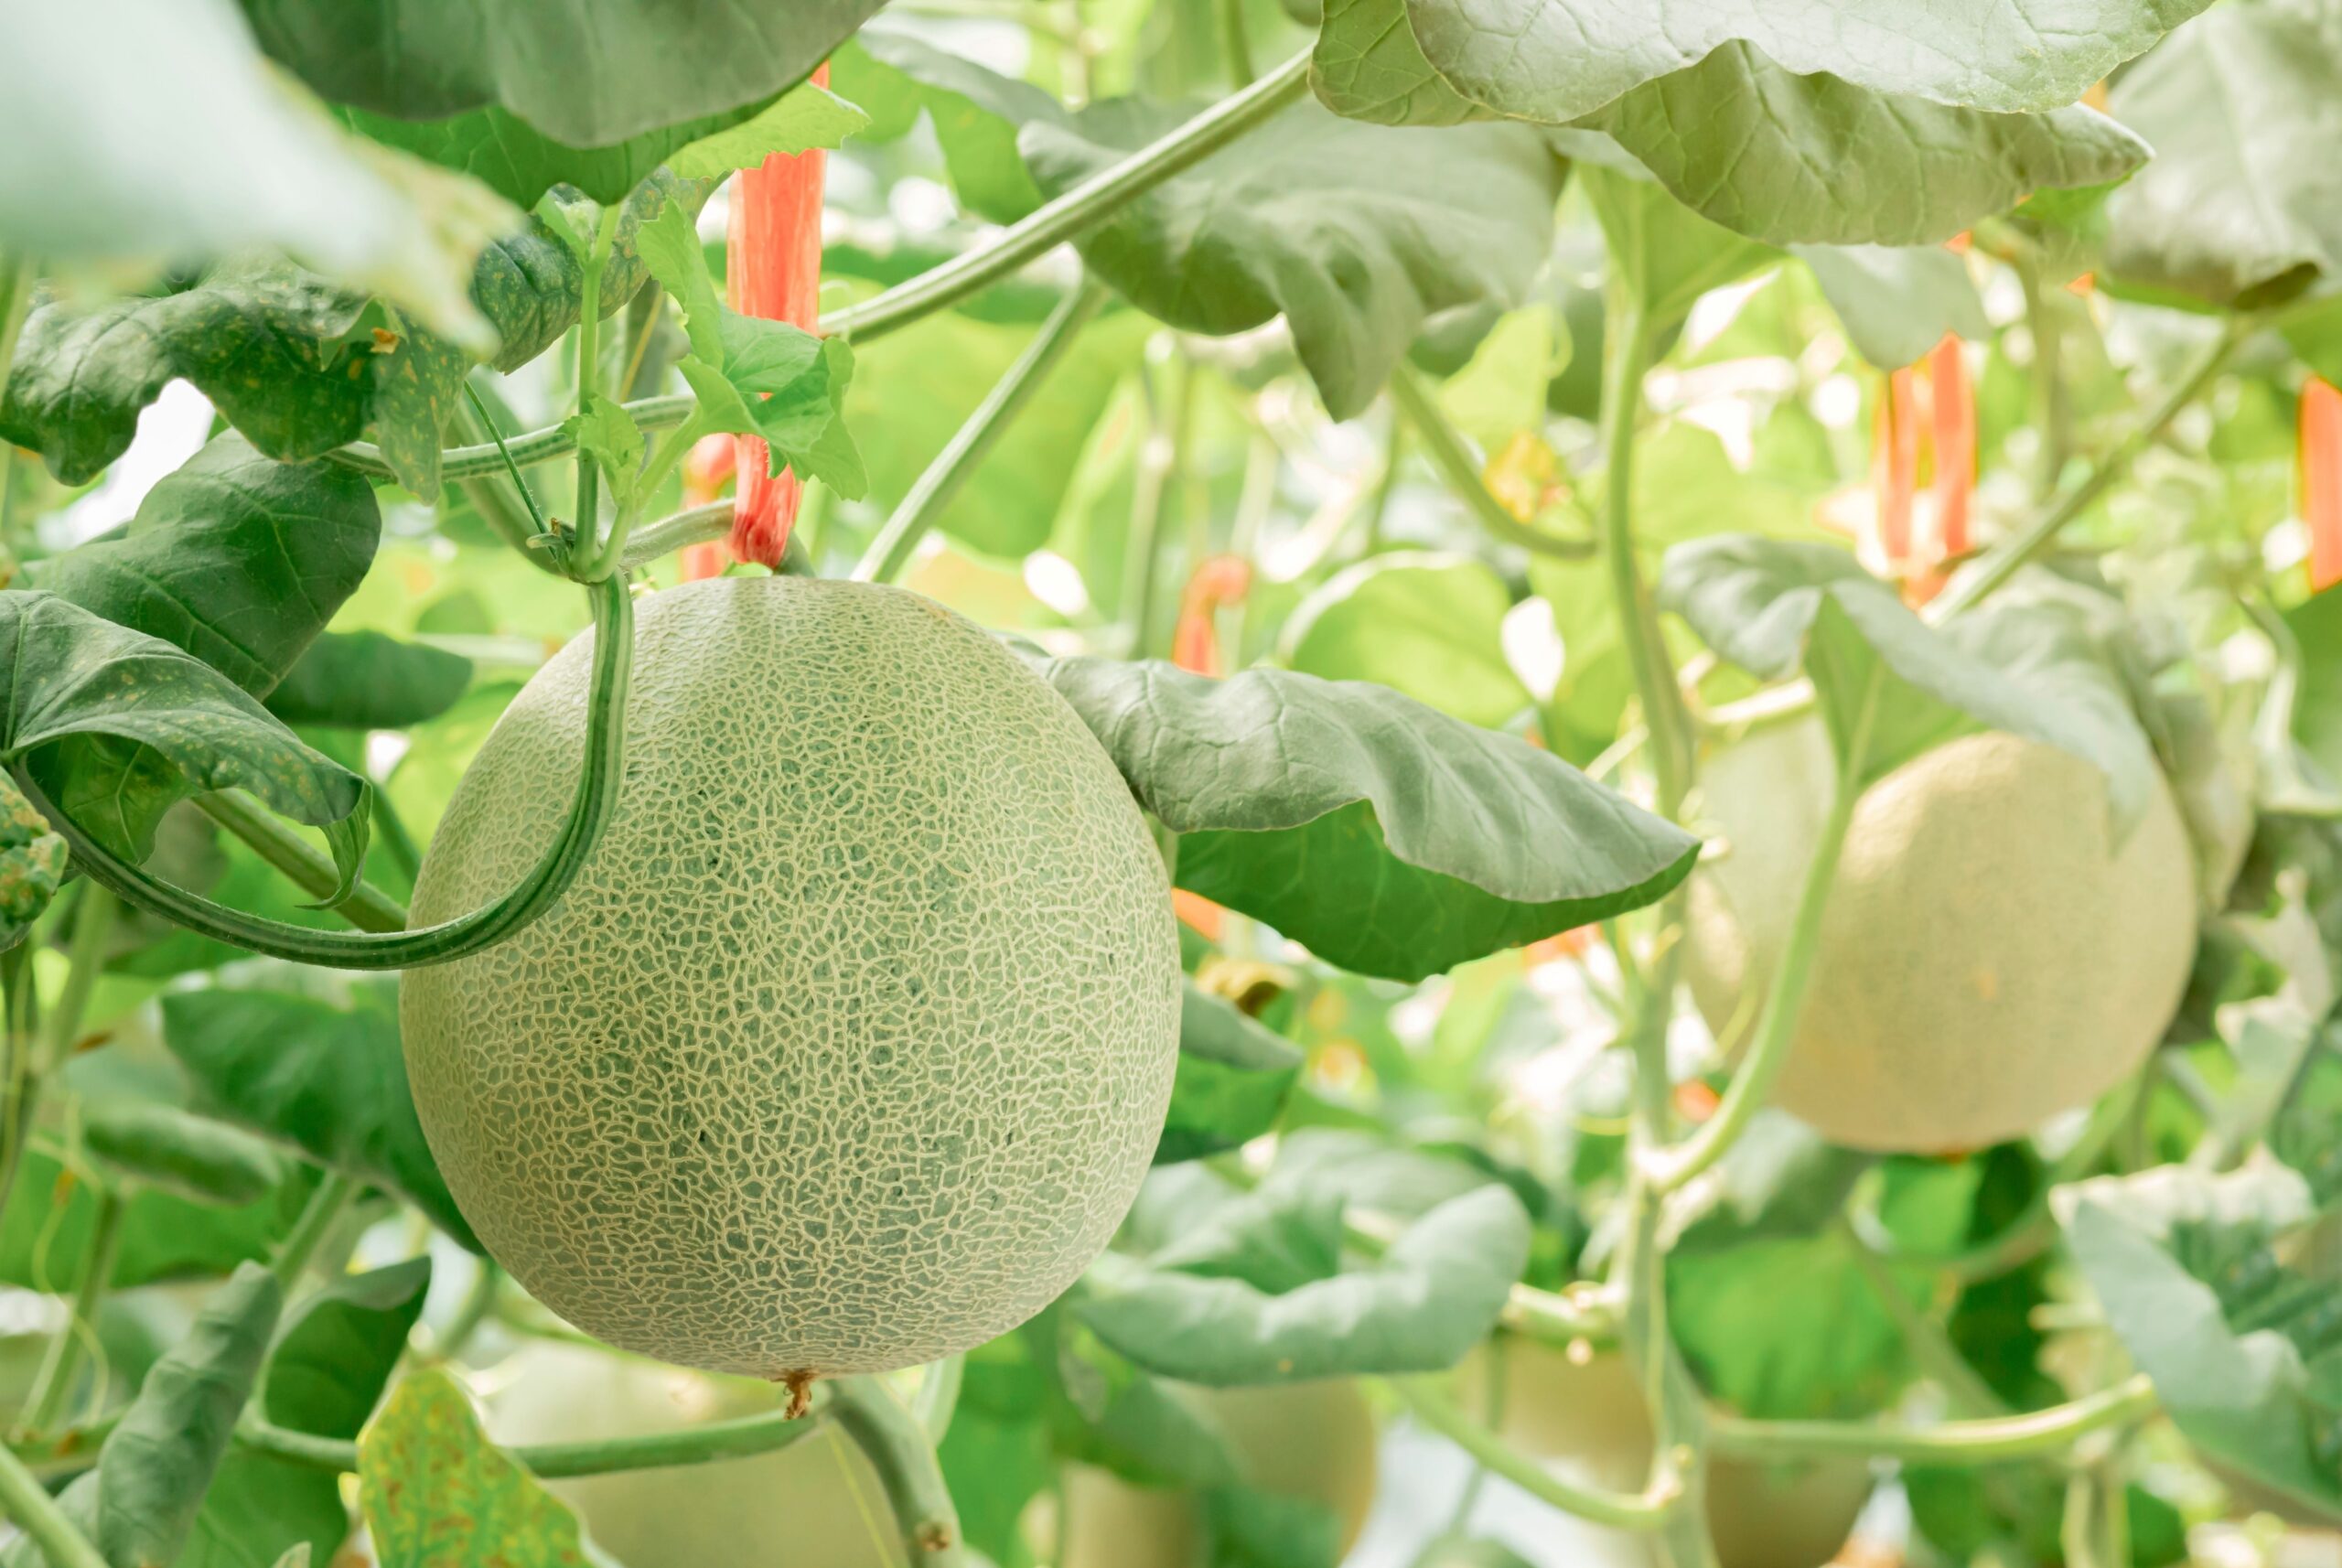
7. Support Fruits For Vertical Growing
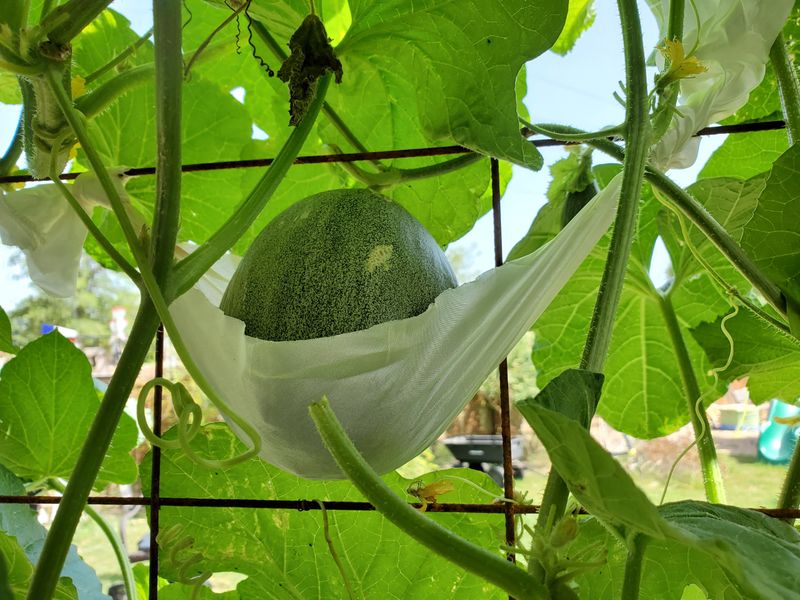
Running out of garden space pushed me to grow melons vertically, but I quickly discovered the fruits were too heavy for the vines alone. Without support, they would either fall and break off or damage the vine.
Old t-shirts, pantyhose, or mesh produce bags make perfect slings for supporting developing melons on trellises. Create a hammock under each fruit and tie it to the trellis.
The sling stretches as the fruit grows while distributing weight evenly. For heavier varieties like watermelons, ensure your trellis is extremely sturdy and consider limiting fruit numbers per vine when growing vertically.
8. Hand Pollination For Better Fruit Set
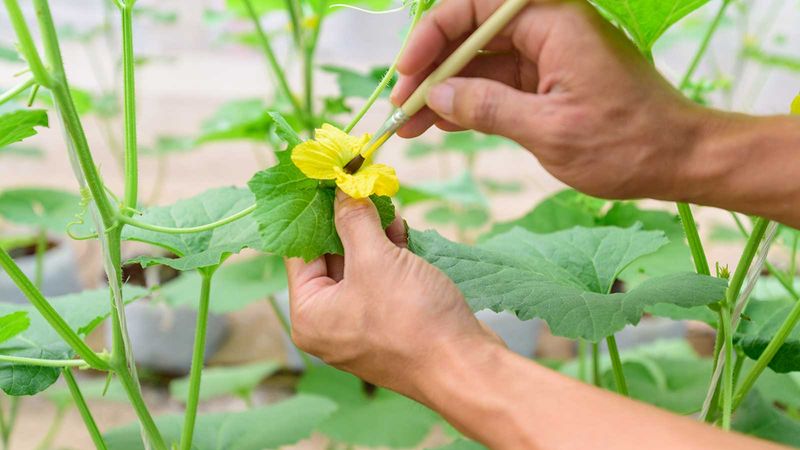
After a disappointing season with lots of flowers but few melons, I discovered the importance of pollination. Sometimes bees and other pollinators aren’t abundant enough to do the job thoroughly.
Male flowers have a straight stem, while female flowers have a tiny melon shape at the base. Simply transfer pollen from male to female flowers using a small paintbrush or by removing a male flower and touching its center to the centers of female flowers.
Morning is the best time for hand pollination when flowers are freshly opened. I now hand-pollinate a few flowers even when bees are present as insurance against poor fruit set.
9. Prune For Focused Energy
My melons used to produce loads of vines but disappointingly small fruits until I learned about strategic pruning. Letting plants grow unchecked divides their energy among too many potential fruits.
Pinch off the growing tips of vines after they reach about 5 feet long. This redirects the plant’s energy to fruit development rather than endless vine growth. For maximum quality, limit each plant to 2-3 fruits by removing excess female flowers or young fruits.
Remove any diseased or yellowing leaves promptly to maintain airflow and prevent problems from spreading throughout your melon patch.
10. Rotate Your Melon Patch
Planting melons in the same spot year after year nearly ended my melon-growing days. Disease pressure built up in the soil, and each season brought more problems than the last. Practice crop rotation by changing where you plant melons each year.
Wait at least 3-4 years before returning melons to the same garden spot. This breaks disease cycles and prevents nutrient depletion specific to cucurbits.
Keep records of where you plant each year to make rotation planning easier. I use a simple garden journal with rough sketches that has saved me from making this mistake again.
11. Time Fertilizing Strategically
Applying fertilizer at the wrong growth stage nearly ruined my melon harvest one year. Too much nitrogen during fruiting produced lush vines but few melons, while undernourished plants yielded small, bland fruits.
Start with a balanced fertilizer (10-10-10) at planting time. Once vines begin to run, switch to a lower-nitrogen, higher-phosphorus formula like 5-10-10 to encourage flowering and fruiting rather than excessive vine growth.
Avoid high-nitrogen fertilizers once fruits set, as this can delay ripening and reduce sweetness. A light side-dressing of compost when fruits are marble-sized provides gentle nutrition through harvest.
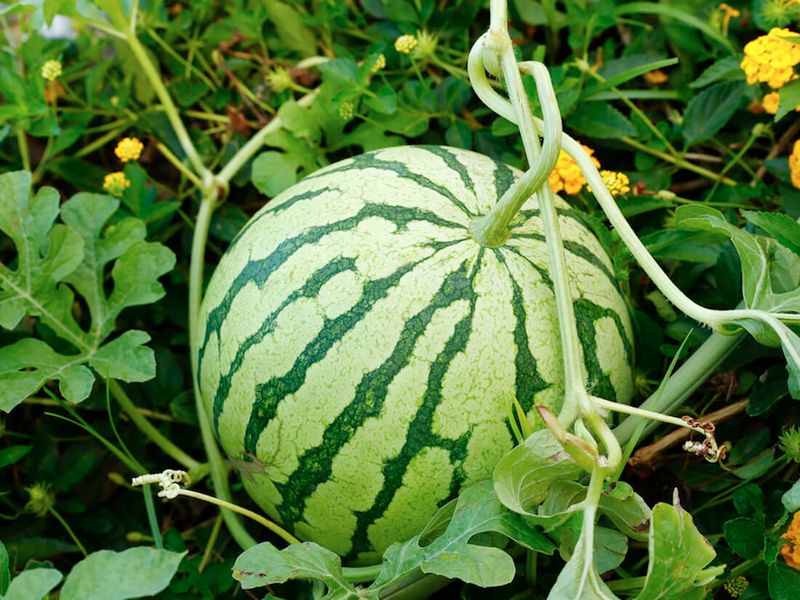
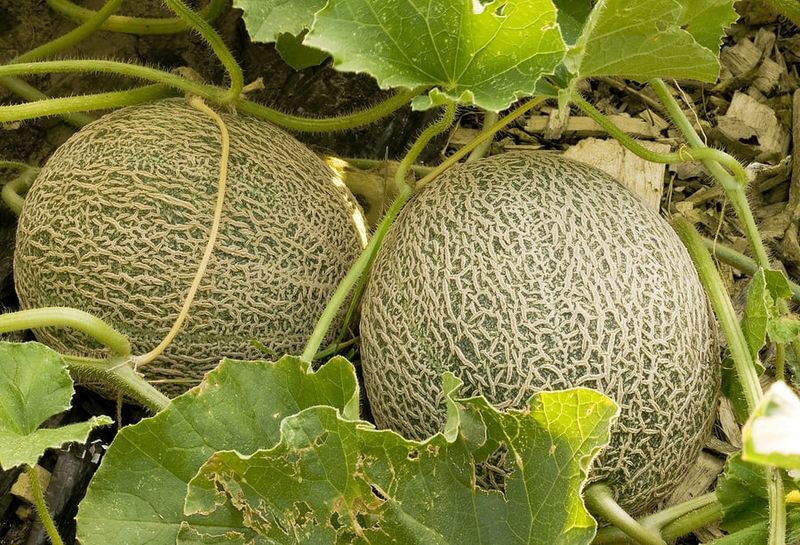
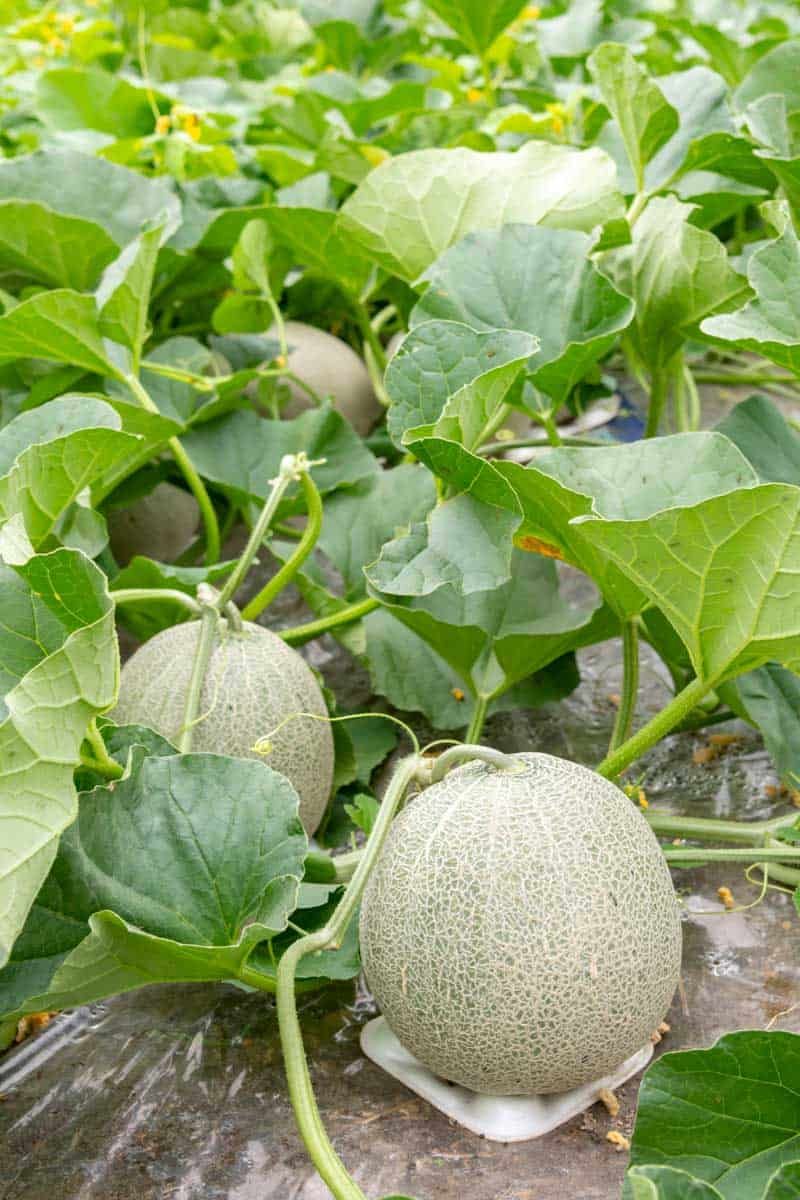
12. Watch For Signs Of Ripeness
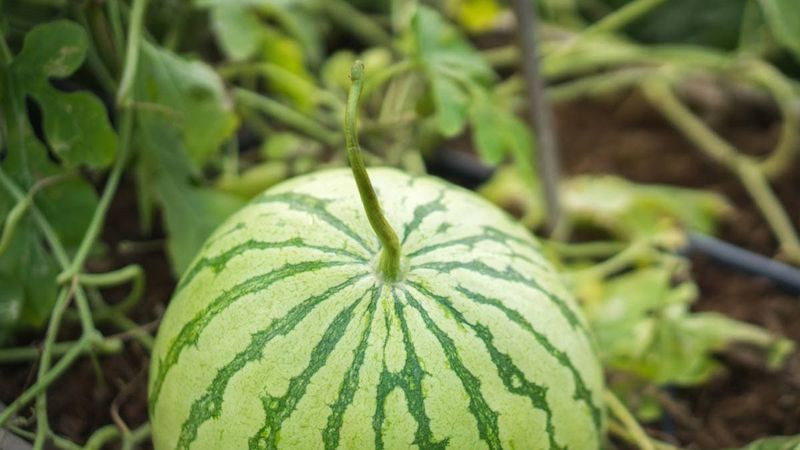
Learning to identify ripe melons took me several seasons of cutting fruits too early or letting them overripen on the vine. Each type of melon has different ripeness indicators that are crucial to know.
Muskmelons are ready when they easily slip from the vine with slight pressure and emit a sweet fragrance. Watermelons are ripe when the tendril nearest the fruit browns and dries up, and the underside develops a creamy yellow spot where it touches the ground.
Honeydews should feel slightly soft at the blossom end and develop a subtle sweet smell. Harvesting at peak ripeness ensures the best flavor and texture.
13. Protect From Pests Naturally
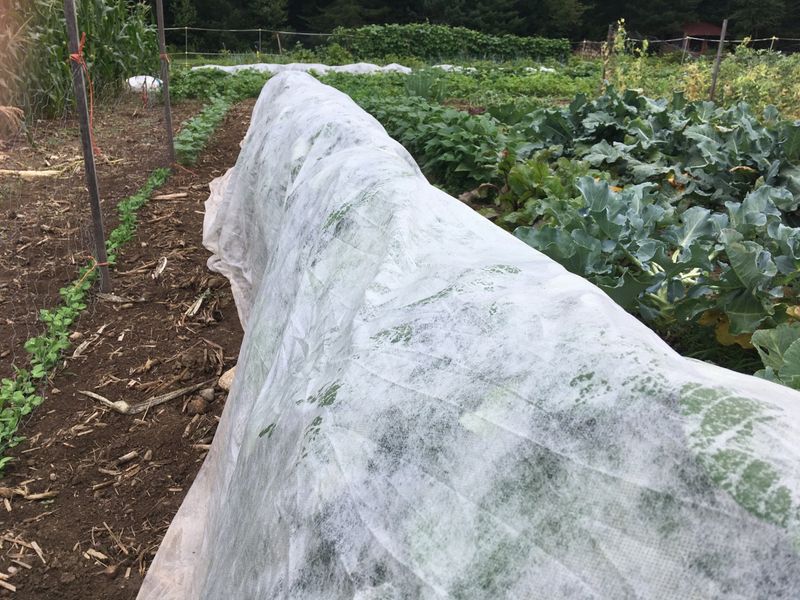
Cucumber beetles nearly wiped out my entire melon patch before I developed a natural defense strategy. These striped or spotted pests transmit bacterial wilt disease that can kill plants quickly. Floating row covers provide excellent protection during the critical early growth stage.
Remove covers once flowers appear to allow pollination. Companion planting with nasturtiums, marigolds, and radishes helps repel certain pests while attracting beneficial insects.
For persistent problems, try neem oil spray or insecticidal soap applied in the evening when beneficial insects are less active. I’ve found weekly monitoring prevents small problems from becoming disasters.
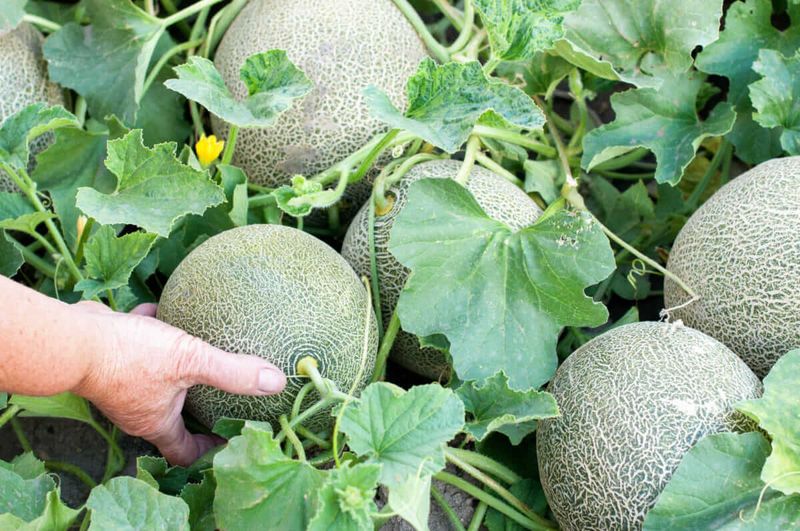
14. Try Growing In Hills
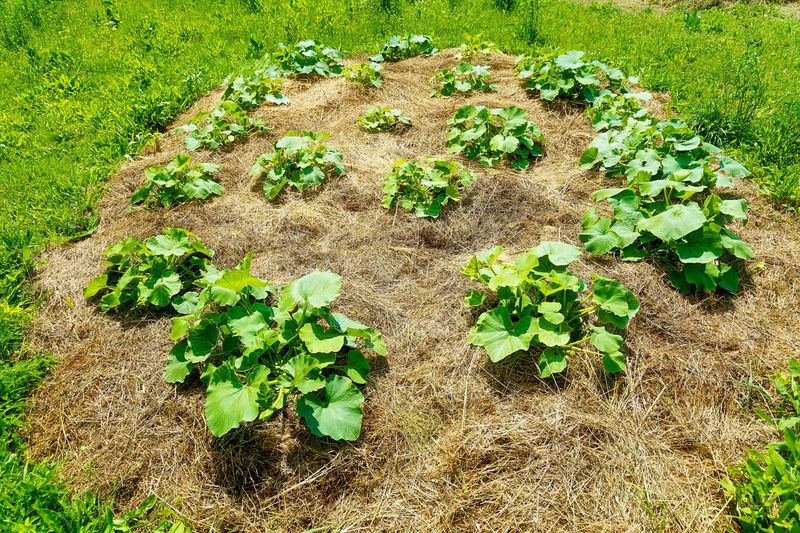
Flat planting led to waterlogged roots and struggling plants until I switched to the traditional hill method. Many gardeners skip this step, but it makes a noticeable difference in plant health.
Create mounds about 8-12 inches high and 18-24 inches wide. This improves drainage around the root zone and allows soil to warm more quickly in spring. Plant 3-5 seeds per hill, thinning to the strongest 2-3 seedlings once they develop true leaves.
For added benefits, dig a 6-inch deep hole under each hill and fill it with compost before building the mound. This creates a nutrient-rich zone for developing roots.
15. Companion Plant For Better Results
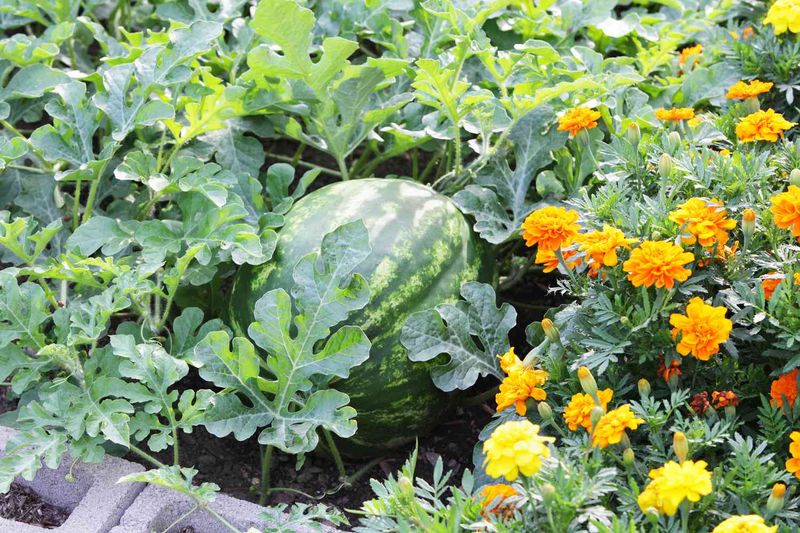
My melons struggled until I discovered the power of strategic neighbors. Certain plants naturally complement melons by repelling pests, improving soil, or enhancing growth patterns.
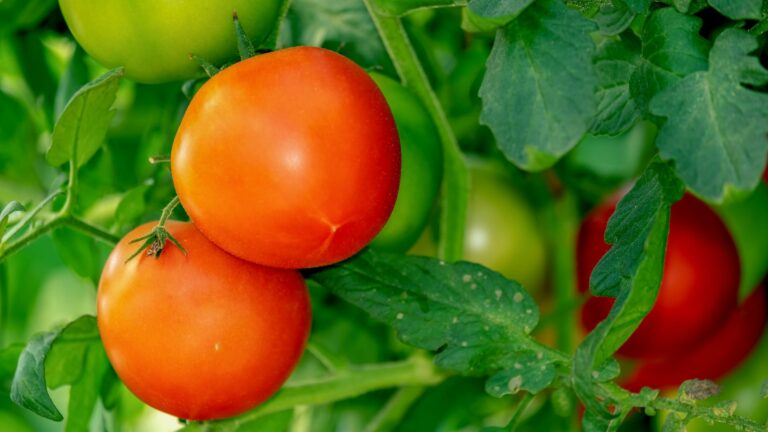
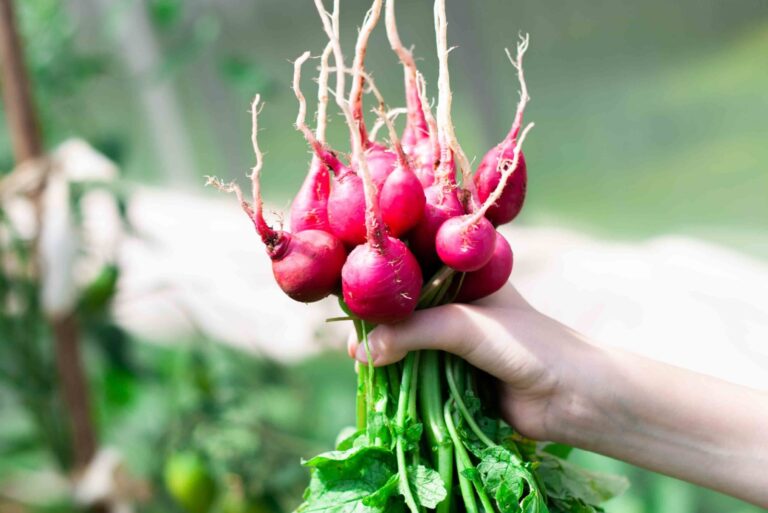
Corn provides partial shade and windbreak protection for melons in hot climates. Nasturtiums repel cucumber beetles and squash bugs while attracting pollinators. Radishes planted between melon hills deter cucumber beetles and can be harvested long before melons need the space.
Avoid planting melons near potatoes, as they compete for nutrients and can spread diseases between them. I’ve found this natural approach reduces pest problems without chemical interventions.
16. Harvest During The Cool Hours
Picking melons in the heat of the day used to leave me with fruits that spoiled quickly. The timing of harvest affects both flavor and storage potential more than most gardeners realize.
Harvest melons in the early morning when temperatures are cool and sugar content is highest. The cool fruits will store longer and maintain better texture. Use a sharp knife to cut muskmelons and cantaloupes from the vine, leaving a short stem attached.
Handle freshly harvested melons gently to avoid bruising and never stack them. I cool mine in the refrigerator for a few hours before cutting for the most refreshing texture and flavor.
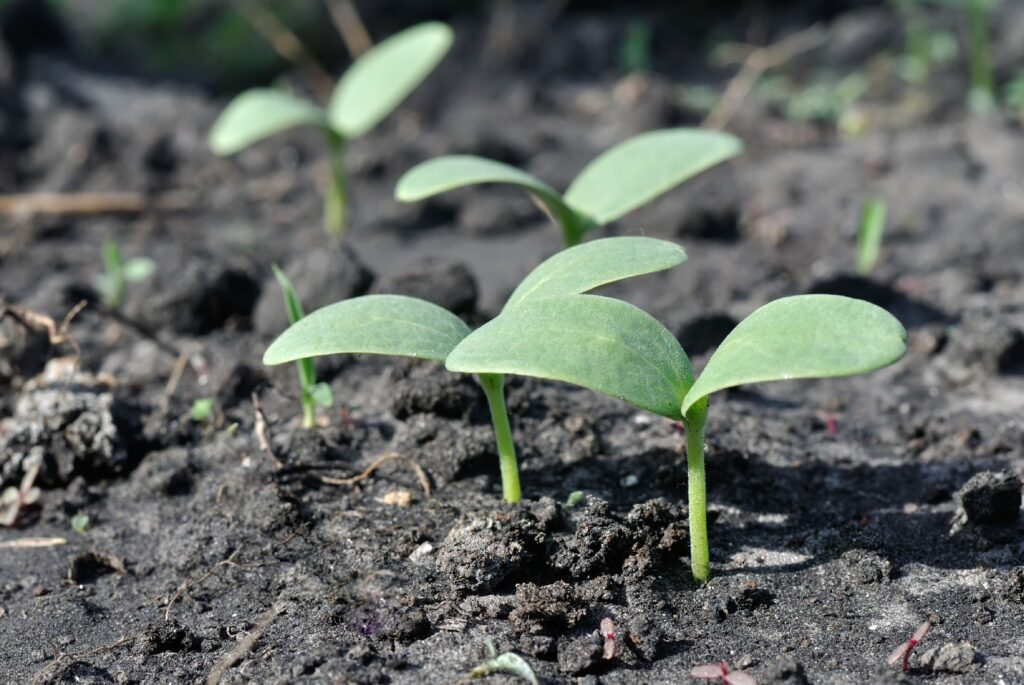
17. Plant At The Right Depth
Planting seeds too deep nearly cost me an entire season of melons. These large seeds have specific depth requirements that affect germination rates and seedling vigor.
Sow melon seeds 1 inch deep—no deeper, no shallower. This provides enough soil coverage to maintain moisture while allowing the sprouts to easily reach the surface. When transplanting seedlings, set them at the same depth they grew in their containers to prevent stem rot.
For direct seeding, plant extra seeds and thin to the strongest seedlings. I typically plant 5-6 seeds per hill and thin to the best 2-3 plants once they develop their first true leaves.
18. Elevate Fruits Off The Ground
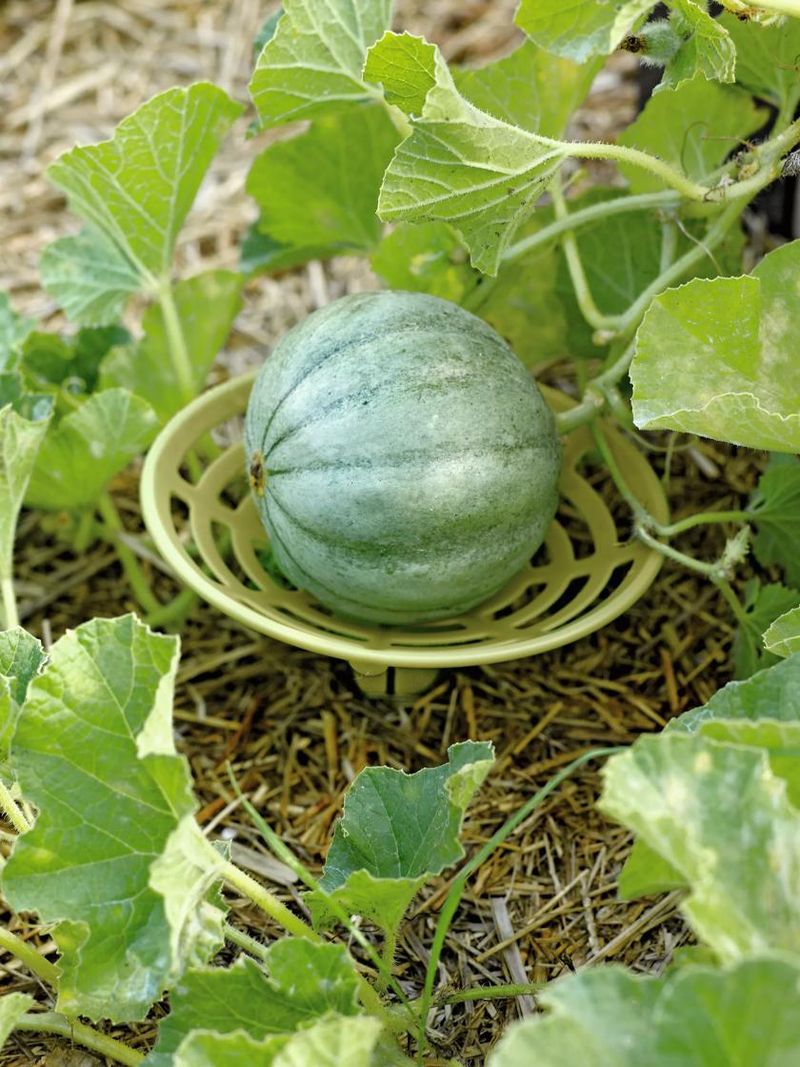
Ground contact used to ruin many of my nearly-ripe melons before I started using simple elevation techniques. Direct soil contact increases the risk of rot, pest damage, and uneven ripening.
Place a piece of wood, flat stone, or even a small section of plastic mesh under each developing fruit. This barrier prevents soil-borne diseases from affecting the fruit and improves air circulation. For small melons like cantaloupes, empty plastic plant pots turned upside down make perfect pedestals.
Check elevated fruits regularly to ensure they haven’t grown into the supporting material, which could cause damage or deformities.
19. Consider A Drip Irrigation System
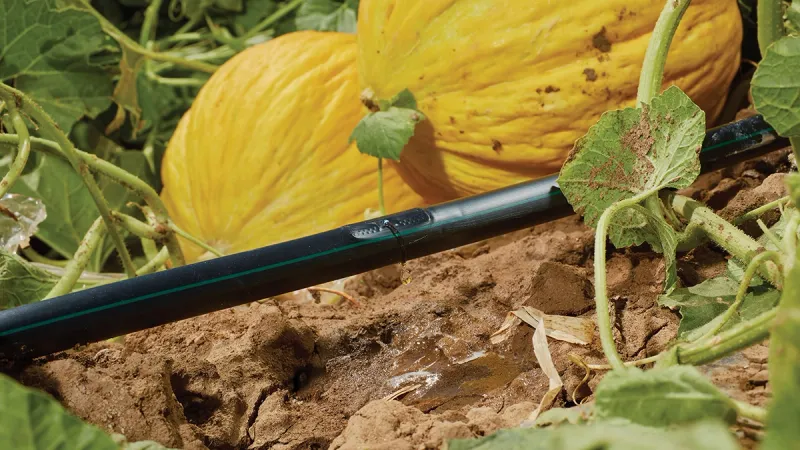
Overhead watering caused frequent leaf diseases until I installed a simple drip system. Wet foliage creates the perfect environment for powdery mildew and other fungal problems that can devastate melon plants.
Drip irrigation delivers water directly to the soil where roots need it, keeping foliage dry and reducing disease pressure. It also conserves water by minimizing evaporation and runoff. For best results, place drip lines about 2 inches from plant stems.
Adding a timer to your drip system ensures consistent watering even during busy periods or vacations. My plants have never been healthier since making this switch.
20. Test Soil Before Planting
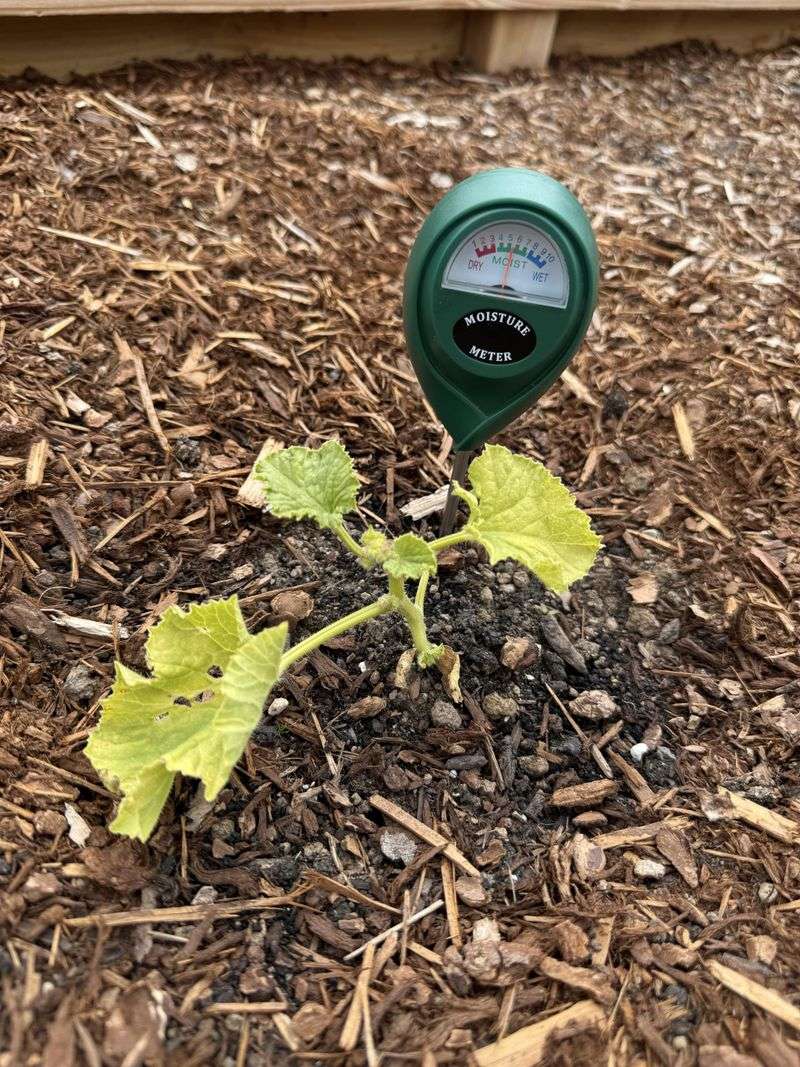
Years of mediocre harvests taught me that guessing about soil conditions is a recipe for disappointment. Getting a soil test changed my melon-growing success dramatically. Contact your local extension office for affordable soil testing services.
The results will reveal your soil’s pH and nutrient levels, along with specific recommendations for amendments. Melons prefer slightly acidic soil with a pH between 6.0-6.8.
Following test-based recommendations rather than applying random fertilizers saves money and prevents nutrient imbalances that can reduce yields. I now test my soil every two years to stay on track with proper amendments.
21. Save Seeds From Your Best Performers
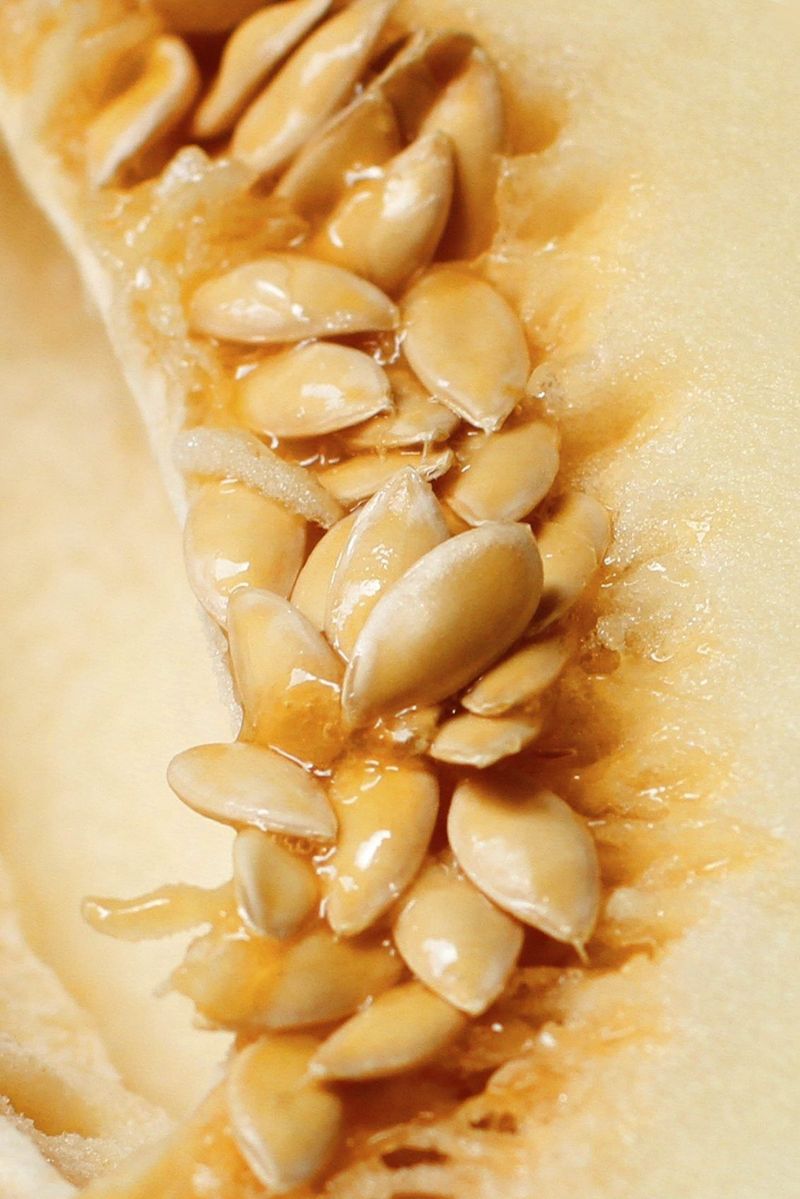
Buying new seeds every year used to be my routine until I discovered the benefits of saving seeds from my own garden stars. The melons that perform best in your specific conditions can pass those adaptations to their offspring.
Select seeds only from open-pollinated (non-hybrid) varieties that were your healthiest, most productive plants. Scoop seeds from fully ripened fruits, rinse away the pulp, and dry thoroughly on paper towels for 1-2 weeks before storing in paper envelopes.
Label each envelope with the variety name and harvest date. Store in a cool, dry place, and your homegrown seeds should remain viable for 3-5 years.
22. Shade Young Seedlings During Heatwaves
My melon seedlings once wilted almost overnight during an unexpected early summer heatwave. While mature melon plants love warmth, tender young seedlings can suffer under intense sun and high temperatures.
Provide temporary shade during the hottest part of the day using shade cloth, old bedsheets, or even overturned crates. This protection helps reduce transplant shock, prevents leaf scorch, and encourages stronger early growth.
Remove the shade gradually as the plants establish and begin to vine out. I’ve found that this small step during the first few weeks makes a big difference in overall plant vigor and early fruit set.