17 Tips For Growing The Best Peppers In Your Garden (Plus Some You Might Not Have Considered)
Growing peppers in your garden can be super rewarding, giving you fresh, flavorful additions to your meals. Peppers come in many varieties, from mild bell peppers to fiery hot ones that can spice up any dish. With some care and know-how, you can grow peppers that are healthier and tastier than store-bought ones.
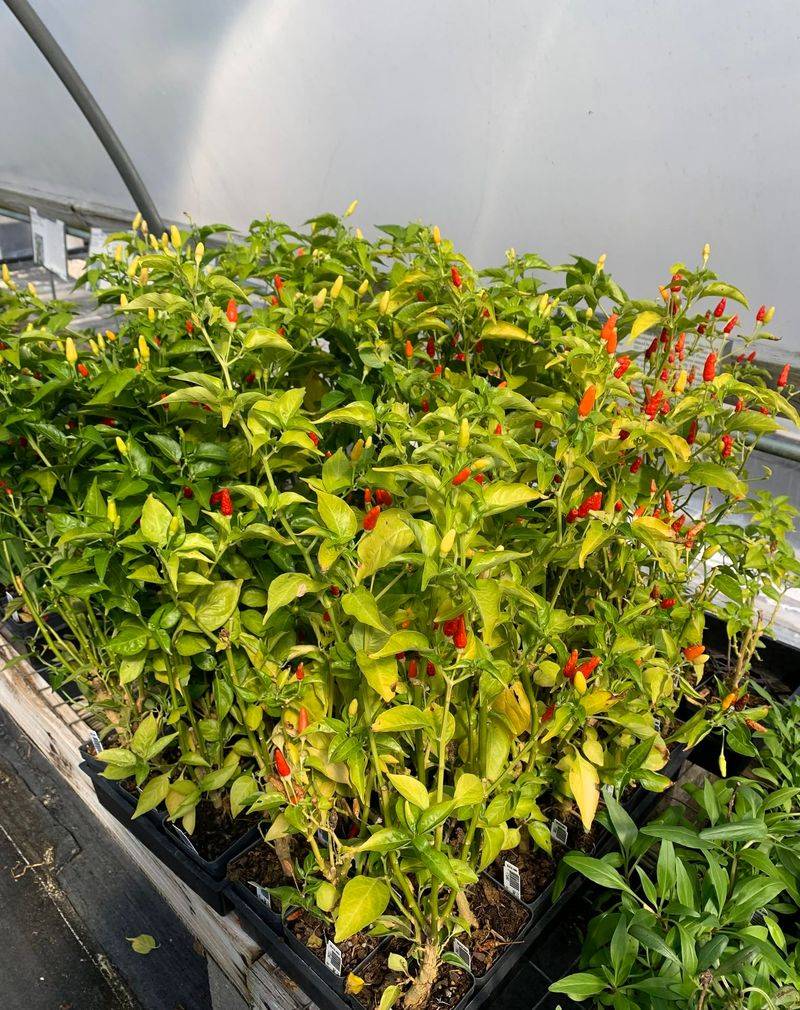
1. Choose The Right Varieties
Not all peppers are created equal! Some varieties grow better in certain climates than others. Sweet bell peppers need more time to mature, while smaller hot peppers often produce faster.
Check your growing zone and pick varieties that match your local conditions. Talk to other gardeners in your area to discover which types thrive nearby.
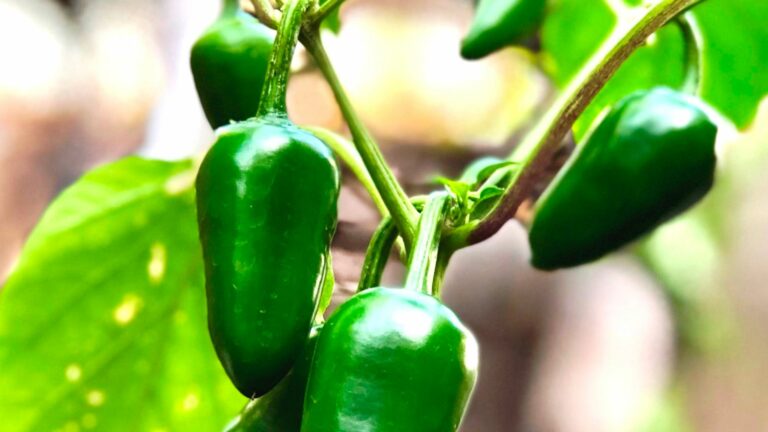
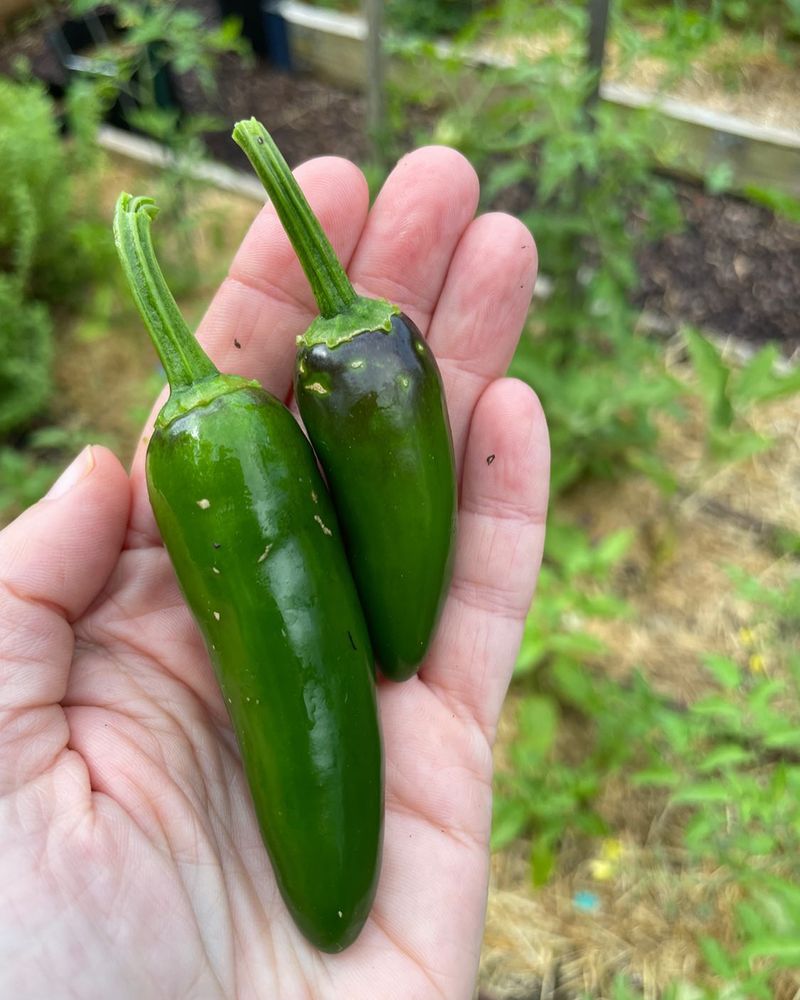
First-time growers might want to try easier varieties like jalapeños or banana peppers before tackling more demanding types like habaneros or ghost peppers.
2. Start Seeds Early Indoors
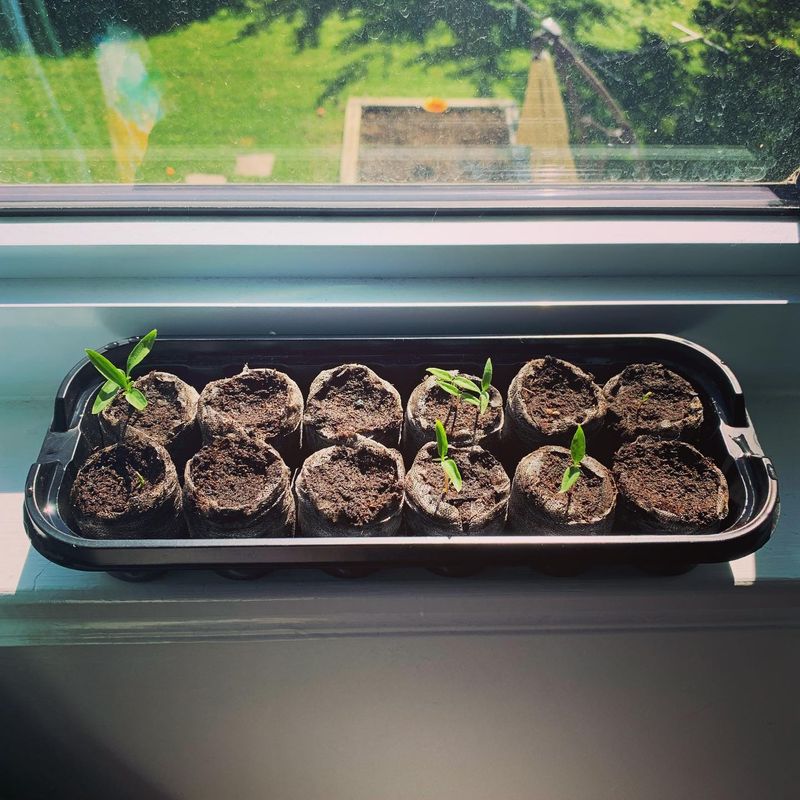
Peppers need a long growing season to reach their full potential. Getting a jump start by planting seeds indoors 8-10 weeks before your last frost date gives them precious extra growing time.
Use a seed-starting mix in small containers with drainage holes. Keep soil consistently moist but not soggy while waiting for seeds to sprout.
A heating mat under your seed trays helps maintain the 70-80°F temperature that pepper seeds love for faster germination.
3. Provide Plenty Of Light
Sunlight makes peppers happy! These plants need at least 6-8 hours of direct sunlight daily to produce well. Without enough light, they grow tall and spindly instead of strong and productive.
For indoor seedlings, use grow lights positioned just a few inches above the plants. Raise the lights as plants grow taller to prevent burning the leaves.
When planting outdoors, choose the sunniest spot in your garden – south-facing areas typically receive the most consistent light throughout the day.
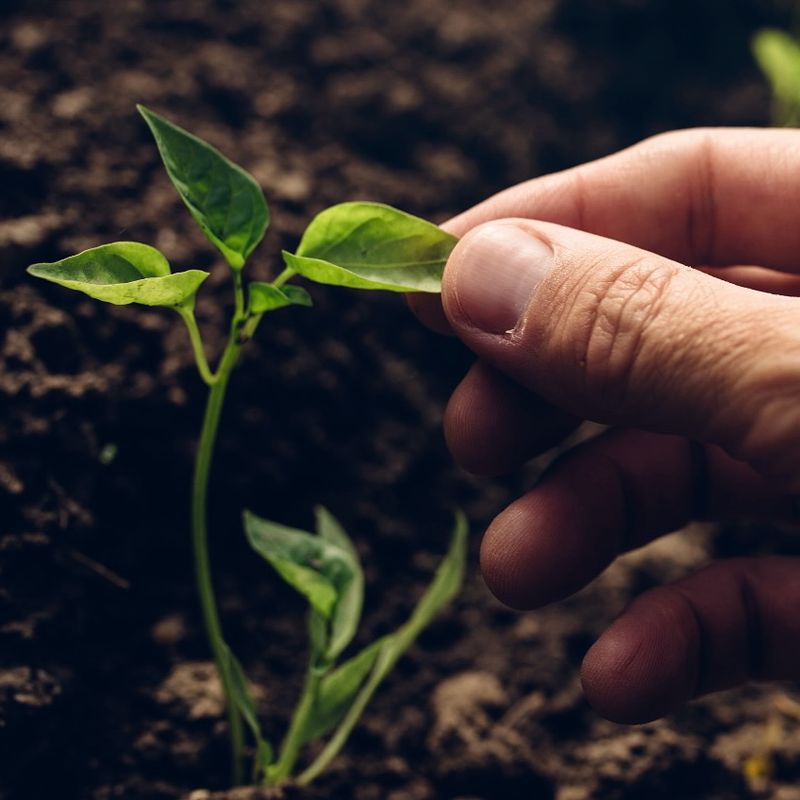
4. Harden Off Seedlings Gradually

Young pepper plants grown indoors are like sheltered kids – they need time to adjust to the harsh outside world! Hardening off means slowly introducing them to outdoor conditions over 7-10 days.
Start by placing seedlings outside in a sheltered spot for just an hour, then gradually increase time outdoors each day. Bring them in at night until they’re ready for full exposure.
This process strengthens stems and prepares plants for wind, temperature changes, and direct sunlight they’ll face in the garden.
5. Wait For Warm Soil
Peppers absolutely hate cold feet! They’re tropical plants that need soil temperatures of at least 65°F to thrive. Planting too early in cool soil will stunt growth or even kill your precious peppers.
Use a soil thermometer to check ground temperature before transplanting. If you’re eager to plant, warm up your garden soil by covering it with black plastic for a couple weeks.
Many gardeners wait until 2-3 weeks after the last frost date when both air and soil have had time to warm up properly.
6. Space Plants Properly
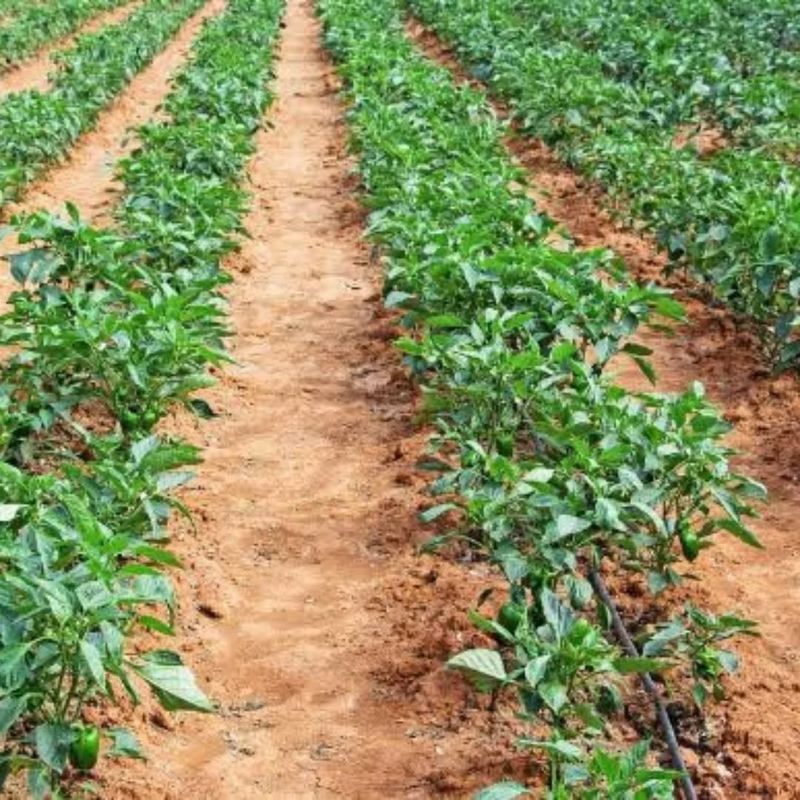
Give your peppers room to breathe! Proper spacing allows for good air circulation, which helps prevent diseases and ensures each plant gets enough nutrients from the soil.
Most pepper varieties need 18-24 inches between plants and 24-36 inches between rows. Larger varieties like bell peppers may need even more space to spread out.
Crowded plants compete for resources and create humid conditions where fungal problems thrive. When in doubt, more space is better than too little.
7. Use Rich, Well-Draining Soil
The foundation of pepper success starts with great soil! Peppers thrive in loamy, slightly acidic soil with plenty of organic matter. The perfect pepper bed drains well but still holds enough moisture for steady growth.
Work in 2-3 inches of compost or well-rotted manure before planting. This improves both drainage and nutrition, creating an ideal growing environment.
Raised beds often work wonderfully for peppers since they provide better drainage and warm up faster in spring than ground-level gardens.
8. Add Calcium To Prevent Blossom End Rot
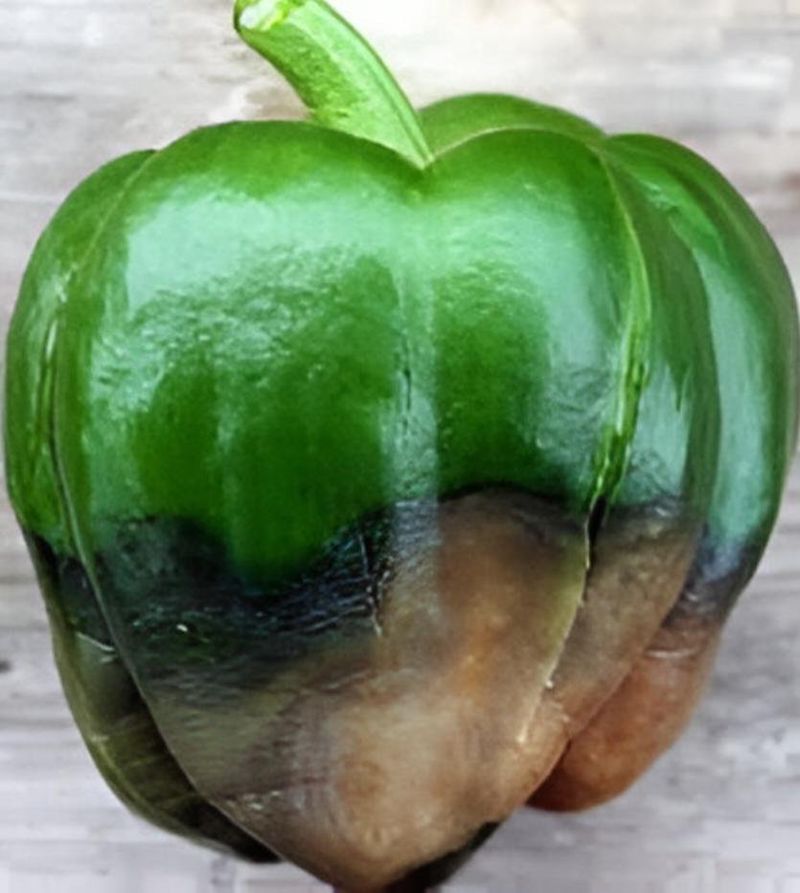
Nothing’s more frustrating than finding black, sunken spots on the bottoms of your beautiful peppers! This common problem, called blossom end rot, happens when plants can’t get enough calcium.
Mix crushed eggshells, lime, or a commercial calcium product into your soil before planting. Some gardeners swear by placing a Tums tablet in each planting hole!
Consistent watering also helps, as calcium moves through the plant in water. Fluctuating moisture can block calcium uptake even when it’s present in the soil.
9. Support Tall Varieties
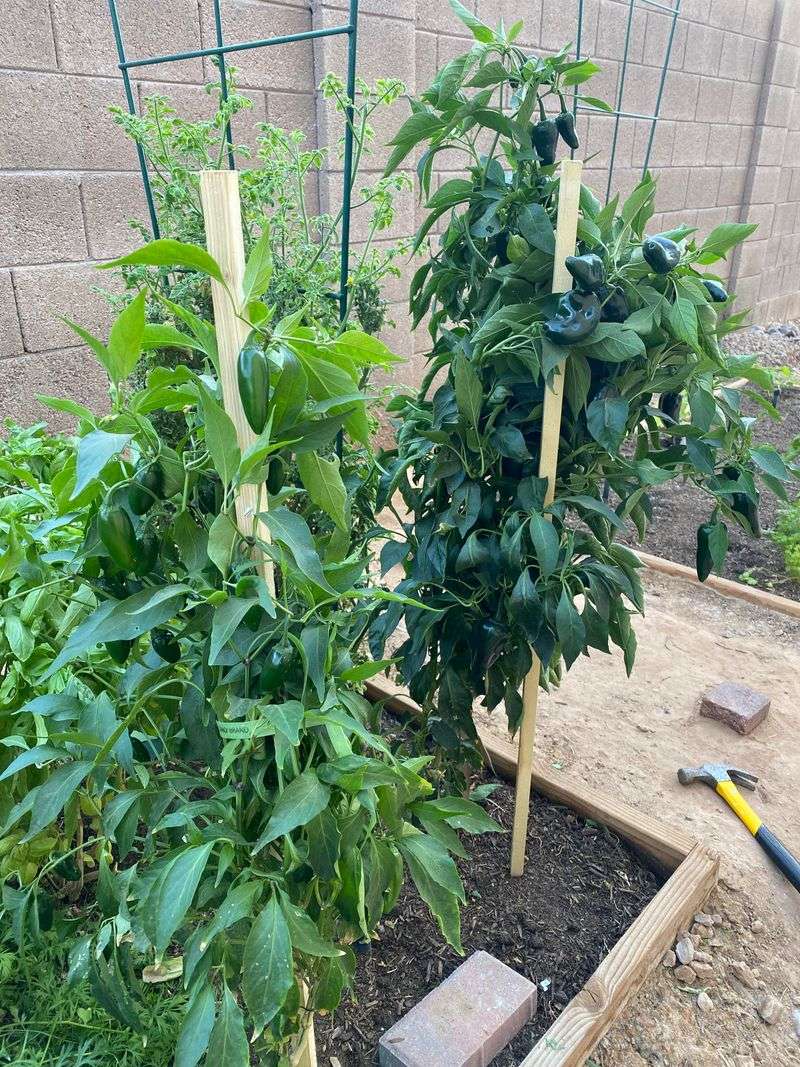
Pepper plants loaded with fruit can take a tumble without proper support! Many varieties grow top-heavy, especially when bearing lots of peppers. Once stems bend or break, production suffers.
Simple stakes or small tomato cages work great for most peppers. Place supports at planting time to avoid damaging roots later.
Secure plants to supports with soft plant ties or strips of old t-shirts. Avoid wire or plastic that might cut into growing stems during summer storms or windy days.
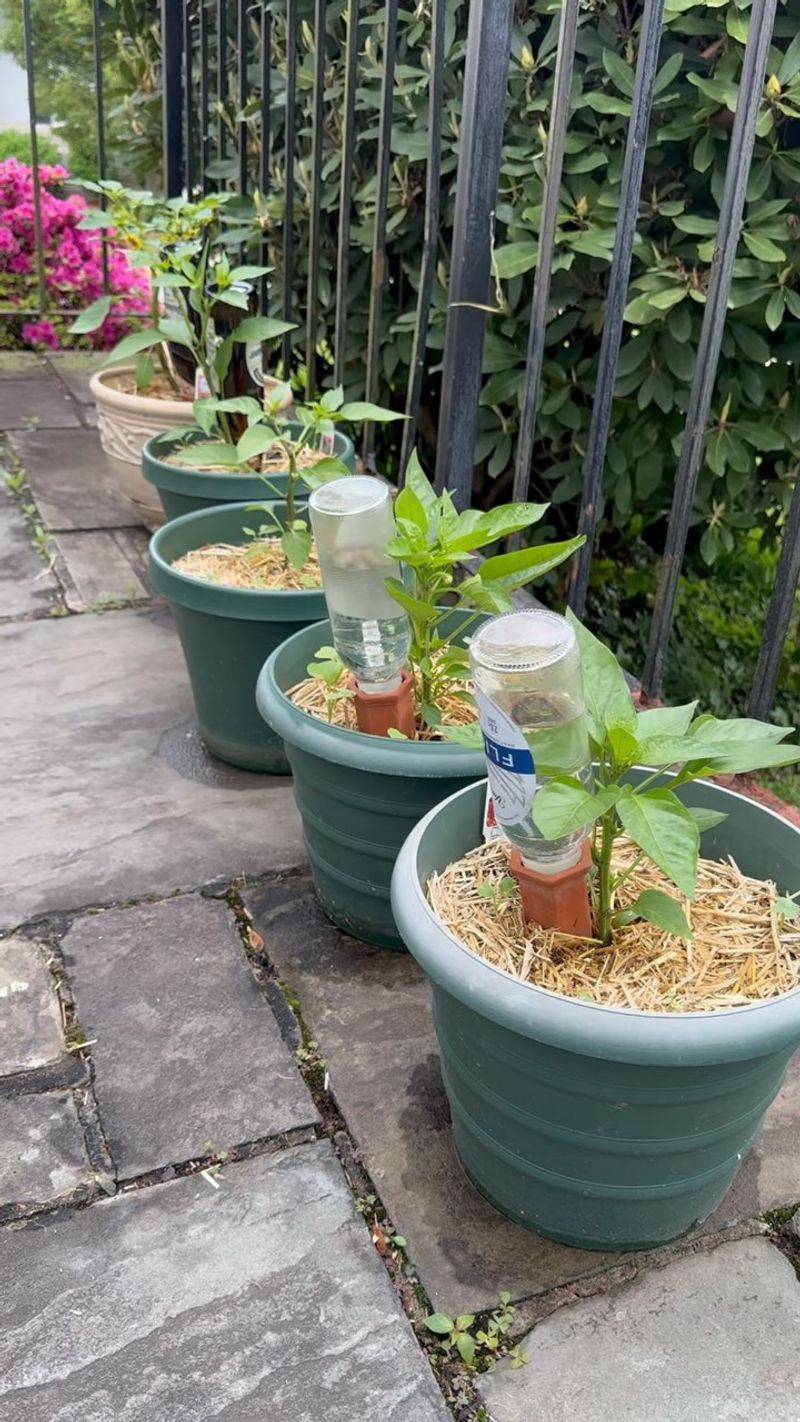
10. Mulch To Retain Moisture
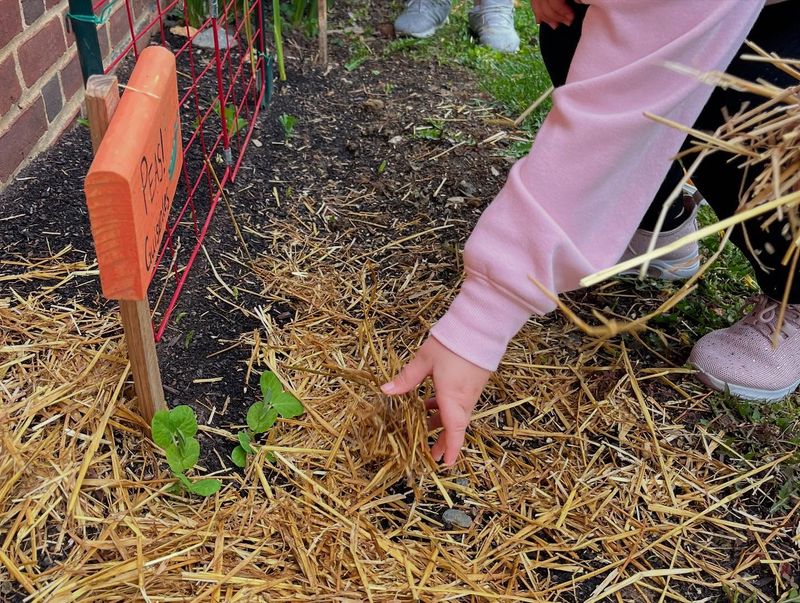
A good layer of mulch acts like a protective blanket for your pepper plants’ roots. It keeps soil moisture from evaporating quickly, especially during hot summer days when peppers are setting fruit.
Apply 2-3 inches of organic mulch like straw, shredded leaves, or chemical-free grass clippings. Keep it pulled back slightly from the main stem to prevent rot.
Beyond moisture retention, mulch suppresses weeds, moderates soil temperature, and gradually adds nutrients to the soil as it breaks down – all wins for your pepper patch!
11. Water Deeply And Consistently
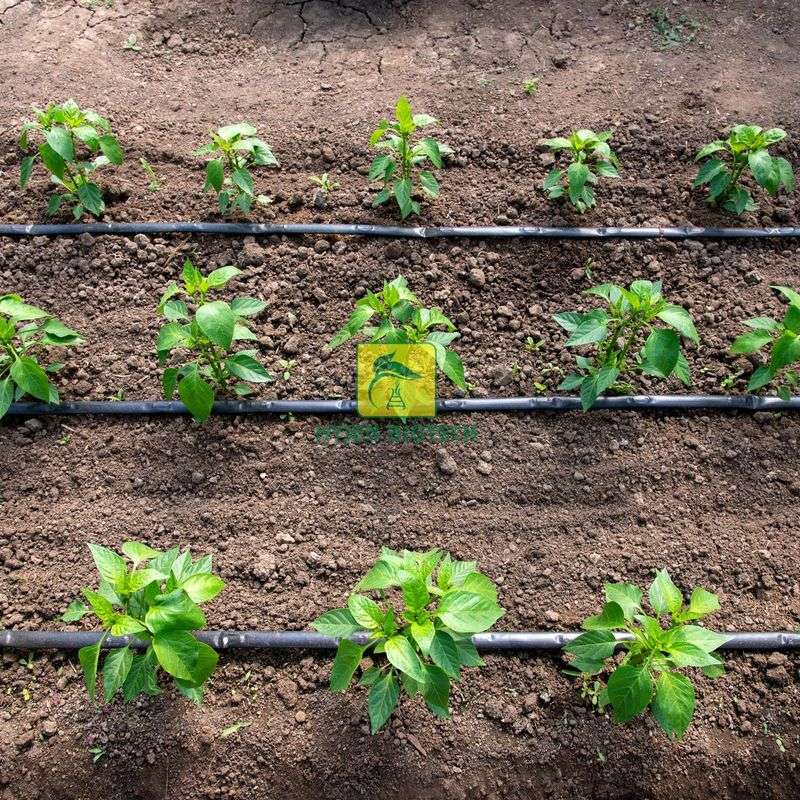
Peppers prefer a steady moisture supply rather than alternating between bone-dry and soaking wet conditions. Inconsistent watering can cause problems like blossom drop and cracked fruits.
Aim for about 1-2 inches of water weekly, including rainfall. Water at the base of plants rather than overhead to keep leaves dry and reduce disease risk.
Morning watering is ideal, giving leaves time to dry before evening. Consider using soaker hoses or drip irrigation for efficient, consistent moisture delivery right where it’s needed.
12. Feed With Balanced Fertilizer
Hungry pepper plants need proper nutrition to produce their best! Start with a balanced fertilizer (like 10-10-10) at planting time, then switch to one with less nitrogen and more phosphorus and potassium once flowering begins.
Too much nitrogen creates lush leaves but fewer peppers. A 5-10-10 or similar ratio encourages the plant to focus on fruit production rather than leaf growth.
Organic options like fish emulsion, compost tea, or well-aged manure make excellent pepper fertilizers that feed plants while improving soil health.
13. Pinch Early Blossoms
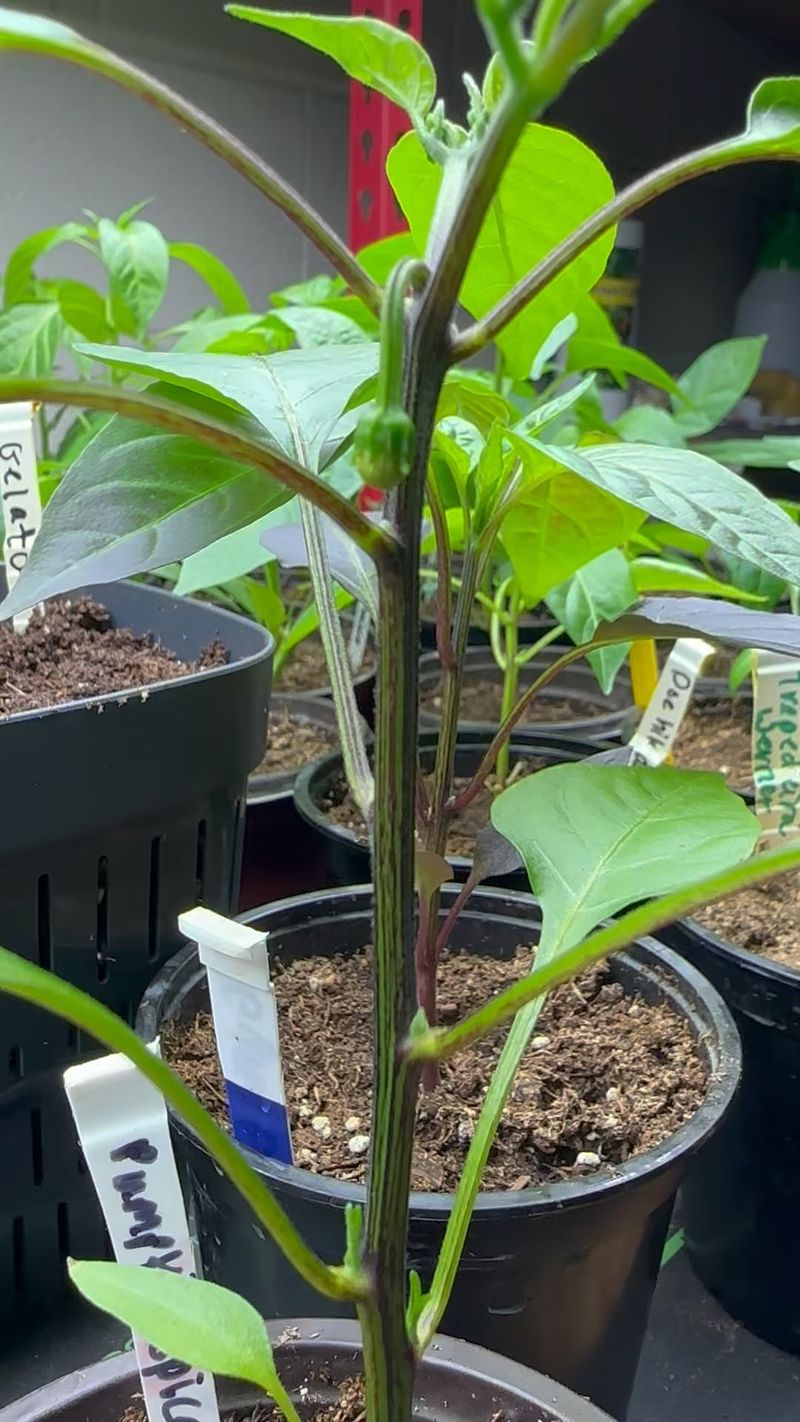
Sometimes tough love helps plants thrive! Removing the first flowers that appear on your young pepper plants might seem counterintuitive, but it’s a secret to bigger harvests later.
Pinching off blooms that appear in the first 2-3 weeks after transplanting helps the plant focus energy on developing strong roots and foliage. Plants with better foundations produce more peppers over the season.
Simply snip or pinch the early flower buds with your fingers. Your patience will be rewarded with stronger plants and more abundant harvests!
14. Manage Pests Naturally
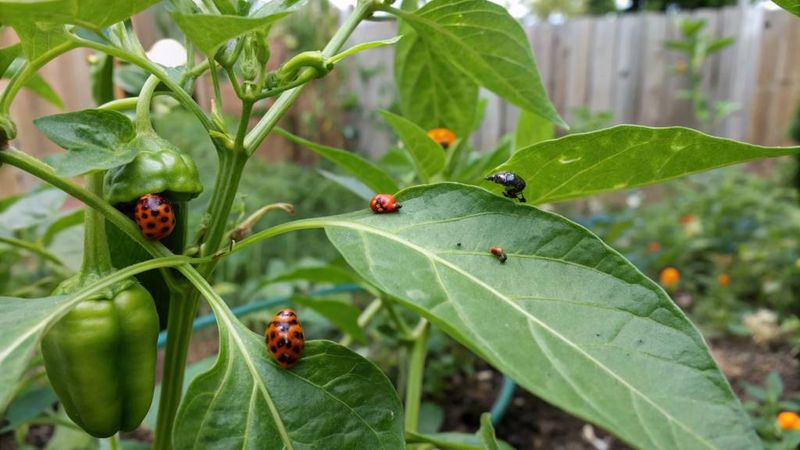
Aphids, hornworms, and other bugs find peppers just as tasty as we do! Fortunately, you can manage most pests without harsh chemicals that might harm beneficial insects or leave residues on your food.
Introduce natural predators like ladybugs or lacewings to handle aphid problems. For larger pests, handpicking during morning garden walks can keep populations in check.
A simple spray made from water, mild dish soap, and a little neem oil works wonders for many common pepper pests while being safe for food plants.
15. Provide Afternoon Shade In Hot Climates
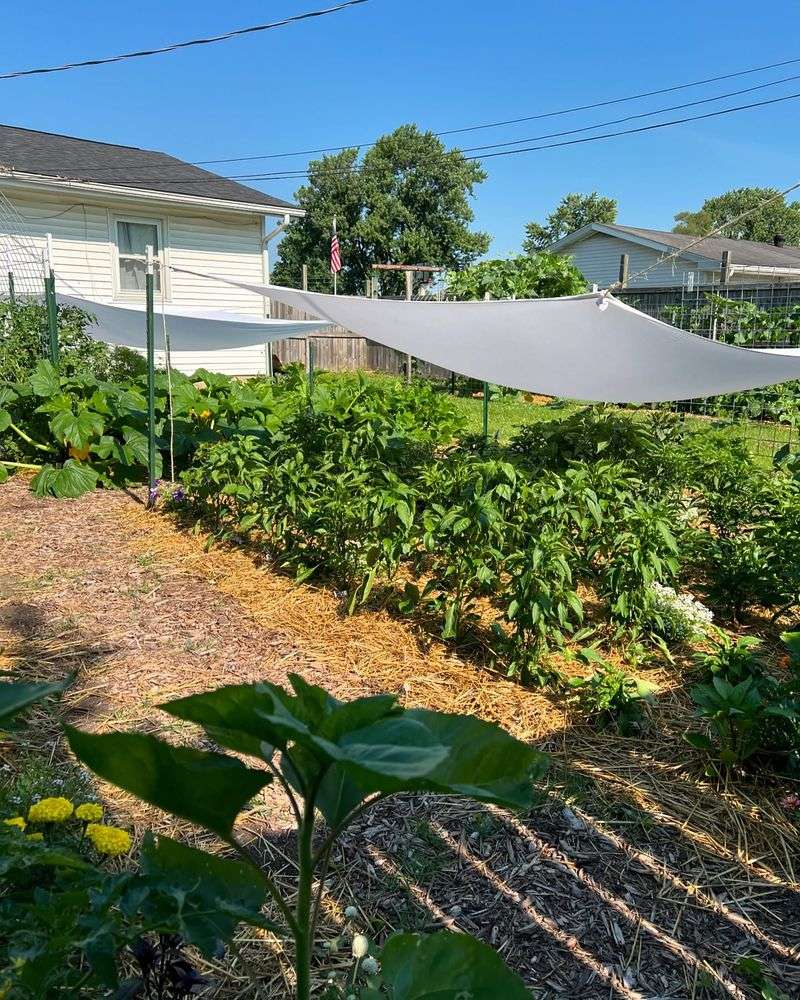
While peppers love warmth, extreme heat can cause stress! When temperatures consistently climb above 90°F, pepper plants may drop their blossoms without setting fruit.
In hot climates, consider planting where taller crops or structures provide afternoon shade. Shade cloth suspended above plants can reduce temperature by 10-15 degrees during the hottest part of the day.
Row covers or lightweight white fabric draped over supports create a cooler microclimate that helps peppers continue producing through heat waves that would otherwise halt production.
16. Cross-Pollinate By Hand
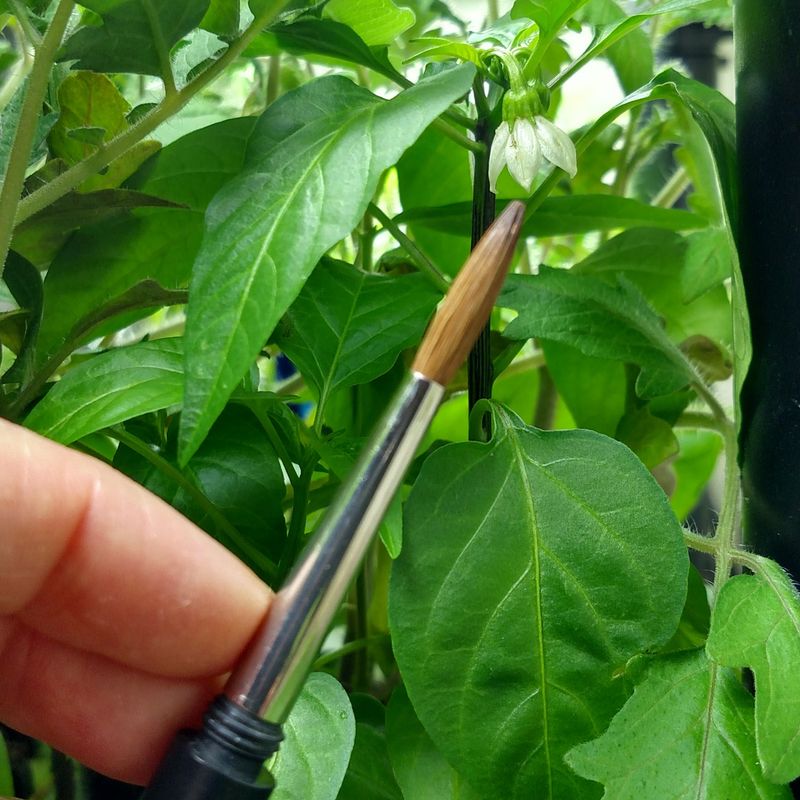
Giving nature a helping hand can boost your pepper production! While peppers are self-pollinating, they sometimes benefit from a little human assistance, especially in humid conditions or when grown indoors.
Use a small paintbrush or cotton swab to gently transfer pollen between flowers. Simply touch the center of each open flower, moving from blossom to blossom during mid-morning when pollen is most active.
This simple technique can significantly increase fruit set, turning more flowers into peppers rather than having them drop without developing.
17. Prune For Better Air Circulation
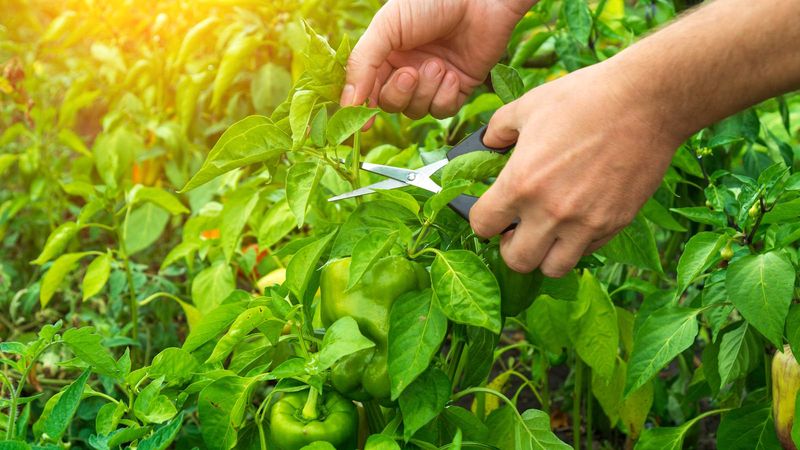
Strategic pruning creates healthier pepper plants! Removing some lower leaves and interior branches allows better air movement through the plant, reducing humidity that leads to fungal problems.
Focus on trimming leaves that touch the ground and thinning crowded areas in the center of the plant. Use clean scissors or pruners to make clean cuts rather than tearing.
Morning pruning gives cut surfaces time to dry before evening, reducing disease risk. The improved circulation also helps pollen move more freely between flowers for better fruit set.
18. Harvest Regularly

The more you pick, the more peppers you’ll get! Regular harvesting sends a signal to the plant to produce more fruit. Leaving mature peppers on the plant actually slows down new pepper development.
Use sharp scissors or pruners rather than pulling peppers, which can damage branches. Cut peppers with a short piece of stem attached to help them stay fresh longer.
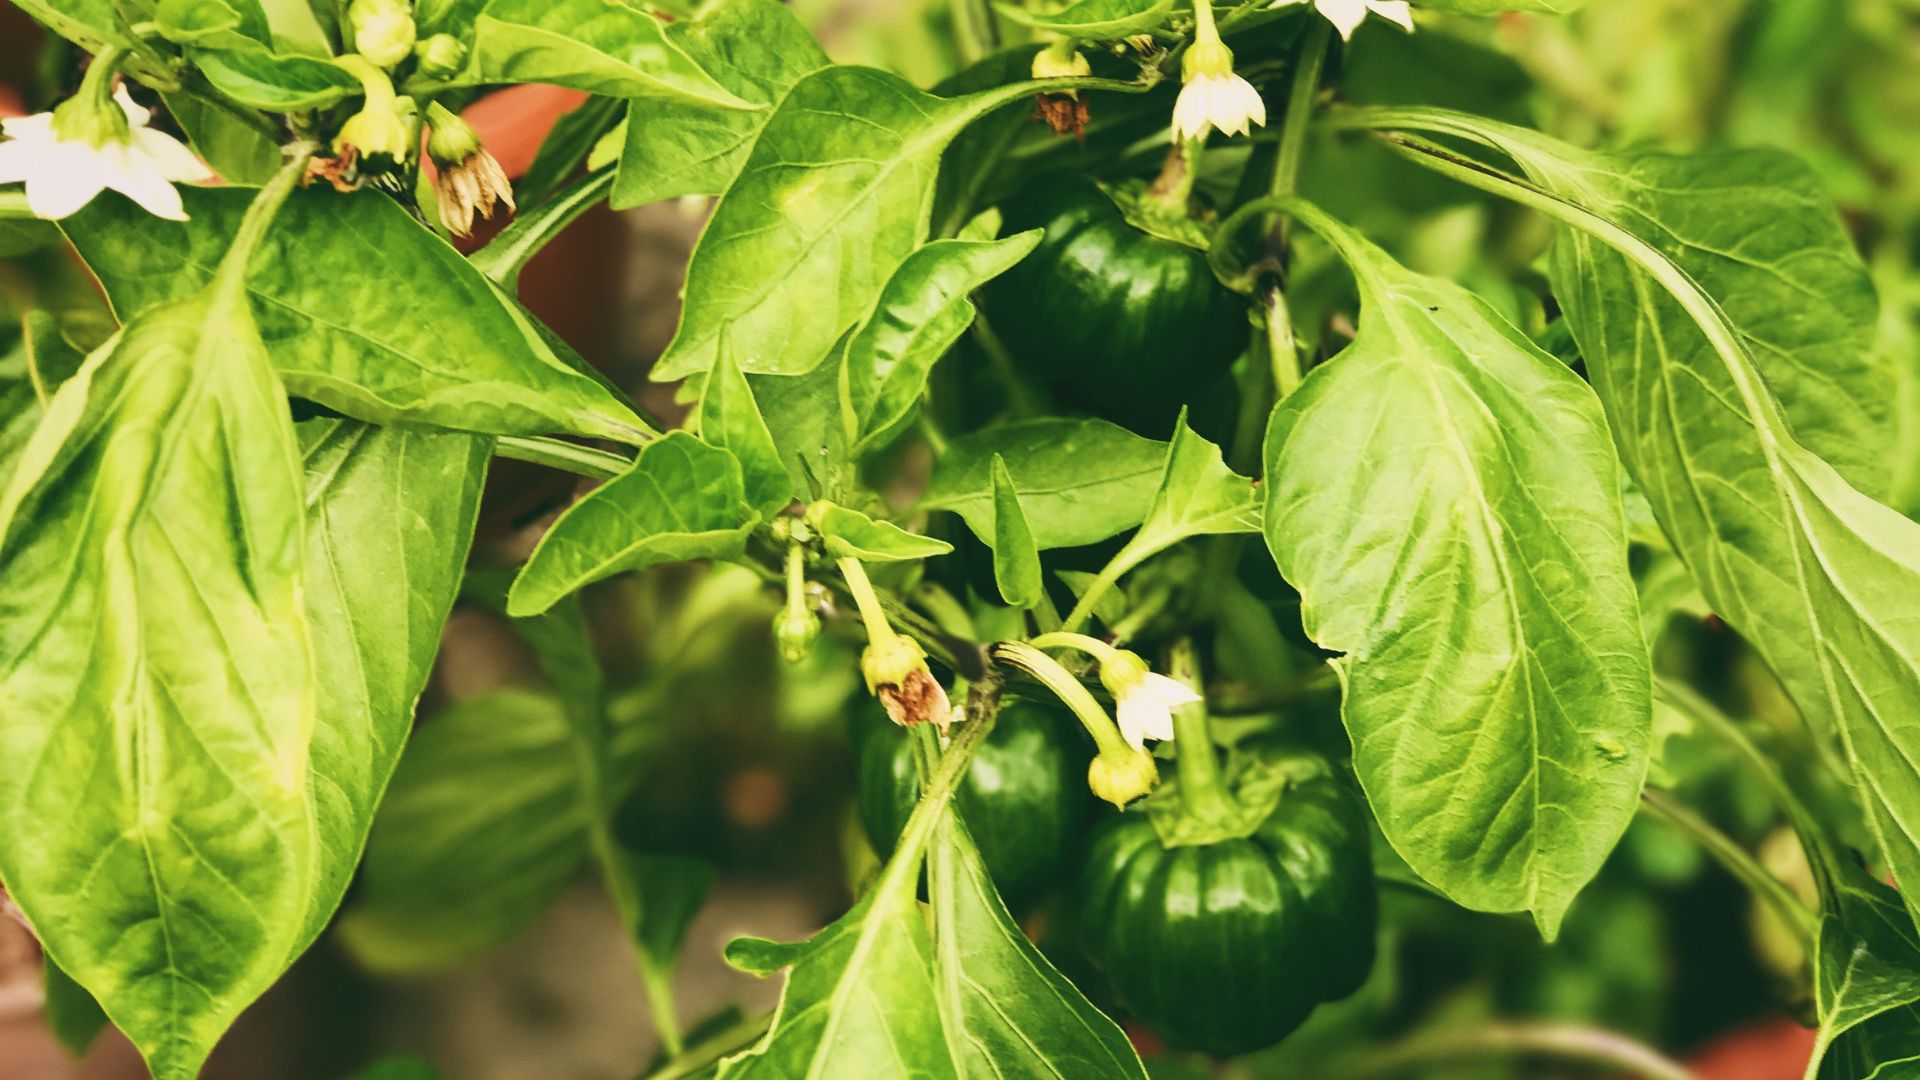
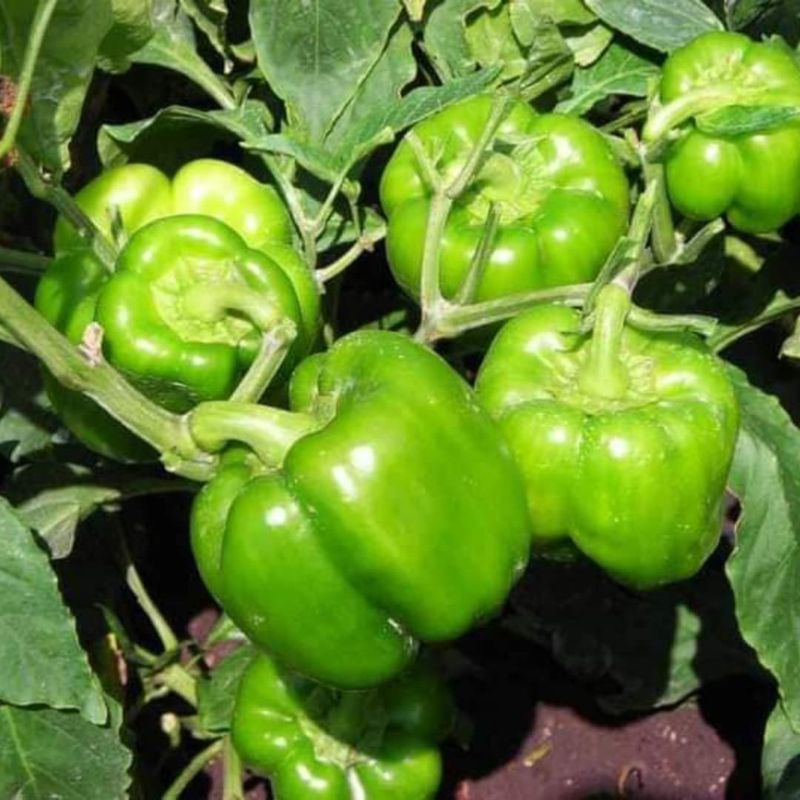
For most varieties, you can harvest when peppers reach full size but are still green, or wait until they fully ripen to red, yellow, or orange for sweeter flavor and more nutrients.
19. Extend The Season With Row Covers
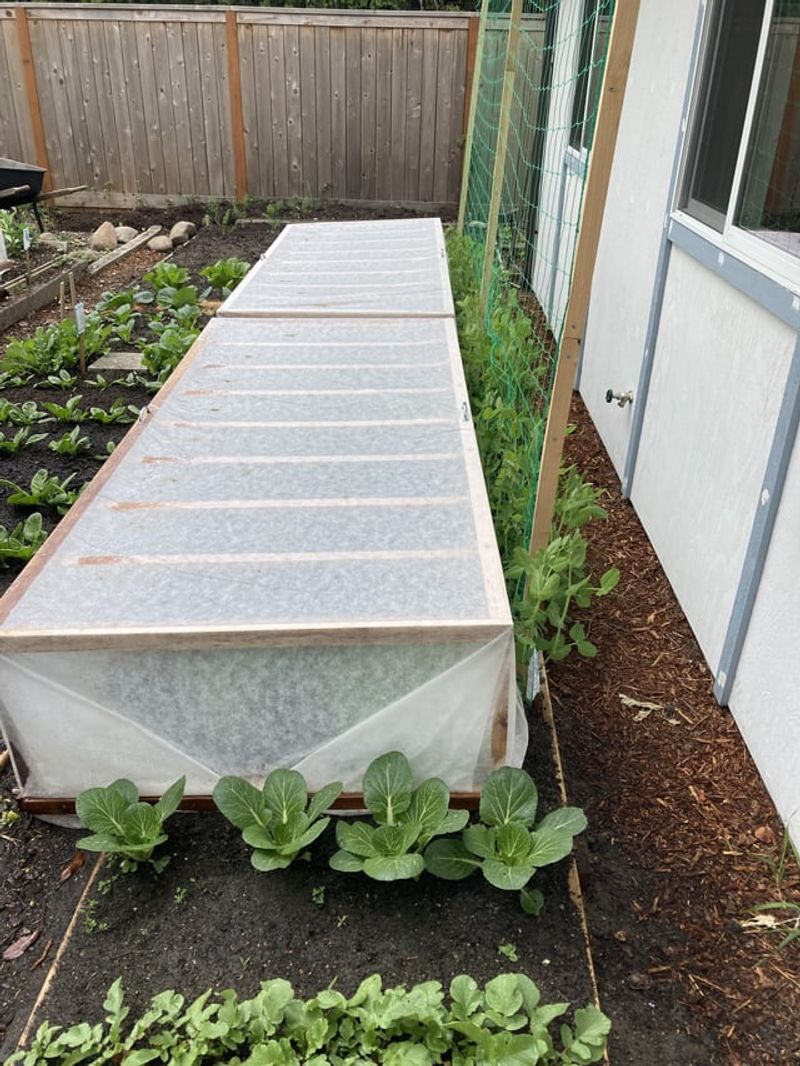
Don’t let your pepper season end too soon! Row covers or frost blankets can protect plants from light frosts, extending your harvest by weeks in both spring and fall.
For early season protection, covers warm the air around young plants while shielding them from harsh winds. In fall, the same covers can keep plants producing through the first light frosts.
Use hoops or stakes to keep fabric from touching plants, and secure edges with rocks or soil to trap warm air. Remove covers during warm days to allow pollinator access.
20. Save Seeds From Your Best Plants
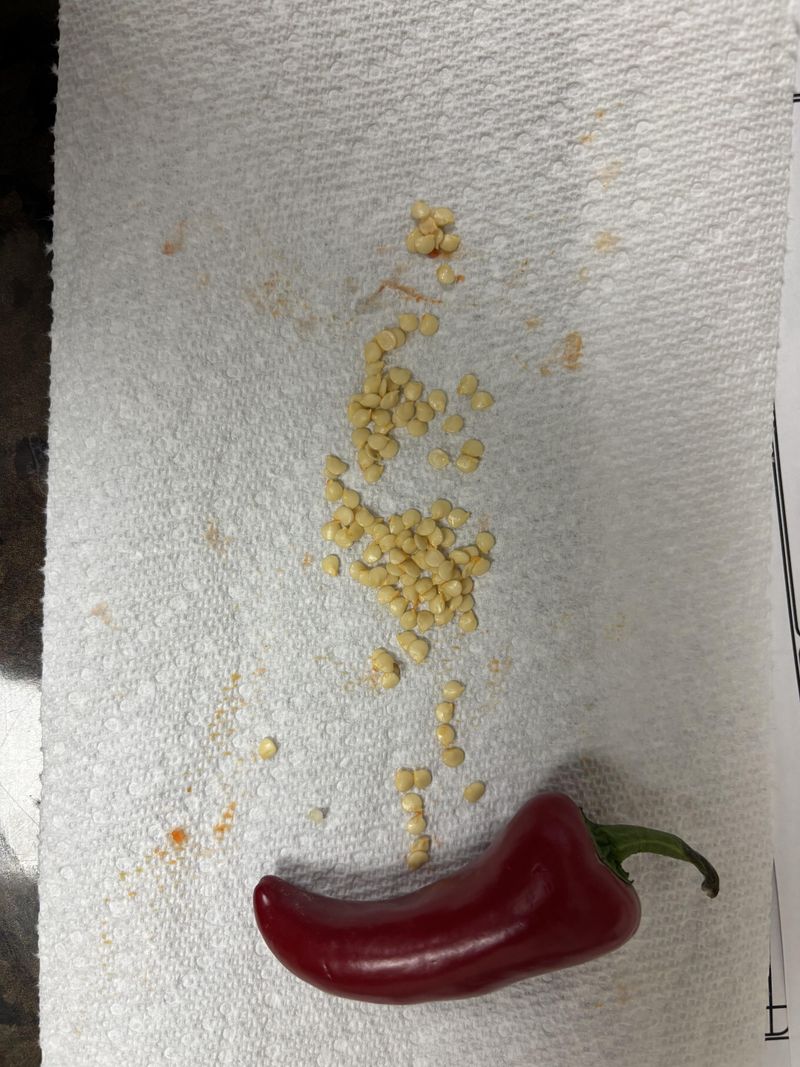
Creating your own pepper seed bank is both fun and practical! Select seeds from your healthiest, most productive plants to grow even better peppers next year adapted to your specific garden conditions.
Let selected peppers fully ripen beyond the eating stage until they begin to wrinkle slightly. Scoop out seeds, rinse off any pulp, and dry thoroughly on paper towels for about a week.
Store dried seeds in labeled paper envelopes in a cool, dry place. Most pepper seeds remain viable for 2-3 years when properly stored.
21. Use Epsom Salt For Magnesium Boost
Magnesium plays a crucial role in photosynthesis and pepper development, and a shortage can cause yellowing leaves or poor fruit set. One easy fix is using Epsom salt (magnesium sulfate) to supplement this vital nutrient.
Dissolve 1 tablespoon of Epsom salt in a gallon of water and apply as a foliar spray every 2–3 weeks during the growing season. For a soil boost, sprinkle a tablespoon around the base of each plant and water it in well.
This gentle supplement improves overall plant vigor, encourages more blooms, and can help prevent leaf curl in magnesium-deficient soils.
22. Rotate Crops To Prevent Disease Build-Up

Peppers are prone to soil-borne diseases like bacterial spot and fungal wilt, especially when planted in the same spot year after year. Crop rotation is a smart, preventative strategy.
Avoid planting peppers—or other nightshades like tomatoes, potatoes, or eggplants—in the same location more than once every 3 years. Rotate with unrelated crops like beans, lettuce, or cucumbers to break disease and pest cycles.
Healthy soil equals healthier plants. This simple habit protects your peppers and improves long-term garden productivity.