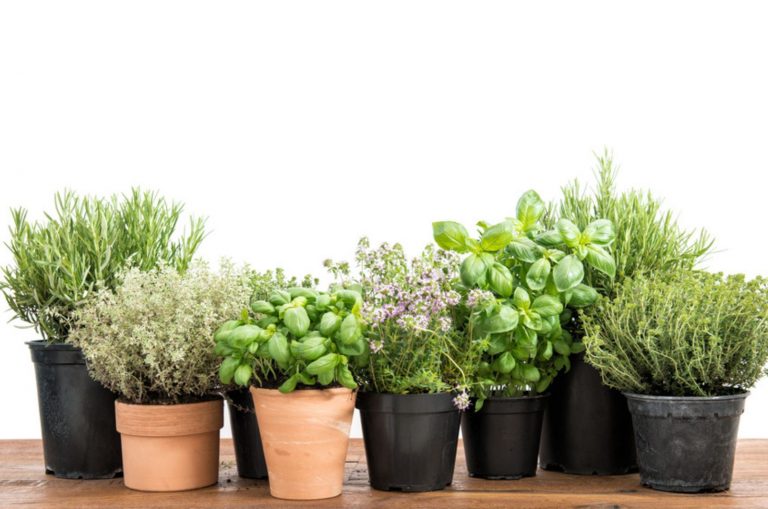
17 Tips For How And When To Transplant Starter Trays Of Seedlings
Moving seedlings from their cozy starter trays out into the garden can feel a little nerve-wracking — after all, you’ve put so much time and care into getting them this far. But with a few thoughtful steps, transplanting becomes less stressful and a lot more exciting.
It’s a big milestone in your gardening journey, and with the right approach, you’ll set your plants up for a strong, healthy future. I’ll walk you through 17 practical tips to make the process smoother.
These tips are here to help you (and your seedlings) feel confident and ready. Let’s give those little plants the best start possible in their new home!
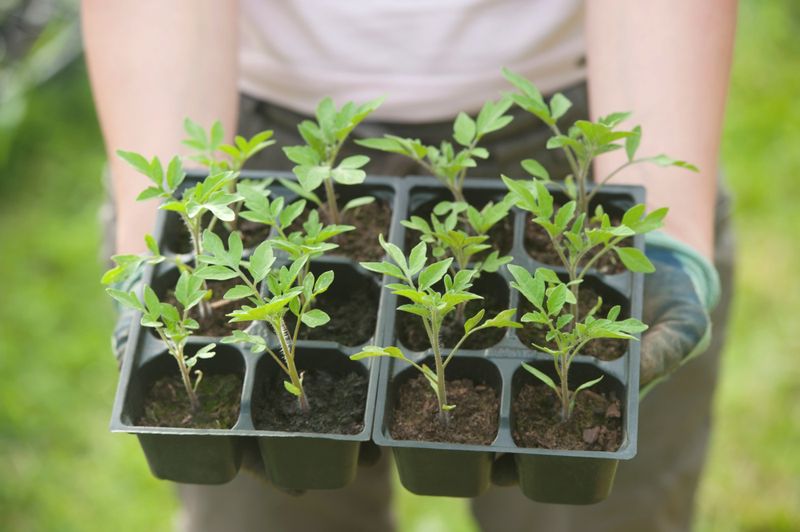
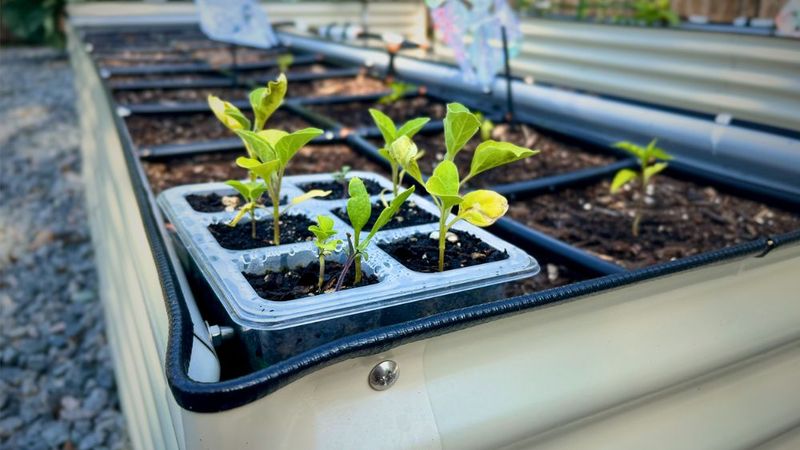
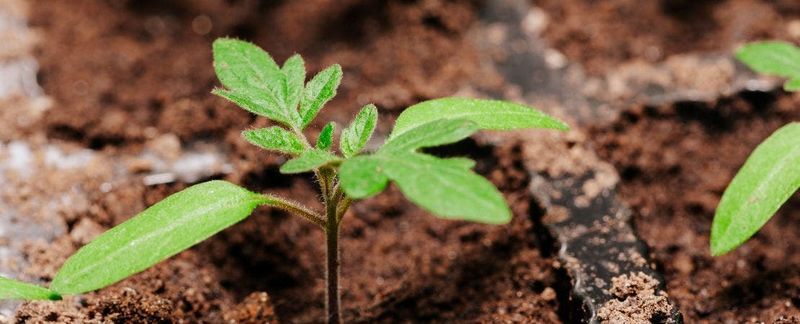
1. Observe Seedling Readiness
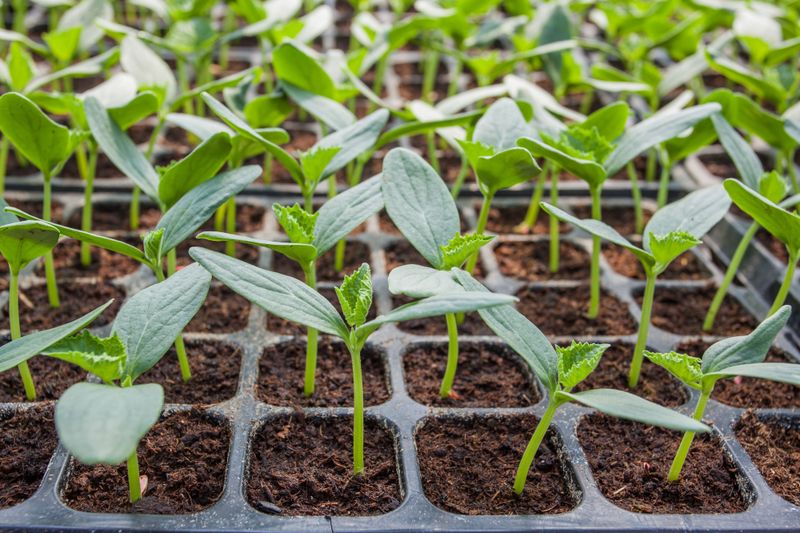
Not all seedlings are ready for transplantation at the same time. Pay attention to the number of true leaves. Generally, when seedlings have around 3 to 4 true leaves, they are likely ready to move.
These are the leaves that appear after the initial seed leaves. Waiting for true leaves ensures the plant is mature enough to handle the transition. Besides leaf count, consider the seedling’s overall health.
Sturdy stems and leaves signal readiness. Seedlings that are leggy or pale might need more time to strengthen before facing the elements outside.
2. Choose The Right Timing
Timing is crucial when transplanting seedlings. The best time is typically when the weather is mild, avoiding extreme heat or cold.
Early morning or late afternoon are ideal times to minimize stress on the seedlings, as temperatures are cooler. Keep an eye on the weather forecast to avoid transplanting before a storm or heatwave.
Consider the season too; spring and early summer are often best. Anticipating the last frost date can help prevent exposing your seedlings to freezing temperatures. Proper timing sets the stage for a successful transplant and robust growth.
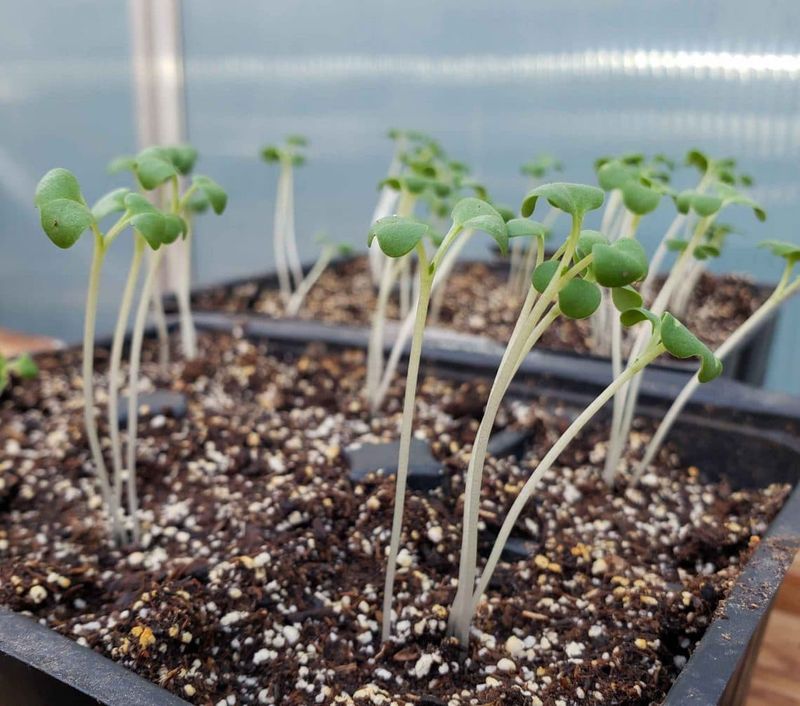
3. Harden Off Seedlings Gradually
Before you transplant, harden off your seedlings by gradually introducing them to the outdoor environment. Start by placing them outside for a few hours a day, gradually increasing their time outside over a week or two.
This process helps them acclimate to sunlight, wind, and temperature changes. Begin in a shady, protected spot to ease the transition. Over time, move seedlings to sunnier locations.
This gradual exposure strengthens them, reducing transplant shock. A well-hardened seedling adjusts more easily to its new home, leading to healthier growth and greater resilience.
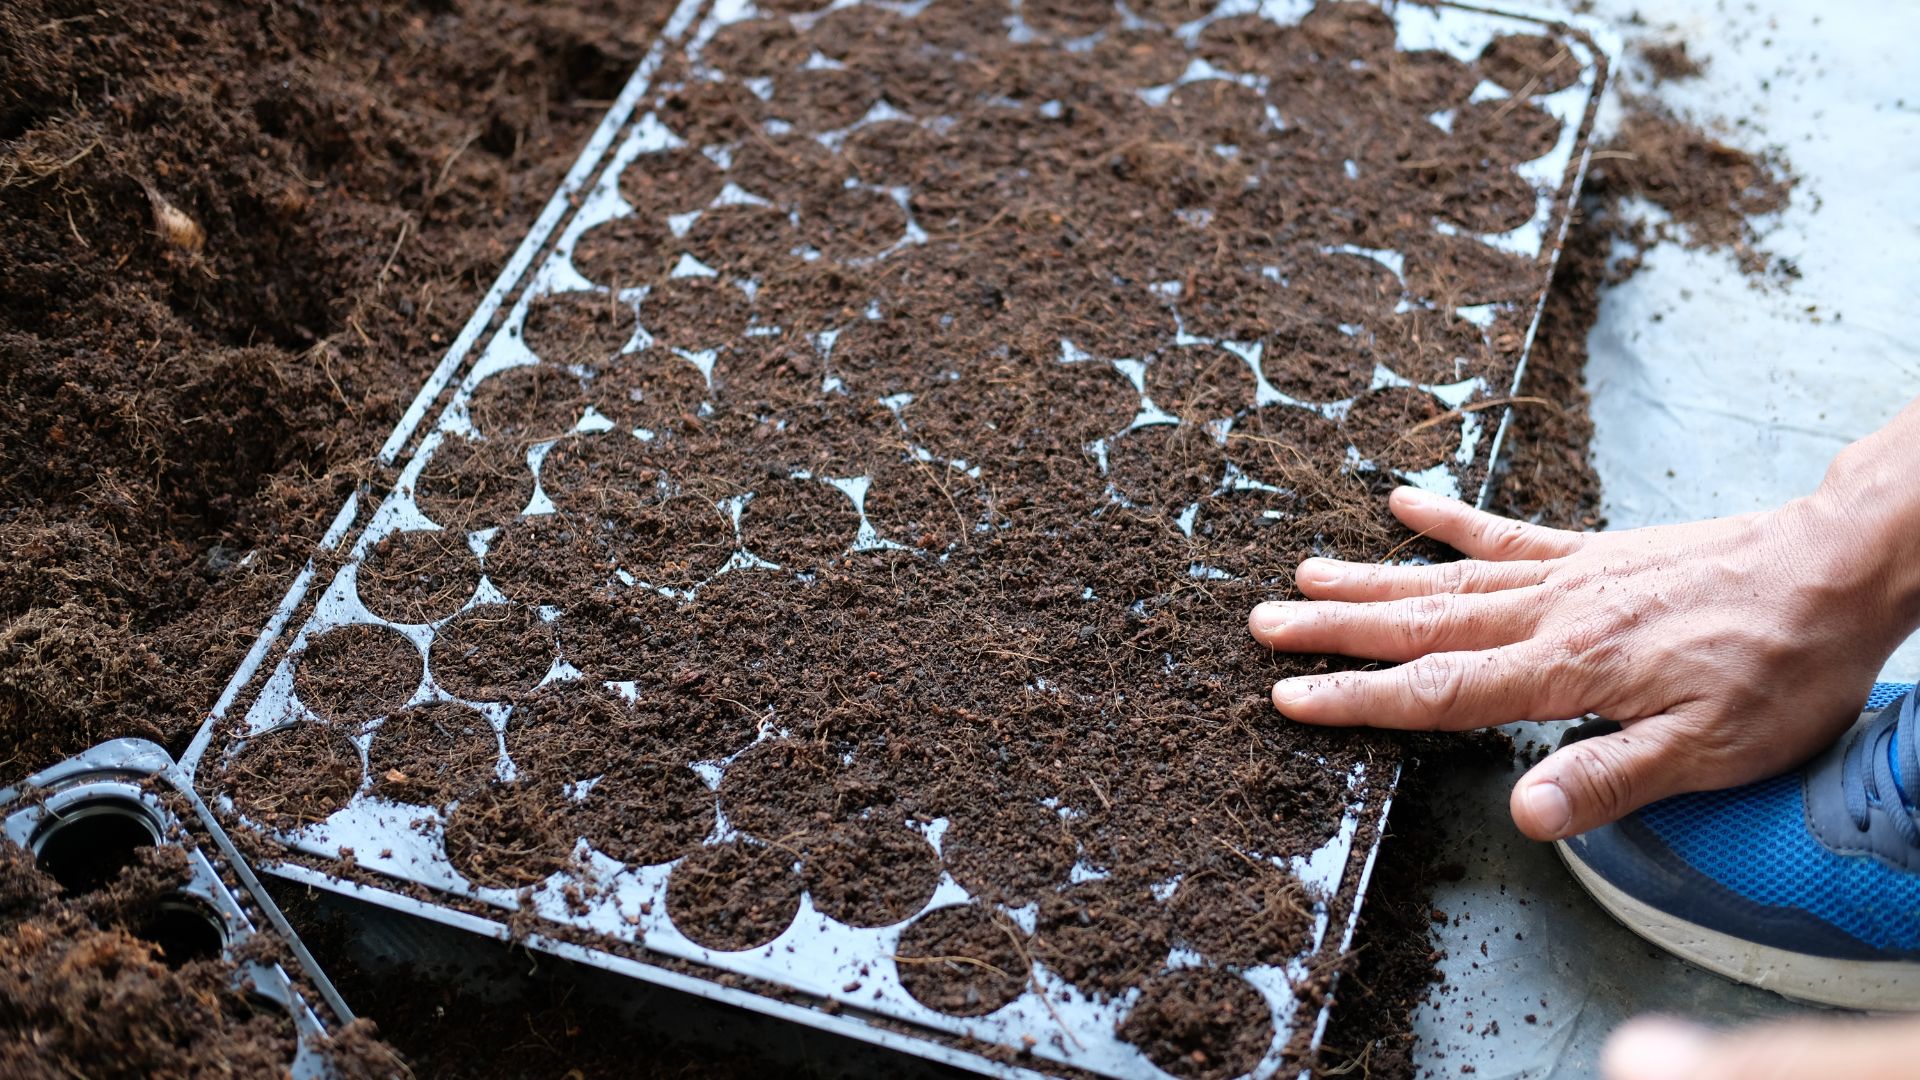
4. Prepare The Soil Properly
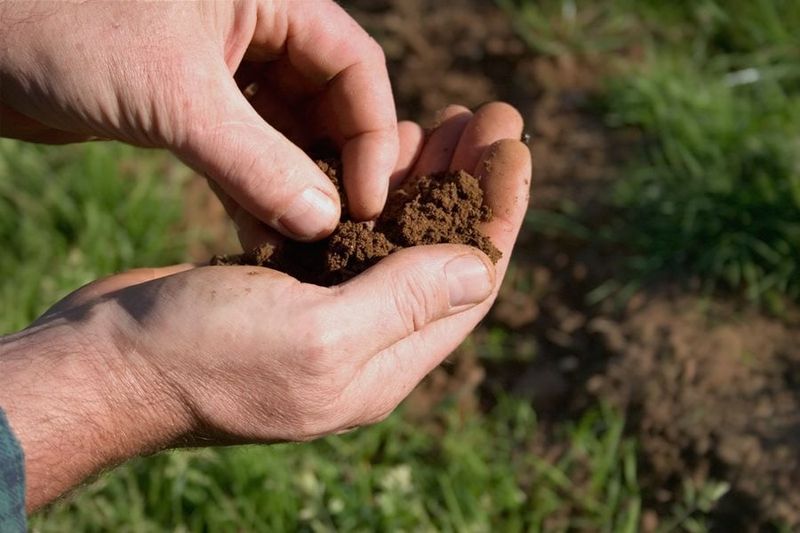
The foundation of a successful transplant is well-prepared soil. Start by enriching your garden bed with organic matter like compost or well-rotted manure to improve soil fertility and drainage.
Loosening the soil with a garden fork also aids root penetration, promoting healthier growth. Test the soil pH to ensure it’s suitable for the specific plants you’re growing.
Aim for a loose, crumbly texture; compacted soil can impede root development. Proper soil preparation not only supports initial growth but also boosts the seedlings’ long-term health and productivity.
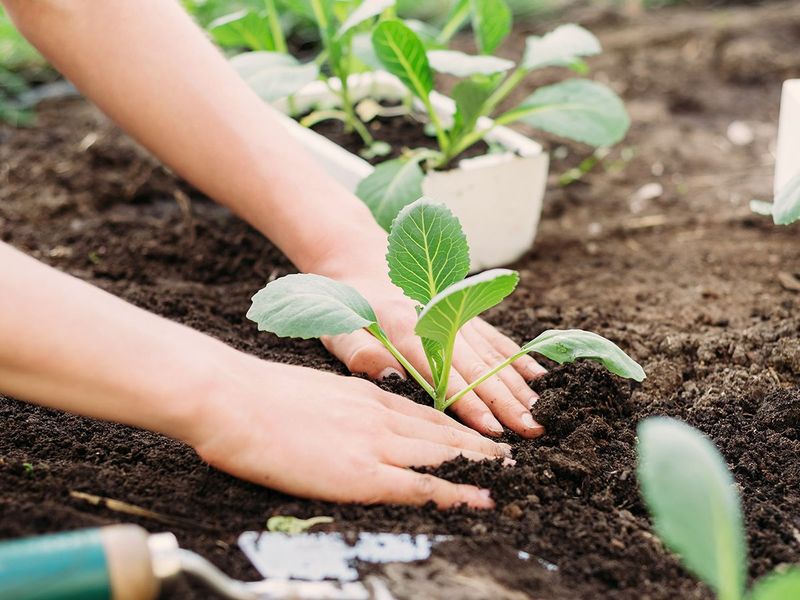
5. Handle Seedlings With Care
When moving seedlings, handle them by their leaves, not the stems. Stems are delicate and can be easily damaged, while leaves are more forgiving.
Using tools like a spoon or dibber can help lift seedlings without disrupting their roots. This care minimizes damage and ensures the seedling is viable. Avoid tugging or pulling at any stage to reduce stress.
Gentle handling maintains the integrity of the root system, which is crucial for the seedling’s adaptation. Treat each plant as a fragile beginning, and you’ll set the stage for robust growth.
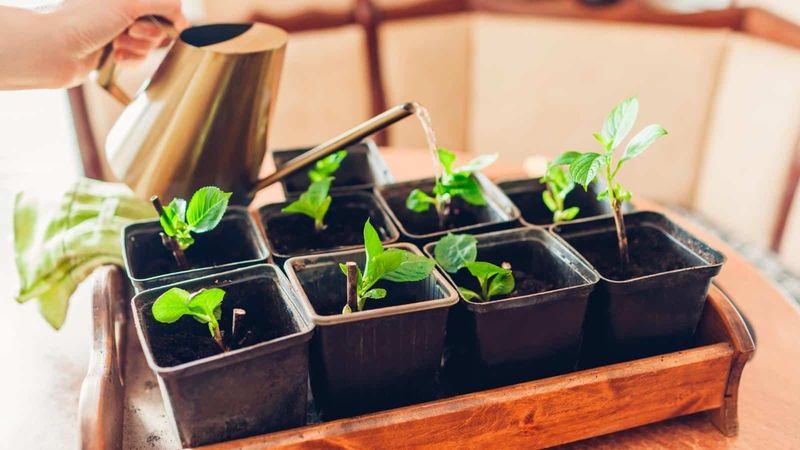
6. Water Before Transplanting
Watering seedlings thoroughly a day before transplanting ensures they’re well-hydrated and reduces stress during the move. Moist soil clings better to the roots, minimizing disturbance.
Avoid transplanting when the soil is waterlogged, as this can suffocate roots and lead to rot. Instead, aim for evenly moist conditions. Hydrated seedlings withstand the transition more effectively and establish themselves quickly in their new location.
This preemptive step helps maintain plant health and vigor, setting the foundation for successful growth and minimizing transplant shock.
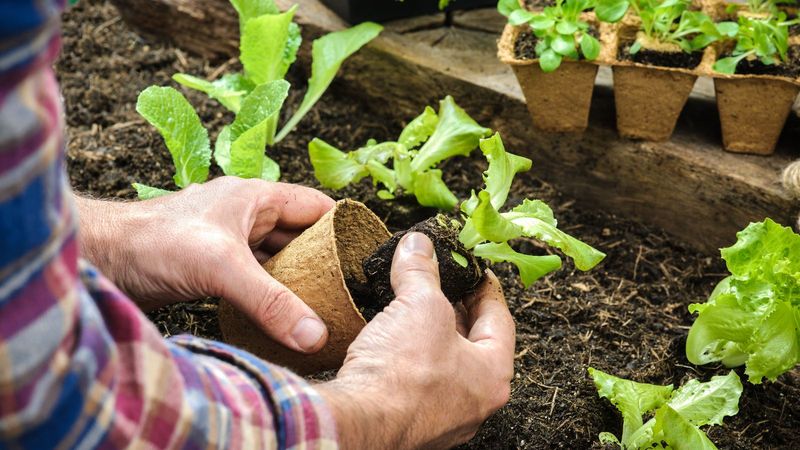
7. Create Holes Beforehand
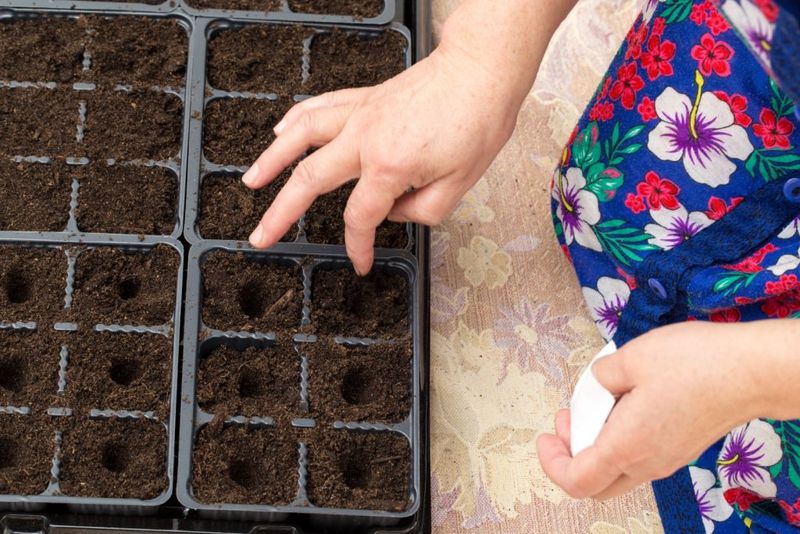
Prepare planting holes before removing seedlings from their trays. This step ensures you can swiftly place each seedling into its new spot, minimizing exposure to the elements.
Space holes according to plant needs, considering mature growth sizes. A small trowel or dibber can help create uniform holes. Ensuring the holes are the right depth prevents root crowding and supports healthy growth.
Pre-dug holes reduce the time seedlings spend out of the soil, helping them adjust quickly. Efficient planning results in a smoother transplant process and healthier seedlings.
8. Avoid Transplanting In Direct Sunlight
Transplanting seedlings in direct sunlight can lead to wilting and stress. Instead, opt for cloudy days or times when the garden is naturally shaded. If shade isn’t possible, consider creating temporary shade using garden cloths or umbrellas.
This protection allows seedlings to adjust without facing sunburn or dehydration. The reduced light helps them focus energy on establishing roots rather than combating heat.
By timing your transplant to avoid harsh sunlight, you give seedlings the best chance to settle into their new environment.
9. Space Seedlings Appropriately
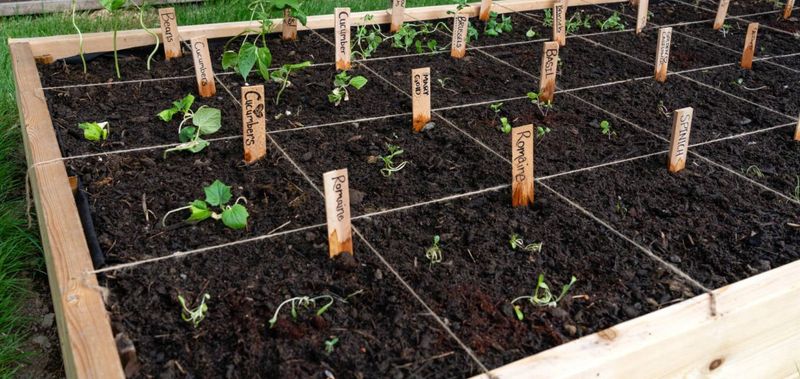
Correct spacing is essential for healthy growth. Overcrowding can lead to competition for nutrients, light, and water, stunting development. Before transplanting, research the mature size of each plant to determine adequate spacing.
Use garden markers or string lines to maintain uniform distances. Proper spacing allows for air circulation, reducing the risk of disease and promoting robust growth.
It also makes garden management easier, providing clear access for maintenance. Thoughtful spacing during transplanting leads to a more organized and productive garden.
10. Monitor Weather Conditions
Weather plays a significant role in transplant success. Check forecasts to avoid transplanting before heavy rain or extreme temperatures. Such conditions can stress seedlings, leading to failure.
Mild, overcast days are ideal for reducing shock. Consider local climate patterns when planning your transplant schedule. Adjust plans if unexpected weather arises.
By keeping an eye on the weather, you can select optimal conditions that support the seedlings’ transition. Thoughtful timing based on weather forecasts helps seedlings establish quickly and thrive in their new environment.
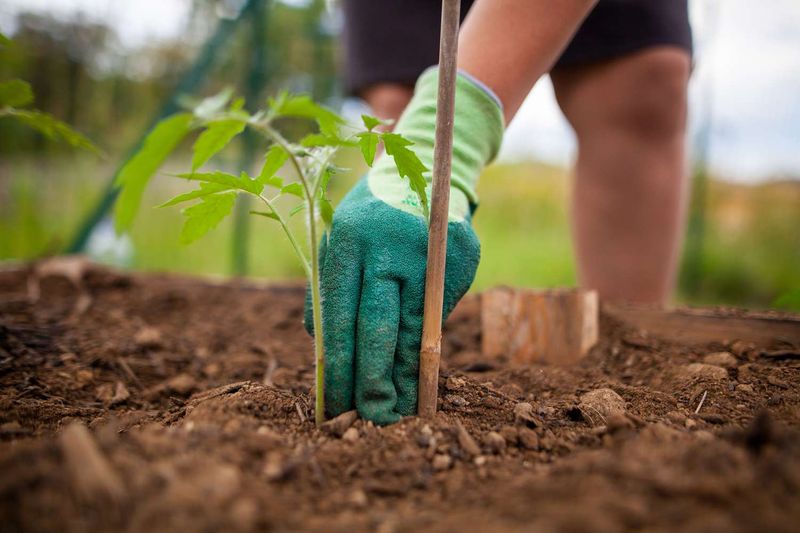
11. Provide Support For Tall Seedlings
Tall seedlings may need support during transplantation to prevent bending or breaking. Using stakes or small twigs as supports can help keep them upright, especially in windy conditions.
Insert supports carefully so as not to damage roots. Tying seedlings loosely with soft garden twine provides stability without constriction. Regularly check and adjust ties as plants grow.
Providing support minimizes stress and helps maintain an upright posture, promoting healthy development. Support structures ensure seedlings can focus on root and leaf growth rather than structural integrity.
12. Use Mulch To Retain Moisture
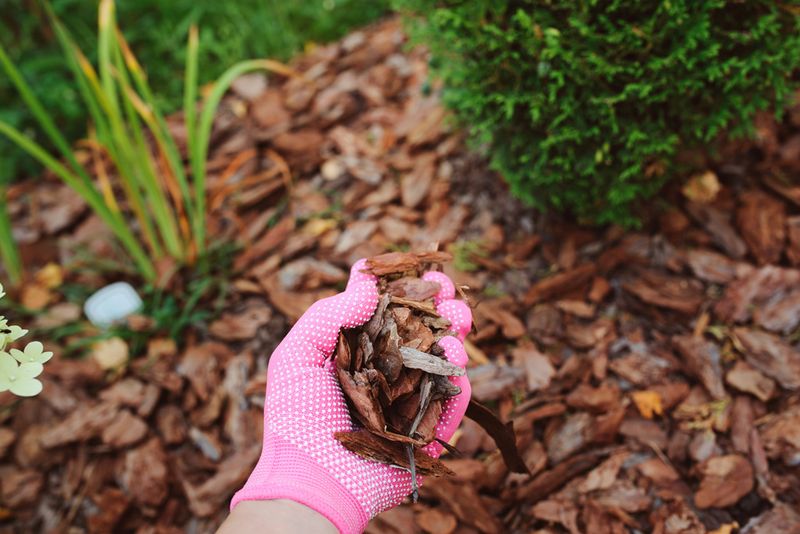
Applying mulch around seedlings after transplanting helps conserve soil moisture and regulate temperature. Organic mulch, like straw or wood chips, reduces water evaporation and keeps roots cool.
Spread a few inches thick but keep mulch away from the stem to prevent rot. Mulch also suppresses weeds, reducing competition for nutrients. As it breaks down, mulch enriches the soil with organic matter.
This practice creates a favorable environment for seedlings to establish quickly and thrive. Maintaining consistent moisture levels is key to successful transplanting.
13. Protect Against Pests
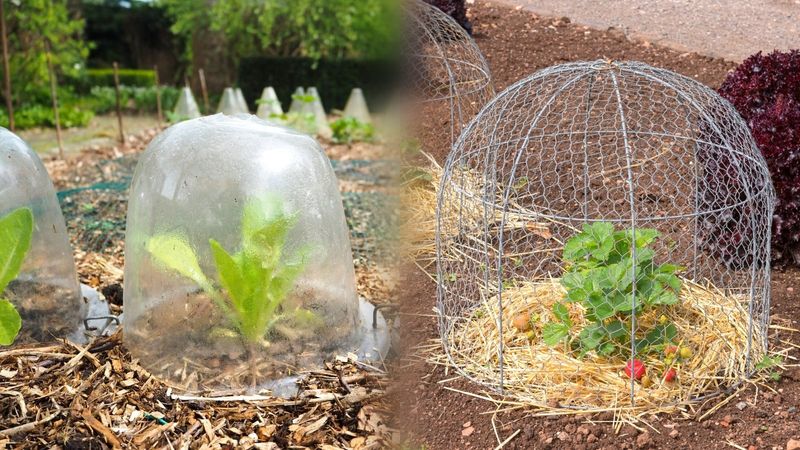
Newly transplanted seedlings are vulnerable to pests. Protect them by using physical barriers like nets or row covers. Companion planting with pest-repelling herbs can also deter unwanted visitors.
Regularly check for signs of pest activity, such as holes in leaves or stems. Hand-picking or using natural insecticides can manage infestations. Encouraging beneficial insects like ladybugs helps maintain a balanced ecosystem.
By proactively guarding against pests, you enhance seedling survival rates and support healthy growth. A watchful eye and preventive measures make a significant difference.
14. Maintain Consistent Watering
After transplanting, consistent watering is crucial for establishing roots. Water deeply to encourage roots to grow downward and anchor securely. Avoid shallow watering, as it leads to weak root systems.
Early morning or late afternoon are ideal watering times, reducing evaporation. Monitor soil moisture regularly, adjusting frequency based on weather conditions. Overwatering can drown roots, while underwatering causes wilting.
Aim for balanced moisture, providing a stable environment for growth. Consistent watering practices foster strong, resilient seedlings capable of thriving in their new home.
15. Label Your Seedlings
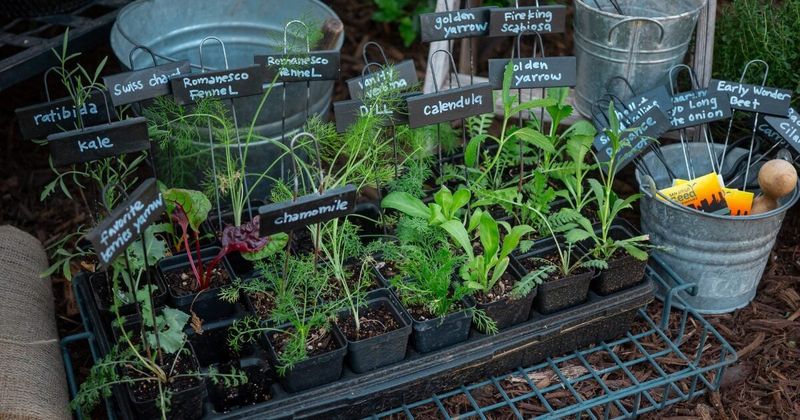
Labeling seedlings upon transplanting helps track growth and manage care. Use durable, weather-resistant labels to withstand elements. Include the plant’s name and transplant date for easy reference.
This practice aids in identifying plants, especially in diverse gardens. It ensures you can provide species-specific care, like tailored watering or fertilization.
Clear labeling also helps monitor progress and identify any issues early. By keeping your garden organized, you enhance management efficiency and plant health. Labels are a simple yet effective tool for successful gardening.
16. Adjust Care Based On Growth
As seedlings grow, their care requirements change. Monitor growth and adjust watering, feeding, and support needs accordingly. Larger plants may require more water or spacing adjustments.
Observe for signs of nutrient deficiency, such as yellowing leaves, and amend soil with fertilizers if needed. Regularly check the stability of support structures and reposition as necessary.
Adapting care practices ensures seedlings receive the resources they need to thrive. This dynamic approach fosters robust growth and maximizes plant potential. Remaining attentive to changes leads to a flourishing garden.
17. Keep Records Of Transplanting
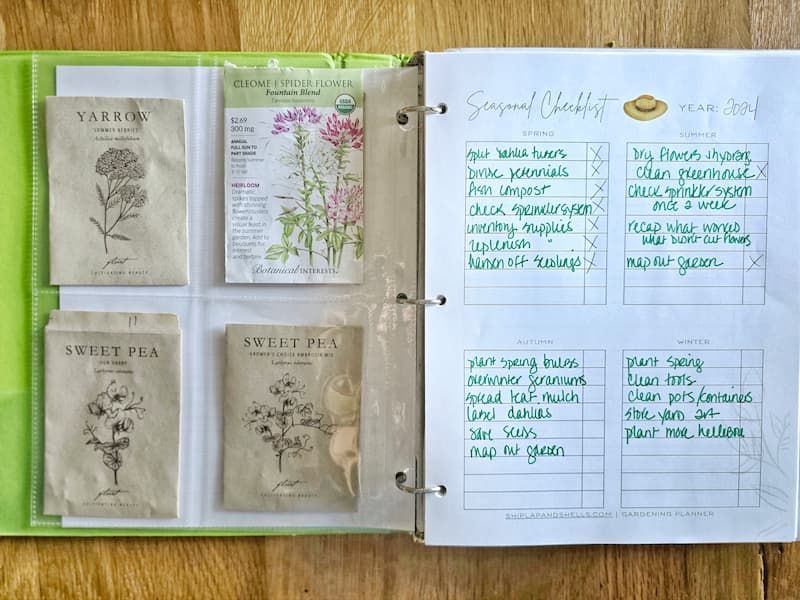
Documenting your transplanting efforts aids in future planning and success. Keep a journal detailing dates, weather conditions, and plant responses. Photos can enhance records, providing visual references.
Note any challenges or successes to refine techniques. Over time, your records become a valuable resource, offering insights into optimal practices. Sharing this knowledge with fellow gardeners fosters a community of learning and support.
By keeping comprehensive records, you build a foundation for continuous improvement and gardening success. It’s a worthwhile practice that enhances both knowledge and yield.