15 Smart Tips For Mowing New Sod Without Damaging It (And How To Keep It Thriving)
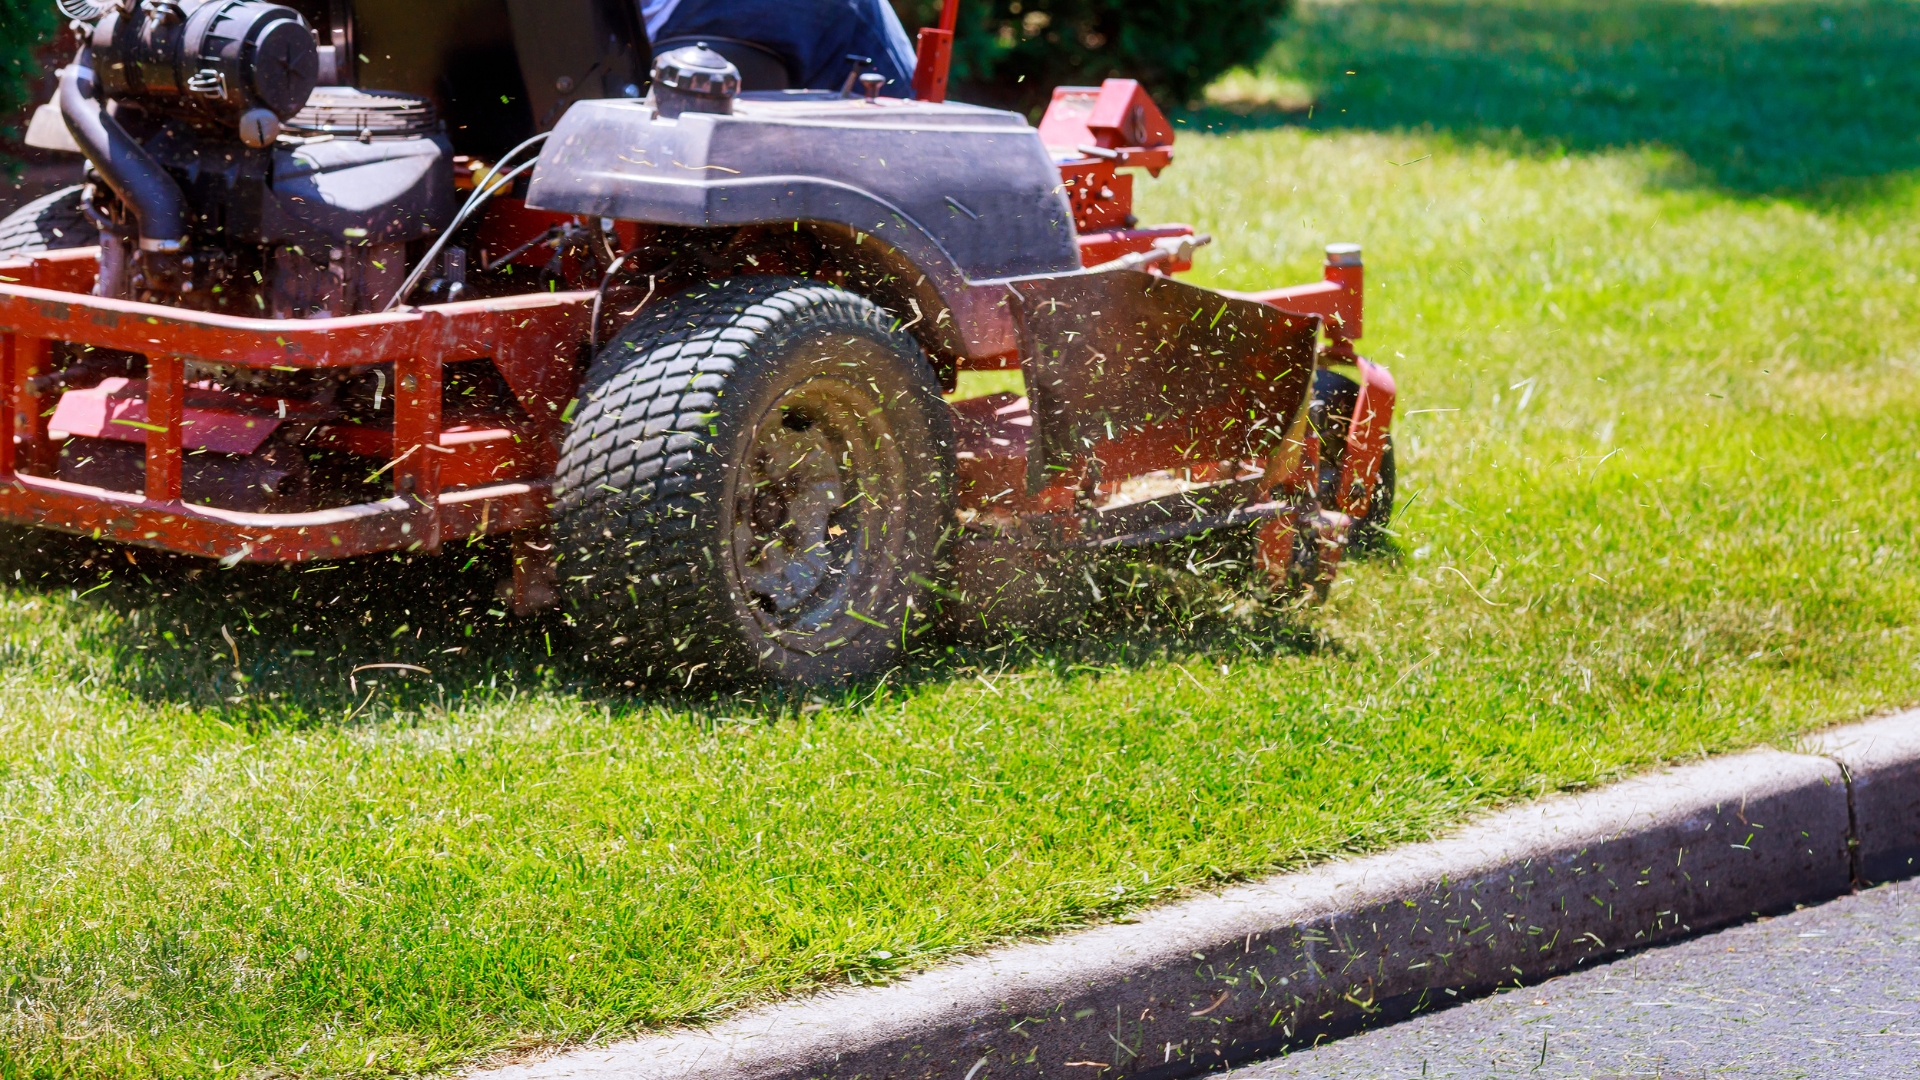
I was so nervous the first time I mowed my brand-new sod—I kept thinking I’d ruin it with one wrong move. Turns out, there’s a right way to do it without turning your fresh lawn into a patchy mess.
I’ve learned a few tricks that made all the difference, and now my grass looks like a green carpet. It’s easier than I thought once I figured out the timing and technique.
If you’re just getting started, these tips will save you a lot of stress (and grass).
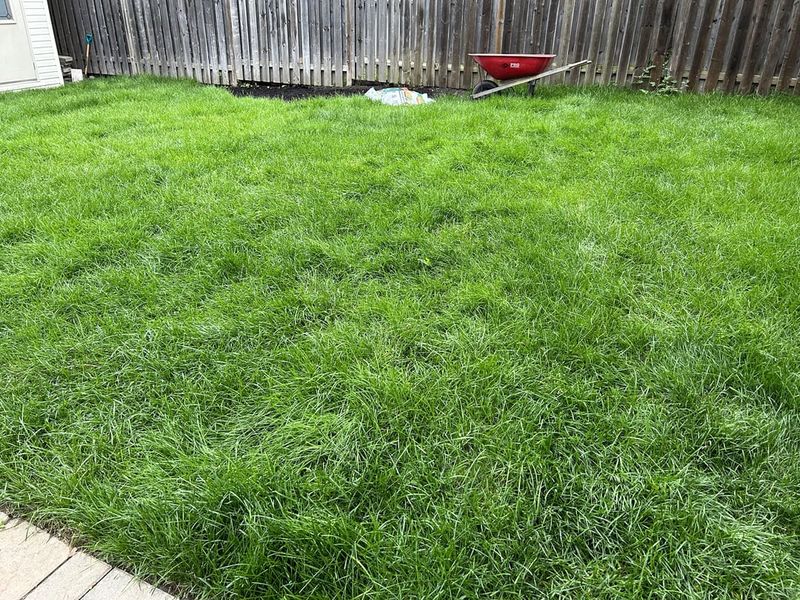
1. Wait For Proper Rooting
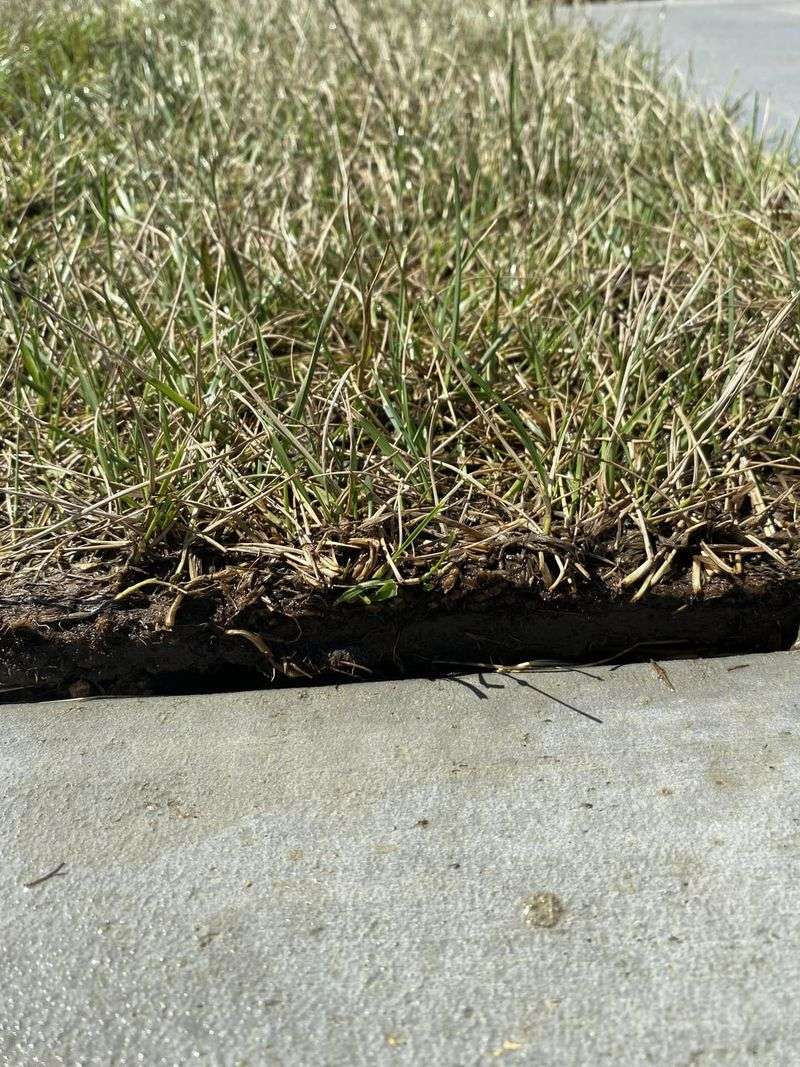
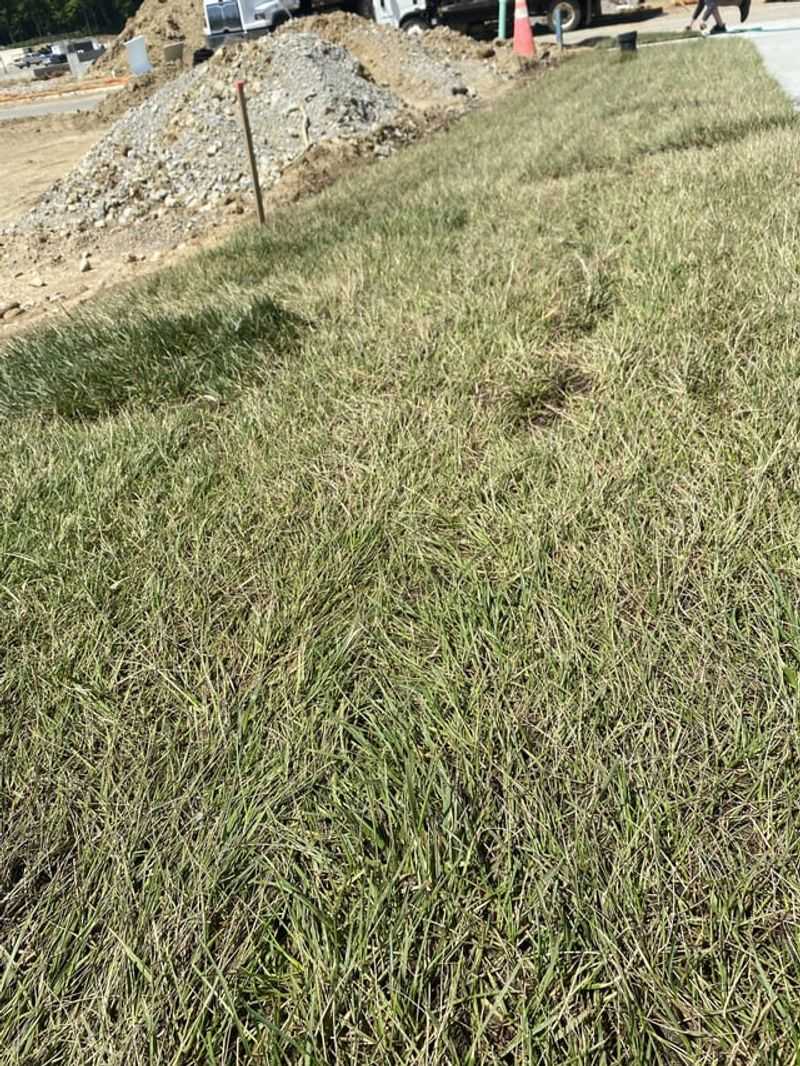
Patience pays off when it comes to new sod. Wait at least 2-3 weeks before even thinking about firing up that mower. During this time, roots are working hard to establish themselves in the soil below.
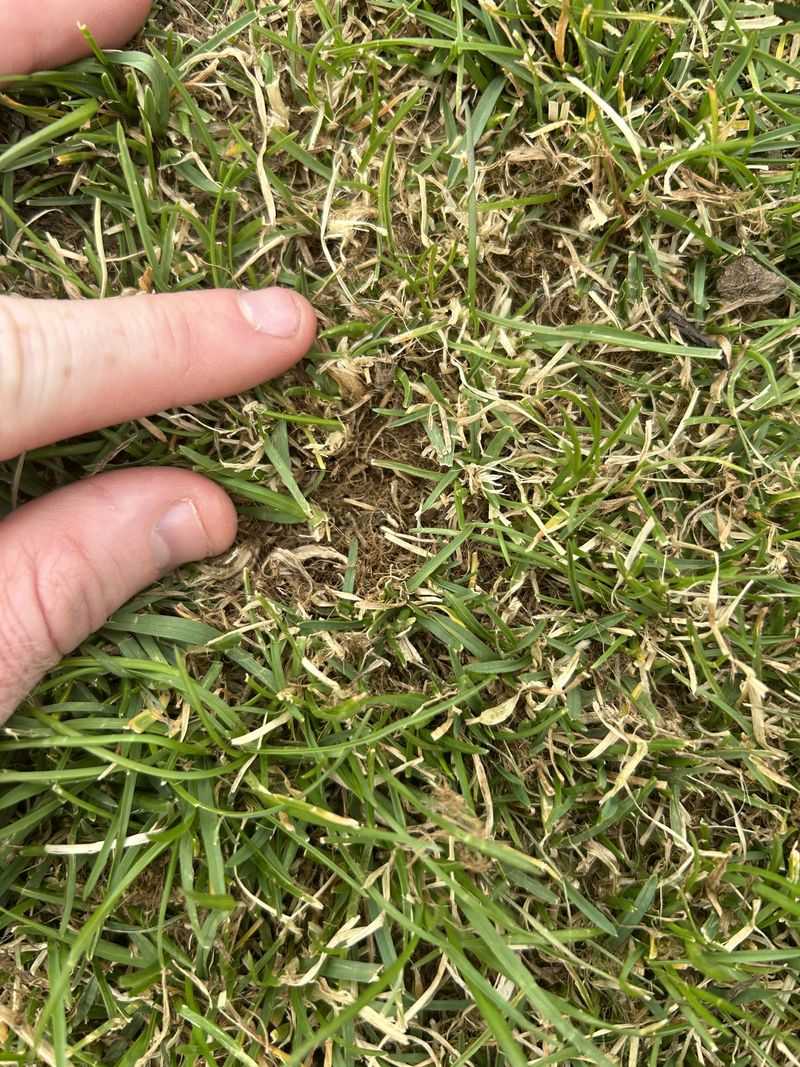
You can test if it’s ready by gently tugging on a corner – if there’s resistance, your sod is developing good root contact. Rushing this step might pull up entire sections of your new lawn, wasting your investment and time.
2. Mow When Grass Is Dry
Morning dew or recent rainfall creates slippery conditions that can damage new sod. Wet grass clumps together, cuts unevenly, and can clog your mower. Plus, your mower might sink slightly into the softer ground, creating ruts.
Wait until afternoon when the sun has dried everything thoroughly. Your mower will glide more smoothly, cut more cleanly, and you’ll avoid potential fungal issues that can develop when wet clippings sit on your new lawn.
3. Set Blade Height Higher
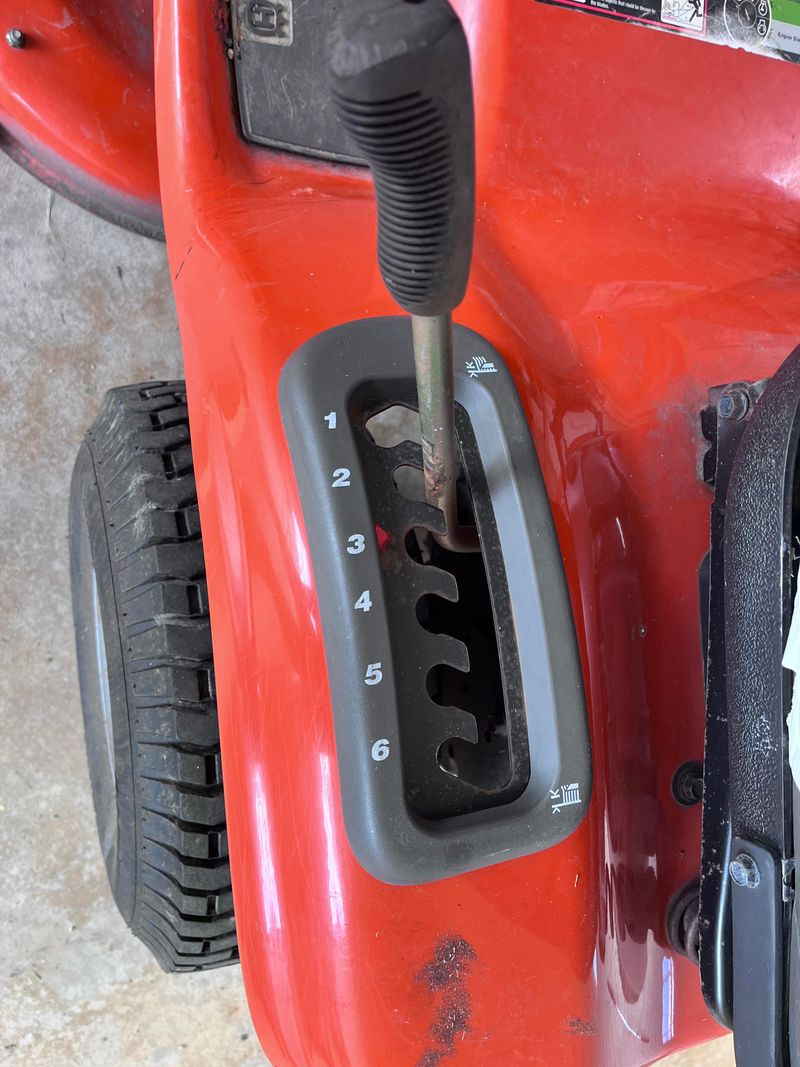
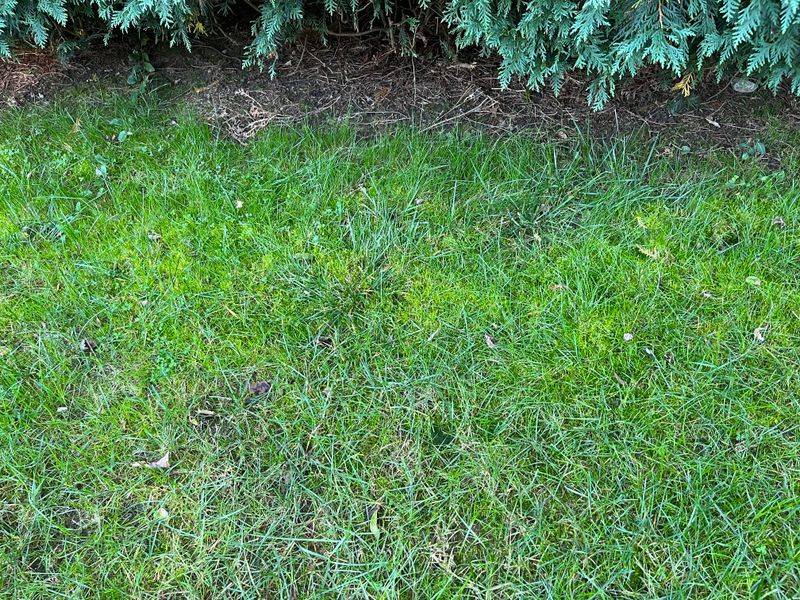
For that crucial first mow, adjust your blade to a higher setting than you might normally use. Aim for removing only the top third of the grass blade, leaving plenty of leaf surface for photosynthesis.
Taller grass develops deeper roots, which is exactly what new sod needs. Cutting too short stresses the grass when it’s most vulnerable and can slow down establishment. Most experts recommend keeping new sod at about 3-3.5 inches tall during the establishment phase.
4. Sharpen Your Mower Blades
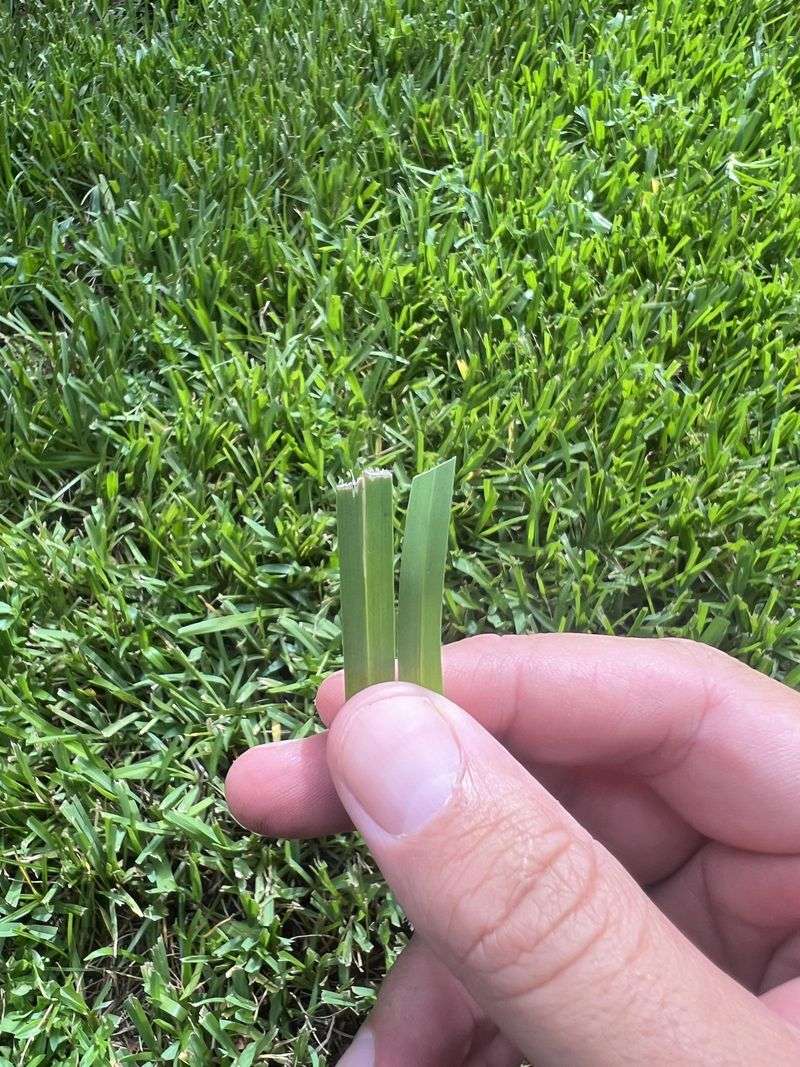
Dull blades tear grass instead of cutting it cleanly, leaving ragged edges that turn brown and create entry points for disease. Fresh sod is particularly vulnerable to this kind of stress while establishing.
Take time to sharpen your mower blades before that first cut. The clean slices will help your new lawn heal quickly and continue growing strong. Most hardware stores offer blade sharpening services if you don’t have the tools to do it yourself.
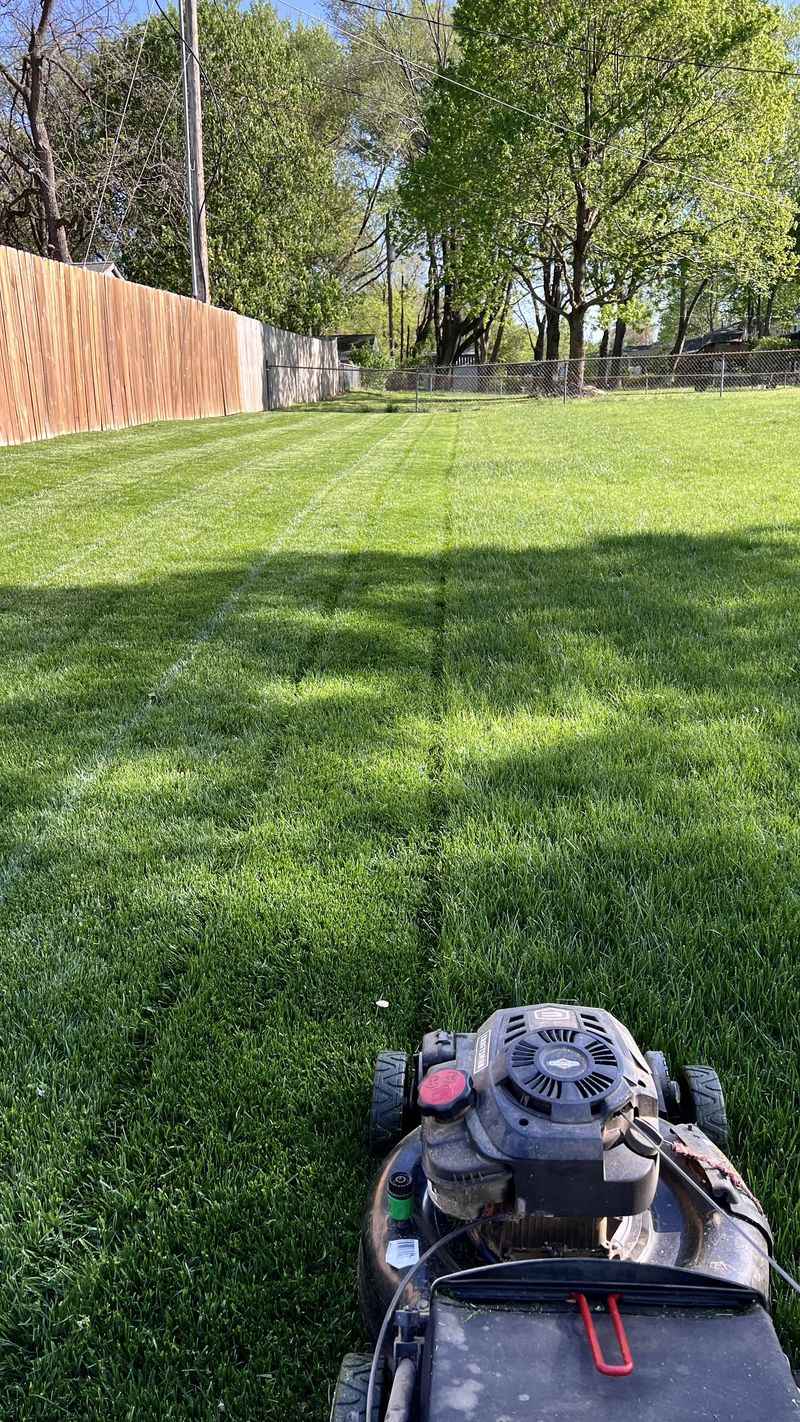
5. Mow In Different Directions

Varying your mowing pattern prevents soil compaction and ruts that can damage developing roots. It also encourages upright growth rather than letting grass lean in one direction.
Try north-south one week, then east-west the next. This simple rotation helps create that carpet-like appearance professional lawns have. Plus, changing directions reduces strain on the same areas of your lawn, giving your new sod the best chance to establish evenly across your yard.
6. Avoid Sharp Turns
Quick pivots and sharp turns can tear up new sod before it’s fully rooted. The twisting motion puts stress on the grass and can actually separate it from the soil beneath.
Make wide, gentle turns at the end of each mowing row. If you need to change direction completely, consider lifting the mower slightly or turning on a hard surface like a driveway. This gentle approach preserves the delicate connection forming between your new sod and the soil.
7. Leave Clippings On The Lawn
Those tiny grass clippings are packed with nitrogen and other nutrients that feed your establishing lawn. When cut at the proper height, they break down quickly and act as a natural fertilizer.
Don’t bother bagging when mowing new sod unless the grass has grown excessively tall. The decomposing clippings also help retain moisture, which is crucial during the establishment phase. Just ensure they’re distributed evenly rather than clumping in piles that could smother the grass.
8. Avoid Mowing During Heat Stress
Hot afternoons can double-stress your new lawn when combined with mowing. During high temperatures, grass is already working hard to stay hydrated and cool. Adding the stress of cutting can push it over the edge.
Choose cooler parts of the day for mowing, like late afternoon as temperatures begin to fall. Your sod will recover more quickly from the trim and won’t lose as much moisture. This is especially important during the first few months after installation.
9. Water Deeply After Rooting
Once sod has rooted (usually 2-3 weeks after installation), adjust your watering schedule to encourage deep root growth. Instead of frequent light sprinkles, provide fewer but longer watering sessions.
Aim for about 1 inch of water per week, either from rainfall or irrigation. This deep watering trains roots to grow downward seeking moisture, creating a drought-resistant lawn. Established sod with deep roots will better withstand the stress of regular mowing.
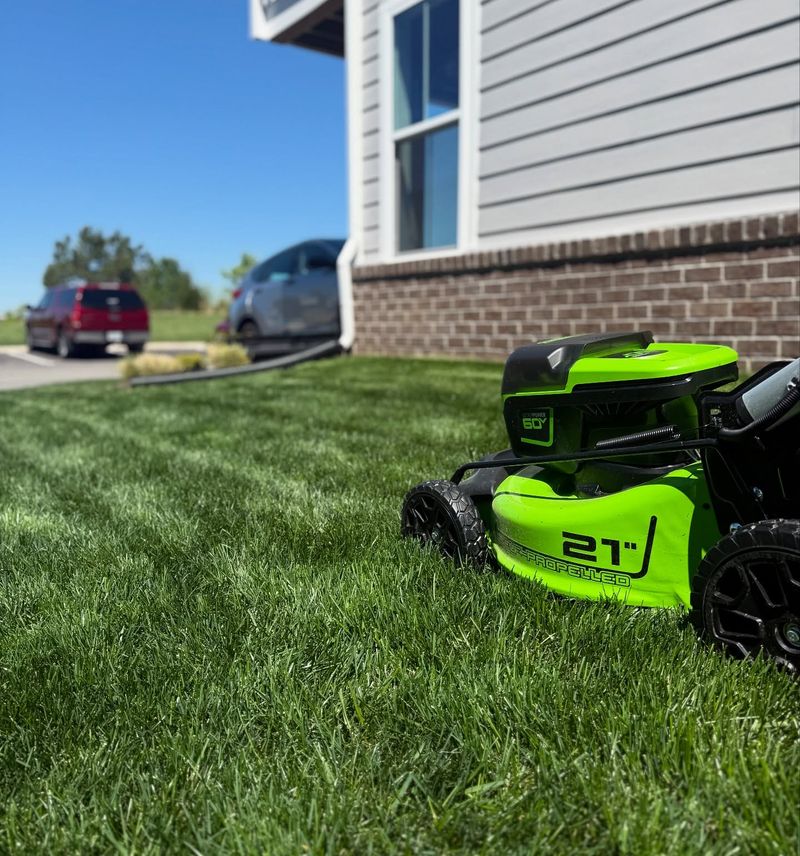
10. Use A Lightweight Mower

Heavy riding mowers can compress soil and create depressions in new sod that hasn’t fully established. Until your lawn has rooted firmly, consider using a lighter push mower if possible.
The reduced weight causes less compaction and minimizes potential damage to the developing root system. If you must use a riding mower, wait an extra week or two beyond the minimum rooting time. Your patience will pay off with a more level, evenly established lawn.
11. Fertilize With Caution

New sod usually comes pre-fertilized from the farm, so hold off on additional feeding for about 6 weeks. Applying fertilizer too soon can burn the grass or create excessive top growth before roots are established.
When you do fertilize, choose a starter fertilizer with higher phosphorus content to encourage root development. Apply at half the recommended rate initially, then gradually increase to normal feeding schedules as your lawn matures and you establish a regular mowing routine.
12. Monitor For Pests Early
Stressed grass during establishment is more vulnerable to insect damage. Keep an eye out for brown patches that don’t green up after watering, which might indicate grub activity beneath the surface.
Check for chinch bugs, sod webworms, and other common lawn pests before they can cause significant damage. Early detection lets you treat problems while they’re manageable and before your regular mowing schedule begins. Natural predators like beneficial nematodes can help control many lawn pests without harsh chemicals.
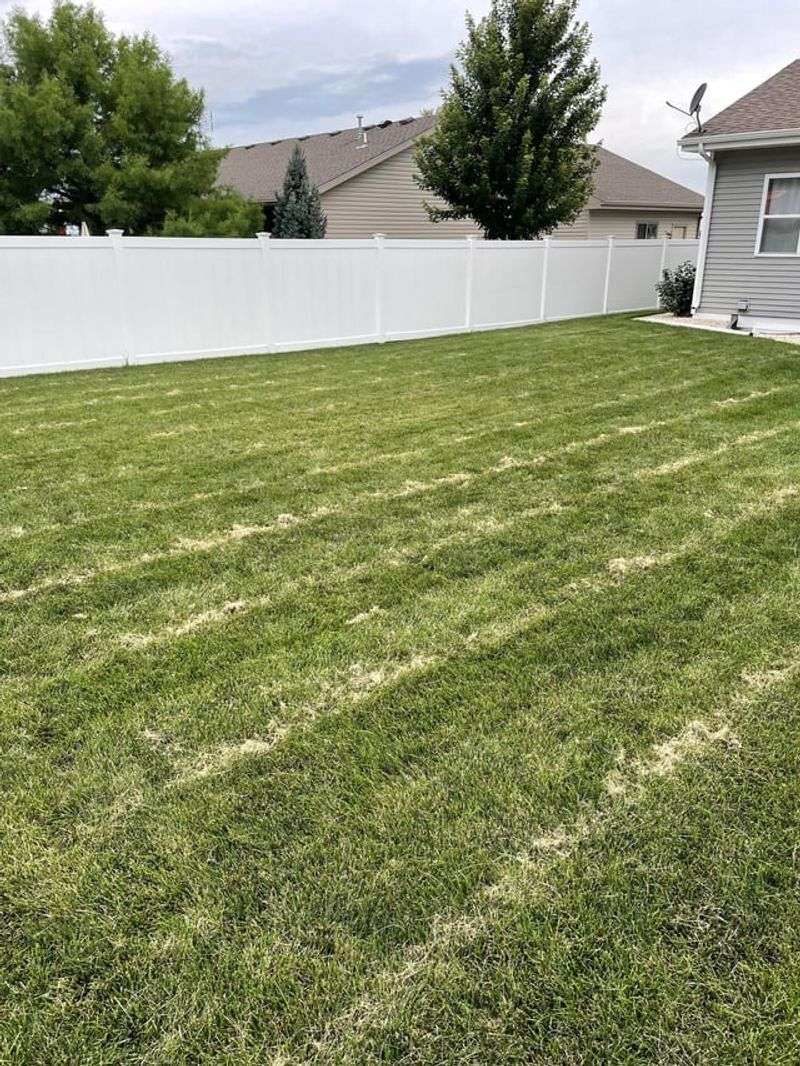
13. Fill Low Spots Before Mowing

Uneven ground creates mowing hazards and can lead to scalped areas where the blade cuts too close. Before your first mow, check for low spots that may have developed as the sod settled.
Fill these depressions with a mixture of topsoil and sand, gently working it under the edges of the sod. Water thoroughly after filling to help the soil settle. This simple step prevents your mower from dipping into low areas and damaging your new lawn.
14. Clean Your Mower Deck
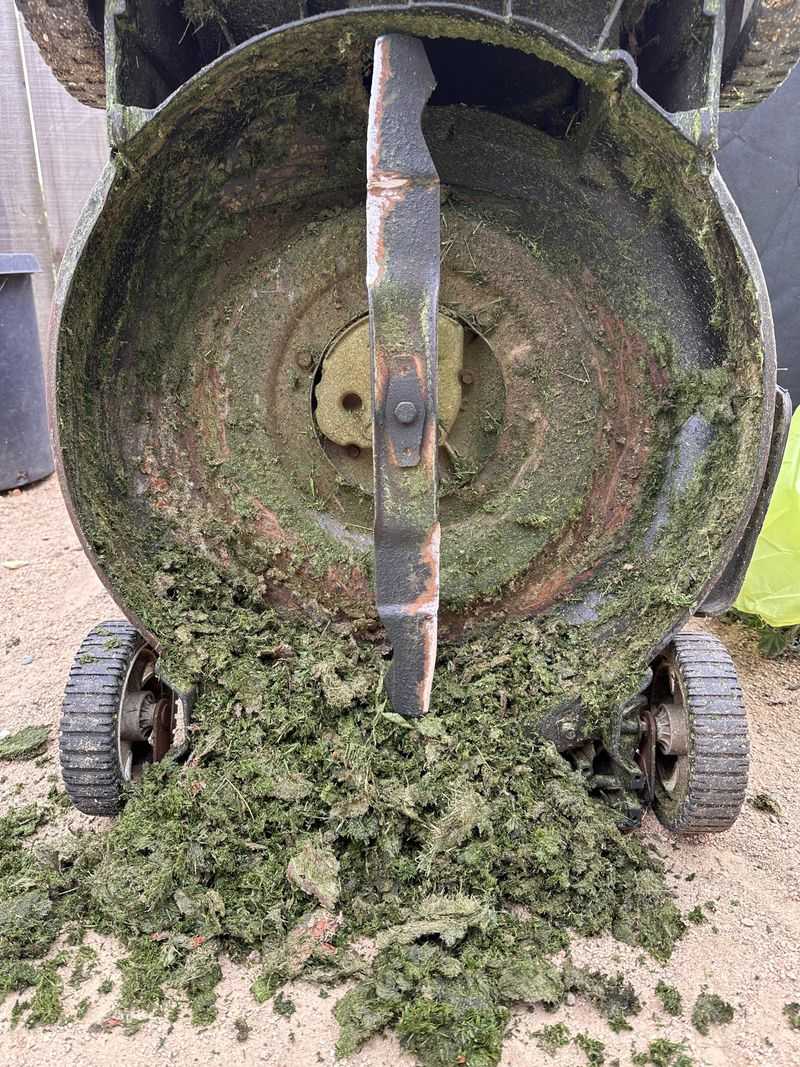
Grass clippings can build up under your mower deck, reducing airflow and cutting efficiency. This buildup is particularly problematic for new sod that needs clean, precise cuts to thrive.
Before mowing, flip your mower (with gas and oil removed) and scrape away any stuck-on debris. This simple maintenance step improves cutting performance and prevents spreading any disease from previous mowings. A clean deck also extends the life of your mower and reduces fuel consumption.
15. Adjust Mowing Frequency Seasonally
New sod requires different mowing schedules as seasons change and as it matures. During peak growing season, you might need to mow weekly, while cooler months might need only bi-weekly cutting.
Pay attention to growth rates rather than sticking to a rigid calendar. The one-third rule always applies: never remove more than one-third of the grass height in a single mowing. This flexibility helps your new lawn develop strong roots while maintaining an attractive appearance throughout the year.