17 Tomato Pruning Tips For Maximum Yield And Plant Health
Pruning tomatoes used to intimidate me—what if I cut off the wrong thing and ruined the plant? But once I gave it a try, I realized how much of a difference it makes in both plant health and the size of the harvest.
Snipping off those extra suckers and crowded leaves helps your plant focus on what really matters: growing big, juicy tomatoes instead of wasting energy on endless foliage. It’s like giving your tomato plant a little pep talk and a productivity boost.
Whether you’ve got a few pots on the patio or a row of plants in the backyard, learning when and how to prune will seriously upgrade your tomato game. Trust me, your future salsa will thank you.
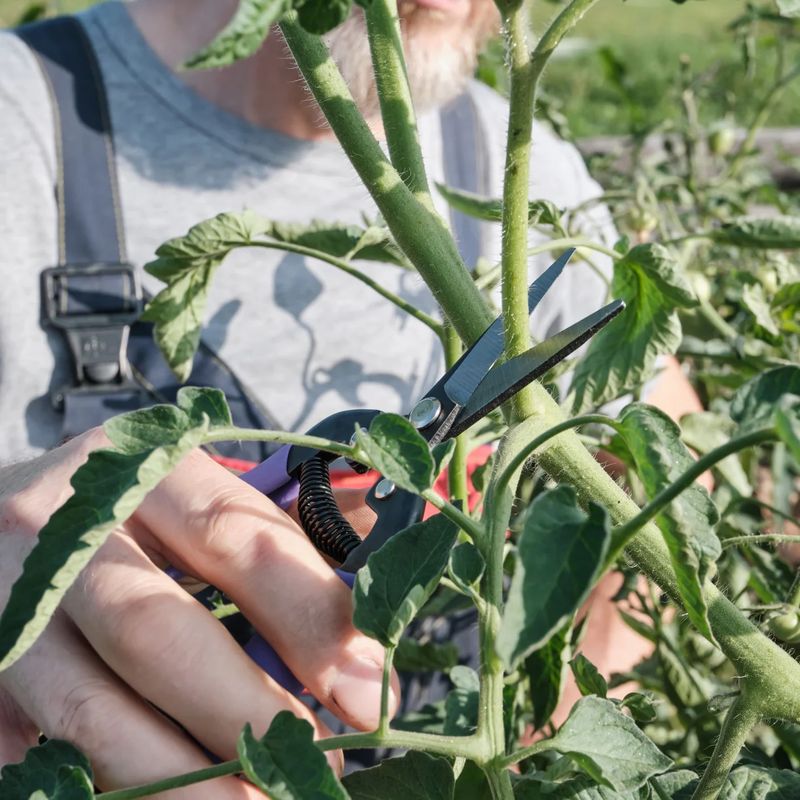
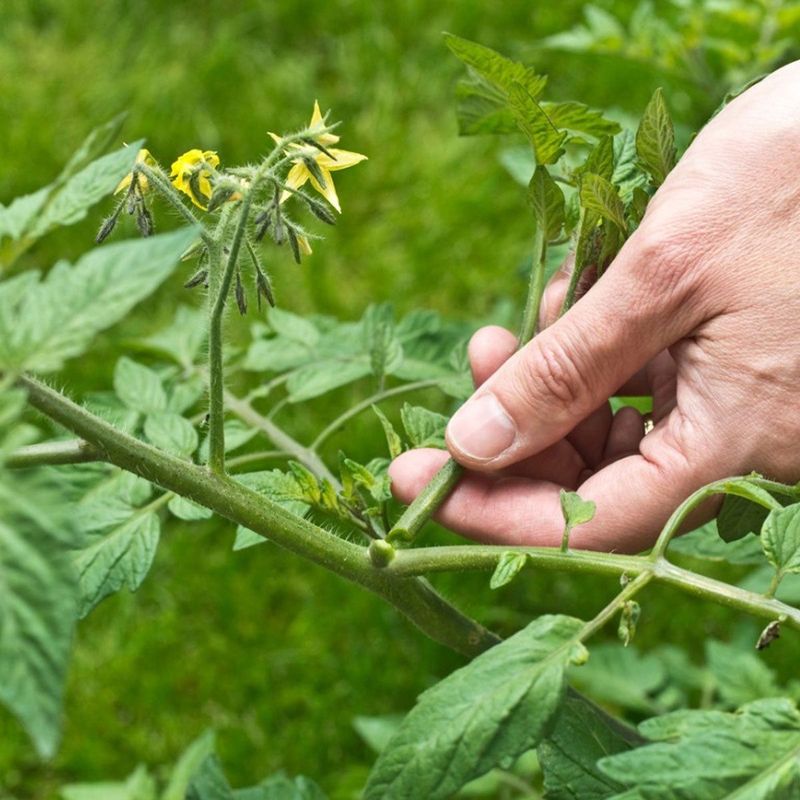
1. Remove Suckers Early
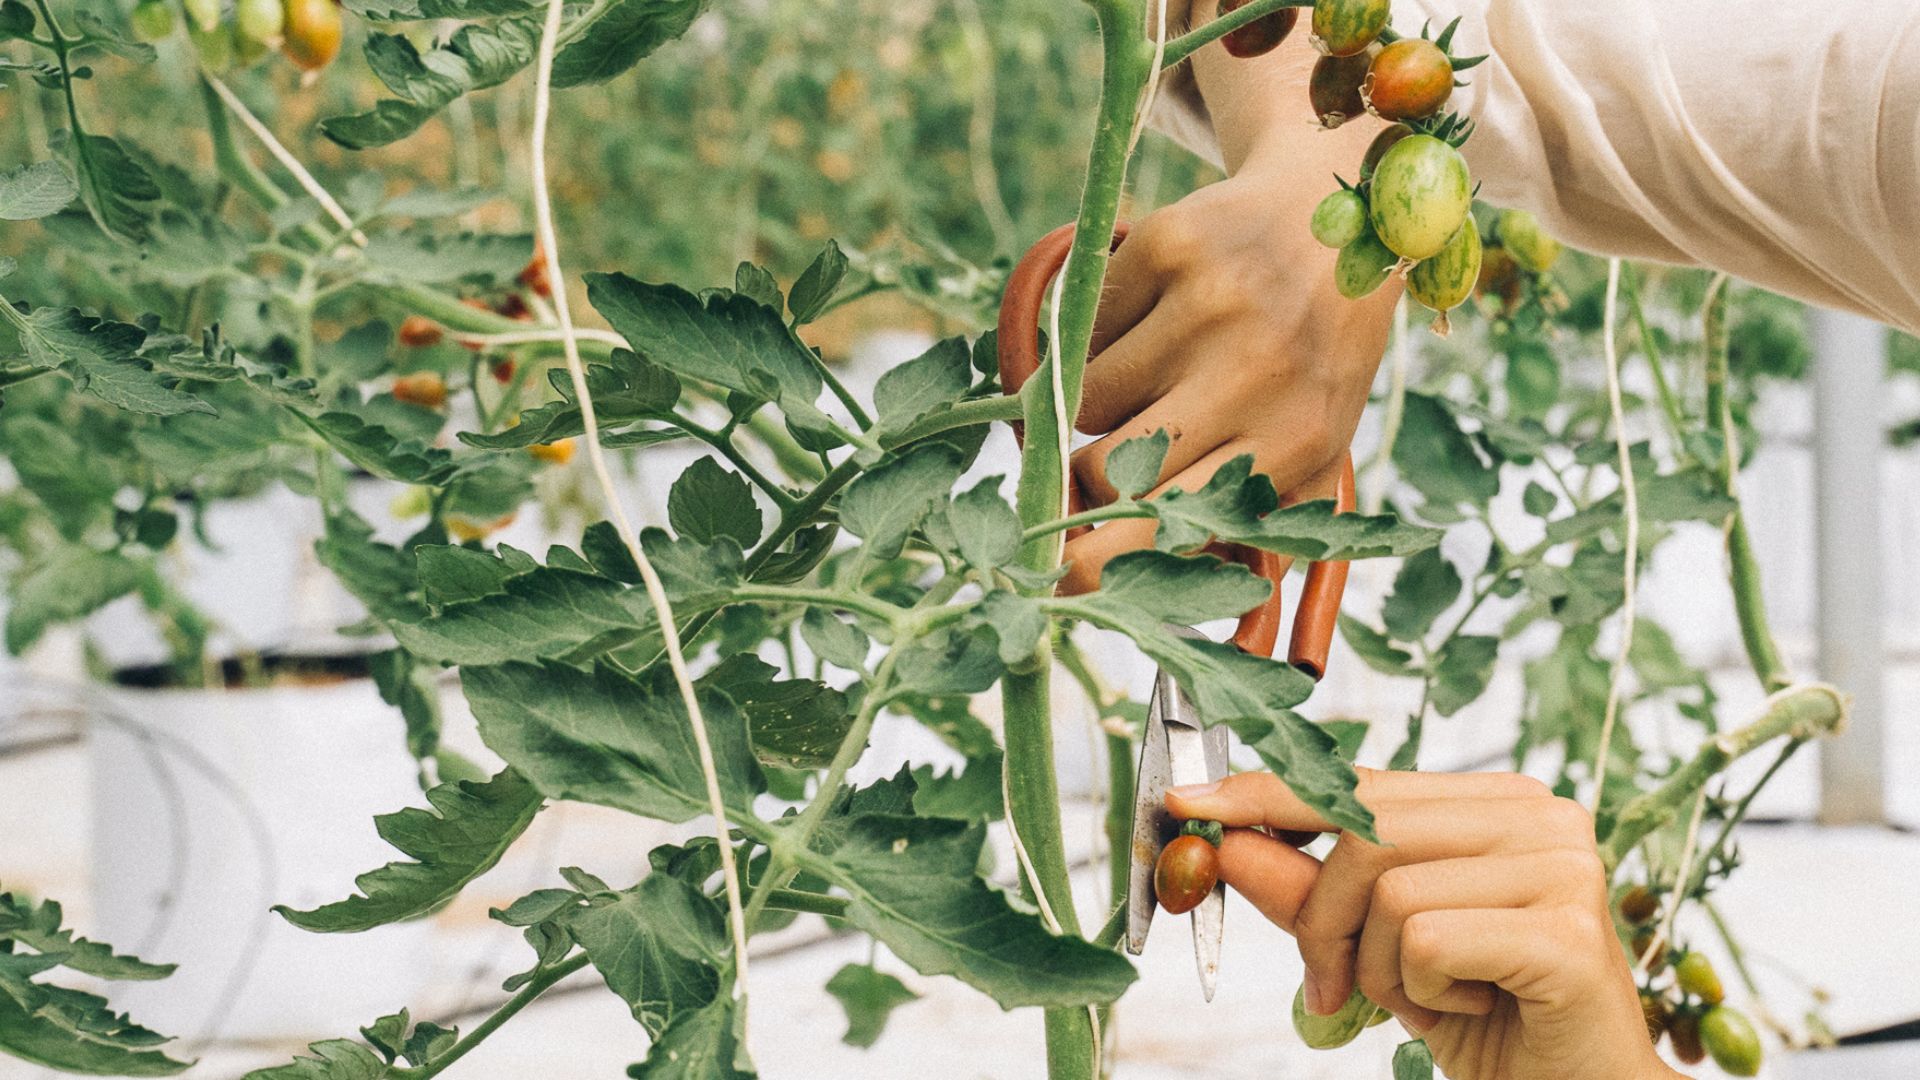
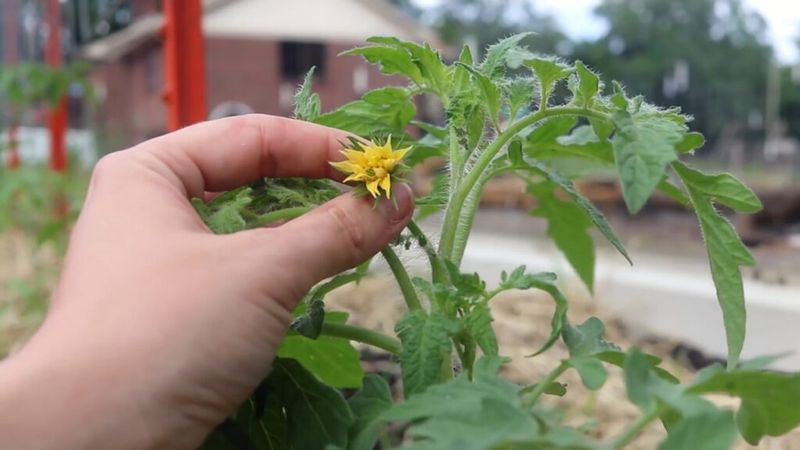
Those small shoots that appear between the main stem and branches are called suckers, and they’re energy thieves! Catching them when they’re tiny (about 1-2 inches long) makes removal cleaner and less stressful for the plant.
Simply pinch them off with your fingers using a quick sideways snap. The younger they are, the easier they come off without needing tools or leaving large wounds that could invite disease.
Regular weekly checks during the growing season will keep suckers under control. I’ve found morning inspections work best when plants are less stressed and you can clearly see what needs attention.
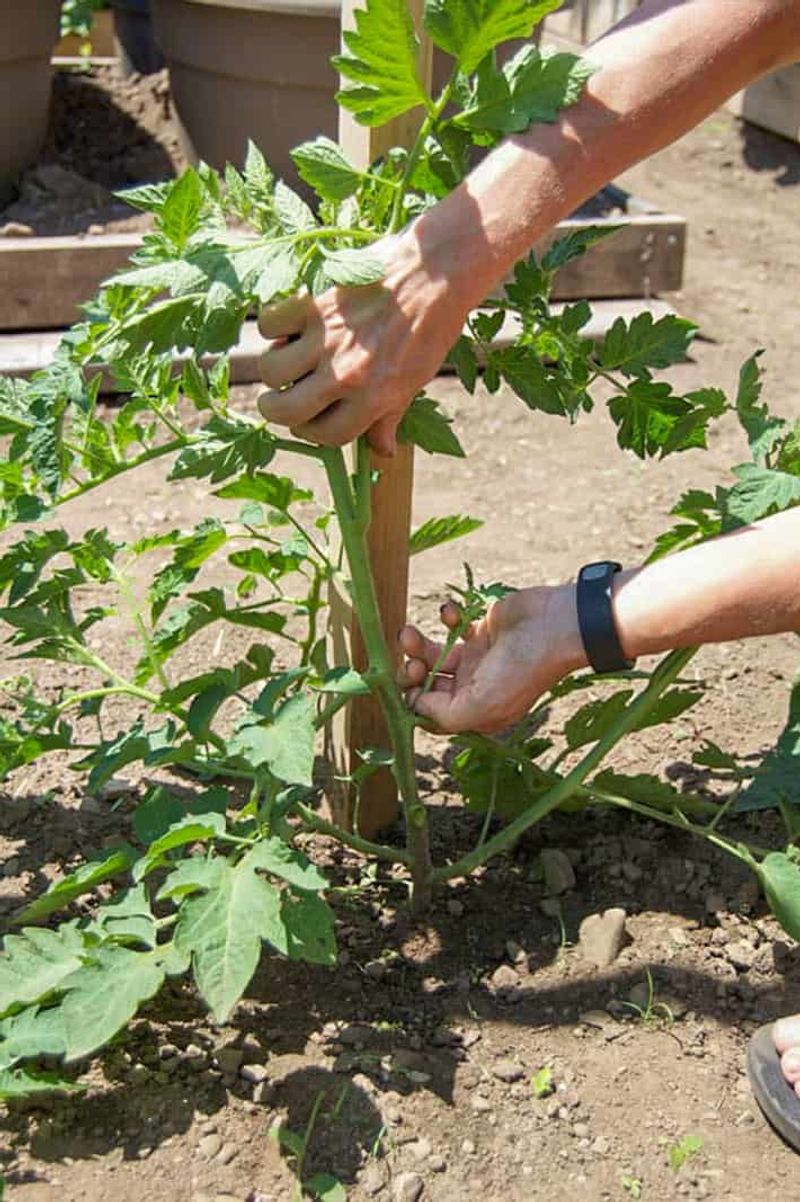
2. Prune Lower Leaves First
The bottom 6-8 inches of your tomato plant should eventually be leaf-free. These lower leaves often touch soil, making them prime suspects for spreading soil-borne diseases upward through the plant.
Using clean, sharp scissors or pruners, cut these leaves where they meet the main stem. Don’t leave stumps that could rot and cause problems later. The bare lower stem allows better air circulation and reduces the chances of fungal issues.
My garden had far fewer problems with early blight once I started this practice. As an added bonus, watering becomes easier since you can target the soil directly without wetting foliage.
3. Maintain One Or Two Main Stems

For indeterminate (vining) tomatoes, limiting your plant to just one or two main stems creates stronger plants with larger fruits. Choose the most robust main stem and possibly one strong sucker to keep, then remove all others.
Supporting these limited stems with stakes or cages becomes much easier, and the plant puts energy into fruit rather than foliage. The remaining stems will grow taller and produce more abundantly than if you’d let multiple stems compete.
After switching to this method three seasons ago, my fruit size increased noticeably. While you’ll have fewer total tomatoes, the quality and size make this trade-off worthwhile for many gardeners.
4. Prune With Clean Tools
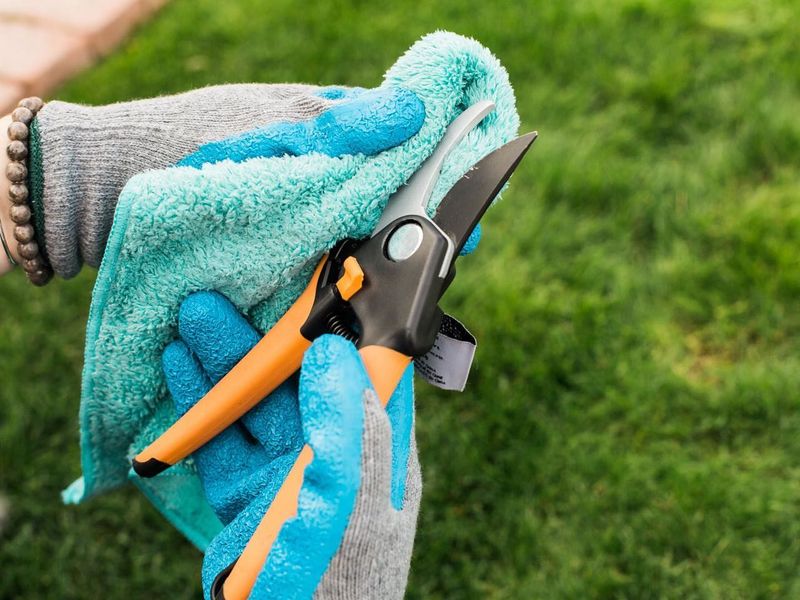
Disease spreads quickly between tomato plants when using dirty pruning tools. Before each pruning session, wipe your scissors, pruners, or knife with rubbing alcohol or a 10% bleach solution to kill any lingering pathogens.
For extra protection, clean tools between working on different plants. This simple step prevents accidentally transferring problems from one tomato to another. Sharp tools also make cleaner cuts that heal faster.
After watching disease sweep through my entire tomato patch years ago, this cleaning habit has saved countless plants. It takes just seconds but prevents heartbreaking losses after months of careful gardening.
5. Top the Plants Late Season
About 30 days before your first expected frost, cut off the growing tips at the top of your tomato plants. This process, called topping, signals the plant to stop producing new flowers and focus energy on ripening existing fruit.
Look for the newest growth at the very top of each stem and snip it off cleanly. The plant will redirect resources to developing fruit instead of creating new foliage that won’t have time to produce before frost.
Last year I experimented by topping half my plants and leaving others untouched. The topped plants gave me many more ripe tomatoes before frost while the untouched ones had lots of green fruits that never matured.
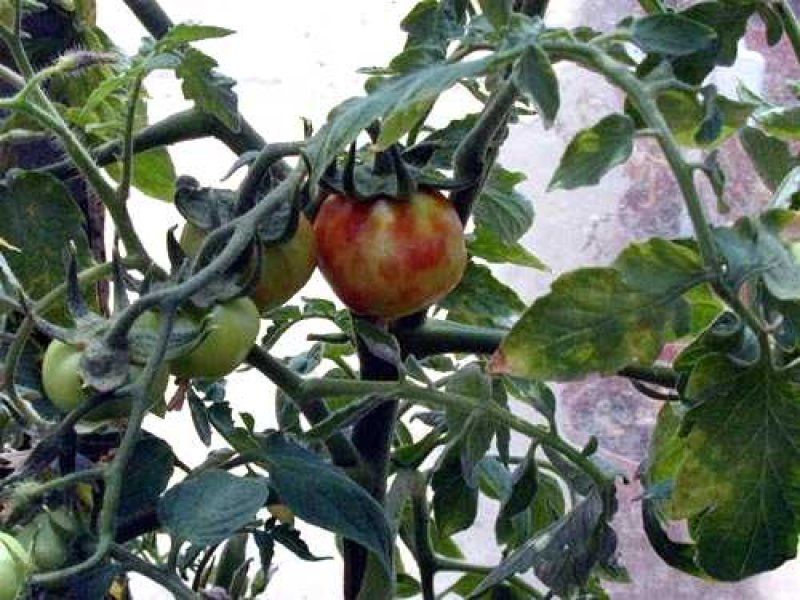
6. Remove Yellowing Leaves Immediately
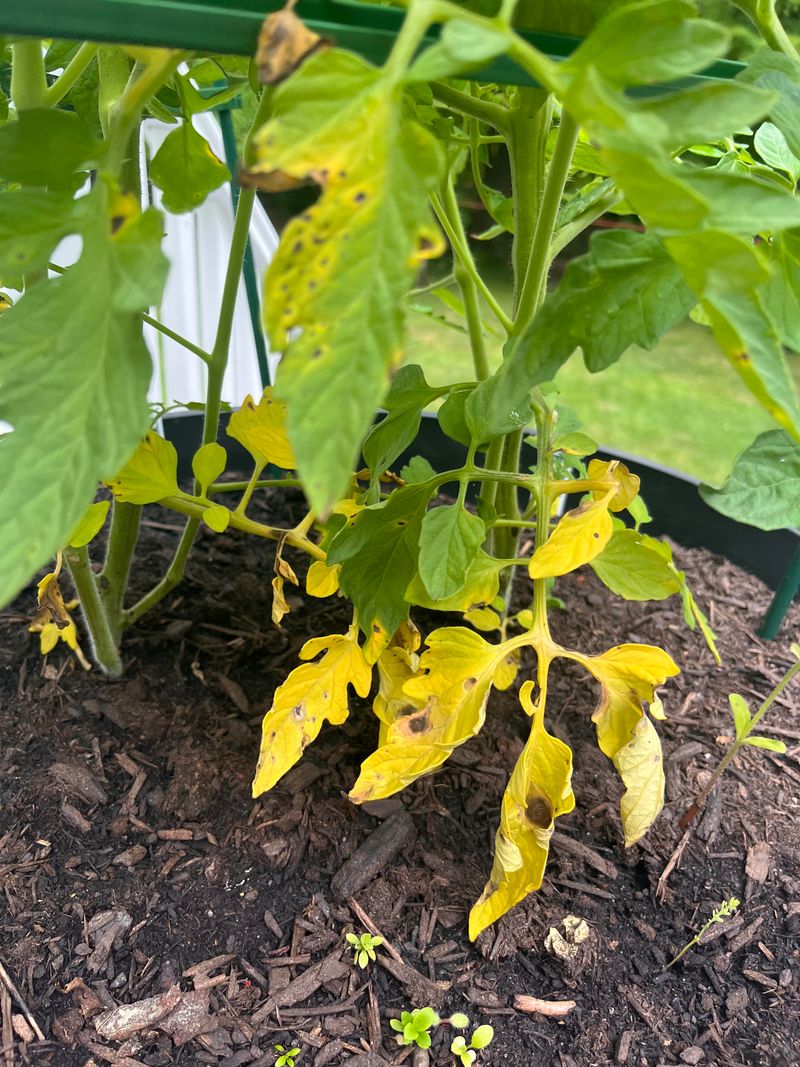
Yellowing leaves aren’t just unsightly – they’re often the first sign of disease or nutrient issues. Spotting and removing these compromised leaves prevents problems from spreading throughout your plant.
Cut yellowing leaves at the stem using clean pruners rather than pulling them, which can damage healthy tissue. Dispose of these leaves in the trash, not your compost pile, to avoid spreading potential pathogens.
Regular inspection makes this task manageable. Walking through my tomato patch each morning with a small bag and pruners helps me catch problems early. Since implementing this practice, disease outbreaks have become far less common in my garden.
7. Prune For Container Spacing
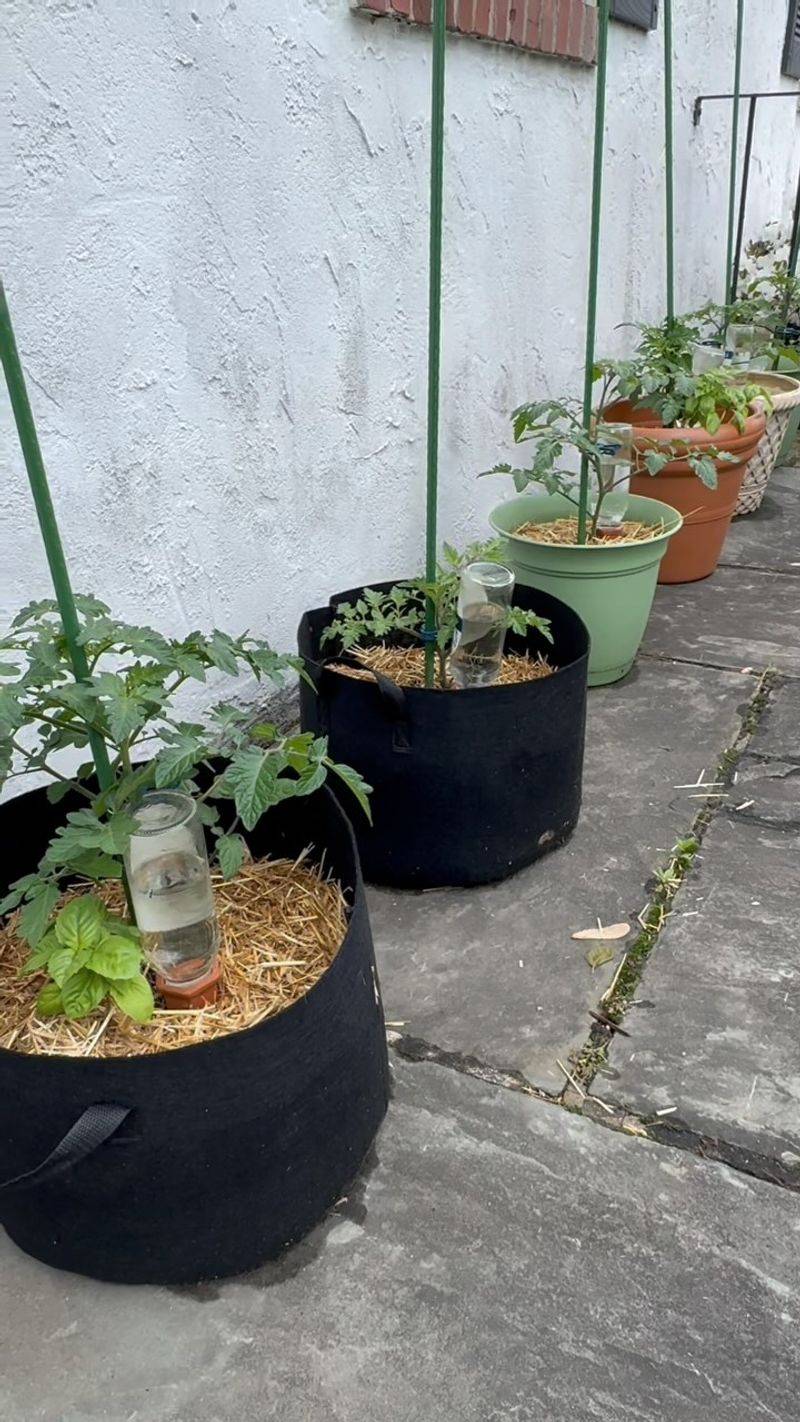
Container tomatoes need more aggressive pruning since their root space is limited. Focus on maintaining a single main stem and removing all suckers to prevent the plant from becoming too dense for its confined space.
Thin interior leaves periodically to improve airflow within the container. This prevents humidity buildup that leads to fungal problems. Leave the strongest, healthiest leaves that receive direct sunlight.
My patio containers produced twice as many tomatoes after I started this focused pruning approach. The plants looked less bushy but remained healthier throughout the season and produced fruit for much longer than my previously overcrowded containers.
8. Create A Pruning Schedule

Consistent pruning yields better results than sporadic, heavy cutting. Mark your calendar for weekly light pruning sessions rather than waiting until plants become overgrown and require drastic trimming.
Monday mornings became my tomato maintenance time – just 10-15 minutes checking for suckers, yellowing leaves, and lower stem cleanup. Small, regular adjustments are far less stressful for plants than major surgery that removes large portions at once.
This routine approach maintains steady growth patterns and fruit production. Plants respond better to gentle, consistent care than to dramatic interventions, much like many other aspects of gardening where patience and regularity outperform occasional intense effort.
9. Prune Differently By Variety
Determinate (bush) tomatoes need much less pruning than indeterminate varieties. These compact plants grow to a predetermined size, set fruit all at once, and don’t benefit from aggressive sucker removal or single-stem training.
For determinate types, simply remove the lowest leaves and any obviously diseased foliage. Leave the suckers alone, as they contribute to your overall harvest. Roma and many paste tomatoes fall into this category and naturally grow bushier.
Understanding your variety prevents over-pruning. I learned this lesson the hard way after severely reducing my Roma plants’ yield by pruning them like my indeterminate varieties. Now I check seed packets or plant labels before making any cuts.
10. Morning Pruning For Quick Healing
The time of day you prune matters more than you might think. Early morning pruning gives plants the entire day to heal cuts before evening moisture creates conditions for infection.
Cuts made in morning sunshine dry quickly and form protective calluses faster. Avoid pruning in evening hours when moisture will remain on wounds overnight, potentially inviting fungal or bacterial problems.
After switching to morning-only pruning, I noticed significantly fewer issues with stem rot at pruning sites. The plants seem to recover more quickly, with cut areas drying and healing before the evening dew settles in – a simple timing change that produces noticeably healthier plants.
11. Leaflet Pinching For Sunlight
Sometimes entire leaves don’t need removal, just strategic leaflet adjustment. Tomato leaves are compound, meaning each “leaf” is actually several leaflets. Pinching off individual leaflets that shade developing fruit allows better sunlight exposure.
Look for fruits that are hidden under dense foliage and carefully remove just enough leaflets to let light reach them. This targeted approach maintains most of the plant’s photosynthesis capability while improving fruit ripening conditions.
The difference in ripening time can be remarkable. Fruits with direct sunlight exposure often ripen 5-7 days earlier than completely shaded ones, extending your harvest season and reducing the chance of losing tomatoes to early frost.
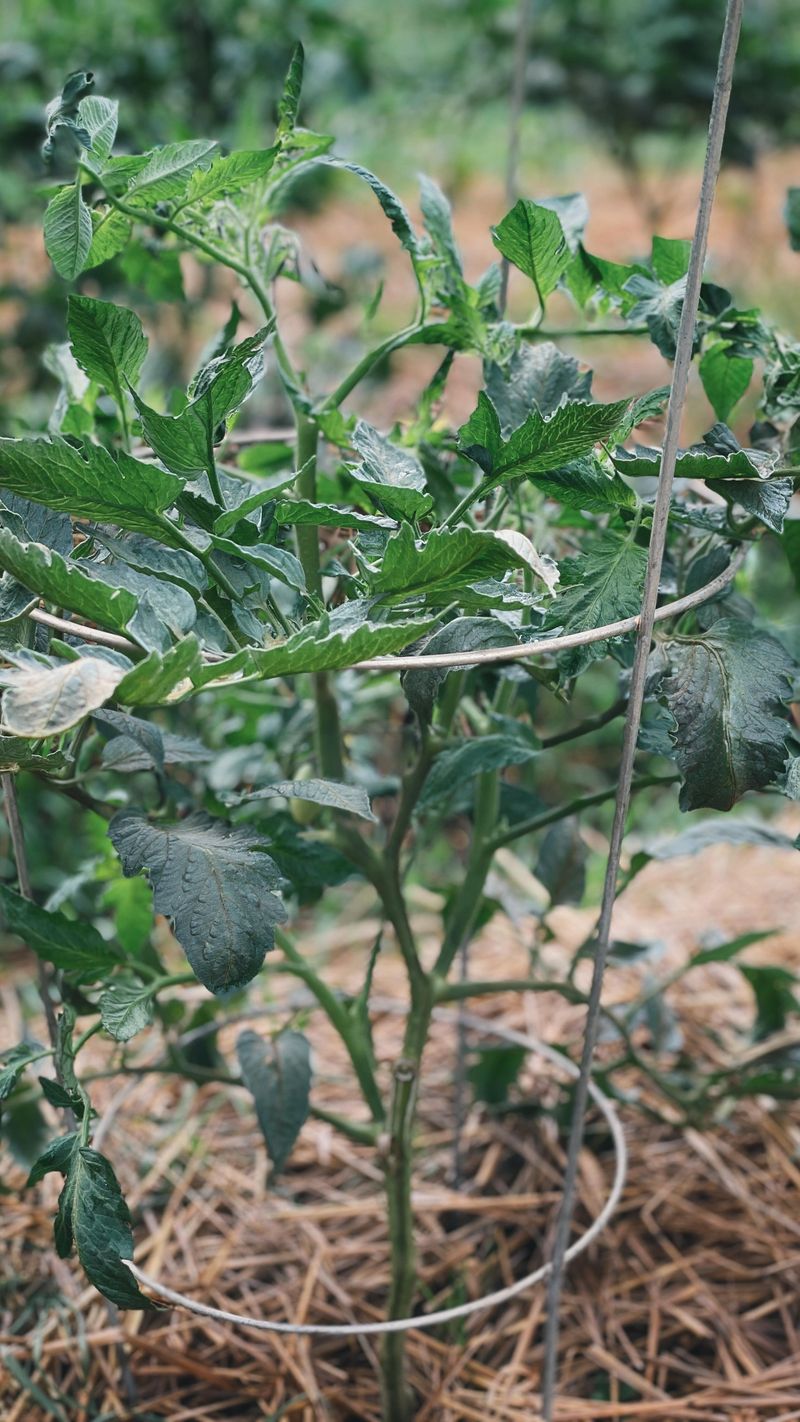
12. Manage Crossing Branches
Branches that cross and rub against each other create wounds that invite disease. These crossing points also create dense spots with poor airflow, trapping moisture and creating perfect conditions for fungal growth.
Identify branches that cross or grow toward each other and select the weaker one for removal. Make cuts close to the main stem without leaving stubs. This selective pruning creates a more open plant structure with better air circulation.
Before adopting this technique, I’d often find small lesions where branches rubbed together during windy days. These would sometimes develop into larger stem problems. Eliminating these friction points has noticeably improved overall stem health throughout the growing season.
13. Handle Pruning Debris Properly
What you do with pruned material matters almost as much as the pruning itself. Never leave tomato prunings on the ground near your plants, as diseases can splash back onto healthy tissue during rain or watering.
Collect all pruned material in a dedicated container and dispose of it away from your garden. Diseased prunings should go in the trash rather than compost, while healthy material can be composted if your pile reaches high enough temperatures to kill potential pathogens.
A small dedicated bucket that I empty after each session has become essential to my pruning routine. This simple cleanup step prevents creating a disease reservoir right next to your plants – something I learned after a frustrating season of recurring problems.
14. Prune To Prevent Legginess

Tomato plants growing in less-than-ideal light often stretch toward the sun, creating long, weak stems between leaf nodes. This legginess reduces structural strength and productivity. Strategic pruning can help correct this problem.
Remove the growing tip of leggy stems to encourage side branching closer to the main stem. The plant will respond by developing more compact growth rather than continuing to stretch. Support these corrected plants well until new growth strengthens.
When my tomatoes started in partial shade before I could transplant them to a sunnier spot, this technique helped transform spindly seedlings into stockier, more productive plants. The initial growth pause was quickly overcome by more robust development.
15. Selective Flower Cluster Pruning
For trophy-sized tomatoes, try removing some flower clusters entirely. Each tomato plant has a limited amount of energy to distribute among its fruits, so fewer fruits mean larger individual tomatoes.
Count the flower clusters on your plant and remove every other one, particularly early in the season. This directs more resources to the remaining fruits. The technique works especially well for large-fruited varieties like Beefsteak or Brandywine.
I reserve this method for just a few plants when I want especially impressive tomatoes for special occasions. The first time I tried it, the size difference was remarkable – nearly twice as large as the fruits on my unpruned plants, though obviously fewer in total number.
16. Gradual Hardening Through Pruning
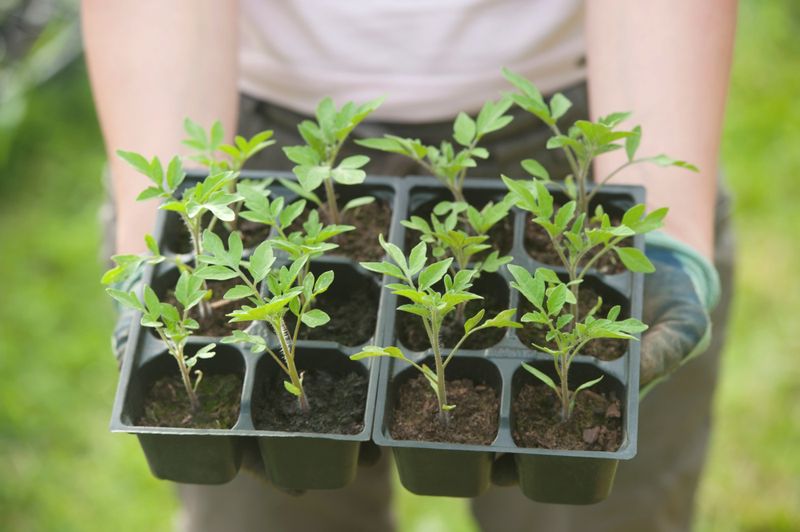
When transitioning seedlings from indoors to garden, use pruning as part of the hardening-off process. Removing a few lower leaves reduces transpiration stress while plants adjust to outdoor conditions.
Start by removing just 1-2 of the lowest leaves before the first day outdoors. This reduces water loss while the plant adapts to wind, sun, and temperature fluctuations. The slightly reduced leaf surface helps prevent wilting during this critical adjustment period.
Since implementing this technique, transplant shock has become almost nonexistent in my garden. The plants establish more quickly with less stress, ultimately leading to earlier fruiting and stronger early-season growth – a small adjustment with significant benefits.
17. Late Season Fruit Decisions
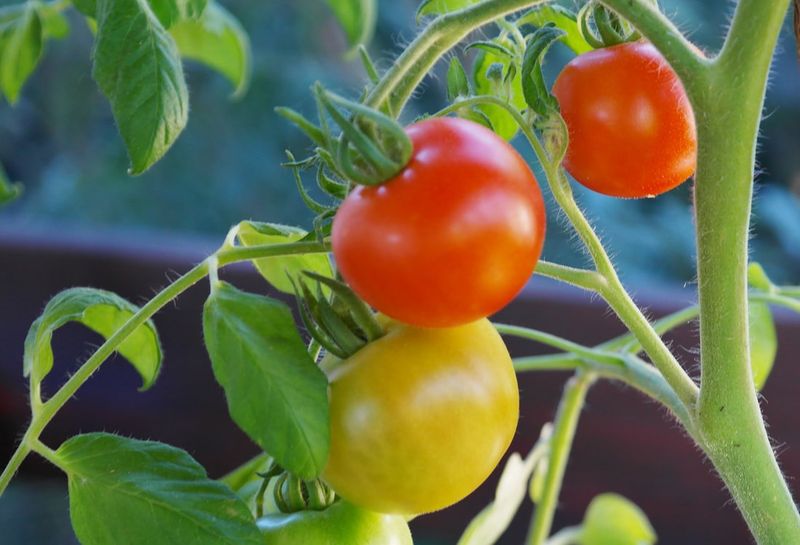
As the growing season winds down, make tough choices about which fruits have time to mature. About 3-4 weeks before expected frost, identify tomatoes too small to ripen before cold weather arrives.
Remove these late-developing fruits and flowers to channel all remaining energy into tomatoes with ripening potential. Count backward from your first frost date – fruits need roughly 20-30 days from walnut size to reach maturity.
This final pruning step has dramatically increased my end-of-season harvest of ripe tomatoes. While it feels counterintuitive to remove developing fruits, the difference in ripening success makes it worthwhile. Last fall, I harvested ripe tomatoes right up until frost rather than facing a counter full of green tomatoes that never had a chance.