Follow These 8 Easy Steps To Transplant Your Crepe Myrtle Like A Pro
The very thought of transplanting crepe myrtle trees can be unpleasant, but with the right guidance, it’s easier than it sounds.
There are several reasons why you might need to transplant your myrtle.
Sometimes we transplant for aesthetic reasons. However, occasionally it is unavoidable. For example, if the root system is restricted, light exposure is too low, or the tree’s roots or canopy pose a threat to surrounding infrastructure.
In this article, I will show you how to transplant crepe myrtle in 8 easy steps.
Let’s get started!
1. Water Your Crepe Myrtle Tree
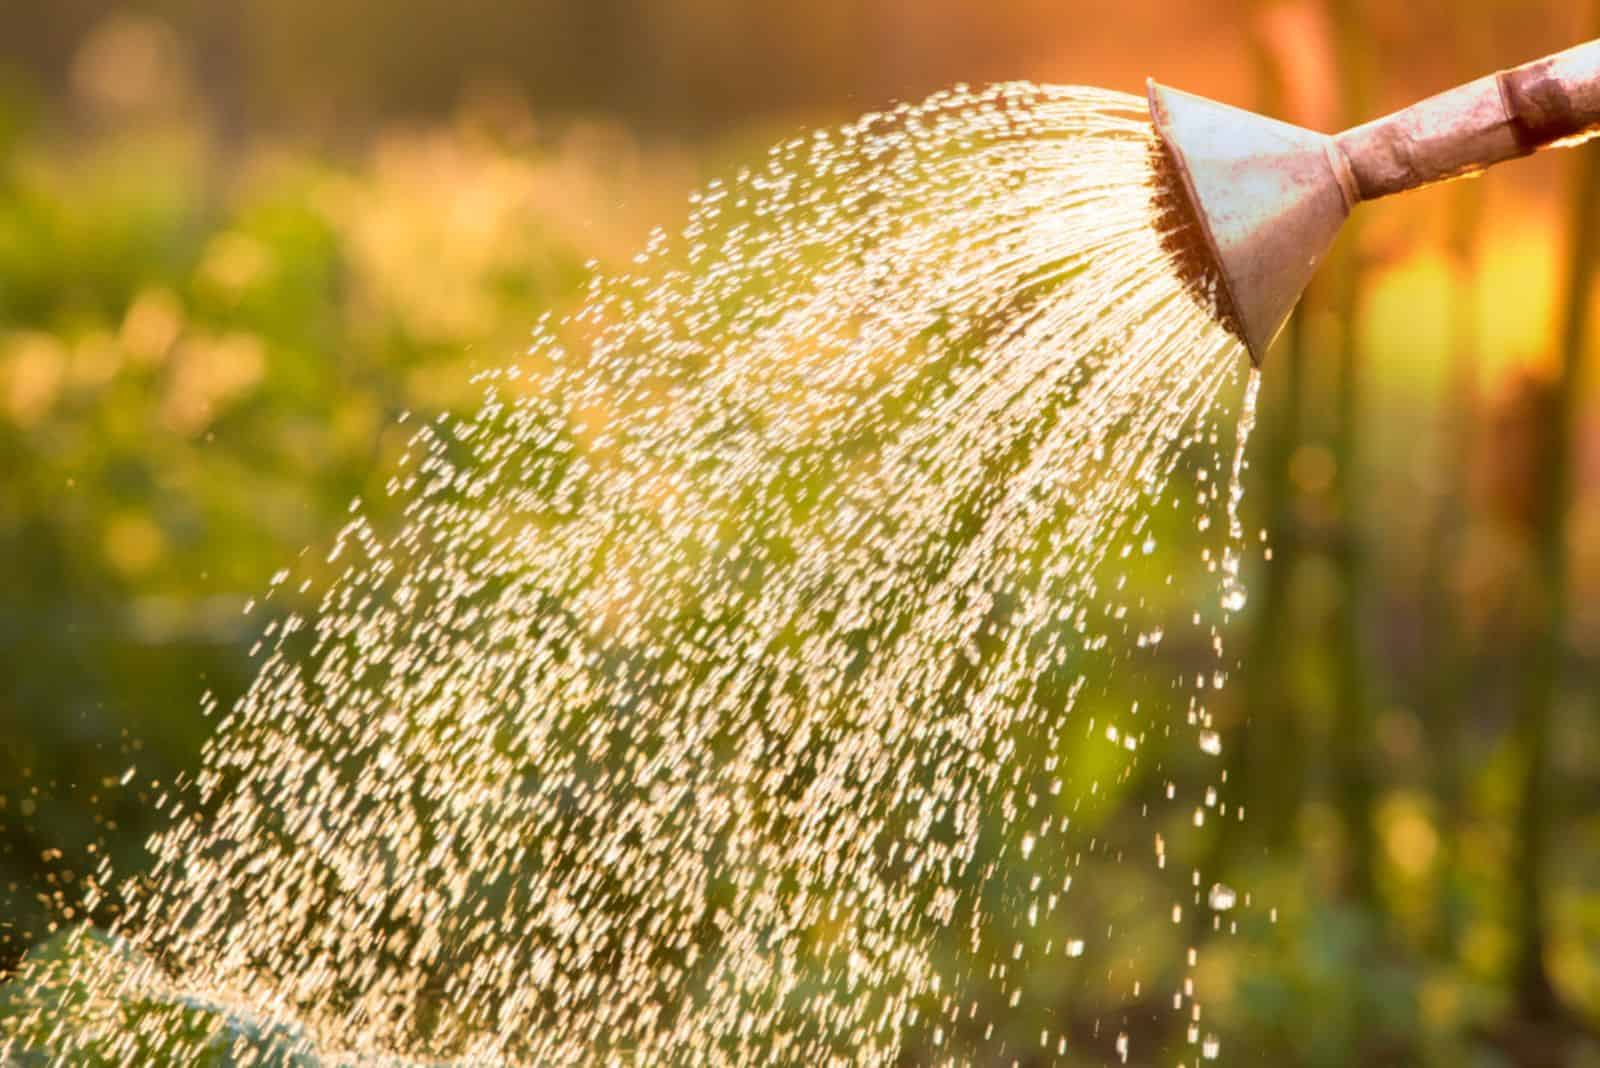
There’s one golden rule when it comes to transplanting all trees and shrubs: You should always begin with watering.
Start watering your crepe myrtle approximately one week before the date of transplantation. Don’t hold back with the water; give your tree a good soak every day.
There are two reasons why you shouldn’t skip this step. First, irrigation will help you loosen the soil around the roots, so digging will be easier.
Second, you’ll avoid dehydration in the crepe myrtle’s roots and, in that way, reduce the risk of transplant shock.
2. Prepare The New Location
Preparing the new location for your crepe myrtle includes selecting an appropriate spot and digging a hole.
Light plays a major role in the crepe myrtle’s growing process. When selecting a site, make sure your newly transplanted tree will receive at least 6 hours of direct sunlight per day.
Don’t replant your crepe myrtle near tall trees, as the shade can affect flower production and growth rate.
I highly recommend performing a soil test before transplanting. This type of tree flourishes in free-draining soils with a pH ranging from 5.5 to 7.5.
The next thing you need to do is dig a hole deep and wide enough for your crepe myrtle to fit in.
Size Of The Hole
Determining the size of the root ball may sound impossible, but there’s one excellent way to do it. The diameter of the trunk or tree height (1) can tell you how big the root ball of your Lagerstroemia indica is.
First, you need to measure the trunk diameter with a caliper. If the diameter is about 1 inch, the estimated size of the root ball is around 16 inches.
When determining the size of the root ball of a crepe myrtle whose trunk is larger than 1 inch, simply add 8 inches per every inch in trunk diameter.
3. Dig Up The Tree
Now that you know how big the root ball is, start by digging outside the scope of the root system.
Your goal is not to disturb the roots of your prized indica tree. This tree will forgive you if you cut off some of the smaller roots, but the main roots should stay intact.
There’s no need to rush, this is a complex process, and the more time you devote to it, the better the results will be.
Once the root system is exposed, it’s time for the crepe myrtle to be pulled out. Push it back and forth until it shows little to no resistance. Pull it from the hole and set it aside.
4. Protect The Root System And Branches
The roots aren’t the only parts of the tree that can suffer from damage during transplantation. When your crepe myrtle is out from the hole, you need to pay attention not to damage the branches.
Remember that the more damage your crepe myrtle suffers, the harder it will be for it to recover from transplant shock.
The best technique is to wrap burlap around the root ball and branches.
5. Limb Trimming
Just for clarification, limb trimming isn’t obligatory, but it has some benefits.
For example, it will be easier to move your indica tree to a new location. Additionally, your tree will focus more on its roots than branch and limb development.
If you decide on this step, make sure not to remove more than ⅓ of the limbs.
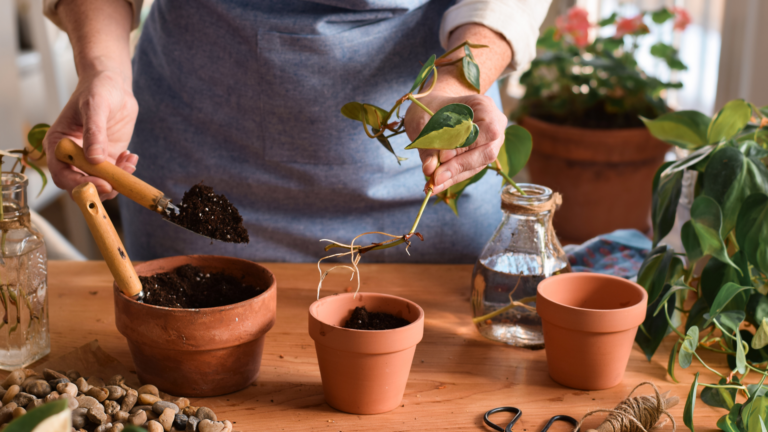
6. Replanting
This step may be very challenging if you have a well-established, taller crepe myrtle cultivar. Well, all neighbors and friends are welcome!
Carefully lift the tree and put the root ball in the hole. One of the best things you can do now is to take some of the soil from the previous location and cover the root ball with it.
This technique will ease the crepe myrtle’s process of adapting to a new location.
7. Water The Tree Again
Newly transplanted trees need irrigation immediately after planting. This will give them a fresh start and reduce transplant shock.
Be careful not to add too much water at this point. The crepe myrtle is now sensitive and will need some time to adapt. Waterlogged soil will attract pathogens, and crepe myrtle’s roots can rot.
Here’s a video of the crepe myrtle tree transplantation process:
8. Aftercare
The most important thing after transplanting is to be patient and regularly monitor your crepe myrtle.
There’s no need to use fertilizers to encourage growth. Watering approximately twice a week during the first growing season will give your crepe myrtle all it needs until it adapts fully.
Full sun will provide your crepe myrtle with enough energy so that it can start displaying new growth the following season.
Wrapping Up
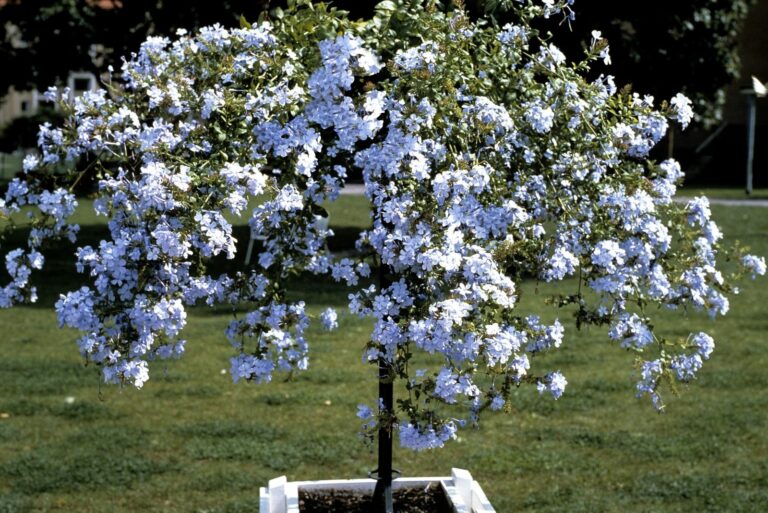
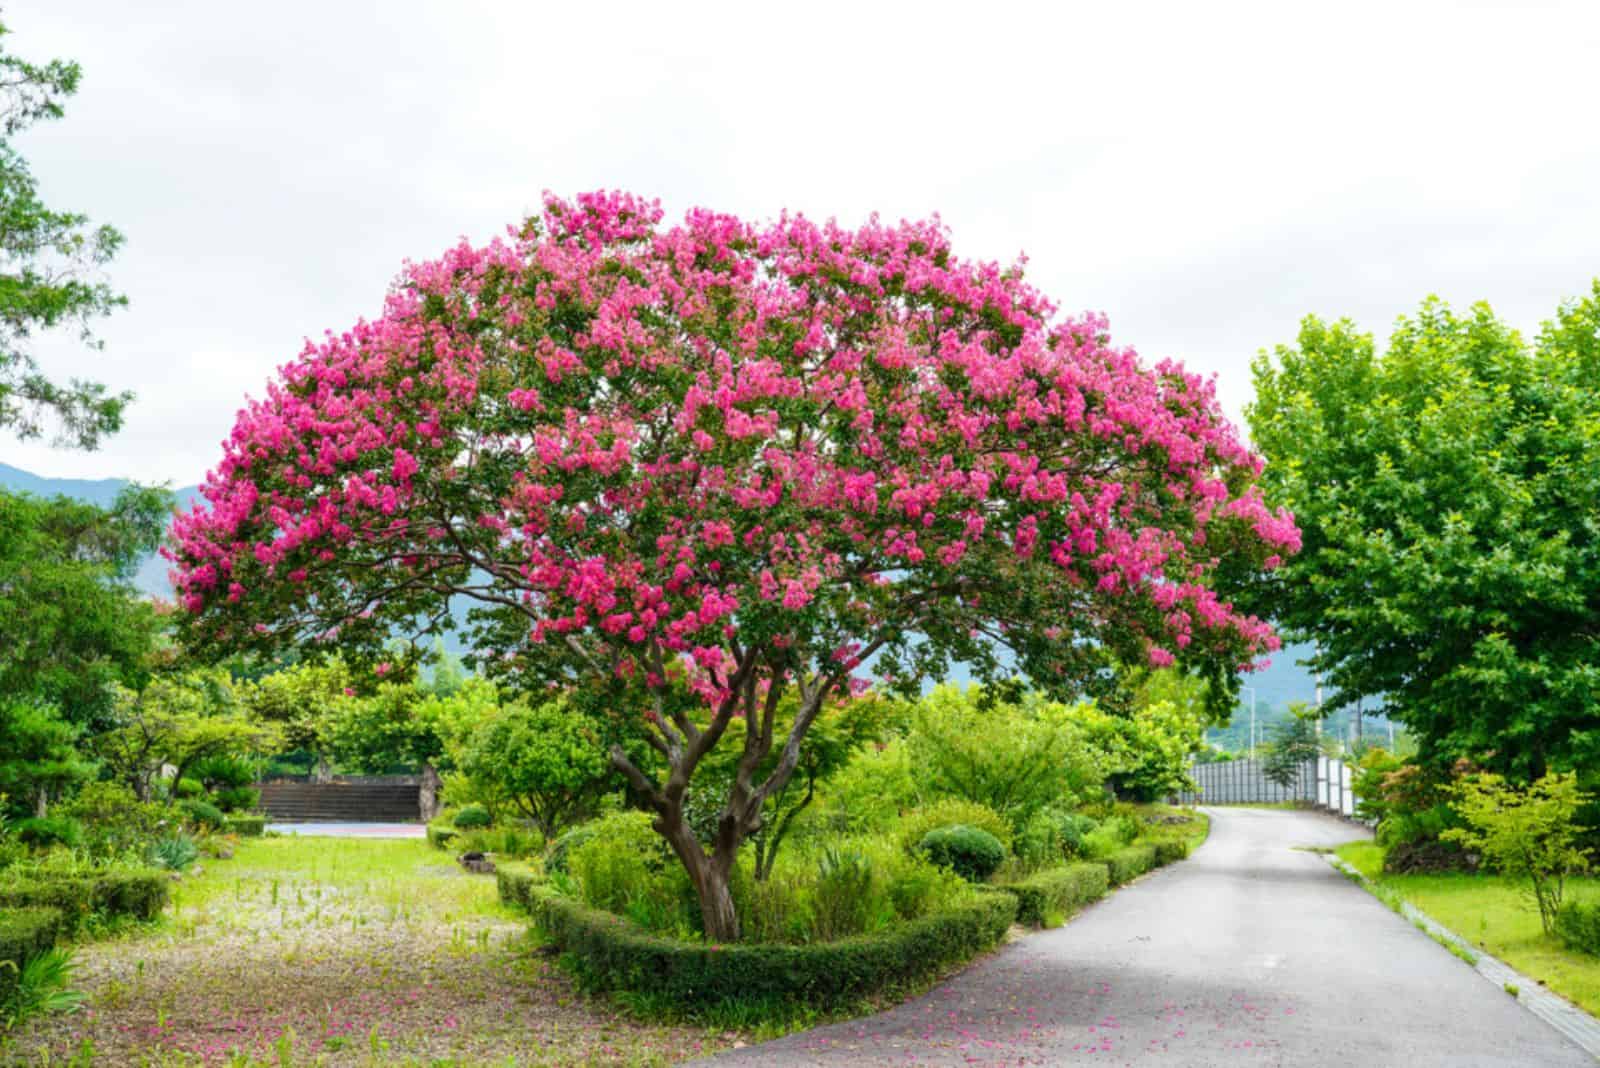
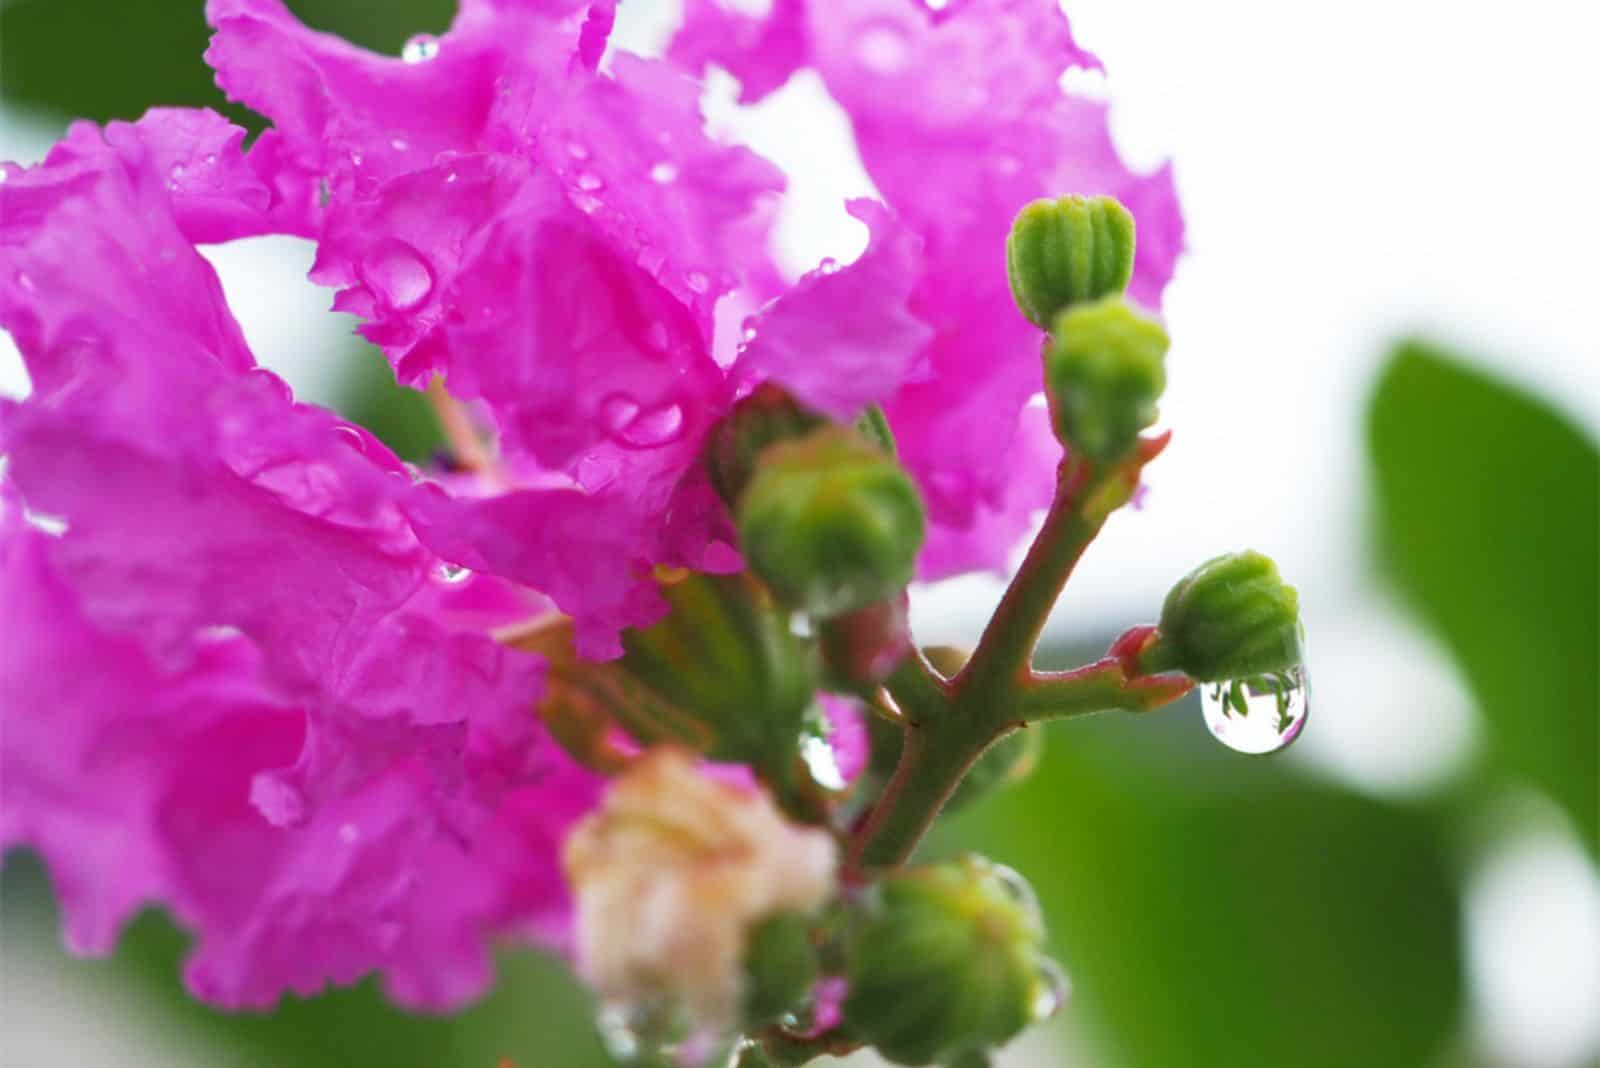
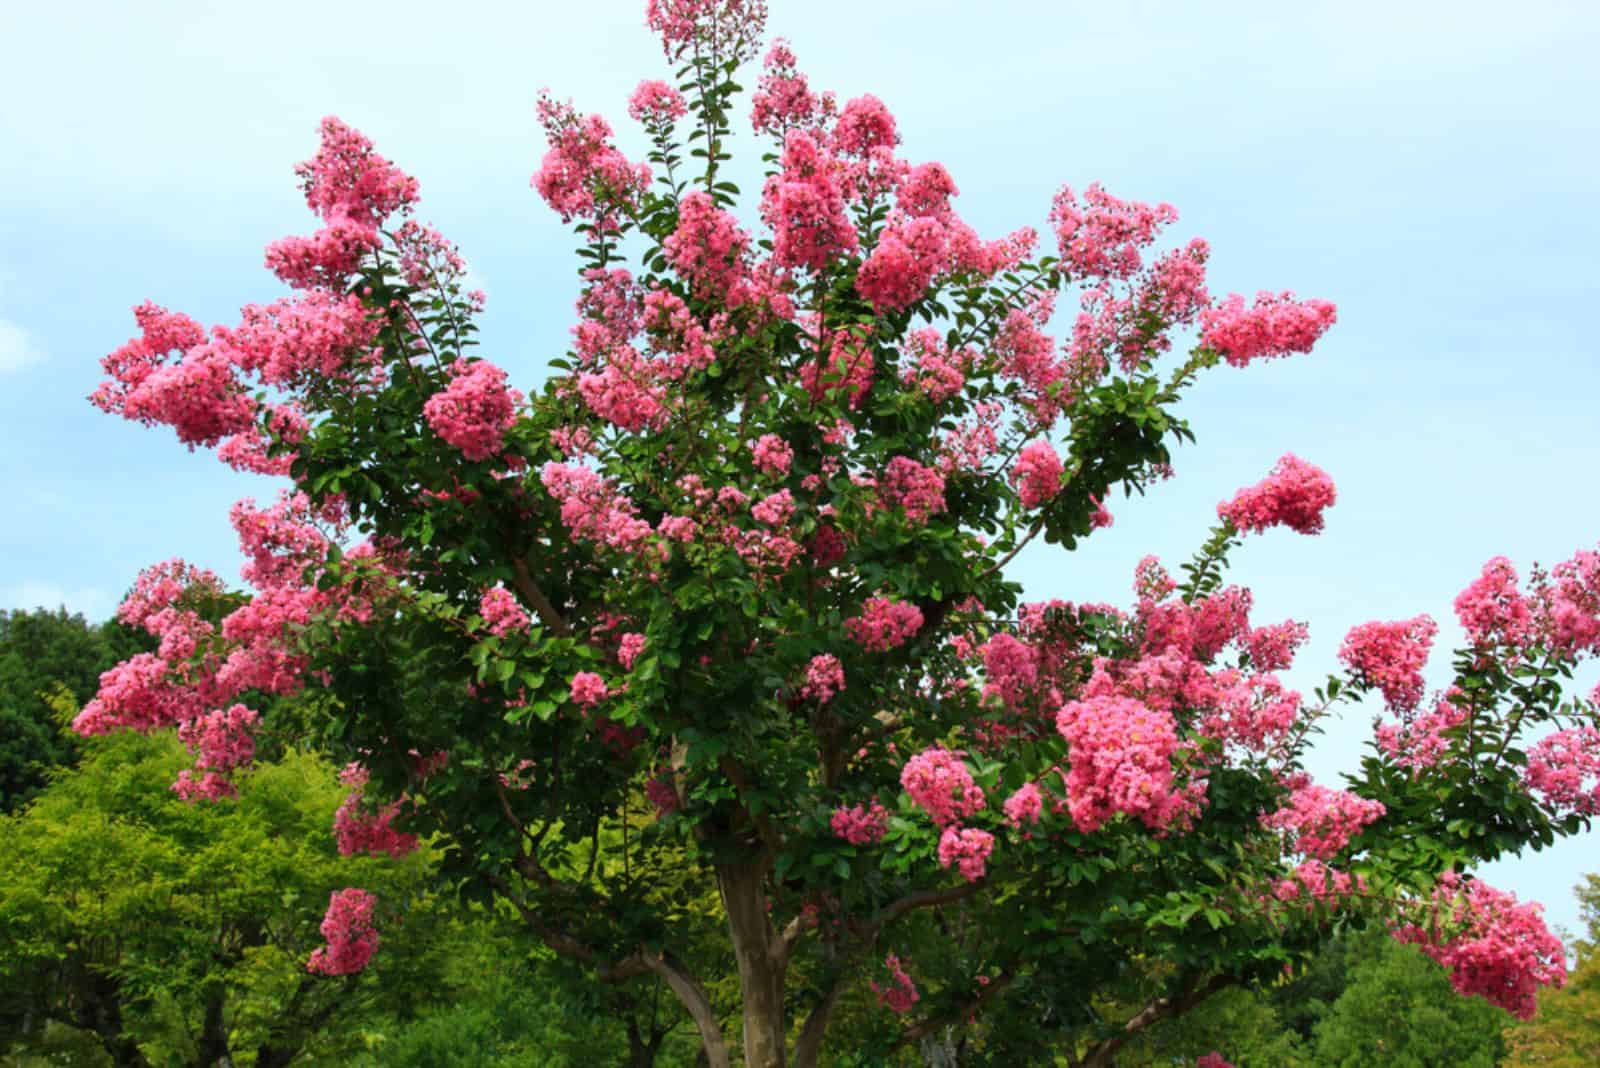
The blossoms of the crepe myrtle make it one of the most desirable trees for backyards. It isn’t finicky about growing conditions and will thrive if you ensure enough full sun and water.
If you need to transplant crepe myrtle, now you know all the steps. Of course, it’s also important to know when to replant crepe myrtle, but don’t worry, we’ve covered everything!
Be careful, and follow our guidelines, and I’m sure your tree will flourish after replanting.
Until next time!