Follow These 11 Pro Tips For Transplanting Seedlings Outside And Enjoy Watching Them Thrive
Now that my seedlings are safe in the ground, there’s no more pacing up and down the house while thinking about whether or not they’re going to make it! I know what I’m doing now, but that hasn’t always been the case.
I gathered all the things that helped me on my gardening journey so I can share them with you.
It starts with patience and waiting a sufficient amount of time before doing anything, taking steps to avoid transplant shock, and eventually moving the plants outside.
Let’s find out more!
Slowly But Surely
It’s already mid-spring, and I know we’ve all been industriously growing our plants and nurturing them for the big day – transplanting.
This isn’t easy, but it’s worth it when we see good results.
• We set out to get the seeds early.
• Planned every single detail ahead of time.
• Soaked the seeds before starting them (or maybe not).
• Used our own seed starting mix (although you can cheat if you find a decent store-bought product).
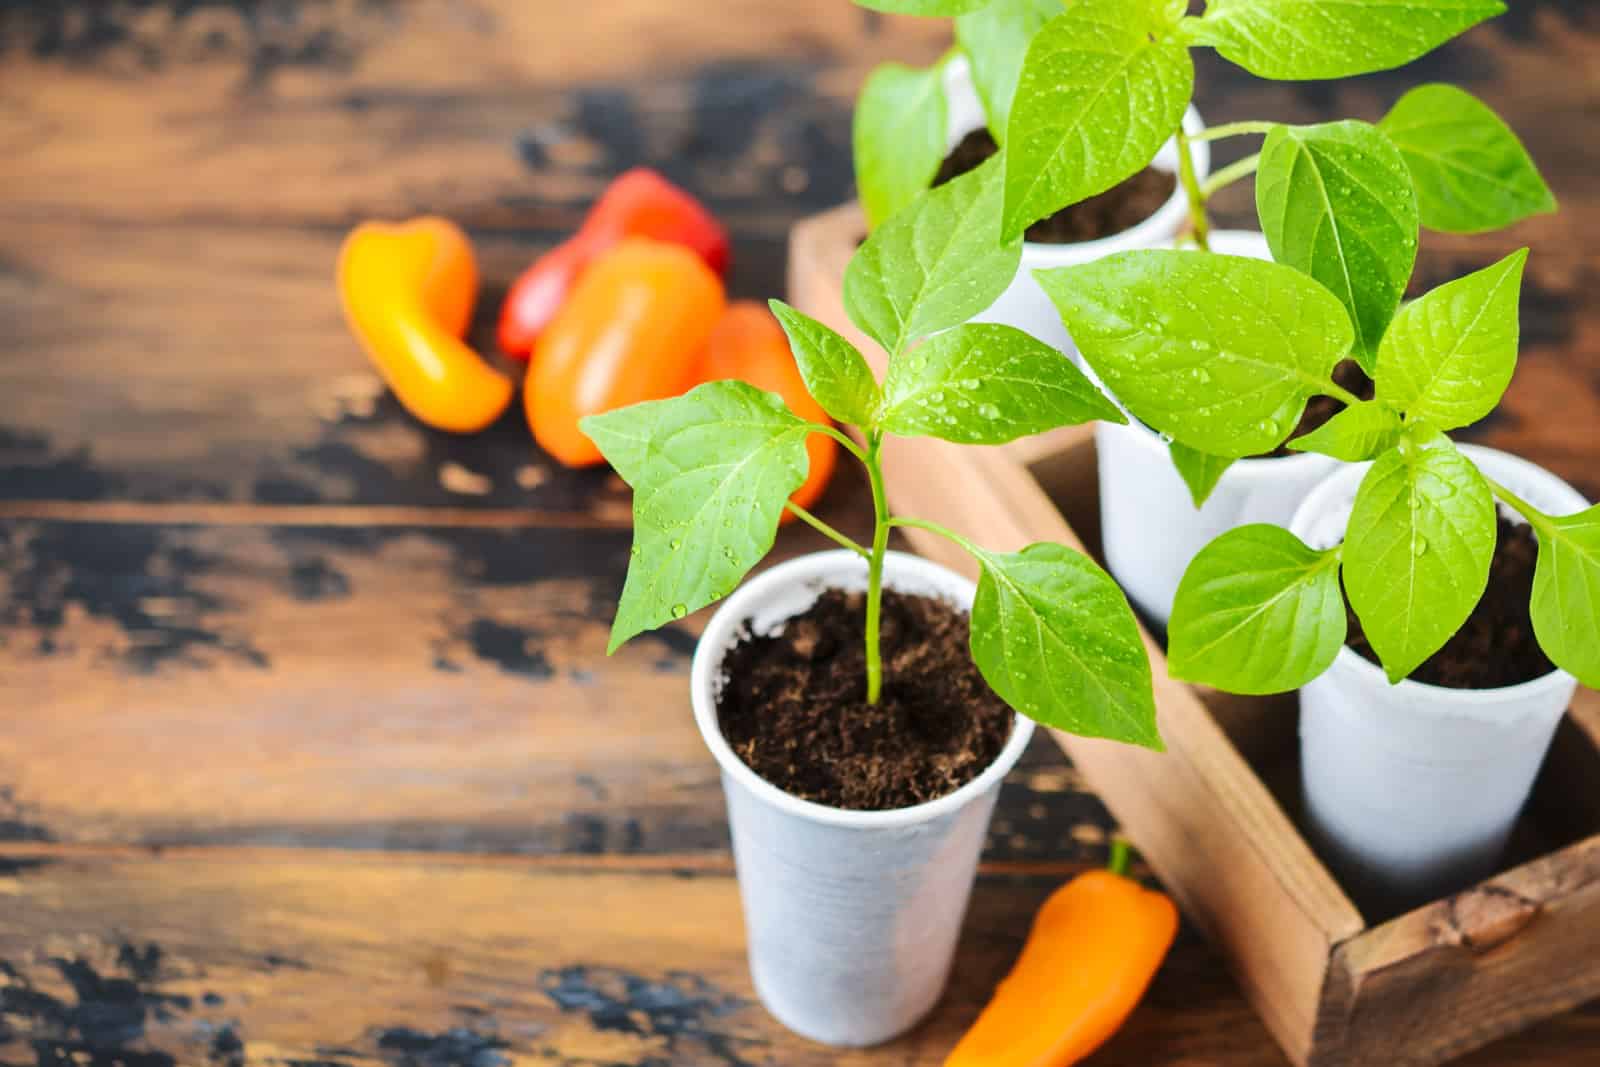
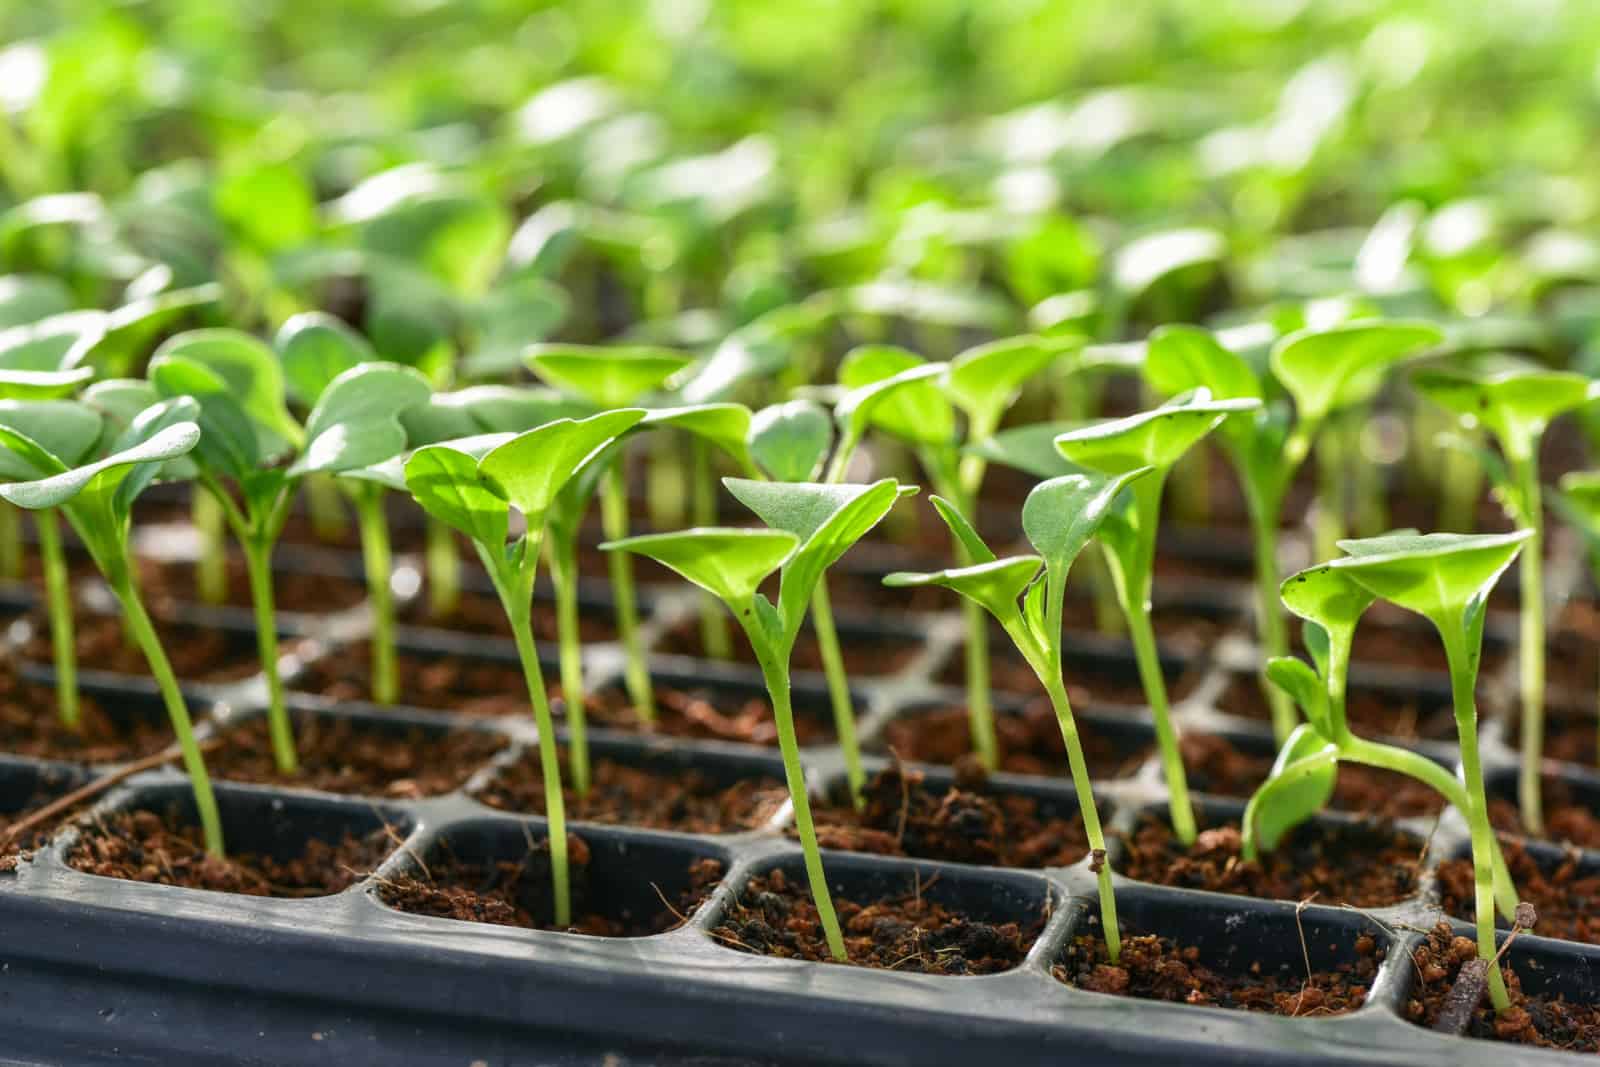
• And we moved the young seedlings into slightly larger pots to wait for the final transplant.
There were some close shaves along the way, and some seeds and seedlings didn’t make it, but we’re still left with a bunch of young plants eager for the taste of real dirt.
However, there’s one thing you need to do before transplanting the seedlings into their final destination.
You have to plan everything down to a T, including the sun exposure, soil amendments, and time of day when the transplant will take place.
That’s because we don’t want all our hard work to go to waste as a result of transplant shock!
A Word About Transplant Shock
Transplant shock refers to the period after moving seedlings from their current pot to their final location in the garden.
Plants don’t like to be disturbed and uprooted, so they’ll go through a state of shock after you do this. It may last for a day or two without any real visible signs, or you may notice limp stems, slow growth, or even see your seedlings die!
Luckily, there are some ways to reduce the amount of stress your plant goes through during this process, and the following tips can help you with that.
11 Tips To Transplant Your Seedlings Like A Pro
Transplanting requires planning and logistics on your part because you can’t just decide to plant your seedlings outside on a whim. I mean, you can, but that’ll put them through unnecessary stress and mean some of them might not even make it.
If you understand your frost dates, follow the weather, and prepare the soil, you’ll be off to a great start.
Let’s see what else you can do!
1. Know Your Frost Dates
Each USDA zone has estimated first and last frost dates, which can help you decide when to sow or transplant your seedlings.
The growing season, therefore, is the period between the first and last frost. Climate.gov has an excellent interactive map that allows you to see the last spring frost for your region.
Of course, these dates aren’t always right, so we usually get a three-week window. That’s when you should start monitoring the weather. With a little bit of practice, you’ll get the hang of it.
I understand that three weeks is a long time when you’ve been patiently waiting all winter. You may be eager for the new growing season or just can’t stand the look of so many seedlings on your windowsills.
But don’t be hasty! Spring weather isn’t really reliable, which is why you should wait until you’re absolutely certain all danger of frost is gone.
And that leads us to our second piece of advice.
2. Monitor The Weather 7-10 Days Prior To Transplanting
Now that you’ve reached that last frost window and the temperatures have risen, it’s time to do some transplants.
Picking the right day is really important.
Watch the weather forecast about a week or ten days before moving your seedlings outside. Ideally, you want to transplant them when you get a 4-5 day stretch of warm temperatures and mild conditions.
Watch for harsh winds, sudden temperature changes, and thunderstorms. Even heavy rain can hurt your seedlings, so avoid transplanting them during such conditions.
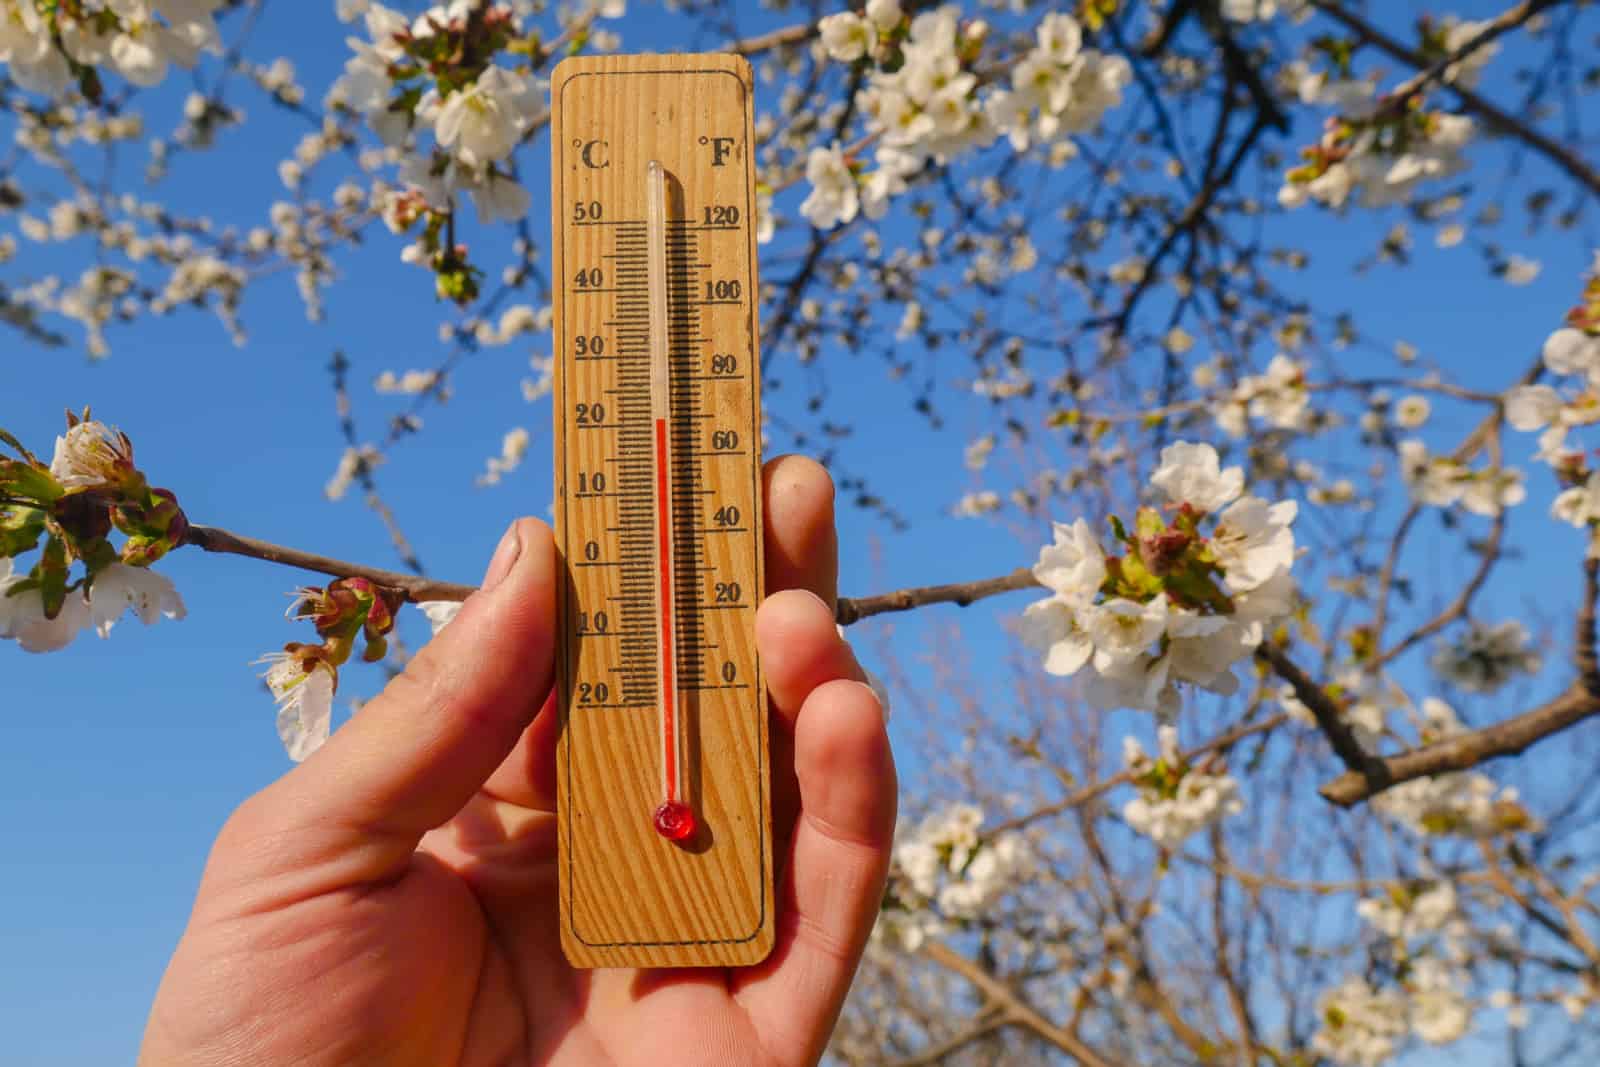
Of course, temperatures are crucial and one of the best indicators. Mild weather in the 60s and 70s is perfect for most veggies, so strive for that. Cold temperatures are bad for obvious reasons, but hotter conditions aren’t desirable either.
Not many seedlings can endure conditions of 80°F and above because they don’t have extensive roots.
Pro tip: If the weather is already above 70°F, pick a cloudy day for transplanting since it can give your young plants some protection from the harsh sun.
3. The Secret Of Hardening Seedlings
The key to a successful transplant is hardening off the seedlings. That means taking your young plants outside, leaving them there for an hour or two, and then bringing them back in.
Of course, you should put them somewhere that’s sheltered from winds and harsh midday sun.
Increase their exposure every day for an additional half an hour or so, and prepare for the transplant once they can last an entire day outside.
During this process, your plants will dry out faster due to increased air circulation and light exposure, so don’t forget to water them more frequently. This is why it’s important to monitor them every day.
Hardening off seedlings can be a bit of a bore and may seem like an additional chore, but once you see how well your plants transplant and deal with the shock, you won’t feel the same.
You can even experiment with a couple of hardened and non-hardened plants to see the difference for yourself!
Note: Start hardening off your seedlings about a week or two before transplanting them.
4. Amend And Fertilize The Soil
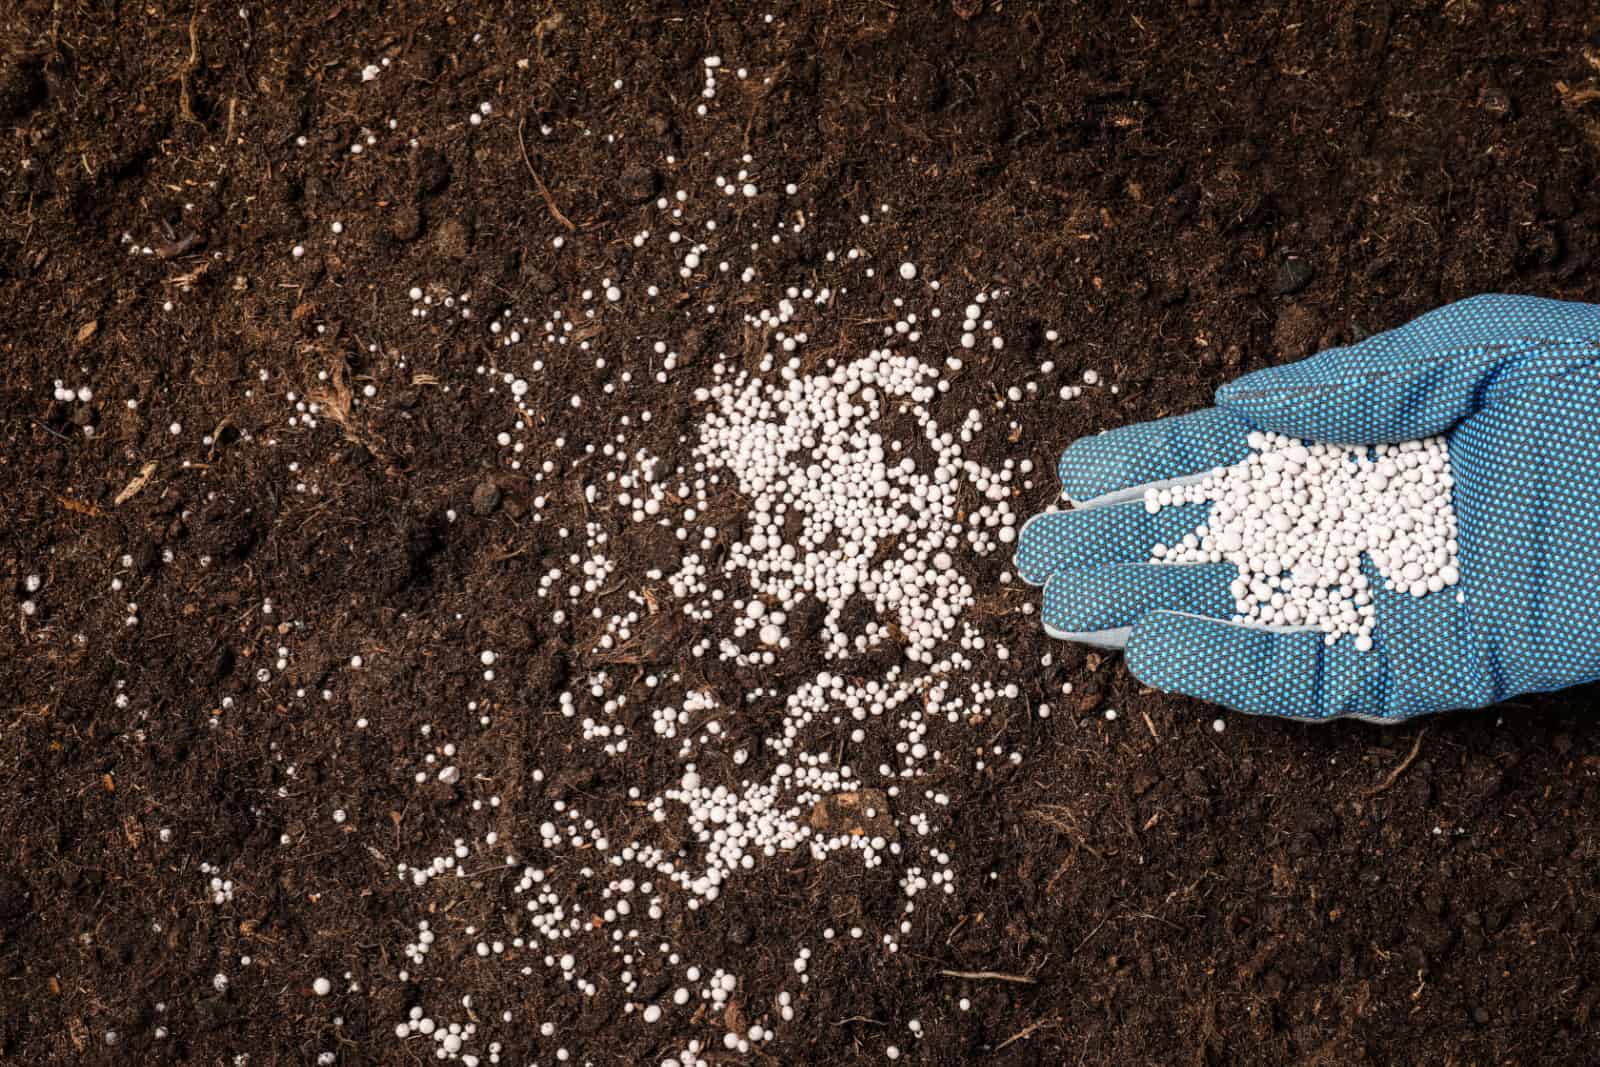
As transplant day approaches, it’s time to start thinking about amending the soil. You can get slow-release fertilizers or the best compost for veggies you can find (if you don’t have your own).
When transplanting the seedlings, add a handful of granular fertilizer or work a couple of inches of compost or worm castings into the soil.
Some even advise using mycorrhizal fungi, but it isn’t that effective since your soil already has these organisms. You can nurture mycorrhizae by not tilling too much, mulching, and introducing organic matter to it.
You can also test your soil to see exactly how many nutrients you’re dealing with and go from there. Perhaps your plants would be well off with some blood or bone meal.
Just make sure to stock up on everything so you don’t have to go to the garden center in the middle of transplanting.
Now you’ve made all the important decisions, such as picking a transplant day and preparing the soil, so let’s talk about what to do when it’s time for transplanting.
5. Watch For The Soil Amendments
The key to using fertilizers and other soil amendments is not using too much. This is because your tender seedlings and their gentle roots can’t handle it and you might cause some fertilizer burn.
If you’ve amended the soil before planting, you can just mulch your plants once they establish or when the soil is warm enough.
Fertilizing before planting isn’t necessary. Some gardeners even avoid it and fertilize their plants for the first time 2-6 weeks after transplanting since that definitely avoids burning the young roots.
6. Be Gentle On The Roots

Too much movement and activity around the roots will stress out the plant, so try not to disturb them too much.
In fact, unless your plant is root bound, it’s best to leave it in peace. But if you notice that the roots are intertwined, gently separate them a bit.
One thing that can help you with this is watering the seedlings before transplanting them. This will loosen the substrate and make it easier to move them without disturbing the roots too much.
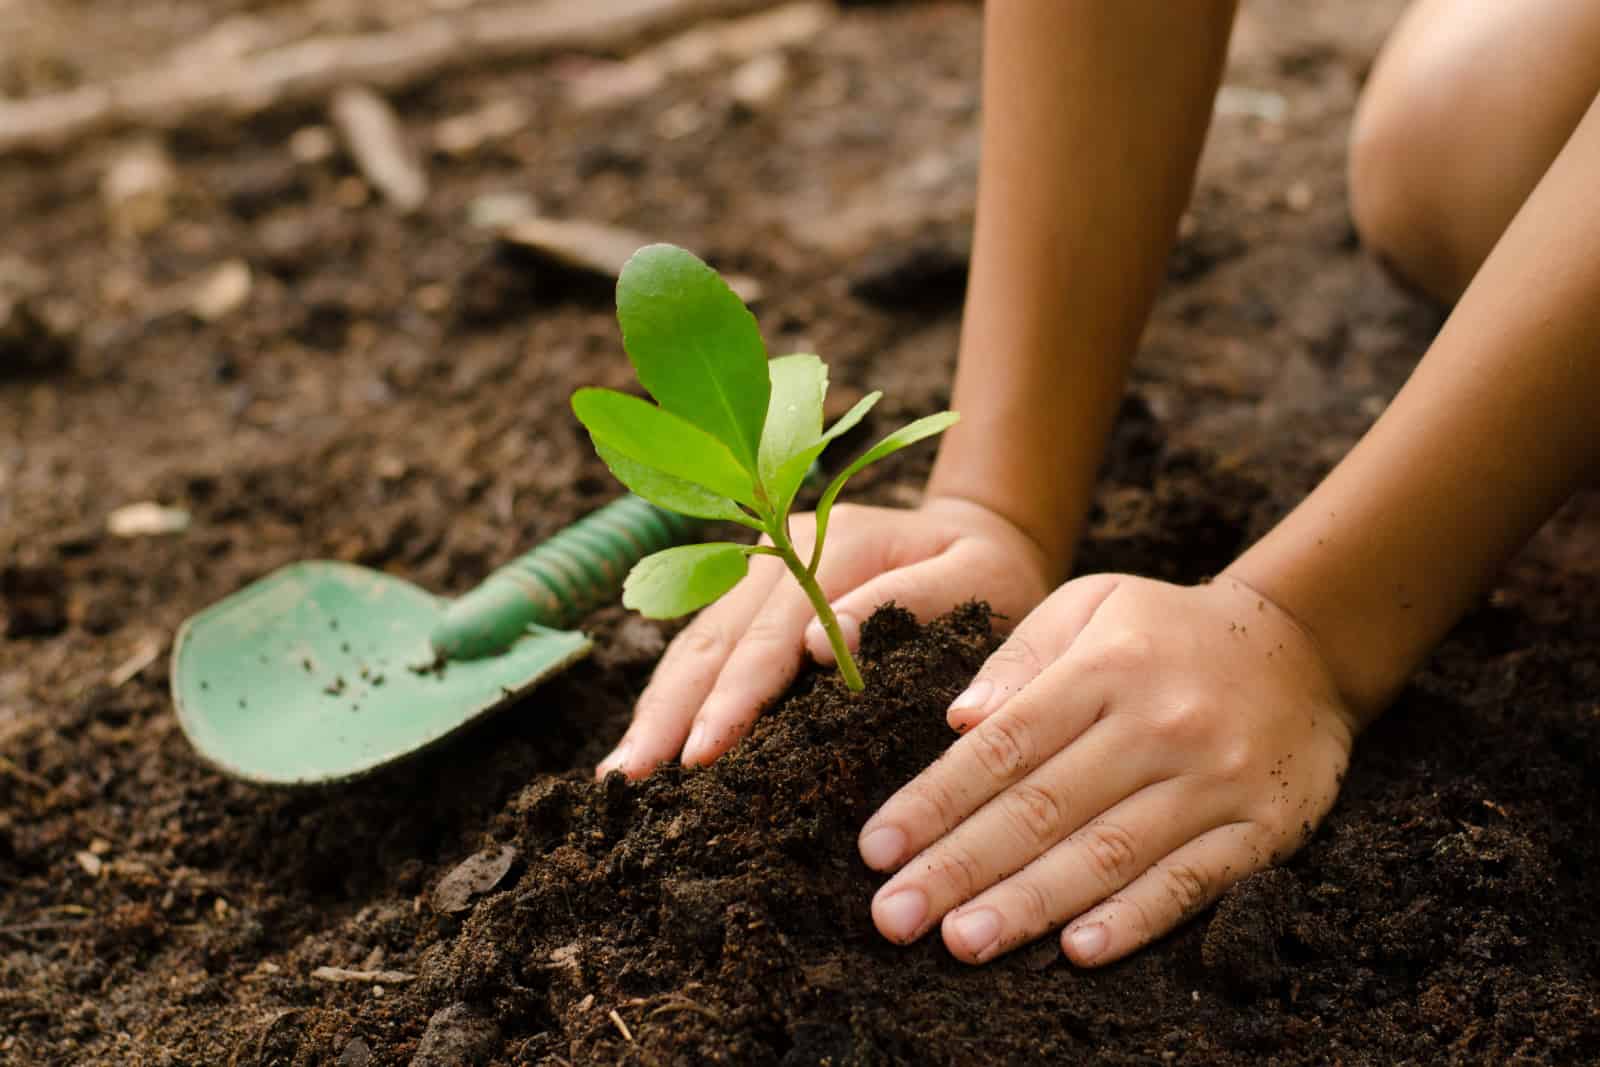
7. Don’t Forget About The Planting Depth
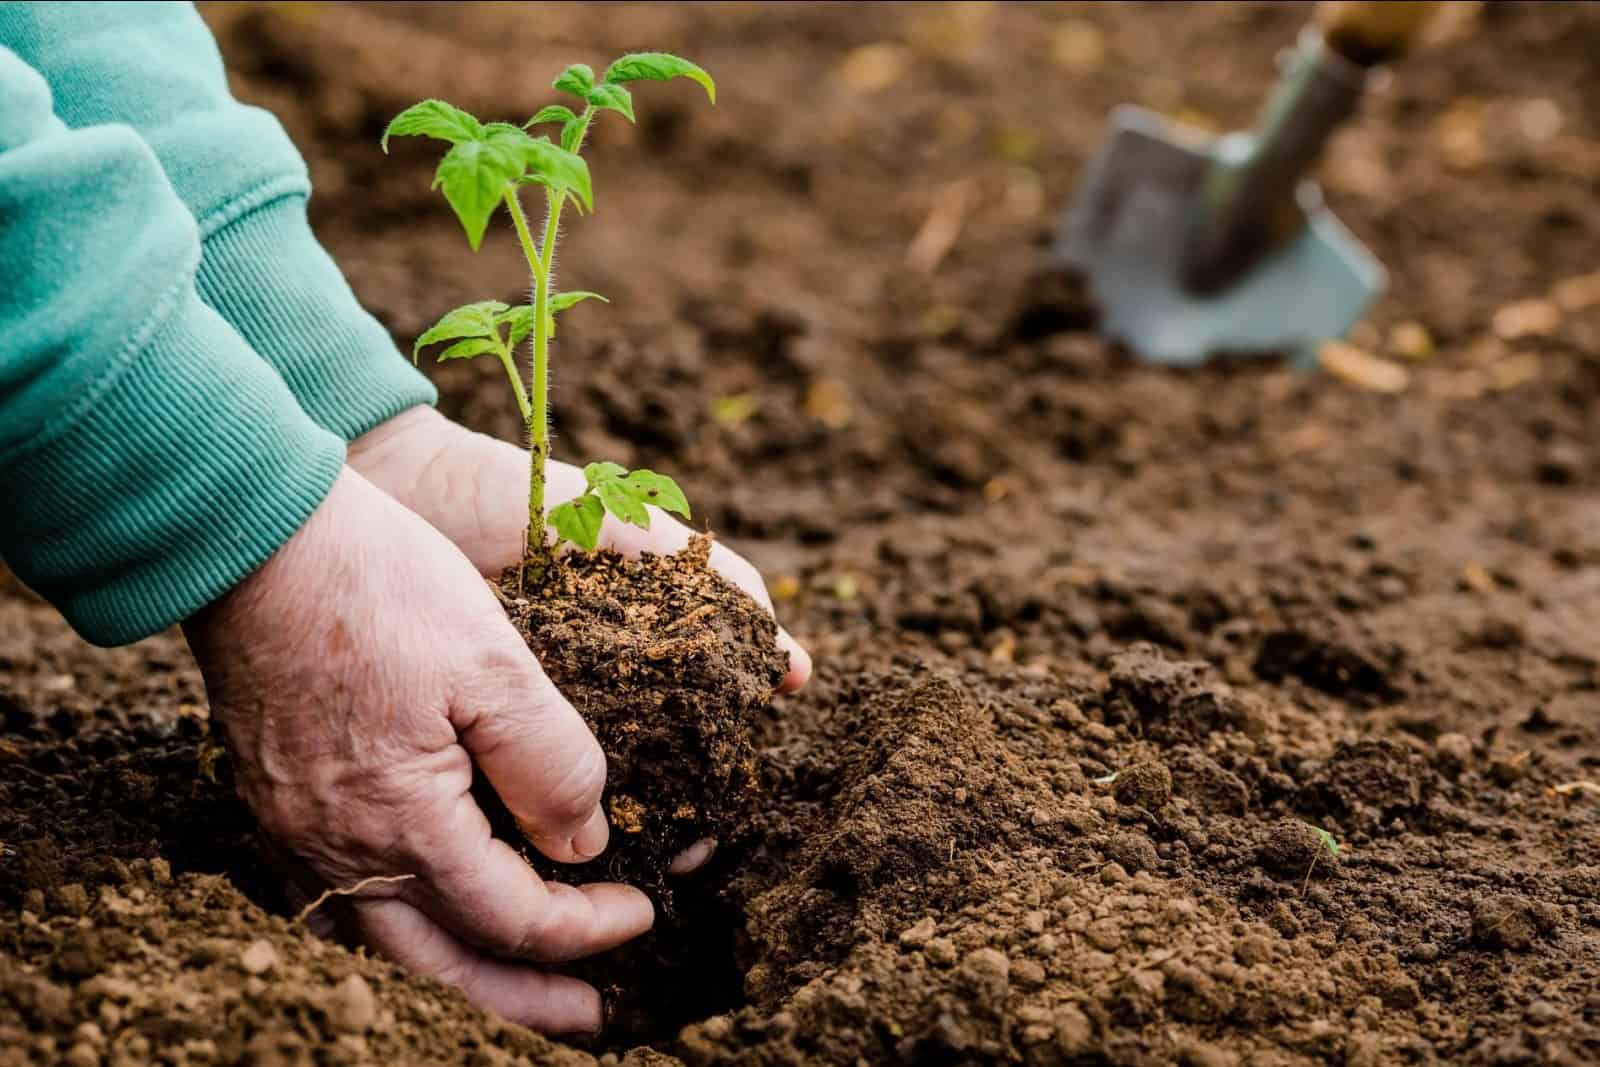
Don’t bury your plants too deep. This might not seem like a big deal, but it can cause the plant to rot, so it’s best to avoid it.
The best practice is to bury the plants at the same depth they were in the container or slightly deeper. The key is to completely cover the roots with soil, but leave the stem and leaves uncovered.
8. Plant During Cooler Hours
When transplant day arrives, the first thing you should do is check the weather forecast.
If the day is somewhat cooler, in the high 50s or 60s, for example, plant the seedlings in the morning so that they have enough time to warm up and prepare for the nighttime temperatures.
Observe them closely during midday and early afternoon, and if you see any signs of stress, give them some sun-protection.
If you’re dealing with warmer temperatures like the mid-70s and above, plant your seedlings in late afternoon once the harshest time of day has passed. This will avoid stressing them during the hottest time of day, but will still warm them up for the night.
The key is to avoid high temperatures since they can increase transplant shock, but if the day is relatively mild, you don’t have to worry too much.
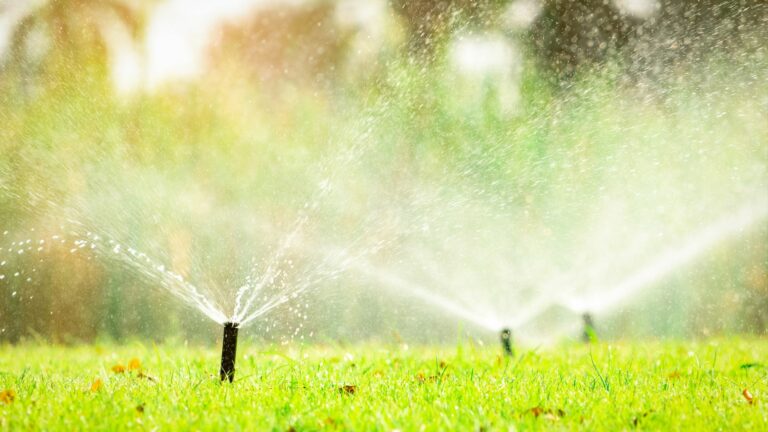
9. Think Of Water
I used to plant all my seedlings and then return and water each of them. This worked at first, but as my garden grew and I had more transplants, it became a problem.
One year, I even lost a couple of plants because by the time I was done transplanting, the first seedlings dried out and I couldn’t save them.
That’s why it’s important to water your plants deeply immediately after planting them.
Additionally, the worst time to irrigate your plants is midday and at night, but this doesn’t affect your transplanting routine. We already know that these are also the worst times to move your plants outside.
10. Label, Label, Label

If you don’t want to wait until your plants set fruit to be able to distinguish between them, it’s best to label them after transplanting.
This will allow you to track their progress and tailor watering frequency to their preferences.
11. Check On Your Transplants
There’s such a feeling of fulfillment and happiness when you plant your last seedling into the ground, and it’s tempting to think that all the work is done. But if you want to give every plant a fighting chance, you’ll need to watch them as they progress.
Go out and walk through your garden in the morning and evening to check on your transplants until they get established (about a week).
They don’t have deep roots at this point, and can quickly dry out and die. But if you monitor them closely, this won’t happen.
If you’re forgetful like me, set a reminder!
You should also check the forecast and observe the weather conditions. Heavy rain and early spring storms with harsh winds and hail can destroy the tender seedlings and break their stems.
Checking the weather forecast can prepare you for these conditions, and you’ll get enough time to cover your young plants and protect them from the bad weather. And you don’t have to do anything extra; old bed sheets provide enough protection from these extremes.
Once the first period passes and you see some new growth in your transplants, it’s safe to say that the worst has passed. The plants have established and won’t require that much monitoring.
Now all that’s left is to mulch them, lock that moisture in, and suppress weed growth.
Now that you look back on your gardening experience, you can see the three highlights that mark each season – going through the seed catalogs, transplanting the seedlings, and noticing the first ripe veggies.
So you see, some extra planning and vigilance will get your transplants off to a flying start!
I hope you found this article helpful.
Until next time!