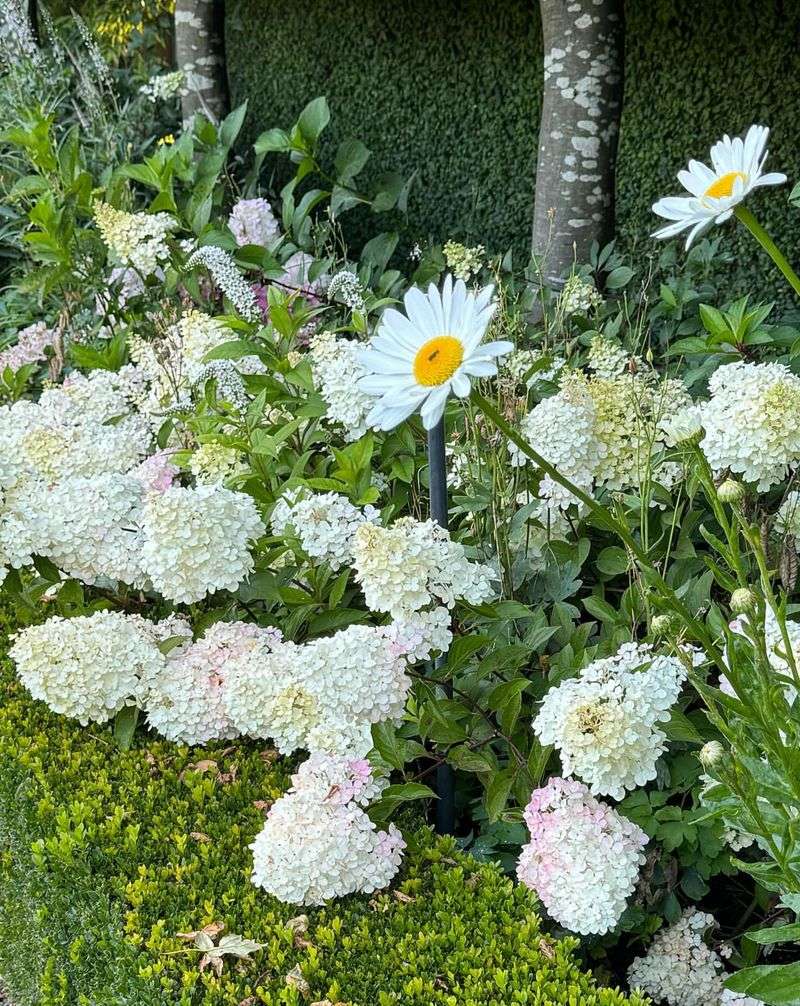
9 Urgent Tasks Minnesota Gardeners With Hydrangeas Must Do This Fall
As Minnesota’s crisp autumn air signals the change of seasons, hydrangea owners need to prepare their beloved shrubs for the harsh winter ahead. With our state’s notorious subzero temperatures and heavy snowfall, proper fall maintenance isn’t just helpful—it’s essential for survival.
Taking time now to complete these nine tasks will reward you with healthier plants and spectacular blooms next summer.
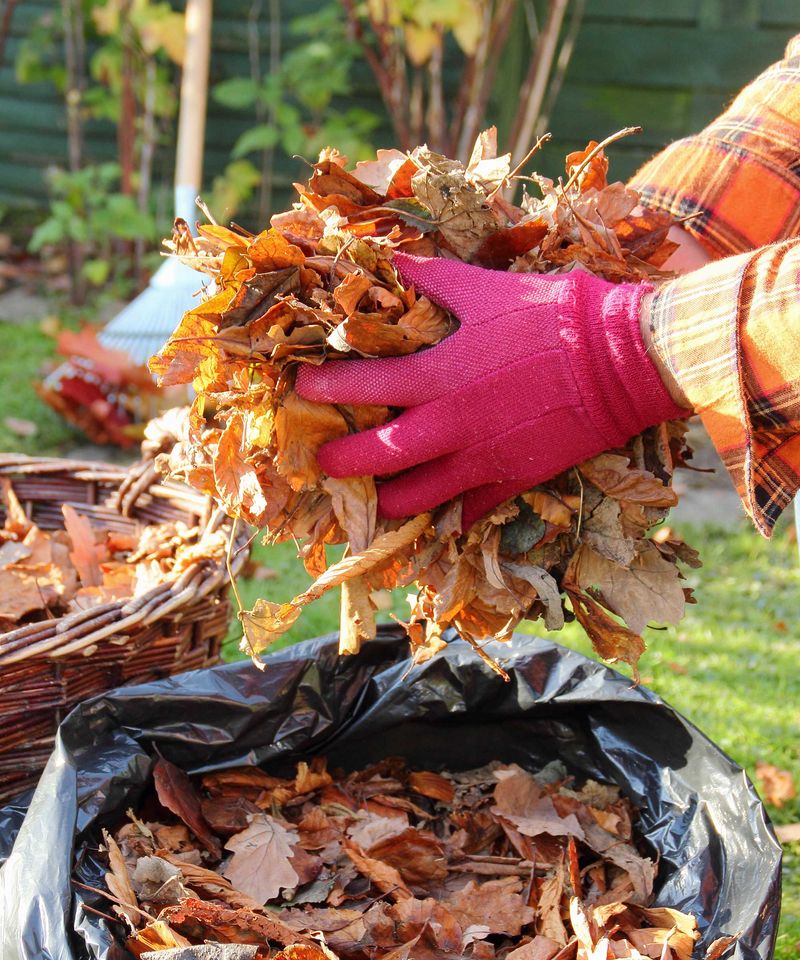
1. Clean Up Fallen Leaves Around Base
Fallen leaves may seem harmless, but they create perfect hiding spots for pests and fungal diseases that can harm your hydrangeas. I’ve found that clearing debris by mid-October prevents many common Minnesota garden problems before they start.
Use a light rake or your hands to gently remove leaves without disturbing shallow roots. Don’t compost diseased leaves—bag and dispose of them instead to prevent spreading issues throughout your garden.
This simple task takes just minutes but saves hours of trouble next spring when Minneapolis gardeners are rushing to address problems that could have been prevented.
2. Apply Protective Winter Mulch
Fresh mulch acts like a warm blanket for your hydrangea’s root system during our brutal Minnesota winters. Apply 3-4 inches of organic mulch in a donut shape around the plant, keeping it slightly away from the stems to prevent rot.
Shredded oak leaves work wonderfully in my St. Paul garden, breaking down slowly while providing excellent insulation. Pine needles and bark chips are good alternatives that stay in place even during strong prairie winds.
Wait until after the first hard frost to apply winter mulch—typically late October in most Minnesota regions. Mulching too early can attract mice looking for winter homes.
3. Perform Final Strategic Watering
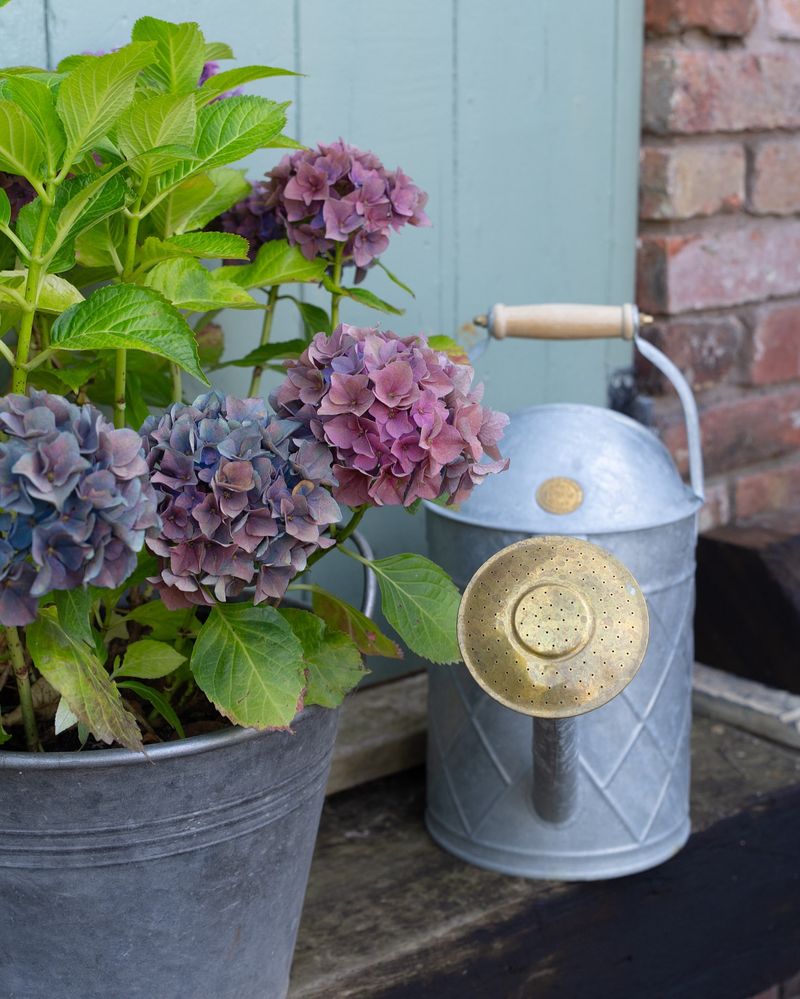
Deep watering before the ground freezes helps hydrangeas survive our dry Minnesota winters. The moisture stored in soil provides critical hydration during frozen months when plants can’t access new water.
Water thoroughly until the ground begins to freeze, usually mid-to-late November in most parts of our state. My technique involves slow, deep soaking rather than frequent light sprinkles—this encourages roots to grow deeper and stronger.
For established plants, I provide about 1-1.5 gallons per shrub during this final watering. New plantings may need slightly more to help them through their first Minnesota winter.
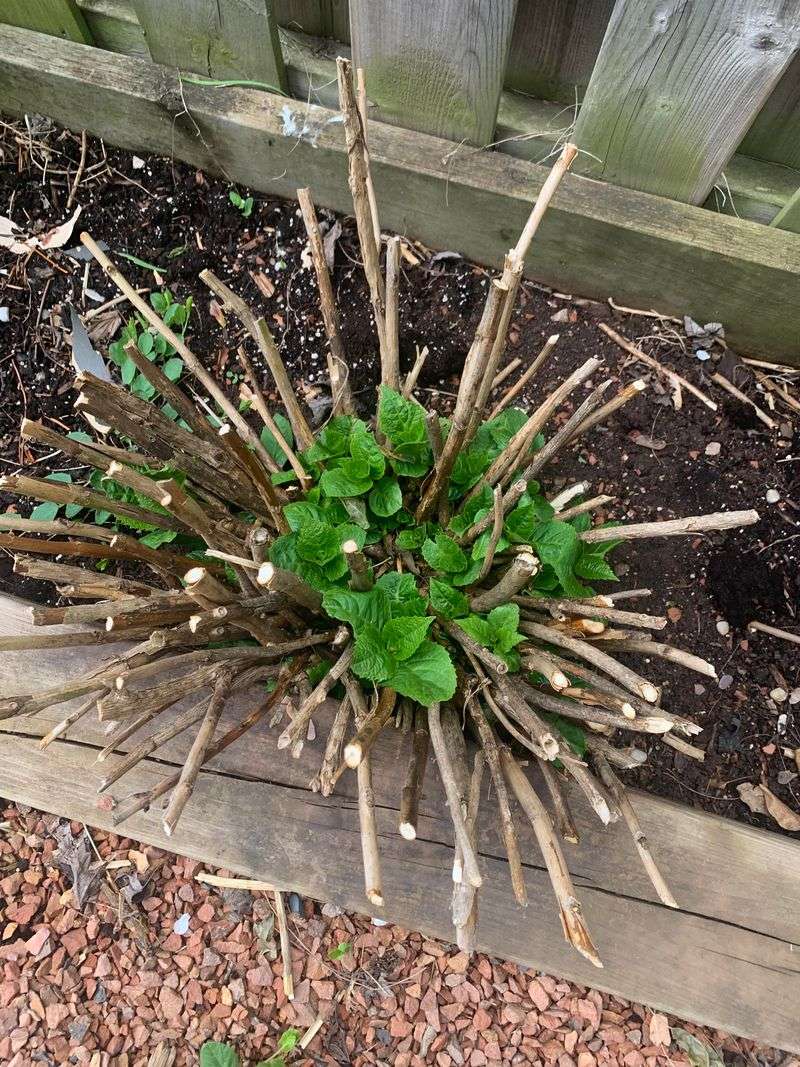
4. Build Protective Winter Structures
Minnesota’s harsh winds and heavy snow can break hydrangea stems, especially for newer varieties with weaker wood. Creating a simple protective structure now saves heartbreak later.
Chicken wire cages work brilliantly for me—I circle them around plants and fill with dry leaves for insulation. For smaller plants, I’ve had success with burlap wraps secured with garden twine, which block wind while allowing some air circulation.
The key is installing these before temperatures consistently drop below freezing. Last year, I waited too long and lost two beautiful ‘Endless Summer’ hydrangeas to an early November cold snap.
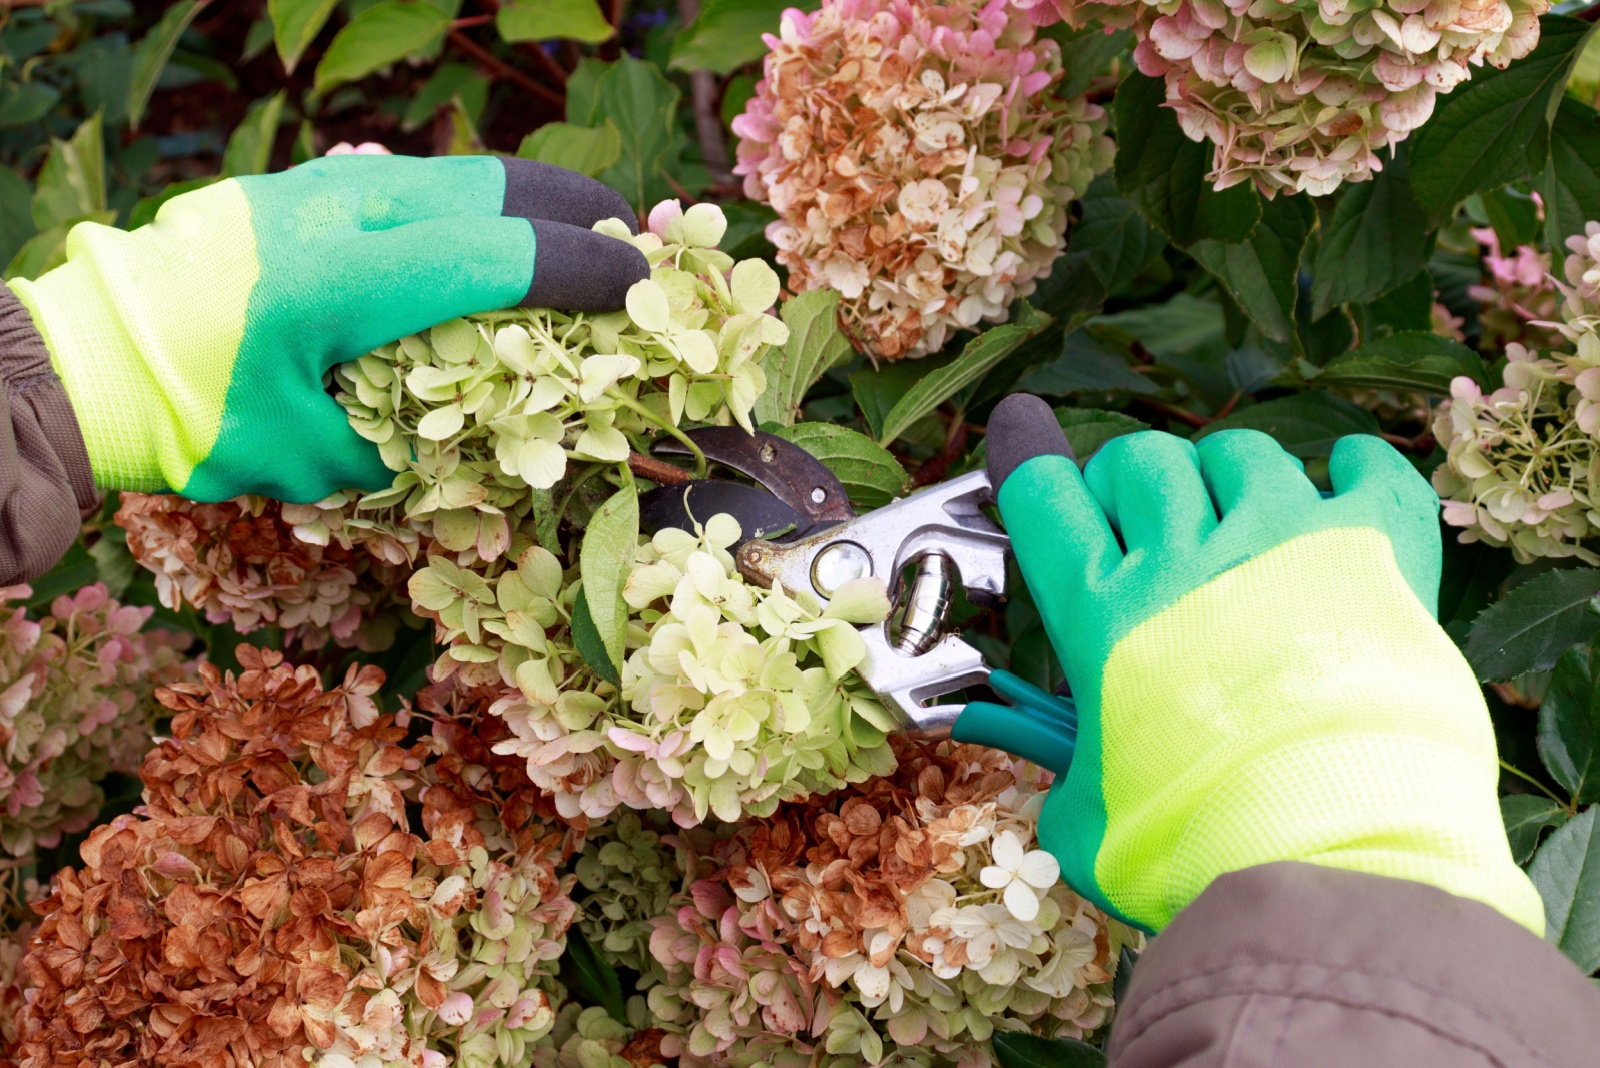
5. Prune According To Hydrangea Type

Different hydrangea varieties need different pruning approaches, especially in Minnesota’s climate. For bigleaf (macrophylla) types like ‘Endless Summer,’ I avoid fall pruning entirely since they bloom on old wood.
Panicle hydrangeas (like ‘Limelight’) and smooth hydrangeas (arborescens) can be cut back by one-third in late fall. These varieties bloom on new growth and benefit from this maintenance before winter sets in.
When pruning, use clean, sharp shears and make cuts at 45-degree angles just above leaf nodes. For oakleaf varieties, simply remove dead or damaged branches—these Minnesota-hardy types need minimal intervention.
6. Test And Adjust Soil pH

Fall is perfect for correcting soil pH issues that affect hydrangea color and health. Minnesota’s native soil tends toward alkaline, which can make achieving blue hydrangeas challenging without amendments.
For bluer blooms next year, I work aluminum sulfate into the soil now, giving it time to change pH gradually. For pinker flowers, limestone or wood ash works well. Testing first saves guesswork—kits from local garden centers provide quick results.
Remember that soil amendments work slowly, especially in our cold climate. Changes made now will affect next summer’s blooms, making fall the strategic time for this important task.
7. Document Bloom Performance
Before winter erases the evidence, I take photos and notes about this year’s hydrangea performance. Which plants thrived in our unpredictable Minnesota weather? Which struggled? This documentation becomes invaluable for next year’s care decisions.
My simple system involves a garden journal with labeled photos showing bloom size, color, and overall plant health. I note which varieties handled our late spring frost best and which needed extra watering during July’s heat.
This record-keeping takes just minutes but has helped me fine-tune care for specific varieties. The ‘Annabelle’ in my north Minneapolis garden needs different attention than my ‘Incrediball’ in partial shade.
8. Remove Spent Blooms Selectively
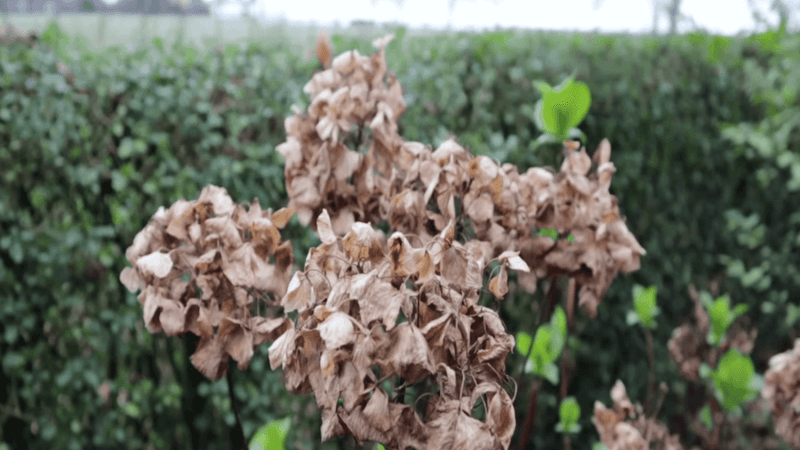
Deadheading—removing spent flowers—requires strategy in Minnesota gardens. For panicle and smooth hydrangeas, I remove all dried blooms to prevent snow damage to branches. The weight of snow-filled flower heads can snap stems during our heavy winter storms.
For bigleaf varieties, I leave the dried flowers intact as they provide extra insulation for developing buds underneath. These buds will become next year’s flowers, and they need all the protection they can get against our -30°F nights.
When removing blooms, cut just below the flower head rather than lower on the stem. This preserves the plant’s structure while eliminating potential snow-catching surfaces.
9. Prepare Cuttings For Propagation

Fall offers a perfect opportunity to propagate hydrangeas from cuttings. I’ve expanded my garden considerably using this method, creating genetic copies of my most successful Minnesota-hardy varieties without spending a dime.
Take 6-inch cuttings from healthy stems, removing lower leaves and dipping ends in rooting hormone. Plant in small pots with moist potting mix, then place in protected locations like garages or cool basements during winter.
By spring, these cuttings develop strong root systems ready for garden planting. Last year, every cutting I took from my ‘Incrediball’ hydrangea survived our brutal winter and thrived when planted out in May.