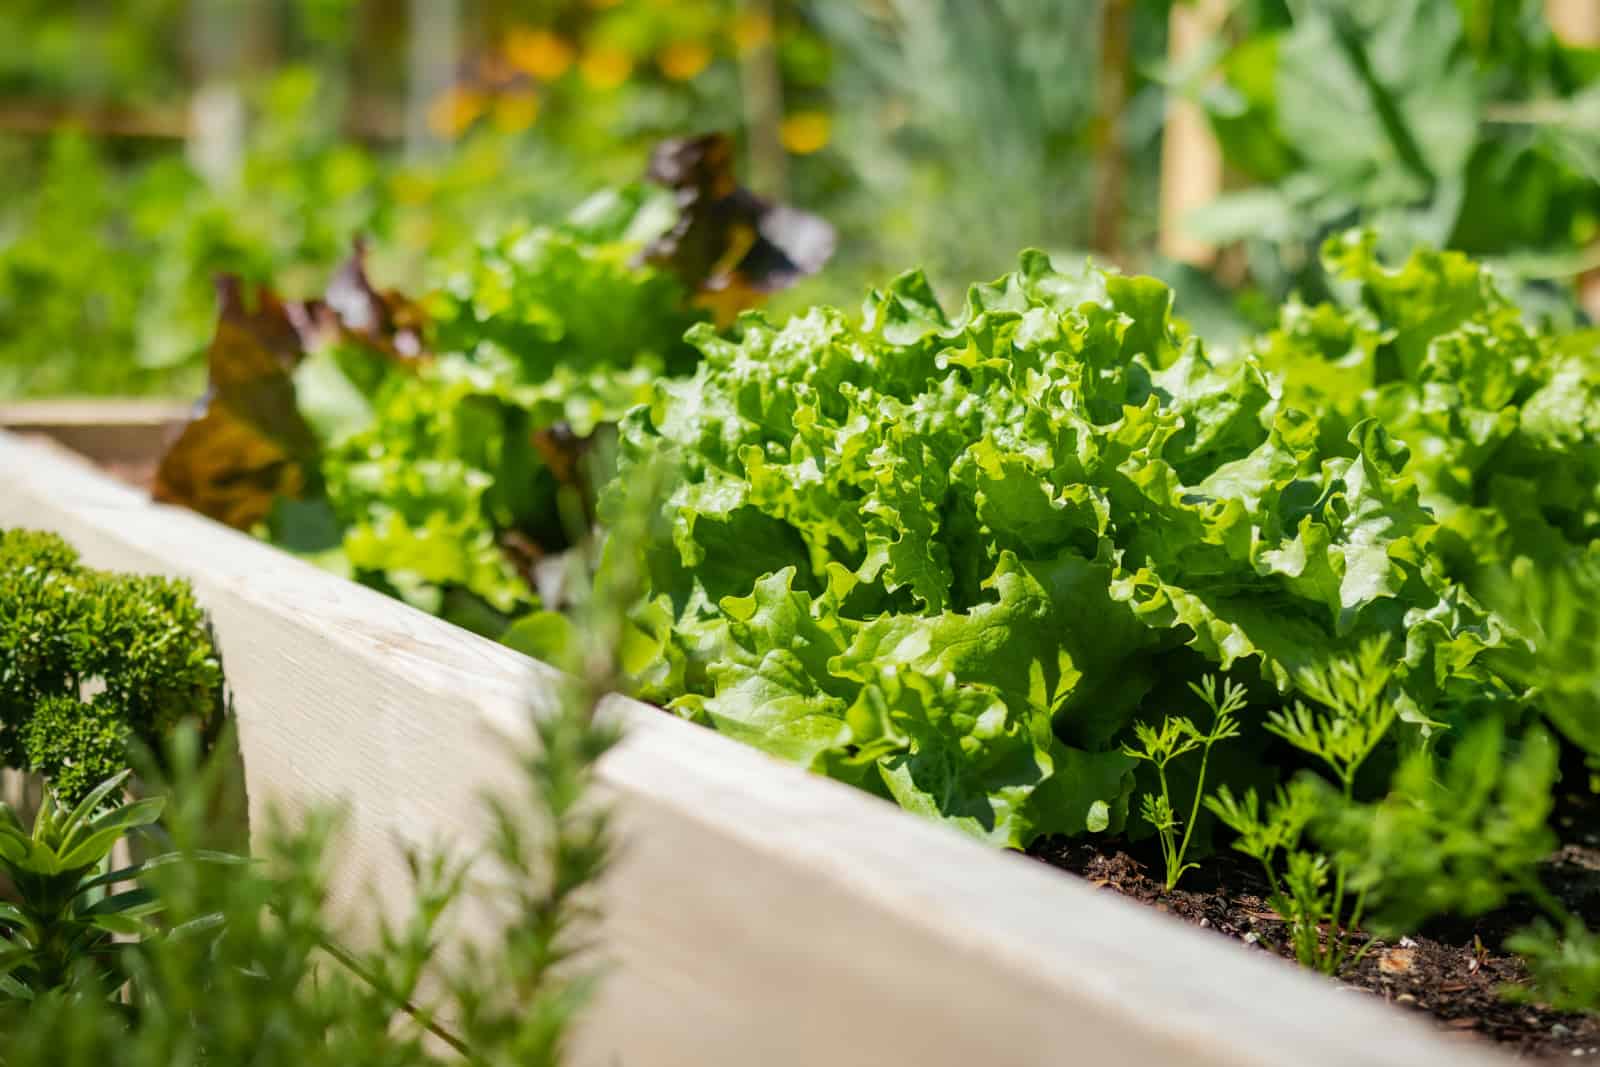
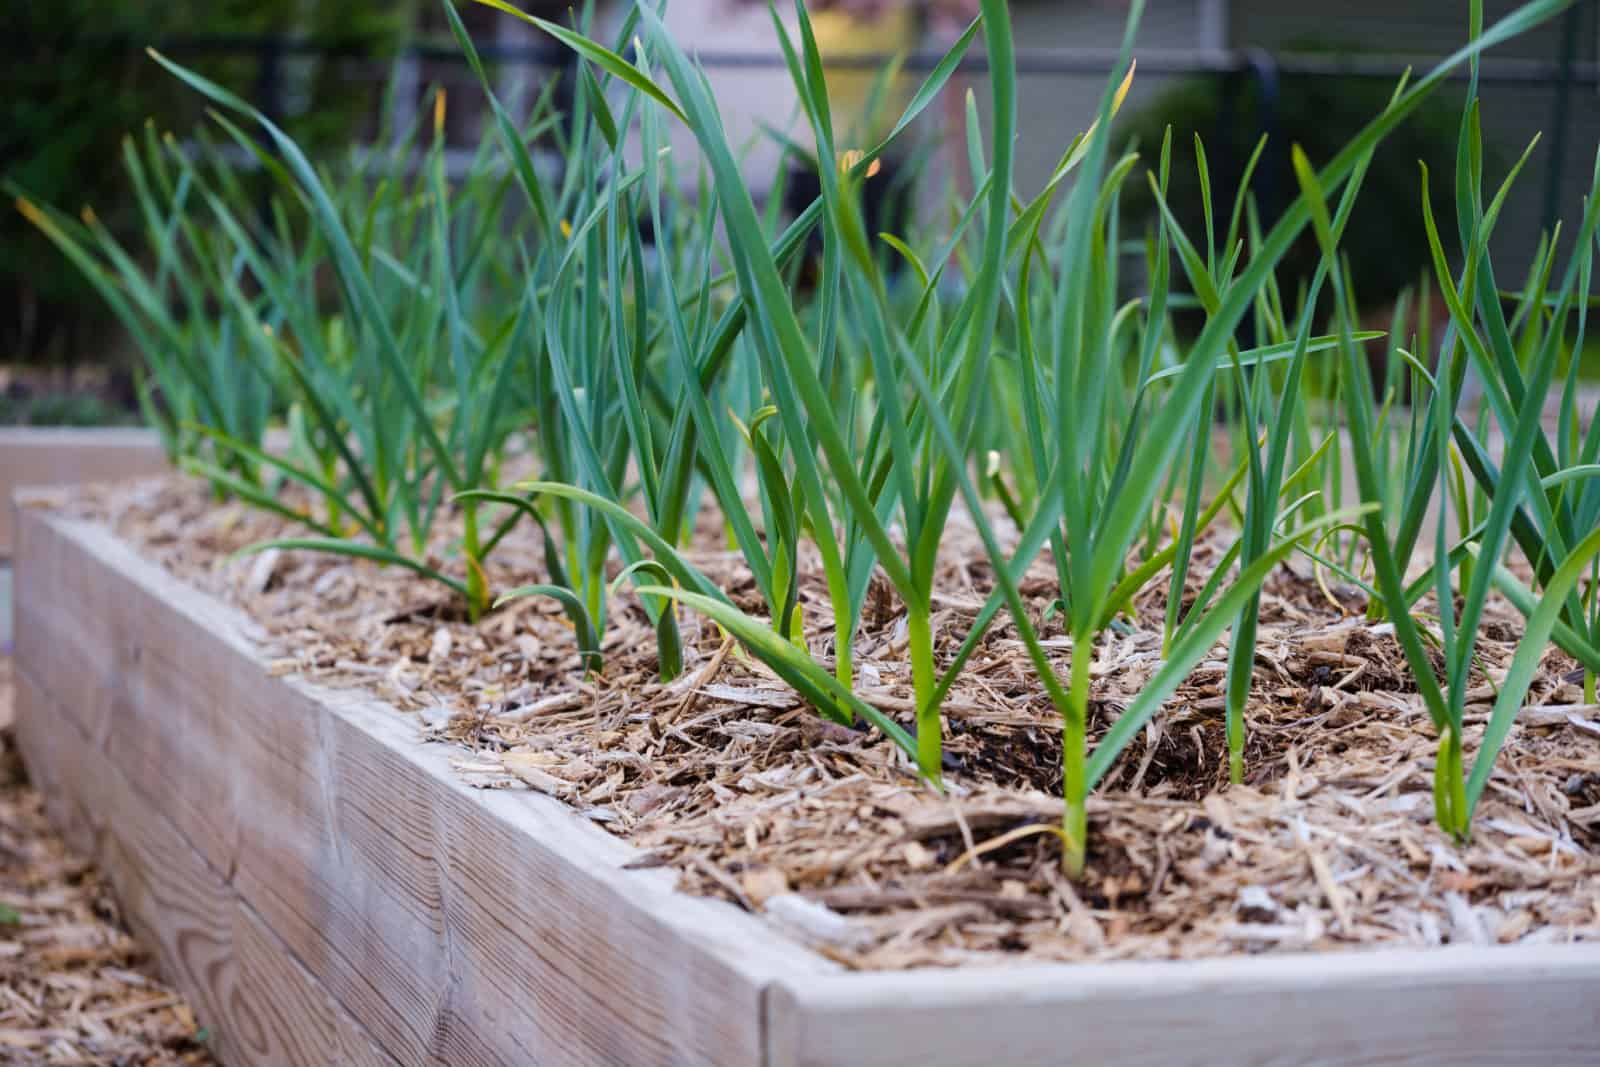
6 Tips To Help You Fill Raised Garden Beds And Get A Large Harvest
So, you’ve finally built your first raised garden bed, but now’s the time to fill it and you don’t know what to do! Buying bags and bags of potting soil is way too expensive and you’ve heard that garden soil isn’t optimal.
And on top of all that, adding soil to a raised bed isn’t the only thing you need to do. Placing bed liners, improving drainage, and calculating how much soil you need are all things to take into account.
Here are my top 6 tips for filling garden beds that will get you to your end goal in no time.
Let’s get started!
1. Think Of The Garden Bed Type
I love the natural look wooden garden beds can provide, but there’s nothing stopping you from using leftover rocks, metal, concrete, plastic, or bricks to make raised beds.
You can even use large planters or galvanized troughs as they’re the easiest and fastest way of assembling a garden bed.
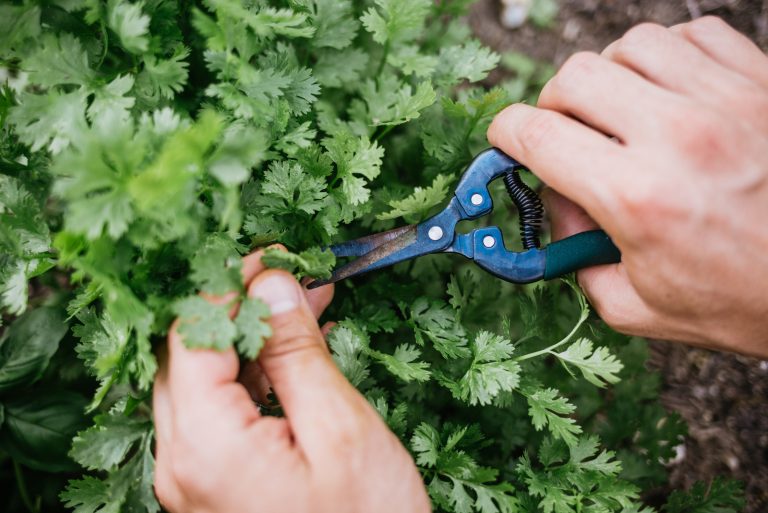
The only thing you should look out for is whether you’ll be able to reach all the way to the middle to harvest your fruits and veggies or dispatch weeds.
That’s why 3×6 (or 3×8) beds are practical for so many people. When you get it wide and long enough, think of the depth, which depends on the plants you’re growing. Choose the one where weeding and harvesting will be the easiest.
Six inches is more than enough for most veggies such as lettuce, peppers, and broccoli. Root vegetables such as carrots, potatoes, radishes, etc., would be better off with 8 inches. And those with extra deep roots, such as tomatoes, need a bed at least a foot deep.
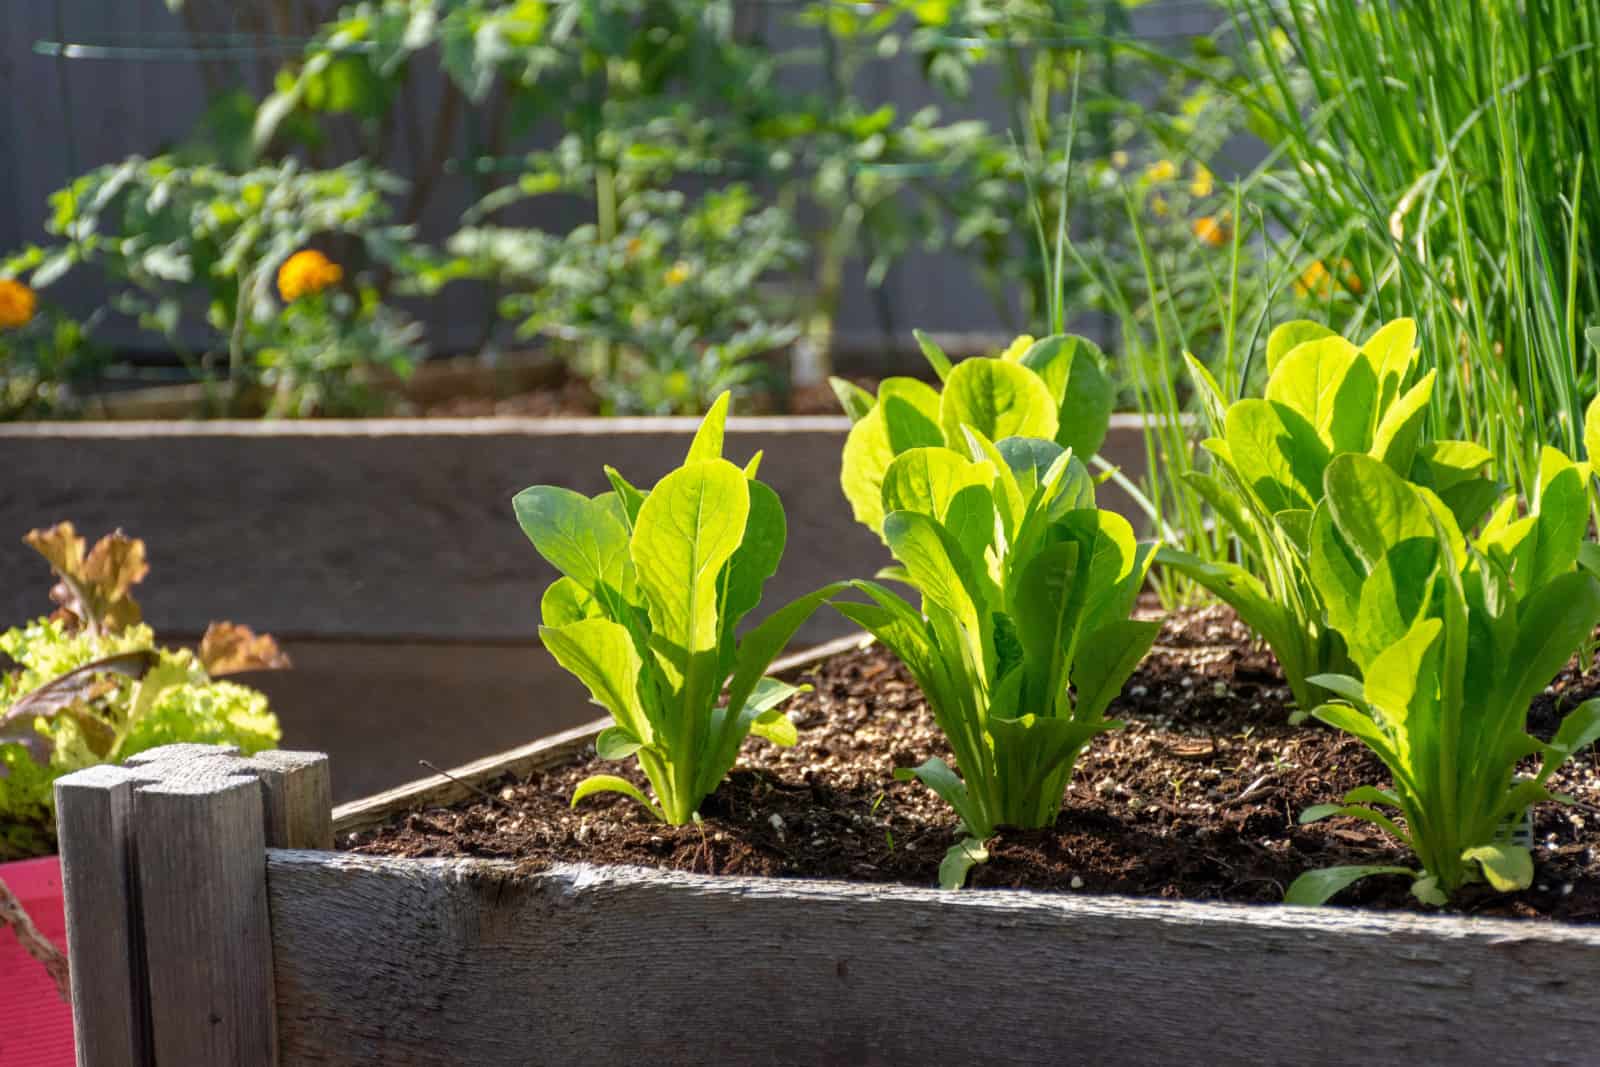
What’s great about raised garden beds is that they elevate the appearance of your vegetable garden, make everything look more neat, and bring the veggies closer to you.
You won’t have to bend and kneel as much, which is why they make the gardening experience more comfortable. However, they do require more soil, but we’ll talk about that in a bit.
2. Make It Well-Draining
One thing we hear over and over again about raised beds is that they drain faster than a regular in-ground garden. And while that’s true for those lying on the ground, you do have to put some work in when it comes to troughs and containers.
Drill many holes about 6 inches apart in the bottom of these improvised raised beds so that the excess moisture can easily drain.
3. Prepare The Bed For Filling
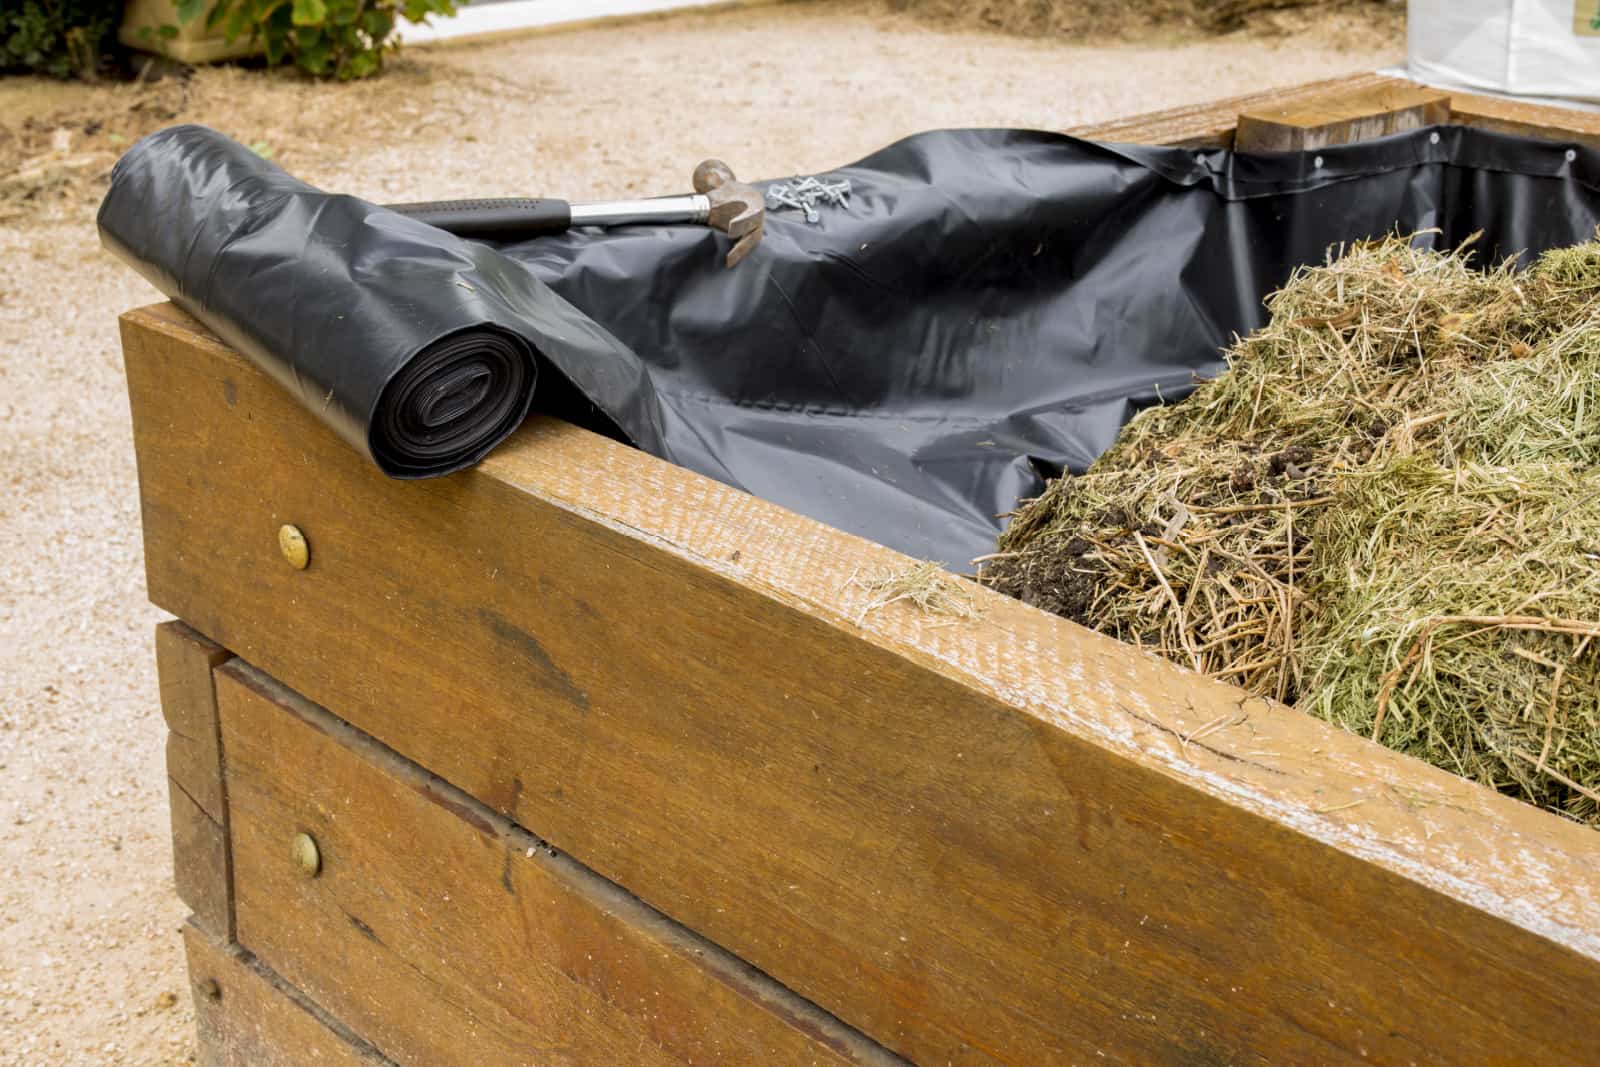
Another benefit of raised beds is that they reduce weed growth if you prepare them correctly. The best way to do this is by using non-toxic raised bed liners for open-bottom beds.
Add a long-lasting landscaping fabric or even a layer of cardboard to prevent the weeds from mingling with your plants.
Closed-bottom beds such as troughs, old bathtubs, and large containers don’t usually have a weed issue, but you can line them with organic material to keep the soil in.
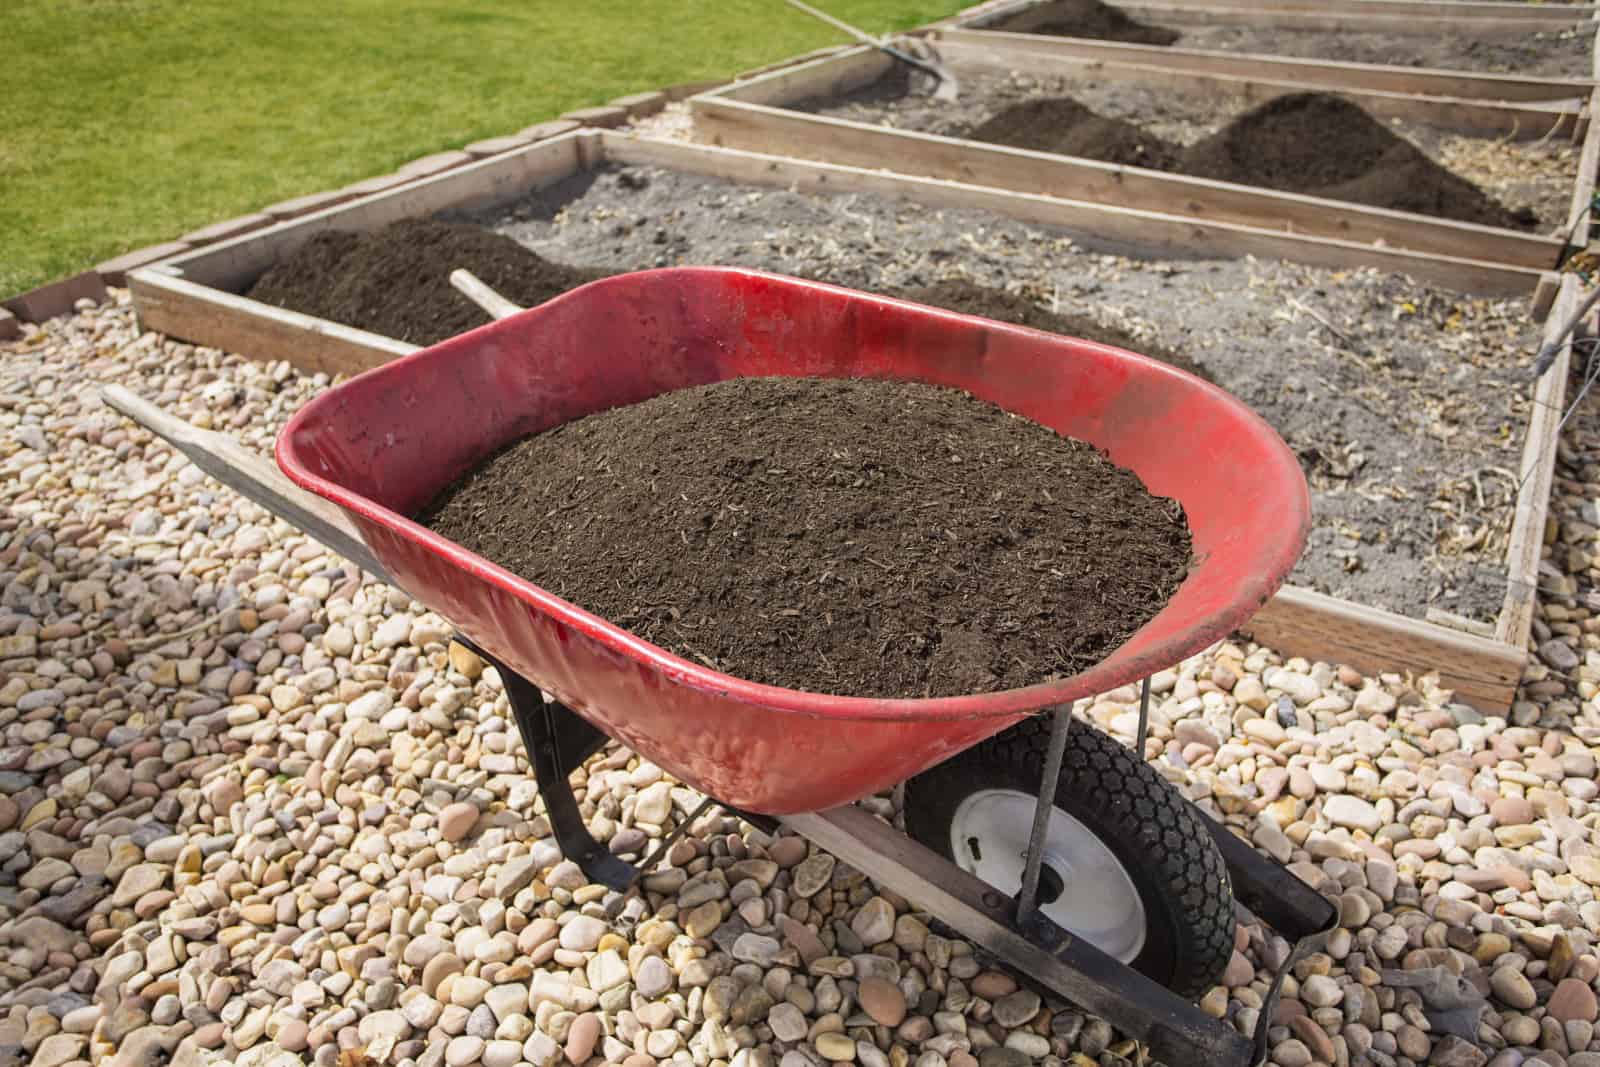
4. Calculate How Much Soil You Need
You don’t want to buy too much soil and just dump it somewhere as it would ruin your landscape.
Calculate how much you need by multiplying the width, length, and depth of your bed. The final number will give you the total amount in cubic feet you need to get.
5. Make Your Growing Medium
Soil can make or break your success rate with garden beds. If you’re endowed with a loose, fertile, and perfect garden soil, there’s no reason why you shouldn’t use it.
But let’s face it, most of us don’t have that in our yards, and that’s why we turn to other alternatives. Vegetable potting soil would be perfect, but buying so many bags to fill a raised bed is way too expensive.
The good news is that you can purchase topsoil in bulk. Use that and mix it with equal amounts of your homemade compost. You can also use twice as much topsoil, but add some draining materials such as vermiculite and coir to make it perfect.
Mix it all well right in your garden bed, and that’s it!
If you have a tiny, apartment-friendly raised garden bed, you can get a ready-made potting mix as it wouldn’t be too expensive. Mix it with compost, and get to planting!
6. Filling The Beds
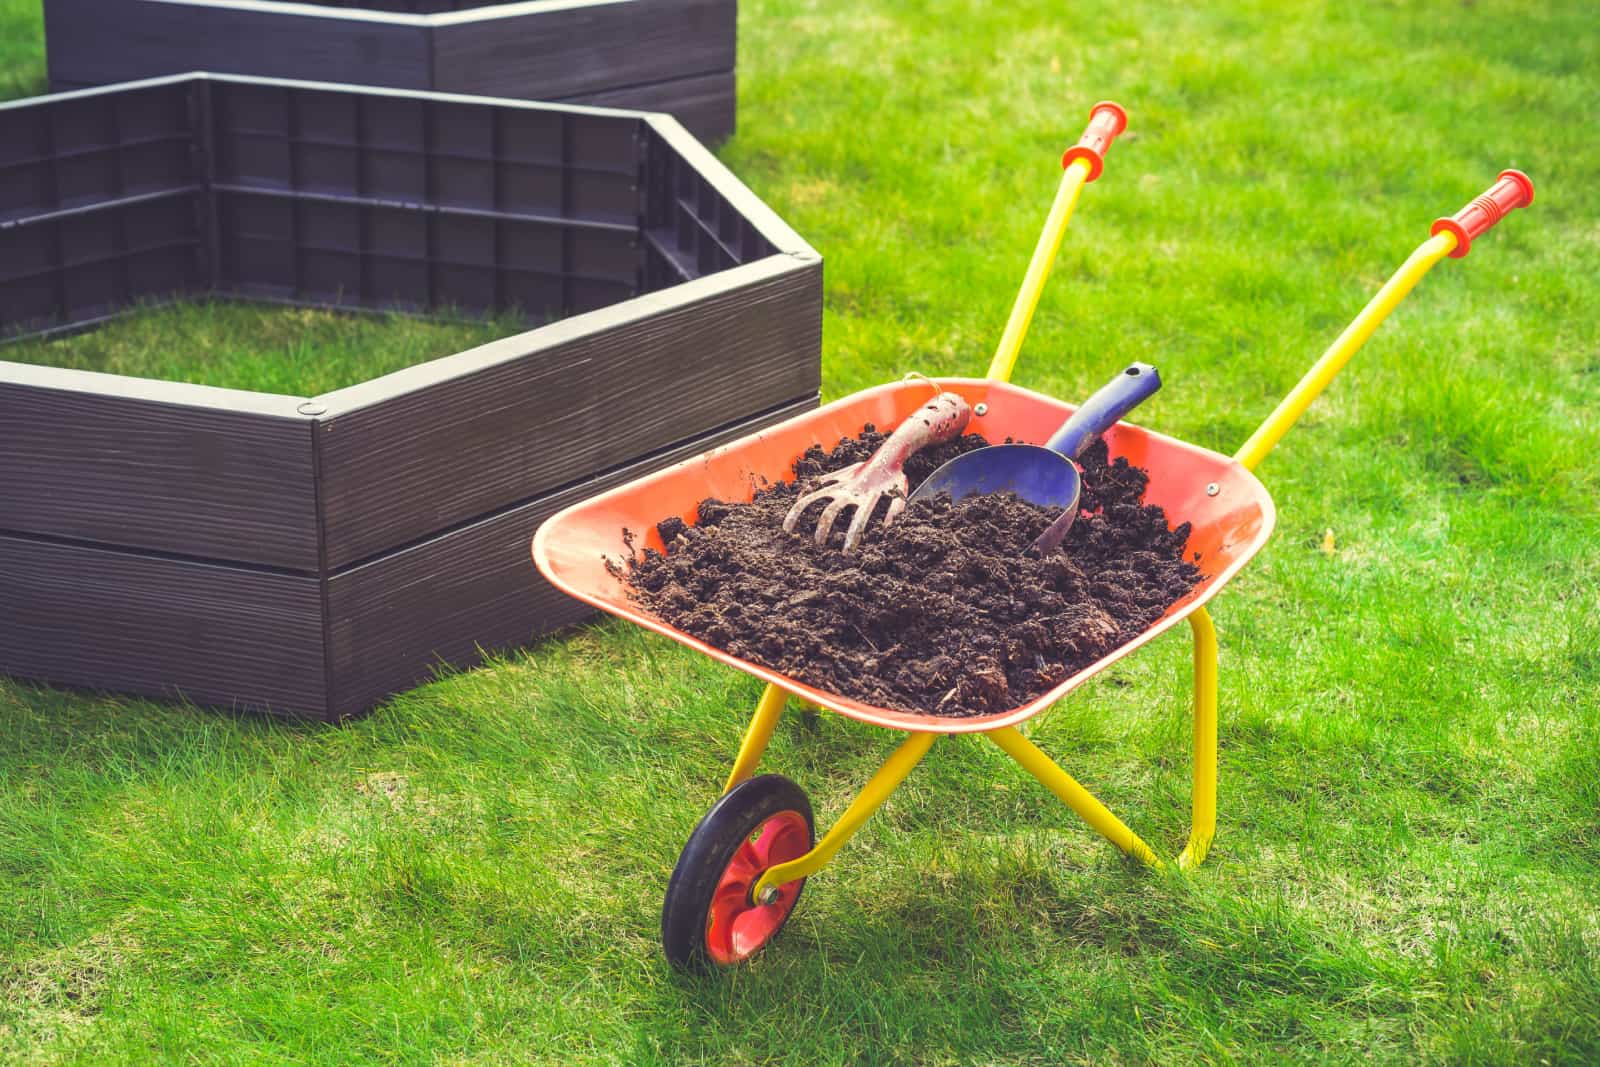
When it comes to how to fill garden beds cheaply, the key thing is utilizing things you already have, which is especially important for deeper beds.
For instance, if your raised bed is 1/2-1 foot deep, you can just line it with landscaping fabric, newspaper, or cardboard and fill it with soil.
But if it’s deeper than this, you can fill it with other materials to take up space and reduce the amount of growing medium you have to use.
The following methods rely on this principle!
Hugelkultur
This method is pretty simple; bury the larger wood pieces and logs in the soil and fill the gaps with wood chips, bark, grass clippings, kitchen scraps, etc.
Fill the bed with these materials to a depth of at least 10-12 inches and then cover them with the soil mix.
Lasagna Gardening Method
This method is similar to the hugelkultur, but you have to be careful about layering the materials.
Place cardboard in the bottom of the bed to prevent weed growth and then add a layer of dried foliage and cardboard mixed together. Keep layering organic materials until they’re about a foot high, then cover them with the raised bed growing medium.
Back To Eden
Another method is back to Eden gardening, which involves adding a layer of cardboard to the bottom (about 10-12 inches deep).
However, you’ll follow that layer by filling half the bed with a mixture of topsoil and compost or aged manure. Plant your veggies and mulch them with untreated wood chips.
These are just a few ideas that can help you start your raised bed gardening journey. They’ll land you with a healthy environment and a bountiful harvest in no time.
Until next time!