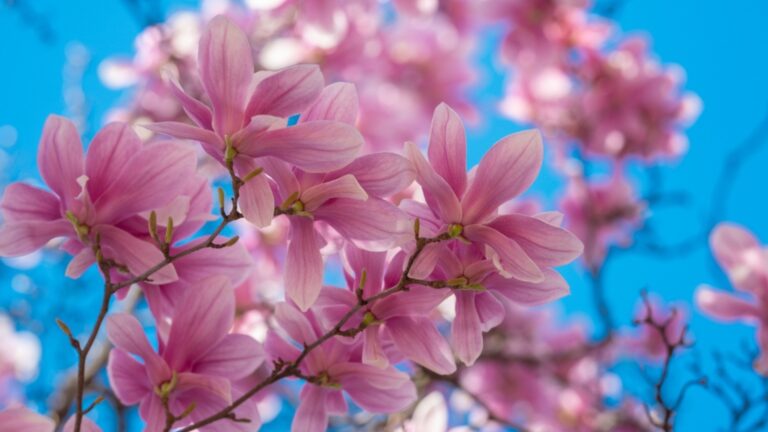
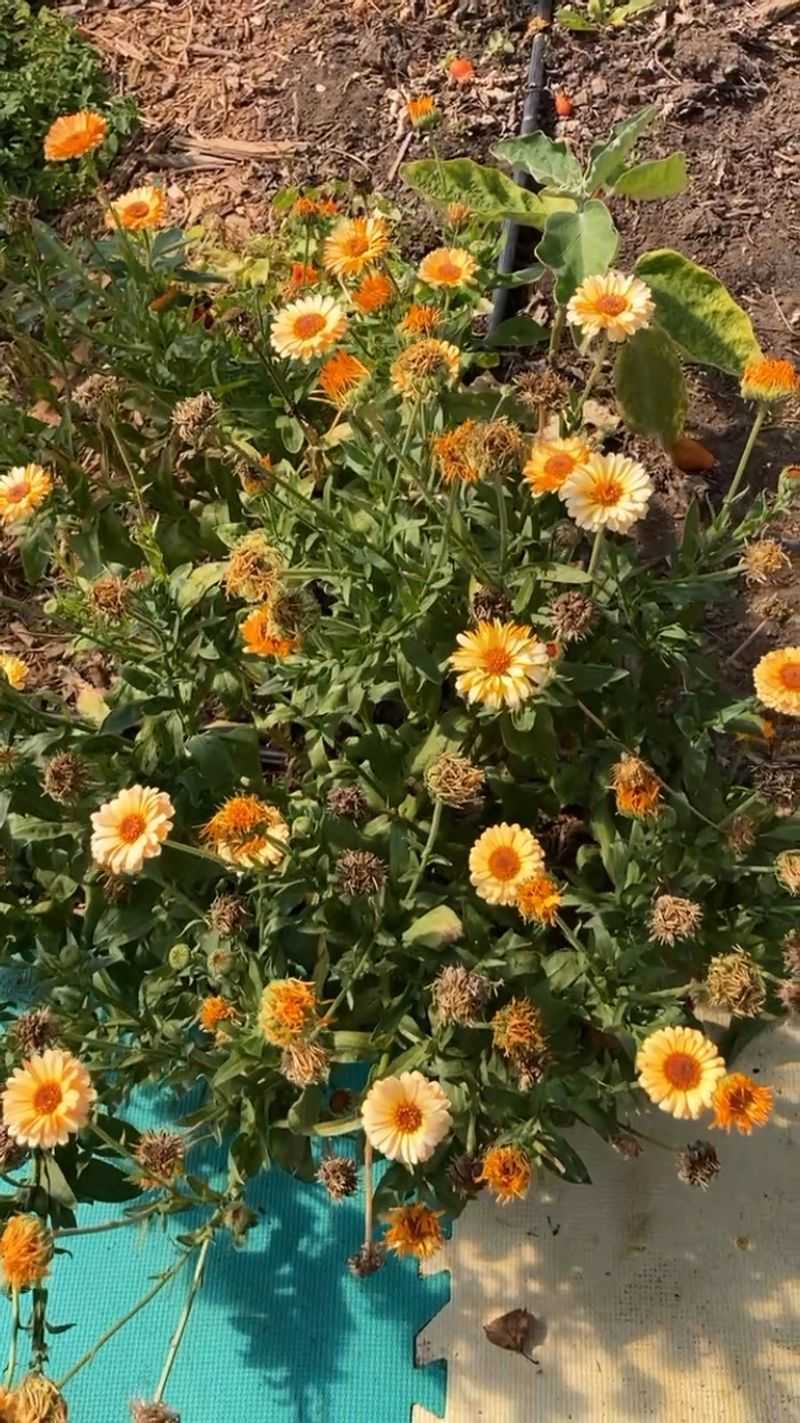
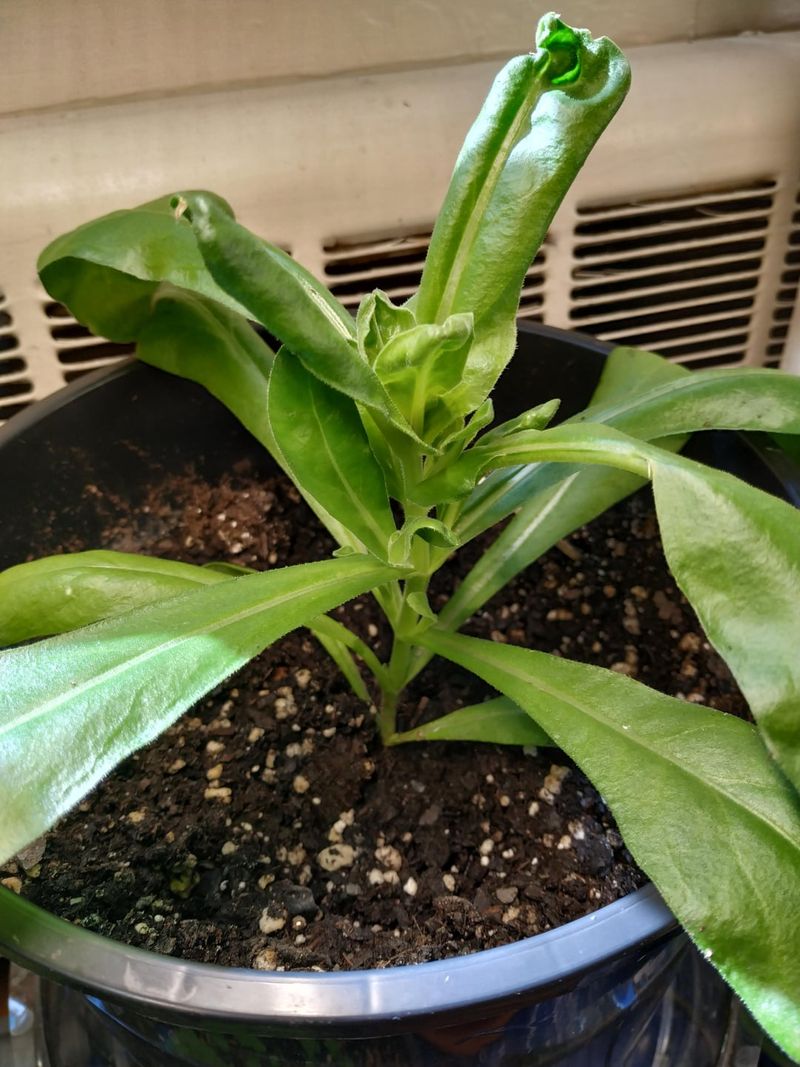
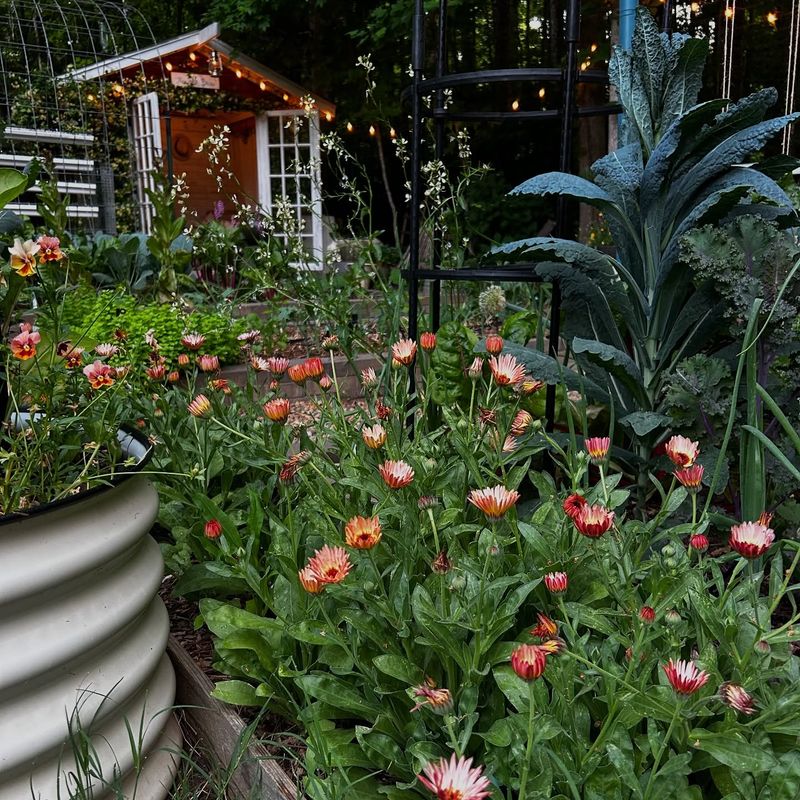
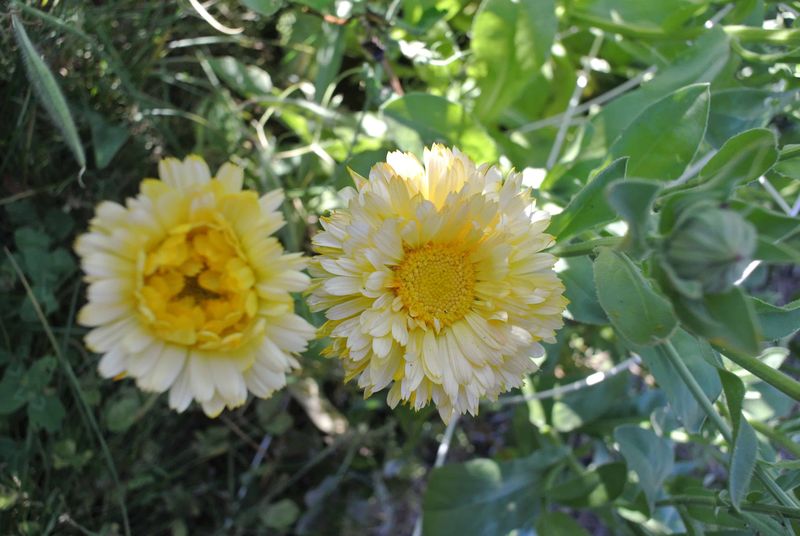
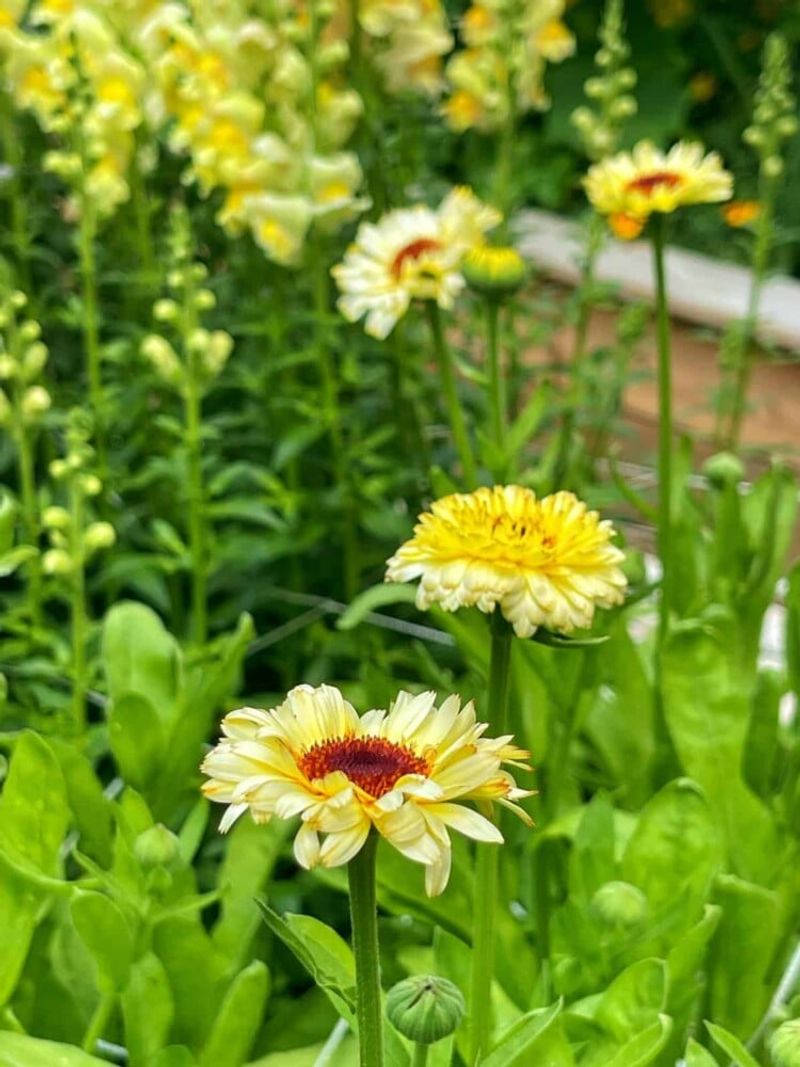
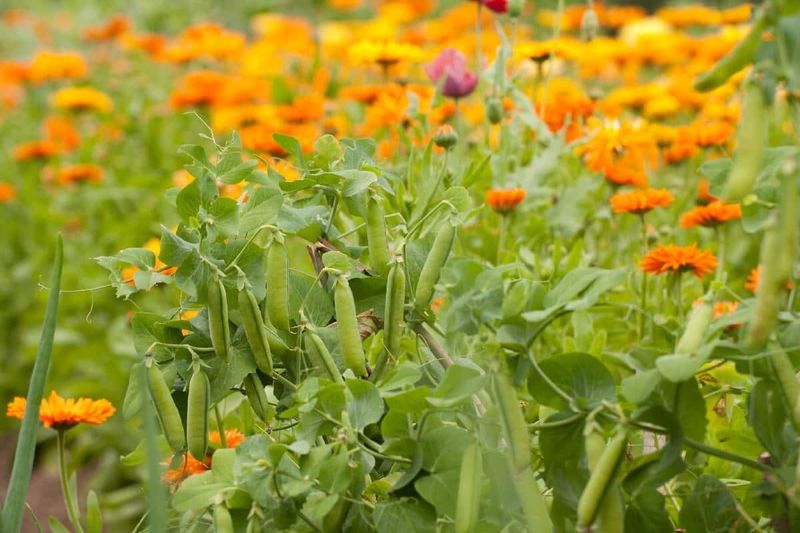
17 Warning Signs Your Calendula Garden Is Struggling (And How To Fix It Fast)
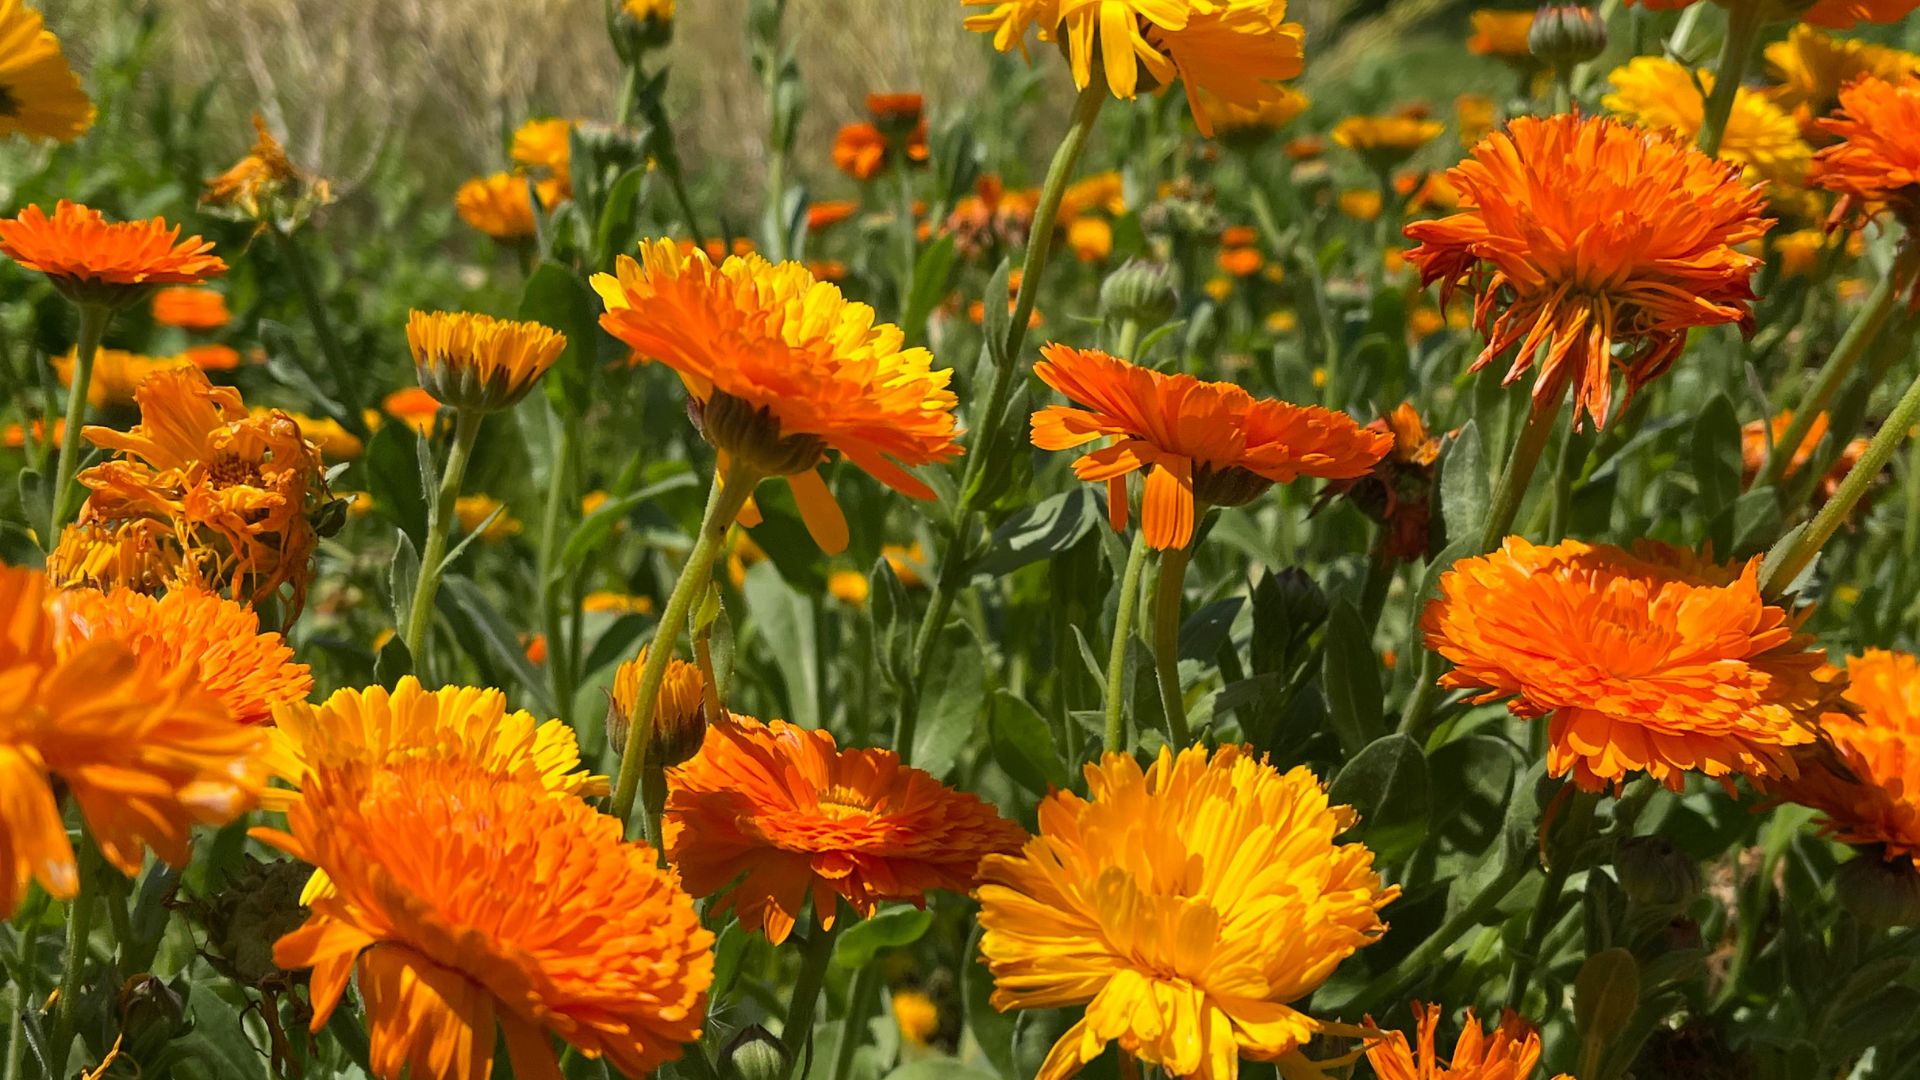
Growing calendulas has been one of my favorite garden joys—they’re cheerful, easygoing, and just plain happy-looking. But even these sunny blooms can hit a rough patch now and then.
I’ve learned the hard way that catching issues early makes all the difference. A few yellowing leaves or a sudden wilt might not seem like much, but they’re often the first clues that something’s off.
With a little attention and quick action, you can keep your calendula patch looking lush and healthy. Let’s go over what to watch for so your flowers don’t fade before their time.
1. Yellowing Leaves That Shouldn’t Be There
Those yellow patches on lower leaves aren’t just normal aging. They often signal nitrogen deficiency or overwatering, both common issues for beginning gardeners. The discoloration typically starts at the leaf edges before spreading inward.
I made this mistake with my first batch last spring. Adding diluted fish emulsion fertilizer works wonders – just follow package instructions for proper amounts. For soggy soil, cut back watering and ensure your containers have adequate drainage holes.
Your plants should show improvement within a week of treatment. Remove severely affected leaves to redirect energy to healthier growth and prevent any disease spread that might be contributing to the problem.
2. Stunted Growth When Others Flourish
When your flowers remain small while neighboring plants thrive, something’s definitely wrong. Poor soil is often the culprit – calendulas need moderately rich ground with good organic matter content. The plants may appear healthy otherwise but simply refuse to reach their full size potential.
The fix is straightforward but requires some effort. Work in compost or aged manure around existing plants, being careful not to disturb the roots too much. A thin layer (about 1 inch) gently worked into the surrounding soil does the trick.
My garden bed on the north side consistently produced smaller calendulas until I amended the soil. Within two weeks of adding organic matter, new growth appeared noticeably more robust and the plants finally reached their expected height.
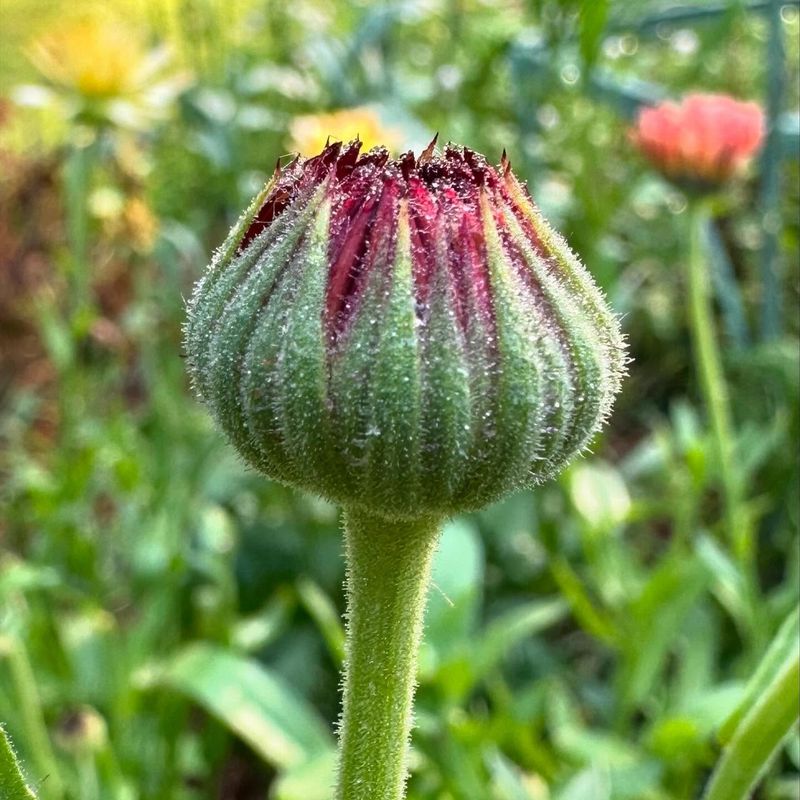
3. Flower Buds That Never Open
Seeing lots of promising buds that never bloom is particularly frustrating. The plants tease you with potential flowers that remain permanently closed or shrivel before opening. This often indicates a boron deficiency or inconsistent watering patterns that stress the plants.
Try watering deeply but less frequently rather than giving small amounts daily. For suspected boron issues, a foliar spray with seaweed extract provides trace minerals including boron. Apply in the evening when bees aren’t active and leaves can absorb nutrients overnight.
Last summer my western bed had this exact issue. After switching to twice-weekly deep watering instead of daily sprinkles, nearly all the stubborn buds opened within ten days. Patience pays off – don’t be tempted to increase watering frequency when you first notice the problem.
4. Powdery White Coating On Leaves
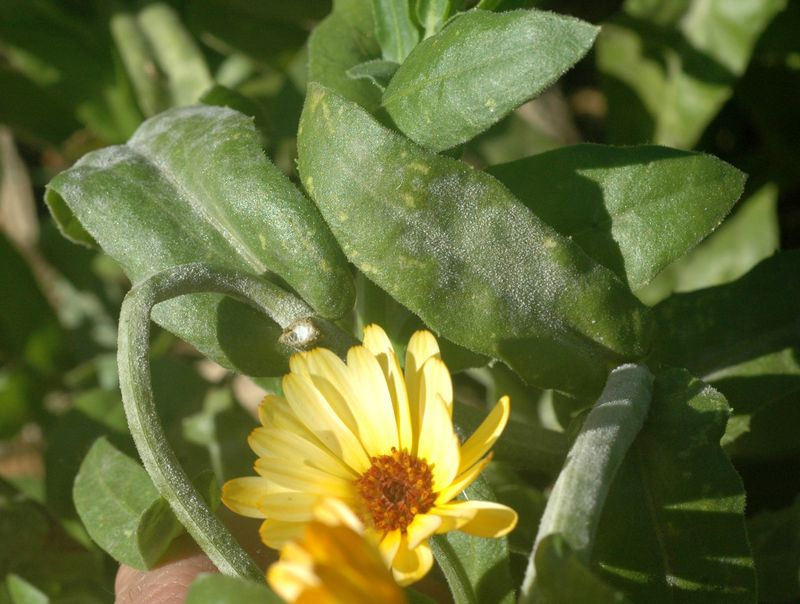
That dusty white film covering your calendula leaves isn’t pollen – it’s powdery mildew, a fungal disease that thrives in humid conditions with poor air circulation. Left untreated, it will spread rapidly throughout your garden, weakening plants and reducing flower production.
Space your plants properly to improve airflow and avoid overhead watering which creates the humid environment mildew loves. For immediate treatment, mix 1 tablespoon baking soda with 1 gallon of water and a drop of dish soap, then spray affected areas.
The first time I spotted this on my calendulas, I panicked and pulled several plants. What a waste! The baking soda solution worked perfectly on the remaining plants, and they recovered completely after two applications spaced three days apart.
5. Holes In Leaves That Weren’t There Yesterday
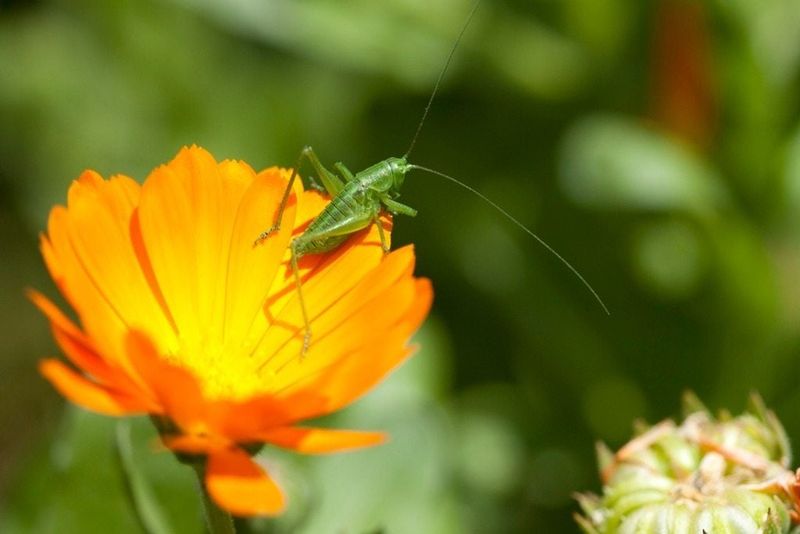
Mysterious holes appearing overnight in your calendula leaves usually mean uninvited dinner guests. Slugs, snails, and caterpillars are the likely culprits, feeding under cover of darkness while you sleep. The damage pattern is distinctive – irregular holes with smooth edges.
A simple beer trap works wonders for slugs and snails. Just place shallow containers of beer near affected plants, and these pests will be drawn to the yeast smell. For caterpillars, manually removing them in the evening when they’re most active provides immediate relief.
My garden faced a serious slug invasion last spring after heavy rains. Setting beer traps every few feet along the calendula row captured dozens of slugs the very first night. The feeding damage stopped almost immediately, allowing my plants to recover.
6. Curling Or Cupping Leaves
When leaves curl inward like little cups, your calendulas are sending an SOS signal. This distortion often indicates aphid infestation on the undersides of leaves or extreme heat stress. Turn over affected leaves and you’ll likely find the tiny culprits clustered along leaf veins.
A strong spray of water from the hose can dislodge many aphids immediately. Follow up with insecticidal soap for persistent infestations, making sure to coat leaf undersides where they hide. For heat stress, provide afternoon shade with row covers during the hottest part of summer.
The curling stopped me in my tracks during a routine garden check last June. After finding aphids and treating with soap spray twice in one week, my calendulas bounced back completely. The new growth emerged perfectly flat and healthy.
7. Stems Flopping Over Despite Support
Watching your once-upright calendulas suddenly flop over is concerning, especially when they’ve been growing well. This stem weakness typically indicates overwatering, insufficient light, or the soil-borne disease known as damping-off. The base of affected stems often appears darker or slightly shrunken.
First, check soil moisture levels – if consistently soggy, reduce watering immediately. Ensure plants receive at least 6 hours of direct sunlight daily. For plants showing signs of rot at the stem base, apply a light dusting of cinnamon as a natural fungicide.
My eastern garden bed suffered this problem after a week of spring rain. Once I improved drainage by adding perlite to the soil and trimmed back overhanging branches for more sunlight, new growth emerged strong and upright within two weeks.
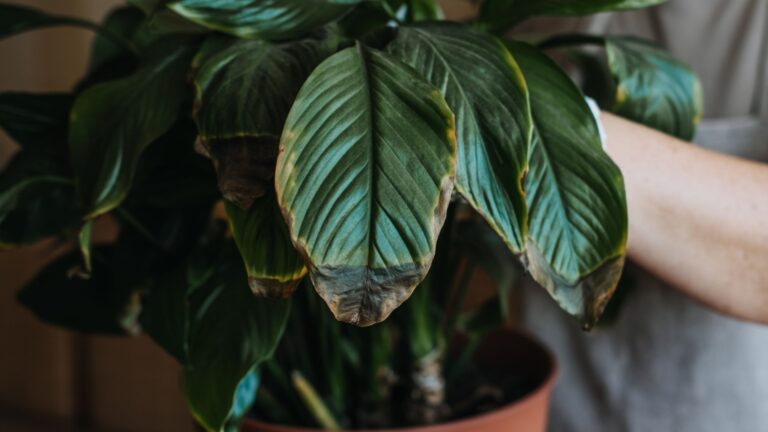
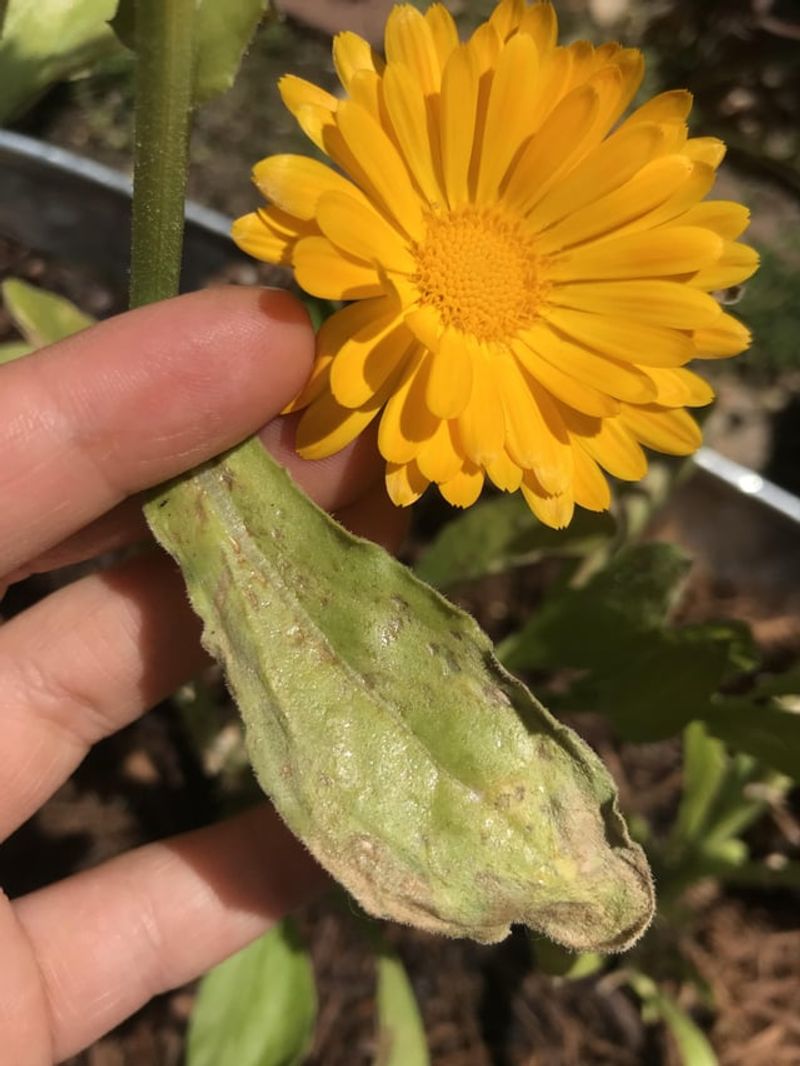
8. Flower Petals With Brown, Crispy Edges
Those crispy brown edges on your calendula blooms ruin their cheerful appearance and signal environmental stress. The damage typically results from extreme heat, low humidity, or chemical drift from nearby weed treatments. Once affected, individual flowers won’t recover, but you can prevent damage to new blooms.
Water deeply in the morning to help plants withstand afternoon heat. Consider setting up temporary shade during heatwaves using old sheets or commercial shade cloth. If chemical drift is suspected, create a barrier with tall companion plants on the side facing potential spray sources.
During last summer’s record temperatures, I lost several flower heads before rigging up shade cloth on the southwest side of my calendula patch. The difference was immediate – new blooms opened perfectly without any browning or crisping at the edges.
9. Sudden Wilting Despite Moist Soil

Finding wilted calendulas in moist soil is particularly alarming. The contradiction suggests root problems rather than simple thirst. Root rot from fungal pathogens or root-knot nematodes are common culprits that prevent water uptake despite abundant moisture.
Carefully dig around a severely affected plant to examine the roots. Healthy roots should be firm and light-colored. If you find dark, mushy roots, you’re dealing with root rot. Improve drainage immediately by adding coarse sand or perlite to the soil.
I nearly lost half my calendula patch to this issue two seasons ago. After improving drainage and applying a hydrogen peroxide solution (1 part 3% peroxide to 3 parts water) to the soil, most plants recovered within days. The solution helps kill pathogens while adding oxygen to the root zone.
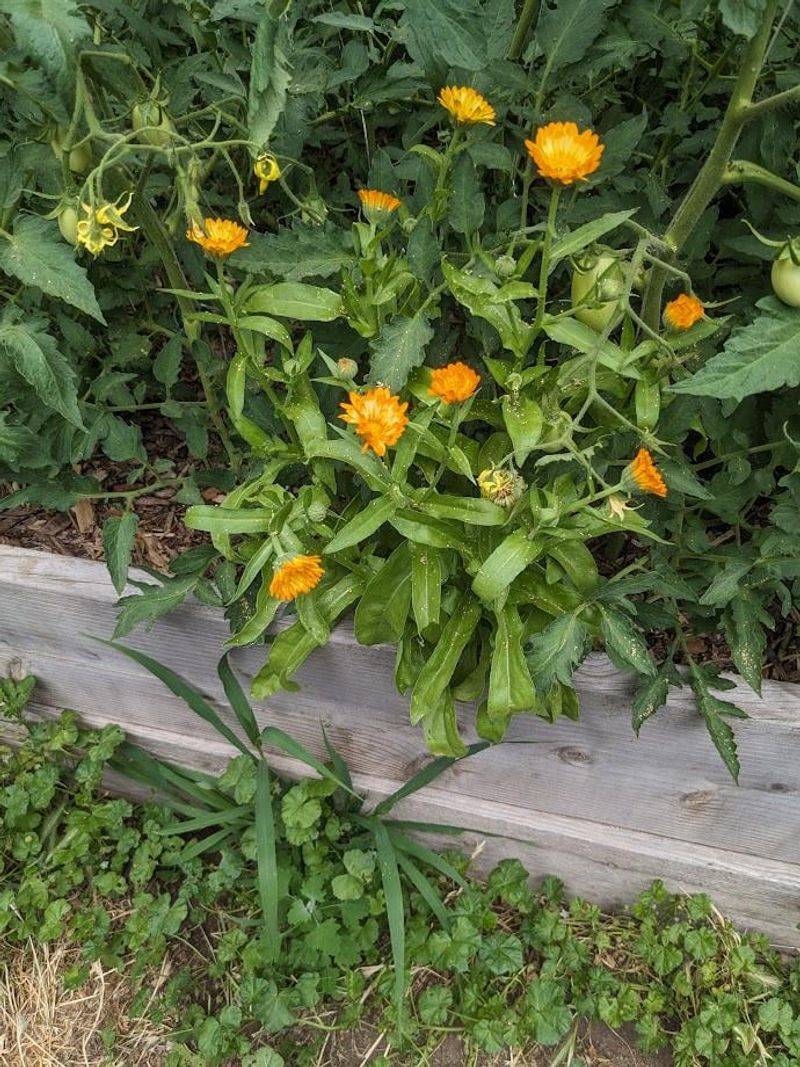
10. Decreasing Flower Size Over Time
When your calendula blooms start out normal but gradually become smaller with each new flower, your plants are running out of energy. This diminishing return often indicates nutrient depletion in the soil or that the plants have shifted focus to seed production rather than flowering.
Regular deadheading prevents the shift to seed production, encouraging larger blooms. For nutrient issues, apply a balanced organic fertilizer diluted to half strength every two weeks. Compost tea makes an excellent supplement between regular feedings.
My front yard calendulas taught me this lesson the hard way. After noticing progressively smaller flowers, I started a strict deadheading routine and applied compost tea weekly. Within three weeks, the new blooms returned to their original impressive size.
11. Black Spots On Leaves And Stems
Dark, circular spots appearing on calendula leaves and stems indicate fungal infection, typically black spot or leaf spot disease. These infections spread quickly in humid conditions, eventually causing affected leaves to yellow and drop prematurely.
Remove and destroy (don’t compost) all affected leaves immediately. Improve air circulation by thinning plants if they’re crowded. Apply organic fungicides containing copper or sulfur following package directions for ornamental flowers.
The first time I noticed these spots, I ignored them thinking they were just soil splashed by rain. Big mistake! The infection spread to nearly every plant in the row. Now I inspect regularly and act immediately if I see even one spot, which has prevented any major outbreaks since.
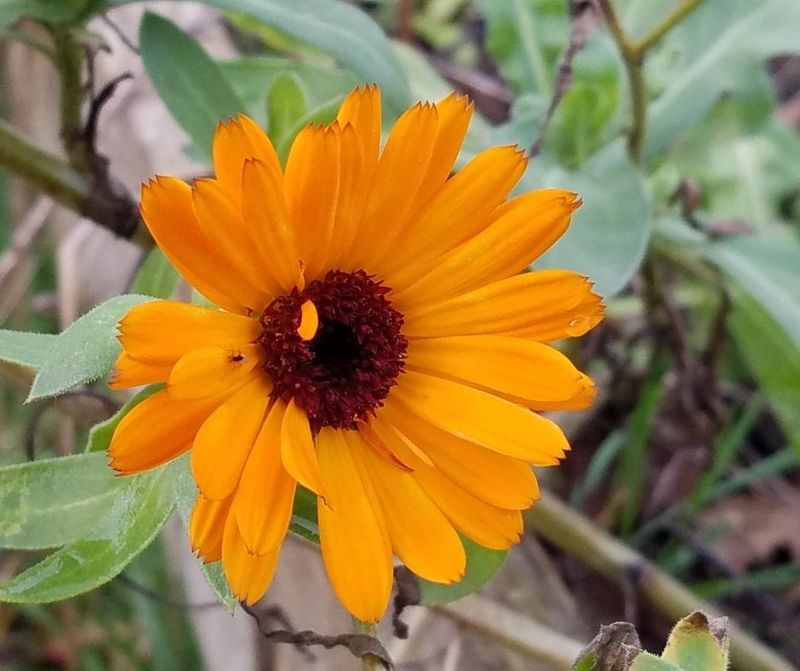
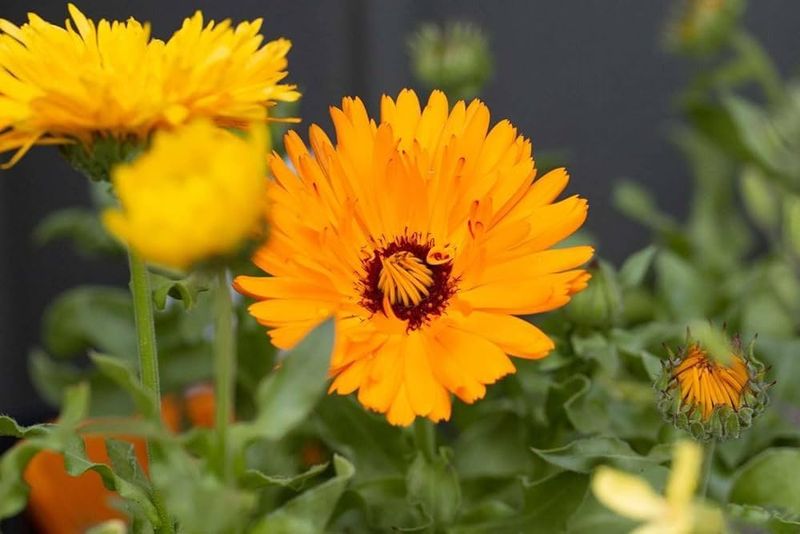
12. Pale, Washed-Out Flower Color
When your once-vibrant orange or yellow calendula flowers fade to pale, washed-out versions of themselves, they’re telling you something’s wrong. This color loss often indicates insufficient sunlight, heat stress, or specific nutrient deficiencies – particularly phosphorus which influences flower pigmentation.
For light issues, consider transplanting to a sunnier location if possible. During hot weather, provide afternoon shade to prevent heat bleaching. Address potential phosphorus deficiency with bone meal worked into the soil around plants, following package directions for application rates.
My kitchen garden calendulas developed this issue after a neighbor’s tree leafed out fully in late spring, casting more shade than expected. After relocating them to my south-facing bed, the next round of blooms displayed their proper rich coloration.
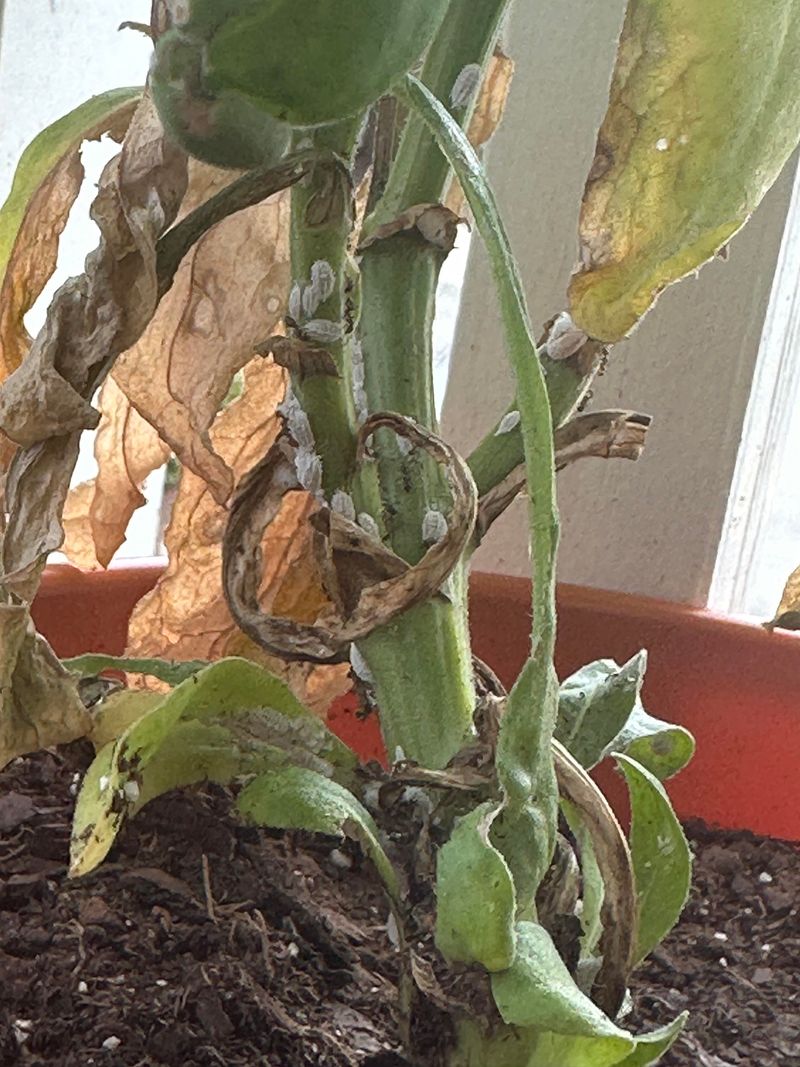
13. Sticky Residue On Leaves And Buds
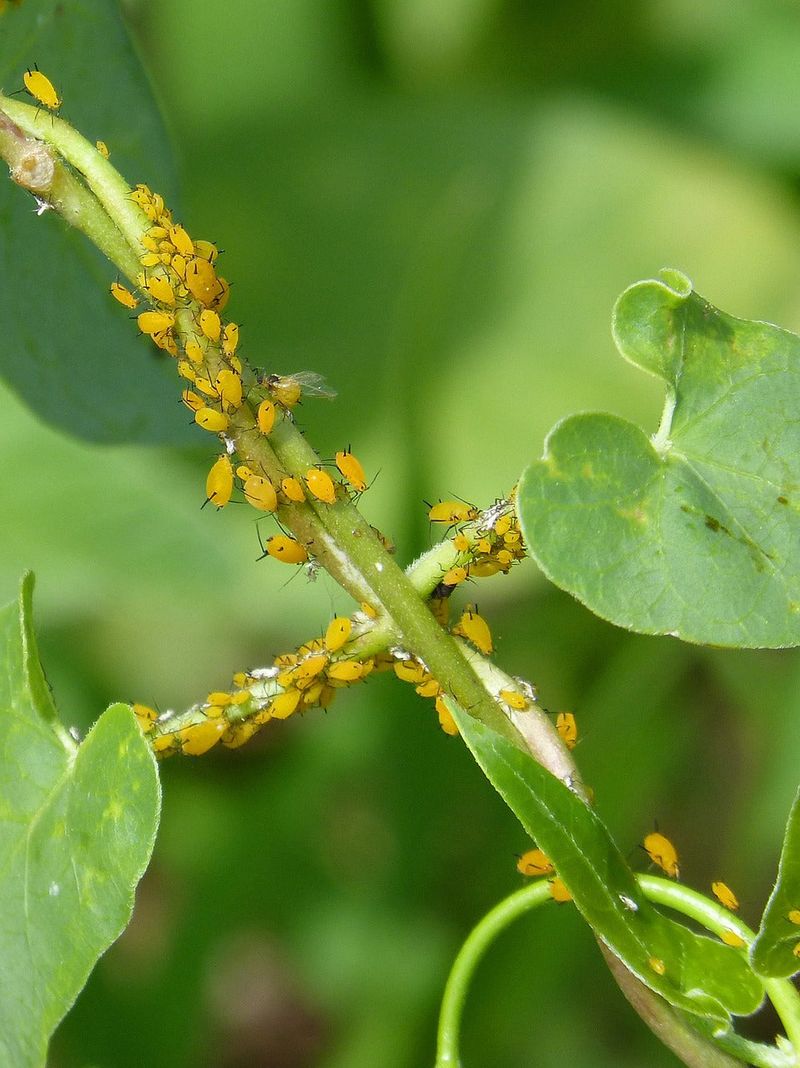
Finding a shiny, sticky substance on your calendula leaves and buds is a telltale sign of sap-sucking insects at work. Aphids, whiteflies, and scale insects excrete this honeydew after feeding on plant sap. You’ll often notice ants visiting the plants, attracted by this sweet secretion.
Look closely for the culprits, which are usually found on stem joints and leaf undersides. A strong spray of water can dislodge many pests, followed by insecticidal soap application for persistent infestations. Introducing beneficial insects like ladybugs provides long-term control.
I first dismissed the stickiness on my calendulas as tree sap until I noticed the ant activity. After releasing ladybug beetles purchased from a garden center, the problem resolved itself within two weeks as the predators hunted down the aphid colonies.
14. Distorted, Twisted New Growth
When new leaves emerge twisted, curled, or otherwise malformed, your calendulas are likely suffering from herbicide exposure or insect damage. Broad-leaf herbicides can drift surprisingly far from application sites, while certain insects like thrips feed on young tissue, causing deformation as leaves expand.
For herbicide damage, flush the soil with plenty of water to dilute any residual chemicals. Future growth should emerge normally if exposure was minimal. If thrips are suspected, apply insecticidal soap or neem oil, focusing on new growth where these tiny insects hide.
My community garden plot suffered this exact issue after the neighboring plot was treated for weeds. I was heartbroken seeing the twisted new growth, but after thoroughly soaking the soil several times, the subsequent leaves emerged perfectly normal.
15. Early Flower Drop Before Fully Blooming
Watching flower heads drop off before fully opening or shortly after blooming indicates environmental stress or pollination issues. Temperature fluctuations, especially cold nights followed by hot days, often trigger this premature dropping as plants try to conserve energy.
Stabilize growing conditions by mulching around plants to moderate soil temperature. Water consistently to prevent stress, and consider providing temporary protection during extreme weather events. Adding a very dilute calcium solution (1 tablespoon lime dissolved in 1 gallon water) can help strengthen flower stems.
During an unseasonably cool week last May, my calendulas started dropping buds overnight. Setting up plastic milk jugs filled with warm water between plants created enough microclimate protection to stop the dropping until temperatures normalized.
16. Slow Or No Response To Fertilizer
When your struggling calendulas don’t perk up after fertilizing, something is blocking nutrient uptake. Soil pH imbalance is often the hidden culprit – calendulas prefer slightly acidic to neutral soil (pH 6.0-7.0). Outside this range, nutrients become locked in the soil, unavailable to roots.
Test your soil pH with an inexpensive kit from garden centers. For overly acidic soil, add garden lime; for alkaline soil, add elemental sulfur, following package rates. Water thoroughly after application to help amendments integrate with the soil.
My raised bed calendulas showed this stubborn lack of response last year. A pH test revealed surprisingly alkaline soil from my concrete-adjacent location. After sulfur application, the plants greened up within ten days as nutrients became available again.
17. Sudden Leaf Drop From Lower Stems
Finding bare lower stems where healthy leaves previously grew is concerning, especially when it happens quickly. This bottom-up leaf shedding often signals drought stress, even if the surface soil appears moist. Deeper roots may not be receiving adequate water.
Water deeply rather than frequently, ensuring moisture penetrates at least 6-8 inches into the soil. Using a soil probe or simply digging a small test hole helps verify water penetration. Adding organic mulch conserves moisture and prevents rapid soil drying.
I noticed this issue during a particularly windy week that dried out my garden faster than usual. After switching to weekly deep soaking instead of shallow daily watering, the leaf drop stopped immediately. New growth eventually filled in the bare stems, though it took several weeks.