How To Make A Wattle Fence Using Branches

Are you ready to add something unique to your garden? Say goodbye to unattractive metal constructions and hello to a great eco-friendly option – wattle fences!
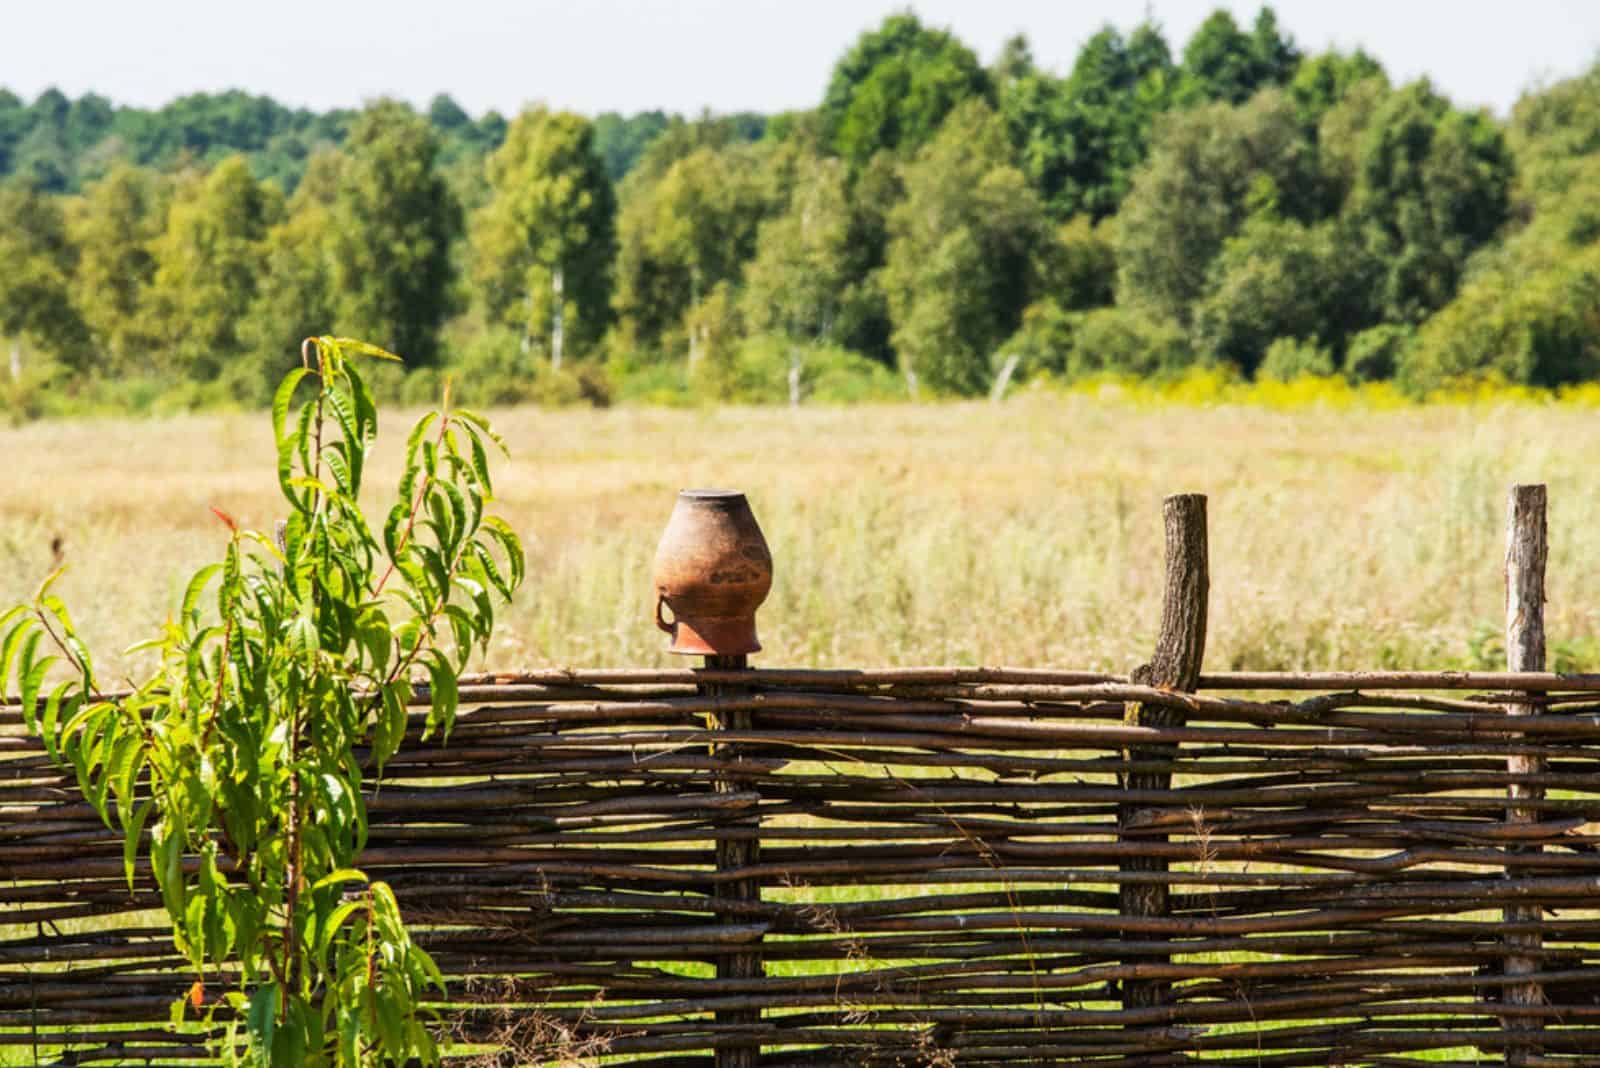
They have been used since ancient times, are an excellent choice for enclosing gardens, and will add a rustic touch to your landscape.
I’ll tell you everything about wattle fences, from their uses to a step-by-step guide for making them using branches.
Roll up your sleeves and let’s make a wattle fence!
More About Wattle Fences
This lightweight construction has been used since ancient times, particularly in the Neolithic period.
You can find these constructions on the British Isles, Ireland, and in other European countries.
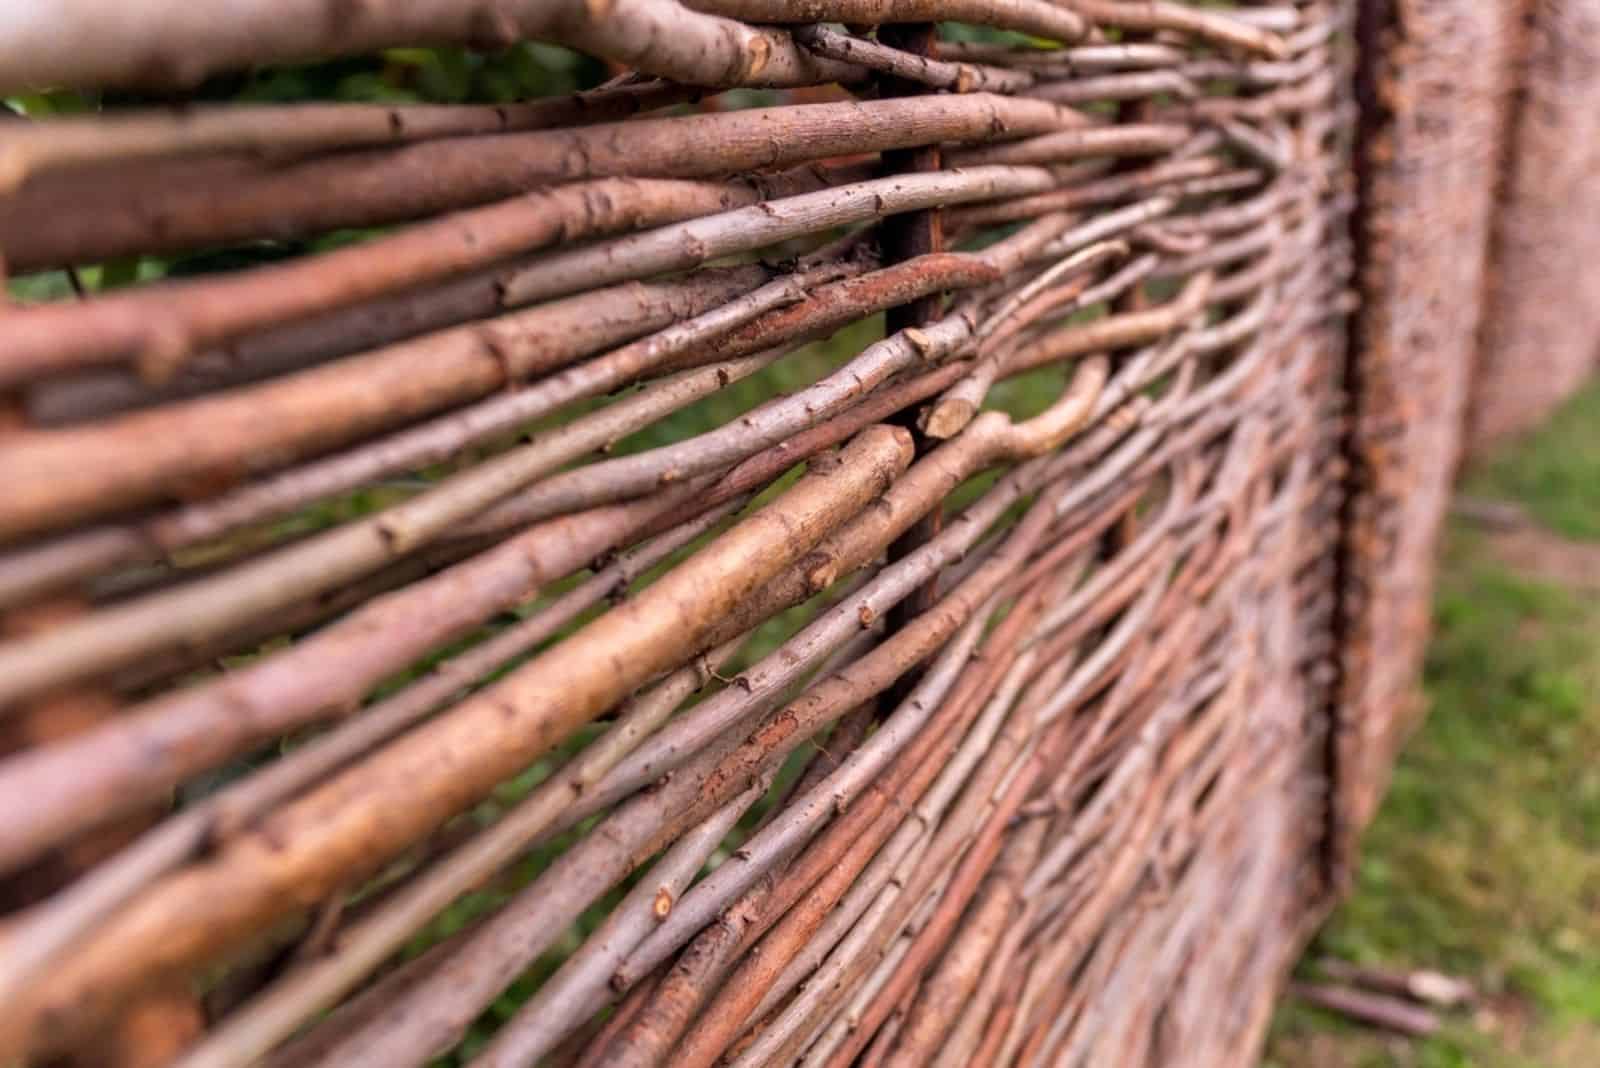
So, what does the wattle fence refer to? It’s a simple technique of weaving thin branches between poles to create a woven lattice.
A long time ago, this structure was used for hurdles, i.e., portable fencing sections most commonly used for animal and land management.
The term wattle fencing also refers to the material commonly known as wattle, which is an internal construction used in old buildings. You can still see it nowadays in some parts of the world.
Since this is an eco-friendly option, many builders use it for their homes today.
We’ll focus on making a wattle fence, i.e., a structure connected to poles in the ground.
Wattle Fence Uses
Before we start our project, let’s see some reasons to make these fences. Here are 7 common ways of using wattle fences in landscaping.
1. Defining the boundaries of your garden.
2. Dividing the garden into sections for easy navigation.
3. Protection of delicate plants and erosion prevention from winds.
4. Natural privacy screen for patios and balconies.
5. Livestock enclosure.
6. Decoration in landscapes perfect for events.
7. A sturdy fence for keeping critters at bay.
Let’s move to the first part of the project: wood selection.
What Wood To Choose
It’s essential to choose a suitable type of wood because it determines the sturdiness of the fence. The most commonly used woods are hazel, alder, and willow.
The good news is that you’re not limited to these woods. Ash, plum, and apple branches are also suitable for making this construction.
The most important thing is that the wood is robust, which is the reason why many builders decide on hardwood.
You should know that some fences, such as those made of willow, require maintenance because they’ll form roots. In this case, pruning is needed to maintain the shape of the fence.
When you decide on the wood you want, you need to choose the type for the weavers. Since you’ll be weaving them between the poles, they need to be very flexible.
Builders often use whole branches but you can go with split portions. The drawback of the latter option is that it takes a lot of time, but the benefit is that it’s lightweight.
I recommend using green wood because it’s more flexible and will be easier to weave between the poles.
Design
The second part of the project is to pick the design, i.e., where you’ll place the fence and how long or tall it will be.
For instance, if you decide on using fence decorations, you don’t need to worry as much about sturdiness as you would if you used it as a livestock enclosure.
You can use thin branches for the first purpose, but choose thick branches if you need the fence for livestock.
If you prefer a curving design, the branches should be thinner and more flexible.
Before you start using branches, you can remove the bark to create a neat look or leave the bark to get a more rustic appearance.
How To Build A Wattle Fence
Now comes the fun part. After you decide on the use and design of your wattle fence, and choose the type of wood, it’s time to build the structure.
Don’t worry if you’re not a skilled builder – this isn’t a hard task, but bear in mind that it may take some time to build. You know the saying: “a friend in need is a friend indeed,” so it would be great if you had some help.
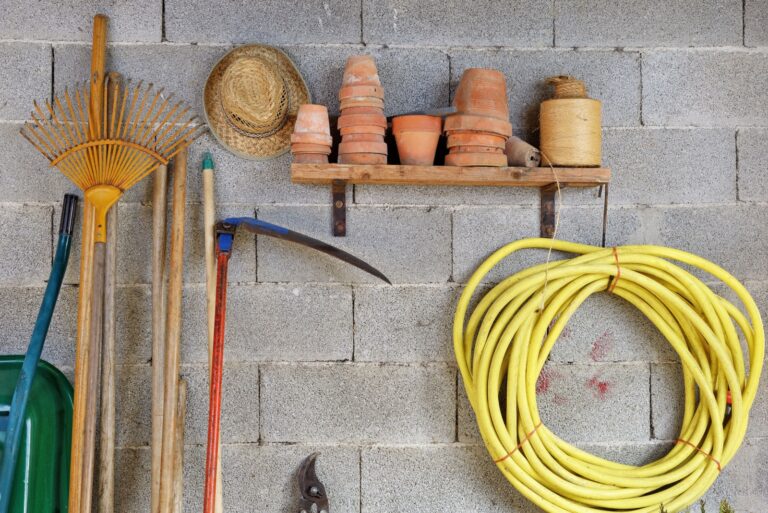
Before you start with the construction, here are some tools you’ll need:
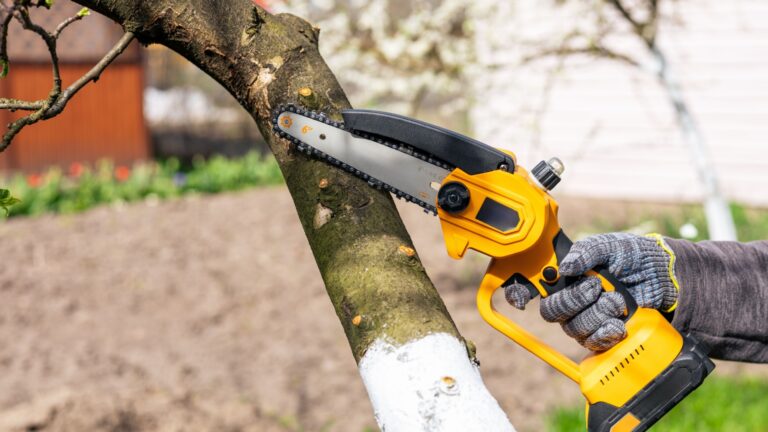
• A wood saw
• Loppers
• Pruning shears or secateurs (there are some excellent secateurs for arthritic hands on the market if you have this problem)
• A mallet or hammer
• Twine or wire (optional)
As you can see, there’s no need for power tools. Of course, you can use them if they are already in your tool collection.
Find A Location
The first thing to do is mark the position where you intend to install your wattle fence, considering factors such as sun exposure and wind.
You can use different materials for marking, such as twine, or you can make a line using flour or a thin string.
This is mainly based on your personal preference, so use materials that are easy to handle.
You also need to clean the area of debris or any other vegetation that could interfere with the structure.
Gather Equipment
Now it’s time to collect poles and weavers. The number of both depends on the length and height of your wattle fence.
First plan how far apart you’ll place the poles to help you determine the number.
Once you collect the poles, you need to cut them to the necessary height and use a hand saw to remove any side branches or twigs.
Bear in mind that one section of pole will go under the soil line, so cut it a little longer.
The next step is to collect the branches. They should be long and flexible so that you can easily weave them between the poles.
There’s no definite number of branches to collect; the more the merrier. You’ll need less thick and more thin branches, depending on the design you decide on.
If you want to weave them tightly to get uniformity, it’s better to go with a lot of thin, long branches.
Don’t worry much about the number of branches. If you run out of them while building the fence, you can go and collect more.
Place The Stakes
Before placing the stakes, check the soil type where you’re going to put them. If it’s too compact, it would be best to sharpen the ends of the stakes to a point. This technique will allow you to easily push the stakes into the ground and ensure better stability.
You can skip this step if the soil is loose and easy to manage.
Dig the holes and place the stakes into them, making sure they stand upright and straight. If you’re a perfectionist, you can use a level to determine if the stakes are perfectly vertical.
A hammer or mallet can help you insert the stakes into the ground. Be careful not to damage the stakes (put a block of wood on them).
Check for stability by gently tugging the stakes. If they’re sturdy, you can proceed to the next step.
If you decide on a more decorative effect, you can remove the bark from the weavers at this point.
If you choose to split the branches into portions, now is the perfect time to do it.
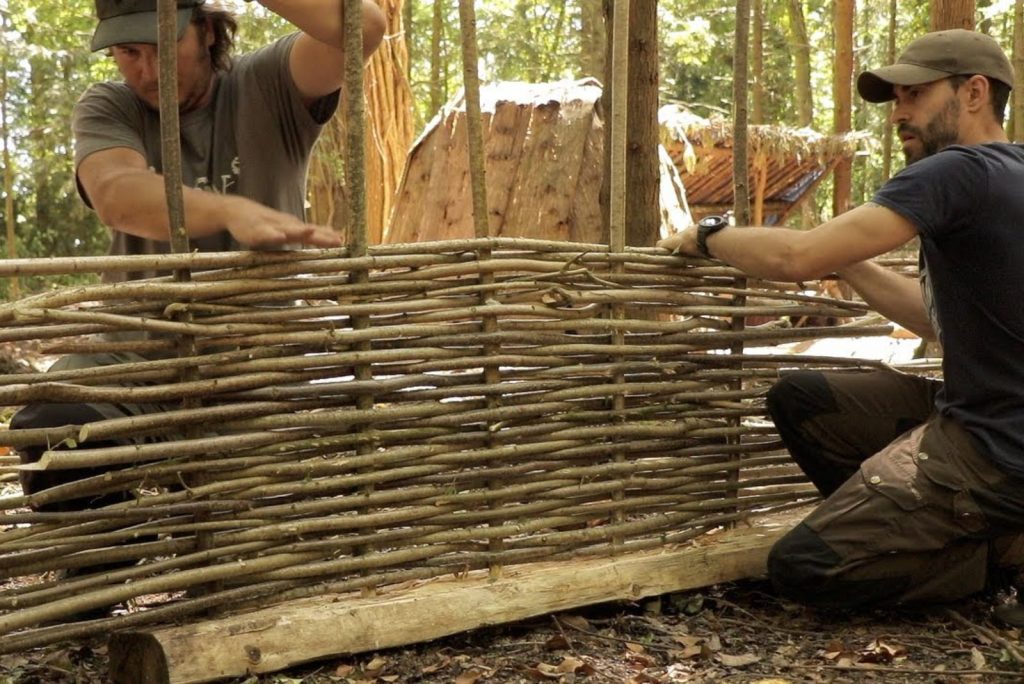
Weave The Branches Between Stakes
This is my favorite part of making a wattle fence. Before weaving, remove any side branches for a smooth result.
Hold the thicker end of the branch and let it stick out at the ends. This will allow you to cut them off easily. Weave the branch between the poles, then take the next branch and continue weaving, making sure you go on the opposite side of the pole.
If your fence is long, the length of the branches most likely won’t be sufficient, so when you reach its thin end, stop weaving and prolong at the rear side of the fence. This way you’ll avoid any cuts on the front.
Continue Weaving And Layering
Push down the branches firmly to ensure more sturdiness and stability. Once you reach the desired height, it’s time to cut off the branches that stick out at the rear.
If you’re satisfied with the results and everything is sturdy, you can expect your wattle fence to last approximately 7 years. Your hard work will pay off; enjoy the rustic elegance the wattle fence adds to your landscape.