15 Genius Ways To Transform Paper Bags Into Home And Garden Must-Haves
I used to toss paper bags without a second thought—now I hoard them like treasure. It’s wild how something so simple can be turned into useful (and pretty) things for the house and garden.
From cute seedling pots to clever storage tricks, I’ve tried a bunch, and some turned out better than I expected. It’s budget-friendly, satisfying, and a little addictive once you get going.
If you’ve got a pile of paper bags and a bit of curiosity, you’re in for some fun.
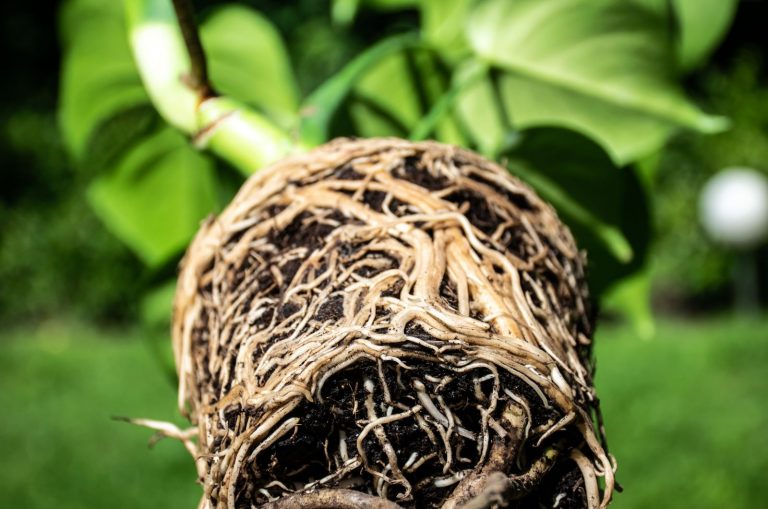
1. Rustic Plant Pots
Turn those plain paper bags into charming biodegradable plant pots that add rustic flair to your windowsill garden. Simply fold down the top edge to create stability, then shape the bag around a glass or jar to form your pot shape.
These paper pots work wonderfully for seedlings since you can plant them directly in soil when it’s time to move outdoors. The paper breaks down naturally, allowing roots to expand without transplant shock. No plastic waste, just eco-friendly gardening!
2. Compost Bin Liners
Got a messy compost situation? Paper bags make perfect compostable bin liners that absorb excess moisture and reduce odors. Open a bag fully, place it in your kitchen compost container, and fill with food scraps as usual.
When full, simply fold the top closed and toss the entire package into your outdoor compost. The paper breaks down along with your scraps, adding valuable carbon to balance nitrogen-rich food waste. Kitchen counters stay cleaner and your compost pile stays happier!
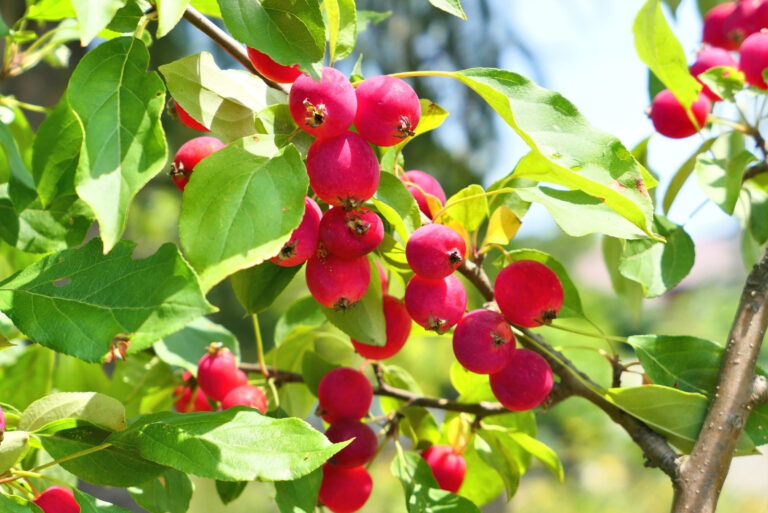
3. Protective Fruit Ripeners
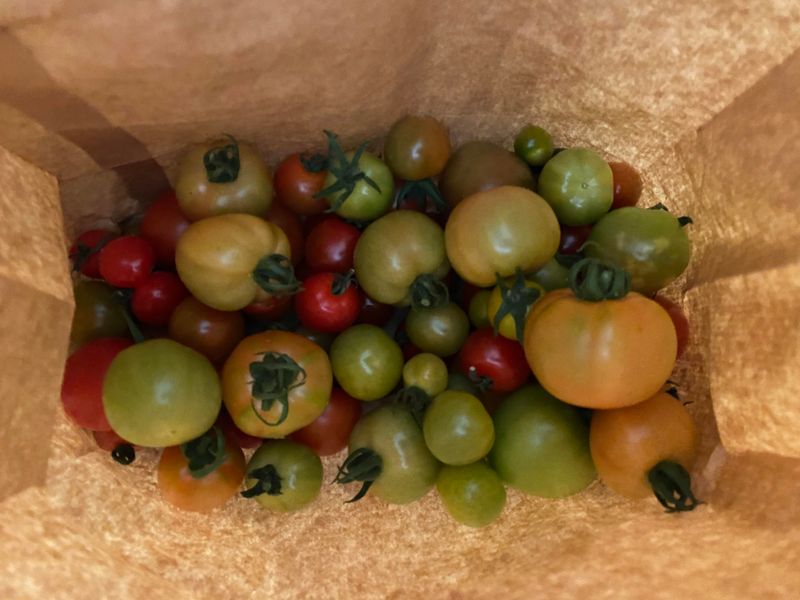
Speed up ripening for those stubborn green fruits! Place unripe avocados, peaches, or tomatoes in a paper bag, fold the top loosely closed, and leave on your counter. The natural ethylene gas gets trapped inside, accelerating the ripening process naturally.
For even faster results, add a ripe banana to the bag – it releases extra ethylene that works like magic. This trick gives you perfectly ripe fruit exactly when you need it without any artificial chemicals or special equipment.
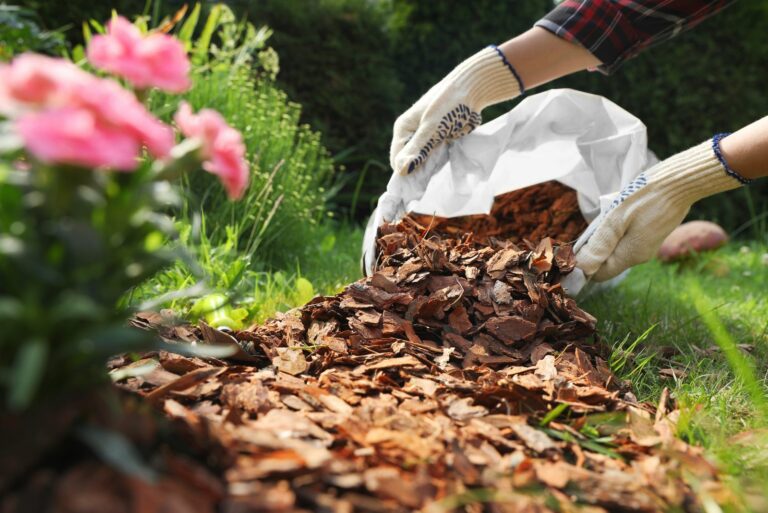
4. Weed-Blocking Garden Mats
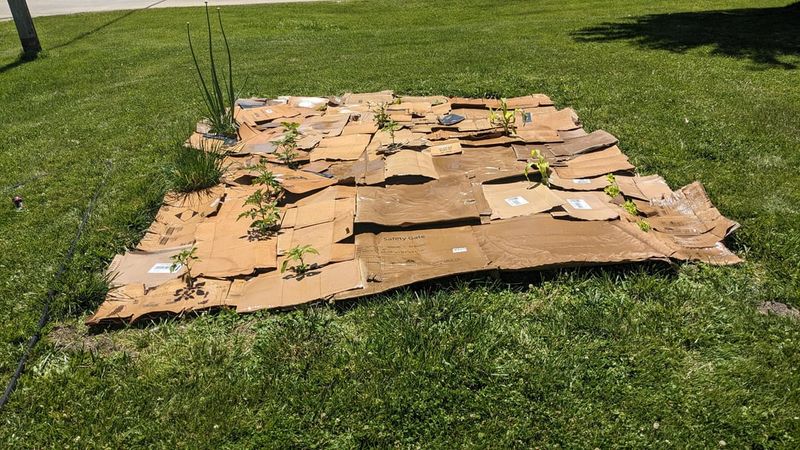
Combat persistent garden weeds with paper bag mulch mats that block sunlight while adding organic matter to your soil. Cut bags along seams to create flat sheets, then lay them around established plants, overlapping edges by several inches.
Cover with a thin layer of mulch to keep them in place and improve appearance. As the bags slowly decompose, they feed your soil while preventing weed seeds from germinating. This method works especially well for vegetable gardens and flower beds!
5. Vintage Wall Art
Create stunning wall art by cutting paper bags into canvas-sized rectangles and ironing them flat. Draw or paint your design directly on the kraft paper surface for a vintage, rustic look that complements farmhouse or bohemian décor.
Frame your creation with simple wood trim or washi tape for added durability. The natural variations and subtle textures in the paper create depth that store-bought art papers can’t match. Each piece becomes completely unique – perfect for personalizing your space!
6. Protective Book Covers
Fashion durable, customizable book covers from paper grocery bags to protect your favorite reads or school textbooks. Cut along seams to create a flat sheet, then fold around your book for a perfect fit that prevents torn corners and damaged spines.
Decorate with markers, stamps, or collage elements for a personalized touch. These covers provide serious protection while letting your personality shine through. Best of all, they’re completely free and can be replaced whenever they start looking worn!
7. Seed Storage Envelopes
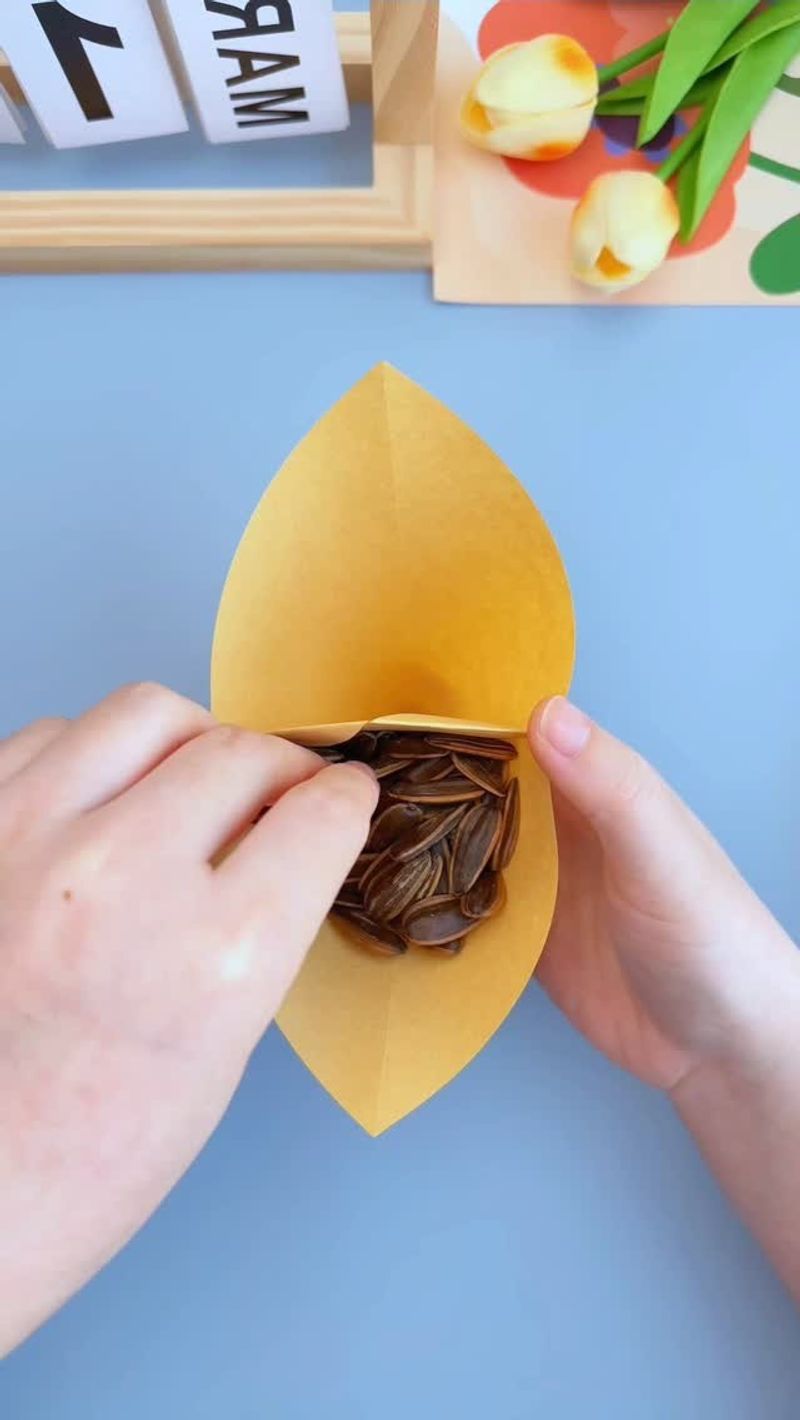
Craft perfect seed storage packets from paper bags that keep garden seeds dry and organized between planting seasons. Cut small rectangles from the flattest sections, fold in half, and seal edges with washi tape or glue.
Label each packet with the seed variety and collection date using a permanent marker. The breathable paper prevents moisture buildup that can cause mold while protecting seeds from light exposure. Store your collection in a cool, dry place for maximum seed viability next season!
8. Eco-Friendly Gift Wrap
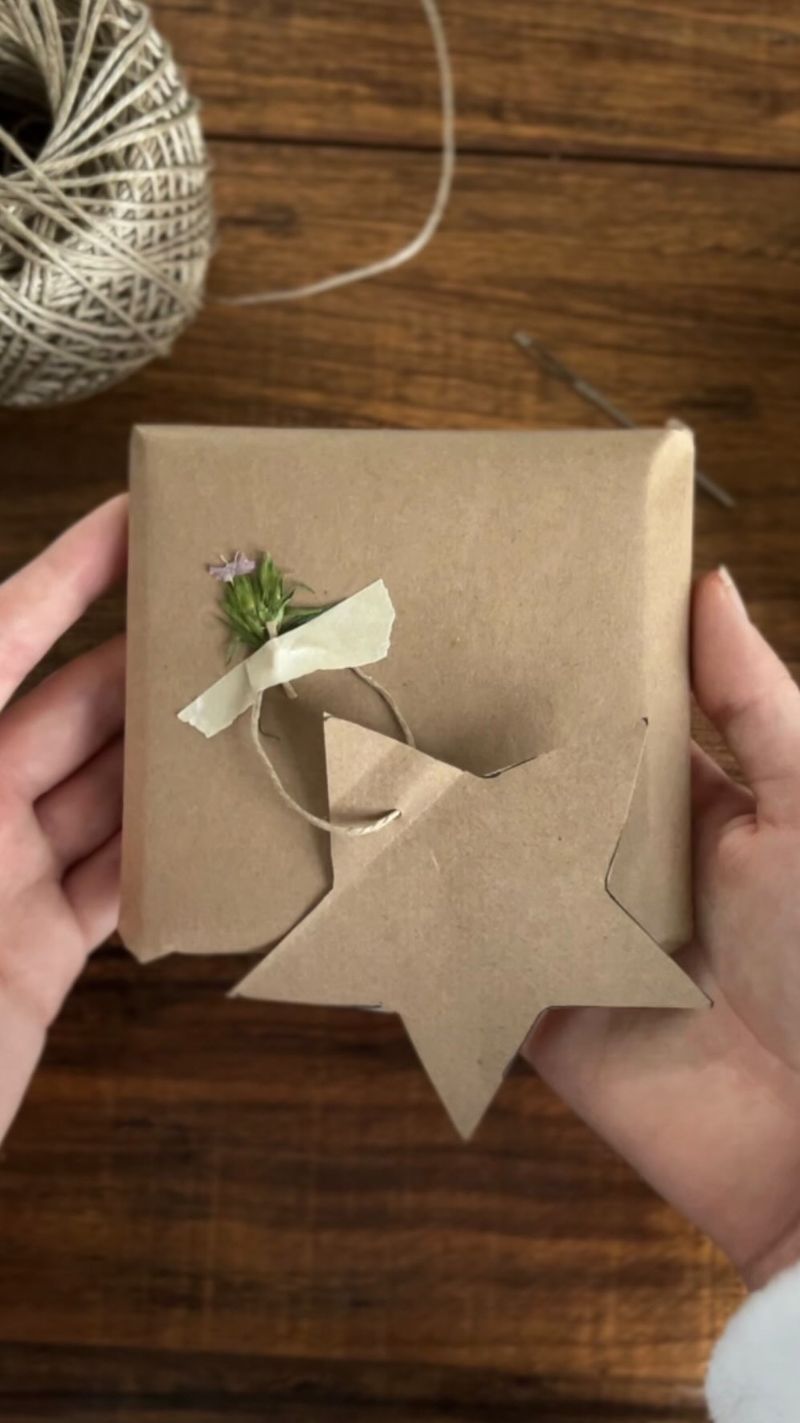
Transform ordinary paper bags into extraordinary gift wrap that’s both eco-friendly and uniquely beautiful. Cut along seams to create flat sheets, then wrap presents as you would with traditional paper, securing with twine or fabric ribbon instead of tape.
Add natural embellishments like dried flowers, pine sprigs, or cinnamon sticks for seasonal charm. The rustic kraft paper creates an artisanal look that plastic-coated commercial wrapping can’t match. Recipients will appreciate both your thoughtfulness and environmental consciousness!
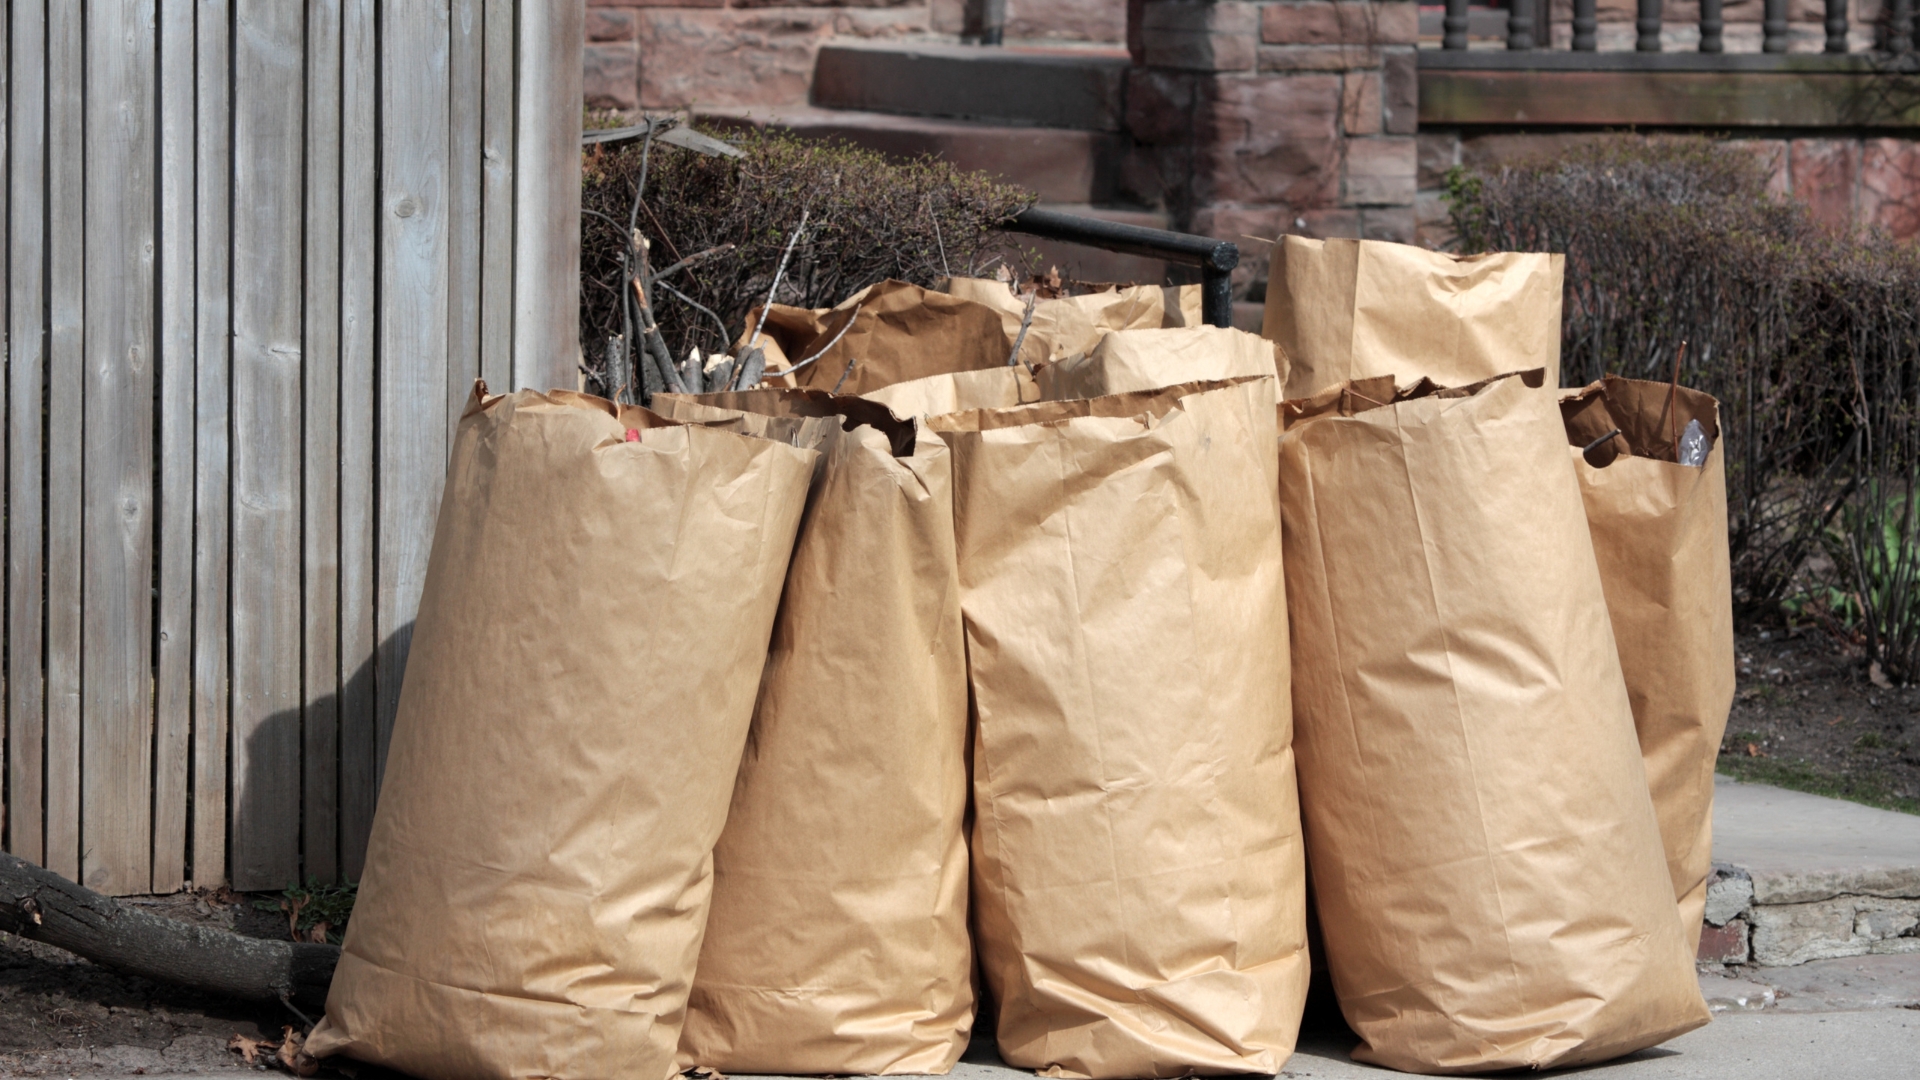
9. Protective Bulb Storage
Keep garden bulbs healthy during their dormant period using paper bags as breathable storage containers. After digging up summer bulbs like dahlias or gladiolus, let them dry for a few days, then place in individual paper bags with their variety name written on the outside.
The paper allows air circulation while preventing excess moisture that leads to rot. Store in a cool, dark place until planting season returns. This method works far better than plastic containers, which often trap dampness and encourage mold growth.
10. Homemade Luminaries
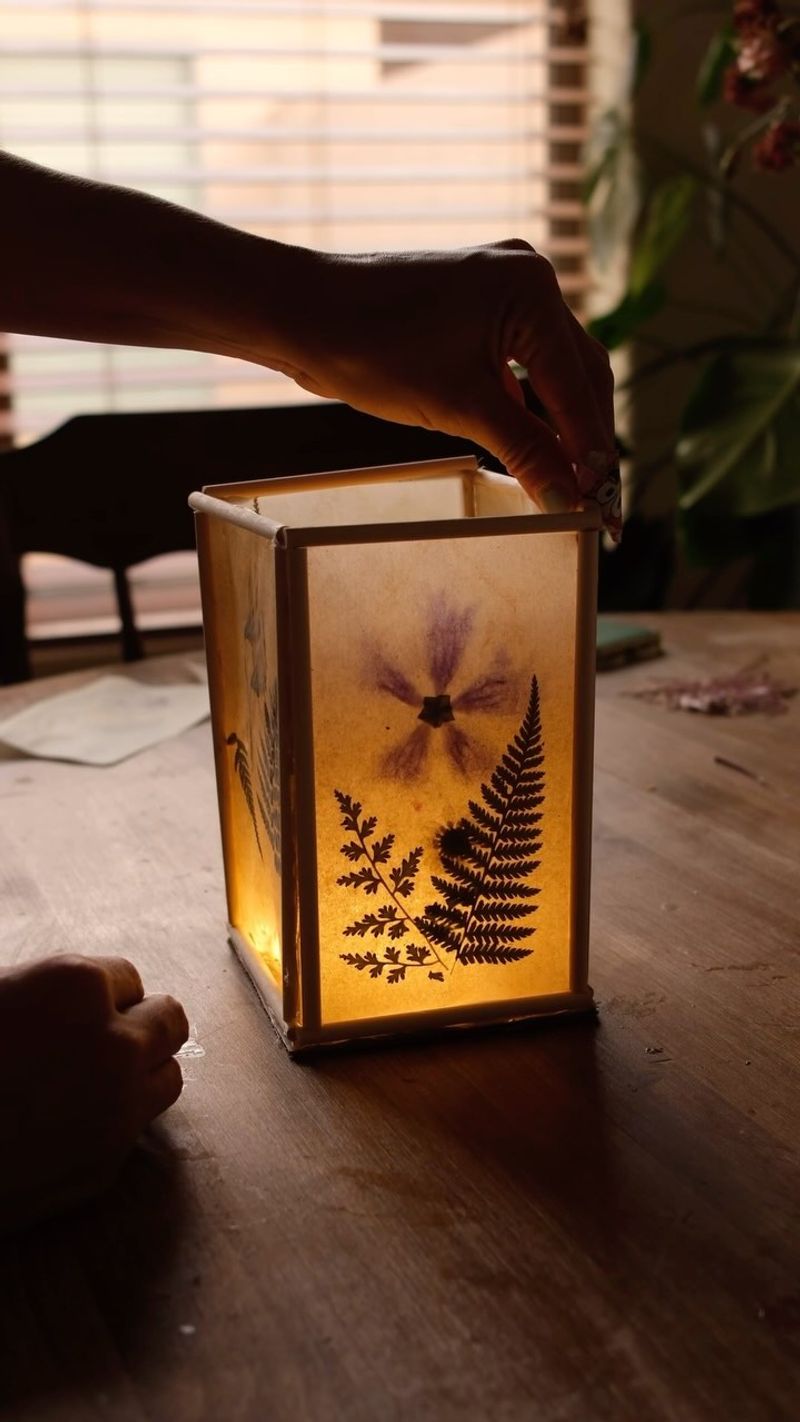
Create magical outdoor lighting by transforming paper bags into glowing luminaries for patios or garden paths. Fill the bottom of each bag with a few inches of sand for stability, then place a battery-operated tea light inside.
Cut decorative patterns into the sides using scissors or craft punches for a stunning light show after dark. Line them along walkways or cluster on tables for enchanting ambiance during outdoor gatherings. They cast beautiful shadow patterns that dance across your space!
11. Rustic Table Runners
Fashion an eye-catching table runner from paper grocery bags that adds farmhouse charm to any dining setting. Cut bags along seams, then iron flat and trim to your desired length, allowing extra for overhang at table ends.
Decorate with rubber stamps, stencils, or hand-drawn designs using craft paint. The natural kraft color provides a perfect neutral backdrop for seasonal decorations or fresh flower arrangements. Guests will never guess this designer-looking accent started as humble grocery bags!
12. Protective Fruit Sleeves
Guard growing fruits against insect damage and sunburn by creating protective paper sleeves from grocery bags. Cut bags into rectangles sized to wrap around developing apples, peaches, or pears, then secure gently around fruit stems with twine.
The paper creates a physical barrier against pests while allowing air circulation. Remove a few days before harvest to allow fruit to develop full color. This organic protection method reduces the need for pesticides while producing picture-perfect backyard fruit!
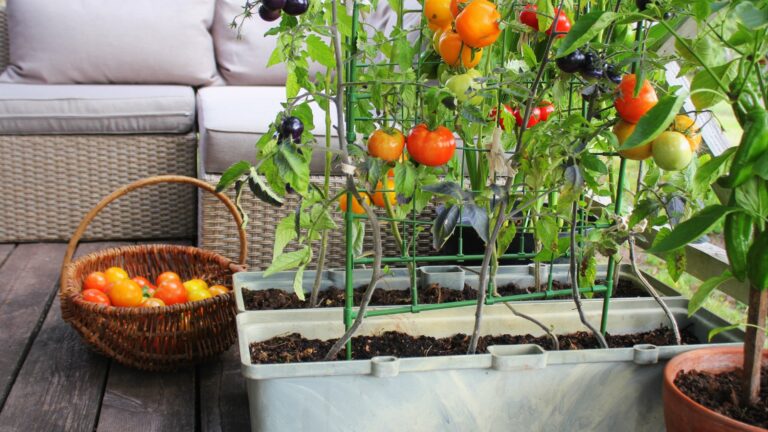
13. Seedling Greenhouse Covers
Fashion mini greenhouses for tender seedlings using paper bags as protective covers. Cut the bottom off a bag, place it over newly planted seeds or delicate transplants, and secure with stones or soil around the edges.
Remove during the day for sunlight, then replace at night to protect from frost or strong winds. The paper creates a gentle microclimate that increases humidity and temperature slightly – perfect for giving seedlings a strong start. When plants outgrow their covers, simply compost the bags!
14. Countertop Compost Collector

Create a no-fuss kitchen compost collector by simply standing a paper bag in a convenient corner. Fold the top edge down several times to create a sturdy rim that stays open for easy food scrap tossing.
When it’s about two-thirds full, roll the top closed and take to your outdoor compost bin. The paper absorbs excess moisture from fruit and vegetable scraps, reducing odors and preventing messy drips. This simple system makes daily composting practically effortless!
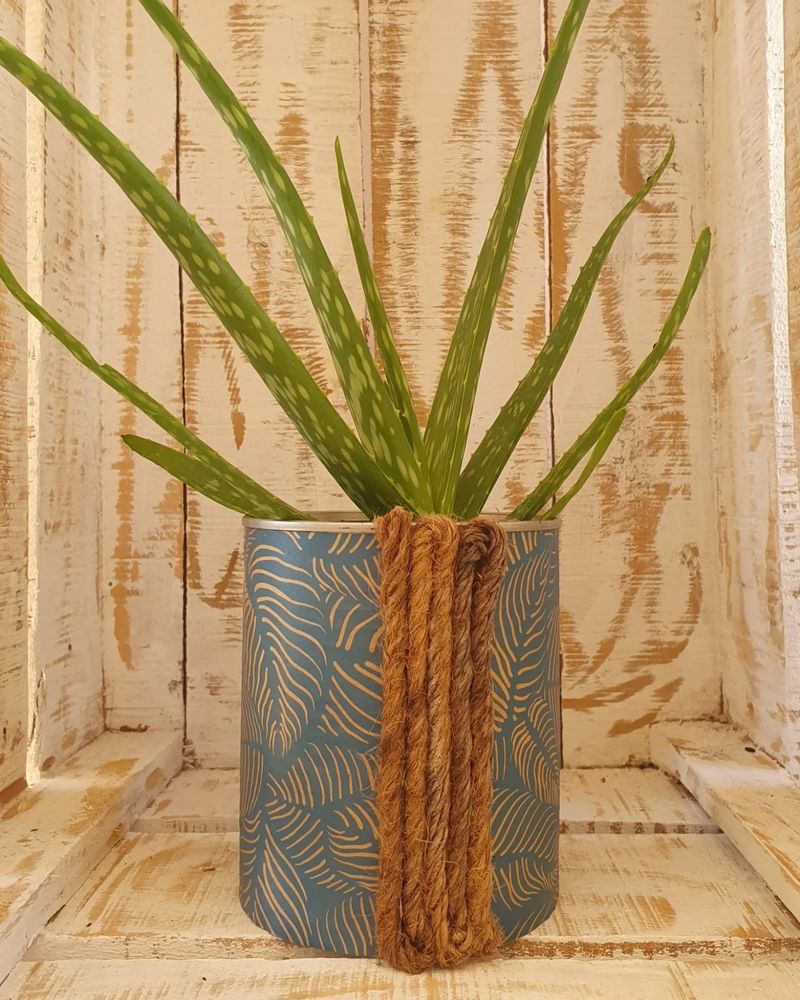
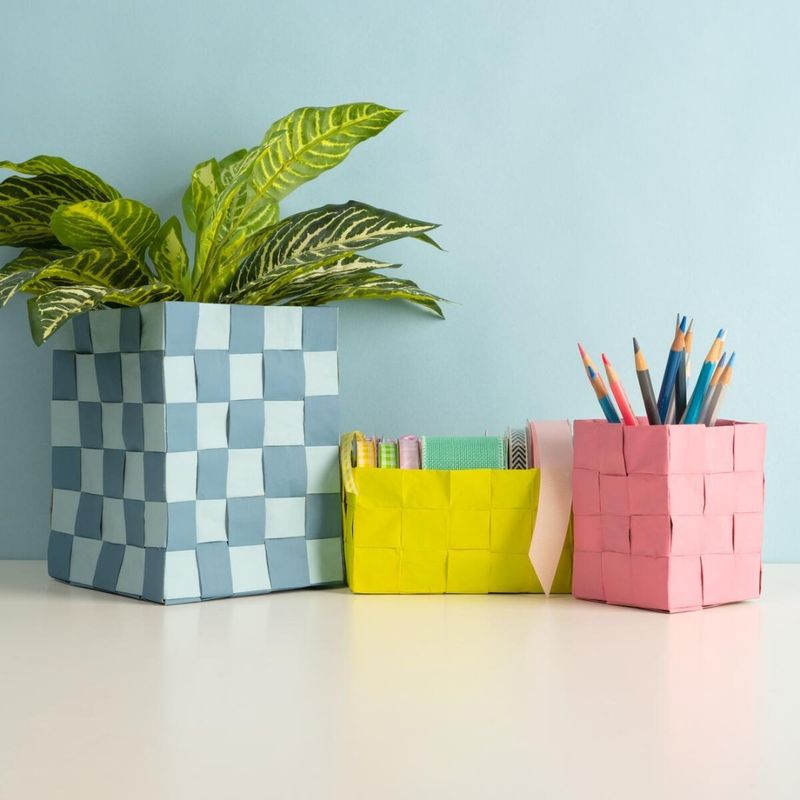
15. Vintage Storage Containers
Transform paper bags into stylish storage containers for craft supplies, bathroom essentials, or office materials. Fold the bag’s bottom and sides to create structure, then roll the top edge down several times to form a stable rim.
Customize with paint, stencils, or decoupage to match your décor. These containers look surprisingly upscale despite their humble origins. The stiff kraft paper holds its shape well while bringing natural texture to shelves and countertops – without the price tag of store-bought organizers!