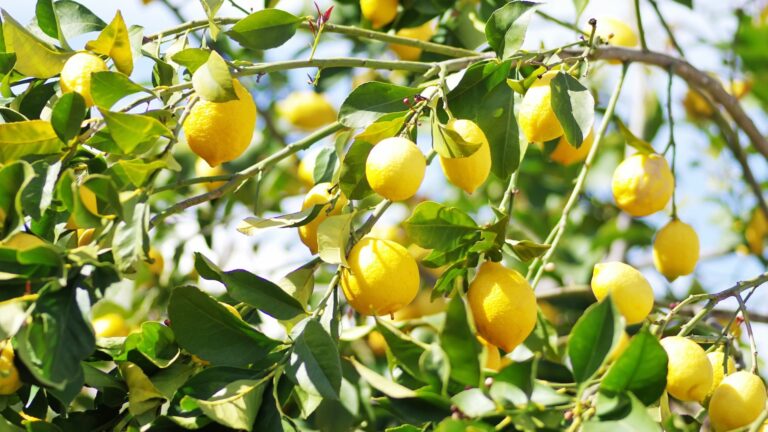
16 Ways To Save Your Struggling Citrus Trees Before It’s Too Late
When life gives you lemons, but your tree looks more dead than zesty, it’s time to turn over a new leaf. Don’t throw in the trowel just yet—your struggling citrus might be down, but it’s not out.
With these 16 tried-and-true tips, you’ll breathe new life into your trees and get them back to bearing fruit in no time!
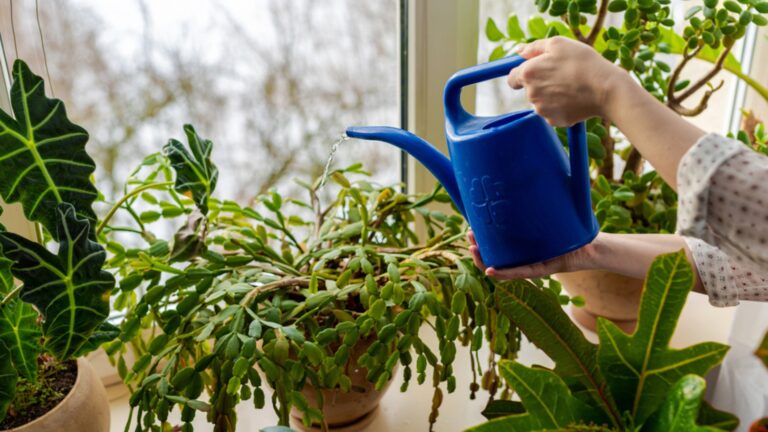
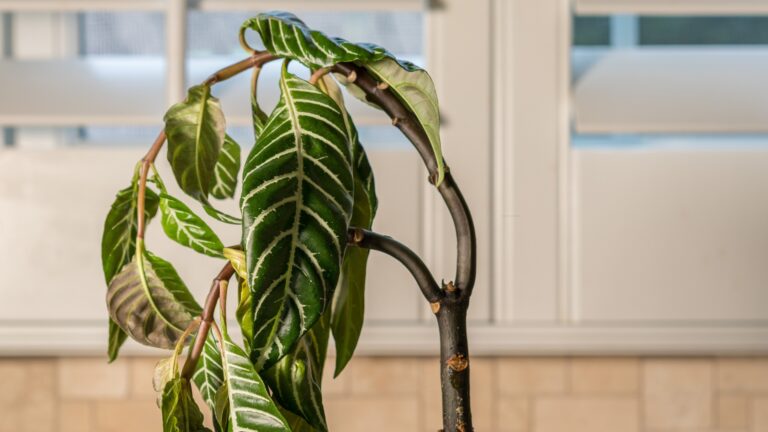
1. Check Your Watering Routine
Inconsistent watering is the number one killer of citrus trees. Most citrus needs deep watering once or twice a week, allowing the soil to dry slightly between waterings.
Feel the soil about 2 inches down – if it’s dry, it’s time to water. During hot summer months, increase watering frequency but avoid soggy conditions that lead to root rot.
A good rule of thumb: citrus trees prefer infrequent, deep watering rather than frequent, shallow sprinkling.
2. Feed With The Right Fertilizer
Hungry citrus trees show their distress through yellowing leaves and poor fruit production. Select a fertilizer specifically formulated for citrus with higher nitrogen content and essential micronutrients like iron, zinc, and manganese.
Apply fertilizer three times yearly – early spring, early summer, and fall. For young trees, use half the recommended amount to prevent burning delicate roots.
Organic options like fish emulsion provide gentle nutrition without harsh chemicals.
3. Master The Art Of Pruning
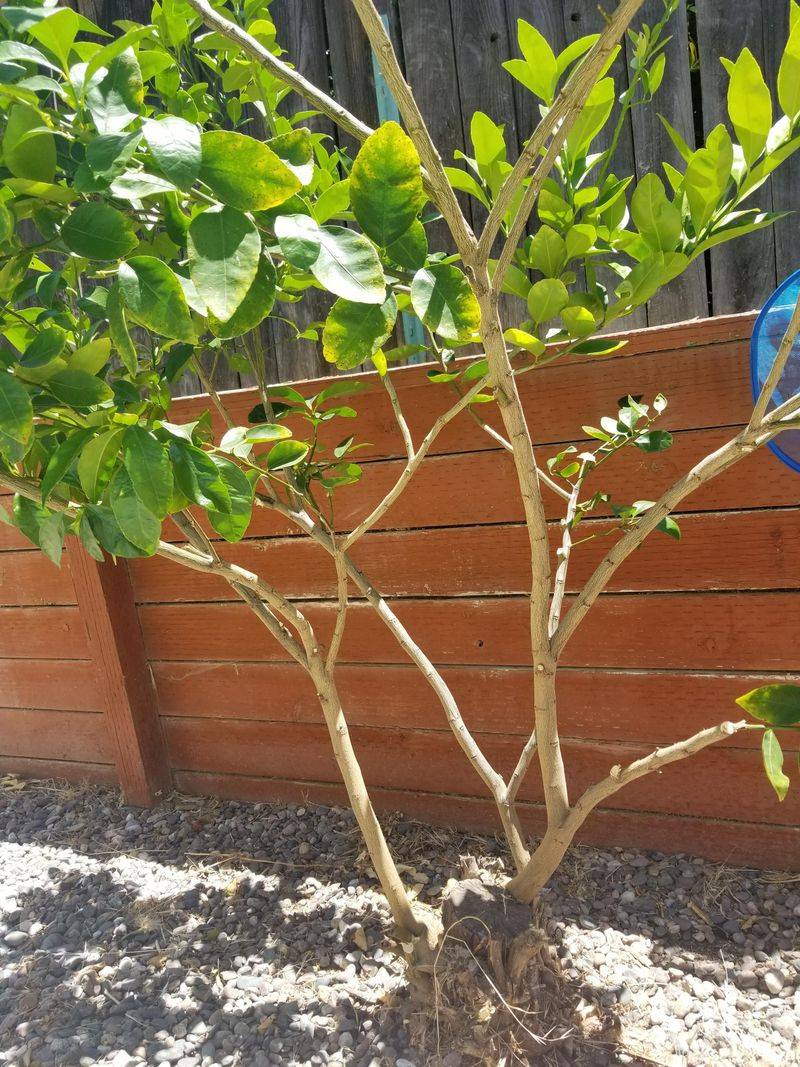
Strategic pruning revitalizes struggling citrus trees by improving airflow and sunlight penetration. Remove dead or crossing branches, water sprouts (those straight shoots growing from the trunk), and suckers from below the graft line.
Late winter to early spring makes the ideal pruning time, before the growing season begins. Never remove more than 20% of the canopy at once – this stresses the tree.
Clean cuts with sharp, sanitized tools prevent disease transmission between trees.
4. Solve Common Pest Problems
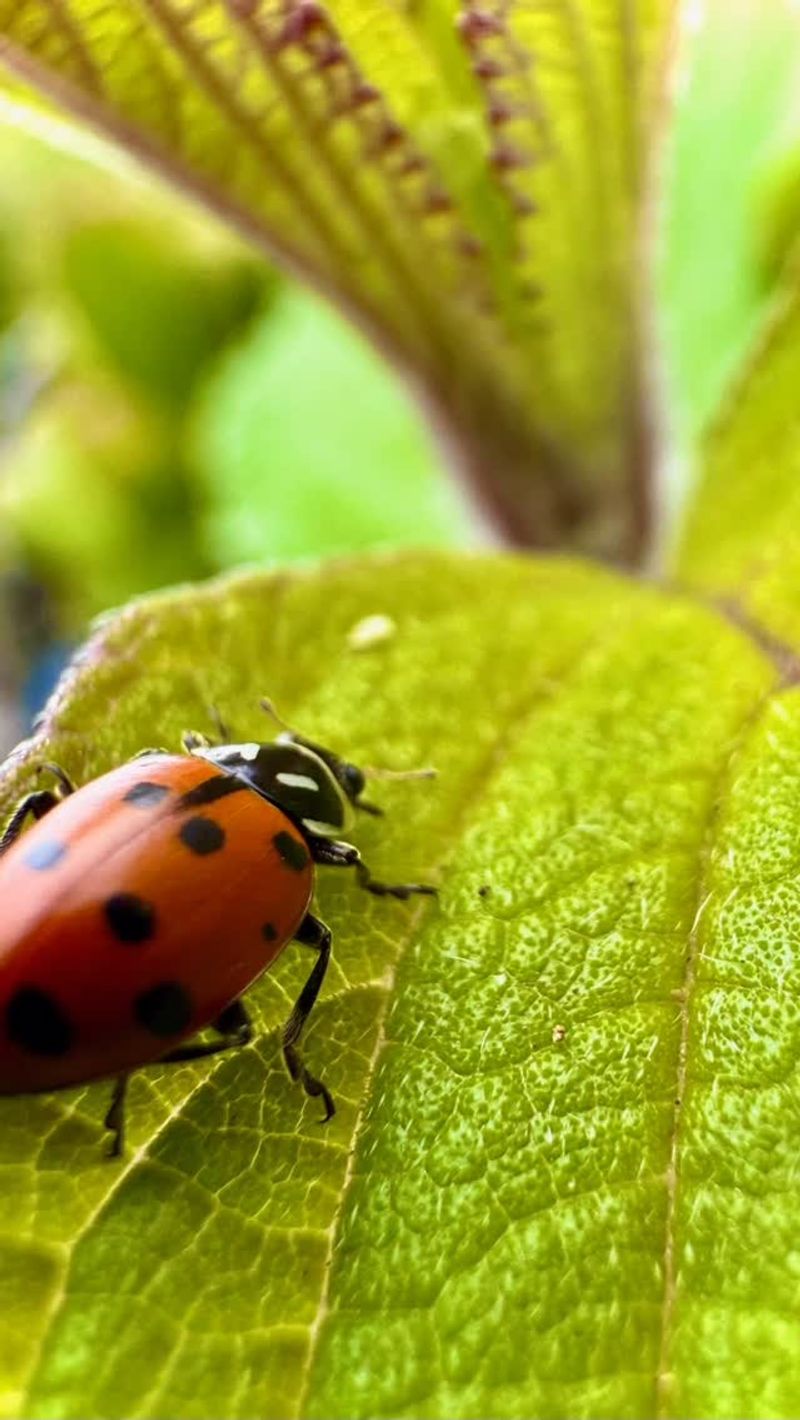
Citrus trees attract pests like aphids, scale insects, and citrus leaf miners that suck vital juices from leaves and stems. Inspect the undersides of leaves regularly – tiny bugs or sticky residue signal an infestation.
Introduce beneficial insects like ladybugs or lacewings as natural predators. For mild infestations, a strong spray of water dislodges many pests.
Neem oil serves as an organic option for more persistent problems, disrupting pest life cycles without harming beneficial insects.
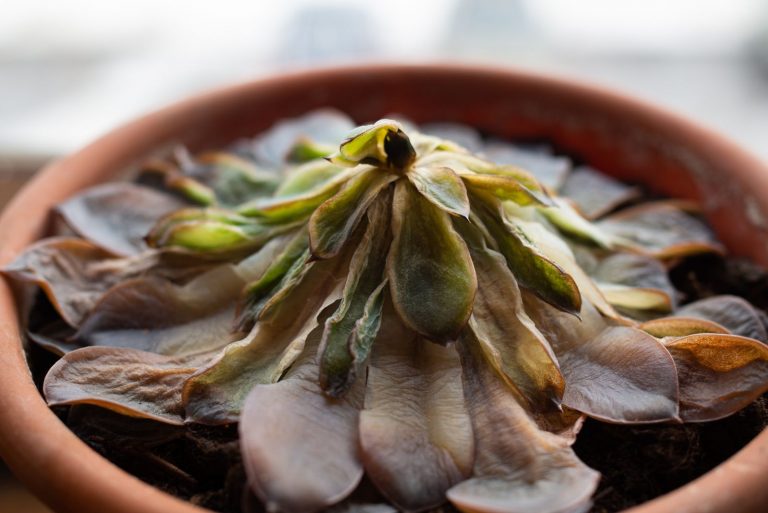
5. Address Nutrient Deficiencies
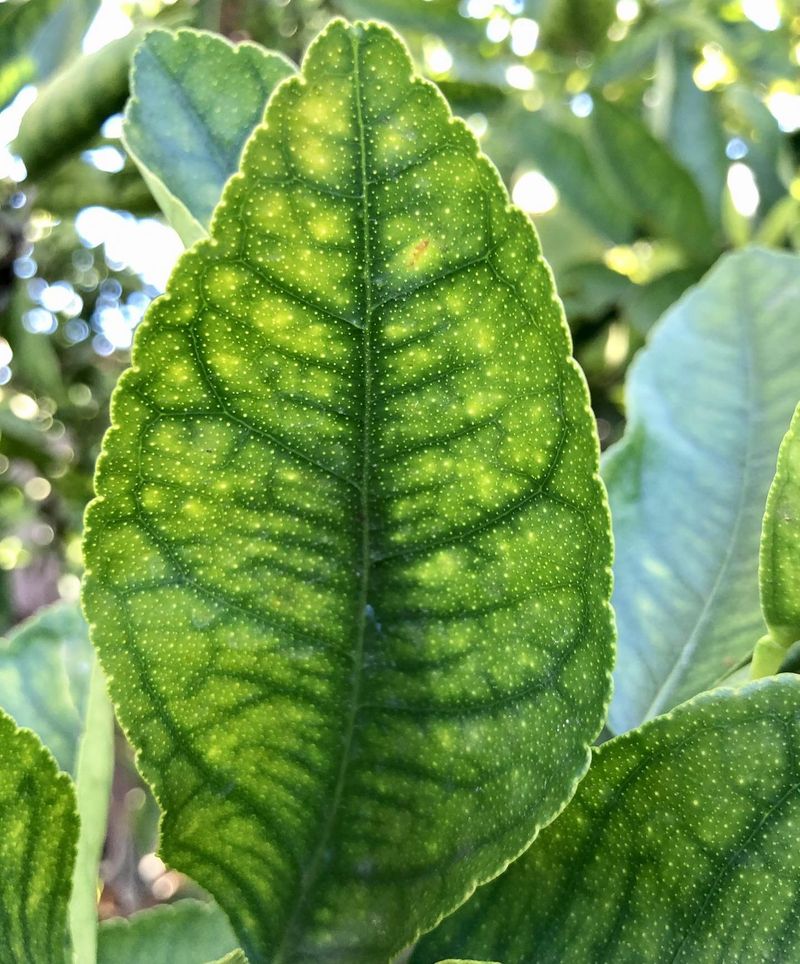
Yellow leaves with green veins scream iron deficiency, while twisted new growth points to zinc issues. Different discolorations tell specific stories about what your tree lacks.
Apply foliar sprays containing micronutrients for quick absorption through leaves. For long-term correction, amend soil with appropriate supplements – iron chelates for iron deficiency or zinc sulfate for zinc problems.
Soil pH affects nutrient availability; citrus prefers slightly acidic soil (pH 6.0-7.0) for optimal nutrient uptake.
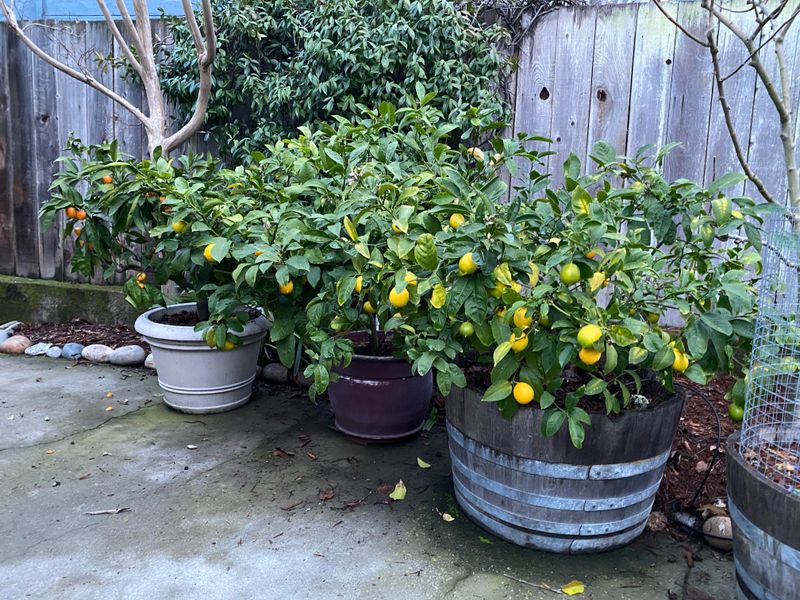
6. Relocate Potted Trees Strategically
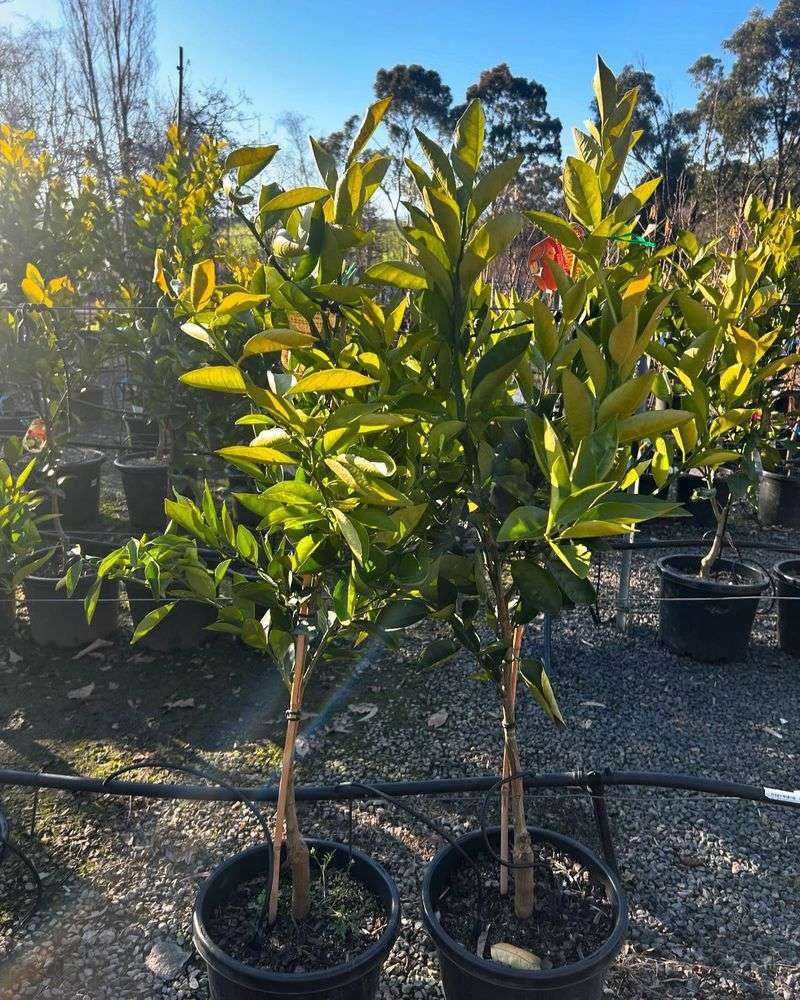
Potted citrus trees need location adjustments as seasons change. During summer, place them where they receive 6-8 hours of sunlight but gain afternoon shade in hot climates to prevent leaf scorch.
Move containers indoors when temperatures drop below 32°F, positioning near south-facing windows. Indoor heating systems create dry air, so mist leaves regularly or use humidity trays.
Rotate containers quarterly to ensure even growth and sunlight exposure on all sides.
7. Improve Drainage Issues
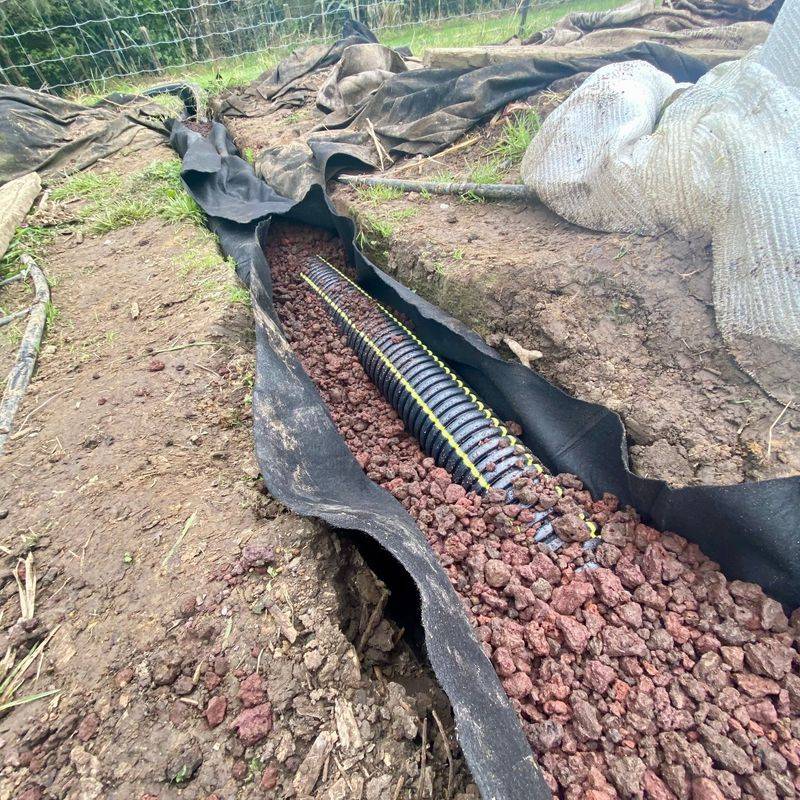
Waterlogged roots suffocate and rot, causing overall decline in citrus health. For in-ground trees, create slight mounds or install drainage tiles to direct excess water away from roots.
Potted citrus requires containers with multiple drainage holes and a layer of gravel at the bottom. Never let pots sit in saucers filled with water – empty them promptly after watering.
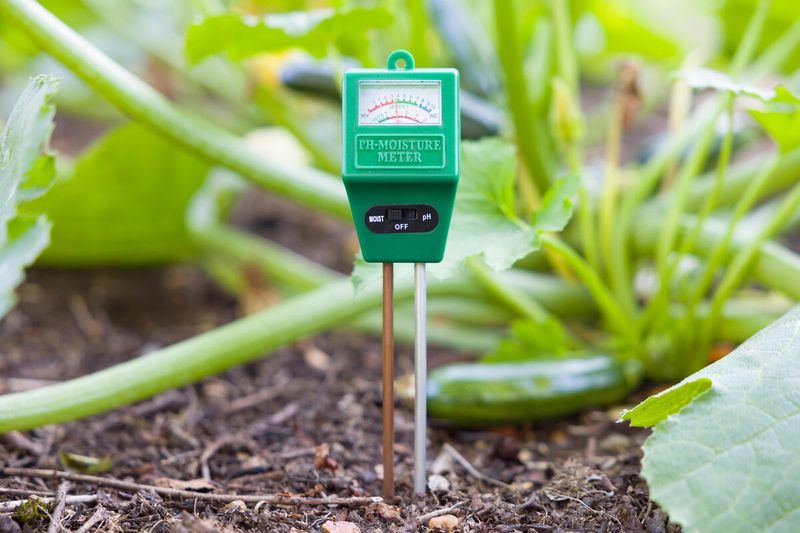
A soil moisture meter helps monitor conditions beneath the surface where problems often begin unnoticed.
8. Protect From Harsh Weather
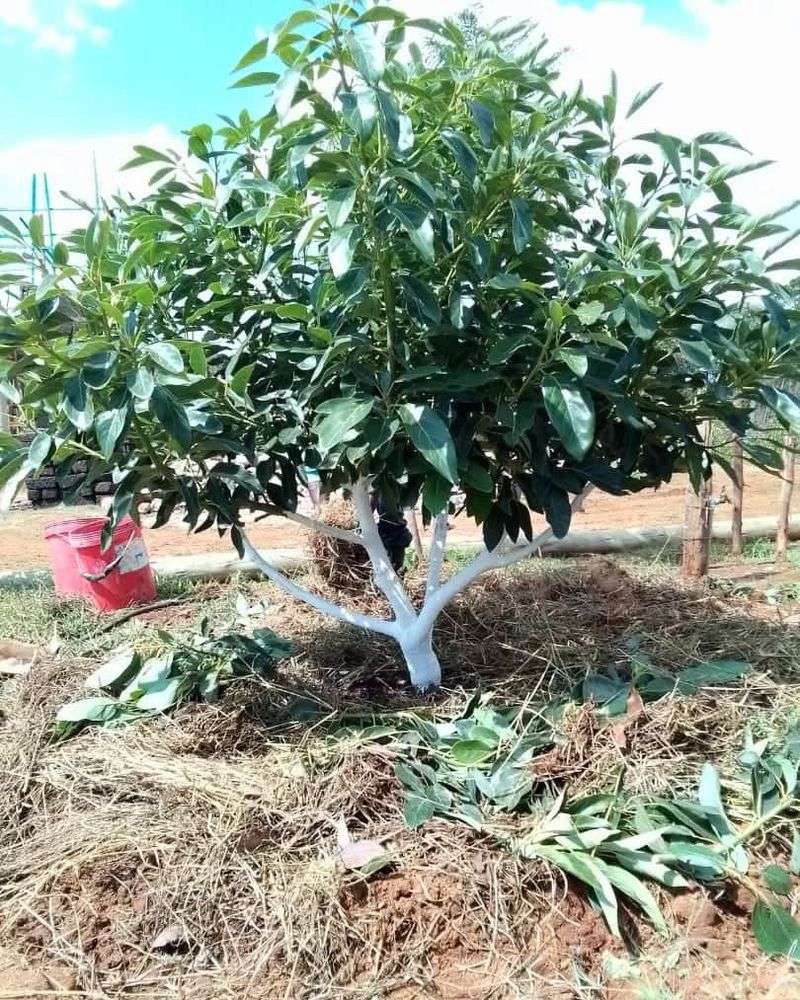
Unexpected frost damages citrus trees quickly, while intense summer heat causes sunburn on fruit and trunks. Young trees are particularly vulnerable to temperature extremes.
During cold snaps, drape trees with frost cloth or old bedsheets, extending to the ground to trap heat. For potted trees, wheels or plant caddies make emergency relocation easier when frost threatens.
In summer, whitewash trunks with diluted latex paint to prevent sunscald and consider shade cloth during heatwaves.
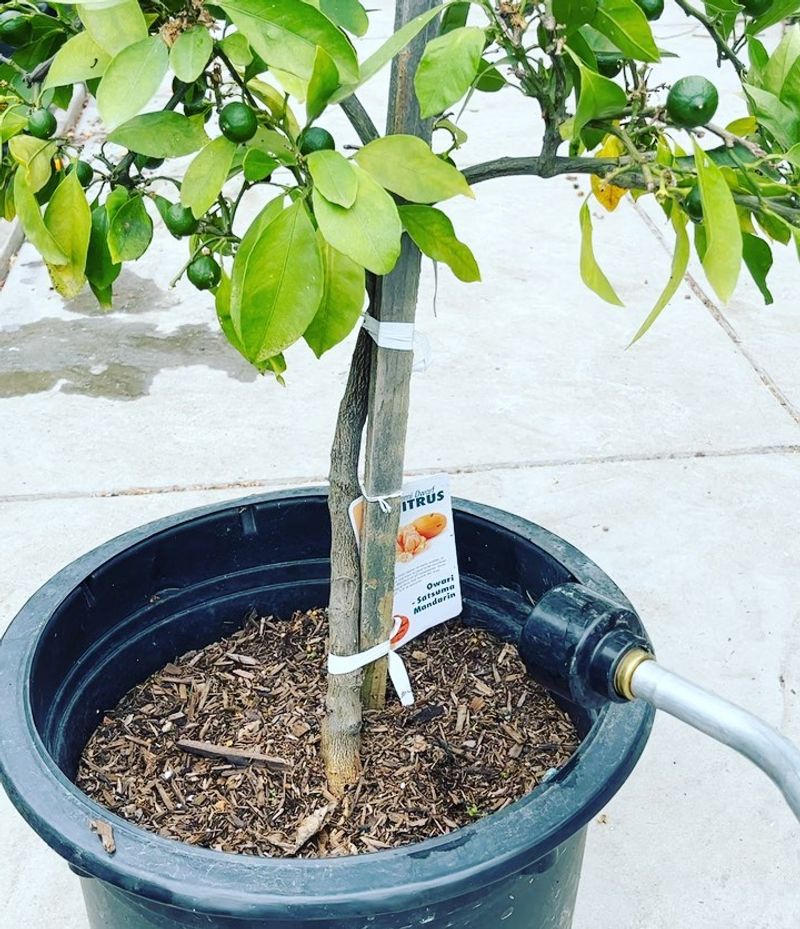
9. Correct Planting Depth
Many citrus troubles stem from improper planting depth. The root flare (where trunk widens at base) should remain visible above soil level. Buried trunks invite disease and suffocate roots.
For established trees planted too deeply, carefully remove soil around the trunk until you expose the root flare. Add mulch afterward, keeping it several inches away from the trunk.
When planting new trees, dig holes twice as wide as the root ball but no deeper than its height.
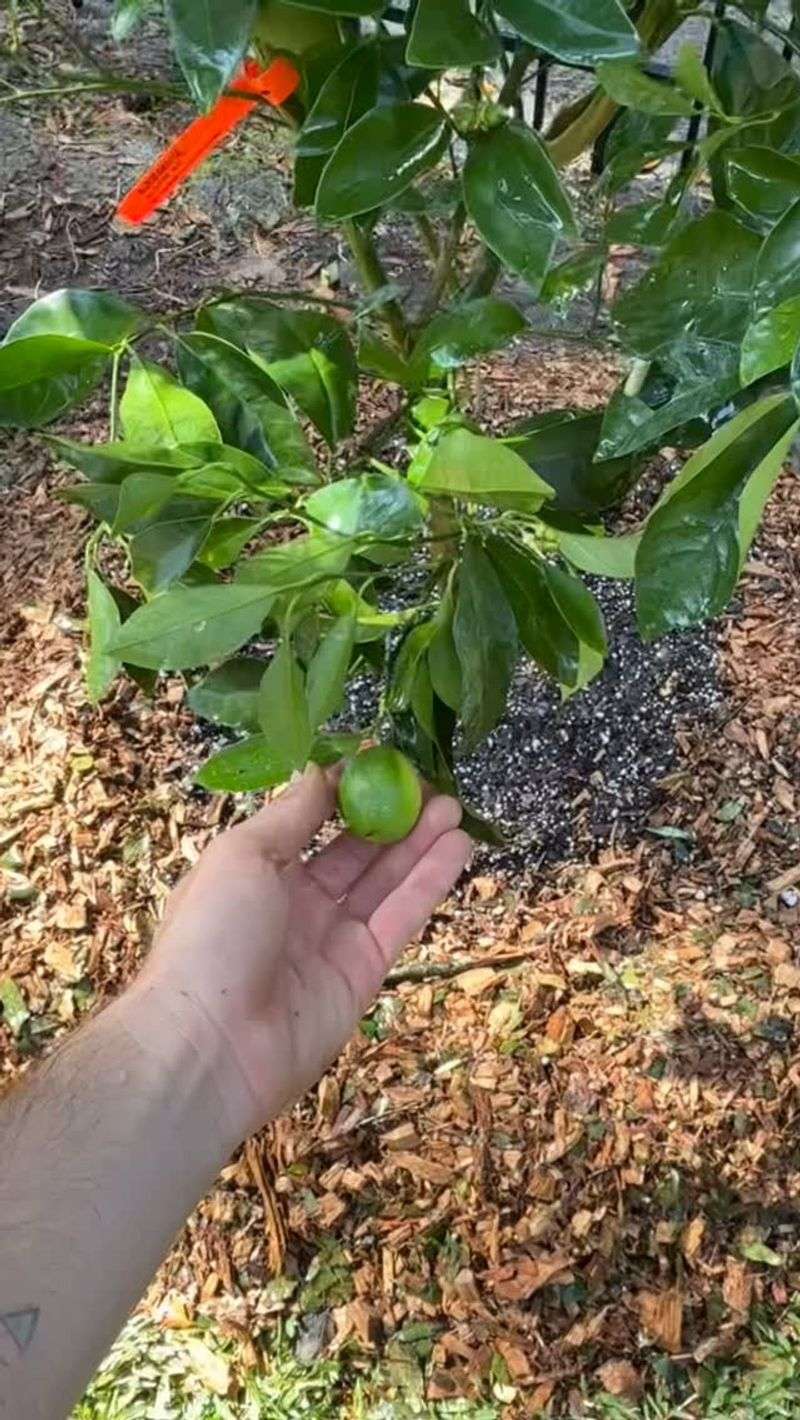
10. Apply Mulch Correctly
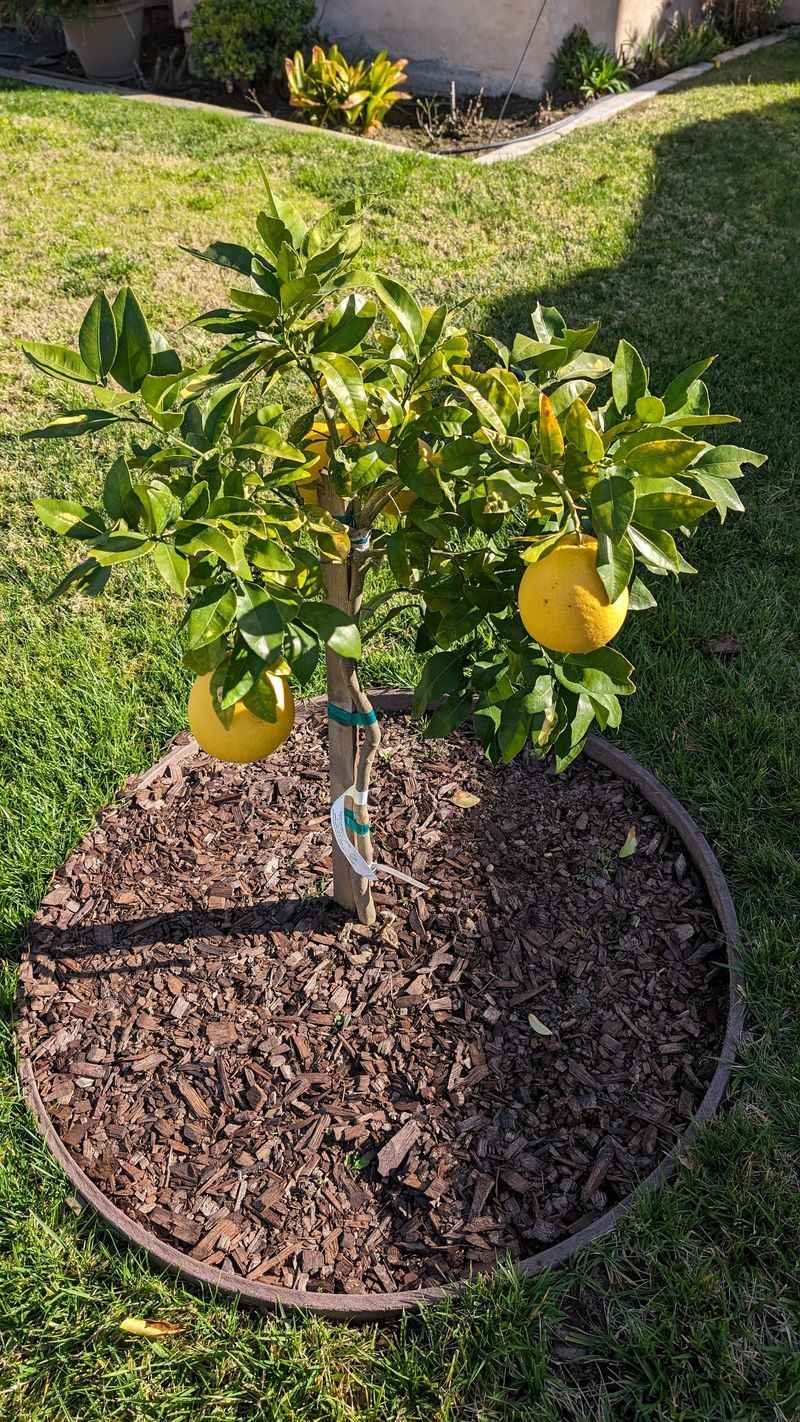
Proper mulching conserves moisture, suppresses weeds, and moderates soil temperature – all beneficial for struggling citrus. Organic materials like wood chips, straw, or compost work best.
Create a 2-4 inch layer extending to the drip line, but leave a 6-inch gap around the trunk to prevent rot and pest problems. Refresh mulch annually as it decomposes and enriches the soil.
Avoid volcano-style mulching that piles material against the trunk – this harmful practice causes bark decay.
11. Provide Companion Plants
Strategic companion planting creates a mini-ecosystem that benefits struggling citrus trees. Low-growing herbs like thyme and oregano act as living mulch, retaining soil moisture and suppressing weeds.
Marigolds and nasturtiums repel harmful nematodes that attack citrus roots. Flowering companions like lavender and borage attract pollinators that improve fruit set.
Avoid deep-rooted competitors that steal nutrients and water from your citrus tree’s root zone.
12. Adjust Soil pH Levels
Citrus trees struggle when soil pH falls outside their preferred range of 6.0-7.0. Highly alkaline soils lock up iron and zinc, while very acidic conditions can release toxic aluminum.
Test soil annually with an inexpensive kit from garden centers. Add agricultural sulfur to lower pH in alkaline soils, working it into the top few inches.
For acidic soils, incorporate limestone to raise pH gradually. Allow several months for amendments to take effect before retesting.
13. Perform Root Collar Excavation
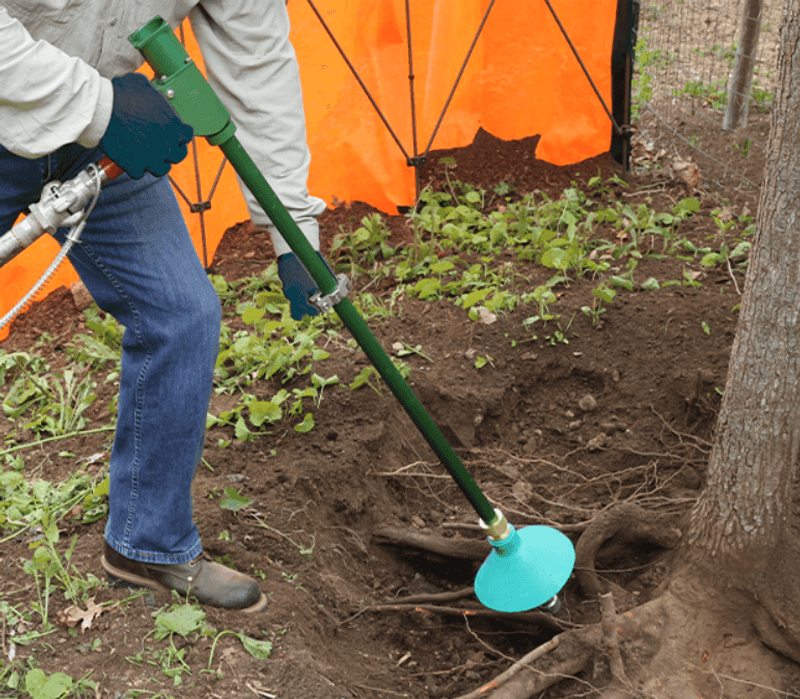
Buried root collars slowly strangle citrus trees as they mature. This hidden problem occurs when soil, mulch, or debris accumulates against the trunk over time.
Gently remove built-up material using a soft brush or air tool until you expose the natural flare where trunk meets roots. Look for circling roots that may girdle the trunk and carefully prune them away.
This simple procedure often triggers dramatic improvement in tree health within weeks as proper oxygen exchange resumes.
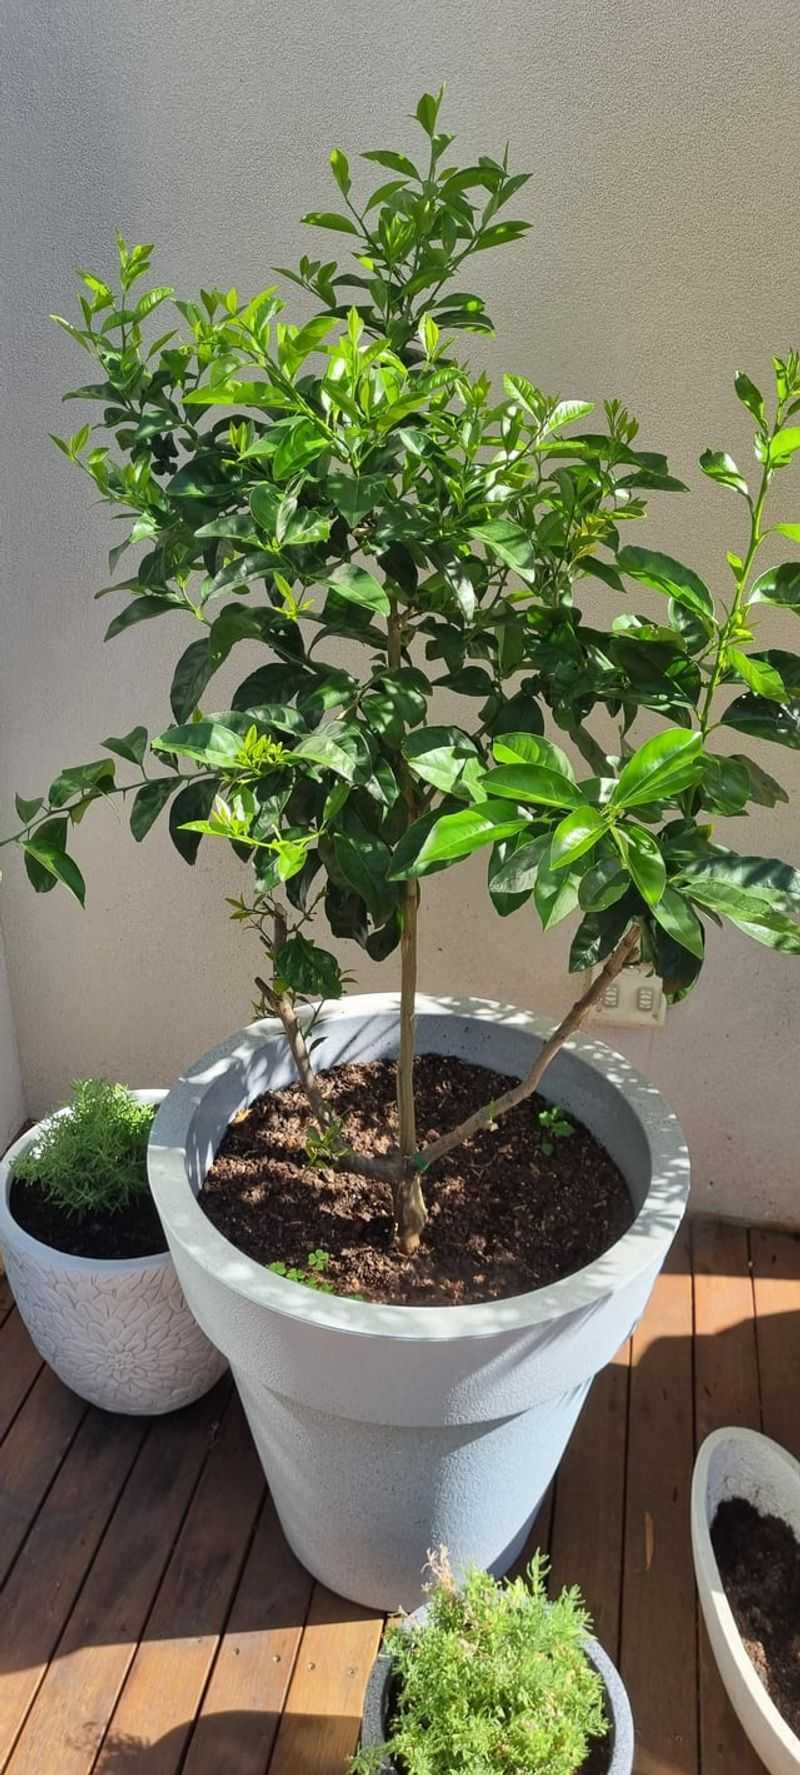
14. Implement Proper Container Care
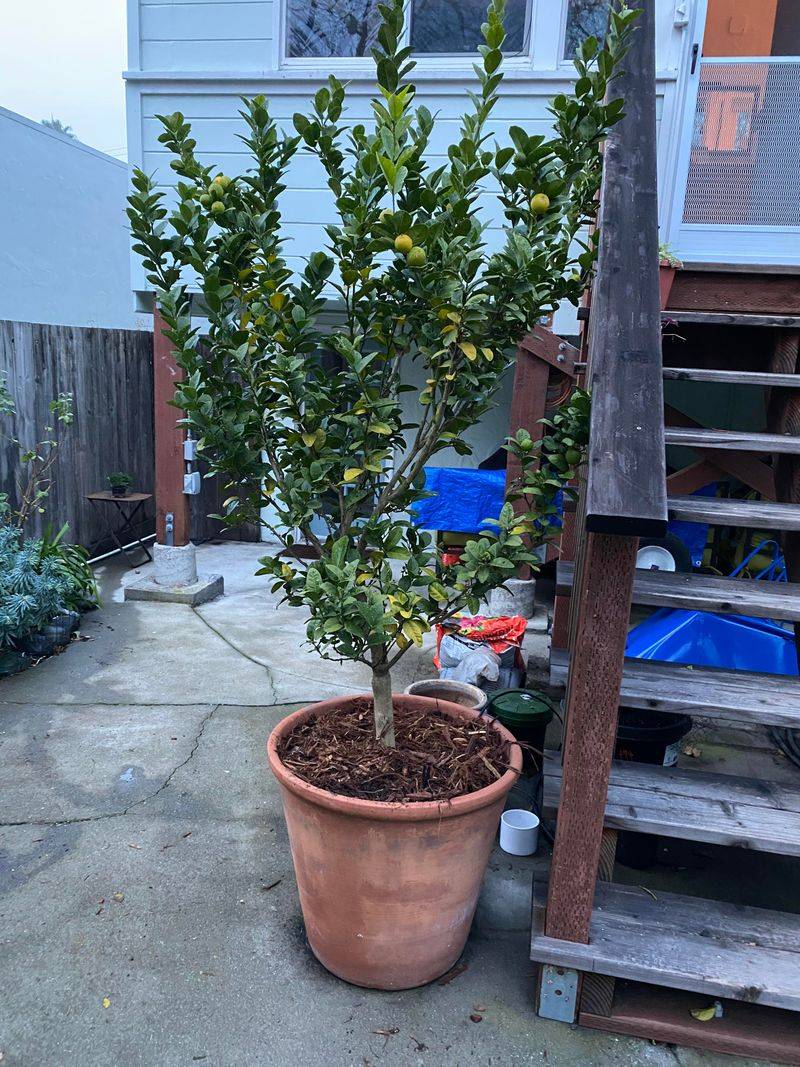
Container-grown citrus trees need repotting every 3-5 years as they become root-bound. Symptoms include slowed growth, rapid water runoff, and roots circling the drainage holes.
Choose containers 25% larger than the current one, with multiple drainage holes. Fresh potting mix specifically formulated for citrus provides ideal nutrition and drainage properties.
During repotting, gently tease out circling roots and trim damaged ones with clean shears to encourage new growth in the right direction.
15. Treat Fungal Diseases Promptly
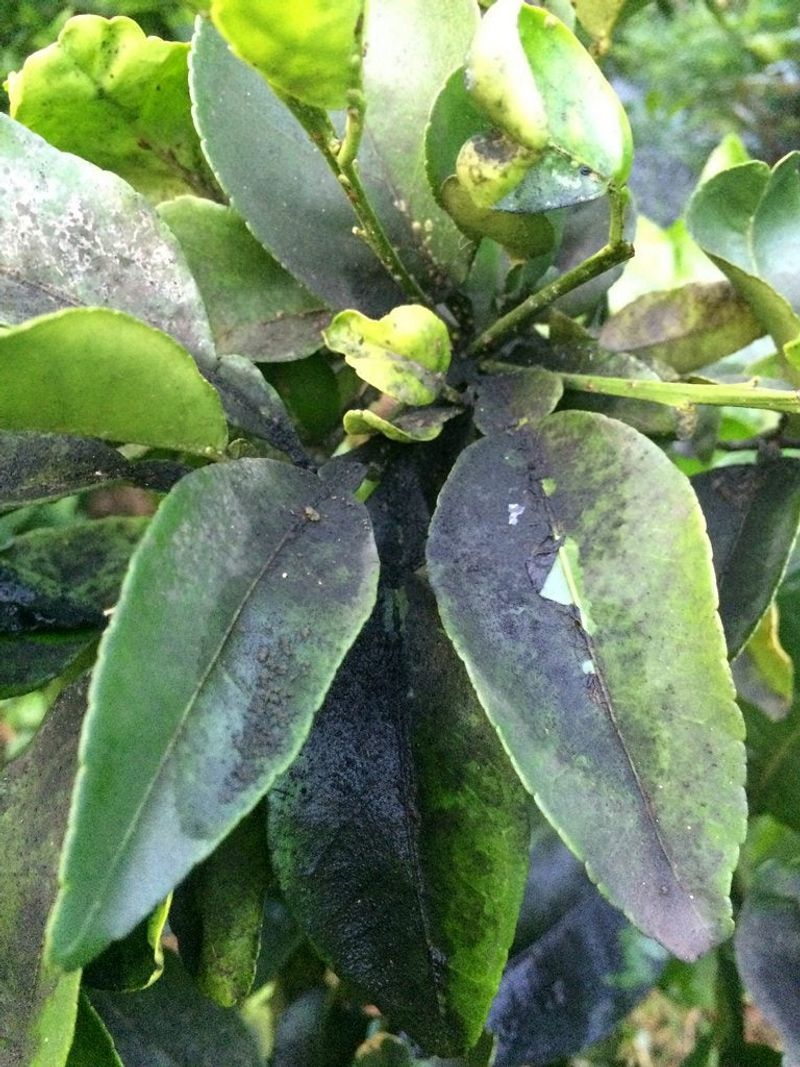
Fungal infections like sooty mold, citrus canker, and root rot quickly weaken citrus trees. Spotted leaves, black coating, or oozing trunk lesions signal fungal problems requiring immediate attention.
Improve air circulation through selective pruning of interior branches. Apply copper-based fungicides during dormant season for preventive control, following label directions carefully.
Avoid overhead watering that keeps foliage wet – moisture creates perfect conditions for fungal spores to germinate and spread throughout the tree.
16. Graft New Varieties

Rejuvenate an old, unproductive citrus tree through grafting rather than removal. This technique allows you to add new varieties while maintaining the established root system.
Spring brings the ideal grafting time when bark slips easily from the wood. Select healthy, pencil-thick scion wood from desired varieties and attach to existing branches using the T-budding or whip grafting method.
Seal grafts with grafting tape and protect from direct sunlight until new growth emerges, typically within 3-4 weeks.