15 Ways You’re Accidentally Ruining Your Hydrangeas (And What To Do Instead)
Hydrangeas are stunning—but also surprisingly easy to mess up. If your blooms are small, fading, or refusing to show up at all, your plant care routine might be the problem. From pruning at the wrong time to using the wrong soil, even well-meaning gardeners can make mistakes.
Here are 15 ways you could be accidentally ruining your hydrangeas—and exactly how to grow them the right way for big, beautiful blooms.
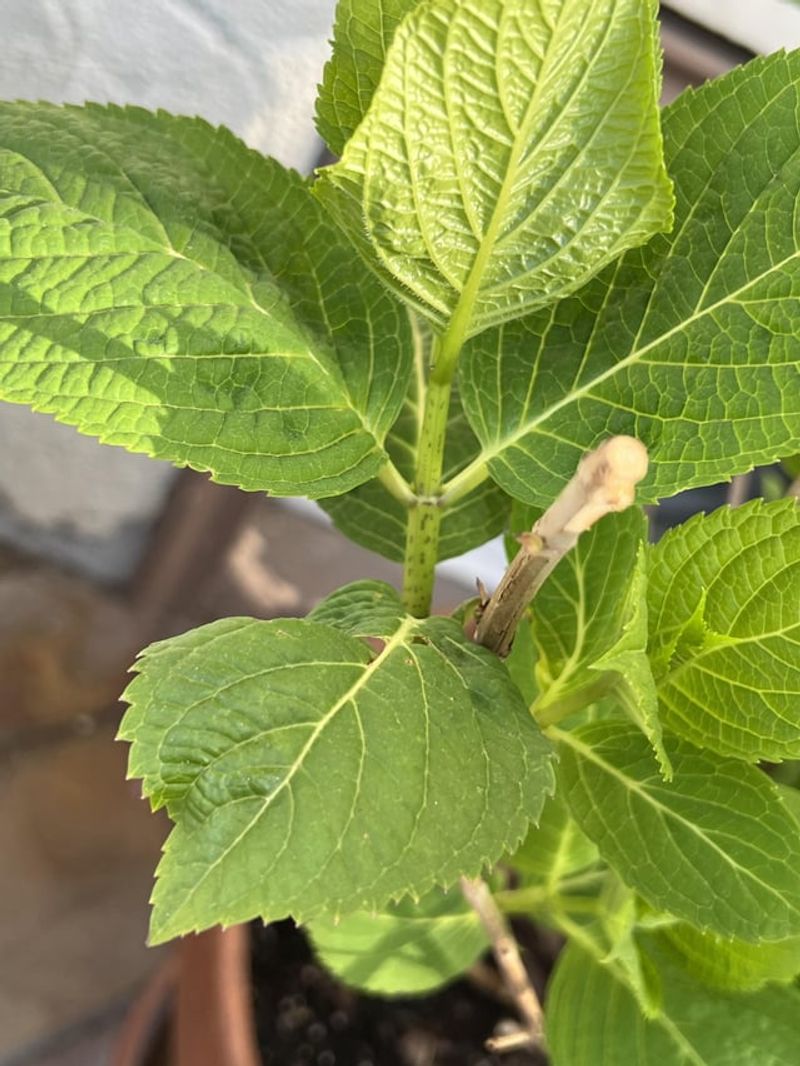
1. Pruning At The Wrong Time
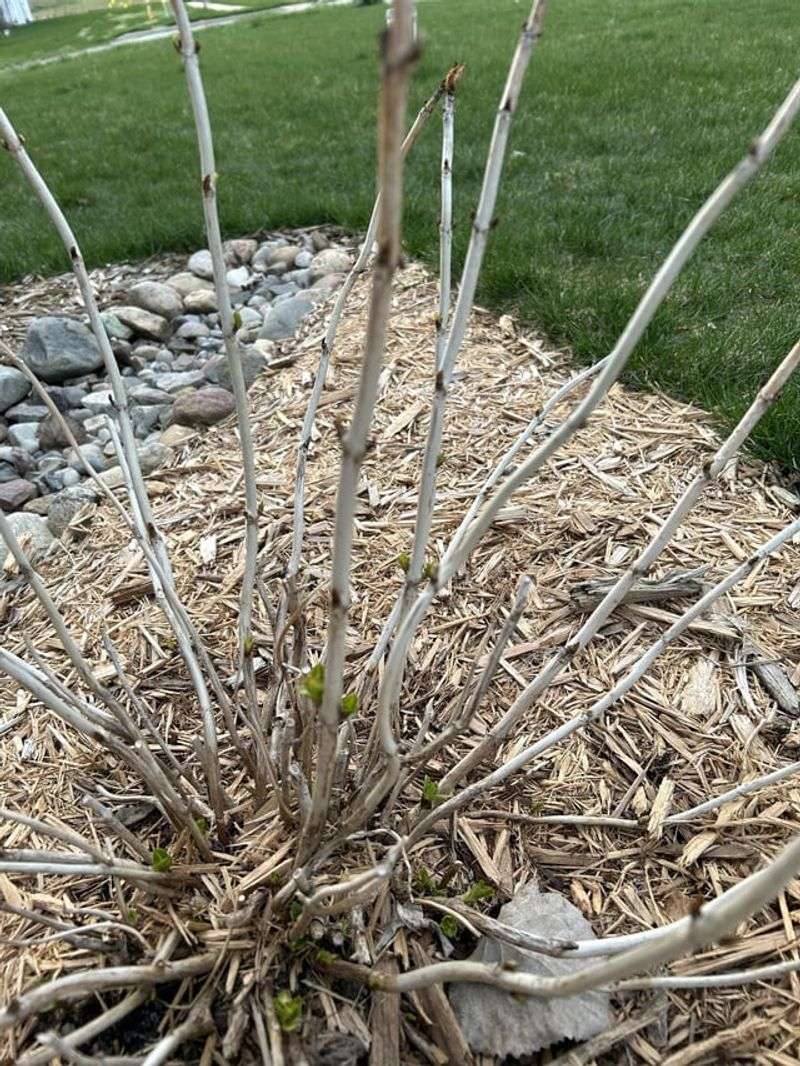
Snipping hydrangeas at the wrong moment is like giving them a bad haircut that takes forever to grow out. Most hydrangeas form their flower buds in late summer for next year’s blooms.
Cut them in fall or early spring and you’ll accidentally remove those precious buds! Instead, prune right after flowering finishes. For mopheads and lacecaps, wait until August. Smooth and panicle varieties can handle early spring trimming.
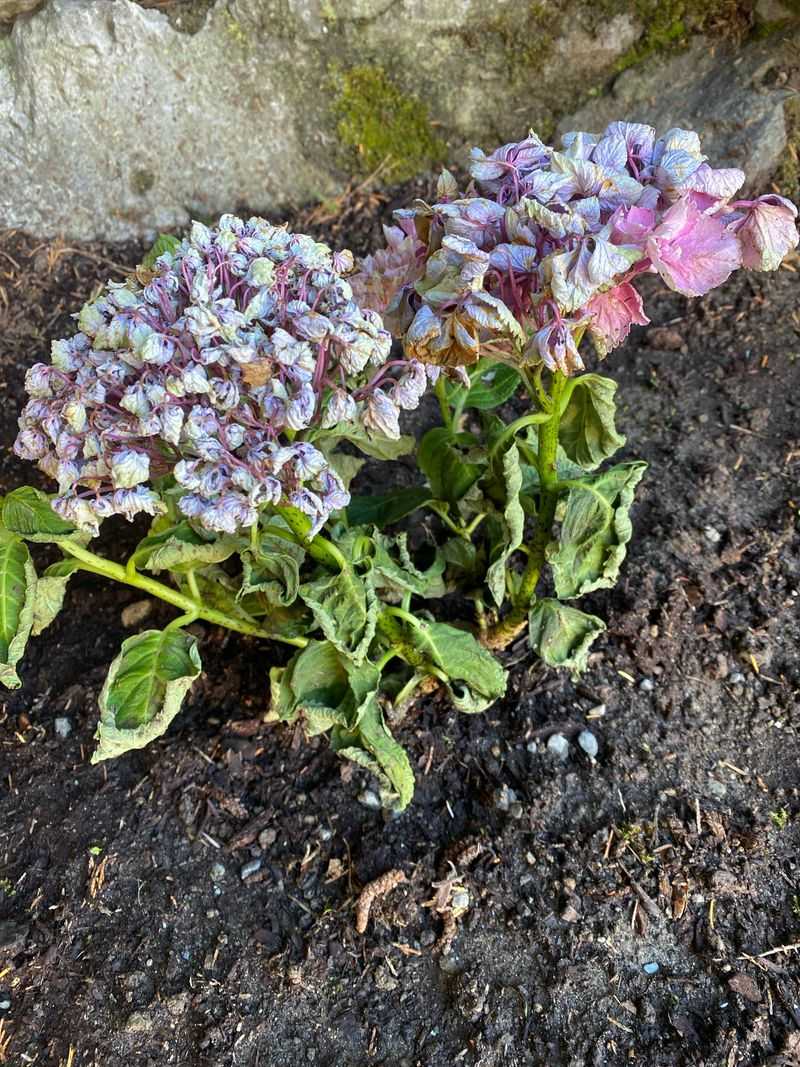
2. Planting In Full Sun (For Most Varieties)
Scorching sunshine turns many hydrangeas into sad, wilted messes. Those beautiful big leaves lose water quickly on hot days, causing the entire plant to droop dramatically.
Morning sun with afternoon shade creates the sweet spot for most varieties. Blue and pink mopheads especially hate intense heat. Only panicle hydrangeas (with cone-shaped flowers) truly thrive in full sun. For others, find a spot with dappled light or eastern exposure.
3. Forgetting To Water Deeply
Light sprinkles from the hose won’t cut it for these thirsty plants. Their name literally contains ‘hydra’ meaning water! Hydrangeas develop shallow root systems that dry out quickly in hot weather.
Water deeply once or twice weekly, delivering about an inch of water each time. Morning watering works best. Create a small soil basin around new plants to hold moisture. Consistent watering prevents those dramatic afternoon wilting episodes.
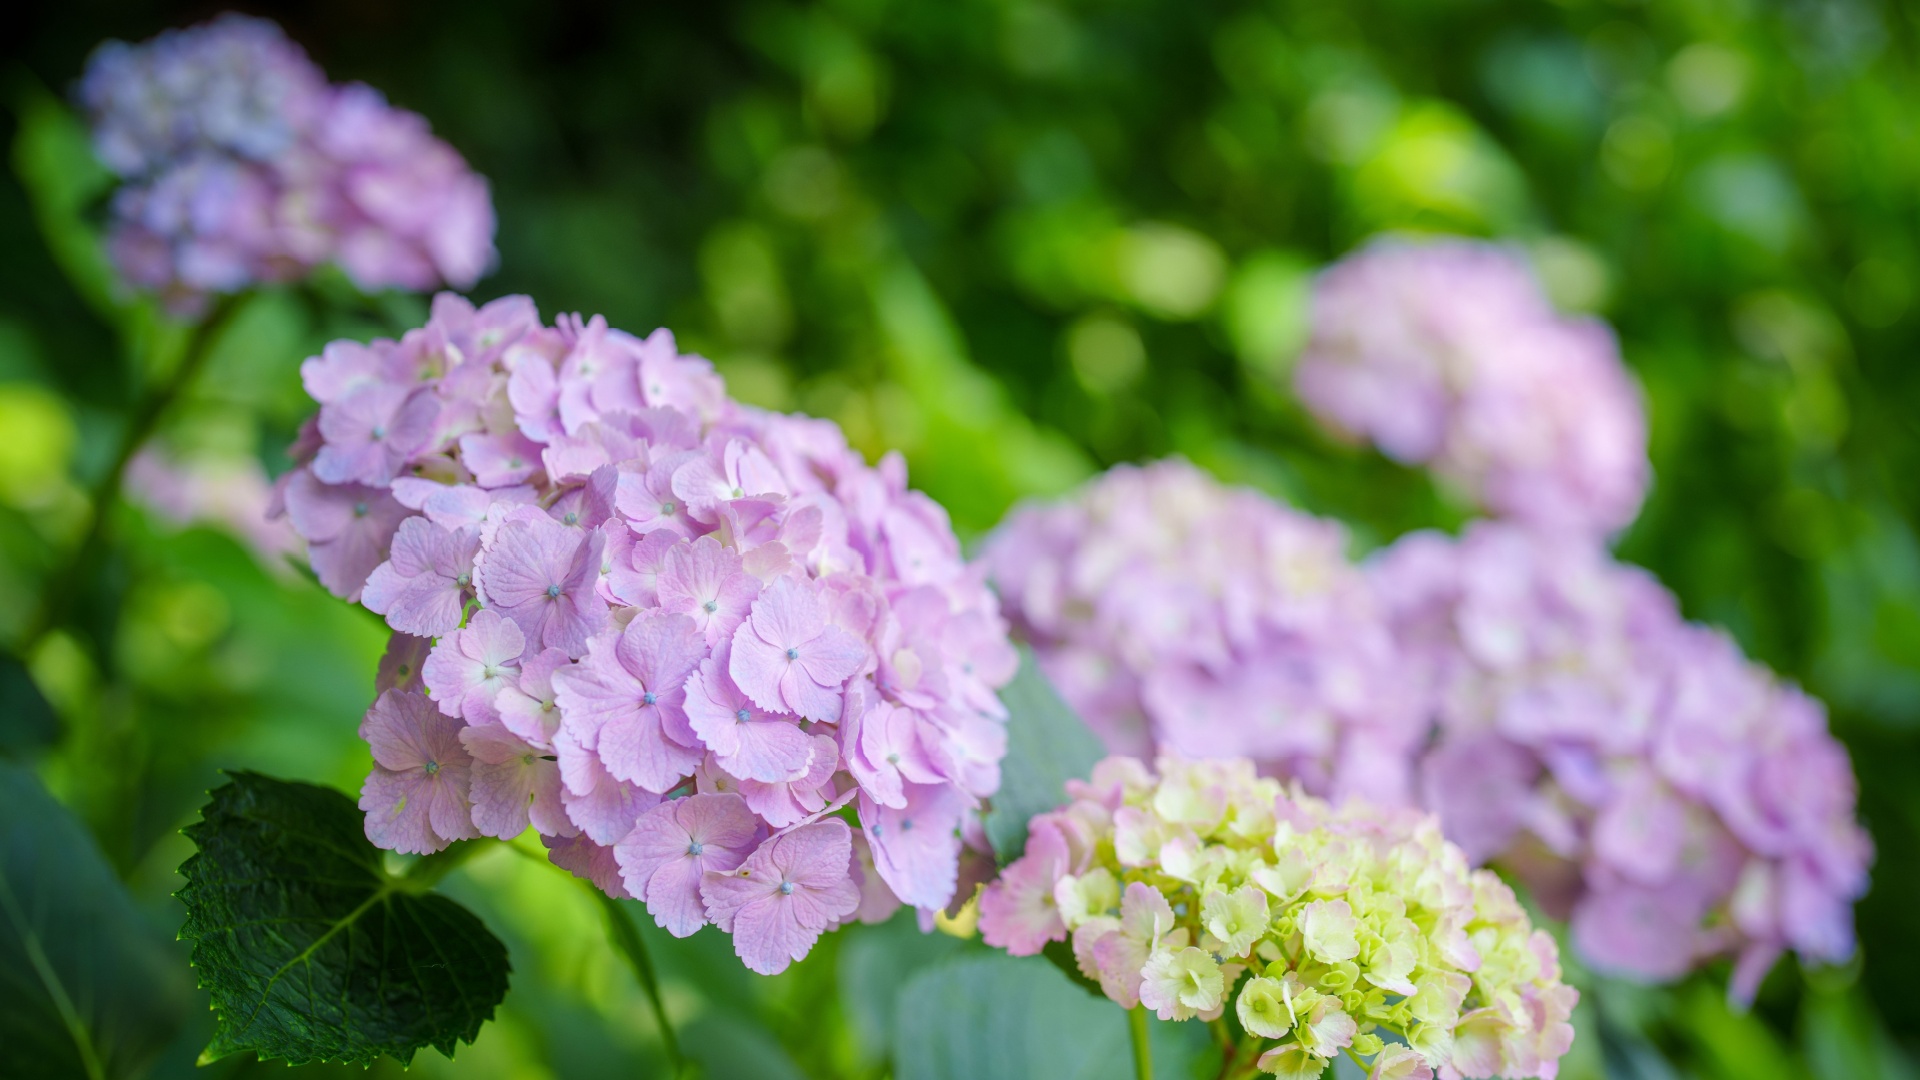
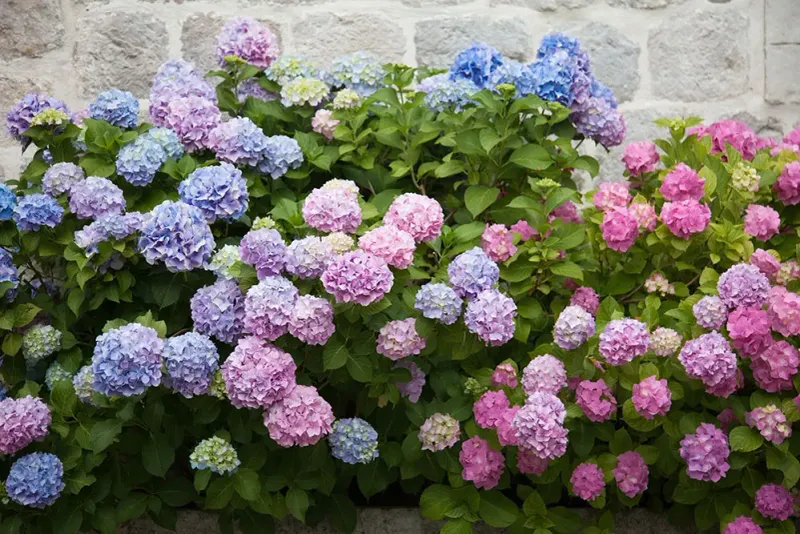
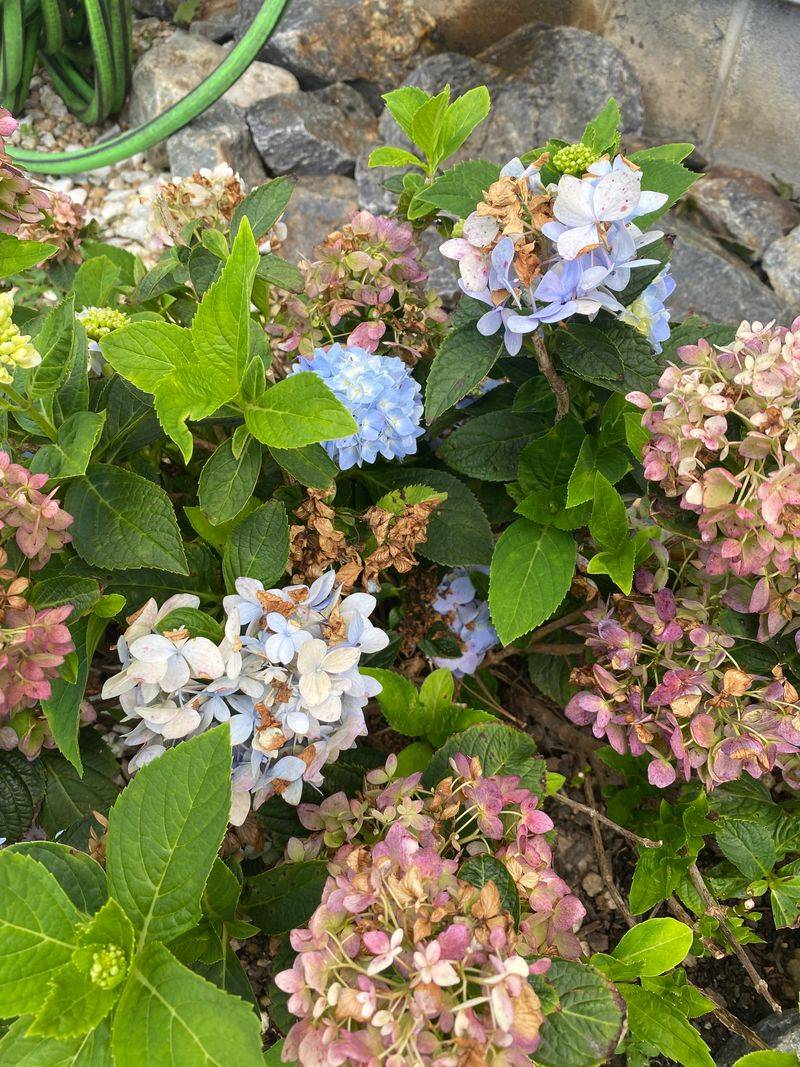
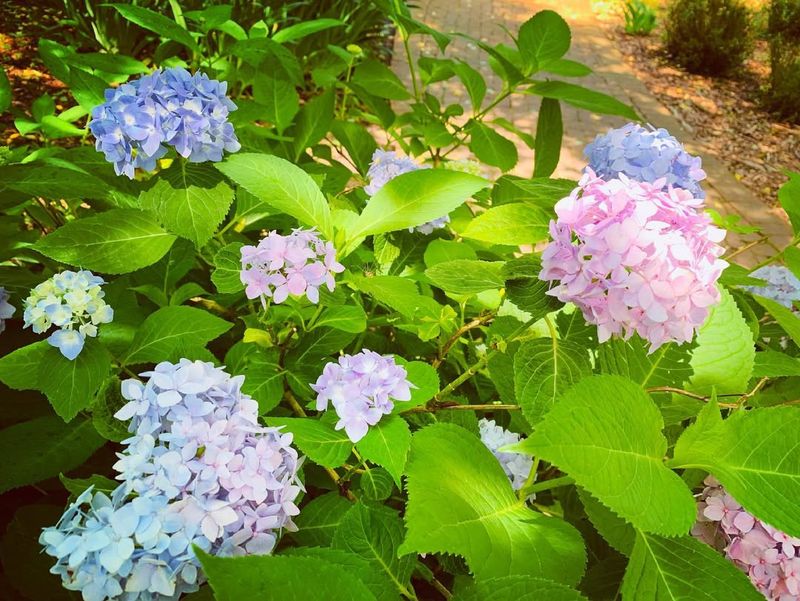
4. Ignoring Soil pH For Blue Or Pink Blooms
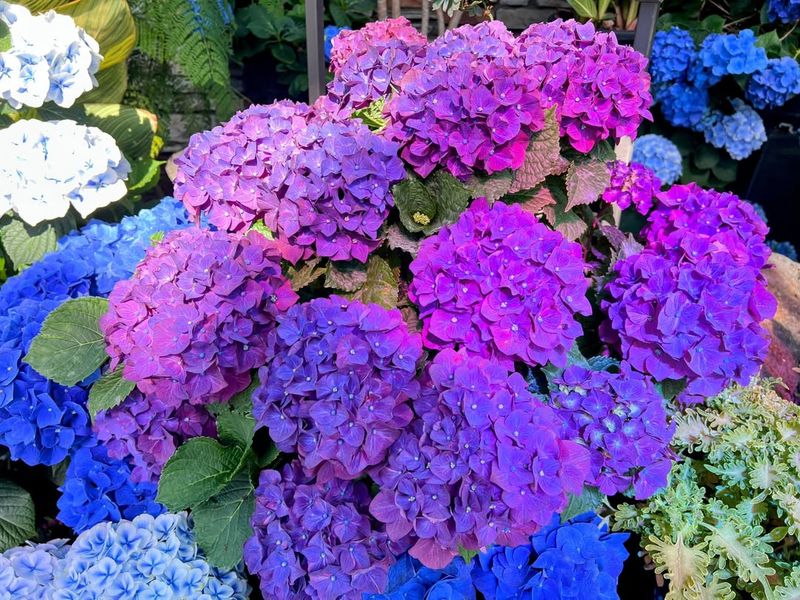
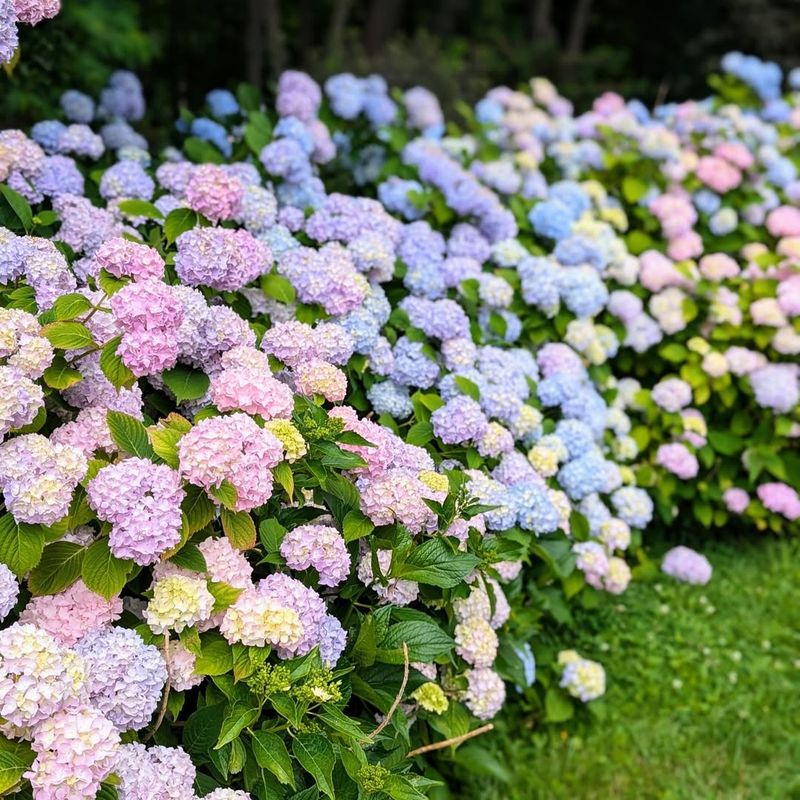
Your soil’s chemistry works like magic on certain hydrangeas, completely changing their flower color. The big-leaf varieties (Hydrangea macrophylla) transform based on aluminum availability.
Acidic soil (pH 5.5 or lower) creates stunning blue flowers. Alkaline soil (pH 6.5+) produces pink blooms. Want blue? Add aluminum sulfate. Prefer pink? Sprinkle garden lime. Test your soil first, then adjust gradually over several months for a remarkable color transformation.
5. Over-fertilizing With Nitrogen
Dumping loads of fertilizer on hydrangeas seems helpful but often backfires spectacularly. Too much nitrogen creates lush green growth at the expense of flowers.
You’ll end up with a giant leafy bush that refuses to bloom! Use a balanced, slow-release fertilizer just once in spring. Look for formulas with equal NPK numbers or slightly higher middle number (phosphorus) to encourage flowering. Avoid high-nitrogen lawn fertilizers completely.
6. Overlooking Mulch Importance
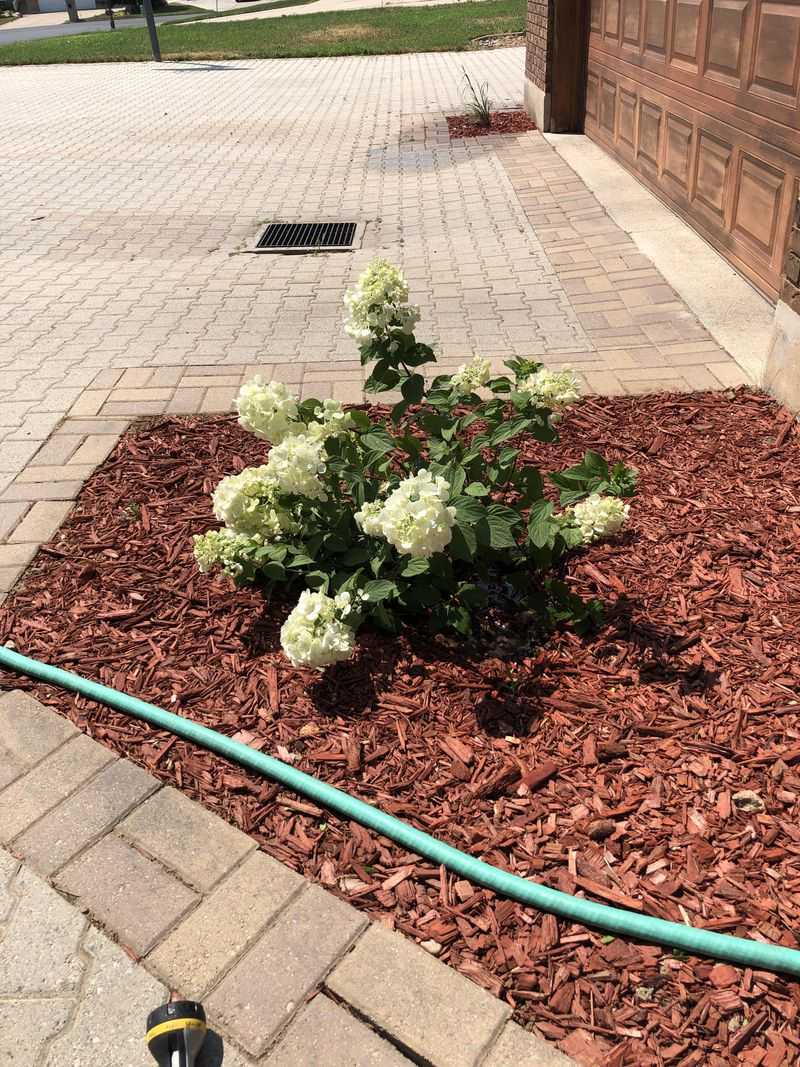
Bare soil around hydrangeas invites trouble. Without protective mulch, roots overheat quickly, moisture evaporates, and weeds compete for nutrients.
Apply a 2-3 inch layer of organic mulch like shredded bark, leaves, or compost. Keep it pulled back slightly from the stems to prevent rot. Refresh annually in spring. This simple step maintains soil temperature, retains crucial moisture, and slowly adds nutrients as it breaks down.
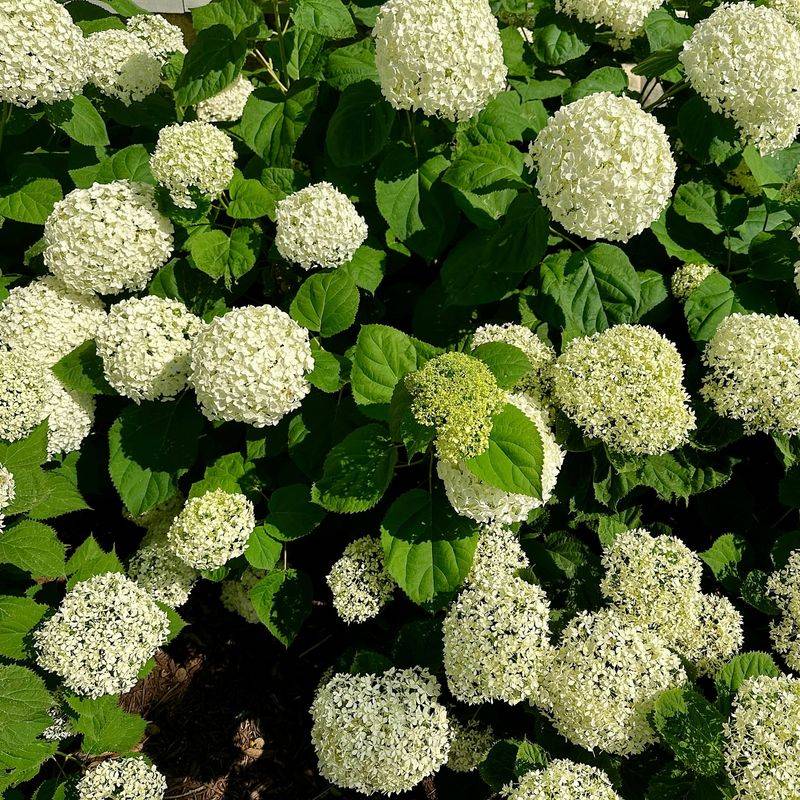
7. Choosing The Wrong Variety For Your Climate
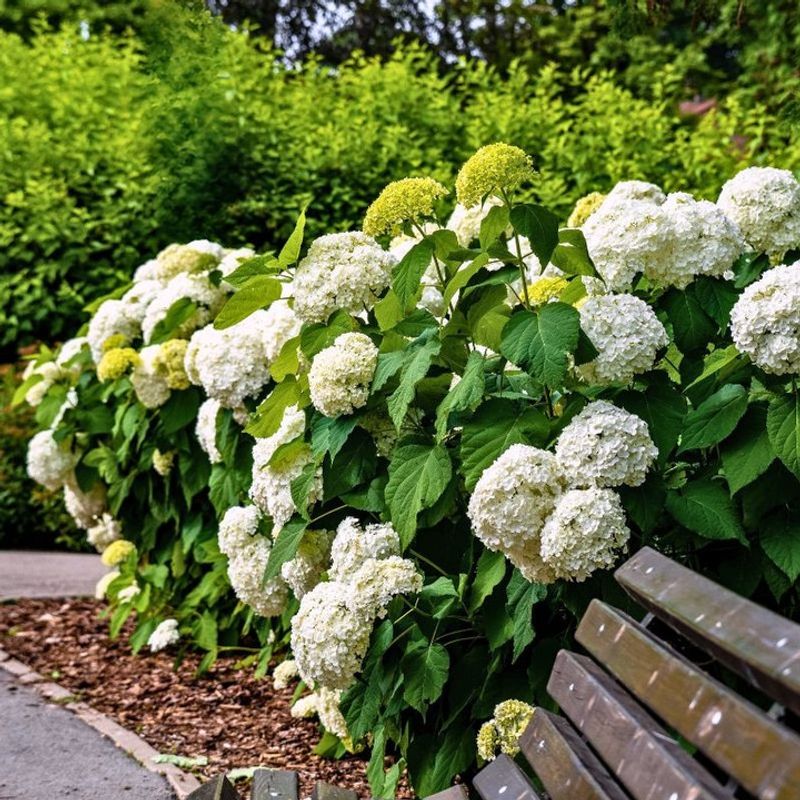
Not all hydrangeas handle weather extremes equally. Plant the wrong type and you’ll face endless frustration watching it struggle or fail to bloom.
Northern gardeners should select hardy varieties like ‘Annabelle’ or oakleaf hydrangeas that withstand cold winters. Southern gardeners need heat-tolerant types like panicle hydrangeas. Check plant tags for your specific growing zone. Some newer varieties offer both cold hardiness and reblooming abilities.
8. Planting Too Deep
Burying hydrangea roots too deeply seems like a small mistake but creates major problems. These plants naturally grow with shallow root systems that need oxygen.
Plant at the same depth as the nursery pot, with the root flare visible at soil level. Digging an extra-wide hole helps roots spread outward rather than down. When backfilling, avoid compacting soil too firmly. This simple planting technique prevents root suffocation and promotes healthy growth.
9. Neglecting Fall Protection In Cold Climates
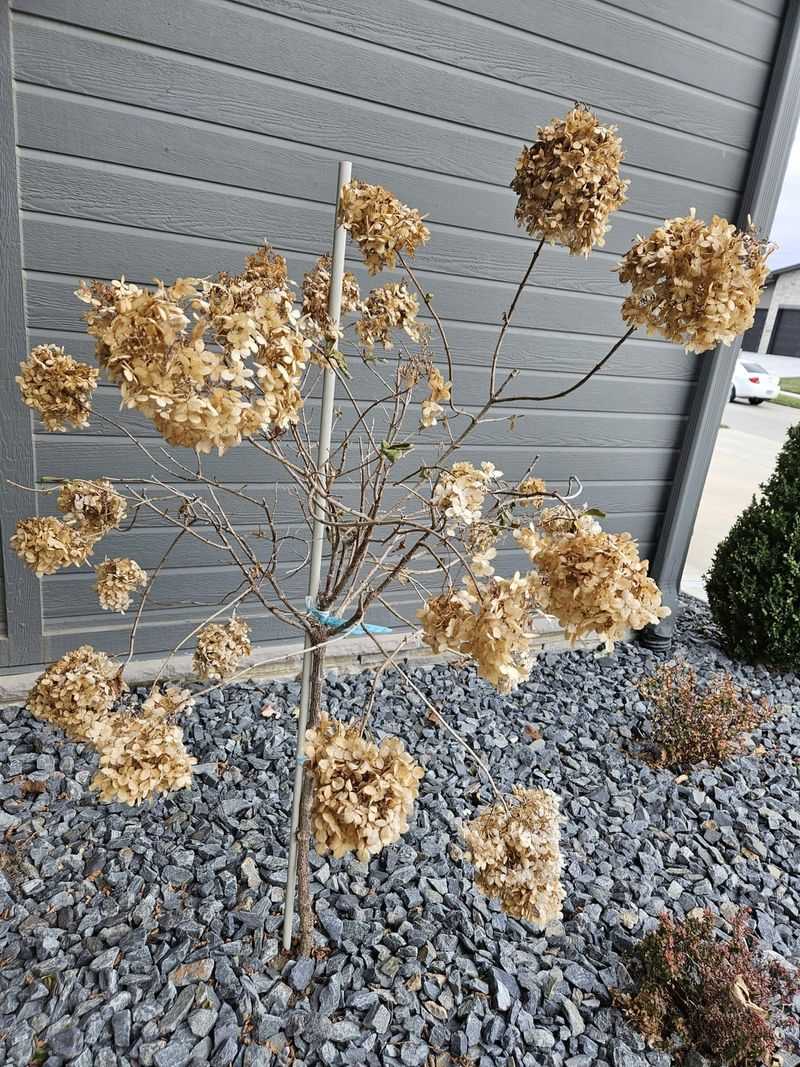
Winter can destroy flower buds on certain hydrangeas, especially bigleaf types that form next year’s blooms in fall. Cold winds and freezing temperatures damage these delicate buds.
Create protection by surrounding plants with chicken wire cages filled with dry leaves. Apply a thick mulch layer around the base. For extra insurance, wrap burlap around the cage. Remove protection gradually in spring after danger of frost passes. This winter coddling ensures summer flowers.
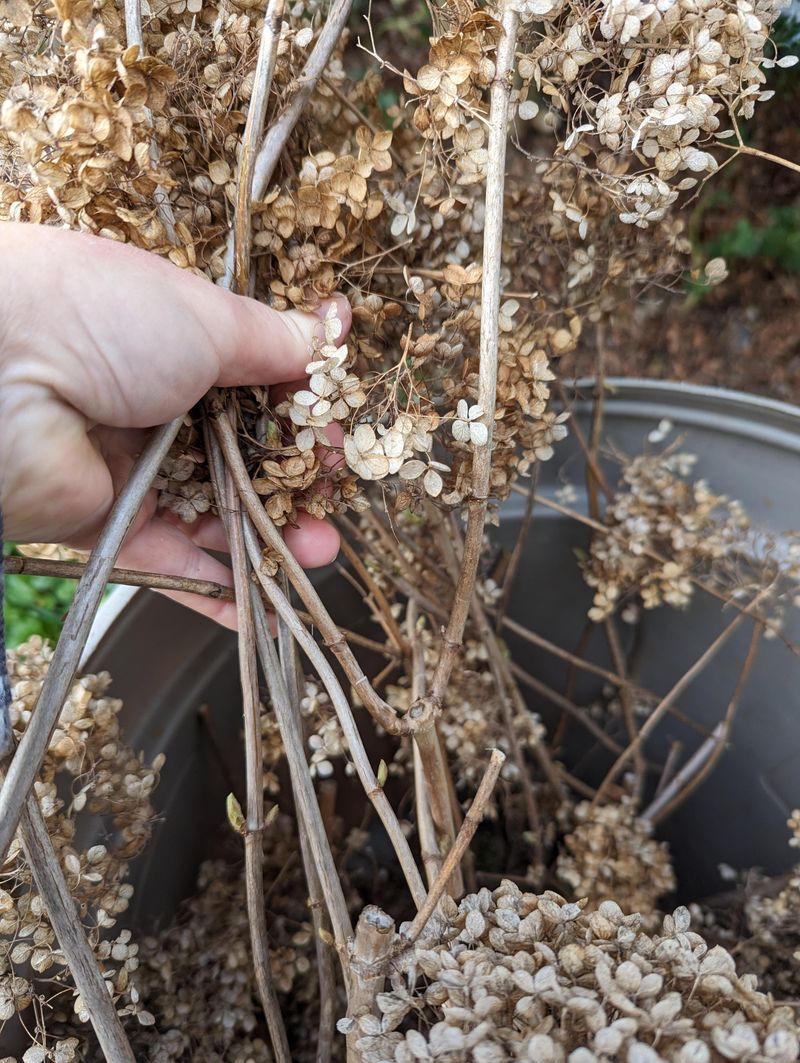
10. Skipping Deadheading
Old, brown flower heads look messy but serve a purpose – they protect developing buds underneath. Removing them incorrectly causes damage.
For most varieties, snip spent blooms just above the first set of healthy buds in late summer. Panicle and smooth hydrangeas benefit from deadheading anytime. Leave late-season blooms intact for winter interest and bud protection. Proper deadheading improves appearance and encourages stronger branching for future flowers.
11. Crowding Hydrangeas Together
Those tiny nursery plants grow into massive shrubs faster than you’d expect! Cramming hydrangeas too close creates poor air circulation and competition for resources.
Check mature size on plant tags and space accordingly – usually 3-6 feet apart depending on variety. Oakleaf and panicle types need the most room. Proper spacing prevents disease problems like powdery mildew that thrive in humid, crowded conditions. Your patience with proper spacing pays off with healthier, showier plants.
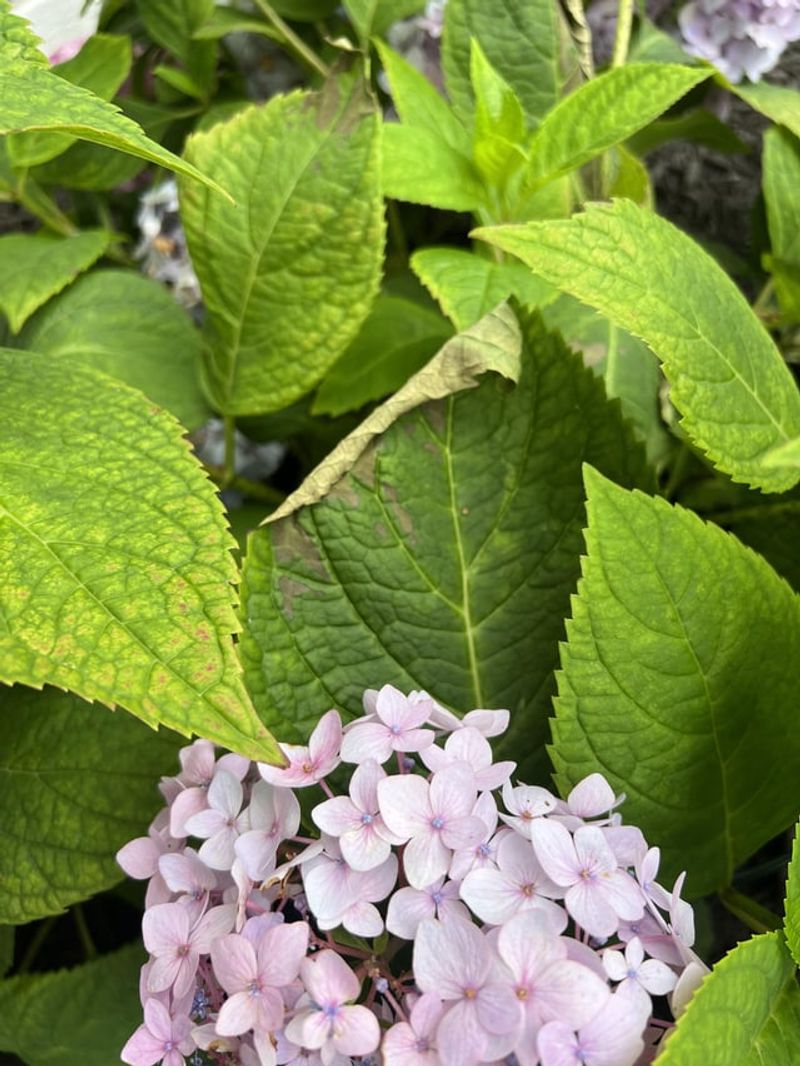
12. Ignoring Pest Problems
Tiny troublemakers can quickly damage hydrangeas when left unchecked. Aphids, spider mites, and scale insects suck plant juices, while Japanese beetles chew ragged holes in leaves.
Inspect plants weekly during growing season, checking leaf undersides carefully. Blast minor infestations with water spray. For persistent problems, try insecticidal soap or neem oil. Avoid broad-spectrum pesticides that harm beneficial insects. Early detection prevents small pest problems from becoming major plant damage.
13. Using Overhead Watering
Splashing water on hydrangea leaves seems harmless but creates perfect conditions for fungal diseases. Wet foliage, especially overnight, invites leaf spot and powdery mildew problems.
Water at the base using soaker hoses or drip irrigation. Morning watering gives leaves time to dry before evening. If using sprinklers, run them early in the day. This simple watering adjustment dramatically reduces disease issues and keeps those beautiful leaves looking their best.
14. Forgetting Fall Cleanup
Leaving fallen leaves and debris around hydrangeas creates a cozy winter home for pests and disease. Old plant material harbors fungal spores that reinfect plants next season.
Remove and dispose of diseased leaves throughout growing season. In fall, clear all debris from around plants and apply fresh mulch. Don’t compost diseased material. This simple maintenance routine breaks disease cycles and gives plants a clean start each spring.
15. Transplanting At The Wrong Season

Moving established hydrangeas during hot weather or peak growth stresses plants severely. The shock often results in wilting, leaf drop, or even plant death.
Transplant in early spring before leaf emergence or in fall after leaves drop. Prepare the new location before disturbing roots. Dig a wide root ball and move quickly. Water thoroughly after replanting and apply mulch. This timing gives plants the best chance to establish new roots before facing summer heat.