Save Your Plants From Drowning With These Essential Tips For Waterlogged Outdoor Planters
We’ve all been there: you step outside to admire your lovely outdoor plants, only to find them looking more like a swamp than delightful vibrant space. Ugh!
The first time this happened to me, I was baffled and more than a little frustrated. Water was pooling up on top, and the soil just wasn’t soaking any of it in. And before I knew it, my potted plants were wilting and their leaves were turning a sickly yellow.
If you’ve found yourself in a similar soggy situation, don’t worry. I’ve learned a thing or two about rescuing drowning plants, and I’m here to share the secrets.
First, Save Your Drowning Plants
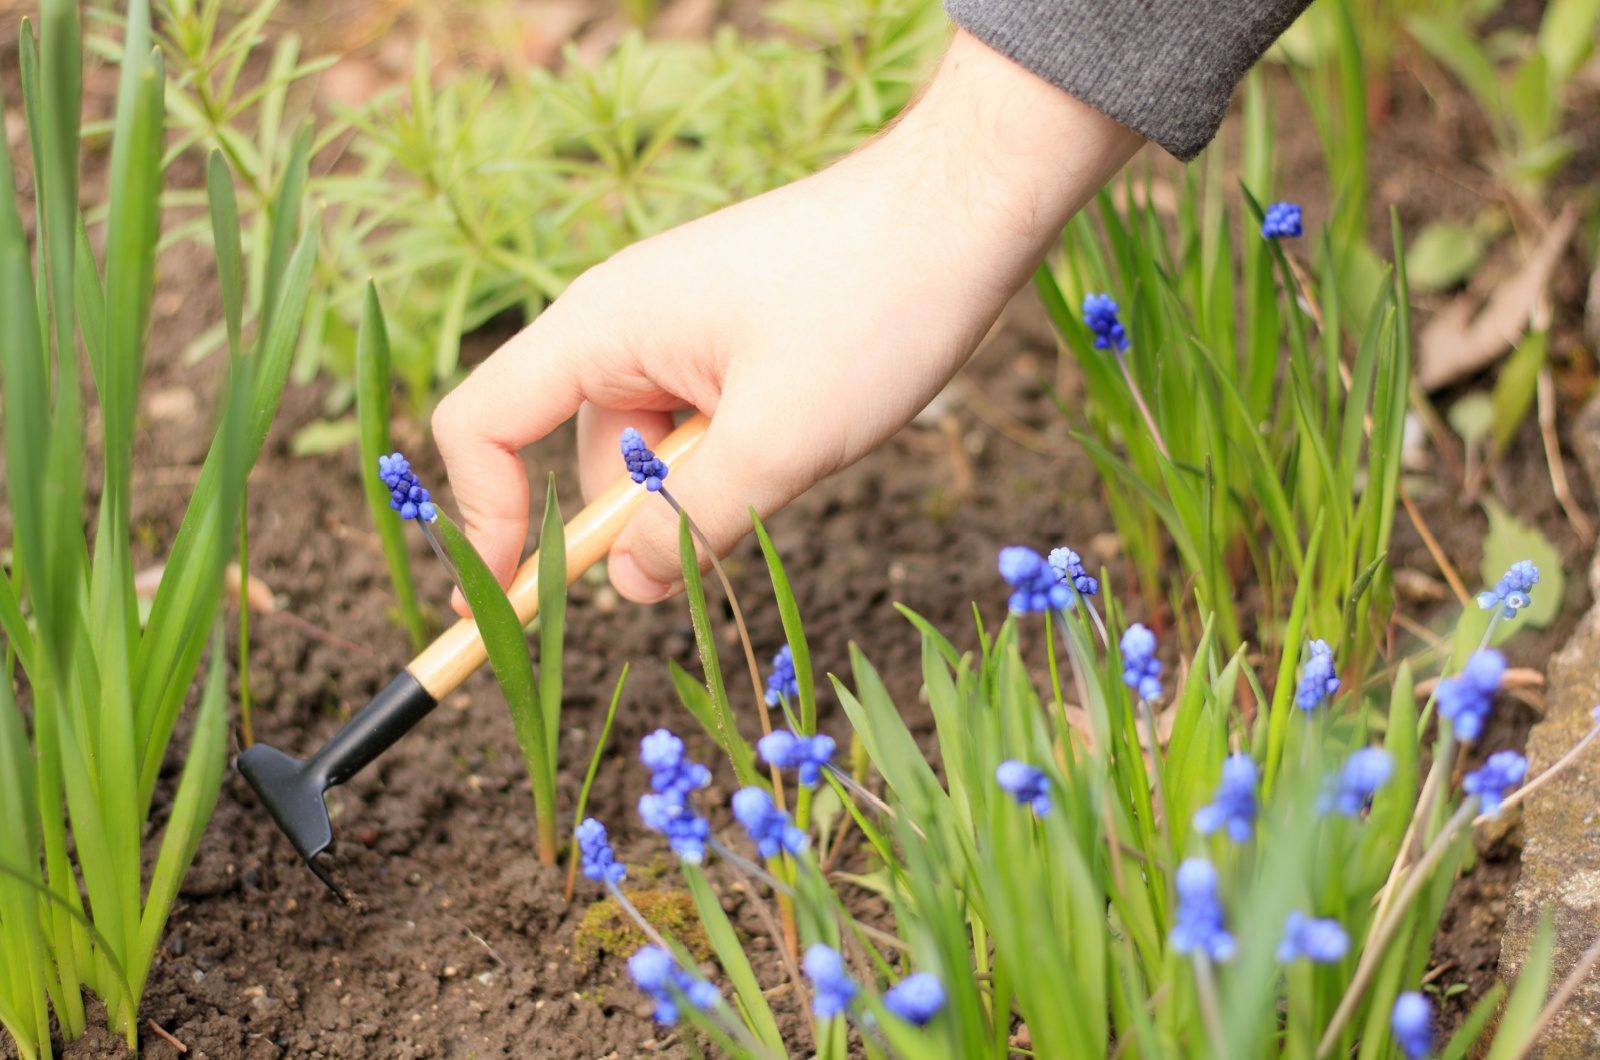
Alright, it’s time to roll up those sleeves and get your hands dirty (I am not kidding!).
Start by gently removing the waterlogged plants from their planters and giving those roots a thorough check-up:
• If the entire root system from top to bottom is mushy, gooey, and dark brown (with a smell that’s straight out of a horror movie), I hate to break it to you, but your plant might be a goner.
• If some parts of the root system are still firm and lighter in color, there’s hope. These healthy roots are your plant’s lifeline. Carefully snip away the bad parts, making sure you don’t cut anything else.
But before you cut anything, you’ll need to give those roots a good clean. Gently pick off the soil, taking care not to harm any of the healthy roots. Then, rinse the roots with water until they’re soil-free. Now, grab your pruners (sterile, of course!) and snip away the rotting roots.
Once you’ve done this, it’s time to find a fresh potting mix and a new, well-draining home for your plant. And all you have to do now is make sure your plant never gets waterlogged again.
Related: Is Adding Rocks And Gravel To The Bottom Of The Planters The Secret To Thriving Plants?
Then, Make Sure That Your Planters Have Good Drainage
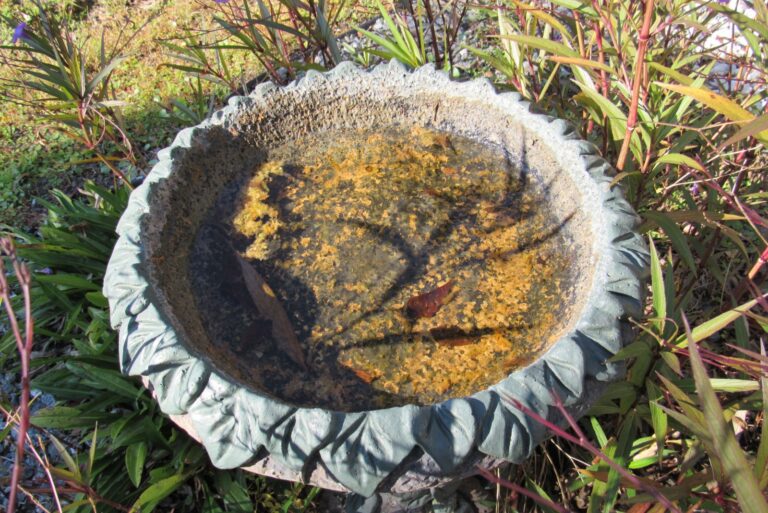
If you’re not drowning your plants with too much love (aka water), then the waterlogging issue probably comes down to either the planter’s location or its drainage situation.
I mean, you can’t put your planter under a gutter that overflows during heavy rains.
What you have to do is relocate your rescued, repotted plants to a spot where they won’t get a surprise shower every time it rains.
If your planter’s location isn’t the culprit, it’s time to inspect the planters themselves. If there are no drainage holes (or not enough), you’ve found your problem. Luckily, this is an easy fix! You can simply drill some drainage holes in the pots to let the water out.
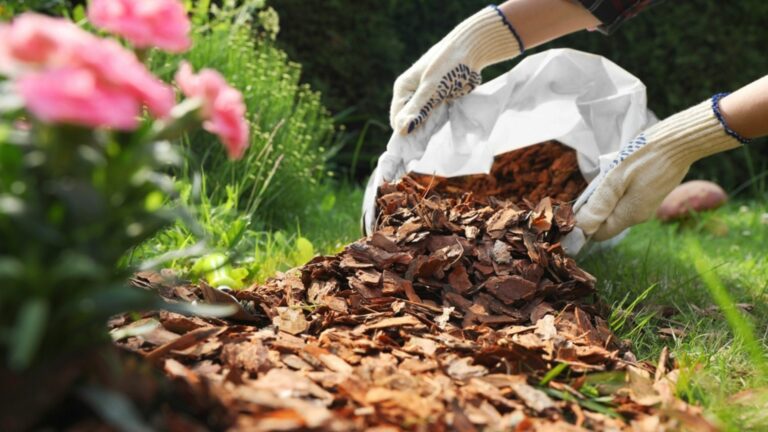
Another trick is to prop up the substrate inside the planter. This allows gravity to help pull the excess water away from your plant’s roots:
• For smaller planters, placing wood mulch or gravel at the bottom before adding soil can do the trick.
• For larger planters, you can use empty, air-filled water bottles at the bottom to create a drainage layer that supports the soil above while allowing water to flow down.
I know it’s frustrating to see your plants struggle, which is why you have to help them ASAP. Fixing the drainage and moving those planters to better spots will do the trick, but also don’t forget to follow the right watering schedule and give your plants the best soil!
This might be helpful: Here’s Why You Should Start Adding Pinecones To The Bottom Of Your Planters