What To Do With Elephant Ears Once Michigan Frost Turns The Leaves Black
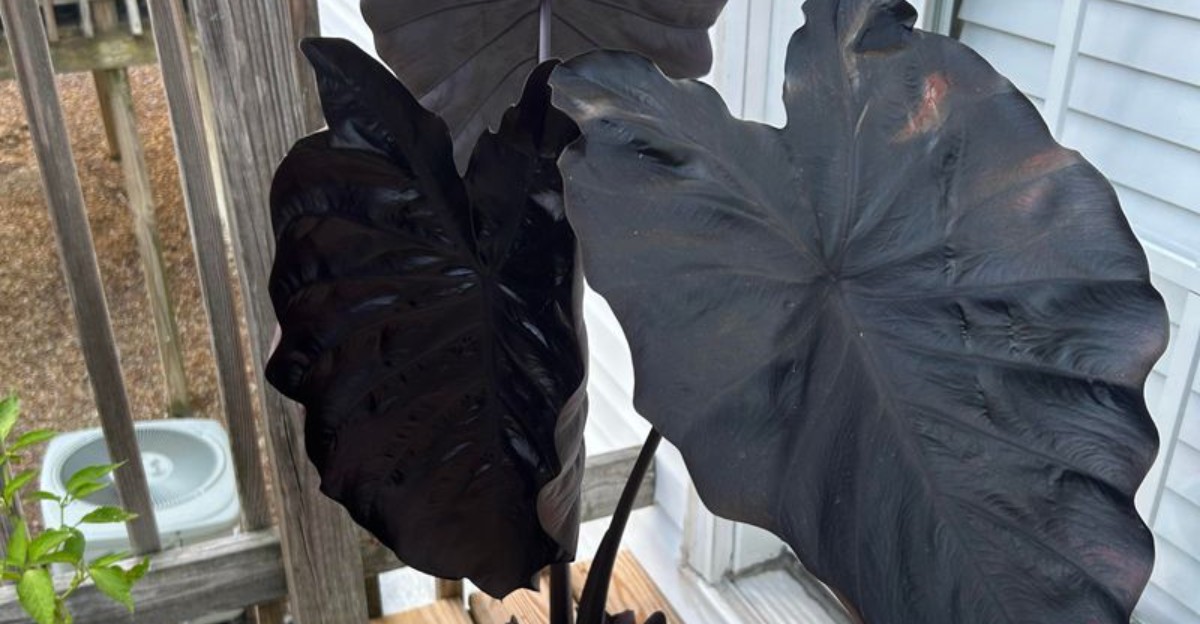
One cold night can turn huge, glossy elephant ear leaves into limp, dark ribbons. It looks alarming, but the plant is not finished. The real treasure sits underground in the tuber.
That is the part you want to keep, because it can grow a fresh set of giant leaves next summer. Michigan winters are too cold for most elephant ears to stay outdoors. So the next steps matter.
Timing, cutting, drying, and storage all affect how well the tuber lasts. Rush any of them and you may open the bag in spring to find a soft, ruined mess. Do them right, and those dramatic leaves return again.
1. Act Within A Few Days Of The Frost
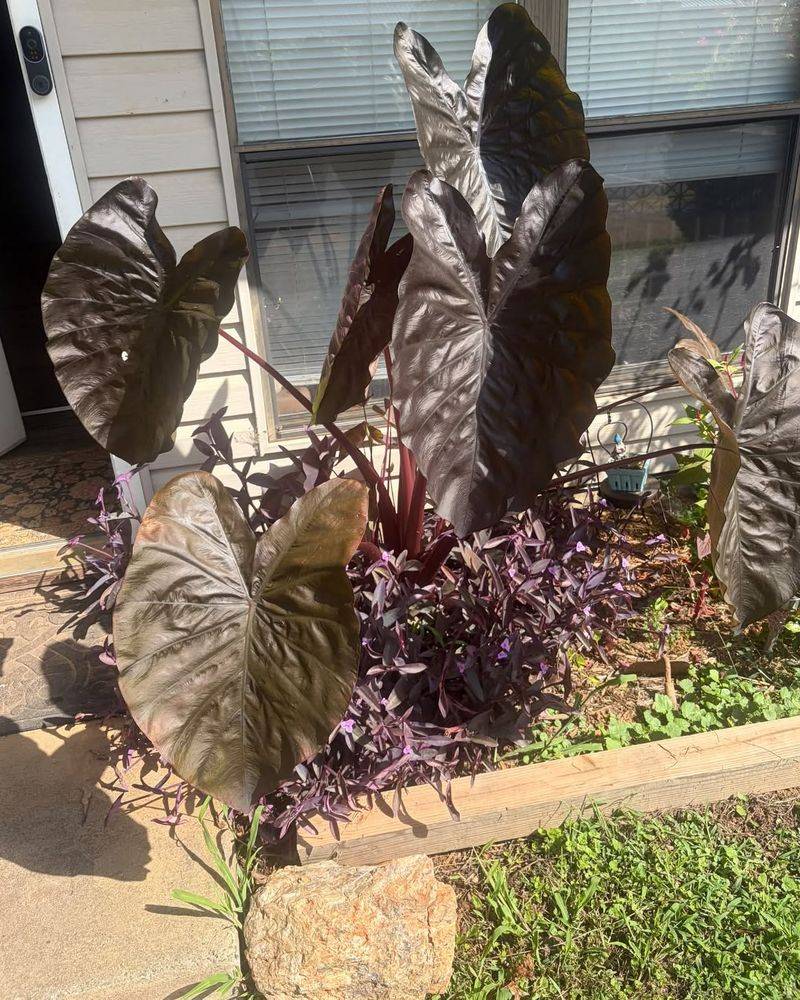
Black, droopy leaves are your signal to get moving. Elephant ears, including both Colocasia and Alocasia, come from warm tropical places, so they simply cannot handle a Michigan winter in the ground.
Once frost hits, the plant stops growing, but the corms underground are still alive and waiting.
Those corms are the part you want to save. They work like a battery, storing all the energy the plant will need to sprout again next spring. If they sit too long in cold, wet soil, they can start to rot, and if the ground freezes solid, they will be ruined for good.
So how fast should you act? Plan to dig your corms within a few days after the frost blackens the foliage. Waiting a day or two is fine, and it even gives the plant a little time to send its last bit of energy down into the corm.
Just make sure you finish the job before a hard freeze arrives or the soil begins to freeze. Timing matters a lot here in Michigan.
A light frost can show up in early October, and a hard freeze may follow only a week or two later. In northern Michigan and the Upper Peninsula, that gap can be even shorter, sometimes just a few days.
A smart trick is to watch the weather forecast closely once fall arrives. When you see nights dipping into the low 30s, set aside a free afternoon for digging. Having your tools, gloves, and a spot for drying ready ahead of time makes the whole job quick and easy.
A little planning now means you will not be scrambling in the cold with a shovel and frozen fingers.
2. Wear Gloves When Handling The Plants
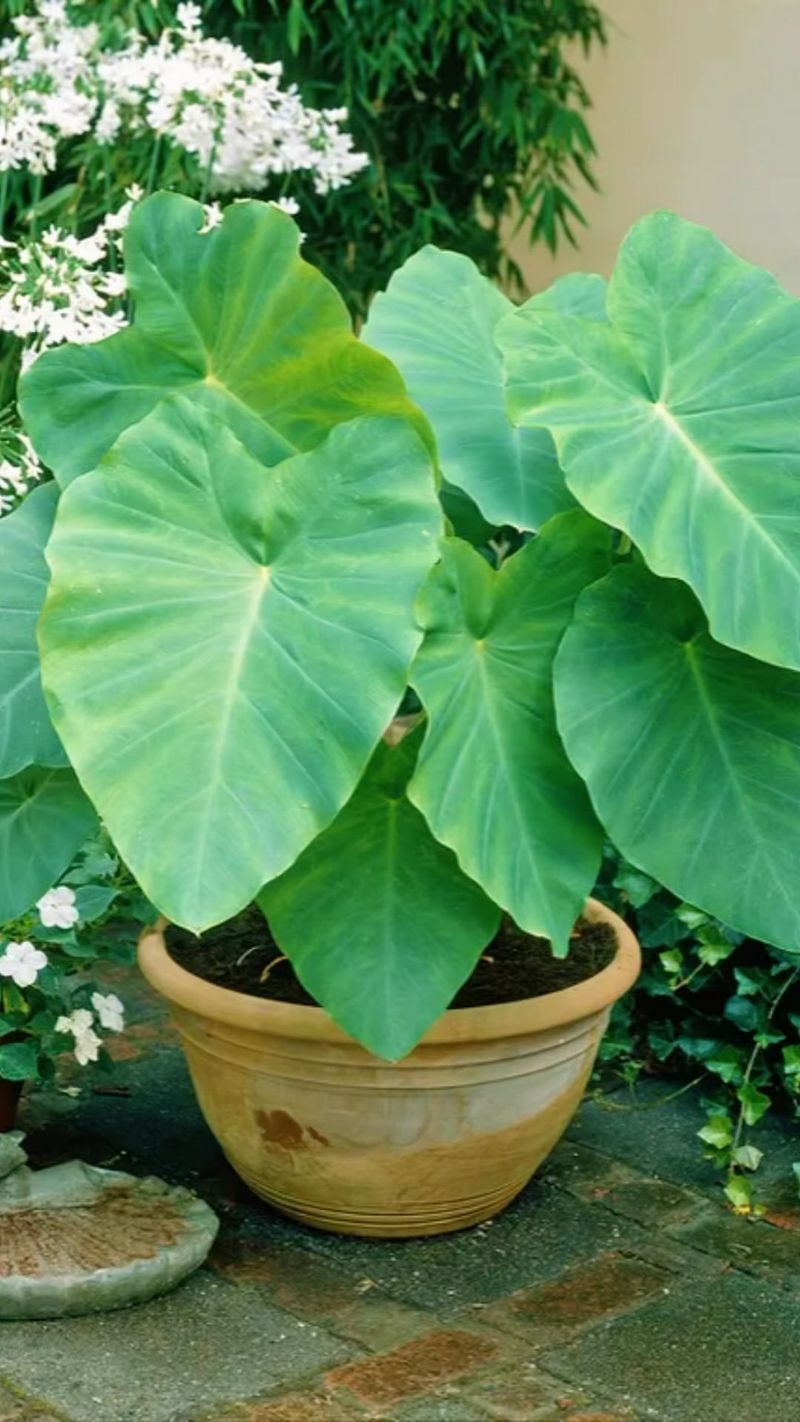
Ever felt your hands itch after pulling weeds? Elephant ears can do something similar, only stronger. Every part of the plant, from the leaves to the stems to the corms, contains tiny needle-shaped crystals called calcium oxalate.
Those crystals can make your skin red, itchy, or stinging, especially if you have sensitive skin.
They are also harmful if swallowed, which means people and pets should never chew on any part of the plant. A curious dog or a toddler could end up with a painful, swollen mouth.
Luckily, staying safe is simple. Pull on a good pair of garden gloves before you start cutting or digging. Long sleeves are a great idea too, since the sap from big stems can drip onto your arms while you work.
Your Michigan Garden Changes Every Week. Your Plan Should Too.
Gardening in Michigan changes quickly throughout the season. Every Friday you’ll receive a simple weekly plan showing exactly what to plant, prune, fertilize, harvest, and protect so you never miss the right timing.
Once you finish, give your pruners and shovel a quick wash with soap and water. That clears off sticky sap so it will not bother you next time you grab them. Then wash your hands well, even if you wore gloves the whole time.
Keep cut leaves and corms out of reach while you work. Pile the foliage somewhere kids and pets cannot get to it, and bag it up for yard waste when you are done.
Michigan gardeners often grow giant varieties that tower over the porch, and the corms can be as big as a softball or larger.
Handling that much plant means lots of contact with the sap. A few minutes spent gearing up keeps the job comfortable, and you can focus on saving your plants instead of scratching your arms all evening.
3. Cut Back The Foliage And Dig Carefully
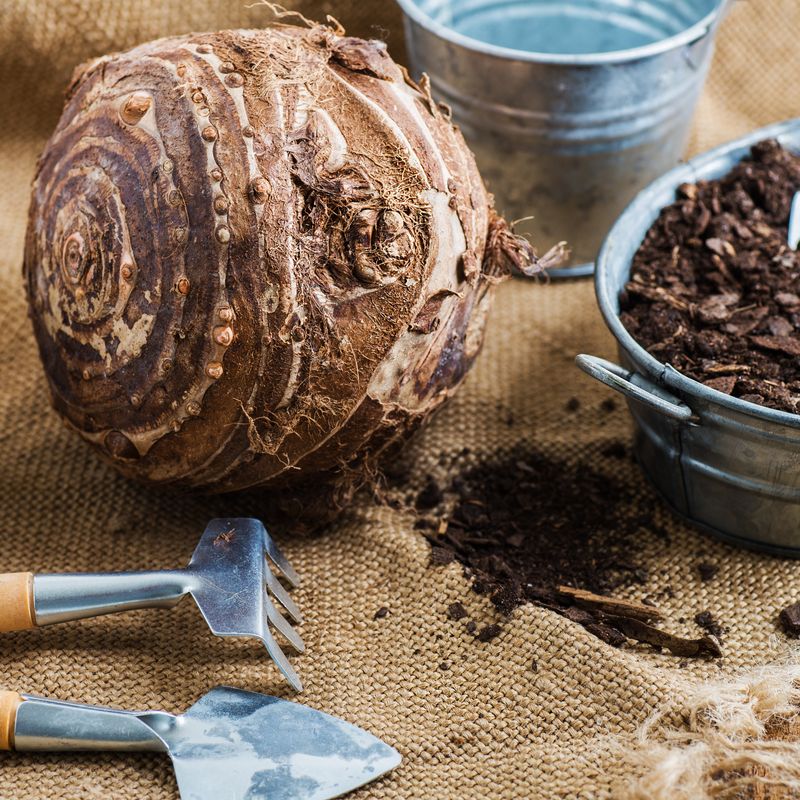
Think of digging up a corm like lifting a buried treasure chest. Rush it, and you might crack the treasure inside. Corms can be big and heavy, but their skin bruises and cuts easily, and damaged spots often turn into rot during storage.
Start by trimming the blackened stems down to about 4 to 6 inches above the soil. Those short stubs act like handles, and they also show you exactly where the corm sits. Toss the floppy leaves aside so you have a clear view.
Next, grab a spading fork instead of a regular shovel. A fork slides into the soil with less chance of slicing the corm. Push it into the ground several inches out from the plant, then gently rock it back and forth to loosen the soil all the way around.
Once the soil feels loose, slip the fork underneath and lift slowly. You may need to work around the plant a few times before the corm comes free. Larger plants can have small baby corms attached, so keep an eye out for those little bonus plants.
After the corm is out, shake off the loose dirt or brush it away with your gloved hand. Avoid scraping or scrubbing, since that can tear the outer skin.
Many parts of Michigan have heavy clay soil that clings like wet cement. If your corms come out caked in muddy clumps, let them sit for a bit so the clay dries and crumbles off more easily.
Patience here pays off, because a clean, unbruised corm is far more likely to make it to spring in great shape.
4. Let The Corms Dry Before Storing

Fresh from the ground, a corm is a bit like a wet sponge. Packing it away right now would invite mold to move in. A short drying period is the secret step that many beginners skip.
Drying does two big jobs. It firms up the outer skin, which helps keep mold and rot away. It also gives the cut stems time to seal over, closing up the open wounds where trouble could sneak in.
Here is how to do it. Spread your corms out in a single layer on newspaper, cardboard, or a screen. Make sure they are not touching, so air can move around each one.
Choose a spot that is warm, dry, and has good airflow, but stays out of direct sunlight. A heated garage, a sunroom with shades, or a spare room near a fan all work nicely.
Leave them there for about one to two weeks, turning them every few days so every side dries evenly.
When the outside feels dry and papery, it is time for a little cleanup. Trim off the dried stems and snip away any remaining roots. The corm should look neat, firm, and ready for its long winter nap.
You might wonder why you cannot just leave them on the porch. Michigan falls tend to be cool, cloudy, and damp, with plenty of rain and morning dew. Outdoor drying in that weather can take forever, and the corms may stay moist enough to grow mold.
Bringing them inside gives you steady, reliable conditions and a much better chance of success.
5. Store Corms Cool, Dry, And Well Ventilated
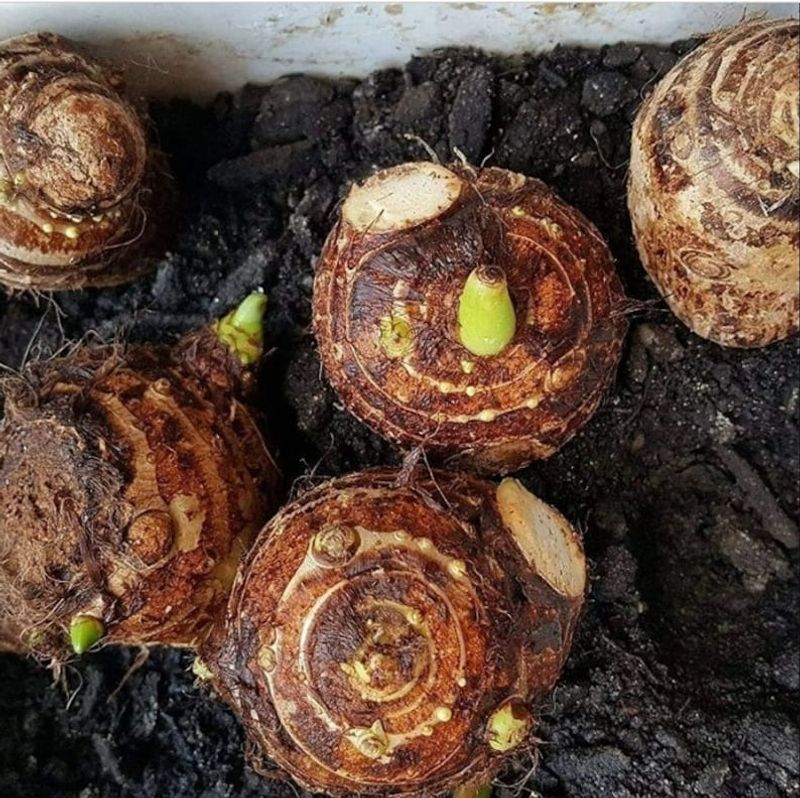
Getting storage right is a bit like tucking a bear in for hibernation. You want the corms sleepy and comfy, not frozen and not soggy. The right spot keeps them resting peacefully until spring.
Temperature is the big deal. Cool air keeps corms dormant, which means they stay asleep instead of trying to sprout too early. Freezing temperatures, though, will damage them, and too much moisture can lead to rot.
Aim for a place that stays around 50 to 55°F. It should never drop below about 45°F, since colder air can harm the corms. A spot with a little air movement helps keep dampness from building up.
For packing, you have several easy choices. Nestle the corms in dry peat moss, vermiculite, or wood shavings, then set them inside a crate or cardboard box. Paper bags also work well, since they let the corms breathe.
Skip plastic bags, because they trap moisture. Before you close things up, label each variety. A quick note with a marker, like “Black Magic” or “giant green,” saves a lot of guessing in spring.
If you grow several kinds, this tiny step makes planning next year’s garden much easier. So where should everything go? Many Michigan gardeners reach for the garage first, but unheated garages often dip below freezing during January and February cold snaps.
A cool basement is usually the safest bet. It stays steady, rarely freezes, and keeps your corms snug while snow piles up outside.
6. Overwinter Potted Elephant Ears Indoors
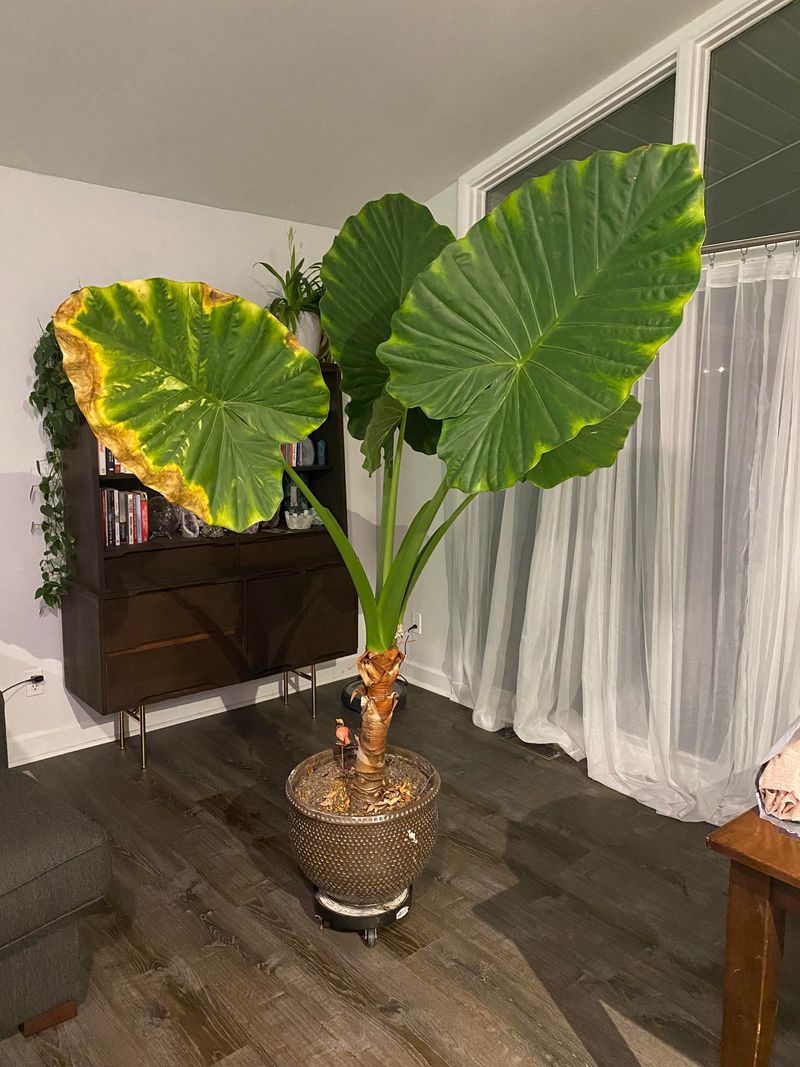
Good news for container gardeners: you may not need to dig at all. Elephant ears grown in pots give you a couple of easy shortcuts. Picking the right one depends on your space and how much green you want indoors this winter.
The first choice is dormant storage right in the pot. After frost blackens the leaves, cut the foliage back close to the soil. Then carry the whole container into a cool basement or any other space that stays frost-free.
From there, keep the soil mostly dry until spring. A tiny splash of water every month or so is plenty if the soil turns bone dry. Too much water while the plant rests can cause rot, so less is better here.
The second choice is to keep your plant growing as a houseplant. For this option, bring the pot inside before frost touches the leaves. Set it in the brightest spot you have, like a south or west window, and water when the top inch of soil feels dry.
Alocasia usually handles indoor life especially well, with upright leaves that look stunning in a living room. Colocasia can be grown inside too, but it tends to be thirstier and fussier. Either way, watch for spider mites, which love dry indoor air.
Patios and porches across Michigan are full of big pots bursting with elephant ears every summer.
Since those containers are already set up, overwintering them as they are saves a lot of digging and cleanup. Just remember that big, wet pots are heavy, so grab a helper or a hand truck.
7. Check Monthly And Start Early In Spring
Out of sight should never mean out of mind. A quick monthly peek at your stored corms can save the whole batch. One rotten corm can spread trouble to its neighbors if nobody notices.
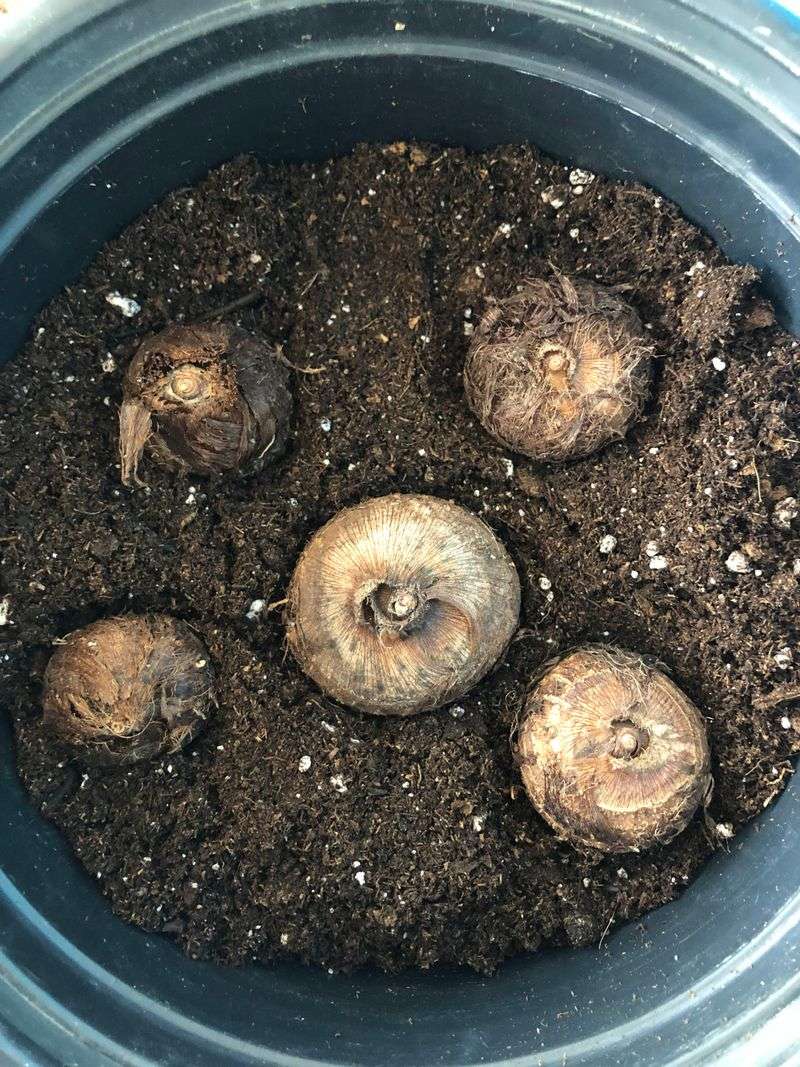
About once a month, open the box and give each corm a gentle squeeze. Healthy ones feel firm, like a potato. If you find one that is soft, mushy, or covered in fuzzy mold, remove it right away so the problem stays contained.
Spring planning starts earlier than you might think. Look up your area’s average last frost date, then count back six to eight weeks. That is your moment to wake the corms up indoors.
Plant each corm in a pot filled with fresh potting mix, with the pointy growing tip facing up. Keep the pots somewhere warm, since these tropical plants love heat, and water lightly so the soil stays just barely moist.
Soon, small green shoots will poke through and start unrolling. Wait for the right weather before moving them outside.
Nights should stay warm, ideally above 50°F, and the soil should have warmed up too. In most of Michigan, that happens in late May or early June.
Why go through the extra effort? Michigan summers are short, and elephant ears need plenty of warm weeks to reach their full, jaw-dropping size. Giving them a head start indoors means bigger leaves by July and a longer season to enjoy them.
When neighbors stop to admire your giant plants next August, you will know that a little winter care made all the difference.