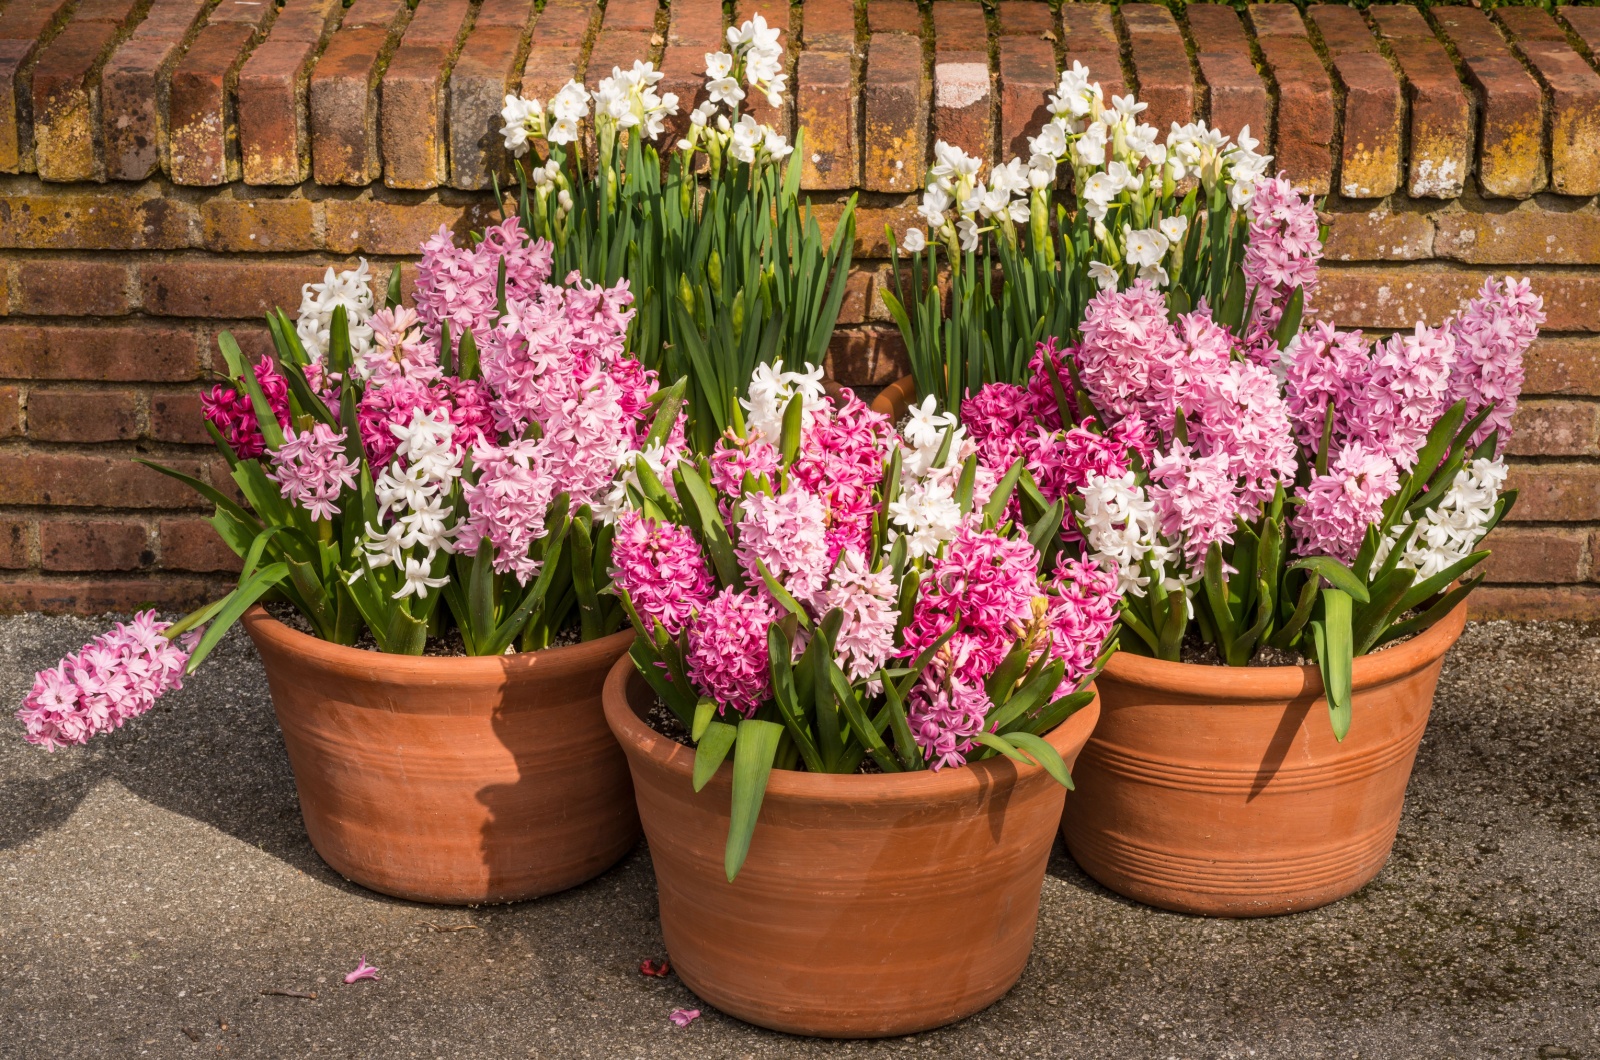
6 Simple Tips To Enhance Your Hyacinth Patch After The Blooms Fade Away
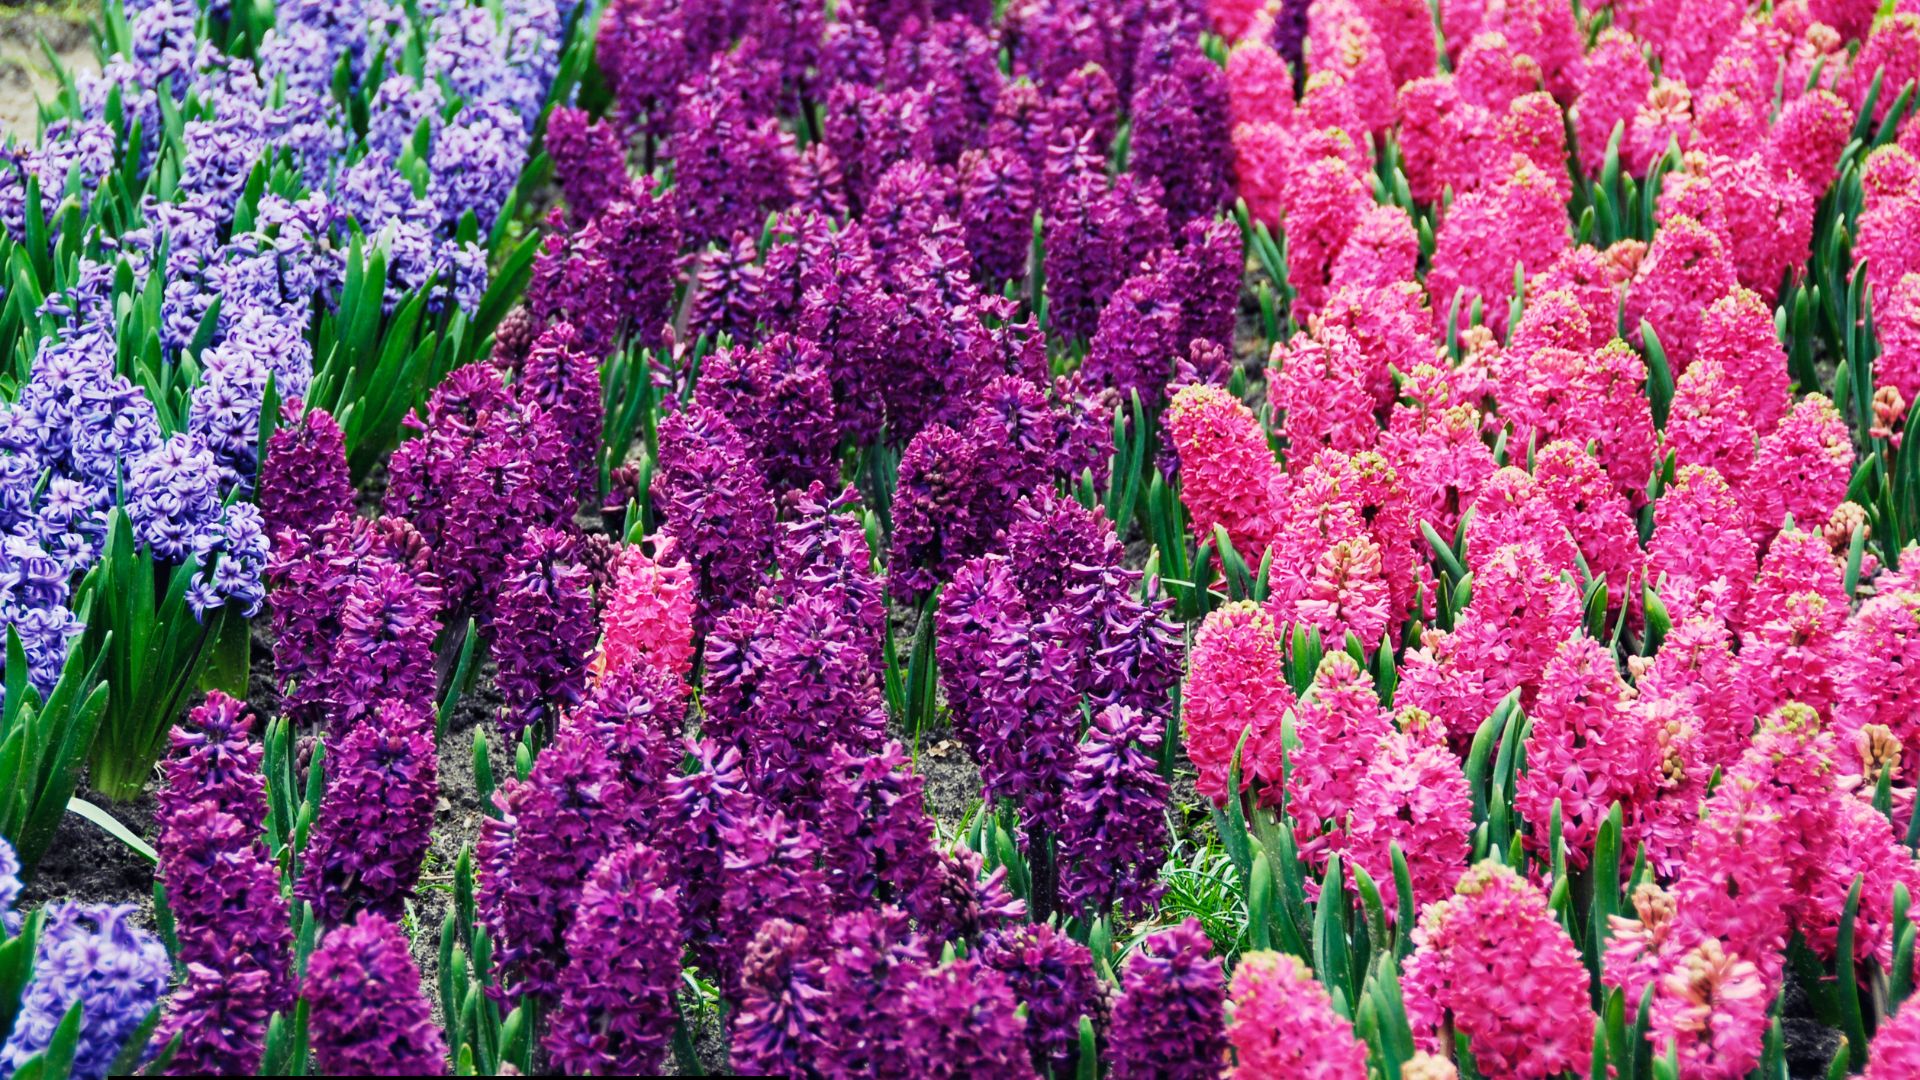
I like my garden in full bloom, with those vibrant hyacinths at the center of attention. And if you are anything like me, you’ll want to take good care of these precious blooms.
Once the flowers are gone, there are things you must do to make sure your hyacinths bloom better next year. Sadly, I didn’t know that. I remember the first time I grew hyacinths, I was captivated by their beautiful blooms.
So, I eagerly awaited their return the following year, but to my disappointment, there were no flowers!
Now that I’ve learned my lesson, I’m going to share with you the essential steps you need to take to ensure that your hyacinths return even more magnificently next year.
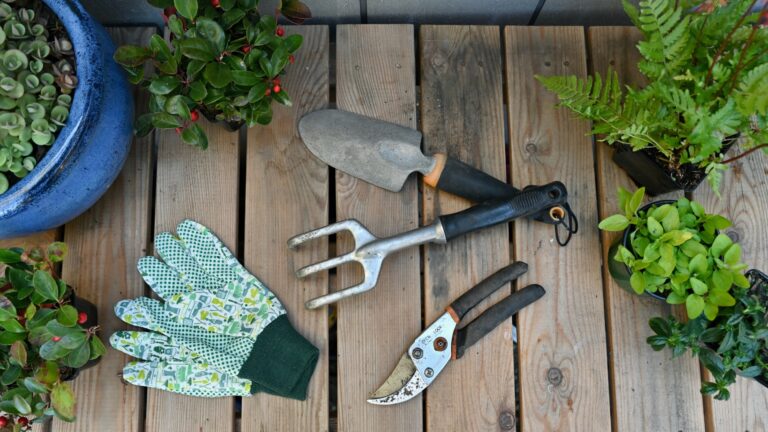
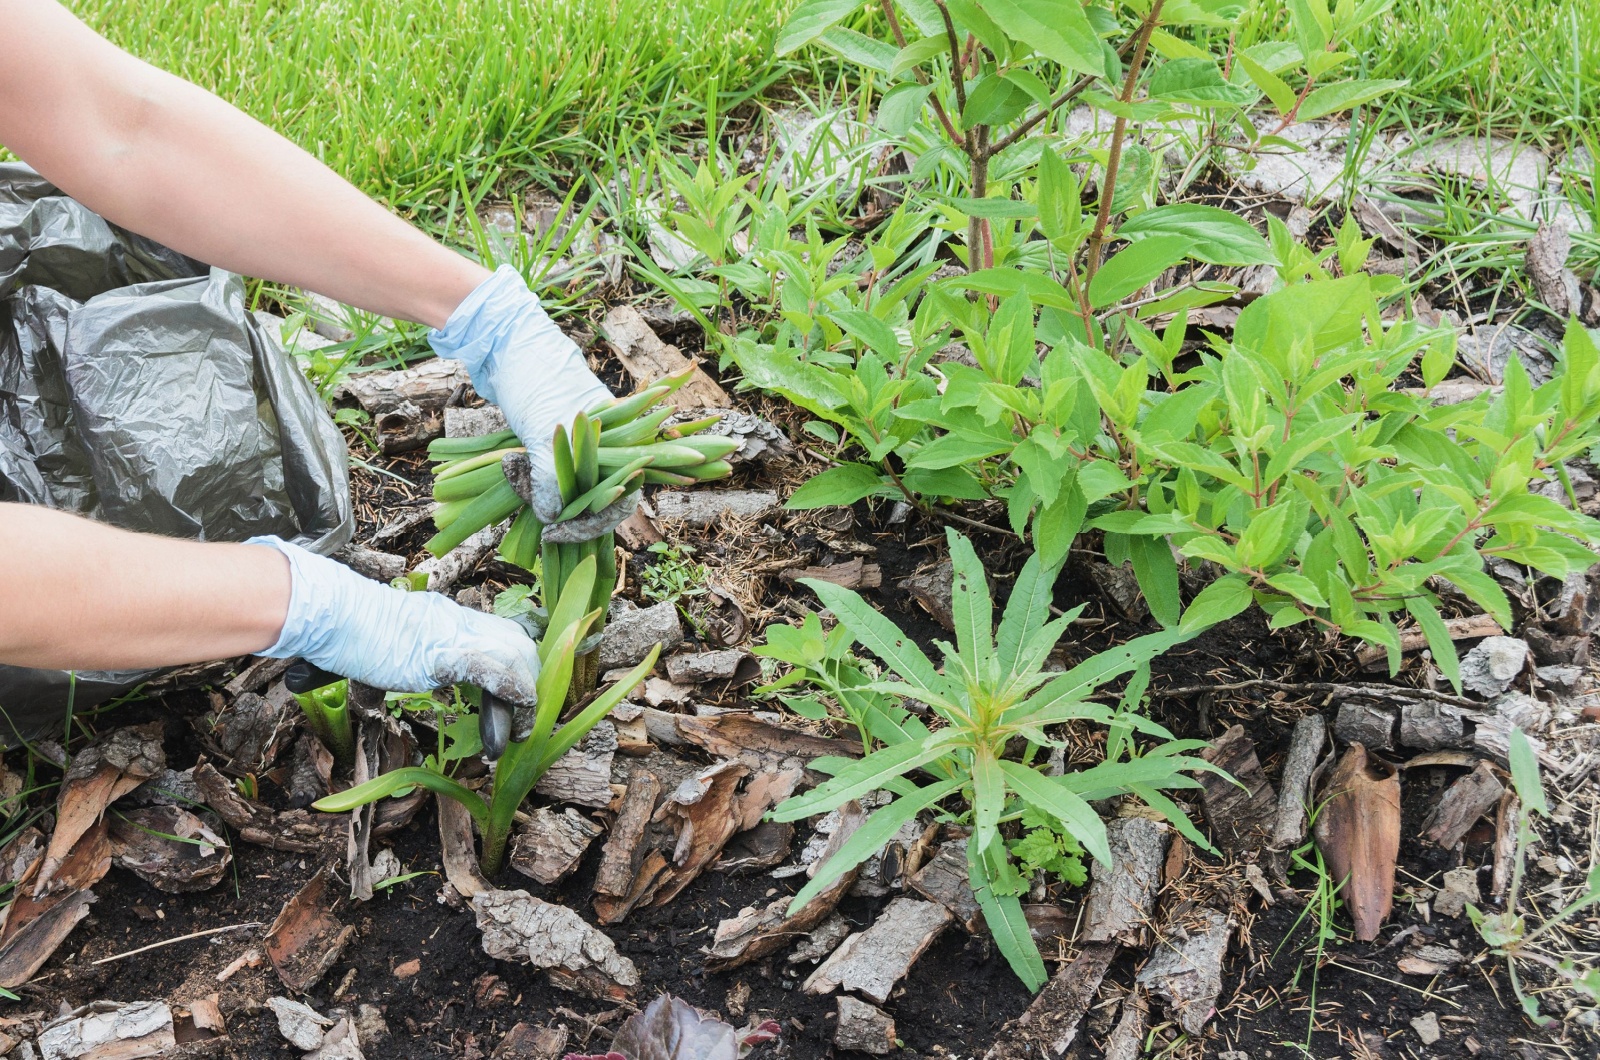
1. Snip Away Those Faded Blooms
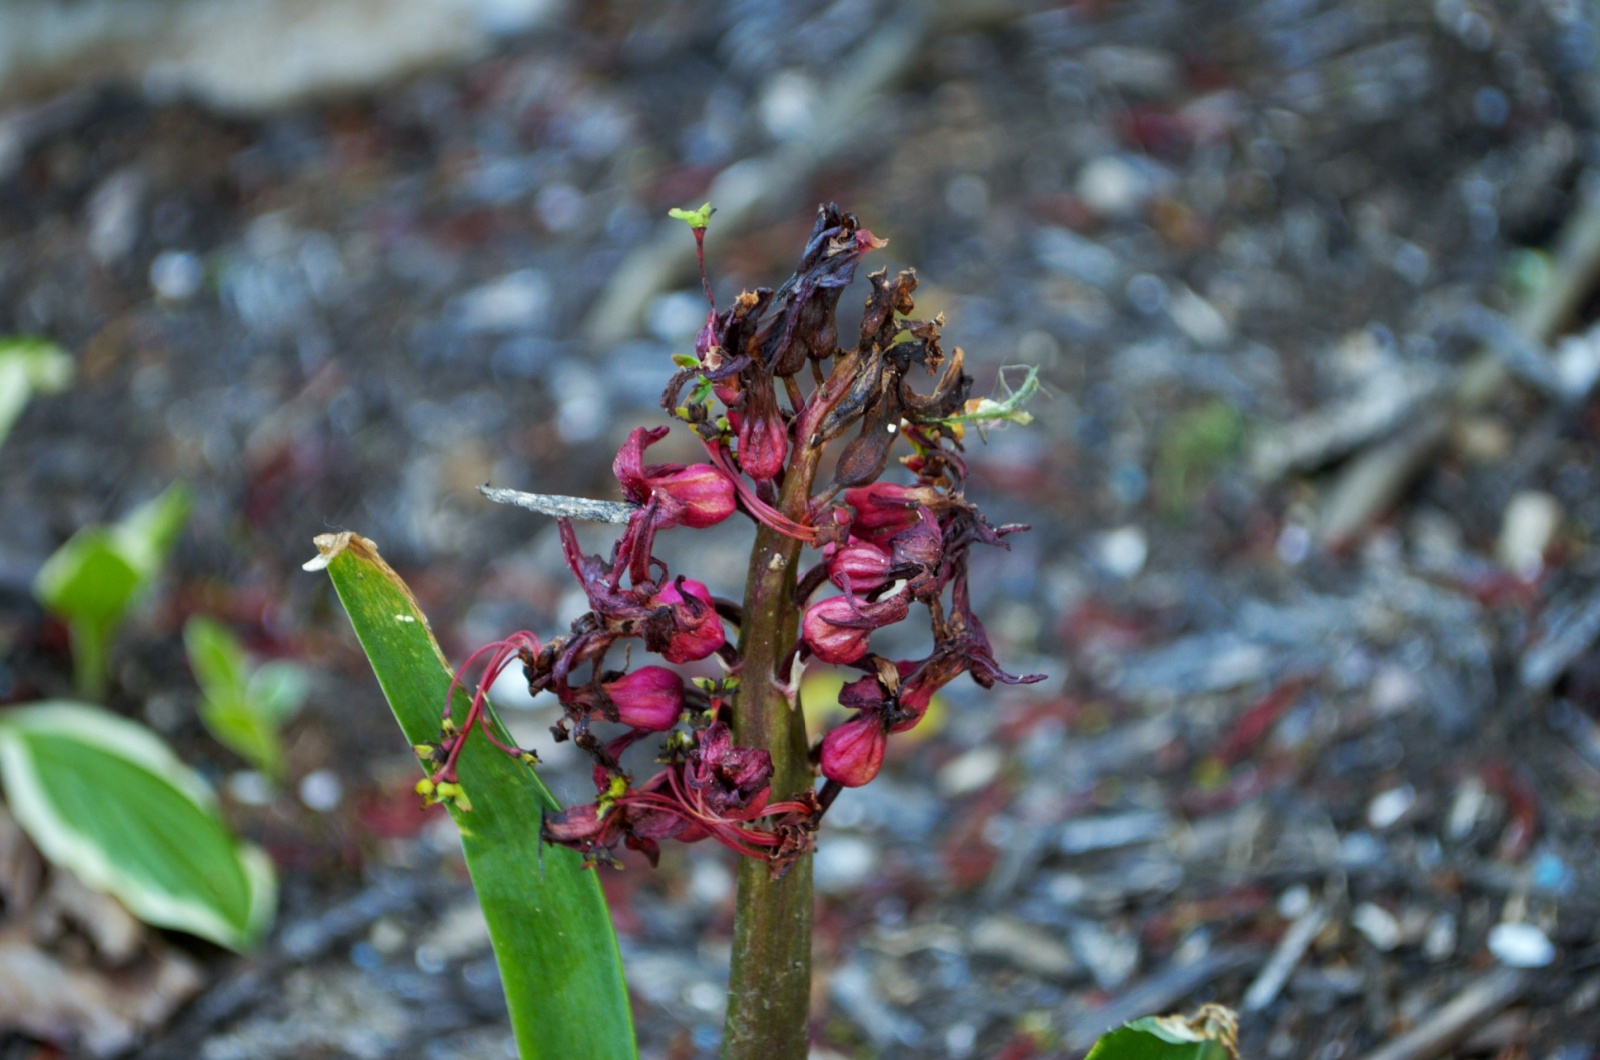
Alright, so the first step in the post-flowering process is saying goodbye to those faded blooms.
When you notice that the flowers are starting to look a bit tired, it’s time to grab your scissors and give them a snip!
Here’s what I’ve learned: cutting off the flower stalk at the base not only tidies things up but also helps the plant conserve its energy for next year’s show. Trust me, your hyacinths will thank you later!
2. Send Those Flowers Off To The Compost Party
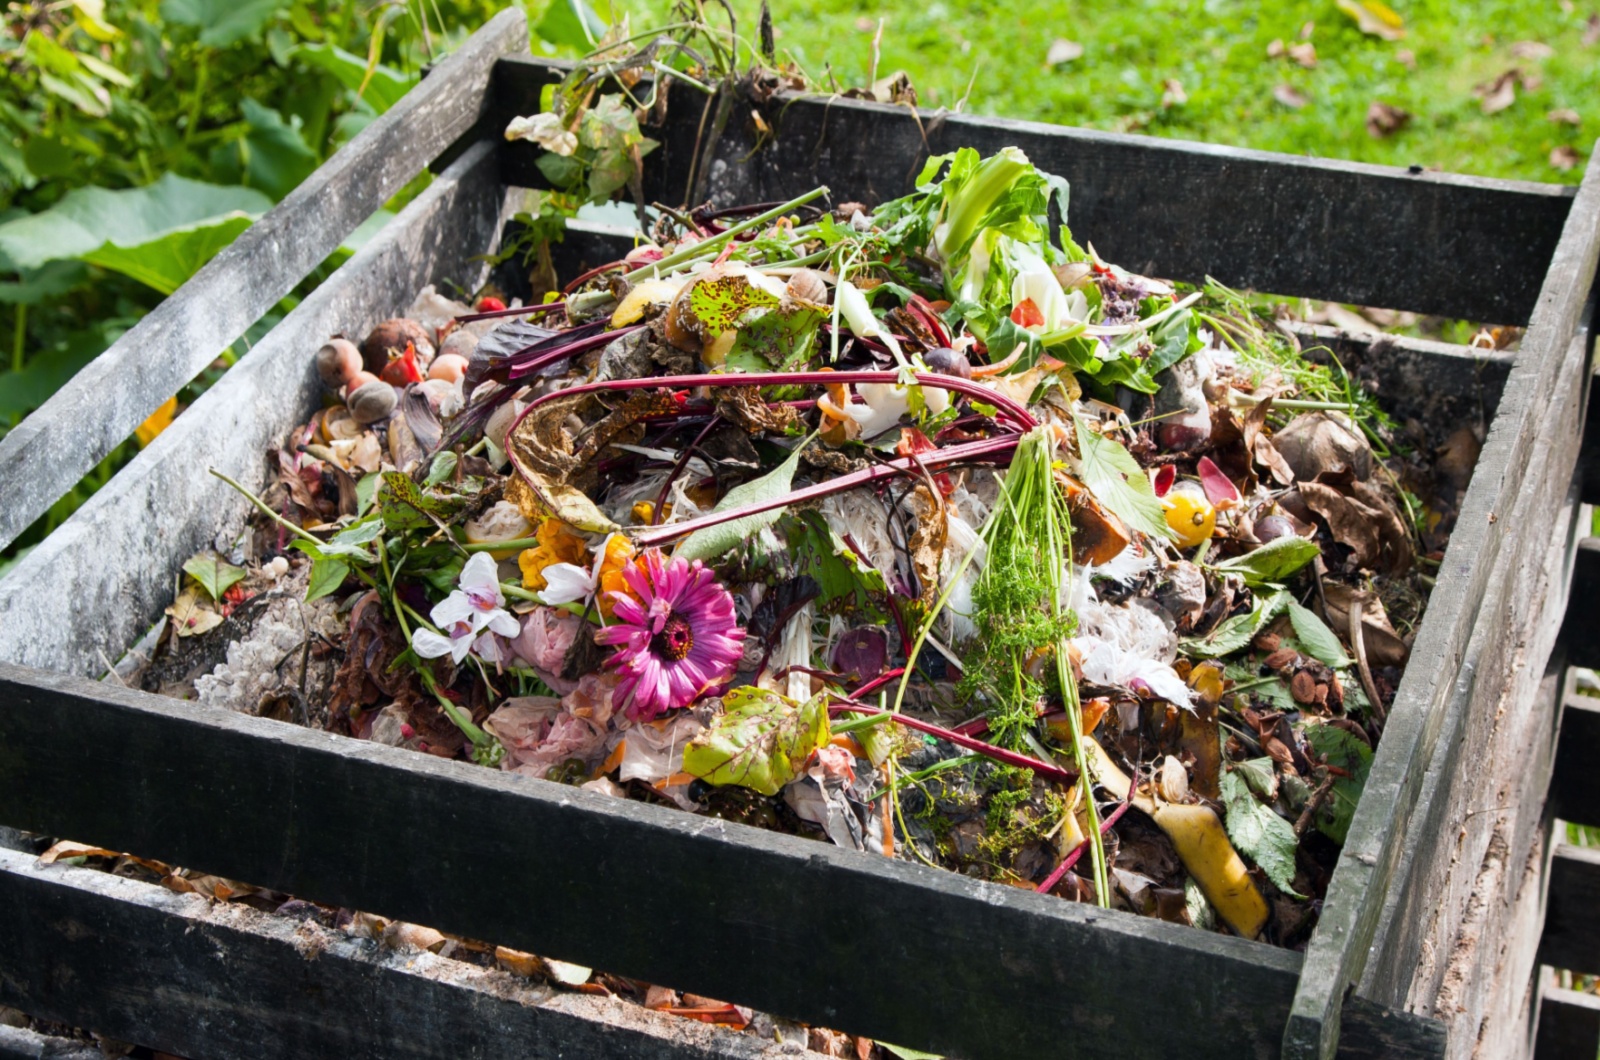
And here comes the next step in this hyacinth care routine: the compost heap!
After you’ve bid farewell to those faded blooms, it’s time to give them a new purpose.
Just toss them onto your compost heap, and voila! You’re on your way to creating some nutrient-rich compost for your garden beds.
Related: 95 Things You Didn’t Know You Can Compost
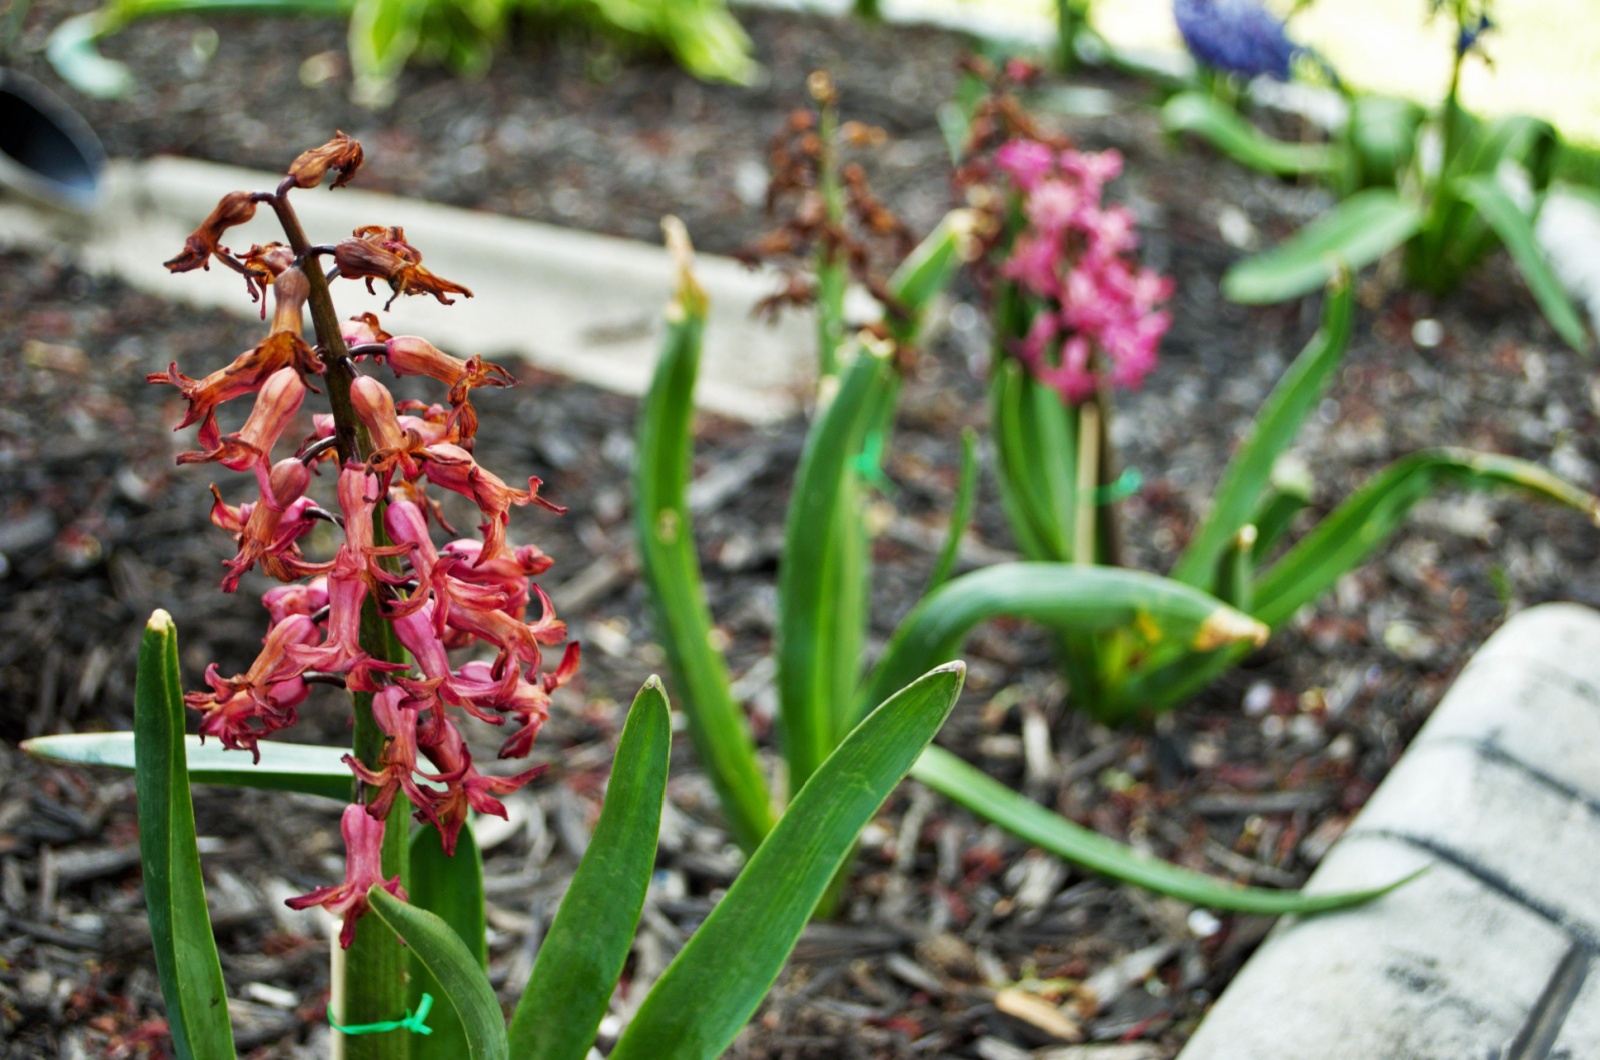
3. Trimming Off Foliage Is A Big No-no!
With those faded petals gone, I always feel the urge to tidy up the remaining foliage. But then I remind myself: hold off on those clippers Jennifer!
Almost all gardener experts suggest leaving the foliage intact for a little while longer. So, don’t snip away the leaves just yet because they’re working hard behind the scenes to fuel next year’s blooms.
Be gentle with them, and let nature work its magic.
4. Let Your Potted Hyacinths Soak Up the Sun
This step is crucial, whether your hyacinths are potted or not. They have to get a taste of the great outdoors, especially when they’re done flowering.
So, for potted plants, bring them outside or find a sunny spot indoors. Keep up with weekly watering, but don’t drown them!
For an extra boost, I like to treat them with some liquid seaweed every fortnight to help those bulbs bulk up.
Also read: Grow Hyacinths This Way For The Most Beautiful Bloom Display Ever
5. Chop Off Leaves Once They Turn Yellow
Once you hit the six-week mark, keep an eye on your hyacinth’s foliage: it’ll start showing some yellow hues.
When you see those golden leaves, it’s time for a snip!
I usually use garden scissors to trim those leaves back to ground levels, but you can also use trusty secateurs.
6. Shift Your Focus Back On Bulbs
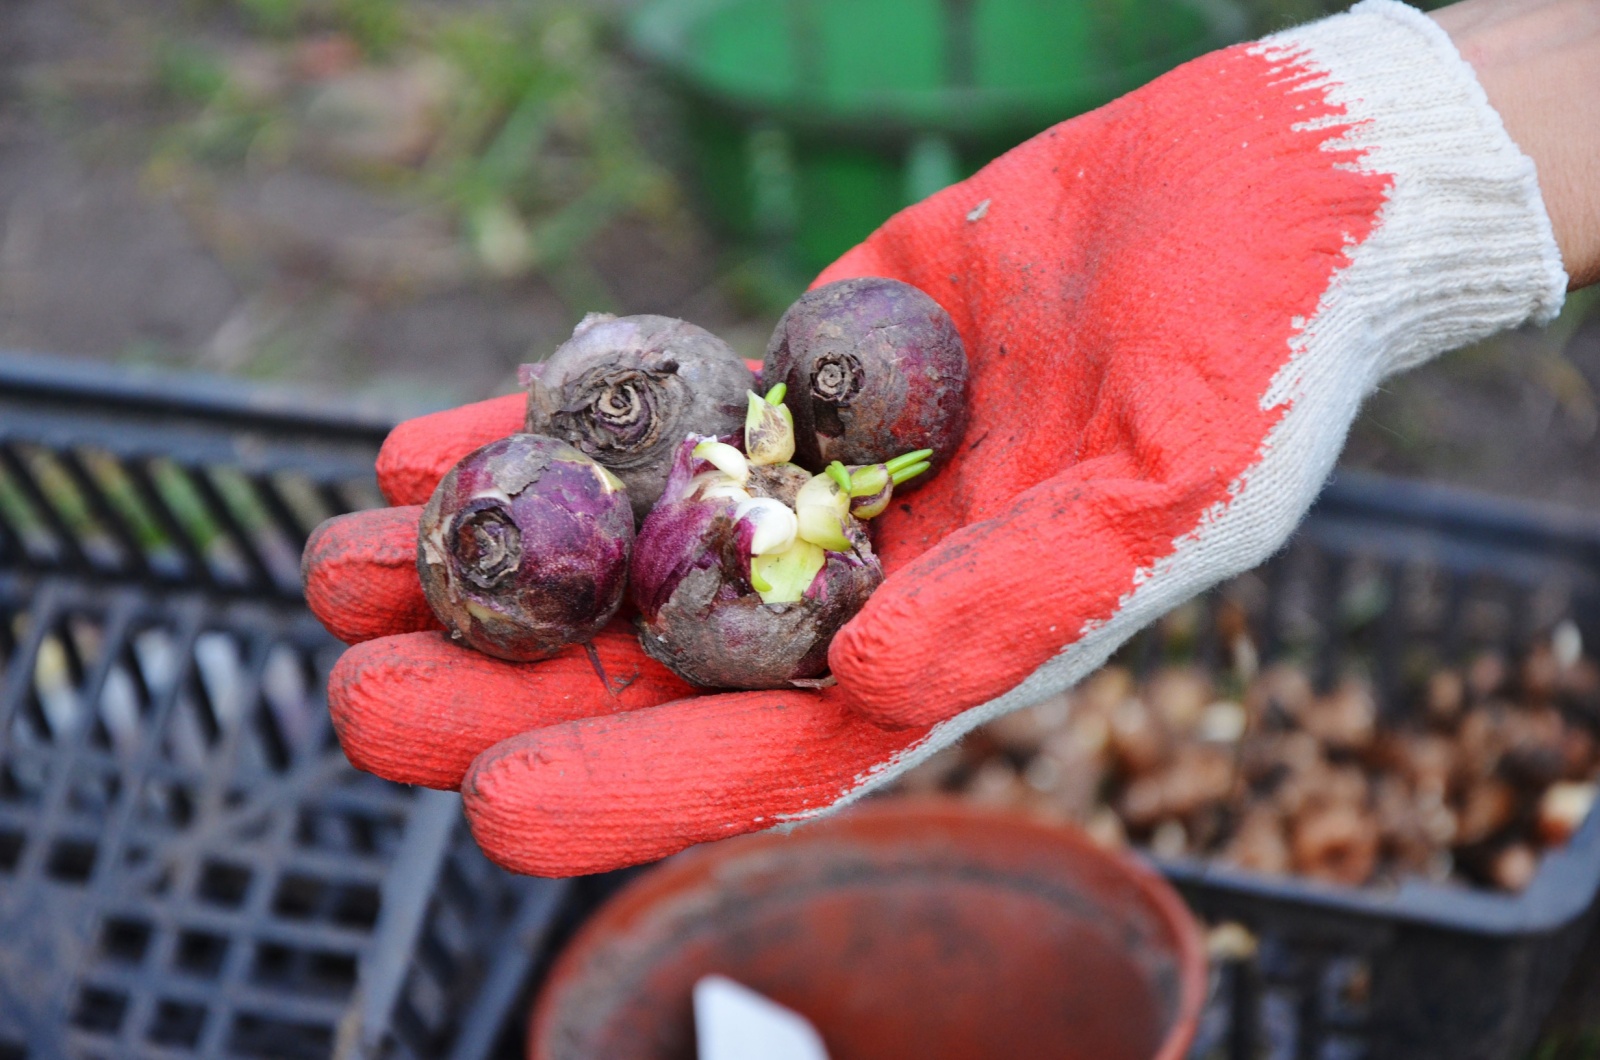
If your soil drains well, your hyacinth bulbs can snugly remain underground until next year. You’ll have to keep an eye on their moisture levels because too much water could lead to bulb rot.
But if you are not so sure about your soil’s quality, it’s better to dig up the bulbs and store them in a hessian bag in a cool, dry spot.
For potted hyacinths, the same principles apply. You can either leave them in their pots, relocating them to a dry, dark area for the winter, or opt to pull them up and store them. The decision is entirely up to you!
Now that your hyacinths have completed their flowering journey, it’s time to set them up for success next year.
By following these steps, you’re not just caring for your plants – you’re investing in a future full of vibrant blooms!
Also read: 19 Beautiful Annual Flower Bed Combinations For A Show Stopping Flower Display