What To Do With Ohio Hostas In Spring For Stunning Growth
Your hostas are already telling you how this season might go.
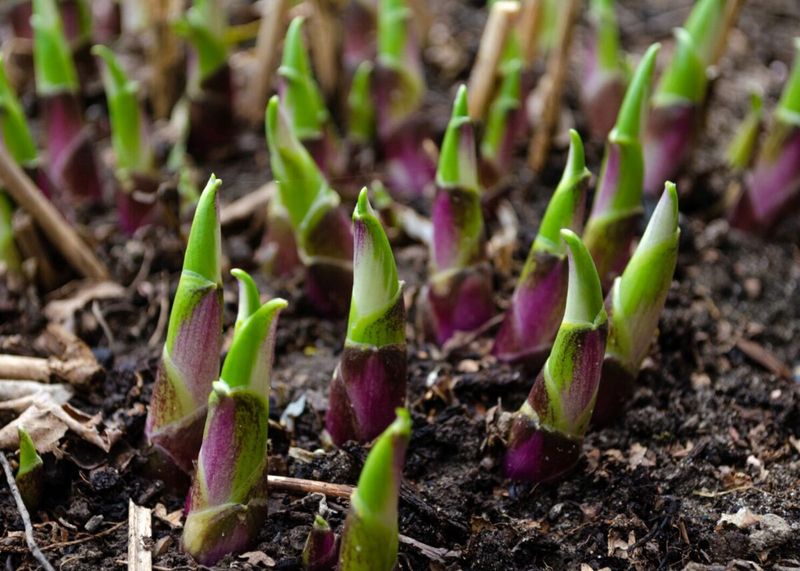
See those tight purple and green shoots poking through the mulch? That is not just a spring welcome sign.
It is your window. Miss it, and slugs, soggy debris, late frost, and hungry deer can get the upper hand before the leaves even open.
Why do some Ohio hostas turn into huge, clean, showy clumps by June while others limp along with chewed leaves, crowded crowns, and sad gaps? Spring care usually makes the difference.
No need to fuss over them like rare orchids. A little cleanup, a quick crown check, smart watering, and early protection can put your shade bed on the right track fast.
Think of May as the setup, not the show. Do the small jobs now, and your hostas have a much better shot at looking bold, full, and worth bragging about all summer.
1. Clear Away Winter Debris Before New Shoots Unfurl
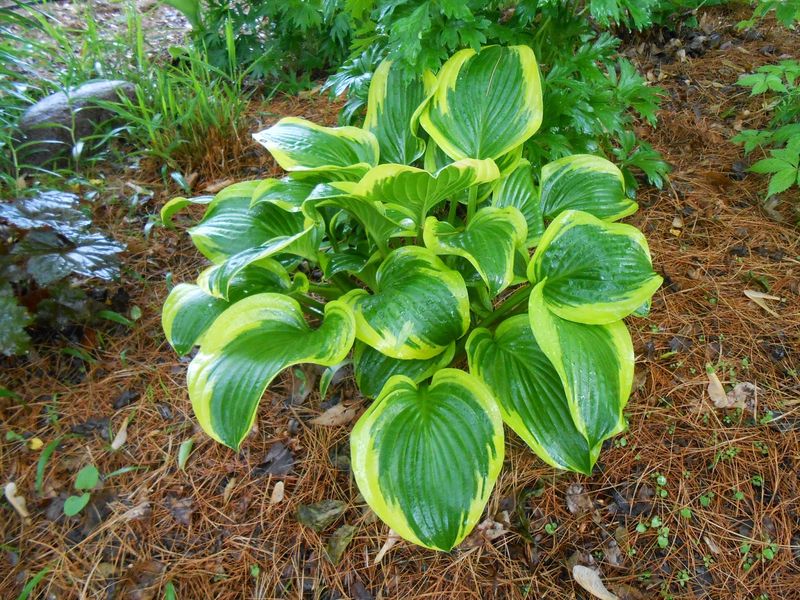
Reaching down to pull away a soggy, matted leaf from last fall and spotting a bright purple hosta tip underneath is one of the best small rewards spring gardening offers.
That moment is also your cue to get moving on cleanup before new growth gets tangled up in old debris.
Left in place, witheredleaves, wet mulch, and fallen sticks create cozy hiding spots for slugs and can trap moisture against the crown.
Work through the bed gently, using your hands or a soft rake to lift debris away from each emerging shoot. Hosta eyes are surprisingly fragile in spring, and a careless tug or scrape can snap them off cleanly.
Take your time, especially around clumps where multiple shoots are coming up close together.
Removing old material also improves airflow around the base of each plant, which helps reduce fungal issues as the season warms up.
Extension gardening resources often recommend good sanitation practices to reduce pest and disease pressure in perennial beds.
Aim to complete this cleanup once the soil is workable and you can clearly see where new growth is emerging. Trying to clean up before shoots appear risks accidentally damaging crowns that are still underground.
A clean bed at the start of spring sets the stage for a much healthier growing season ahead.
2. Check Crowns For Frost Heaving And Rot
Ohio winters are famous for flip-flopping between hard freezes and mild spells, and that freeze-thaw cycle can physically push hosta crowns right up out of the ground.
If you notice a clump sitting higher than it should, or if you can see roots above the soil surface, frost heaving is likely the cause.
Catching this early prevents the exposed roots from drying out as spring temperatures rise.
Gently press the crown back down into the soil with your hands, firming the ground around the base. If soil has been pushed away, add a little fresh garden soil to fill in any gaps and cover exposed roots.
Avoid packing too hard, since hosta roots are fleshy and can bruise.
Your Ohio Garden Changes Every Week. Your Plan Should Too.
Gardening in Ohio changes quickly throughout the season. Every Friday you’ll receive a simple weekly plan showing exactly what to plant, prune, fertilize, harvest, and protect so you never miss the right timing.
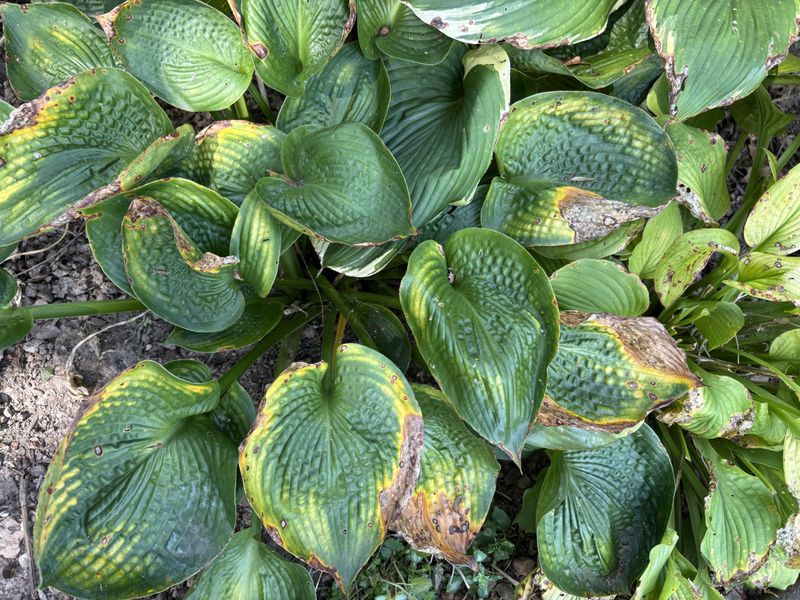
While you are checking for heaving, also look for signs of crown problems from winter moisture. Soft, mushy tissue at the base, a sour or unpleasant smell, or discolored areas near the crown can indicate rot that developed during wet winter conditions.
Carefully remove any clearly affected tissue and allow the area to dry out a bit before covering it back up. According to university extension sources, well-drained soil is one of the best long-term protections against crown problems in hostas.
If rot is minor and the surrounding tissue looks firm and healthy, the plant often recovers well once spring growth gets going.
3. Divide Overgrown Clumps Before Leaves Expand
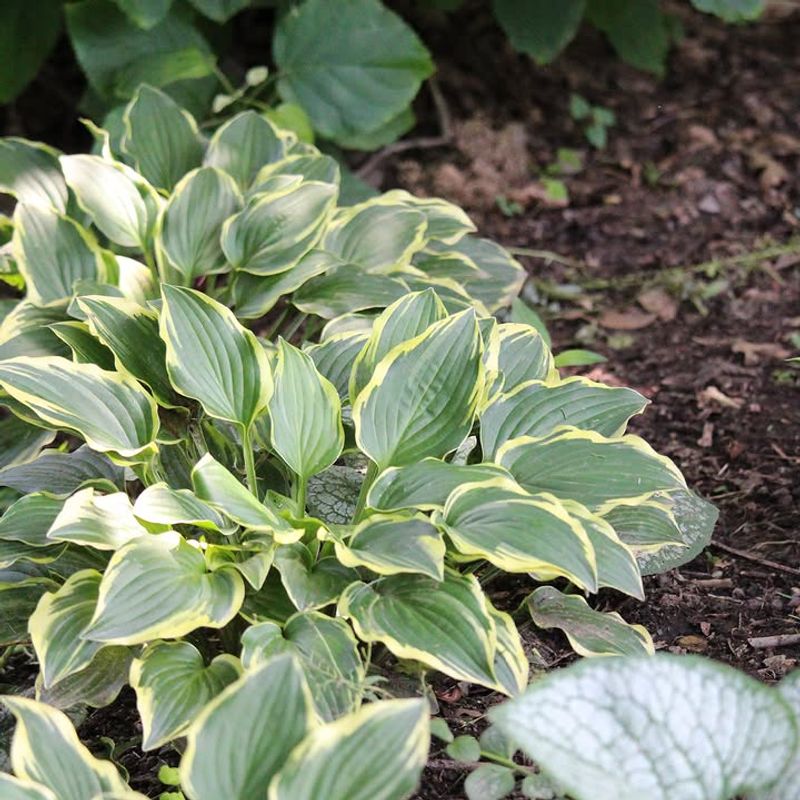
A hosta clump that used to be a showstopper can quietly turn into a crowded mess over several years. Smaller leaves, a bare patch in the center, or a clump that has outgrown its space are all signs that division is overdue.
Spring is genuinely the best window for this task because the shoots are visible enough to work around, but the plant has not yet invested energy into a full canopy of leaves.
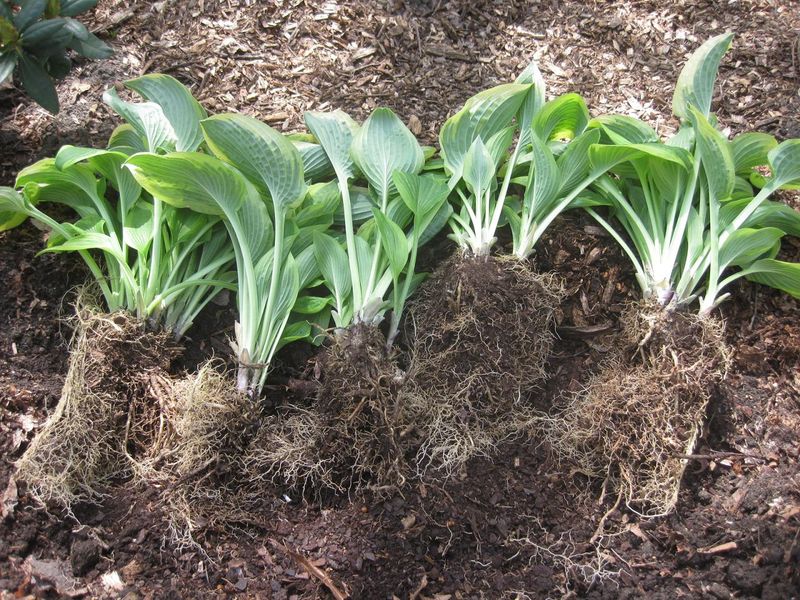
Start by digging around the outside of the clump with a sharp spade, working several inches away from the visible shoots to avoid slicing through roots unnecessarily. Once the clump is loose, lift it out and set it on the ground where you have room to work.
Use a sharp spade, garden knife, or even a sturdy old bread knife to cut through the clump, making sure each division has at least two or three healthy eyes attached.
Replant divisions promptly so the roots do not dry out. Set them at the same depth they were growing before, firm the soil around them, and water well right after planting.
Divisions usually establish quickly when spring soil moisture is good. Sharing extra divisions with neighbors or moving them to other spots in the yard is a practical way to expand your hosta collection without spending anything extra at the garden center.
4. Refresh The Soil With Compost
Ohio clay soil is one of the most common complaints among shade gardeners in the state, and hostas planted directly into heavy clay often struggle with poor drainage and compaction over time.
Adding compost each spring is one of the simplest and most effective ways to gradually improve soil structure without disrupting established plants.
Over several seasons, regular compost additions make clay soil more workable and better at holding moisture without becoming waterlogged.
Spread a thin layer, roughly one to two inches, of finished compost around each plant, keeping it a couple of inches away from the crown itself. Piling compost directly against the crown traps moisture in exactly the spot where rot is most likely to start.
A gentle topdressing that extends out to the drip line of the plant is more useful than a thick mound concentrated at the base.
Resist the urge to overdo it. More is not always better when it comes to soil amendments, and excessive organic material piled on year after year can raise the soil level around the crown in ways that cause problems.
University extension recommendations generally support light annual compost applications as part of a sustainable perennial bed maintenance routine.
Pair the compost with a light layer of shredded bark mulch after the soil warms, and your hostas will have a steady, moisture-retentive growing environment through the heat of summer.
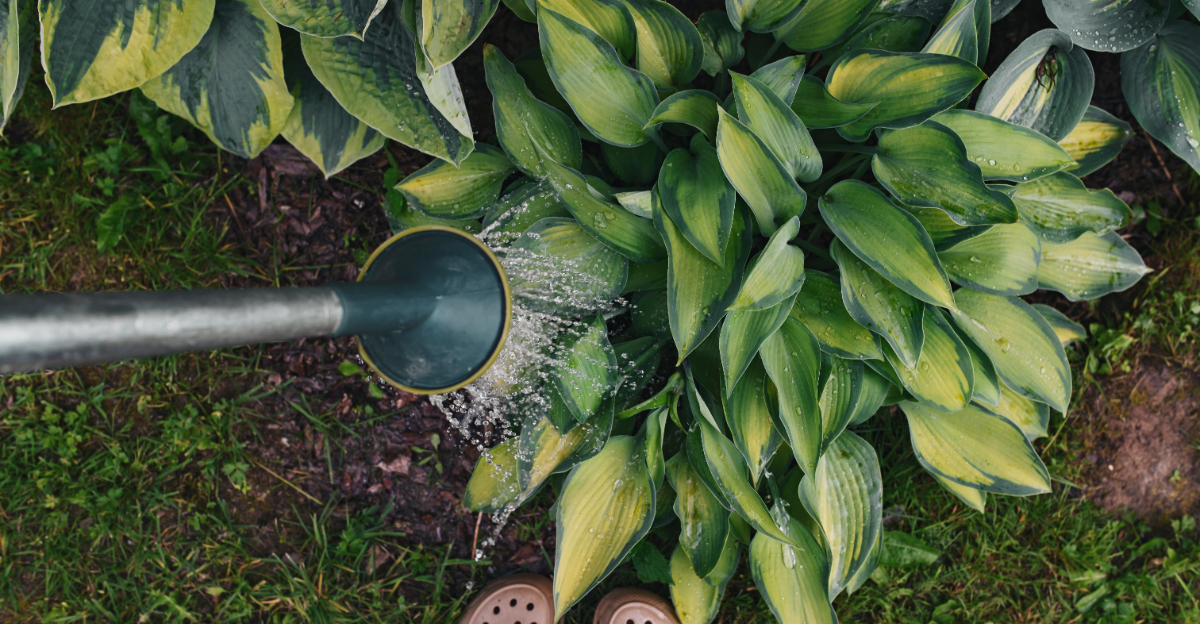
5. Water Deeply As Spring Growth Begins
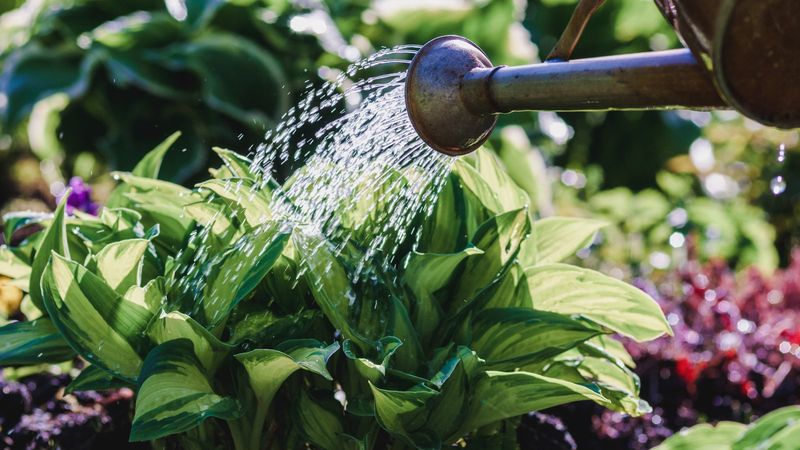
Spring in Ohio often brings plenty of rain, which means watering your hostas may not be the first thing on your mind.
However, dry stretches can show up even in April and May, especially during periods of wind and low humidity that pull moisture out of the soil faster than expected.
As hosta leaves expand, they have a large surface area that increases the plant’s need for consistent moisture.
Before reaching for the hose, check the soil a couple of inches down. If it feels moist, hold off.
If it feels dry and crumbly, water slowly and deeply at the base of the plant rather than sprinkling lightly from above. Deep watering encourages roots to grow downward, which makes plants more resilient during dry spells later in the season.
Overhead watering is not ideal for hostas because wet foliage sitting in low-light, humid conditions can encourage fungal spotting. A soaker hose or drip line laid through the bed is a practical investment that delivers water where it is needed most.
Soggy soil is just as problematic as dry soil for these plants, so balance is the goal.
According to horticultural guidance from extension sources, hostas perform best when soil moisture stays consistently even rather than swinging between soaking wet and bone dry throughout the growing season.
6. Watch For Slugs Before Damage Shows
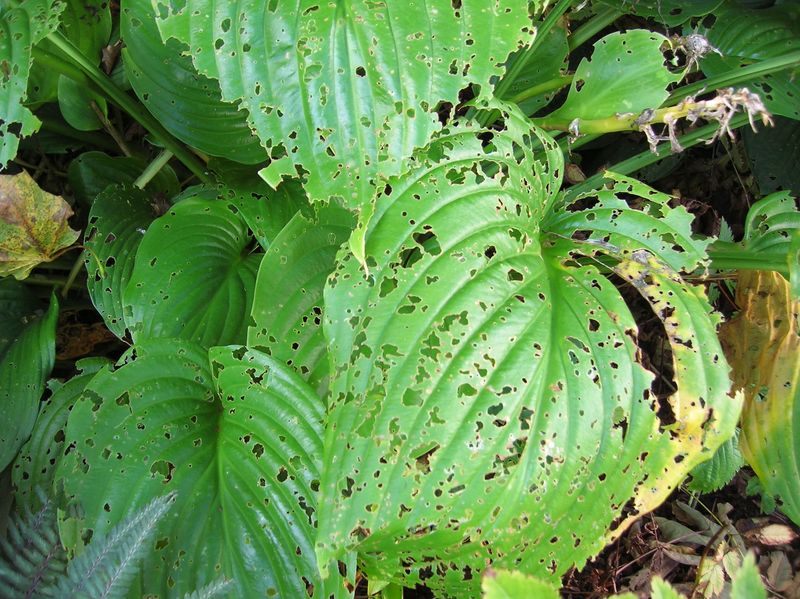
Slugs are one of the most frustrating spring visitors in Ohio shade gardens, and they tend to show up quietly long before you notice the damage on your hosta leaves.
By the time you see ragged holes and torn edges on newly unfurled foliage, slugs have already been feeding for days.
Catching the problem early, before leaves fully open, gives you a much better chance of keeping damage to a minimum.
Go out to the garden in the evening or early morning with a flashlight and look for slime trails on leaves and soil surfaces. Slugs are most active at night, especially after rain or on humid evenings.
They love to hide under soggy mulch, old leaves, boards, and dense ground cover, which is another reason spring cleanup matters so much.
Spacing plants to allow airflow, avoiding thick wet mulch directly against crowns, and keeping the bed tidy reduces the habitat slugs prefer.
If populations are high enough to cause real damage, slug-control products are available at garden centers and should be applied strictly according to label directions.
Iron phosphate-based baits are widely recommended by extension sources as a lower-risk option in garden beds.
Consistency matters more than a single heavy application, so check the bed regularly through late spring when cool, damp Ohio weather keeps slug activity at its peak.
7. Protect New Shoots From Late Frost
Ohio weather has a well-known habit of throwing one last cold punch just when gardeners start to relax.
A late frost in April or even early May is not unusual in many parts of the state, and tender new hosta shoots that have been growing in mild weather can suffer real setbacks when temperatures suddenly drop below freezing overnight.
Damaged tips turn mushy and brown, and while plants usually push out new growth afterward, the season gets off to a slower start.
Keep an eye on local forecasts from late March through mid-May, depending on where you are in Ohio. Northern parts of the state generally see frost risk later into spring than southern areas.
When a frost warning is issued, cover emerging plants with a breathable fabric row cover, an old bedsheet, or purpose-made frost cloth before temperatures drop in the evening.
Avoid using plastic sheeting directly on plants because it can trap heat during the day and cause its own kind of damage.
Remove covers the following morning once temperatures have risen above freezing, so plants are not overheated under the fabric as the day warms up.
Lightweight frost cloth is reusable and easy to store, making it a practical tool to keep on hand through the unpredictable Ohio spring season. A little preparation on a cold evening can save weeks of recovery time for your hostas.
8. Keep Deer Away Before They Find Fresh Growth
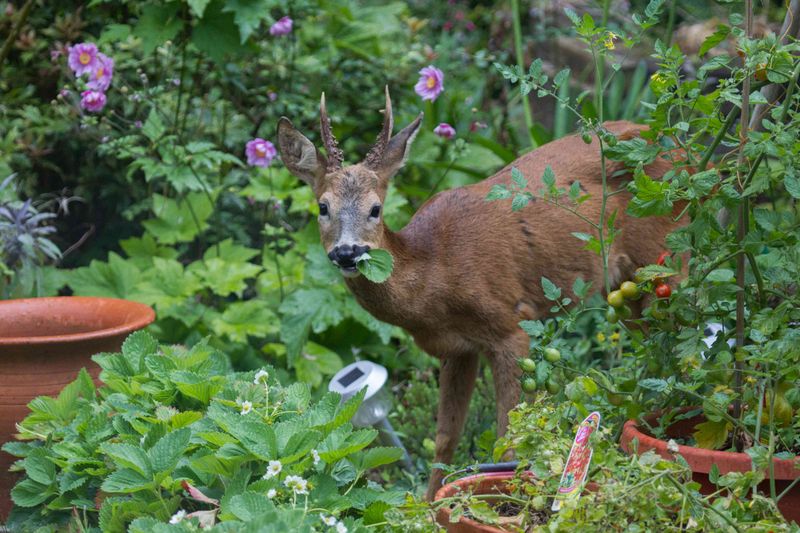
Fresh hosta shoots in spring are practically an invitation to deer, and once a local herd discovers a reliable food source in your yard, breaking that habit takes real effort.
Acting before deer find your plants is far easier than trying to redirect them after they have already made a few visits.
Early spring, when natural forage is still limited, is exactly when deer pressure on garden plants tends to be highest.
Fencing is the most consistently effective option, though it is not practical for every yard or budget. A fence needs to be tall enough to actually deter deer, since they can clear surprisingly low barriers with ease.
Repellent sprays applied according to label directions can help reduce browsing, especially when applied consistently and reapplied after rain. No repellent product provides a guarantee, and effectiveness varies depending on deer pressure in your specific area.
Motion-activated sprinklers are another option that some gardeners find useful for keeping deer off specific garden areas without chemicals.
Rotating between different deterrent methods can also help, since deer sometimes habituate to a single approach over time.
In yards with very heavy deer pressure, replacing the most vulnerable hostas with more deer-resistant shade perennials in exposed spots may be worth considering.
Ohio State University Extension offers guidance on deer-resistant plant options that can complement hostas in high-traffic browsing areas without sacrificing a beautiful shade garden.