What To Do With Your Geraniums Before Winter So They Bloom Again Next Spring
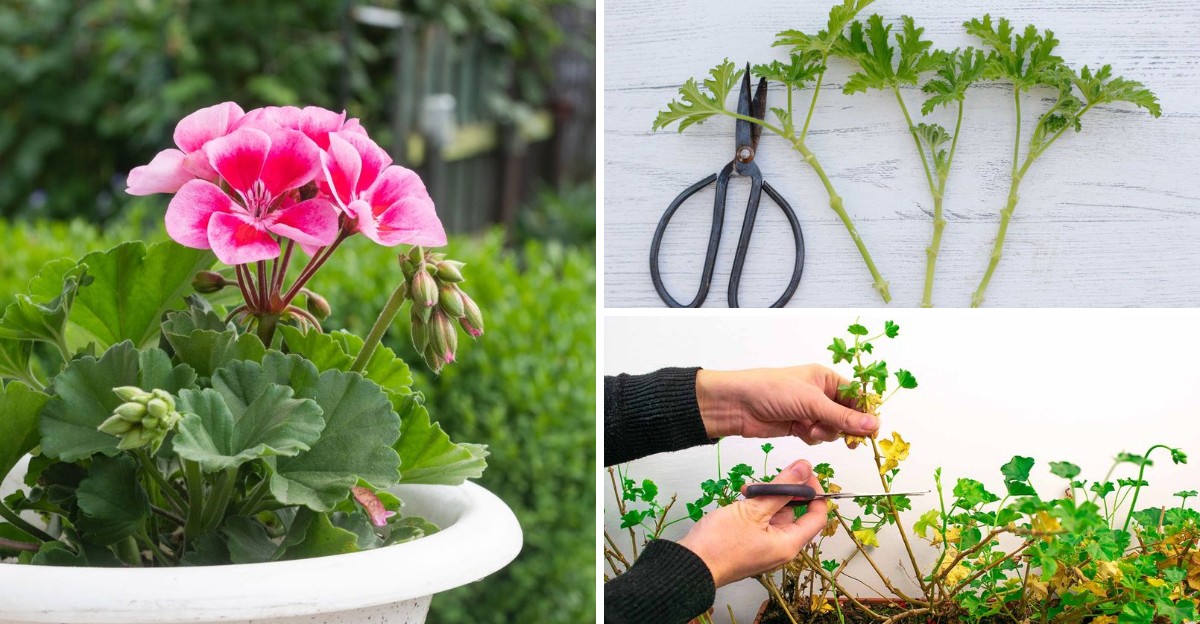
Your geraniums have a limited window before frost. Frost can arrive quickly and damage tender leaves.
Those red and pink blooms are tender perennials, not annuals, so they can return. Lift each pot before temperatures dip near freezing.
Snip off spent flowers and yellowing leaves with clean scissors. Trim leggy stems down to short, sturdy stubs.
Inspect the undersides of foliage for whiteflies, which hitchhike indoors. Pests you carry inside will multiply fast in warm, still air.
Choose a cool, bright spot above freezing, such as a cellar or sheltered garage window. Water sparingly, only when the soil feels dry to your fingertip.
Soggy roots cause more trouble than a missed drink. Wake them gently by late winter with fresh soil, brighter light, and patience. You will gain fuller, bushier plants, plus savings next spring. Plan your move this week.
1. Watch The Weather And Act Before The First Frost
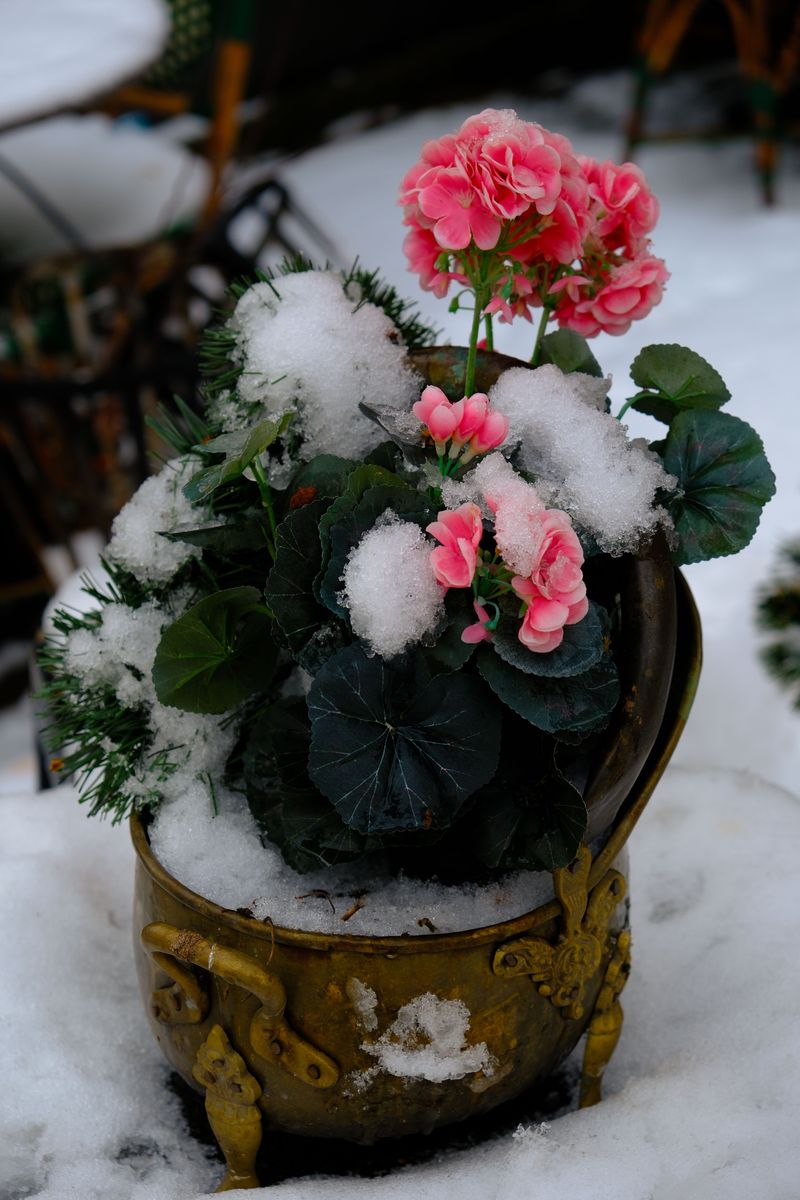
Picture waking up to sparkly white grass and wilted, damaged leaves on your favorite porch plants. A hard frost can damage a plant that thrived all summer, sometimes overnight.
Geraniums are tender perennials, which means they love warmth and cannot handle freezing temperatures. Once the air drops to about 32°F (0°C), their soft stems and leaves get damaged.
Your best move is to keep a close eye on the nightly forecast during October. Many weather apps send frost alerts, so turn those on and let your phone do the remembering.
Aim to bring plants inside when nighttime temperatures start dipping into the low 40s°F (about 5°C). Waiting until the very last minute often means rushing, and rushed jobs lead to broken stems.
Pick a dry, mild afternoon for the big move if you can. Wet soil is heavy and messy, while dry soil makes digging and carrying much easier on your back.
The plants we call geraniums are actually Pelargoniums from South Africa. Their sunny, warm homeland explains why they struggle when cold weather arrives.
If a surprise frost sneaks up on you, toss an old sheet over the pots overnight. Remove the sheet in the morning so the plants can soak up the daytime warmth.
Mark a rough date on your calendar now, such as the second week of October in cool Northern Hemisphere climates. A simple reminder keeps your plan on track and saves your blooms from a chilly surprise.
2. Choose The Best Winter Storage Method For Your Space
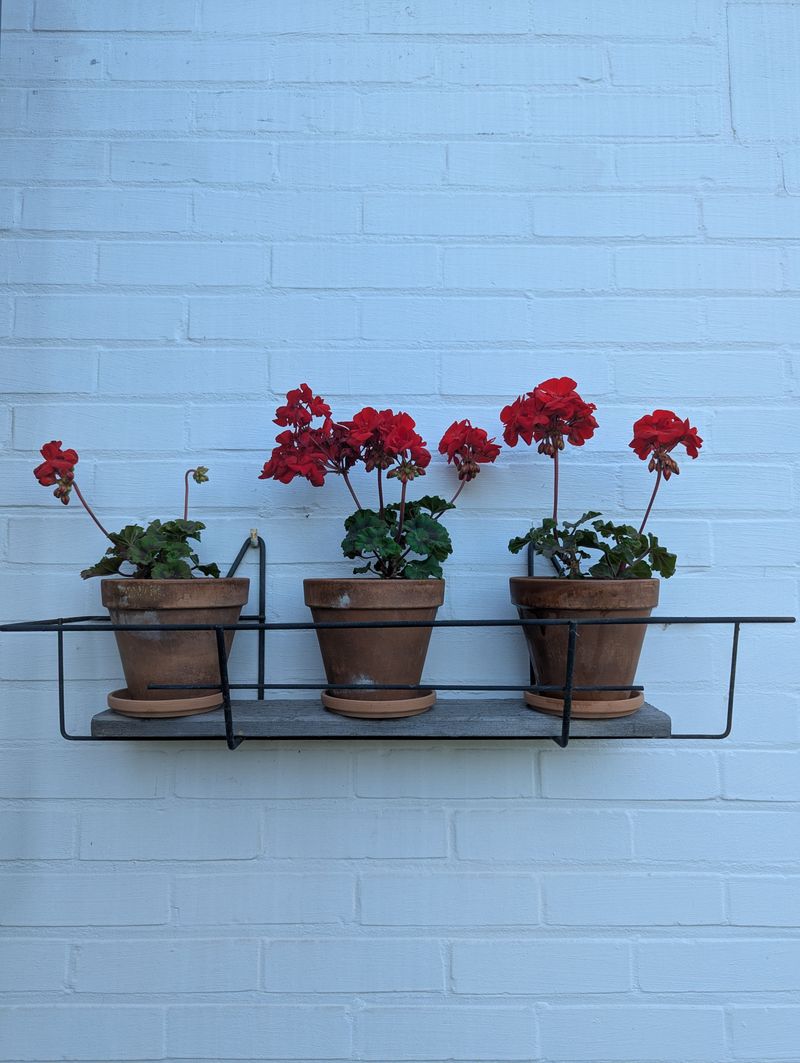
Every home is different, so there is no single right way to tuck these plants in for winter. Gardeners have three main choices, and each one fits a different kind of space.
The first option is keeping them as houseplants in pots near a sunny window. They may produce a few blooms, though low winter light limits flowering.
The second choice is letting them go dormant in a cool, dark place like a basement. Dormant plants rest quietly, a bit like bears snoozing through the cold months.
Option three is taking cuttings, which are small stem pieces that grow into brand-new plants. Cuttings take up very little room, so they work well for apartments and small homes.
Ask yourself a few quick questions before you decide which path to take. How much sunny window space do you have, and is there a cool spot that stays above freezing?
In the Northern Hemisphere, a bright south-facing window is well suited to potted plants that stay awake. A basement or garage that stays between 45 and 50°F (7 to 10°C) is great for sleepy ones.
Lots of gardeners mix and match methods to play it safe. They might keep two favorite pots by the window and store the rest in the basement.
Trying more than one method also turns winter into a fun little science experiment. By spring, you will know which approach works best in your own home.
Write down which plants went where, using tape labels or a notebook. Your future self will thank you when spring planting time rolls around.
3. Trim Back Leggy Stems By Half To Two Thirds
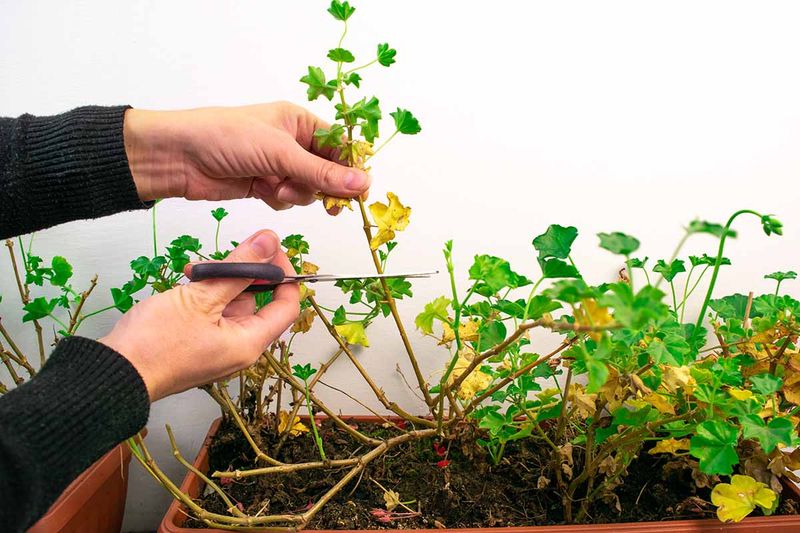
Haircut time! Long, stretched-out stems look a bit like a kid who grew three inches over summer.
Before bringing plants indoors or storing them, cut each stem back by about one half to two thirds. Shorter plants take up less space and lose less water while they rest.
Use clean, sharp pruners or scissors so you make smooth cuts instead of ragged tears. Wiping the blades with rubbing alcohol first helps stop germs from spreading between plants.
Make each cut just above a leaf node, which is the little bump where leaves attach. New shoots sprout from these nodes, so cutting there encourages bushier growth later.
Snip off any remaining flowers and buds, even if they still look pretty. Blooms use up energy that the plant needs to save for winter survival.
Remove yellow or spotted leaves too, since they can invite mold indoors. Toss them in the trash rather than the compost pile to keep things clean.
Do not throw away the healthy stem pieces you trimmed off just yet. Many of them can become cuttings, giving you free plants for next year.
Pruning may feel scary at first, especially when the plant looks so full. Pruning supports stronger growth, so a short plant in fall can become a fuller, flowering plant in spring.
Think of it like trimming your hair to help it grow back healthier. A little bravery with the scissors now pays off with brighter blooms later.
4. Check Every Plant Closely For Pests And Disease
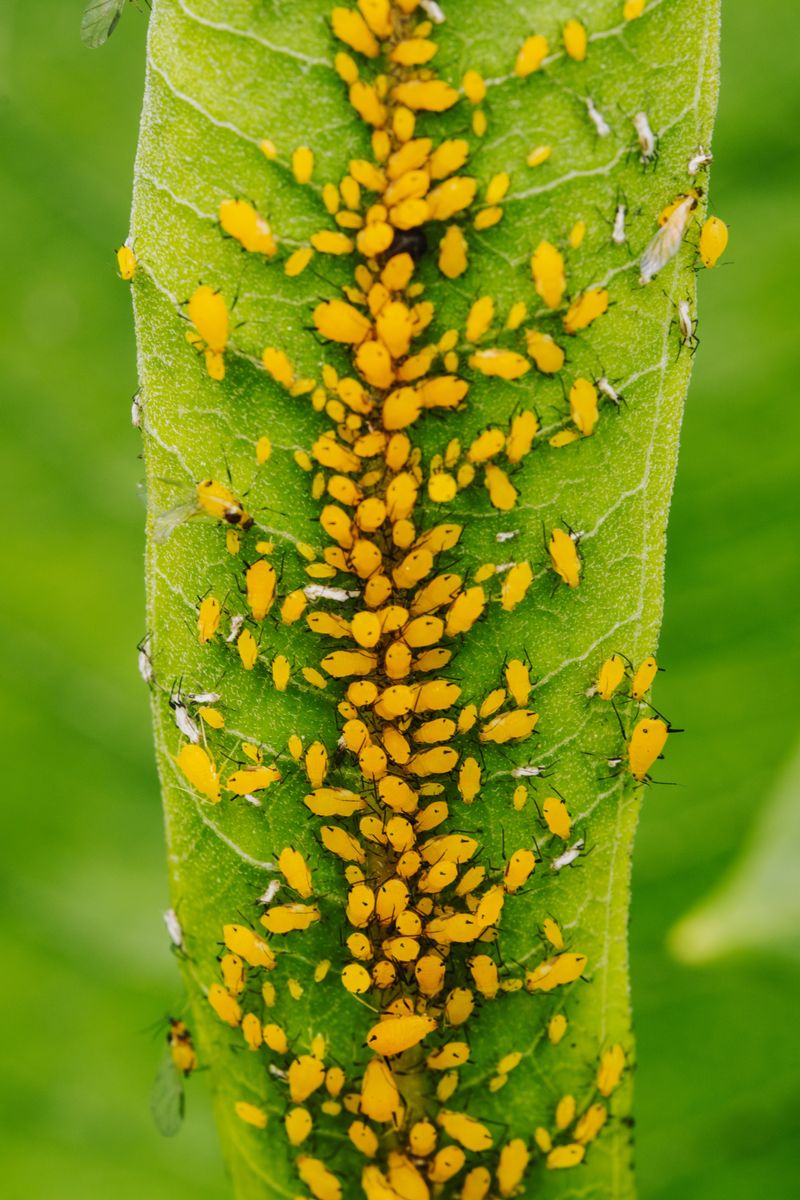
Nobody wants surprise houseguests, especially the tiny uninvited kind that hitch a ride indoors. A quick inspection now can save your other houseplants from a winter-long pest outbreak.
Grab a flashlight and look carefully at the tops and undersides of the leaves. Whiteflies, aphids, and spider mites love hiding in those shady little spots.
Aphids are small green or black bugs that cluster on new growth. Spider mites leave fine webbing and tiny speckles that make leaves look dusty.
Also check the stems for dark, soft spots or fuzzy gray patches. Those signs can mean rot or a mold called botrytis, which spreads fast in damp air.
If you spot bugs, rinse the plant with a gentle spray from the garden hose. Follow up with insecticidal soap, carefully following the directions on the label.
Cut away any stems with rot, and throw out plants that look heavily infected. Saving one sick plant is not worth risking the rest of your collection.
Peek into the soil as well for slugs, earwigs, or crawling critters. Some gardeners even swap the old dirt for fresh potting mix before moving pots inside.
Keep newly moved plants apart from your other houseplants for about two weeks. Any hidden pests will show up during this time-out period.
Checking each pot takes only a few minutes of your time on a sunny afternoon. Those minutes protect your whole indoor plant collection for many months to come.
5. Take Cuttings To Grow Fresh Plants For Spring
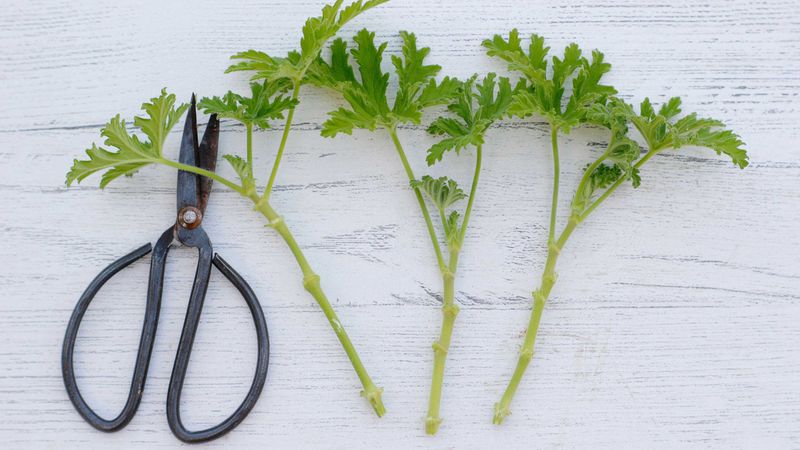
Here is a little garden magic that costs very little. One healthy plant can turn into several new ones with a few simple snips.
Choose firm, green stems that are about four to six inches long. Cut just below a leaf node using clean, sharp scissors or a garden knife.
Pull off the lower leaves so only two or three remain at the top. Remove any flower buds too, since the cutting needs energy to grow roots.
Dipping the cut end in rooting hormone can speed things up, but it is optional. Many cuttings root just fine without it, especially with a little patience.
Next, poke each stem about an inch deep into small pots of moist potting mix. Seed-starting mix or a blend with perlite drains well and helps stop rot.
Set the pots in a bright spot, but out of harsh, direct afternoon sun. Keep the soil lightly moist, but not soggy, while the new roots form.
Within three to six weeks, a gentle tug should meet some resistance. That pull-back means roots have formed, and your baby plant is on its way.
Gardeners have shared these plants through cuttings for hundreds of years. Some families still grow plants that first started on a great-grandparent’s windowsill long ago.
Cuttings also take up far less room than big, bushy potted plants do. A sunny kitchen windowsill can easily hold a dozen little pots all winter.
6. Store Bare-Root Plants In A Cool, Dark Spot
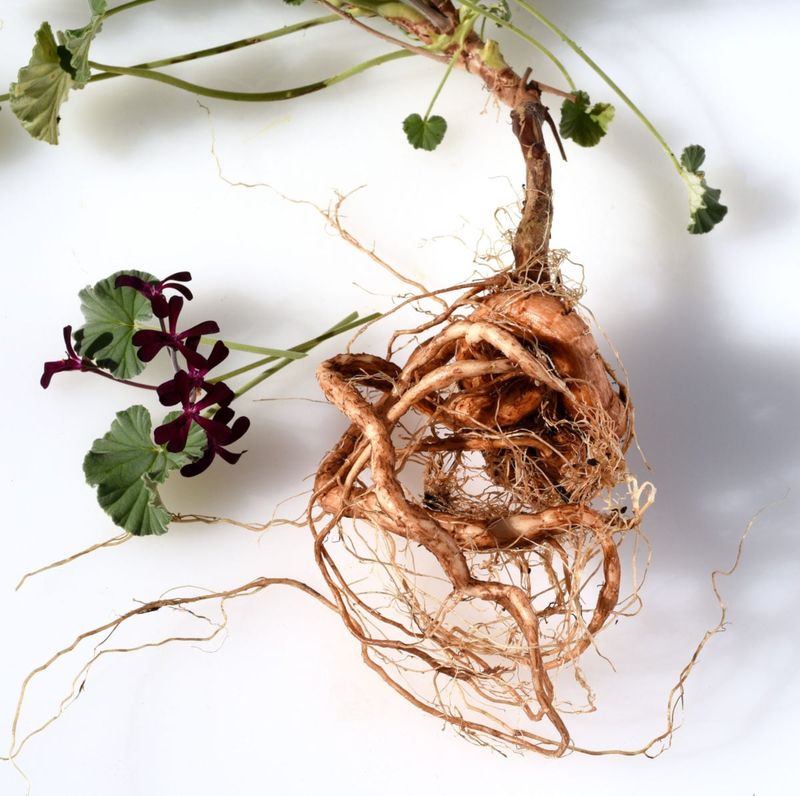
Long before fancy grow lights, gardeners hung their plants upside down in the cellar like bats. This old-school trick works for some gardeners, though results vary.
Gently dig up each plant and shake off as much soil as possible. Let the roots air-dry for a day or two in a shady, dry spot.
Next, place each plant in a paper bag or hang it upside down with string. Paper lets air move around, which helps prevent mold from forming.
The ideal storage space stays cool, somewhere between 45 and 50°F (7 to 10°C). An unheated basement, cool closet, or attached garage that stays above freezing all work well.
Light is not needed, because the plants are fast asleep during this time. Darkness actually helps them stay dormant instead of sending out weak, pale shoots.
Once a month, check on your sleeping plants for signs of trouble. If the stems look shriveled, soak the roots in water for an hour or two.
Let them dry out again fully before putting them back into their bags or hanging spots. Too much moisture can cause rot, so a light touch is best.
Some leaves may fall off over winter, and that is perfectly normal. Firm, plump stems mean the plant is still healthy and simply resting until spring.
This method is great for people with lots of plants and little window space. A whole porch full of pots can fit neatly inside one sturdy cardboard box.
7. Water Lightly And Skip The Fertilizer All Winter
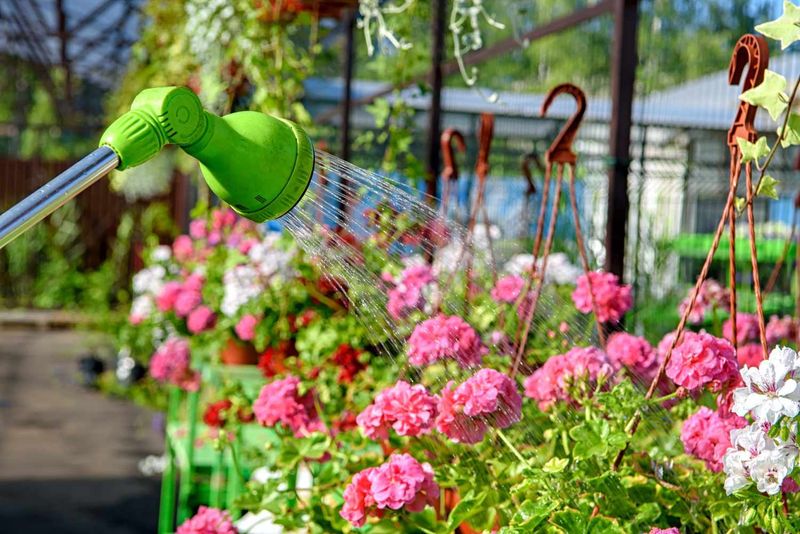
Too much water is a common reason indoor plants struggle during the winter months. It sounds strange, but these plants actually prefer to be a bit thirsty.
During winter, potted plants grow much more slowly and use far less water. Soggy soil can lead to root rot, which causes roots to darken and soften.
Before watering, push your finger about an inch into the soil. If it feels dry, give the pot a drink, and if it feels damp, wait a few days.
Most potted plants indoors need water only every one to two weeks. Pots made of clay dry faster than plastic ones, so check them more often.
Empty any saucers under the pots about fifteen minutes after watering. Standing water around the roots is like making your plant wear wet socks all day.
Fertilizer is another thing to put away until spring. Plant food pushes new growth, and winter growth tends to be weak, floppy, and pale.
Think of it like giving a sleepy friend a big energy drink at bedtime. The result is not pretty, and the plant ends up stressed.
Dormant bare-root plants need even less help, just an occasional soak if stems shrivel. Potted plants by a window may need a tiny bit more water on warm, sunny weeks.
Keep your watering can handy, but let it rest more than usual. When it comes to winter care, less really is more for these sun-loving plants.
8. Wake Them Up Slowly In Late Winter
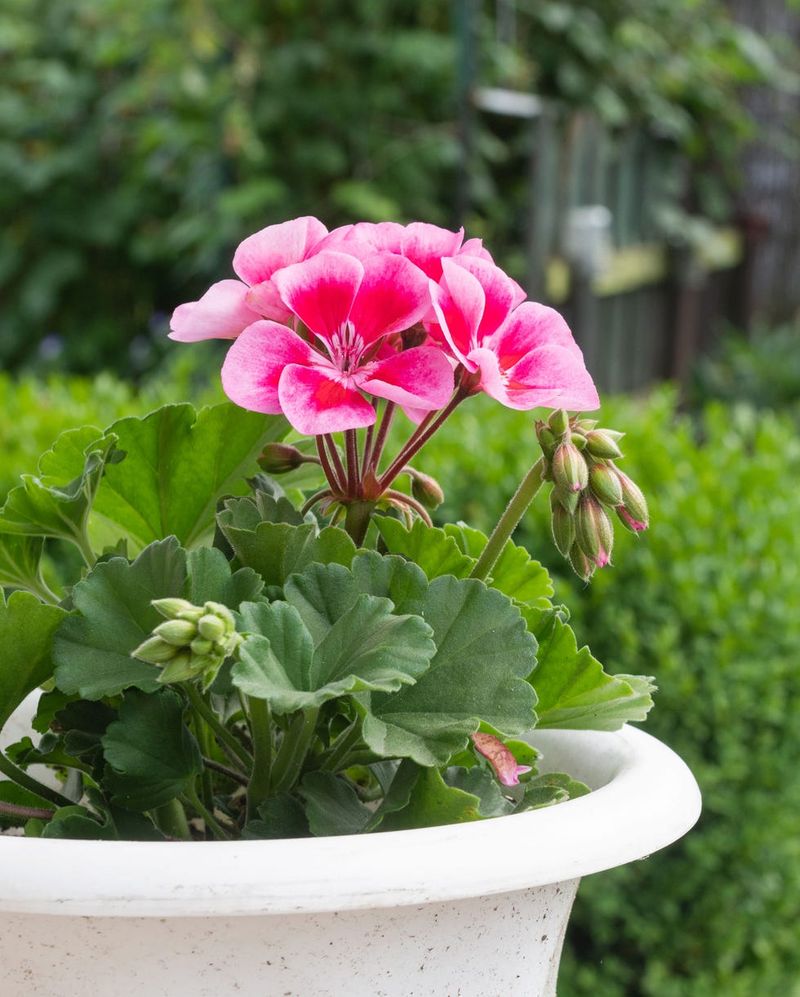
Around late February or early March, your sleepy plants are ready for their big comeback. Like teenagers on a Saturday morning, they need a gentle wake-up call.
Pot up bare-root plants in fresh potting mix and water them well. Place them in a bright window, and tiny green buds should appear within a few weeks.
Potted plants that spent winter indoors may look leggy and stretched by now. Give them a light trim to encourage bushy growth and more flower buds.
Start feeding with a balanced, water-soluble fertilizer about once every two weeks. This is the moment your plants have been waiting for all winter long.
Once nighttime temperatures stay above 50°F (10°C), it is time to start hardening off. This means setting plants outside for a few hours each day to adjust slowly.
Begin with a shady spot for about two hours, then add more time daily. After a week or so, they can handle full sun and stay outdoors overnight.
Skipping this step can stress the plants and burn their leaves. Sunburned leaves turn white or crispy, and nobody wants that look on their porch.
In cool Northern Hemisphere climates, planting outdoors is typically safe by mid to late May. Check your local last frost date to be sure before moving them for good.
Soon, your patient care will pay off with bright clusters of red, pink, or white blooms. Your neighbors may even ask how you got such a head start on summer.