What To Do With Your Potted Mums Once They Finish Blooming
Florist chrysanthemums are often bred for big indoor blooms, not for surviving a frosty winter outdoors. That single detail explains why so many fall pots end up tossed on the curb each November.
Garden centers sell two main types, and the tag rarely tells you which one you actually bought. Hardy garden types can return for years, while florist types usually struggle once outdoor temperatures drop hard.
I skipped the curbside toss last year and tried keeping a few faded pots going instead. The results surprised me, and a couple of those plants rewarded my patience with fresh green shoots.
You might notice your own pot still has healthy leaves hiding under all those brown petals. Give those tired stems one more chance this season, and they could turn into next year’s blooms.
1. Snip Faded Mum Flowers for a Possible Second Show
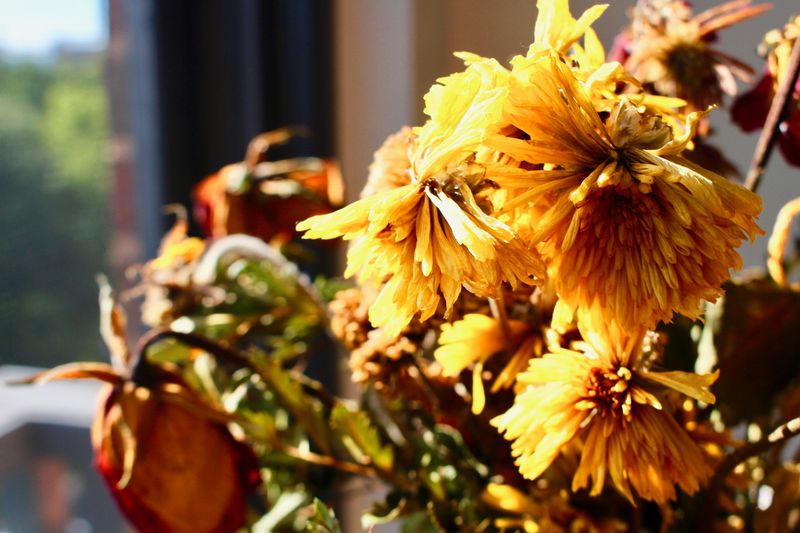
Brown petals hanging on a mum look tired, but the plant underneath is often still full of energy. Snipping those spent blooms tidies the pot fast and can sometimes nudge out a few late buds.
Trimming simply means removing old flowers before the plant spends effort on seed production. You can pinch small heads with your fingers or use clean snips for the thicker clusters.
Cut each faded stem back to the next set of healthy leaves or a visible side bud. That spot is where fresh growth usually appears, so leaving it intact gives the plant its best chance.
Mums bought early in the season respond best, since they have more warm weeks left to work with. Late fall pots may not rebloom much, though trimming still keeps them looking neat on your steps.
Potted mums dry out quickly, so check the soil with your finger every day or two. Water deeply when the top inch feels dry, and let extra water drain away from the roots.
A light dose of balanced liquid fertilizer can help if you see new buds forming soon. Skip feeding once cold nights arrive, because tender new growth handles frost poorly in most northern areas.
I treat any encore as a bonus rather than a promise, and that mindset keeps me cheerful. Even a handful of fresh flowers feels like a small reward for ten minutes of easy tidying.
2. Plant Hardy Garden Mums Into a Sunny Flower Bed

Some of my favorite perennial clumps started life as cheap grocery store pots sitting by the front door. Hardy garden mums, often grown in USDA zones 5 through 9, can settle into beds and return for years.
Timing matters more than most people expect with fall planting. Try to get them in the ground at least six weeks before your first hard freeze so roots can anchor.
Pick a spot with six or more hours of direct sun each day. Mums dislike soggy ground, so mix compost into heavy clay to help water drain away from the crown.
Gently loosen circling roots before setting the plant at the same depth it grew in the pot. Water deeply afterward, and keep the soil evenly moist while the weather stays mild.
Many extension services suggest leaving old stems standing over winter instead of cutting them down right away. Those stems seem to help shield the crown, and you can trim them back in early spring.
A few inches of straw or shredded leaves around the base adds welcome insulation once the ground cools. Keep that mulch slightly away from the stems so moisture does not linger against them.
Florist mums are a gamble outdoors because their roots are shallower and less cold tolerant. Plant them anyway if you like experiments, but treat a spring return as a pleasant surprise rather than an expectation.
3. Tuck Trimmed Mum Pots Into a Cool Garage for Winter
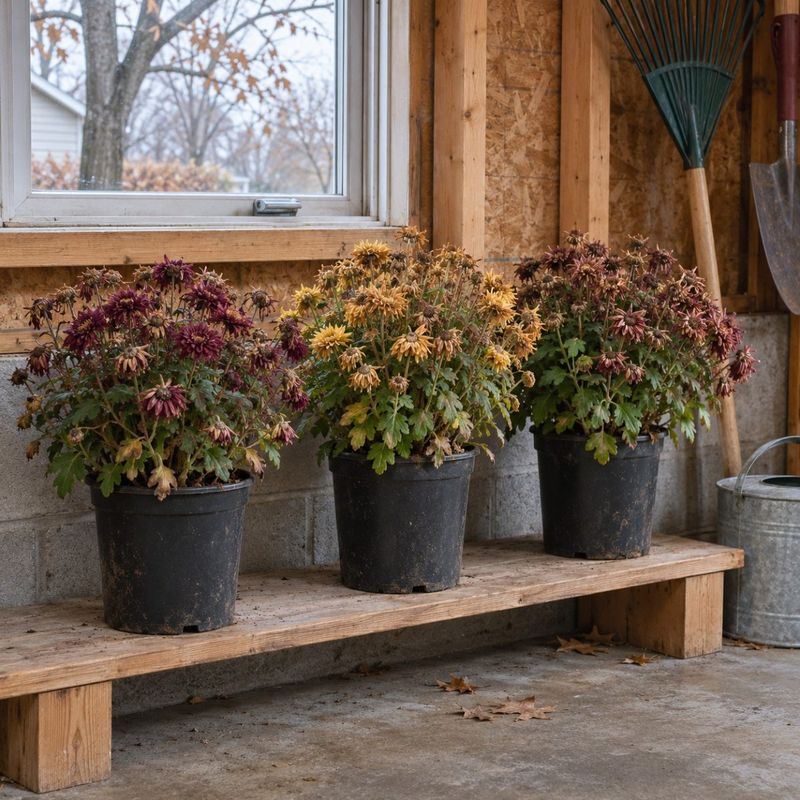
My unheated garage became a quiet winter hotel for three pots of mums last year. They slept through the cold months and pushed out bright green shoots once spring warmth returned.
Start after the flowers fade and a light frost has nudged the plant toward dormancy. Cut the stems back to roughly four to six inches above the soil line.
Move the pots to a cool, dark place that stays above freezing but below about fifty degrees. Garages, sheds with some insulation, or chilly basements usually work nicely for this rest period.
Dormant mums need very little water, which surprises many first-time savers. Check the soil every few weeks and give a small drink only when it feels dry well below the surface.
Too much moisture during this sleep can lead to root rot, so err on the dry side. Avoid fertilizer as well, since the plant is resting and has no use for extra food.
As days lengthen in spring, bring the pots into brighter light a little at a time. Set them outdoors for short periods first, then leave them out once frost danger passes in your area.
Watching those first fuzzy leaves appear feels a bit like greeting old friends after a long trip. I mark my calendar now because waking them up has become one of my favorite spring chores.
4. Sink Mum Pots Into the Ground Under Thick Straw Mulch
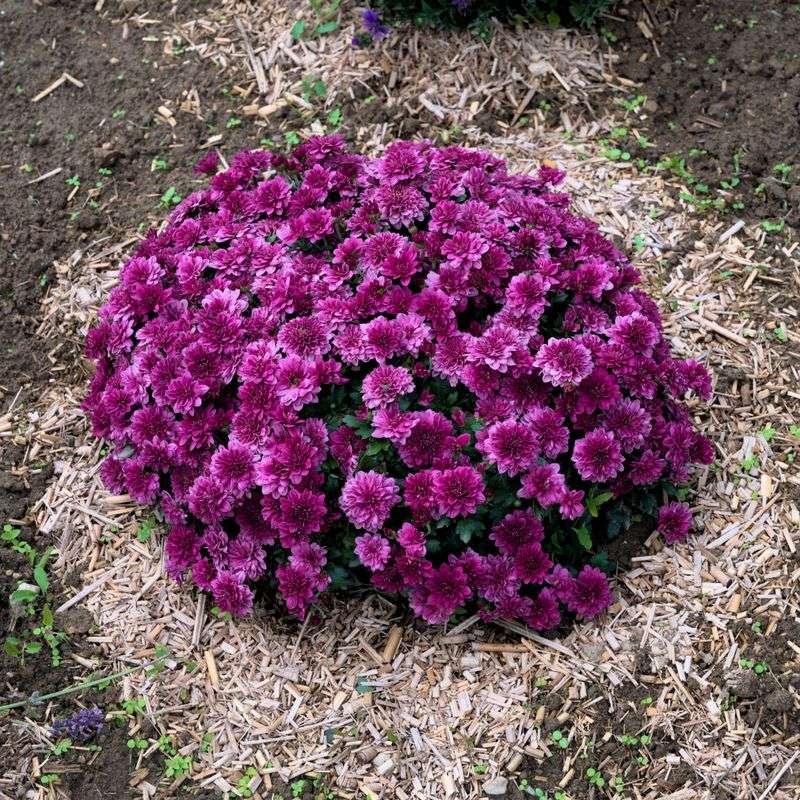
Soil makes a surprisingly cozy blanket for roots that would otherwise freeze solid inside a thin plastic pot. Sinking a mum pot into the ground lets the earth buffer those harsh temperature swings.
Gardeners call this method heeling in, and it suits anyone short on indoor storage space. It works especially well in moderate winter regions where the ground freezes only for short stretches.
Choose a well-drained spot where rain does not puddle after a storm. Dig a hole deep enough that the pot rim sits level with the surrounding soil surface.
A sheltered location near a south or east wall can add a little extra protection. Foundations release some stored warmth, and walls often block drying winter winds from the plants.
Once the pot is in place, pile straw or chopped leaves several inches deep over the top. That fluffy layer traps air and helps reduce the freeze and thaw cycles that heave roots upward.
Check the area during dry spells when the ground is not frozen. A light watering helps if the soil feels dusty, though most winters supply enough moisture without your help.
Pull back the mulch gradually in spring as new shoots start peeking through. After your last frost date, lift the pot and either replant the mum in the bed or refresh its container.
5. Toss Healthy Spent Mums Onto the Compost Pile
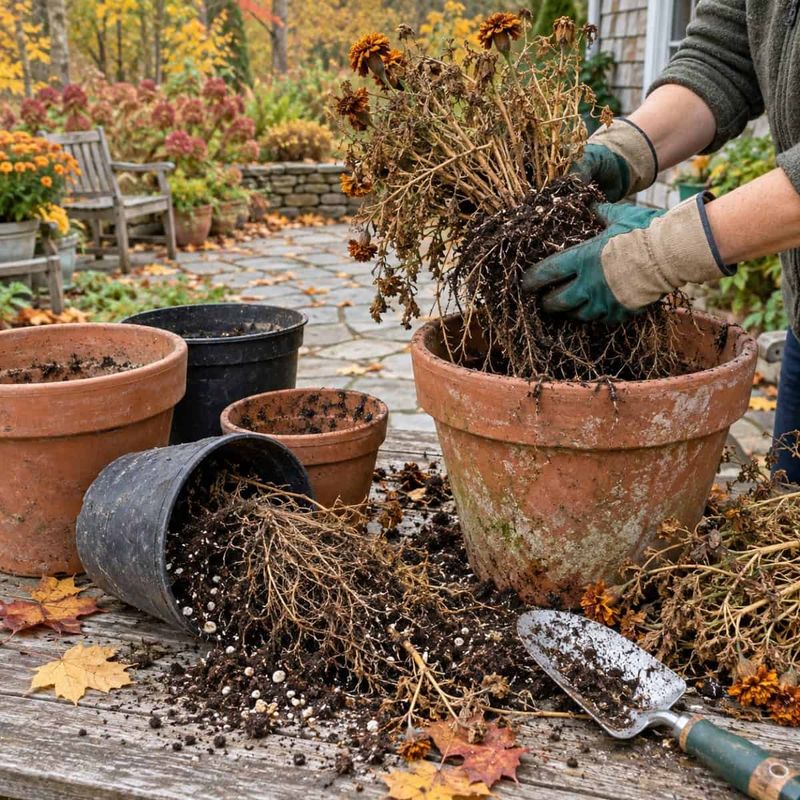
A mum that has finished its job can still feed next year’s tomatoes and zinnias. Composting turns those leftover stems and roots into crumbly brown material your garden beds will love.
Look over the plant closely before it goes anywhere near your bin. White powdery patches, spotted leaves, or mushy stems suggest disease, and those plants belong in the yard waste instead.
Home compost piles often stay too cool to reliably break down plant pathogens. Keeping sick material out protects the beds where you spread that finished compost later on.
Healthy mums can be slid from their pots and chopped into short pieces with pruners. Smaller bits break down much faster than whole root balls tossed in at once.
Leafy green material adds nitrogen, so balance it with plenty of dry leaves or shredded paper. Fall offers piles of free brown leaves, which makes this the easiest time to mix things well.
The leftover potting mix can go onto the pile too, or you can scatter it across garden beds. Plastic nursery pots can be rinsed and saved for seedlings or returned to garden centers that accept them.
I like knowing my faded autumn display ends up building richer soil instead of filling a trash bag. It feels like a fitting thank-you to a plant that brightened my doorstep for weeks.
6. Root Fresh Chrysanthemum Cuttings for Free New Plants
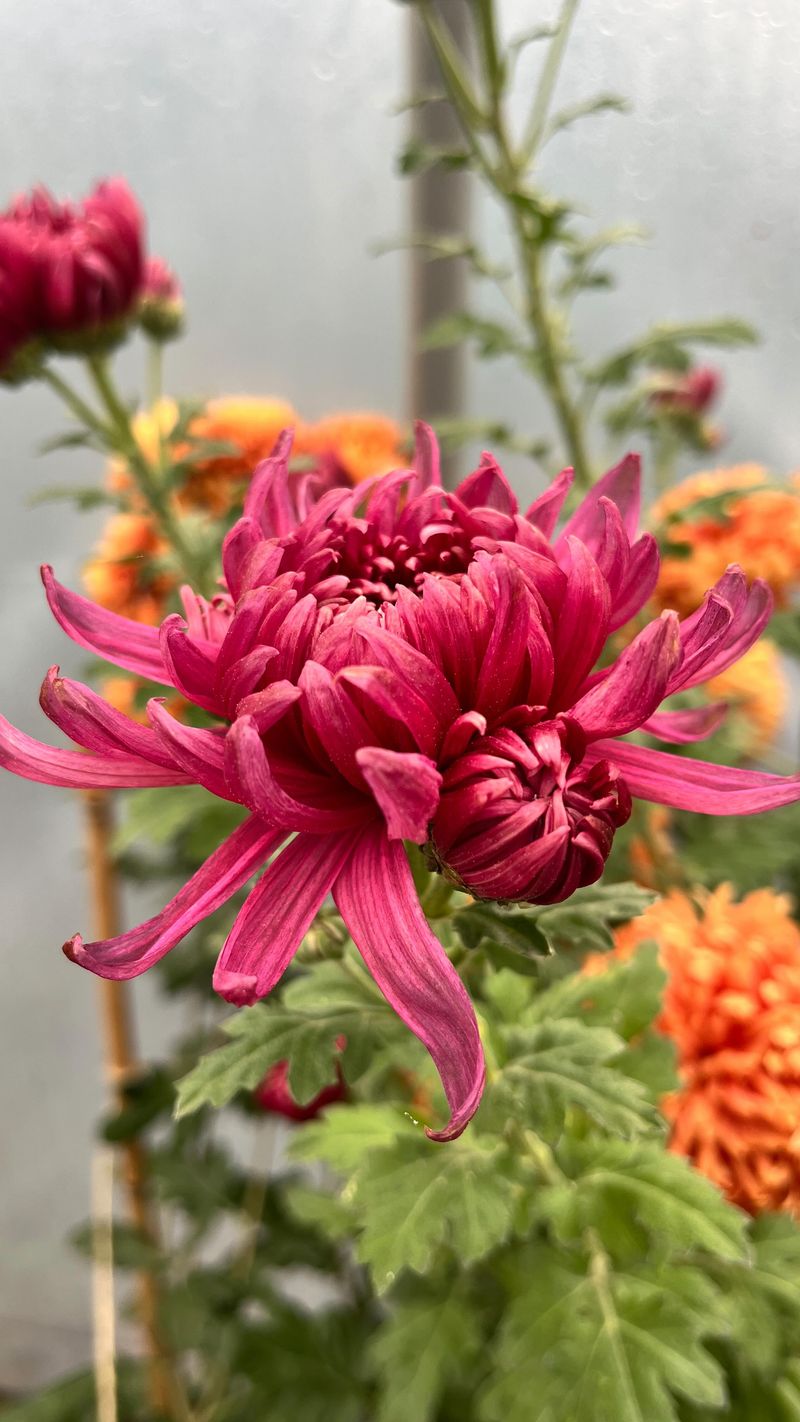
One overwintered mum can quietly turn into a dozen new plants by next fall. Propagating from cuttings is cheap, easy to learn, and honestly a little addictive once you see roots form.
Wait until spring, when the saved plant sends up fresh green shoots without flower buds. Cuttings taken from this soft growth tend to root faster than older, woody stems.
Choose shoots roughly three to five inches long and cut just below a leaf node. Strip the lower leaves so only a few sets remain near the top of each stem.
Dipping the cut end in rooting hormone is optional but can speed things along. Slide each cutting into a small pot filled with moist seed starting mix or a perlite blend.
Set the pots in bright, indirect light and keep the mix evenly damp. A loose plastic cover holds humidity, though you should lift it occasionally so fresh air reaches the leaves.
Roots often appear within two or three weeks under warm conditions. A gentle tug that meets resistance tells you the cutting has anchored itself and is ready to grow.
Pinch the tips of young plants a few times before early July for bushier shapes. I gave my extra starts to friends last summer, and they all bloomed by early autumn.
7. Pair Leafy Mums With Ornamental Kale and Pansies in Containers
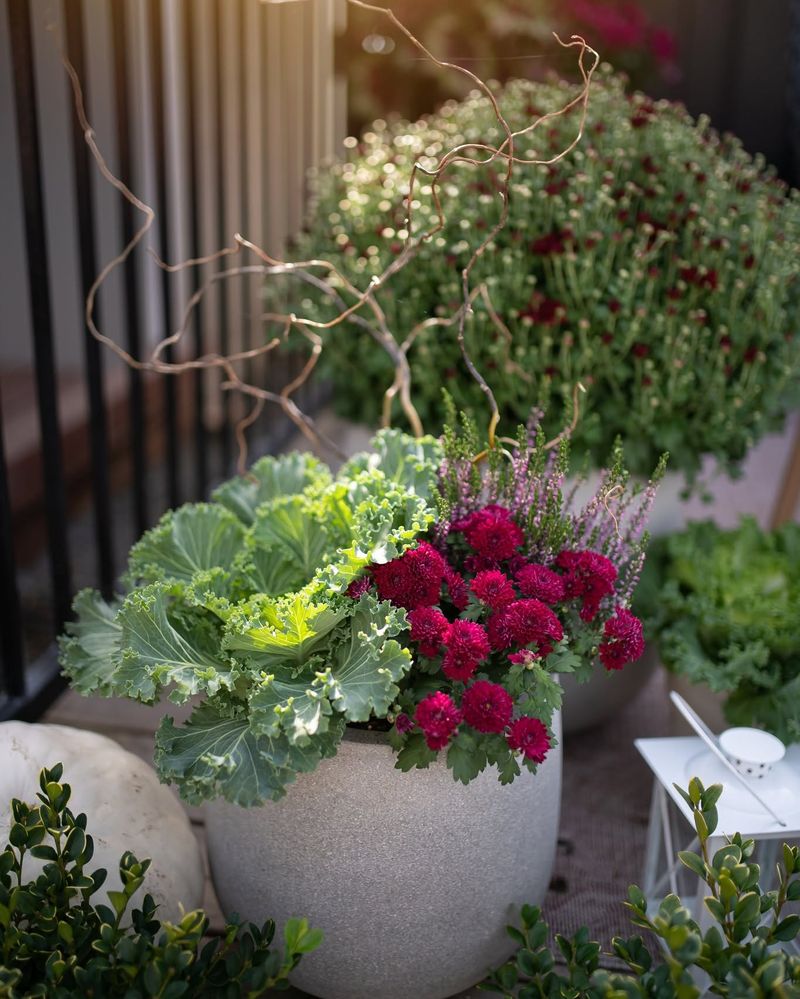
Faded flowers do not make a mum useless, since the leafy mound still offers plenty of texture. I once tucked a flowerless mum beside ornamental kale, and the combination looked surprisingly polished.
Trim away the brown blooms first so the healthy green foliage takes center stage. Pinch off spent stems with clean scissors, and remove yellowed leaves at the base to improve airflow. The tidy mound then works as a soft backdrop for brighter fall companions.
Ornamental kale and cabbage handle chilly weather well and often deepen in color as nights cool. Their bold leaves contrast nicely with the finer, toothed foliage of a chrysanthemum.
Pansies and violas tolerate cold and can keep flowering through mild fall weather. Their small blooms in purple, yellow, and white pair well with kale. Plant them along the pot edge where their cheerful faces can spill over the rim.
Use a container with drainage holes and fresh potting mix around the new additions. Crowded roots compete for water, so check moisture more often in mixed plantings.
Small evergreen shrubs or non-invasive trailing plants add lasting structure. Avoid invasive vines, and ask a local nursery which trailing plants behave well nearby.
Gourds, pinecones, or a few branches can fill gaps while plants settle in. The arrangement stays interesting for weeks, and the mum can be moved to winter storage once hard frost arrives. Water gently, and enjoy a refreshed pot that looks intentional all season.
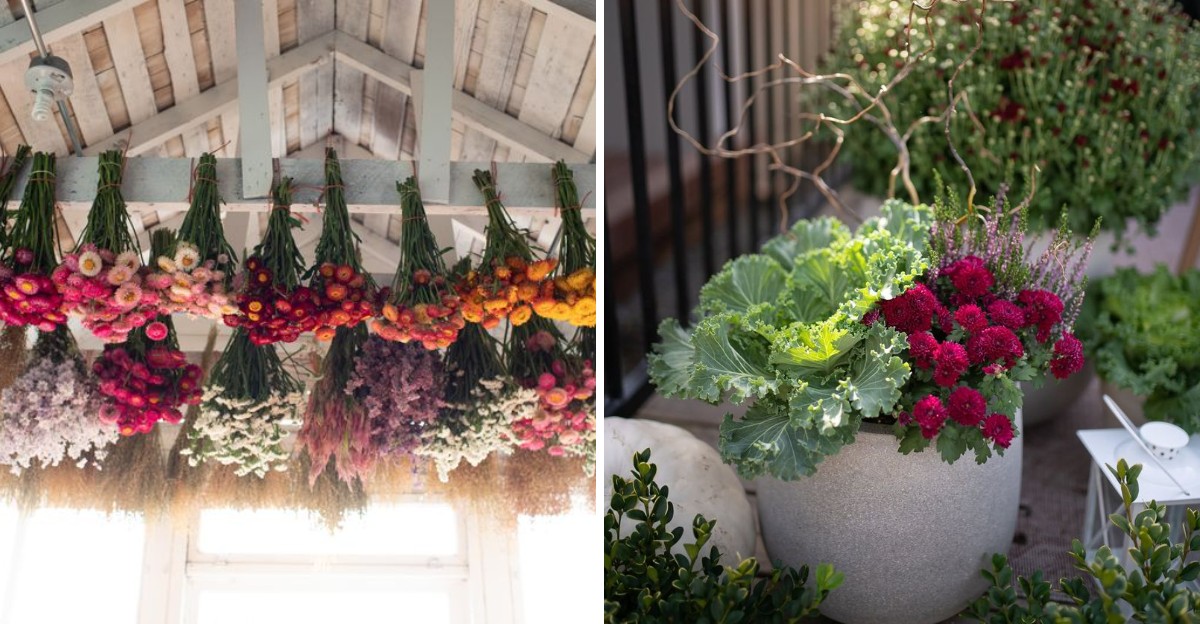
8. Hang Mum Blossoms Upside Down to Dry for Wreaths
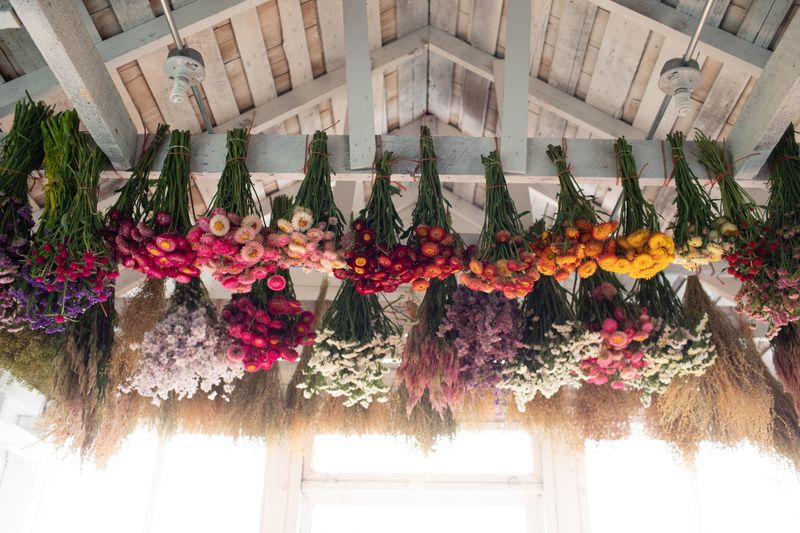
Late mum flowers that still hold their color can live on for months as dried decorations. My kitchen wreath last winter featured golden pompon blooms clipped right before a frosty night.
Timing matters because browned or mushy flowers will not dry well. Cut blooms that are fully open and still bright, ideally on a dry afternoon after the dew evaporates.
Leave a few inches of stem and strip away most of the leaves. Use scissors or pruners for clean cuts that do not crush the stems. Gather small bunches and tie them loosely with twine so air can move between the heads.
Hang the bundles upside down in a dark, dry room with steady airflow. A closet, attic, or spare room usually works, and drying often takes about two to three weeks.
Darkness helps the petals keep their color instead of fading quickly. Small, tight button and pompon types often hold their shape better than loose spider forms.
Silica gel offers another option for single flowers you want to keep looking fresh. Bury each bloom gently in the crystals, then check after several days to avoid overdrying.
Dried mums pair beautifully with seed heads, wheat stems, or dried hydrangea in rustic arrangements. Use them in wreaths, jars, or small kitchen table bouquets.
Keep finished pieces out of direct sun, and they can brighten a shelf well into the colder months.