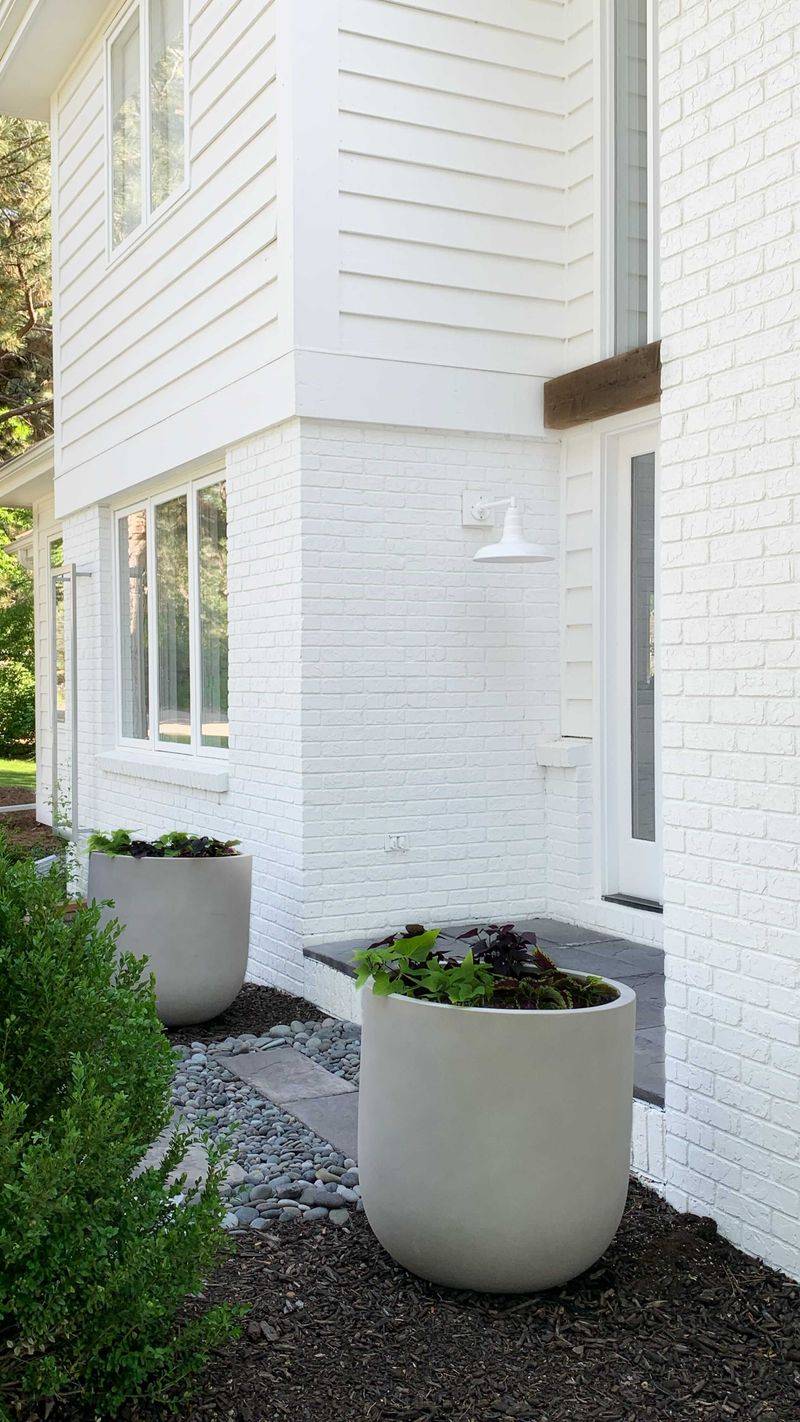
What To Put In The Bottom Of A Large Planter (That Isn’t Just Soil) — And How To Make It Work

Big planters can be showstoppers—but stuffing them full of soil from top to bottom is like throwing money down the drain. It wastes space, strains your back, and sabotages healthy root growth. The real secret lies at the bottom: knowing what to tuck beneath the soil line to support your plants, boost drainage, and save a few bucks.
From clever fillers to foolproof layering tricks, this guide spills the dirt on how to pack your planter wisely—without breaking the bank or your back.
1. Plastic Bottles

Empty plastic bottles create excellent filler that won’t decompose over time. Collect water bottles, soda containers, or milk jugs, then remove caps and labels before placing them upside down in your planter’s bottom.
The upside-down position prevents water collection that could lead to mosquito breeding. Arrange bottles in a single layer or stack them depending on your planter depth, leaving at least 6-8 inches at the top for quality soil where plants will root.
2. Pinecones
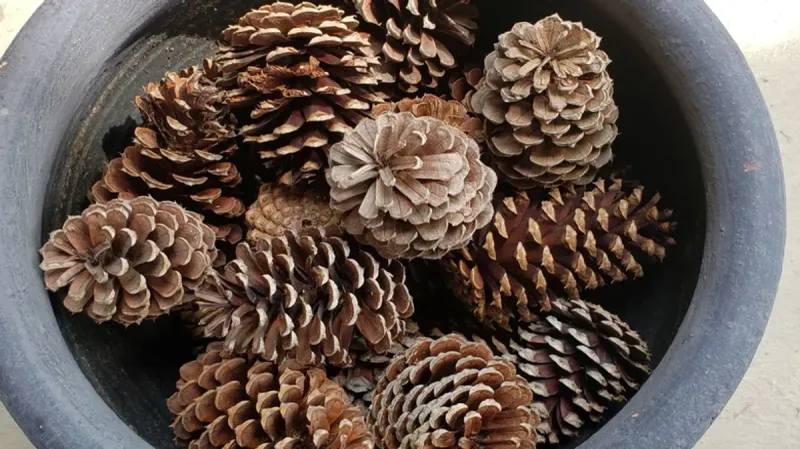
Nature’s perfect drainage solution sits right under those pine trees in your yard! Gather fallen pinecones during your next outdoor adventure for free planter filler that decomposes very slowly.
Simply rinse them off, let them dry completely, and layer them in your container’s bottom. Their irregular shape creates air pockets that prevent waterlogging while their sturdy structure holds up for several seasons. As a bonus, they add tiny amounts of nutrients as they gradually break down.
3. Packing Peanuts
Remember those annoying styrofoam bits from your last package delivery? Put them to work! Biodegradable packing peanuts (the ones that dissolve in water) make perfect lightweight planter filler.
Place them in a mesh bag or wrap them in landscape fabric before adding to your container. This prevents them from floating up when watering. Their lightweight nature makes your planter significantly easier to move while providing excellent drainage properties.
4. Broken Terra Cotta Pots
Don’t toss those cracked pots! Broken clay or terra cotta pieces create exceptional drainage in large planters. Their porous nature helps regulate moisture while adding beneficial minerals to your soil over time.
Smash old pots with a hammer (wearing safety glasses), then place the larger pieces at the bottom and smaller fragments above. Leave at least an inch of space between pieces to allow water movement. The natural clay material complements your plants while reducing overall soil volume needed.
5. Aluminum Cans
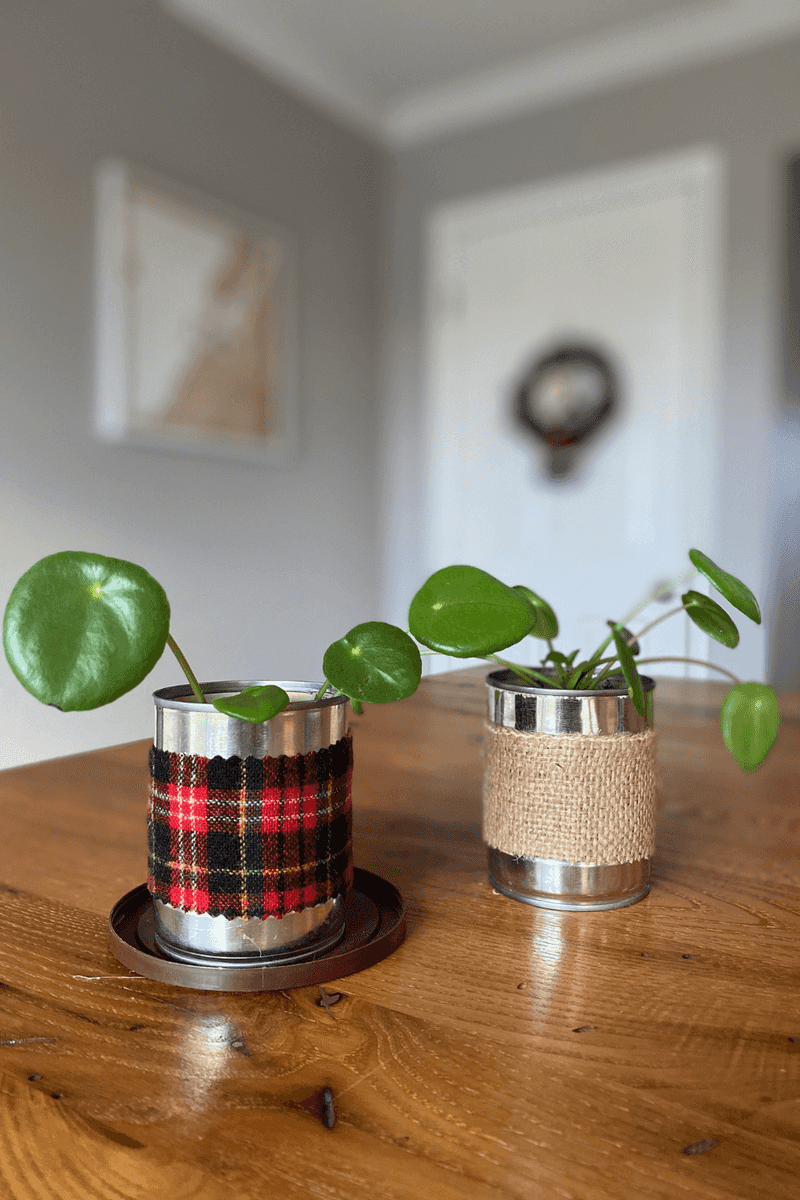
Recycling takes on new meaning when empty aluminum cans become planter fillers! Rinse thoroughly, remove labels, and crush slightly to prevent water pooling inside.
Arrange cans in a single layer at the container bottom, then cover with landscape fabric before adding soil. The aluminum won’t decompose or react with soil, making this option virtually permanent. For extra drainage, punch a few holes in the bottom of each can before placing them.
6. Lava Rocks
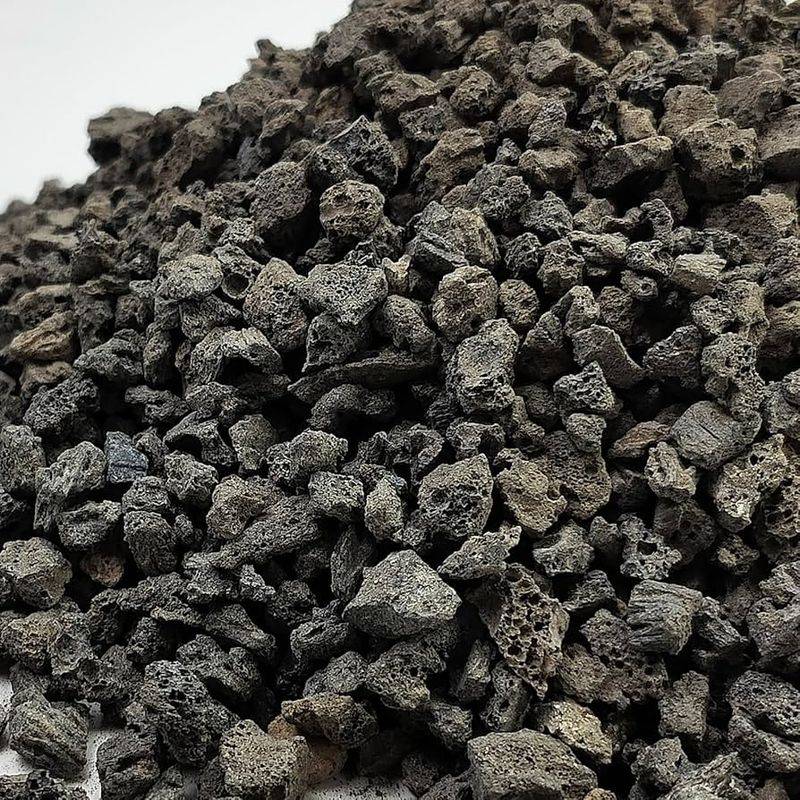
Volcanic rocks bring natural drainage power to your planters! These porous stones create air pockets while adding stability to tall containers.
Pour a 2-3 inch layer across your planter’s bottom, then cover with landscape fabric before adding soil. Their rough texture prevents soil compaction while their weight adds stability against wind. Unlike some fillers, lava rocks won’t decompose or compress over time, making them perfect for permanent plantings.
7. Cardboard Egg Cartons
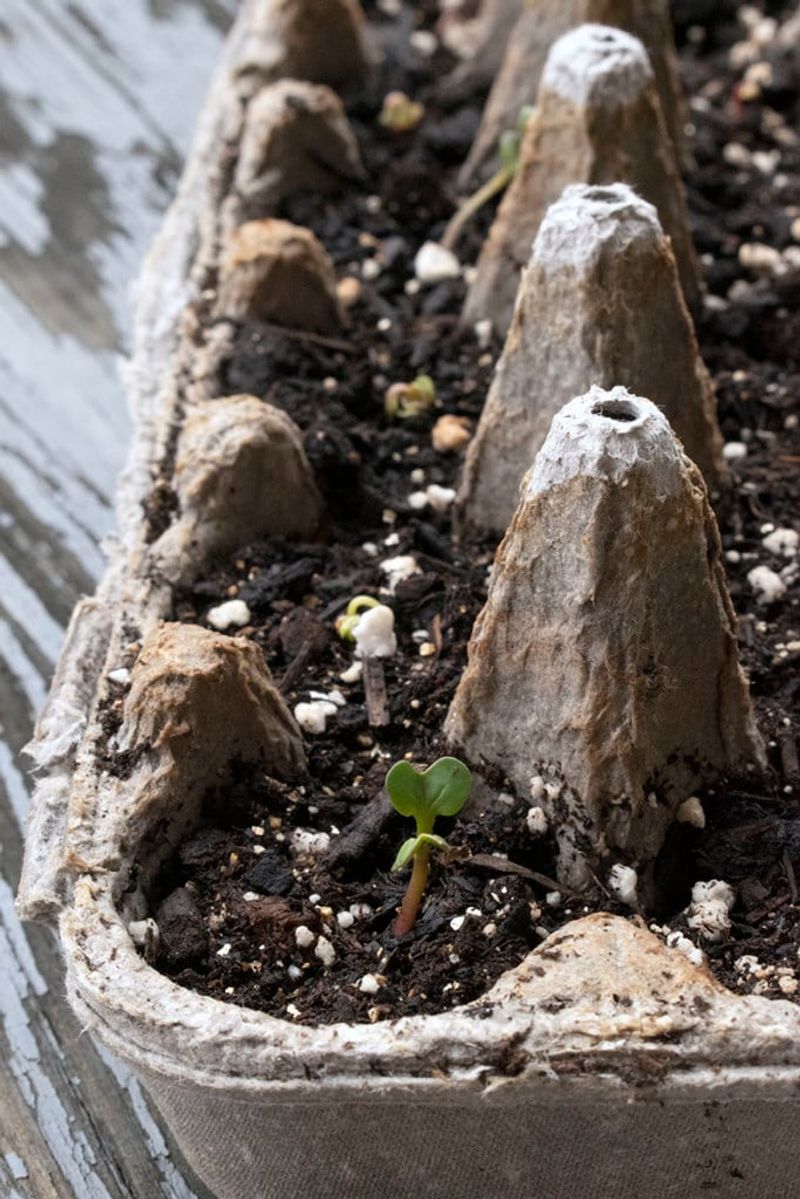
Those humble egg containers from your fridge deserve a second life! Tear cardboard egg cartons into chunks and spread them across your planter’s bottom for biodegradable filler that improves drainage.
Avoid styrofoam versions, as they won’t break down naturally. The cardboard creates temporary space while eventually decomposing to add organic matter to your soil. For deeper planters, you can stack several layers of torn cartons before adding your growing medium.
8. Wine Corks
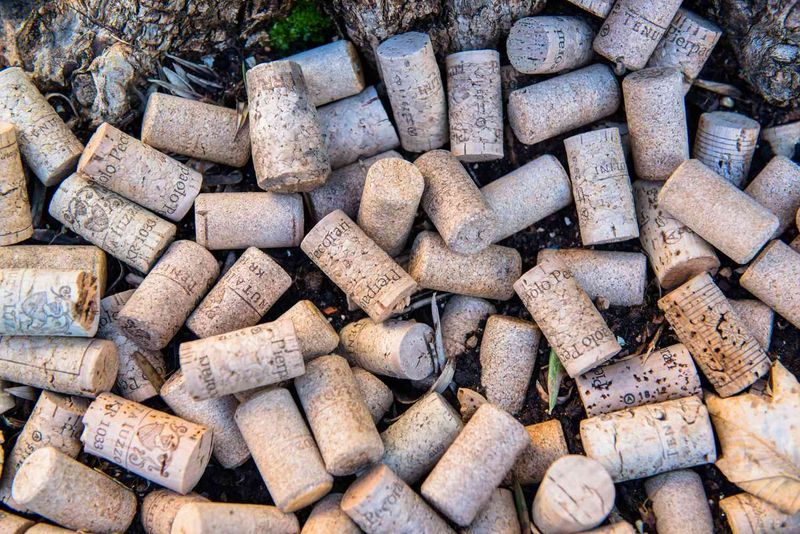
Wine enthusiasts rejoice! Your collection of corks makes perfect planter filler that combines good drainage with slow decomposition. Natural corks (not plastic ones) work best since they’re porous and plant-friendly.
Spread them across your container’s bottom in a single layer or pile them several inches deep for larger planters. Their irregular shape creates drainage channels while their buoyant nature reduces overall weight. As they slowly break down, they release tiny amounts of nutrients into your soil.
9. Plastic Mesh Baskets
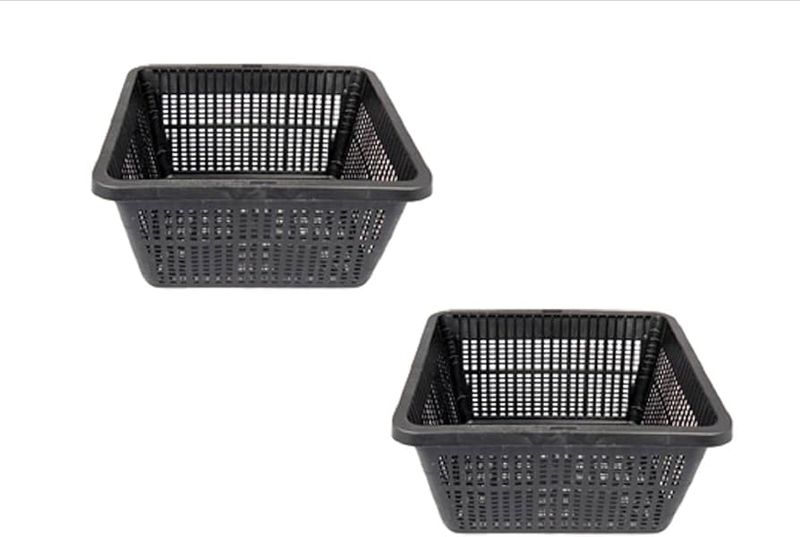
Flip over those dollar-store plastic baskets to create instant planter platforms! These lightweight containers create a false bottom that elevates your soil while allowing excess water to pool beneath.
Choose baskets slightly smaller than your planter’s diameter and place them upside-down in the bottom. For deeper planters, stack multiple baskets to desired height. Cover with landscape fabric before adding soil to prevent mix from falling through the holes.
10. Wood Chips
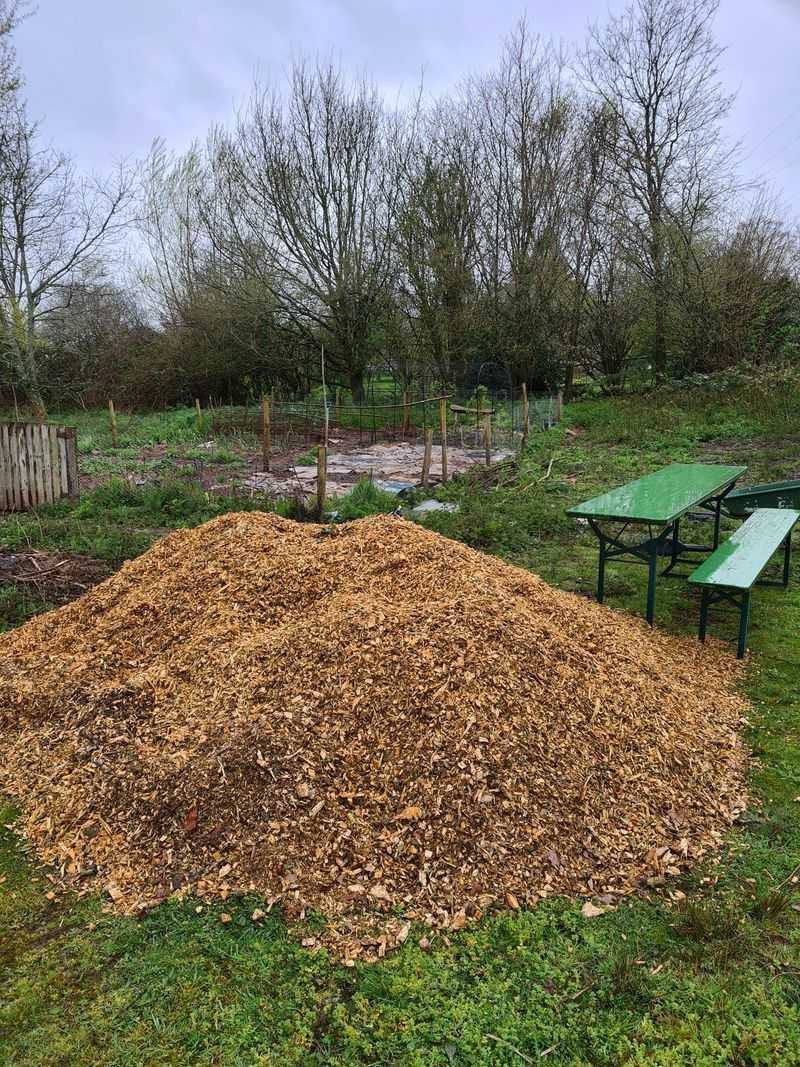
Garden centers often sell wood chips as mulch, but they’re equally effective as planter filler! Choose larger chunks rather than fine mulch for better drainage and longer-lasting results.
Pour a 3-4 inch layer in your container’s bottom, then cover with landscape fabric before adding soil. The chips gradually decompose, adding organic matter while maintaining drainage channels. Avoid using treated wood chips that might contain chemicals harmful to plants.
11. Pumice Stones
Lightweight yet sturdy, pumice stones offer professional-grade drainage for serious gardeners. These volcanic rocks contain thousands of tiny air pockets that prevent water saturation while keeping planters lighter than regular rocks.
Create a 2-3 inch layer at your container’s bottom, then cover with landscape fabric before adding soil. Unlike organic materials, pumice won’t decompose over time, making it perfect for permanent plantings. Their neutral pH won’t affect soil chemistry while providing excellent aeration.
12. Plastic Nursery Pots
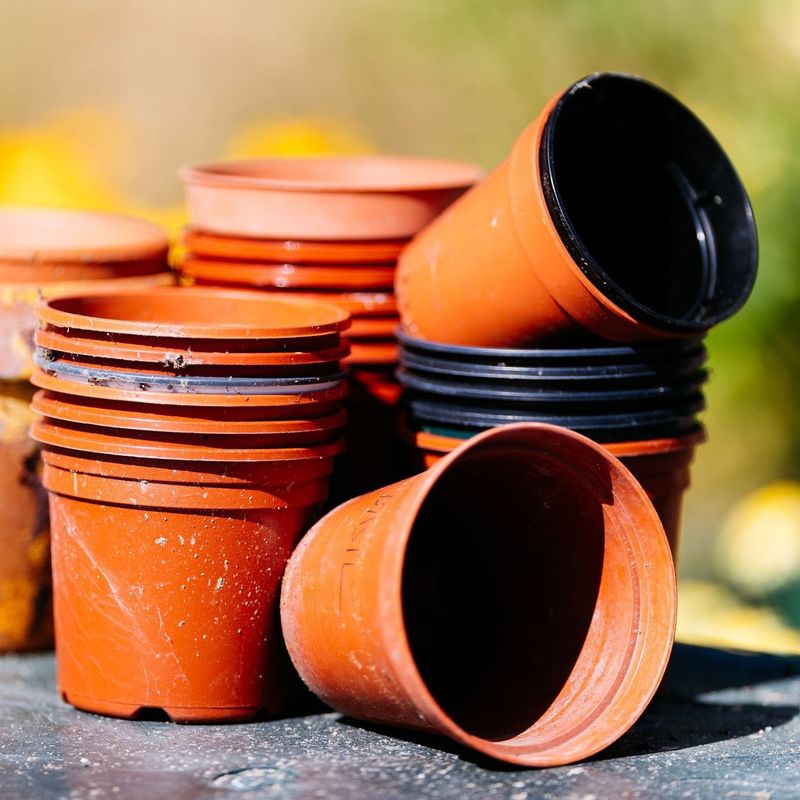
Save those plastic pots from your last plant purchase! Turned upside-down, they create perfect planter platforms that dramatically reduce soil needs while improving drainage.
Arrange several nursery pots upside-down across your container’s bottom, using various sizes to fill the space efficiently. Cover completely with landscape fabric before adding soil. The empty space beneath the pots creates a reservoir for excess water while keeping your planter significantly lighter.
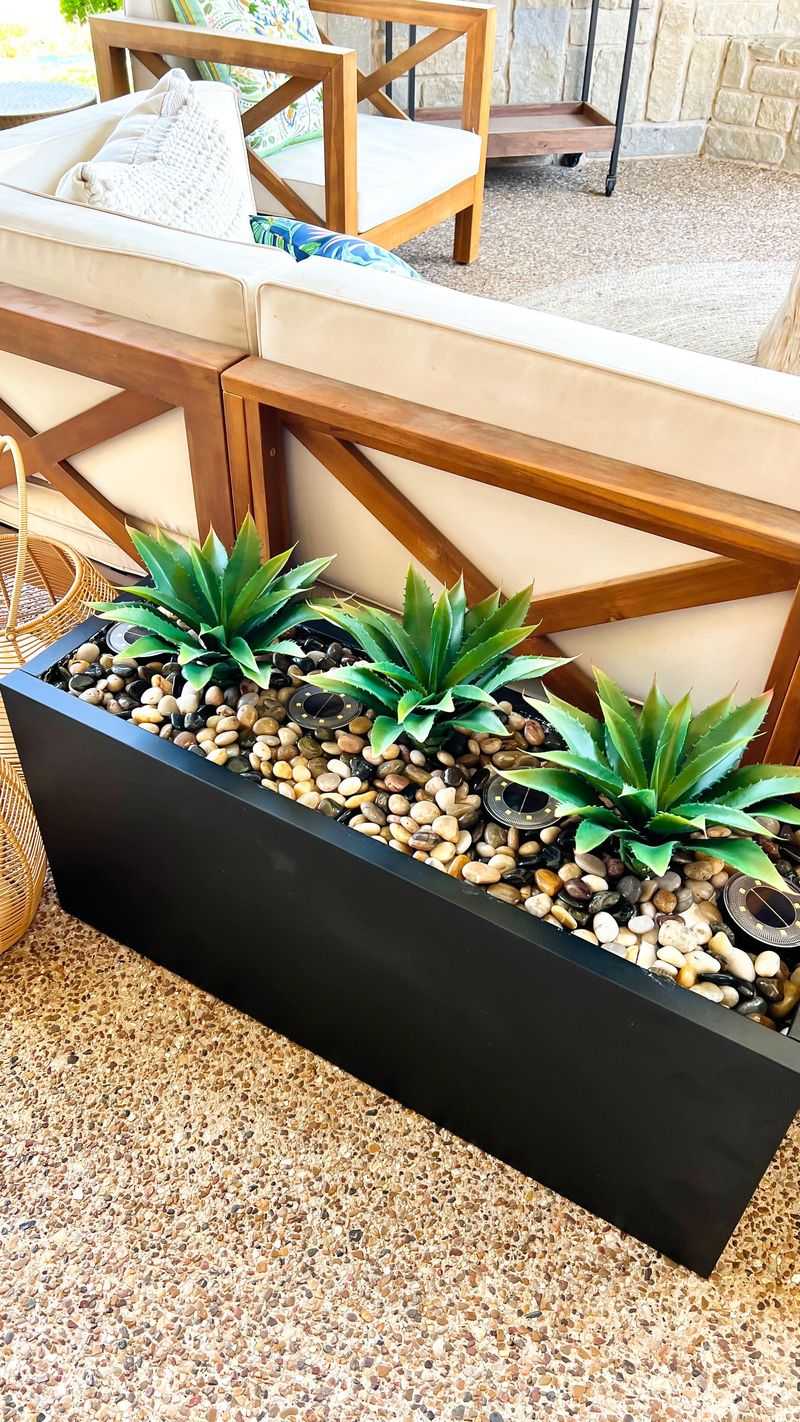
13. Pea Gravel
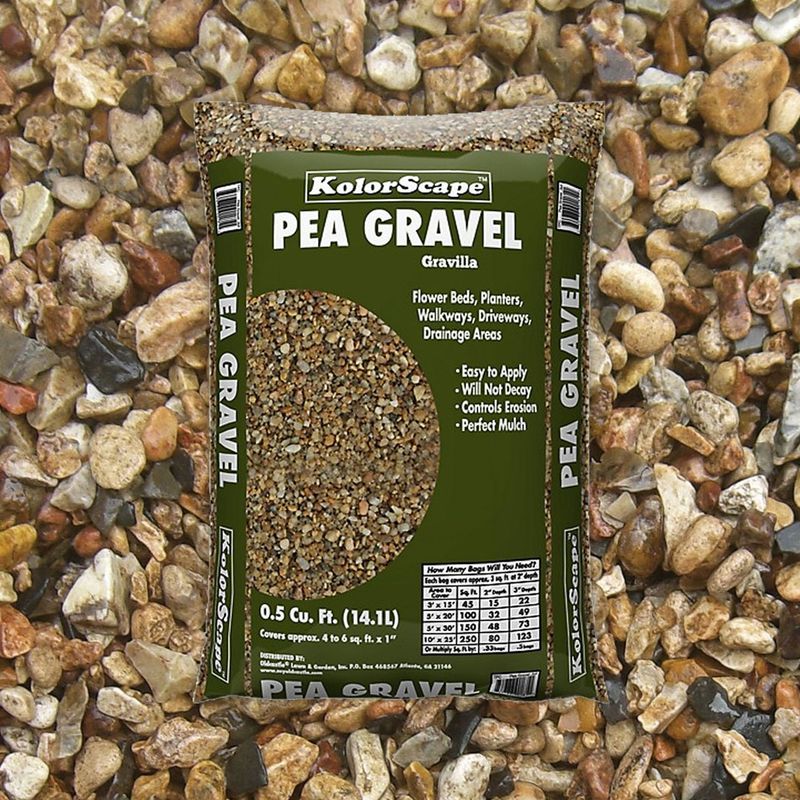
Small rounded stones create excellent drainage layers that won’t break down over time. Pea gravel’s smooth texture prevents damage to container liners while its weight adds stability to tall planters.
Pour a 2-3 inch layer across your container’s bottom, then cover with landscape fabric before adding soil. The small gaps between stones create perfect drainage channels while preventing soil compaction. For extra benefit, mix in some larger stones to create varied air pockets.
14. Pool Noodles
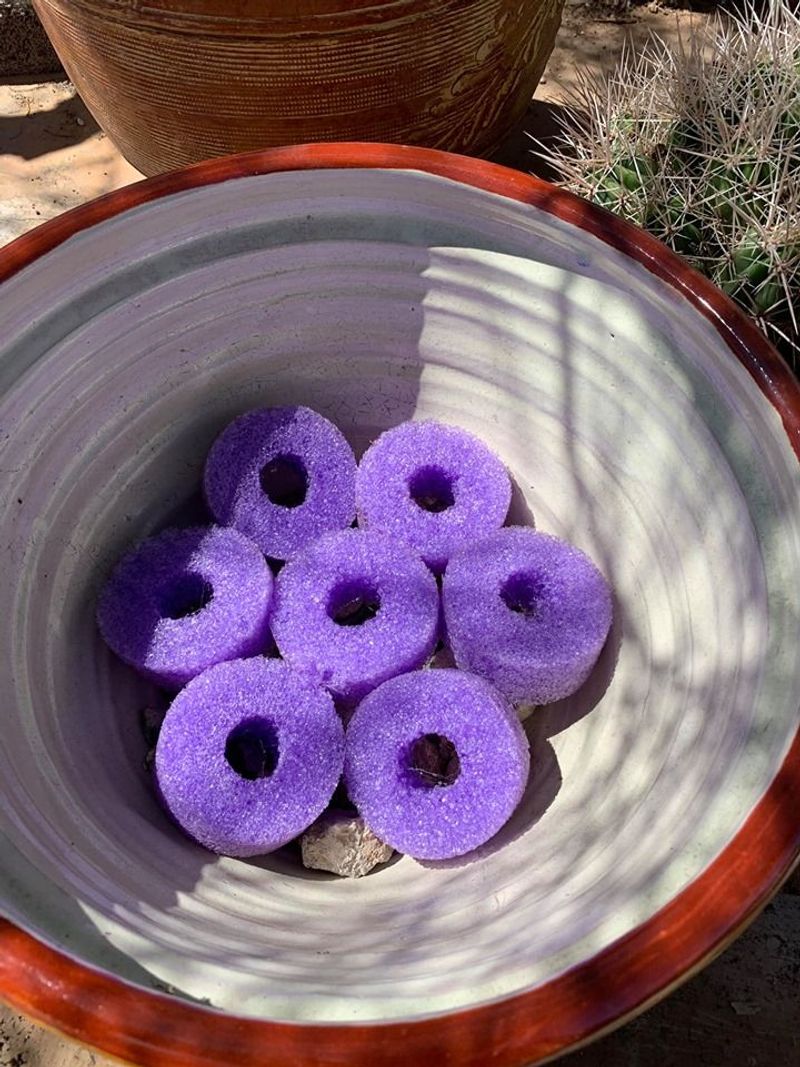
Summer’s favorite floating toy becomes winter’s clever gardening hack! Cut pool noodles into lengths that fit your planter’s width, then arrange them in a single layer across the bottom.
Their hollow centers provide excellent drainage while their foam composition keeps planters ultra-lightweight. For deeper containers, add multiple layers of noodle sections. Though they eventually break down, they’ll last several seasons before needing replacement.
15. Bubble Wrap
Package protection becomes plant protection when bubble wrap fills planter bottoms! This unexpected material creates excellent drainage while insulating roots from temperature extremes.
Loosely crumple sheets of bubble wrap and place in your container’s bottom, creating a 3-4 inch layer. Cover with landscape fabric before adding soil. The air-filled bubbles provide drainage space while making your planter significantly lighter than solid fillers.
16. Coconut Coir Bricks
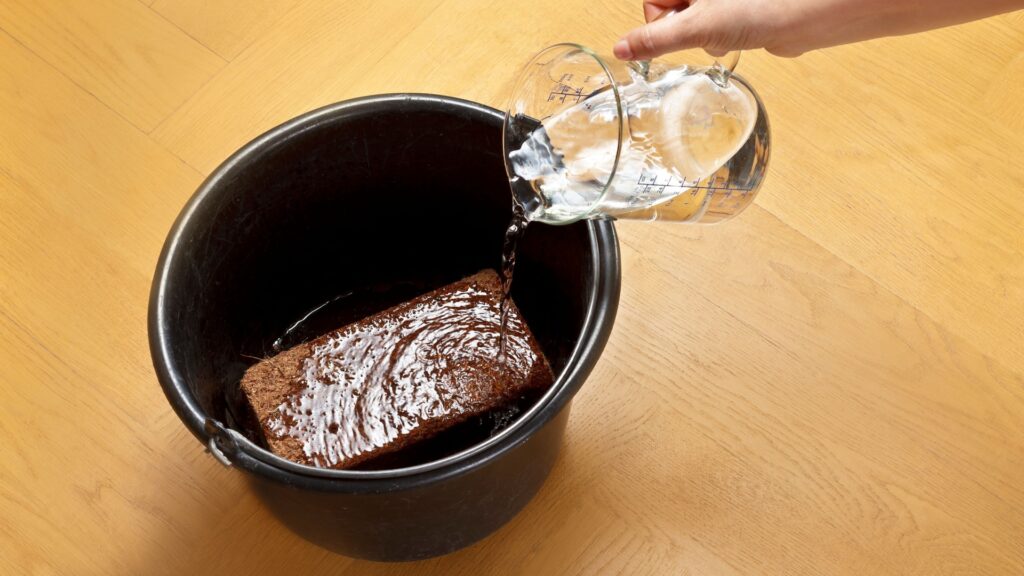
Made from the fibrous husks of coconuts, coir bricks are a sustainable, biodegradable filler that also improves soil structure. When hydrated, these compact bricks expand significantly, making them an efficient way to fill the lower portion of large planters.
To use, soak the brick in water until fully expanded, then fluff and layer the moist coir at the bottom of your container. Cover with landscape fabric to prevent soil mixing. Coir retains moisture without becoming waterlogged, promoting a balanced environment for root health while slowly decomposing into rich organic matter.