What’s The Perfect Tomato Soil pH? 15 Things Every Gardener Should Know
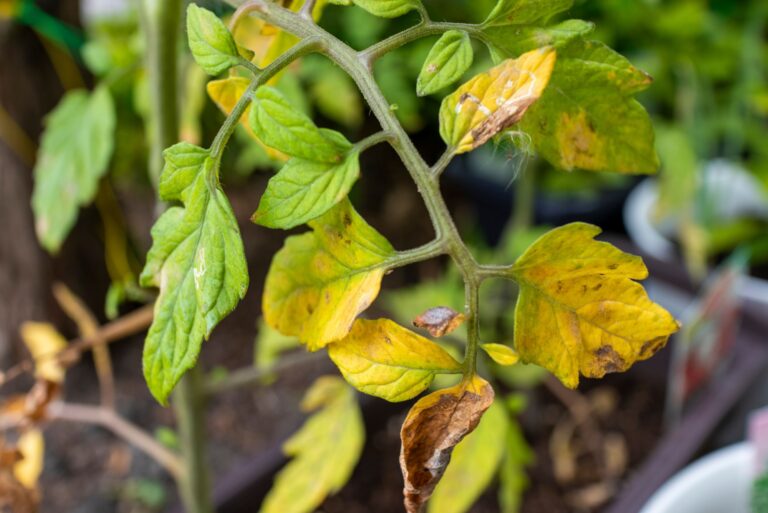
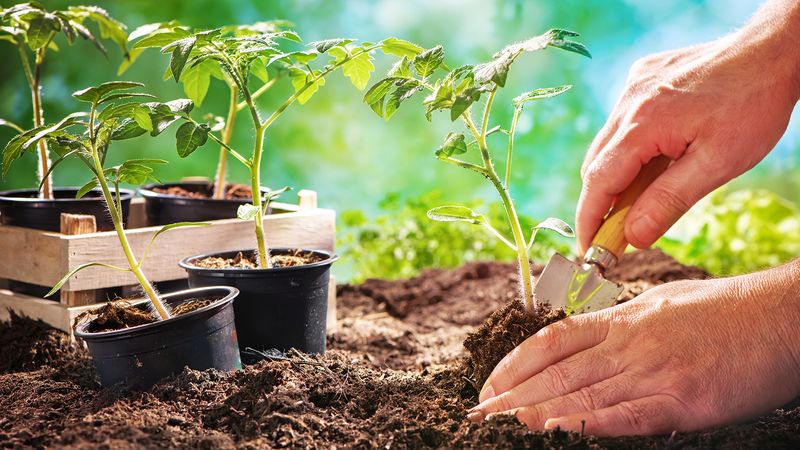
Growing tasty tomatoes starts with what’s underground—your soil’s pH. I once thought fertilizer fixed everything, until yellowing leaves showed up despite regular feeding. That’s when I learned pH matters more than I realized. Soil pH affects how well roots absorb nutrients.
Even rich soil won’t help if the pH is off—it’s like locking the fridge and expecting plants to eat. Many gardeners overlook this and wonder why their plants struggle.
It’s not just about hitting one “perfect” number. pH can shift during the season, and local conditions matter. These small adjustments often make the biggest impact on tomato flavor, health, and yield.
1. The Sweet Spot: 6.2 To 6.8
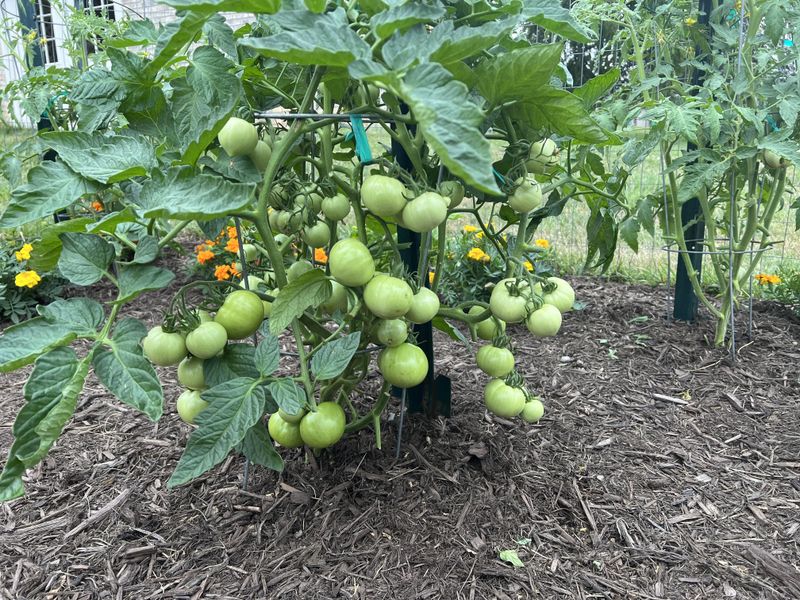
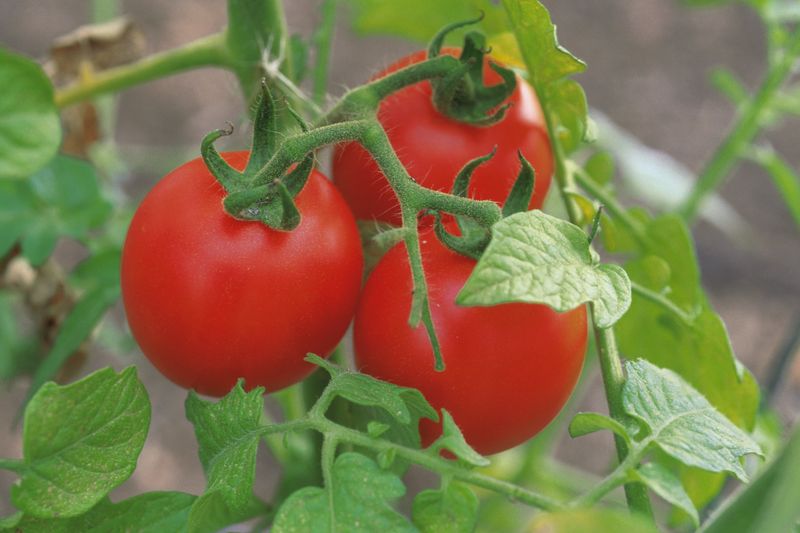
Tomatoes thrive in slightly acidic soil with a pH between 6.2 and 6.8. This range creates the perfect environment for roots to absorb essential nutrients like calcium, phosphorus, and potassium. Any reading outside this window can dramatically affect your plants’ health and productivity.
My first garden produced sad, yellow-leaved plants because my soil tested at 5.4 – far too acidic for proper nutrient uptake. Even minor deviations can cause issues that fertilizer can’t fix.
While tomatoes can survive in soil ranging from 5.5 to 7.5, they won’t reach their full potential unless you dial in that sweet spot where nutrient availability peaks.
2. Testing Methods That Actually Work
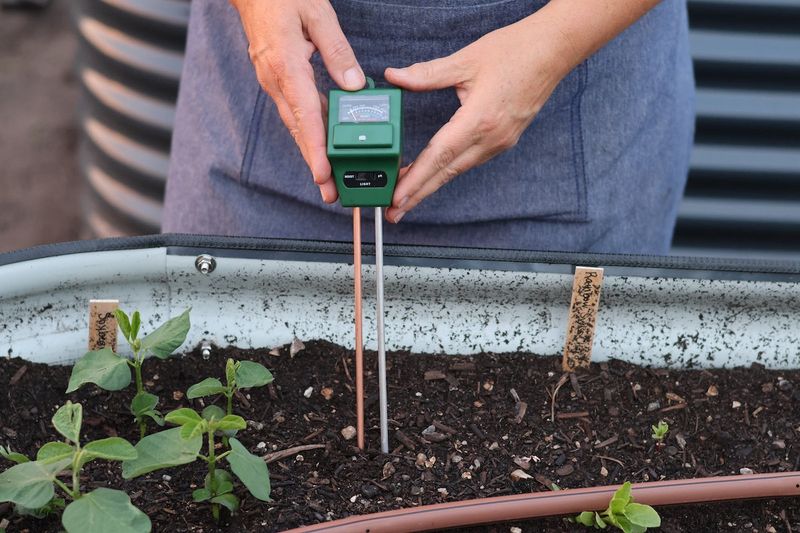
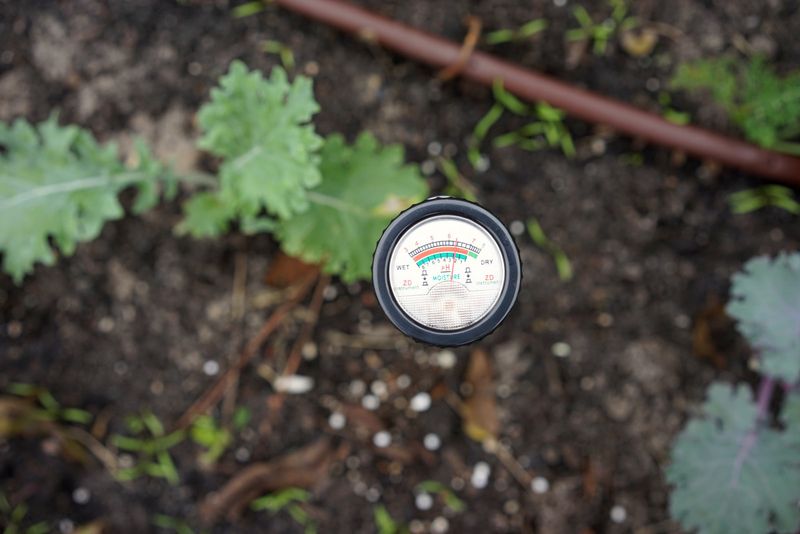
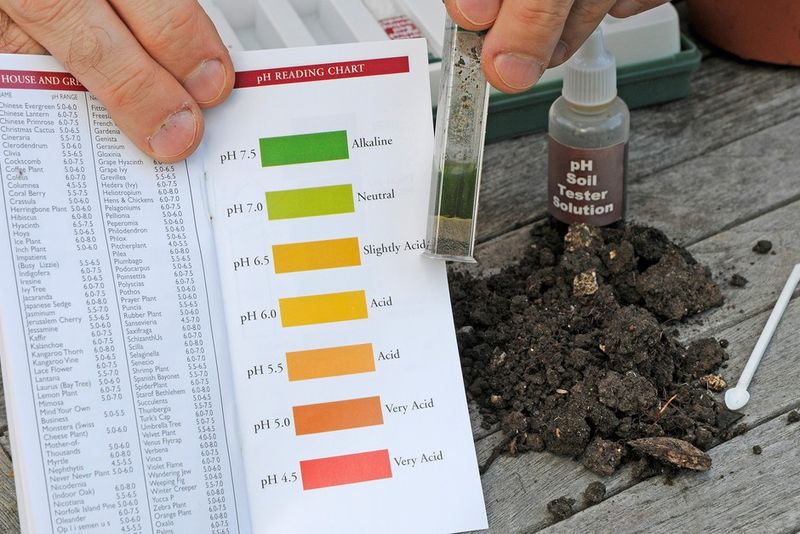
Skip those flimsy paper test strips that give wildly inconsistent results. Digital pH meters provide reliable readings for around $20-30 and can be used repeatedly throughout the season. For absolute accuracy, consider sending samples to your county extension office where professional testing costs about $15-25.
Garden center soil tests often miss crucial micronutrient information that affects tomato growth. I wasted an entire season using an inaccurate test that showed neutral pH when my soil was extremely acidic.
Always test soil when it’s moderately moist – not soggy or bone dry – and take samples from several areas, mixing them together for an average reading.
3. Raising PH In Overly Acidic Soil
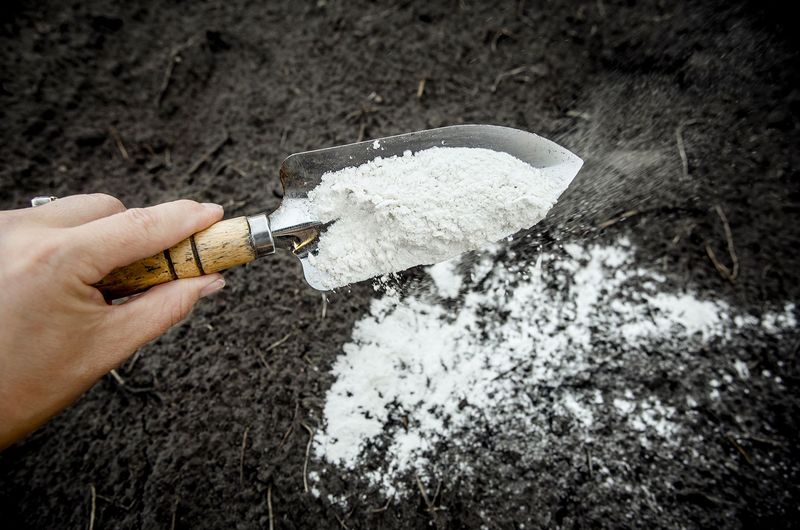
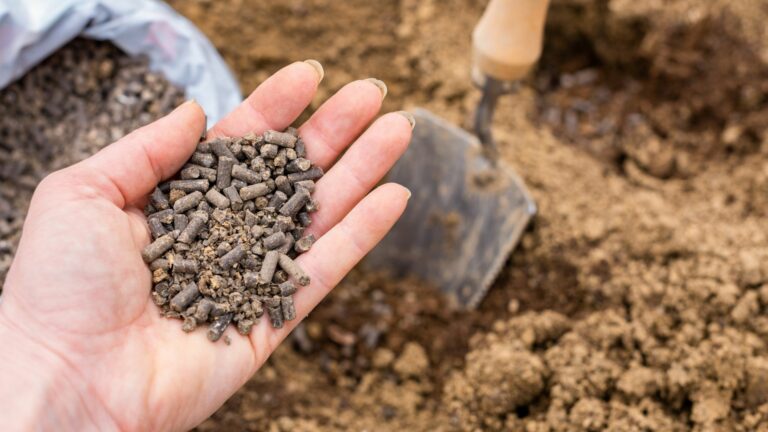
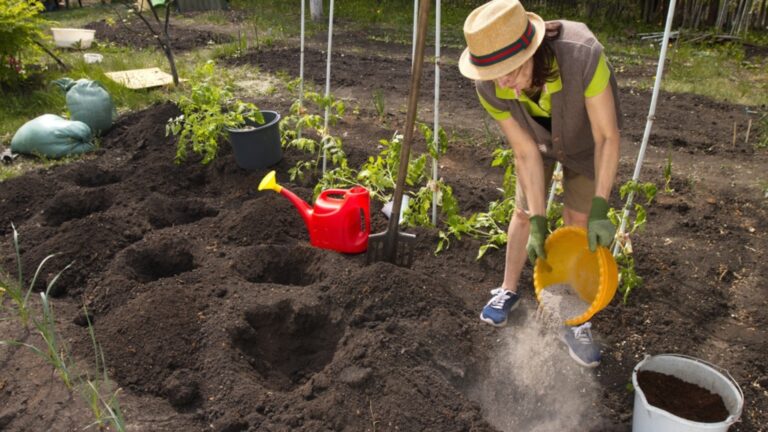
When soil tests below 6.0, garden lime becomes your best friend. Agricultural limestone (calcium carbonate) gently raises pH without shocking plant systems. Apply approximately 5-10 pounds per 100 square feet for moderate correction, working it into the top 6 inches of soil.
Wood ash from untreated hardwoods offers a quick organic alternative, but use it sparingly—about 2 pounds per 100 square feet—as it works faster than limestone. Never use quick lime (calcium oxide) which can burn plants and drastically alter soil chemistry overnight.
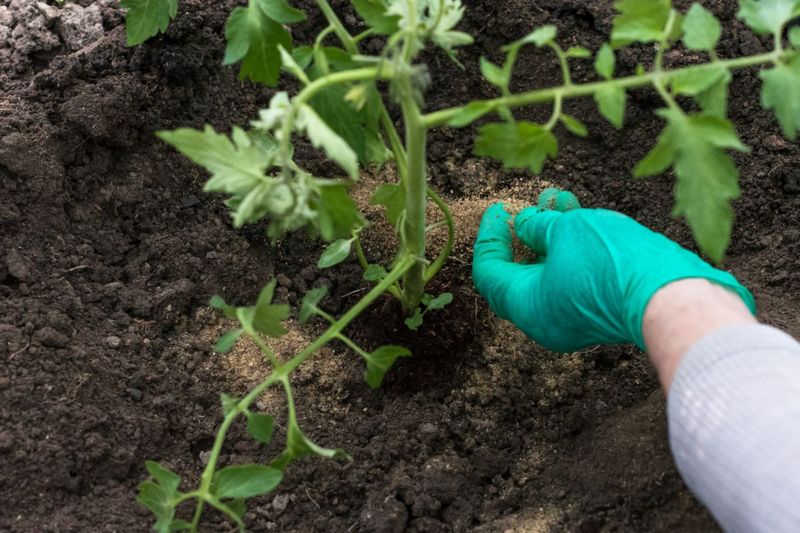
Allow 2-3 months for limestone amendments to fully integrate before planting tomatoes, especially in clay soils where changes happen slowly.
4. Lowering PH In Alkaline Conditions
Garden sulfur reigns supreme for bringing down stubborn alkaline soils above 7.0. Apply 1-2 pounds per 100 square feet, but be patient—sulfur works through bacterial action that requires warm soil temperatures and several months to complete.
Peat moss offers a faster organic option, though it’s less sustainable. Mix generous amounts (about 25% by volume) into your planting area to create immediate acidity. For container gardens, a tablespoon of vinegar per gallon of water can temporarily lower pH during emergency situations.
Regular additions of pine needles, coffee grounds, and acid-loving plant compost gradually decrease pH while improving soil structure—I’ve successfully transformed alkaline soil over two seasons using these amendments weekly.
5. The Calcium Connection
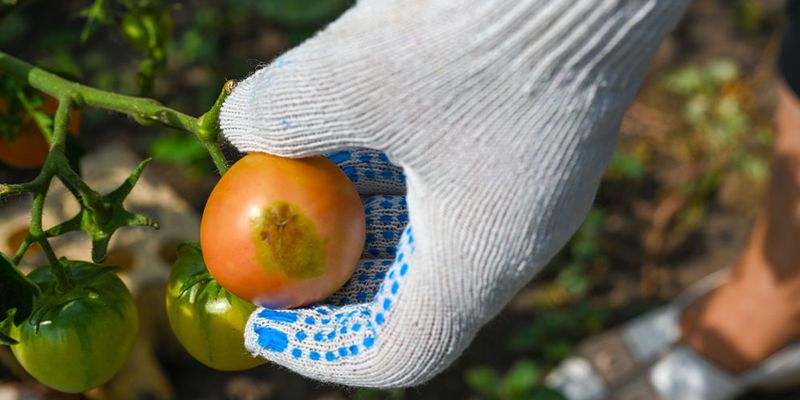
Calcium uptake and pH are intimately connected in tomato cultivation. Blossom end rot—those dreaded dark spots on fruit bottoms—often results from calcium deficiency caused by improper pH rather than actual calcium shortage in the soil.
When pH drops below 6.0, calcium becomes increasingly locked up and unavailable to plants. The frustrating truth I discovered after three failed seasons: my soil had plenty of calcium, but my tomatoes couldn’t access it because my pH was too low!
Eggshells, while popular, release calcium too slowly to help current-season plants. For immediate results, use calcium nitrate or gypsum alongside pH correction for the most effective blossom end rot prevention.
6. Container Gardening PH Challenges
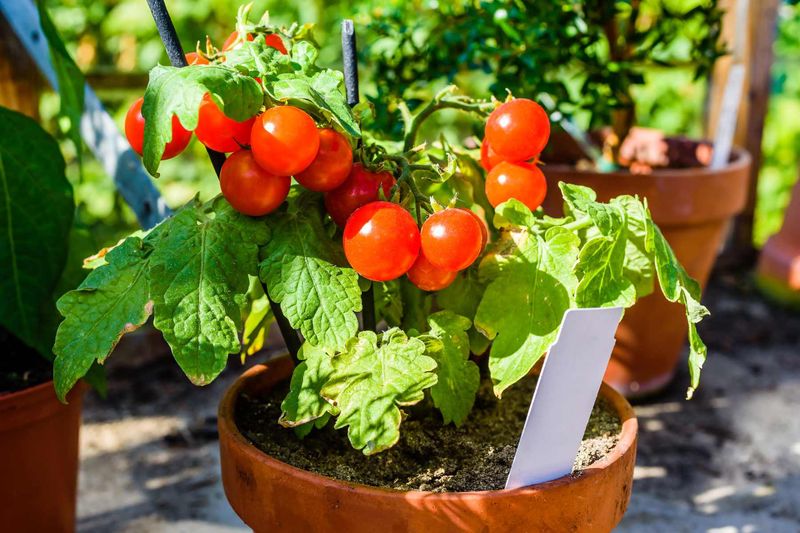
Container-grown tomatoes face unique pH challenges because potting mixes change acidity more rapidly than garden soil. Most commercial potting soils start slightly acidic (around 6.0-6.5) but quickly shift as nutrients leach away with watering.
Test container soil monthly rather than seasonally. Small volumes react dramatically to amendments, so use half-strength applications when correcting container pH. My patio tomatoes suffered chronic nutrient problems until I realized their soil pH had climbed to 7.8 from hard water irrigation.
Acid-forming fertilizers like ammonium sulfate can help maintain proper pH in containers, while mulching with pine needles or coffee grounds provides gentle, continuous pH management throughout the growing season.
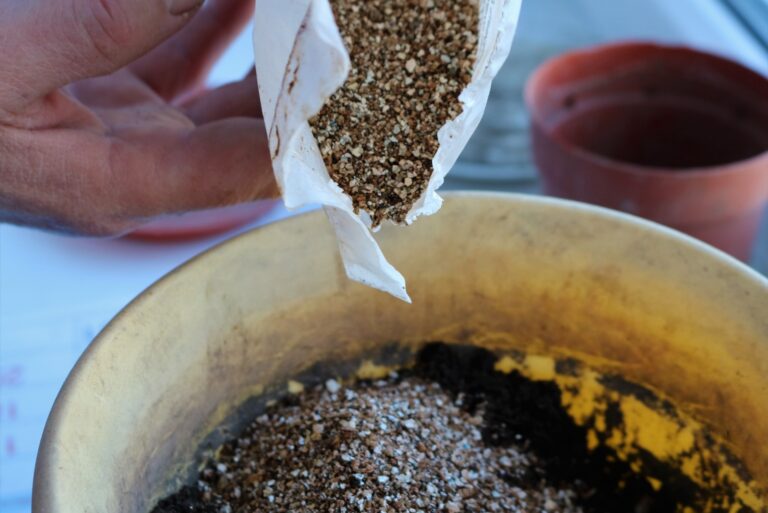
7. Organic Matter: Nature’s PH Buffer
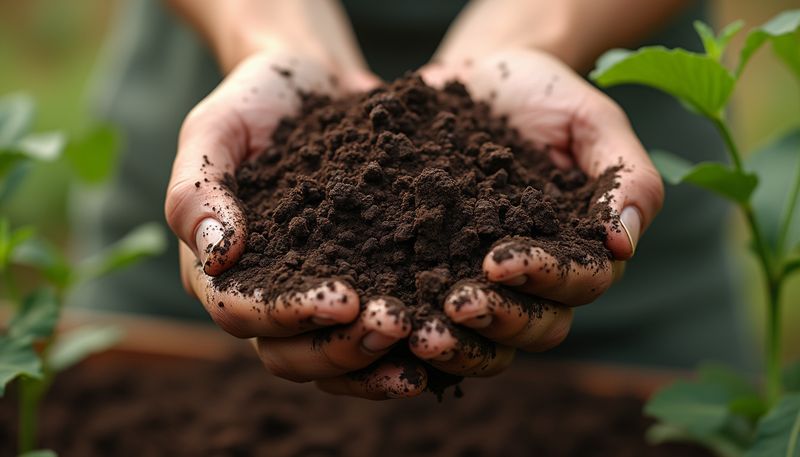
Well-decomposed compost acts as a natural pH buffer, helping soil resist rapid changes that stress tomato plants. Adding 2-3 inches yearly creates a stable growing environment where pH fluctuations become less dramatic and problematic.
Compost’s buffering effect comes from humic acids and microbial activity that regulate nutrient availability. Last summer, my heavily composted beds maintained steady pH despite record rainfall that would typically cause acidification.
Different compost sources affect pH differently—manure-based composts tend to be more alkaline, while leaf mold and pine-based composts run slightly acidic. Blend various types for balanced soil that naturally maintains the sweet spot tomatoes love.
8. Regional Soil Differences Matter
Western states often contend with alkaline soils (pH 7.0-8.5) due to natural limestone deposits and low rainfall. Eastern regions typically battle acidity (pH 4.5-6.0) from heavy precipitation that leaches calcium. Understanding your region’s baseline helps anticipate ongoing pH management needs.
Clay soils resist pH changes, requiring larger amendment quantities but fewer applications. Sandy soils change quickly but revert just as fast, needing smaller, more frequent adjustments.
Local extension offices provide regional recommendations worth following. After moving cross-country, I was shocked to discover my new garden needed completely different amendments despite growing the same tomato varieties—the regional pH difference was nearly 2 full points!
9. Seasonal PH Fluctuations Explained
Soil pH isn’t static—it changes throughout the growing season. Heavy spring rains typically lower pH (increase acidity) by leaching away basic elements. Summer heat and drought often raise pH slightly as minerals concentrate in the soil.
For serious tomato growers, testing mid-season allows for adjustments when plants need nutrients most. I’ve measured shifts of 0.5 pH points between May and August in the same garden bed, enough to affect nutrient availability.
Mulching helps minimize these fluctuations by regulating soil moisture and temperature. Irrigation water also impacts pH—hard water gradually raises soil pH, while rainwater collection systems provide naturally acidic water that helps maintain ideal tomato growing conditions.
10. The Micronutrient Availability Map
Each essential nutrient becomes available to tomato roots at different pH levels. Iron, manganese and zinc—critical for photosynthesis and growth—become increasingly locked up as pH rises above 6.5. Phosphorus and calcium become less available when pH drops below 6.0.
This explains why tomatoes with perfect pH show dramatically better growth. The difference isn’t subtle—my pH-corrected plants produced nearly triple the harvest of uncorrected plants despite identical fertilizer applications.
Foliar feeding bypasses soil pH issues in emergency situations, delivering nutrients directly through leaf surfaces. However, this should be viewed as a temporary solution while you work to correct underlying soil pH problems for long-term garden health.
11. How Fertilizers Affect Soil PH
Many common fertilizers significantly alter soil pH, complicating tomato growing efforts. Ammonium-based fertilizers (like ammonium sulfate) increase acidity over time, potentially dropping pH by 0.5-1.0 points over a season. Nitrate-based options (like calcium nitrate) have minimal pH impact.
Organic fertilizers generally cause less dramatic pH shifts. Blood meal and fish emulsion trend slightly acidic, while bone meal and wood ash push toward alkalinity. After tracking results for three seasons, I’ve found that alternating between different nitrogen sources helps maintain stable pH.
Slow-release fertilizers cause less pH fluctuation than water-soluble types that deliver nutrients in concentrated doses. Always retest soil pH about a month after applying any significant amount of fertilizer.
12. The Myth Of “Sweetening” Tomatoes
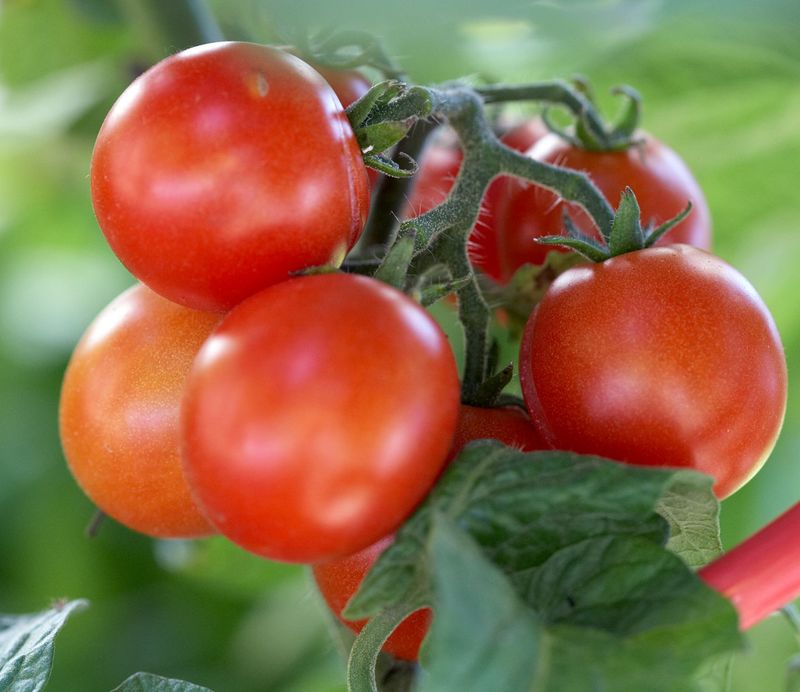
Contrary to garden folklore, making soil more alkaline won’t produce sweeter tomatoes. The myth suggests adding lime increases sugar content, but research shows the opposite—slightly acidic conditions actually promote better flavor development and higher sugar content.
Tomato sweetness primarily comes from proper variety selection, adequate sunlight, and appropriate watering practices. My side-by-side tests with identical tomato varieties grown at different pH levels showed the plants in pH 6.2-6.5 soil produced noticeably sweeter fruit than those in “sweetened” alkaline soil.
The confusion likely stems from lime’s calcium content, which does improve fruit quality and storage life—but this happens through structural improvements, not increased sweetness. Focus on proper pH for nutrient uptake rather than chasing mythical sweetness enhancements.
13. PH Management In Clay Soils
Clay’s natural buffering capacity makes pH changes slower and more difficult, often requiring double the amendments of sandy soil. The tight particle structure physically impedes amendment integration, making thorough mixing crucial for success.
Fall amendment allows winter freeze-thaw cycles to naturally incorporate pH adjusters before spring planting. I’ve found that addressing clay soil pH is a multi-year project rather than a quick fix—improvements come gradually with consistent effort.
Gypsum (calcium sulfate) offers a unique advantage in clay soils by improving structure without changing pH. This creates better drainage and aeration while allowing other amendments to work more effectively. For clay-heavy gardens, consider raised beds where you can more easily control soil pH from the start.
14. Sandy Soil PH Strategies
Sandy soils present the opposite problem from clay—pH changes happen quickly but don’t last. Low organic matter means minimal buffering capacity, so amendments leach away with each rainfall. More frequent, smaller applications work better than occasional large ones.
Humic acids dramatically improve sandy soil’s ability to maintain stable pH. I transformed my sandy garden by applying liquid humic acid monthly alongside regular compost additions, creating a more stable growing environment for tomatoes.
Avoid quick-release lime products in sandy soils—they create dramatic pH spikes before quickly washing away. Dolomitic limestone (which contains magnesium) works better in sandy conditions than calcitic limestone, addressing the magnesium deficiencies common in these soils while providing longer-lasting pH adjustment.
15. When To Adjust PH For Maximum Effect
Timing pH adjustments properly dramatically improves their effectiveness. Fall application of limestone or sulfur allows 3-6 months of soil integration before spring planting. The freeze-thaw cycles of winter help incorporate amendments naturally, creating more uniform pH correction.
Emergency mid-season adjustments require faster-acting products. Hydrated lime works within weeks rather than months, though it must be used carefully to avoid shocking plants. For raising pH during active growth, I’ve had success with calcitic limestone watered in thoroughly around plants.
Lowering pH during growing season proves more challenging. Diluted vinegar solutions (1 tablespoon per gallon) provide temporary relief for container plants, while elemental sulfur takes too long for in-season correction. Acidic mulches like pine needles and coffee grounds offer gentle, progressive improvement.
16. The Watering-PH Connection
Irrigation water quality significantly impacts soil pH over time. Municipal water containing lime deposits gradually raises soil pH, while well water rich in minerals can alter soil chemistry in complex ways. Testing irrigation water helps predict long-term effects on tomato growing conditions.
Rainwater harvesting provides naturally acidic water (typically pH 5.6-6.0) that helps maintain ideal tomato soil conditions. My rain barrel system dropped garden bed pH by 0.3 points over a single season compared to identical beds irrigated with alkaline municipal water.
Acidifying agents like citric acid or vinegar can be added to irrigation water (1-2 tablespoons per gallon) to counteract alkalinity, though this requires consistent application. For serious tomato growers, water filtration systems represent a worthwhile investment for controlling this often-overlooked pH factor.