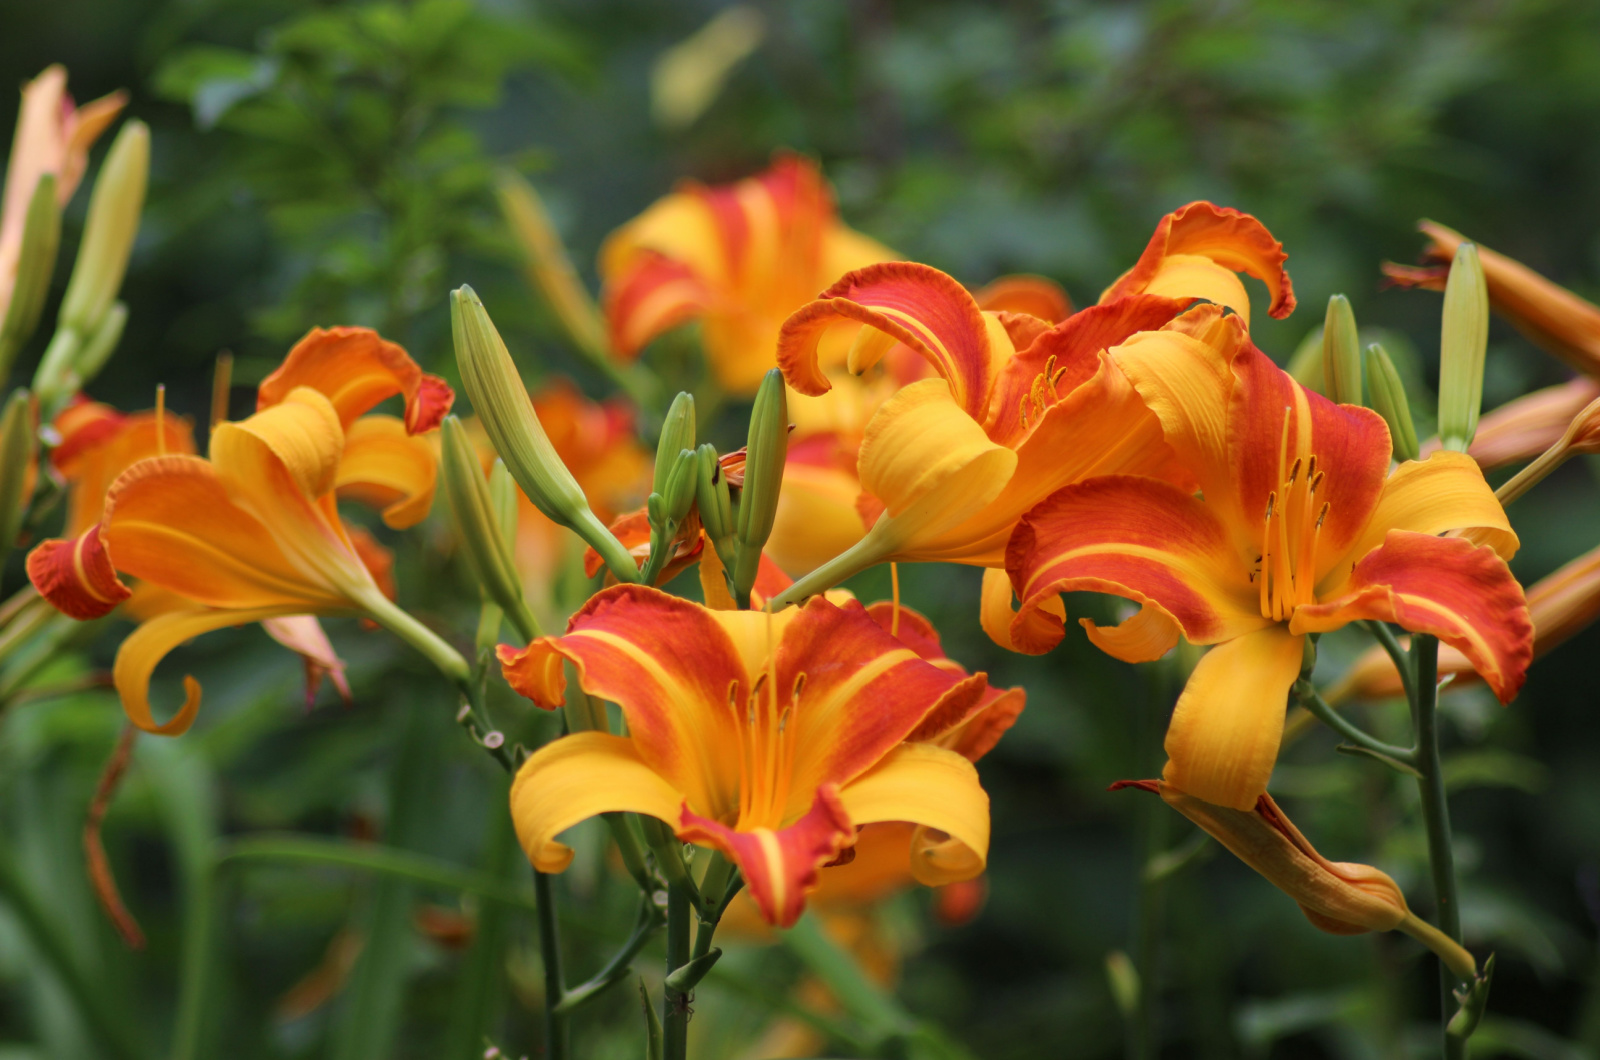
This Is When You Should Divide Daylilies For A Garden That Will Bloom Brighter Than Ever
Daylilies are one of those flowers that don’t need too much care in order to show you how much they appreciate it.
But did you ever have to deal with their slow growth, lack of blossoms, and clustered leaves only to give up on them?
You’ll be glad to hear that these signs usually indicate overcrowding, and the problem is easy to solve. Divide your daylilies in fall and enjoy their beauty for years to come.
Let’s check how it’s done!
When To Divide Daylilies
As I already mentioned, it is best to divide daylilies in fall or even in late summer if you live in cooler climates. You can also divide them in spring if you like to start off your season strong.
These times are best for division because the temperatures are cooler and the heat won’t shock your divided and transplanted plants that much. Your plants will also have more than enough time to develop strong roots that can handle the winter.
However, don’t wait too long because the plants still need time to establish before winter in order to be able to endure it.
Easy Daylily Division
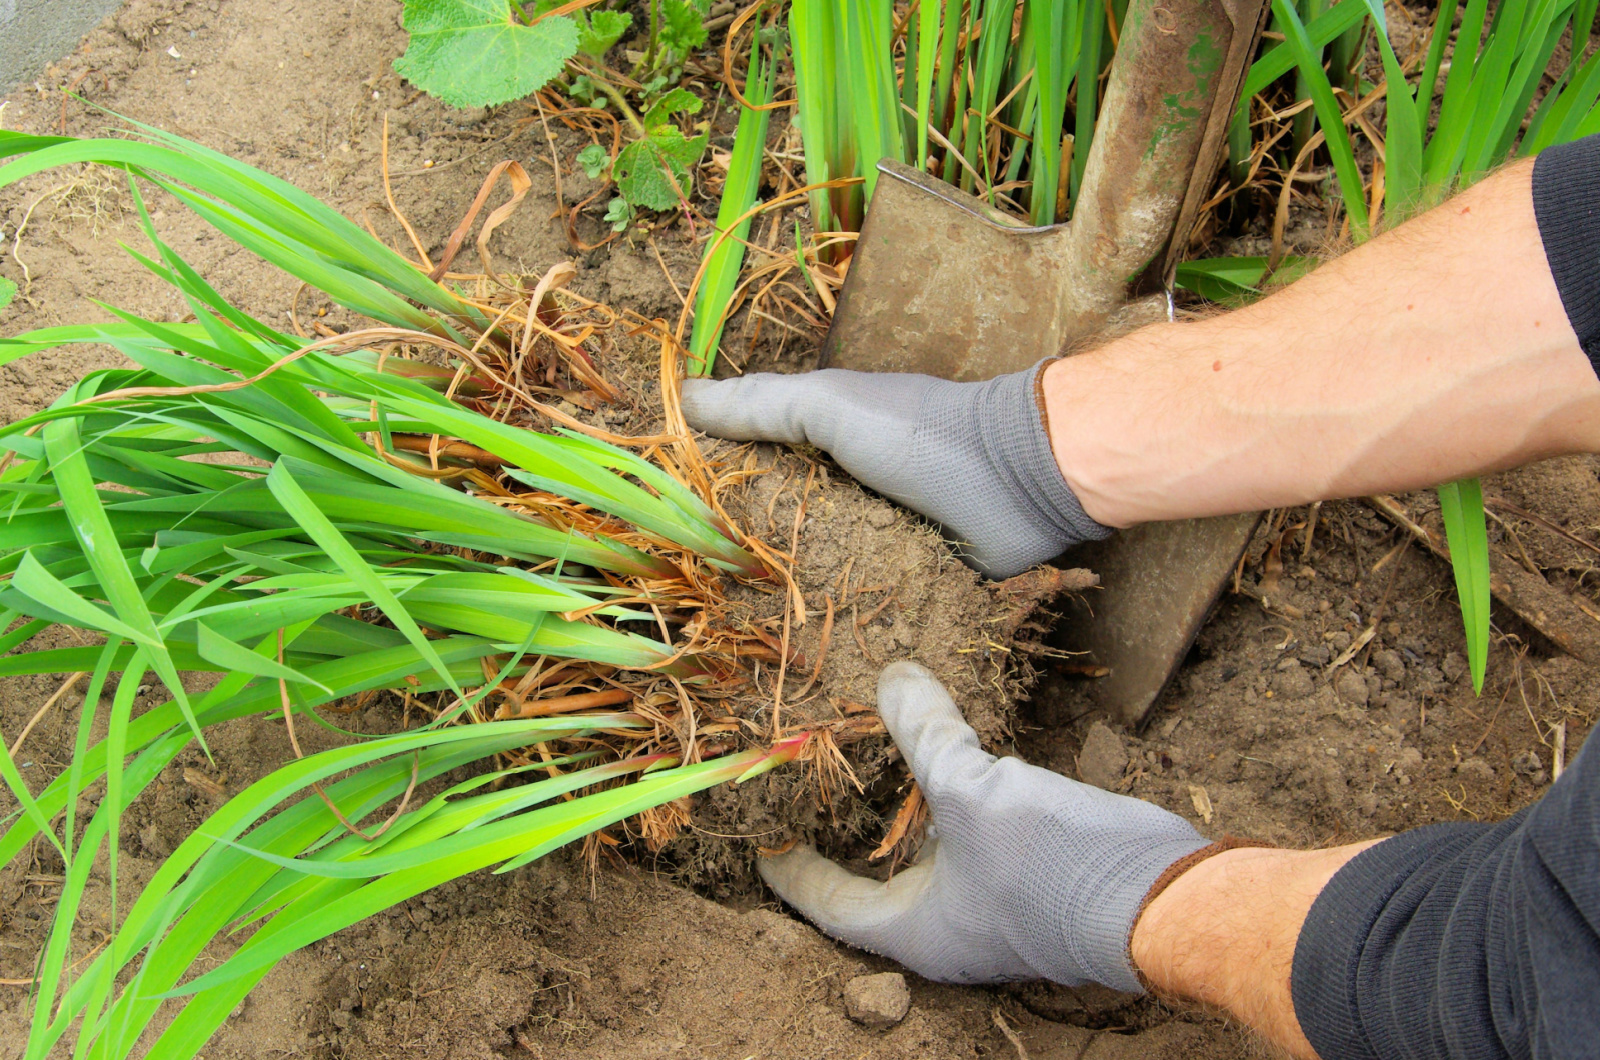
The first thing you want to do when dividing daylilies is take a shovel and go as close to the plant as possible, but not too close because you don’t want to damage the roots.
With the shovel, lift the daylily plant out of the ground and shake all the dirt off the roots. When you do this, you’ll notice a number of clumps that you can divide to get new plants.
You can just split the clumps with your hands or use a knife for a smooth cut. This will stress out the plant, but they’ll perk back up the following season.
Afterwards, trim the foliage a bit before planting them in your yard.
Amend the soil with a balanced fertilizer such as triple 10, or add some organic matter to it. Work it into the soil and plant your daylily up to the white part of the stem (just above the entire root system).
Finally, water your new plants and continue to do so about once a week until they get established and you notice new growth appearing. It will take them about a month and a half or so.
Here are some more tips to help you divide your daylilies successfully:
P.S. You can give your daylilies a little extra water a day or two before the division to loosen the soil and make it more workable. However, know that it will make the dirt around the roots a bit harder to remove.
More Tips For Dividing Daylilies
• When dividing daylilies, choose plants that have been with you for a few years and whose growth rate and beauty have diminished. These are the ones that will benefit from dividing the most.
• Split your plants every 2-3 years if you want to get ahead of the overcrowding issue and keep them thriving all the time.
• Divide your daylilies on an overcast day because it will reduce the transplant shock your plant will inevitably go through. That’s because the evaporation rate is lower and your plant will have more moisture around the roots.
• Cut the extra long roots and plant them afterwards. It won’t harm the plant, but will make your job a lot easier.
• If you live in cold regions with extreme winters, divide your daylilies in spring to give them enough time to establish and prepare for low temperatures.
• Don’t divide them into small sections. This can stress out the plant and make it hard for it to recover. Separate the clumps so that each section has 3-5 shoots for optimal results.
Follow all these tips, and soon your daylilies will be as dazzling as ever.