If you want to add a special touch of beauty to your landscape, simply plant tulips. These captivating flowering plants take garden design to a whole new level.
But there’s one misconception regarding tulips many gardeners believe. You’ll commonly hear that these plants come back year after year. These plants will most likely come back next season but the thing is that you won’t get as large and beautiful blossoms each season.
Additionally, depending on your climate zone and tulip variety, each bulb will generate only one flower. The storing and replanting process requires effort and time and the results are simply not worth it. Instead of this, there’s a better way to use the bulbs of this splendid plant.
In this article, I’ll show you why you should start composting your tulip bulbs instead of replanting them!
Let’s get started!
Why Compost Tulip Bulbs?
As mentioned, tulips are perennials. But these plants won’t come back as you may expect them to. So, instead of replanting the bulbs, adding them to compost is a better choice.
There are numerous benefits of composting and there are many things you can compost. The major benefits are that compost enhances its structure and boosts nutrient levels when added to the soil.
Additionally, if you use compost there’s no need to add any chemical products to your plants.
This potent homemade product contains two basic groups of ingredients: greens and browns. The latter refers to dead clippings, branches, wood chips, and similar ingredients. They add carbon, which is responsible for the energy needed to break down food scraps.
Tulip bulbs also fall within this group and they’ll increase the number of beneficial compounds in the compost.
Instead of replanting your tulip bulbs or (I can’t bear to think about it) discarding them, add them to your pile for a thriving garden.
Now let’s see how to do it!
How To Compost Tulip Bulbs
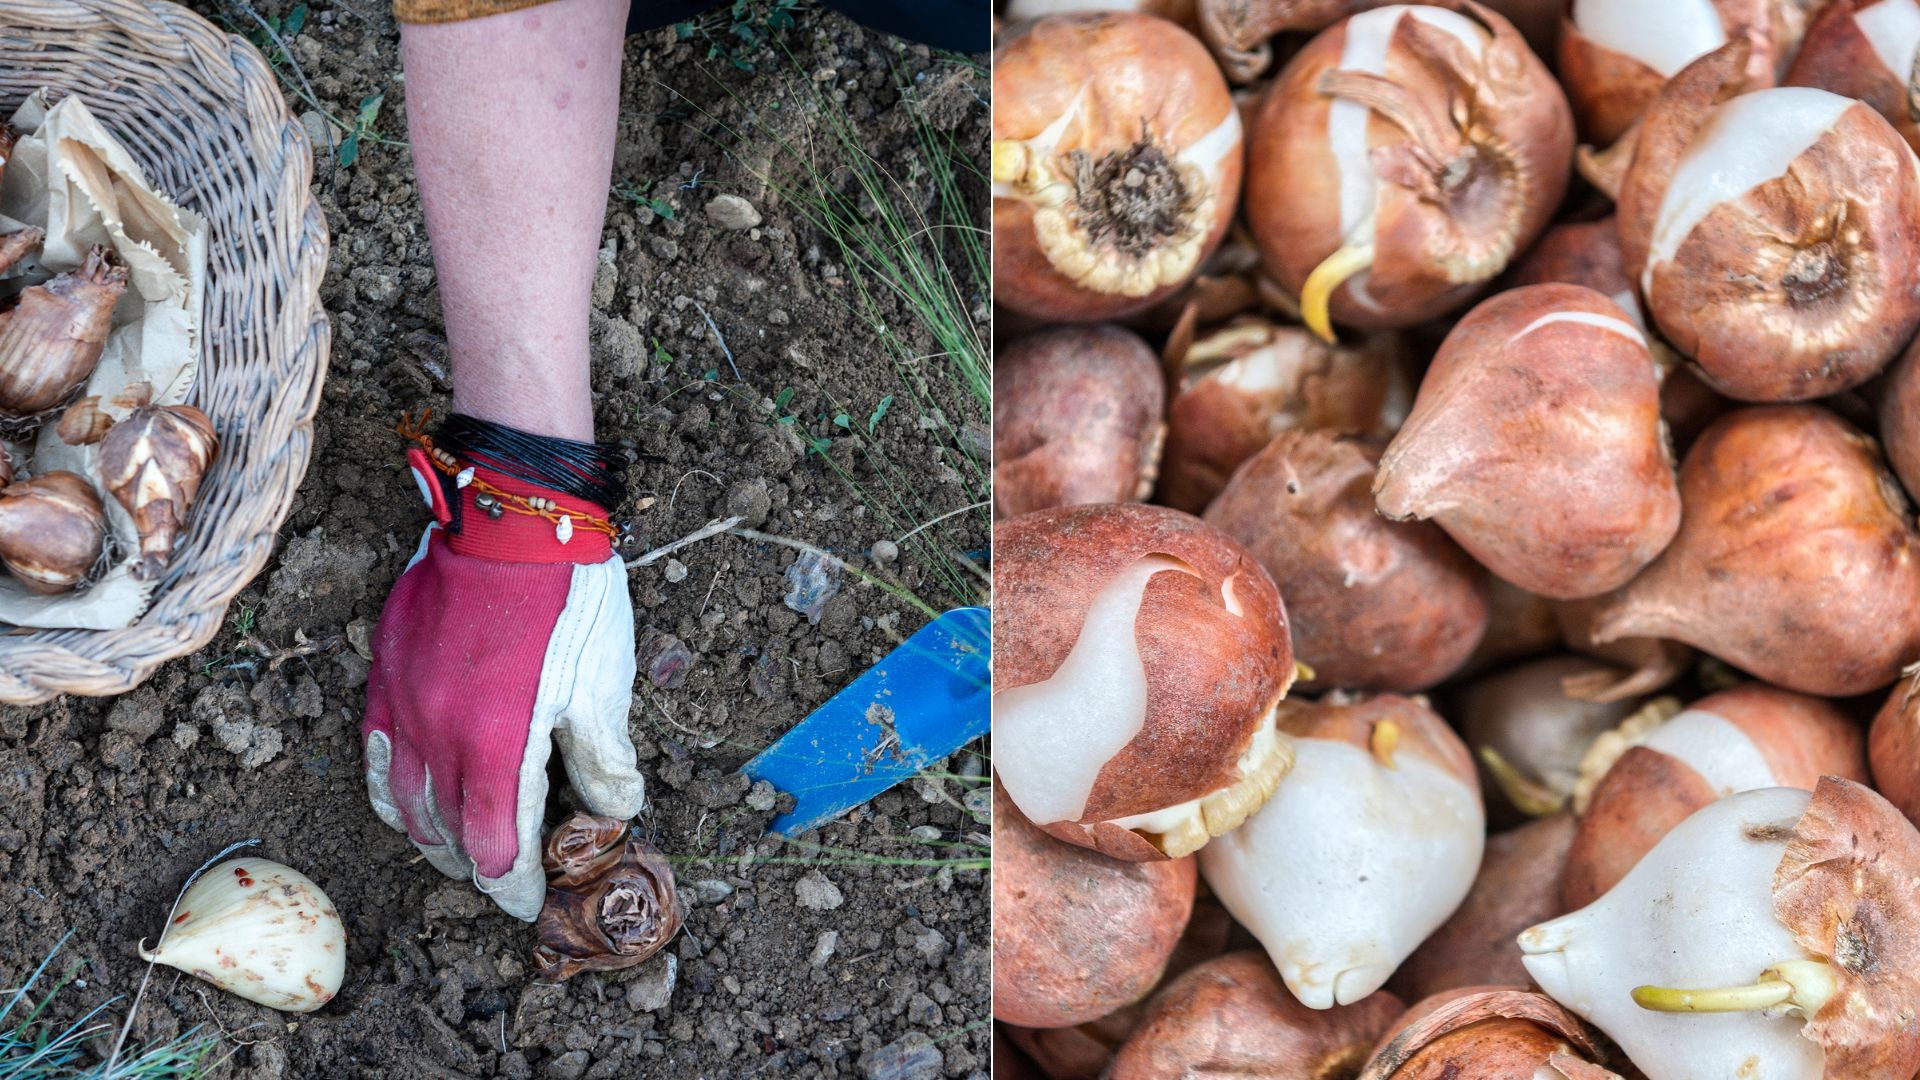
The first step is to take your bulbs from the ground. Some gardeners do this after they pick cut flowers during the springtime. You can also remove your tulips from the ground when the leaves start turning yellow, which happens mainly in summer.
The easiest way to remove tulip bulbs from the soil is by carefully lifting them using a garden fork. Make sure to remove both the flower stalk and the bulb attached to it.
Once they’re out, you should remove the soil by gently shaking off your bulbs and wiping them clean. Your bulbs should be entirely dry before you start composting. The easiest method for drying tulip bulbs is to spread them and air dry them for approximately a week.
Remember that drying is essential because if there’s moisture in bulbs it can lead to rotting or mold development.
Now it’s time to add prepared bulbs to your DIY compost. As mentioned, they’ll make the browns part of the compost and boost carbon levels. But, you’ll need to have the same amount of greens if your goal is to get a balanced fertilizer.
The greens you add to your compost can be different materials, such as coffee grounds and grass clippings. The main role of these ingredients is to boost nitrogen levels in your compost.
If your tulip bulbs are pretty large, it would be best to cut them into a few smaller pieces. This will enhance the rate of decomposition.
Now, you should mix all the ingredients well to get a compact mass. If this is your first composting experience, you should know that in order for your compost to work effectively, you need to keep it moist.
It should also have good drainage, which you’ll ensure by adding free-draining ingredients, such as wood chips. In the case of poor drainage, your bulbs will quickly rot.
Regularly inspect your compost and you can start adding it to your garden once it’s fully decomposed.
Tulip bulbs make an excellent compost ingredient and there’s really no need to store or replant them. You’ll be disappointed with the amount, quality, and size of blossoms. But if you compost them, the results will be amazing and you’ll have a thriving garden in no time!


