Your Go-To Beginner’s Guide For Pruning Clematis In Texas
Clematis vines are a favorite in Texas gardens, admired for their vibrant flowers and dramatic climbing ability, but pruning them can feel intimidating for beginners.
Done correctly, pruning encourages healthier growth, more blooms, and a neater, more manageable vine. One cut at the wrong time can stunt flowers or stress your plant—but the right cut works wonders!
This guide walks Texas gardeners through the basics: understanding clematis groups, timing cuts, and choosing the proper pruning technique.
From removing dead stems to shaping the plant and promoting strong growth, these tips make pruning approachable, even for first-timers.
Proper pruning ensures your clematis flourishes season after season, producing abundant, show-stopping flowers. Healthy vines and bigger blooms start with the right pruning strategy.
For Texas gardeners ready to tame their clematis, following these beginner-friendly steps guarantees a thriving vine and a garden that turns heads. Prune smart, bloom big, and enjoy spectacular clematis year after year!
Identify Your Clematis Pruning Group First
Before you grab those pruning shears, knowing which group your clematis belongs to saves you from accidentally cutting off all the flower buds.
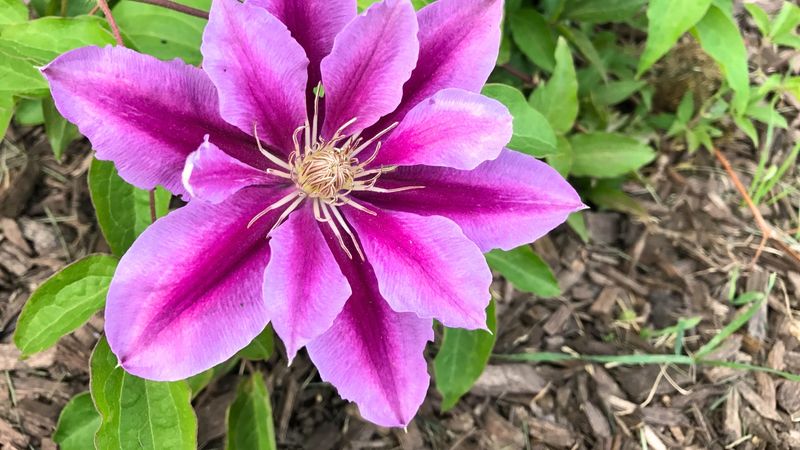
Clematis plants fall into three distinct pruning groups, and each one needs different treatment to produce the best blooms.
Getting this wrong is the number one reason gardeners end up with bare vines instead of beautiful flowers.
Group 1 clematis bloom on old wood from the previous year, so they need minimal pruning right after their spring show ends.
Group 2 varieties produce flowers on both old and new growth, making them a bit more forgiving but still requiring careful timing.
Group 3 clematis bloom on new wood grown during the current season, which means you can cut them back hard without worrying about losing flowers.
Check the plant tag or look up your specific variety online to discover which group it belongs to before making any cuts.
Many garden centers label clematis with their pruning group right on the tag, making your job much easier.
Once you know your plant’s group, you can confidently prune at the right time and in the right way to maximize blooms throughout the growing season.
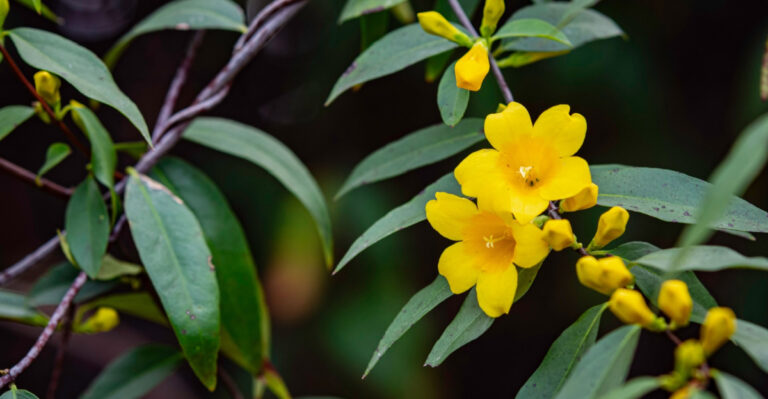
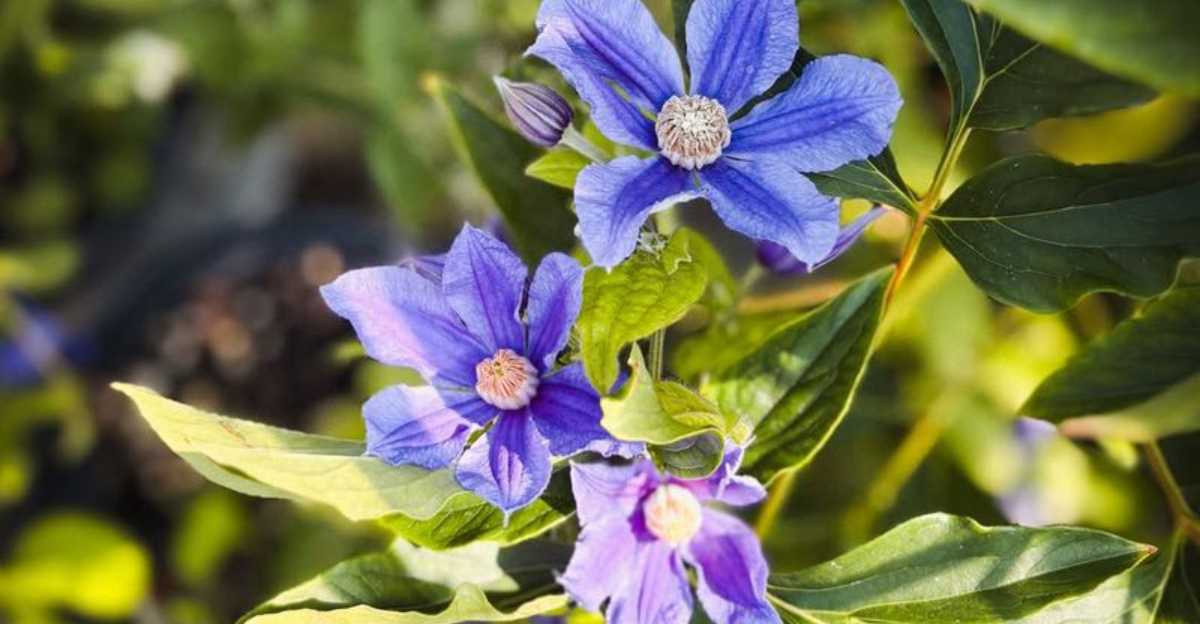
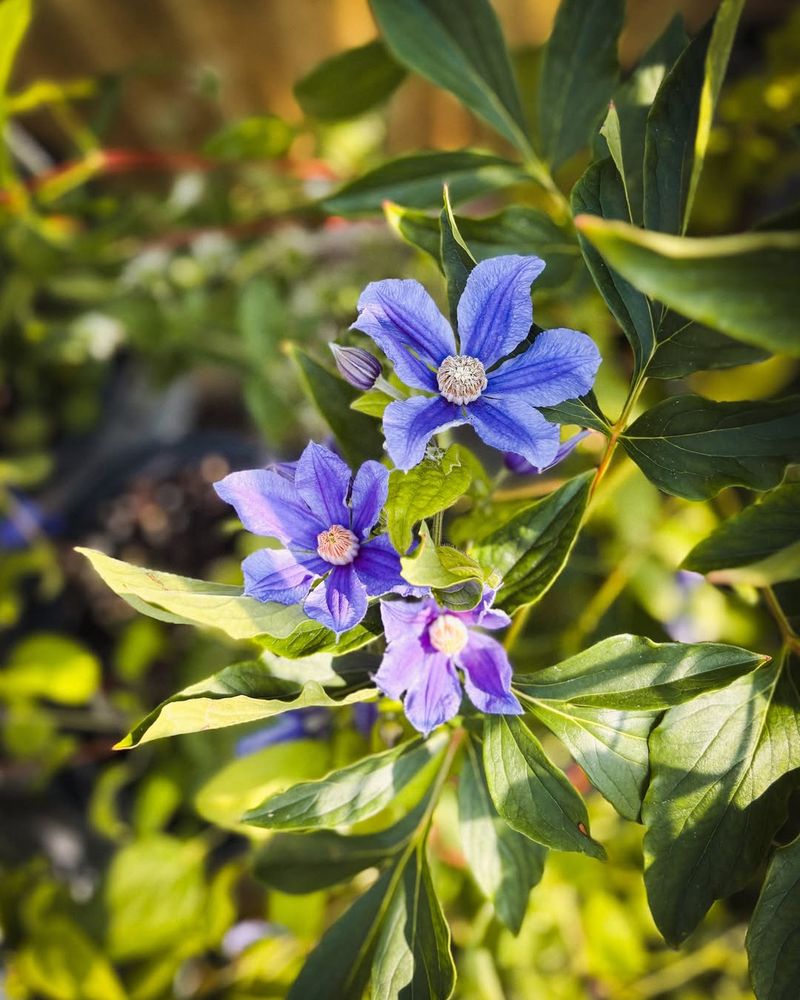
Most Texas Gardeners Grow Group 3 Clematis
Texas summers test even the toughest plants, and that’s exactly why Group 3 clematis varieties perform so much better here than their early-blooming cousins.
These heat-tolerant champions bloom from summer through fall when new growth emerges, making them perfectly suited to our long, hot growing season.
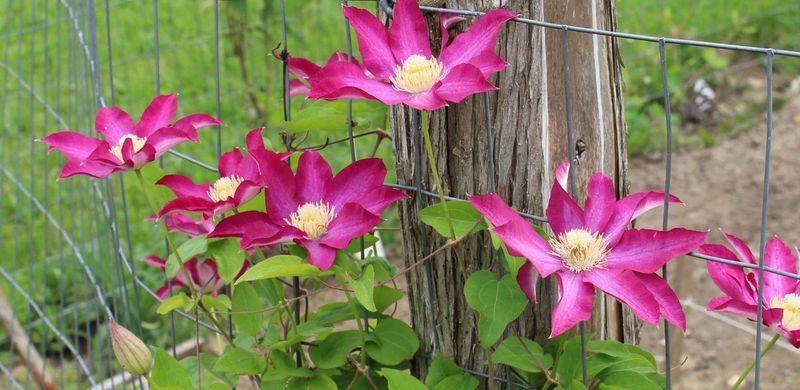
Varieties like Sweet Autumn clematis and Jackman clematis laugh in the face of our intense heat while producing waves of gorgeous flowers.
Group 3 clematis have adapted to thrive in warmer conditions, developing flowers on fresh stems that grow during the current year.
This means they put their energy into new, vigorous growth rather than trying to maintain old stems through brutal Texas summers.
Their blooming schedule aligns beautifully with our climate patterns, producing the most flowers when other spring bloomers have long since faded.
When shopping for clematis at Texas nurseries, you’ll notice most selections fall into Group 3 for good reason. These varieties require less fussy care and bounce back quickly even if you make pruning mistakes.
Their natural vigor and heat tolerance make them the perfect choice for beginners and experienced gardeners alike who want reliable color throughout the warmest months.
Prune Group 3 Clematis Hard In Late Winter
Late winter pruning might seem harsh, but cutting Group 3 clematis back to just 12 to 18 inches above the ground actually supercharges their performance.
This dramatic trim forces the plant to channel all its energy into producing strong new stems loaded with flower buds.
Think of it as giving your clematis a fresh start each year, clearing away weak growth and encouraging vigorous new shoots.
The best time for this hard pruning in Texas falls between mid-January and early March, depending on your specific region.
North Texas gardeners should aim for late February, while South Texas growers can prune earlier in January.
Waiting until late winter ensures the plant has entered dormancy but hasn’t yet broken bud, which minimizes stress and maximizes the growing season ahead. Don’t worry about being too aggressive with Group 3 varieties during this annual cutback.
Each stem you remove will be replaced by multiple new shoots that produce flowers throughout the summer and fall.
Sharp, clean cuts made about a quarter-inch above a pair of healthy buds will heal quickly and stimulate robust growth that fills your trellis with blooms by midsummer.
Prune Early Enough To Beat Texas Spring Heat
Timing your pruning before active growth begins protects your clematis from unnecessary stress when temperatures suddenly spike.
Texas weather can jump from cool mornings to scorching afternoons in a matter of weeks during spring, and plants caught mid-growth during pruning struggle to recover.
Getting your cuts done early gives the plant time to heal and redirect energy before the heat arrives in full force.
Watching for swelling buds tells you when to finish pruning, as those little bumps signal that growth is about to explode.
Once buds start opening and new leaves emerge, pruning becomes more stressful for the plant and can set back blooming by weeks.
Finishing your work while the plant remains dormant or just barely waking up ensures a smooth transition into the growing season.
Early pruning also helps you avoid working in uncomfortable heat while giving your clematis maximum time to develop strong stems.
Plants pruned in late winter have several weeks to establish new growth before temperatures regularly reach the upper 80s and 90s.
This head start makes all the difference in how well your clematis handles the challenging conditions that define Texas summers, resulting in healthier vines and more abundant flowers.
Avoid Heavy Pruning On Spring-Blooming Clematis
Spring-blooming clematis varieties create their flower buds on stems that grew the previous year, making aggressive pruning a guaranteed way to remove all your anticipated blooms.
Group 1 and many Group 2 clematis fall into this category, producing their spectacular early-season displays on what gardeners call old wood.
Cutting these stems back hard in winter removes the very parts that would have flowered beautifully in spring.
Instead of major cutbacks, these varieties need only light shaping and tidying after their flowering period ends. Wait until blooms have faded, then gently remove any stems that look weak, tangled, or out of place.
This minimal approach preserves the wood that will produce next year’s flowers while keeping the plant looking neat and manageable throughout the growing season.
If you’re growing Group 1 or Group 2 clematis in Texas, patience with pruning pays off in spectacular spring color.
These varieties might need occasional thinning to prevent overcrowding, but resist the urge to dramatically reshape them during winter dormancy.
A gentle hand after flowering keeps these beauties blooming reliably each spring while maintaining an attractive form that complements your garden structure year-round.
Always Remove Weak Or Damaged Stems First
Starting your pruning session by cleaning out compromised growth sets the stage for a healthier, more productive clematis.
Stems that show damage, appear shriveled, or lack vigor drain resources from the plant without contributing to bloom production or attractive foliage.
Texas humidity creates perfect conditions for fungal problems, and removing weak stems improves airflow throughout the vine, reducing disease pressure significantly.
Look for stems that feel hollow, snap easily, or show discolored bark as prime candidates for removal. These compromised parts rarely recover and often harbor insects or disease organisms that can spread to healthy growth.
Cutting them back to the main stem or ground level eliminates hiding spots for pests and prevents problems from establishing themselves in your plant.
Better airflow through a cleaned-up clematis helps foliage dry quickly after rain or morning dew, which matters tremendously in our humid climate.
Fungal diseases thrive when leaves stay wet for extended periods, and crowded, weak stems create the perfect environment for these problems to flourish.
Taking time to remove all questionable growth before shaping the rest of the plant creates a strong foundation for vigorous new stems and abundant flowers throughout the season.
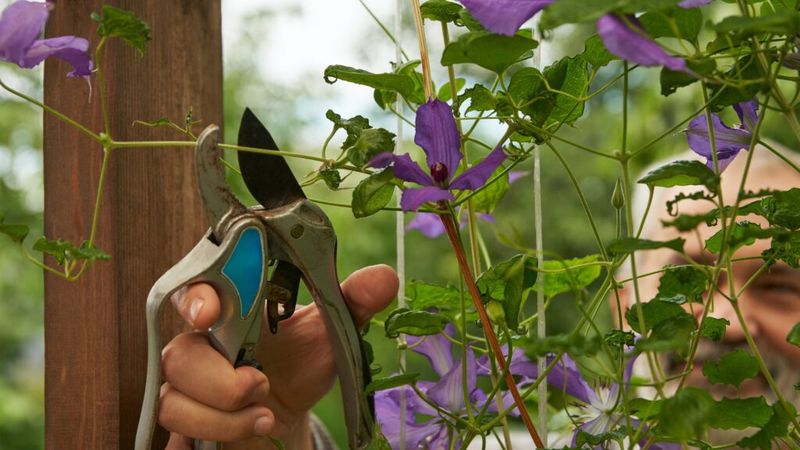
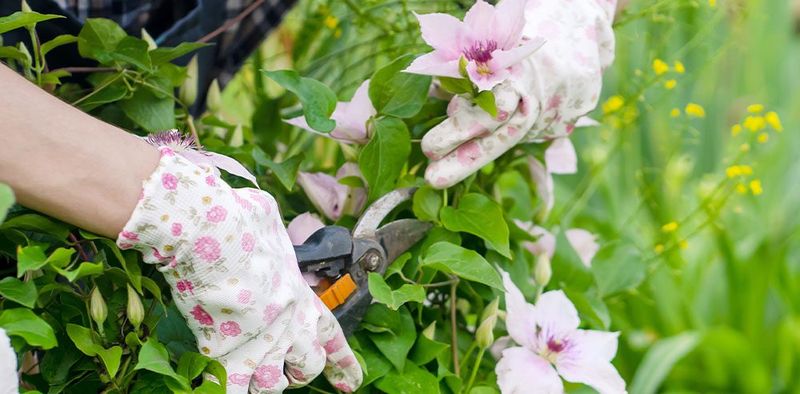
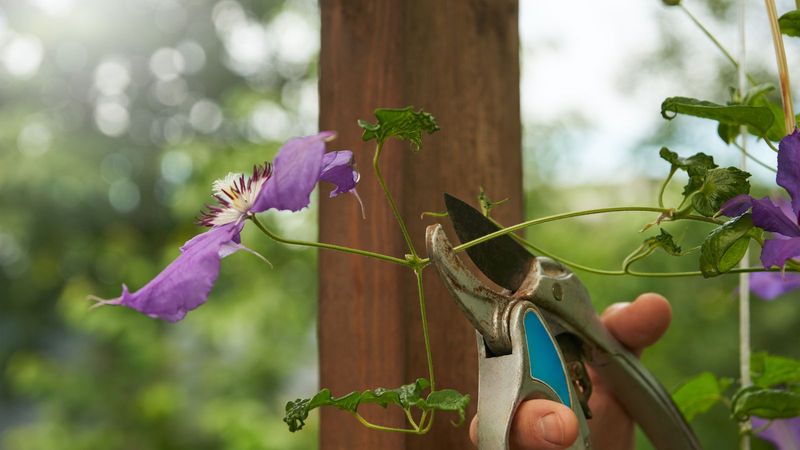
Make Clean Cuts Just Above Healthy Buds
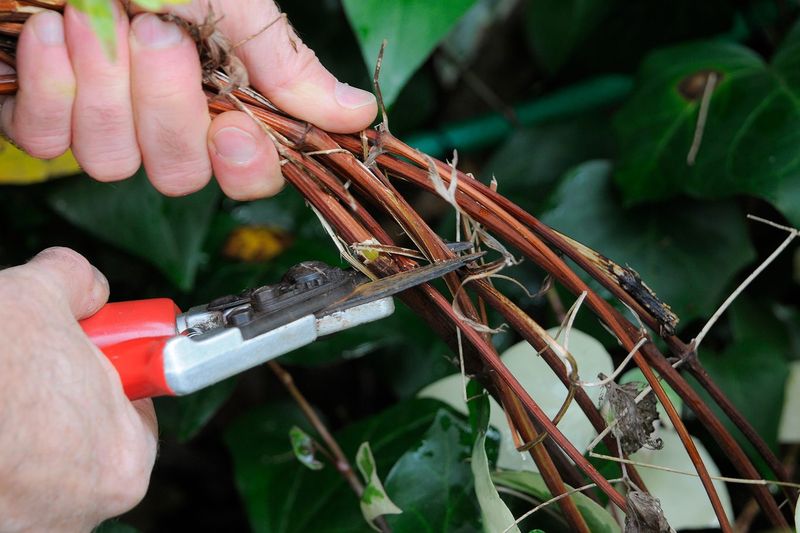
Proper cutting technique makes the difference between wounds that heal quickly and ones that invite disease into your clematis.
Each cut should be made about a quarter-inch above a pair of healthy buds, using sharp, clean pruning shears that slice through the stem rather than crushing it.
Angling your cut slightly helps water run off instead of pooling on the wound, which reduces the chance of rot setting in.
Locating healthy buds is easier than you might think once you know what to look for on your clematis stems.
Small bumps or nodes along the stem indicate where new growth will emerge, and choosing plump, undamaged buds as your cutting point ensures vigorous shoots develop.
Cutting too far above a bud leaves a stub that can rot, while cutting too close damages the bud itself and prevents proper sprouting. Clean tools matter just as much as proper cutting technique when it comes to preventing disease transmission.
Wiping your shears with rubbing alcohol between plants stops you from accidentally spreading problems from one clematis to another.
Sharp blades create smooth cuts that seal over naturally, while dull tools tear and crush stems, creating entry points for bacteria and fungi that thrive in Texas humidity and heat.
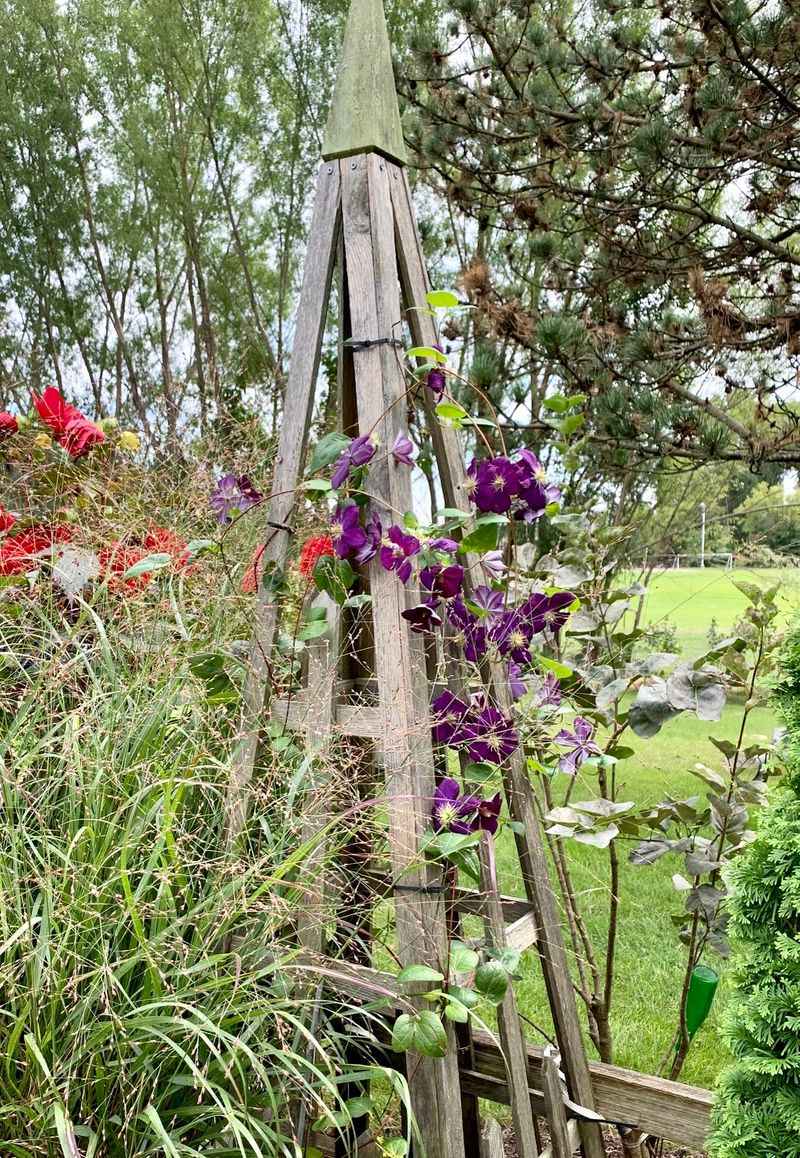
Don’t Be Afraid To Cut Back Leggy Growth
Texas heat pushes clematis to stretch rapidly toward sunlight, often resulting in long, spindly stems with flowers clustered only at the top.
This leggy growth might seem concerning to cut back, but trimming these elongated stems actually encourages your plant to fill out with bushier, more attractive growth.
Plants respond to pruning by producing multiple shoots from lower nodes, creating fuller coverage on your trellis or support structure.
Leggy stems also tend to be weaker and more prone to breaking during storms or under the weight of flowers.
Cutting them back by one-third to one-half their length redirects energy into developing sturdier stems with shorter distances between leaf nodes.
This compact growth pattern produces more flowering sites along each stem rather than just at the tips, dramatically increasing your overall bloom count.
Timing this corrective pruning for early spring on Group 3 varieties or right after flowering on Group 1 and 2 types gives your clematis plenty of time to respond.
Don’t hesitate to be bold with leggy stems, as clematis are remarkably resilient and bounce back quickly from even aggressive pruning.
The bushier, more manageable plant you’ll have by summer makes any initial concern about cutting back growth completely worthwhile.
Mulch After Pruning To Protect Roots
Clematis have an interesting quirk that every Texas gardener should know: they love having their roots kept cool even while their tops bask in full sun.
This preference for what growers call cool feet makes mulching especially important after pruning, when you’ve removed the leafy canopy that previously shaded the root zone.
A three to four-inch layer of organic mulch creates an insulating barrier that moderates soil temperature dramatically.
Texas soil can heat up to uncomfortable levels during summer, potentially stressing clematis roots that prefer cooler conditions.
Mulch acts like a protective blanket, keeping the top few inches of soil significantly cooler than bare ground.
This temperature regulation helps roots continue functioning efficiently even when air temperatures soar into the upper 90s or beyond, supporting vigorous top growth and abundant flowering.
Organic mulches like shredded bark, pine straw, or compost offer the added benefit of improving soil as they break down over time.
Keep mulch pulled back a few inches from the base of the stems to prevent moisture from sitting against the bark and causing rot.
Refreshing your mulch layer each year after pruning ensures your clematis roots stay comfortable through the intense heat that defines Texas growing conditions.
When In Doubt, Light Pruning Is Safer Than None
Uncertainty about pruning groups or timing shouldn’t prevent you from maintaining your clematis, as gentle trimming beats allowing the plant to become a tangled mess.
Vines left completely unpruned for multiple years develop woody, congested growth that blocks light and air from reaching inner stems.
This crowding creates weak growth and provides perfect hiding spots for insects and disease organisms that thrive in our humid climate.
A conservative approach to pruning removes obviously problematic growth while preserving most of the plant’s structure.
Taking out crossing stems, removing anything that looks unhealthy, and shortening a few of the longest shoots improves plant health without risking the loss of too many flowers.
This middle-ground strategy works reasonably well for all three clematis groups, even if it doesn’t optimize bloom production quite as much as group-specific pruning would.
Remember that clematis are remarkably forgiving plants that recover quickly from pruning mistakes.
Even if you accidentally remove some flower buds through mistimed or overzealous cutting, the plant will bounce back and bloom again, perhaps just a bit later than expected.
Building your confidence through gentle annual maintenance beats letting fear of mistakes turn your beautiful clematis into an unmanageable tangle that produces fewer flowers each year.